Home>Furniture & Design>Interior Design Trends>How To Make Frosted Glass

Interior Design Trends
How To Make Frosted Glass
Modified: February 18, 2024
Learn how to create frosted glass for your interior design projects with our step-by-step guide. Stay on top of the latest interior design trends.
(Many of the links in this article redirect to a specific reviewed product. Your purchase of these products through affiliate links helps to generate commission for Storables.com, at no extra cost. Learn more)
Introduction
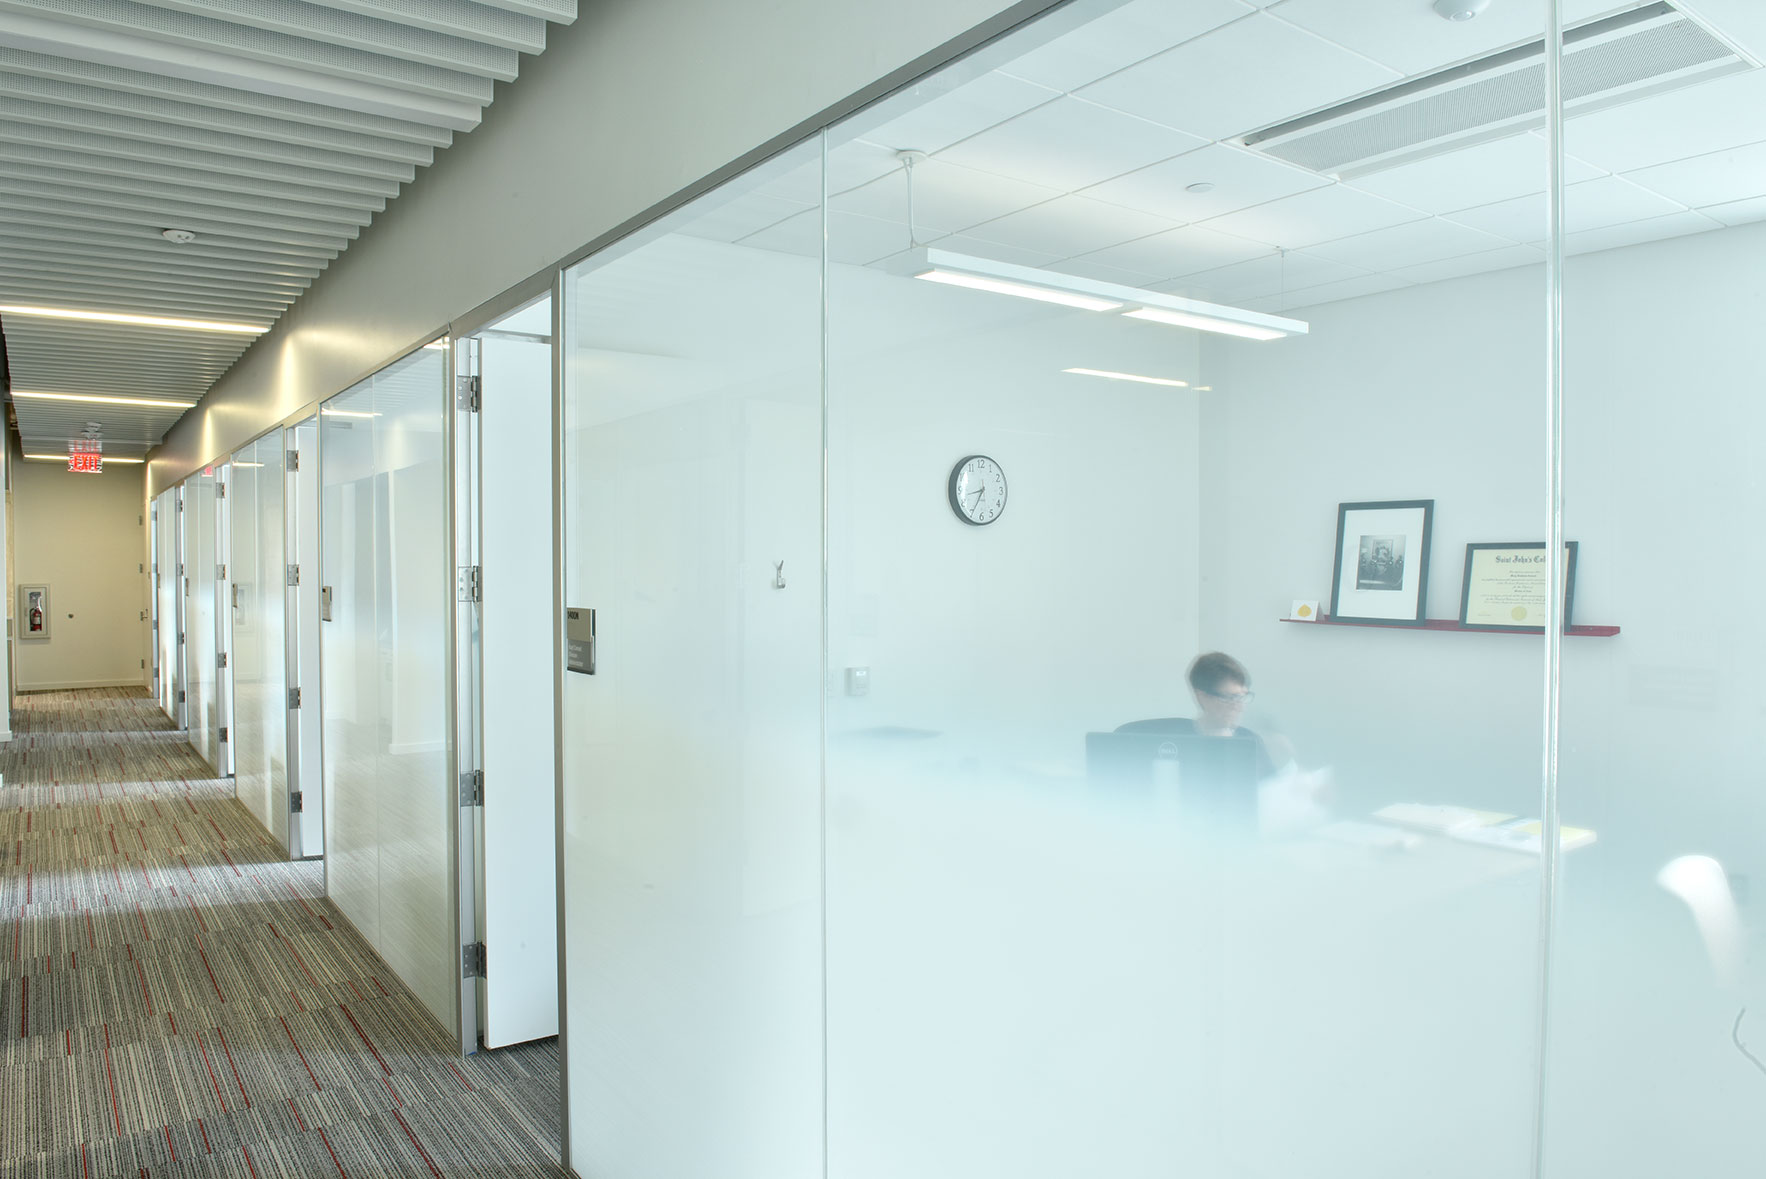
Frosted glass is a versatile and stylish design element that adds a touch of elegance and privacy to any space. Whether you want to revamp your windows, doors, or glassware, creating frosted glass can instantly transform the look and feel of your interior. This simple yet impactful technique allows you to achieve a sophisticated and modern aesthetic without the need for expensive replacements.
By applying a frosted finish to glass surfaces, you can diffuse light, obscure visibility, and introduce a subtle texture that complements various decor styles. Whether you prefer a minimalist, contemporary, or traditional look, frosted glass offers a timeless appeal that can elevate the ambiance of any room.
In this comprehensive guide, we will explore the step-by-step process of creating frosted glass using a frosted glass spray. From preparing the glass surface to adding intricate designs and ensuring a durable finish, you will learn how to achieve professional-quality results with ease. Whether you are a seasoned DIY enthusiast or a novice looking to embark on a creative project, this guide will equip you with the knowledge and techniques needed to master the art of frosted glass application.
With the right materials and a dash of creativity, you can unleash your inner designer and personalize your living spaces with custom frosted glass accents. Get ready to embark on a journey of transformation as we delve into the exciting world of frosted glass design and discover the endless possibilities it offers for enhancing your home decor.
Key Takeaways:
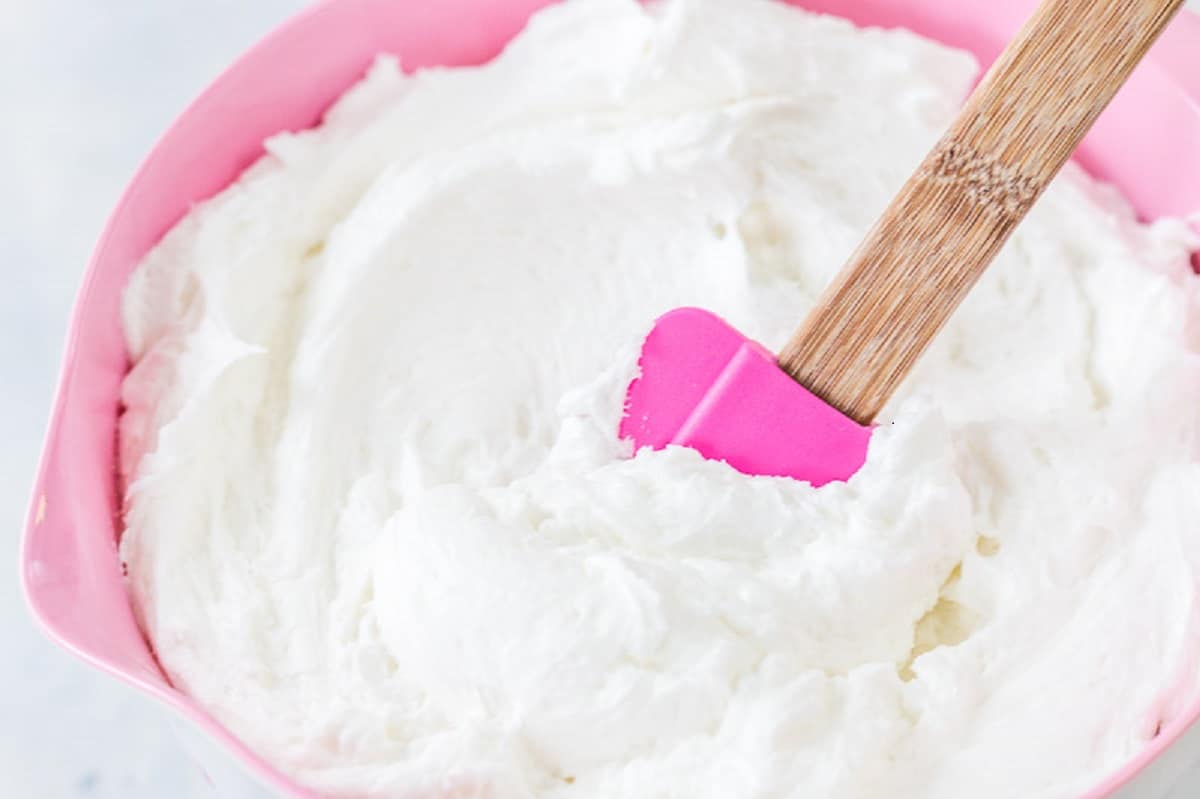
- Transform ordinary glass into elegant, personalized art with frosted glass spray. Clean, mask, apply, and seal for a durable, sophisticated finish that adds character to any space.
- Unleash creativity by adding custom designs to frosted glass using stencils or masking film. Elevate living spaces with intricate patterns, borders, or personalized motifs for a unique touch of artistry.
Read more: How To Frost Glass
Materials Needed
To embark on your frosted glass project, you will need a few essential materials to ensure a seamless and successful application. Here's a comprehensive list of the items you'll need to gather before getting started:
-
Frosted Glass Spray: This specialized spray is the key component for achieving a frosted finish on glass surfaces. Look for a high-quality frosted glass spray that is designed for easy application and long-lasting results. Consider factors such as opacity, drying time, and compatibility with different types of glass.
-
Glass Cleaner: Before applying the frosted glass spray, it's crucial to thoroughly clean the glass surface to remove any dirt, grease, or residue. Choose a reliable glass cleaner that effectively eliminates impurities and ensures a pristine surface for the frosted finish to adhere to.
-
Lint-Free Cloth or Paper Towels: Opt for lint-free cloths or paper towels to wipe the glass surface after cleaning. These materials will help you achieve a streak-free and immaculate surface, which is essential for a smooth and uniform frosted effect.
-
Painter's Tape: Precision is key when applying the frosted glass spray, and painter's tape can help create clean, defined edges and borders. Use painter's tape to mask off areas that you want to keep transparent, ensuring that the frosted finish is applied only to the intended sections.
-
Stencil or Masking Film (Optional): If you plan to incorporate intricate designs or patterns into your frosted glass project, consider using stencils or masking film to achieve precise and detailed motifs. These tools can add a personalized touch to your frosted glass surfaces, allowing you to unleash your creativity and customize the final look.
-
Protective Gloves and Mask: When working with frosted glass spray, it's important to prioritize safety. Wear protective gloves to shield your hands from the spray and use a mask to prevent inhalation of fumes. These precautions will ensure a safe and comfortable application process.
-
Ventilation: Adequate ventilation is essential during the application of frosted glass spray. Choose a well-ventilated area or consider working outdoors to minimize exposure to fumes and facilitate the drying process.
By gathering these materials, you'll be well-equipped to embark on your frosted glass project with confidence and precision. With the right tools at your disposal, you can unleash your creativity and bring your vision of elegant, customized frosted glass to life.
Preparing the Glass Surface
Before applying the frosted glass spray, it's crucial to prepare the glass surface to ensure optimal adhesion and a flawless finish. Proper preparation is key to achieving a professional-looking frosted effect that enhances the visual appeal of the glass while ensuring long-lasting durability.
-
Clean the Glass Surface: Begin by thoroughly cleaning the glass surface using a high-quality glass cleaner. This step is essential for removing any dirt, grease, or residue that may hinder the adhesion of the frosted glass spray. Use a lint-free cloth or paper towels to wipe the glass, ensuring that the surface is free from streaks and impurities. A pristine, clean surface provides the ideal foundation for the frosted finish to adhere to, resulting in a smooth and uniform appearance.
-
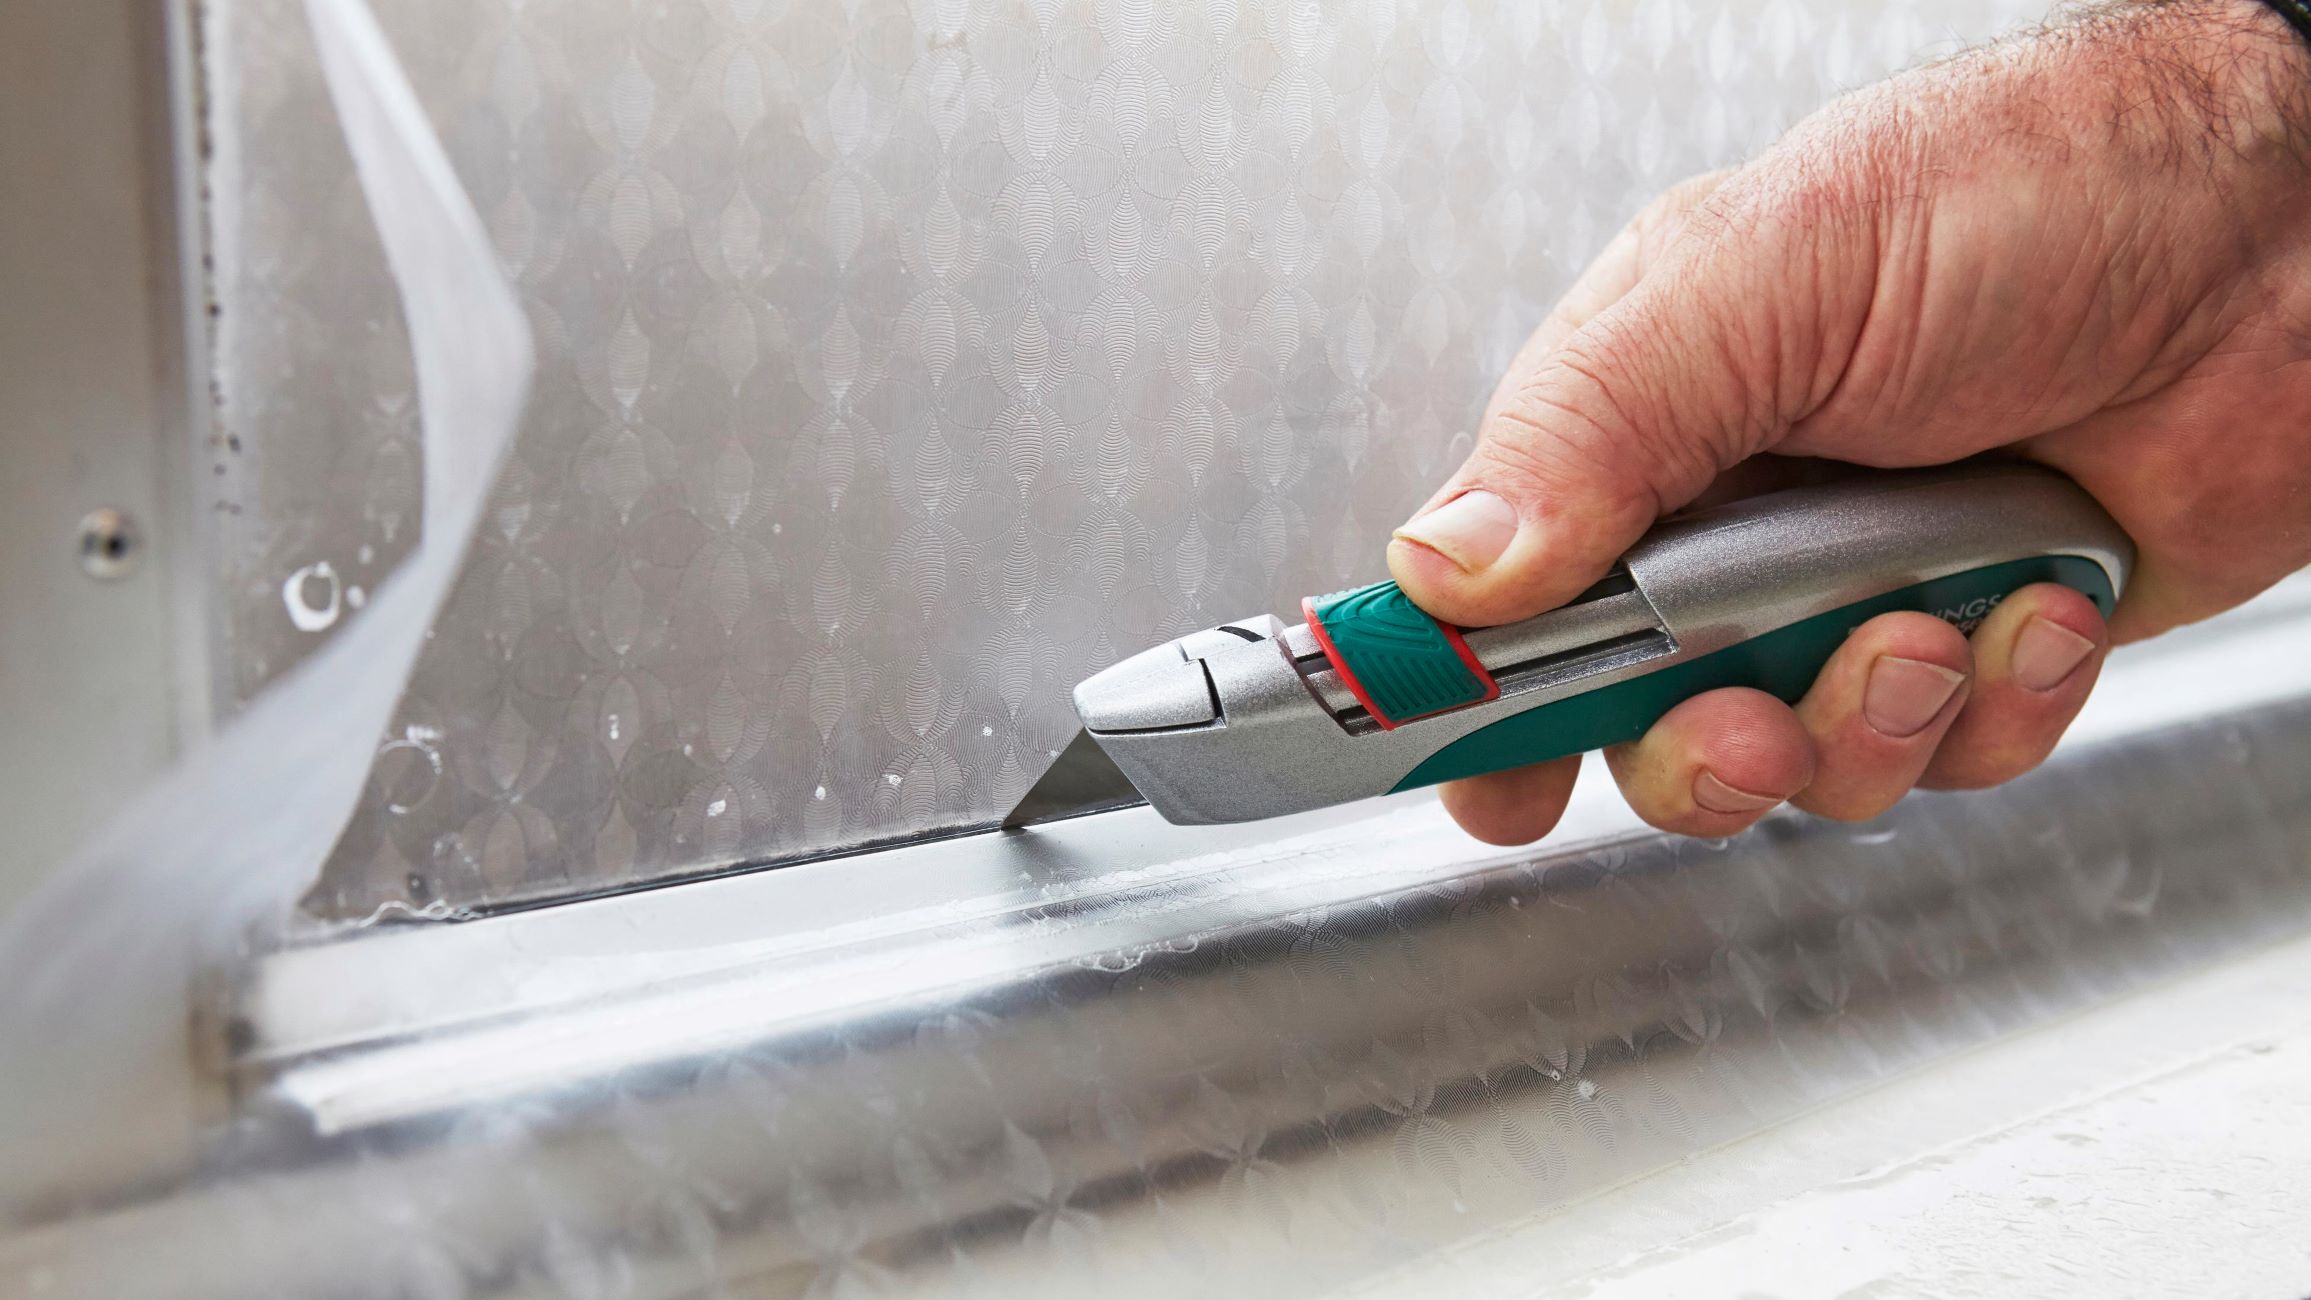
Mask Off Surrounding Areas: If you intend to create a specific frosted design or maintain transparency in certain areas, use painter's tape to mask off the surrounding sections of the glass. This technique allows you to define the boundaries of the frosted area, ensuring clean, crisp edges and precise application. By carefully applying painter's tape along the desired borders, you can create a clear distinction between the frosted and transparent areas, adding a professional touch to your project.
-
Ensure Adequate Ventilation: Proper ventilation is crucial during the preparation process and the subsequent application of the frosted glass spray. Choose a well-ventilated area to work in, or consider carrying out the preparation process outdoors to minimize exposure to fumes. Adequate ventilation not only promotes a safer working environment but also facilitates the drying process, allowing the frosted finish to set evenly and effectively on the glass surface.
By meticulously preparing the glass surface, you set the stage for a successful frosted glass application. This meticulous approach ensures that the frosted finish adheres seamlessly to the glass, resulting in a professional-looking transformation that enhances the aesthetic appeal of your interior spaces. With the glass surface primed and ready, you are now poised to embark on the exciting process of applying the frosted glass spray and bringing your creative vision to life.
Applying the Frosted Glass Spray
Once the glass surface is meticulously prepared, it's time to embark on the transformative process of applying the frosted glass spray. This pivotal step is where the magic happens, as the transparent glass undergoes a stunning metamorphosis, acquiring a sophisticated frosted finish that adds depth and character to the surface.
Before proceeding with the application, it's essential to shake the frosted glass spray can vigorously to ensure thorough mixing of the contents. This step is crucial for achieving a consistent frosted effect and maximizing the spray's effectiveness. Additionally, it's important to verify that the glass surface is completely dry and free from any residual moisture or cleaning agents, as this can impact the adhesion and appearance of the frosted finish.
With the frosted glass spray can ready and the glass surface primed, it's time to apply the spray in even, sweeping motions. Holding the can approximately 6 to 8 inches away from the glass, begin spraying with smooth and deliberate movements, ensuring uniform coverage across the entire frosted area. It's advisable to start with a light application and gradually build up the opacity to achieve the desired level of frosted effect. This incremental approach allows for greater control over the final appearance, ensuring that the frosted finish aligns with your vision.
As you apply the frosted glass spray, maintain a consistent distance and motion to prevent uneven distribution and minimize the risk of drips or runs. Overlapping each pass slightly helps create a seamless and uniform frosted surface, enhancing the overall aesthetic appeal. It's important to work methodically and avoid excessive spraying, as this can lead to an overly dense or blotchy finish. By exercising patience and precision, you can achieve a professional-quality frosted effect that elevates the visual allure of the glass.
After completing the initial application, allow the frosted glass spray to dry according to the manufacturer's instructions. This typically involves a waiting period to ensure that the frosted finish sets and adheres effectively to the glass surface. Once the spray has dried, assess the opacity and uniformity of the frosted effect, making any necessary adjustments to achieve the desired appearance.
By following these meticulous steps and exercising care during the application process, you can achieve a stunning frosted glass finish that enhances the ambiance of your living spaces. The application of frosted glass spray offers a creative and versatile means of customizing glass surfaces, allowing you to infuse your interior decor with a touch of elegance and individuality. With the frosted glass applied, the stage is set for the final embellishments and finishing touches that will complete your personalized frosted glass masterpiece.
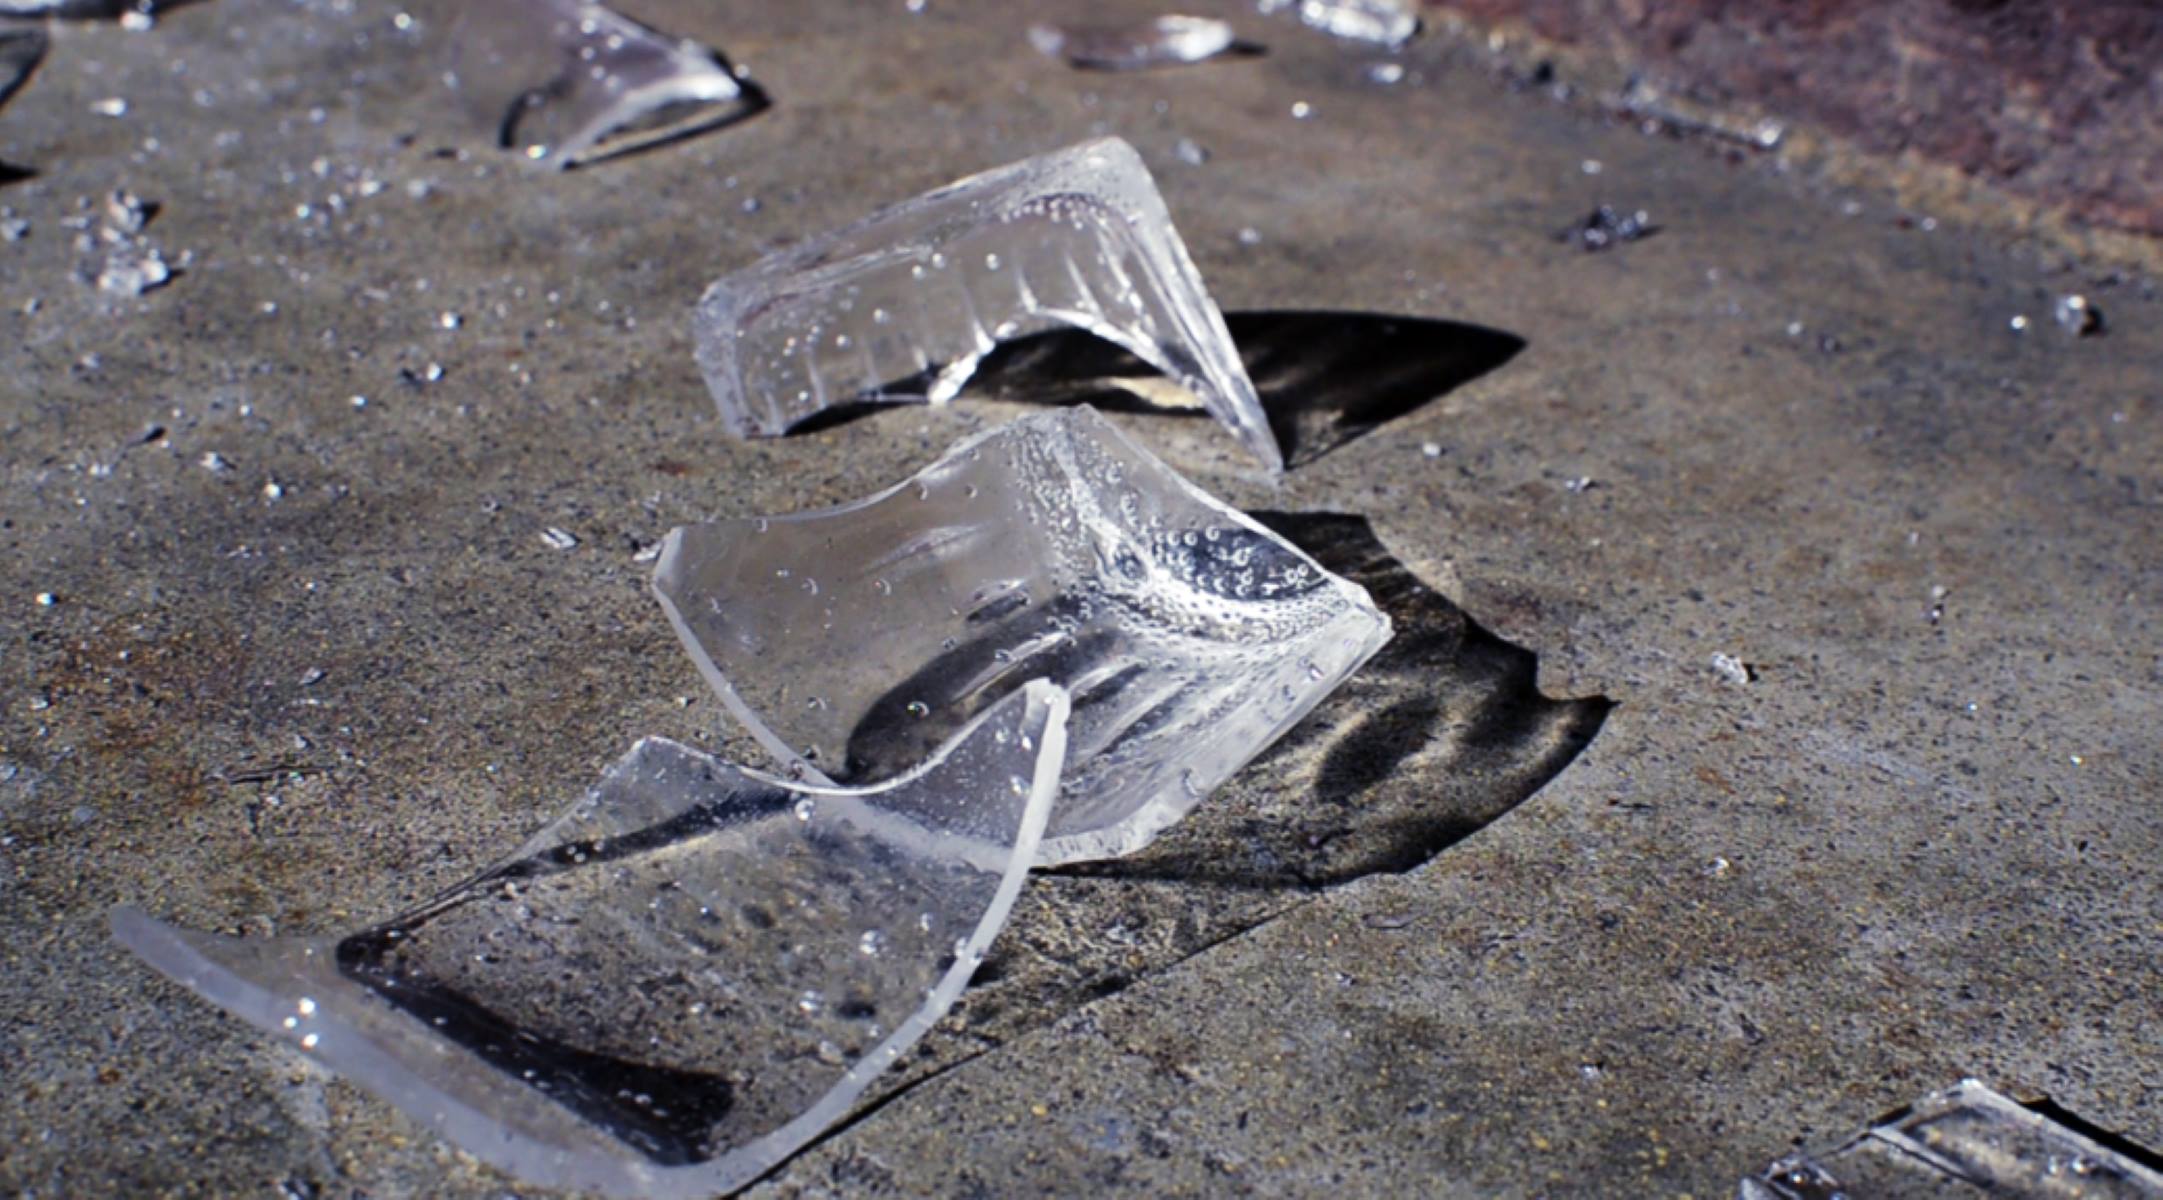
To make frosted glass, sand the surface with fine-grit sandpaper or use a chemical etching solution. This will create a matte, frosted appearance on the glass.
Adding Additional Designs (Optional)
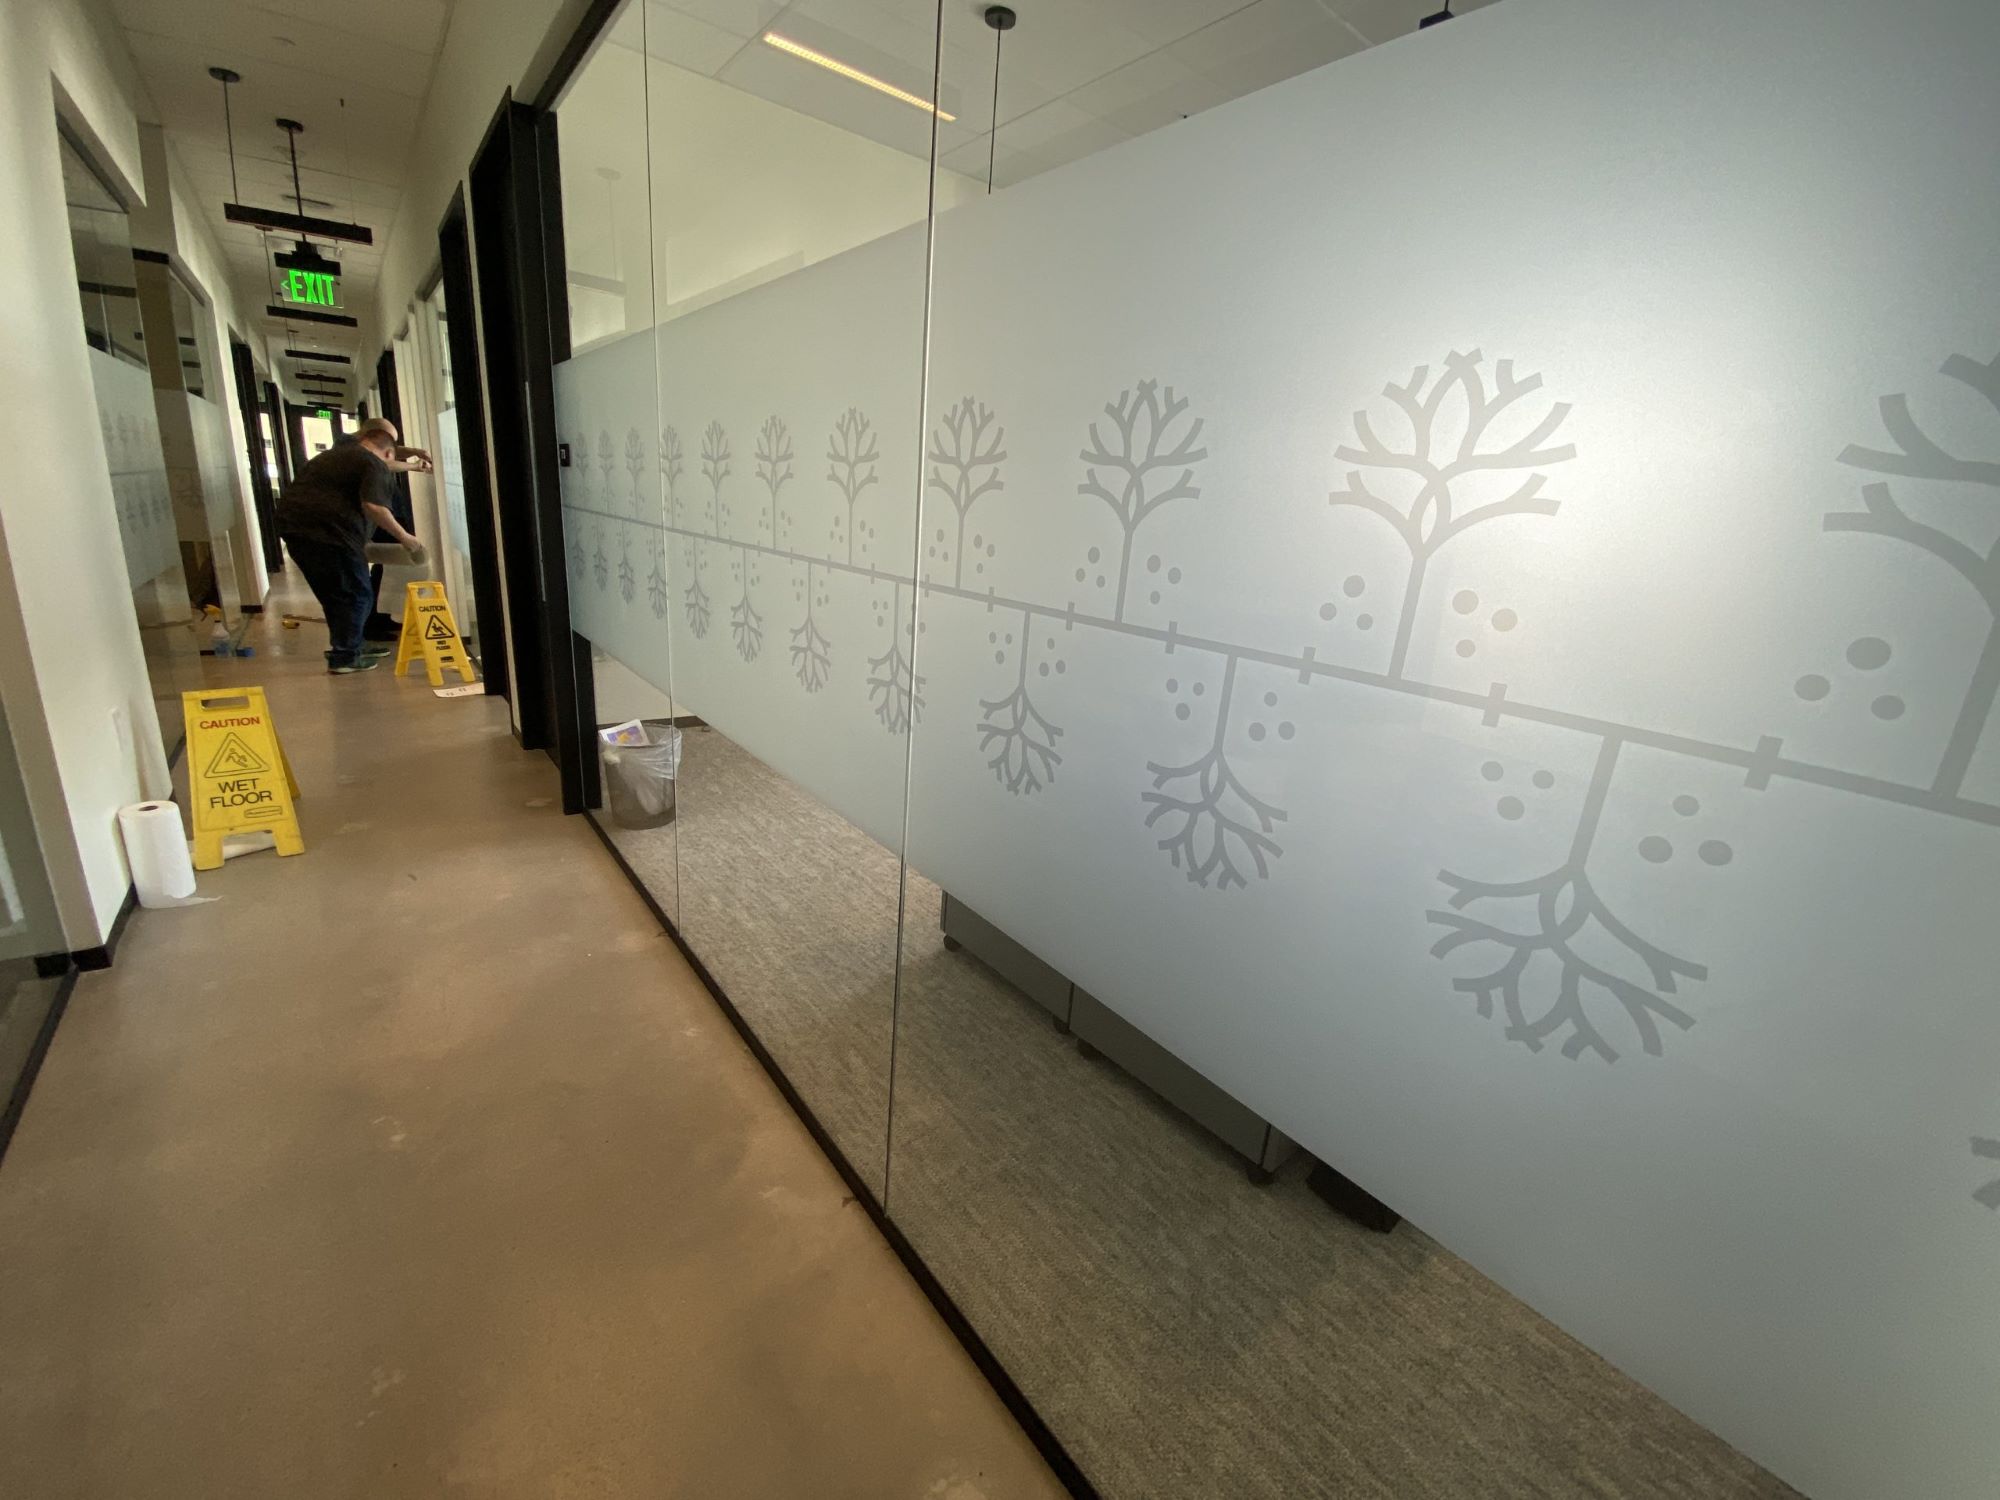
Once the frosted glass spray has been applied and the base frosted finish achieved, you have the option to take your creative expression to the next level by incorporating additional designs and embellishments. This optional step allows you to infuse your frosted glass surfaces with personalized motifs, patterns, or decorative elements, further enhancing their visual impact and individuality.
One approach to adding designs to frosted glass is through the use of stencils or masking film. These tools enable you to create intricate patterns, borders, or imagery on the frosted surface, adding a layer of sophistication and artistry to the glass. Whether you envision delicate floral motifs, geometric arrangements, or custom monograms, stencils and masking film provide a precise and controlled method for introducing detailed designs to your frosted glass.
When utilizing stencils, carefully position them on the frosted glass surface, ensuring a secure and seamless fit. Once in place, apply a contrasting color of frosted glass spray over the stencil to imprint the design onto the glass. This technique allows you to achieve striking visual contrasts and intricate detailing, elevating the overall aesthetic appeal of the frosted glass.
Alternatively, masking film offers a versatile approach to creating custom designs on frosted glass. By cutting or shaping the masking film to your desired pattern or motif, you can achieve precise and intricate designs that reflect your personal style and decorative preferences. Whether you opt for bold, contemporary shapes or timeless, ornate patterns, masking film empowers you to unleash your creativity and customize the frosted glass according to your unique vision.
Incorporating additional designs onto frosted glass presents an opportunity to infuse your living spaces with a touch of artistry and individuality. Whether you choose to adorn windows, doors, or glass partitions with elegant patterns or meaningful symbols, the addition of custom designs elevates the visual allure of the frosted glass, creating a captivating focal point within your interior decor.
By embracing this optional step, you can transform frosted glass surfaces into personalized works of art that reflect your distinctive taste and style. The interplay of frosted textures and intricate designs adds depth and character to the glass, infusing your living spaces with a sense of refinement and creativity. With the addition of custom designs, your frosted glass creations become unique expressions of your personality and design sensibilities, enriching the ambiance of your home with a touch of artful sophistication.
Read more: How To Clean Frosted Glass
Curing and Sealing the Frosted Glass
After the application of the frosted glass spray and any additional designs, the final step involves curing and sealing the frosted glass to ensure long-lasting durability and a professional finish. This critical stage not only enhances the resilience of the frosted surface but also contributes to maintaining its visual appeal over time.
To begin the curing process, allow the frosted glass to dry thoroughly according to the manufacturer's recommendations. This typically involves a waiting period to ensure that the frosted finish sets and adheres effectively to the glass surface. It's essential to exercise patience during this phase, as proper drying is integral to the longevity and integrity of the frosted effect.
Once the frosted glass has dried completely, consider applying a sealant to enhance its durability and resistance to wear. A clear sealant designed for glass surfaces can provide an added layer of protection, safeguarding the frosted finish from scratches, moisture, and environmental factors. Before applying the sealant, ensure that the glass surface is clean and free from any residue or particles that may compromise the effectiveness of the sealant.
When applying the sealant, follow the manufacturer's instructions to achieve an even and thorough coverage. Use smooth, consistent strokes to coat the entire frosted surface, ensuring that the sealant adheres uniformly and forms a protective barrier. The sealant not only enhances the longevity of the frosted glass but also facilitates easier maintenance, allowing for effortless cleaning and upkeep of the finished surfaces.
After the sealant has been applied, allow sufficient time for it to cure and set, as per the manufacturer's guidelines. This curing period is essential for the sealant to bond effectively with the frosted glass, maximizing its protective properties and ensuring a resilient finish that withstands daily use and environmental exposure.
By completing the curing and sealing process, you elevate the frosted glass to a new level of durability and longevity, ensuring that its visual allure remains intact for years to come. The combination of thorough curing and the application of a quality sealant safeguards the frosted glass against the rigors of daily life, preserving its elegance and sophistication in the face of wear and tear.
With the frosted glass now cured and sealed, you have successfully transformed ordinary glass surfaces into stunning, personalized features that enrich your interior decor. The meticulous attention to detail and the application of protective measures ensure that your frosted glass creations stand the test of time, enhancing the ambiance of your living spaces with enduring beauty and refinement.
Conclusion
In conclusion, the art of creating frosted glass opens up a world of possibilities for enhancing interior spaces with elegance, privacy, and personalized style. Through the meticulous application of frosted glass spray, coupled with the option to incorporate custom designs, individuals can transform ordinary glass surfaces into captivating focal points that reflect their unique taste and creativity.
The journey of frosted glass application begins with thorough preparation, including the cleaning of the glass surface and the careful masking of surrounding areas. This meticulous groundwork sets the stage for the application of the frosted glass spray, where transparent glass undergoes a stunning metamorphosis, acquiring a sophisticated frosted finish that adds depth and character to the surface.
For those seeking to infuse their frosted glass with additional flair, the option to incorporate custom designs through stencils or masking film provides an avenue for artistic expression. Whether it's intricate patterns, decorative borders, or personalized motifs, these embellishments elevate the visual impact of the frosted glass, creating unique works of art that resonate with individual style and personality.
The journey culminates in the crucial steps of curing and sealing the frosted glass, ensuring its long-lasting durability and resilience. By allowing the frosted glass to dry thoroughly and applying a quality sealant, individuals safeguard their creations against wear and tear, preserving their elegance and sophistication for years to come.
Ultimately, the art of creating frosted glass empowers individuals to personalize their living spaces with a touch of refinement and artistry. Whether adorning windows, doors, or glass partitions, frosted glass serves as a versatile design element that transcends trends, offering timeless appeal and enduring beauty.
By embarking on the journey of frosted glass application, individuals can unleash their creativity, elevate their interior decor, and imbue their living spaces with a sense of sophistication and individuality. The transformative power of frosted glass lies not only in its visual allure but also in the opportunity it presents for self-expression and the creation of personalized, captivating environments.
Frequently Asked Questions about How To Make Frosted Glass
Was this page helpful?
At Storables.com, we guarantee accurate and reliable information. Our content, validated by Expert Board Contributors, is crafted following stringent Editorial Policies. We're committed to providing you with well-researched, expert-backed insights for all your informational needs.


0 thoughts on “How To Make Frosted Glass”