Home>Furniture & Design>Interior Design Trends>How To Remove Frosted Glass

Interior Design Trends
How To Remove Frosted Glass
Modified: August 17, 2024
Learn how to remove frosted glass and stay updated with the latest interior design trends. Transform your space with these expert tips.
(Many of the links in this article redirect to a specific reviewed product. Your purchase of these products through affiliate links helps to generate commission for Storables.com, at no extra cost. Learn more)
Introduction
Frosted glass can add a touch of elegance and privacy to any space, but there may come a time when you want to remove this frosted coating to achieve a different aesthetic or to restore the glass to its original state. Whether you're looking to revamp your interior design or simply want to refresh the look of your glass surfaces, the process of removing frosted glass can be straightforward with the right tools and techniques.
In this comprehensive guide, we will walk you through the step-by-step process of removing frosted glass, providing you with the knowledge and confidence to tackle this project with ease. From gathering the necessary tools and materials to applying the removal solution and achieving a polished finish, we've got you covered. By following these steps, you can effectively restore the transparency of your glass surfaces and breathe new life into your living or working space.
Removing frosted glass is a rewarding endeavor that allows you to unleash your creativity and transform the ambiance of a room. Whether you're a DIY enthusiast or a homeowner seeking to refresh your interior design, this guide will equip you with the essential know-how to accomplish the task efficiently and effectively. So, roll up your sleeves and get ready to embark on a journey to restore the natural beauty of your glass surfaces. Let's dive into the process and discover how to remove frosted glass with confidence and precision.
Key Takeaways:
- Unleash Your Creativity: Removing frosted glass is a rewarding DIY project that transforms the ambiance of a room. With the right tools and techniques, you can restore the transparency of glass surfaces and breathe new life into your space.
- Revitalize Your Space: By following a step-by-step guide, you can confidently remove frosted glass and enhance the aesthetic appeal of your living or working space. From preparation to polishing, this process empowers you to redefine and rejuvenate your environment.
Read more: How To Remove Frosting From Glass
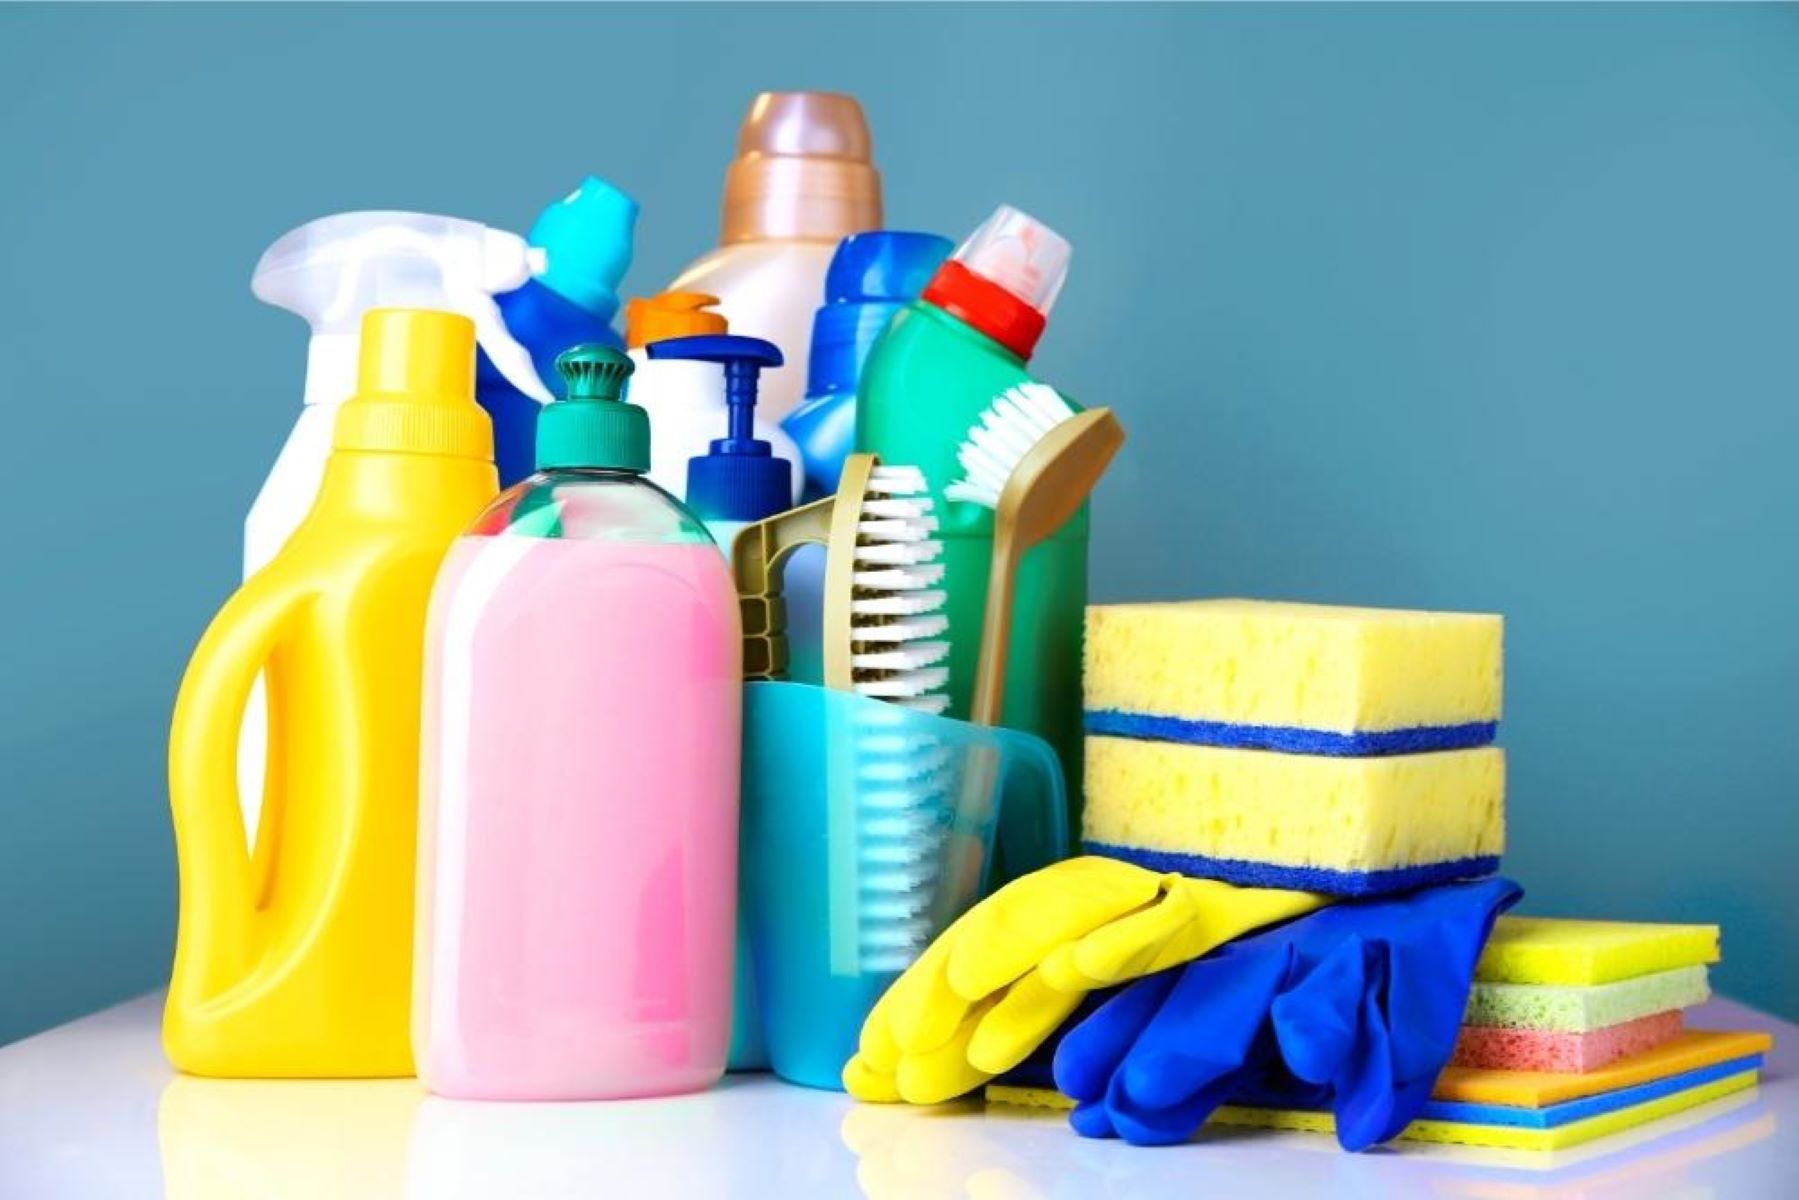
Step 1: Gather the necessary tools and materials
Before embarking on the process of removing frosted glass, it's essential to gather the appropriate tools and materials to ensure a smooth and efficient undertaking. Here's a comprehensive list of items you'll need to have on hand:
Tools:
- Safety goggles and gloves: Protect your eyes and hands from any potential debris or chemicals during the removal process.
- Utility knife or razor blade: A sharp utility knife or razor blade will be instrumental in scraping off the frosted coating from the glass surface.
- Plastic scraper: A plastic scraper can be used to gently remove the frosted film without scratching or damaging the glass.
- Fine-grit sandpaper: Opt for fine-grit sandpaper to aid in the removal of stubborn frosted residue and to smoothen the glass surface.
- Spray bottle: Use a spray bottle to apply the removal solution evenly onto the glass.
Materials:
- Frosted glass removal solution: Invest in a high-quality frosted glass removal solution, readily available at hardware or home improvement stores.
- Clean cloth or sponge: A clean cloth or sponge will be essential for wiping and polishing the glass surface post-removal.
- Protective tarp or drop cloth: Lay down a protective tarp or drop cloth to safeguard the surrounding area from any potential spills or drips during the removal process.
- Cleaning solution: Prepare a mild cleaning solution or glass cleaner to thoroughly clean the glass surface after removing the frosted coating.
- Lint-free cloth: Use a lint-free cloth for a streak-free finish when polishing the glass.
By ensuring that you have all the necessary tools and materials at your disposal, you'll be well-prepared to proceed with the subsequent steps of the frosted glass removal process. With these items in hand, you can approach the task with confidence, knowing that you have everything you need to achieve a successful outcome.
Step 2: Prepare the frosted glass surface
Before diving into the actual removal process, it's crucial to prepare the frosted glass surface to ensure optimal results. Proper preparation sets the stage for a seamless removal process and helps safeguard the integrity of the glass. Here's a detailed breakdown of the essential steps to prepare the frosted glass surface:
-
Clean the Glass: Begin by thoroughly cleaning the frosted glass surface using a mild cleaning solution or glass cleaner. This step is vital for removing any dirt, dust, or grime that may have accumulated on the glass. Ensure that the surface is completely free of any debris before proceeding to the next step.
-
Protect Surrounding Areas: Take proactive measures to protect the surrounding areas from potential spills or drips during the removal process. Lay down a protective tarp or drop cloth to safeguard floors, countertops, and any nearby furniture. This precautionary step helps prevent accidental damage and simplifies the cleanup process.
-
Ventilate the Area: Proper ventilation is essential when working with removal solutions and chemicals. Open windows and doors to ensure adequate airflow in the workspace. This not only helps dissipate any fumes from the removal solution but also creates a more comfortable environment for the removal process.
-
Wear Protective Gear: Prioritize safety by donning safety goggles and gloves before proceeding. These protective measures shield your eyes and hands from potential debris and chemicals, ensuring a safe and secure working environment.
-
Inspect the Glass Surface: Carefully inspect the frosted glass surface for any imperfections, scratches, or damage. Identifying any existing issues beforehand allows you to address them appropriately and avoid exacerbating any pre-existing damage during the removal process.
By meticulously preparing the frosted glass surface, you lay the groundwork for a successful removal process. These preparatory steps not only contribute to the overall efficiency of the task but also prioritize safety and the preservation of the glass surface. With the surface properly prepped, you're now ready to proceed to the next phase of removing the frosted coating and restoring the glass to its original clarity.
Read more: How To Frost Glass
Step 3: Apply the removal solution
Once the frosted glass surface is meticulously prepared, the next critical step in the removal process involves the application of the removal solution. This solution is specifically designed to dissolve and loosen the frosted coating, facilitating its subsequent removal. Here's a detailed walkthrough of the process of applying the removal solution:
-
Select a Well-Ventilated Area: Choose a well-ventilated area for applying the removal solution to ensure proper airflow and ventilation. This minimizes the concentration of fumes and creates a more comfortable environment for the application process.
-
Read and Follow Instructions: Prior to application, carefully read the instructions provided with the removal solution. Adhere to the recommended guidelines and safety precautions outlined by the manufacturer to ensure safe and effective usage.
-
Prepare the Removal Solution: Prepare the removal solution as per the manufacturer's instructions. This typically involves diluting the solution with water or using it in its concentrated form, depending on the specific product.
-
Apply the Solution Evenly: Transfer the prepared removal solution into a spray bottle for convenient and precise application. Evenly spray the solution onto the frosted glass surface, ensuring comprehensive coverage. The solution works to penetrate and break down the frosted coating, preparing it for removal.
-
Allow Dwell Time: After applying the removal solution, allow it to dwell on the glass surface for the specified duration recommended by the manufacturer. This dwell time allows the solution to effectively penetrate and weaken the frosted coating, making it easier to remove.
-
Monitor the Progress: During the dwell time, monitor the glass surface to observe the gradual dissolution of the frosted coating. The removal solution works to loosen the frosted film, gradually restoring the transparency of the glass underneath.
-
Avoid Excessive Dripping: While the solution is dwelling, ensure that excessive dripping is minimized to prevent wastage and potential damage to surrounding surfaces. Contain any drips or overspray to maintain a clean and controlled workspace.
By following these meticulous steps for applying the removal solution, you set the stage for the successful dissolution of the frosted coating, paving the way for its subsequent removal. This crucial phase of the process prepares the glass surface for the next step, where the frosted coating is gently scraped off, ultimately revealing the clear and pristine glass underneath.
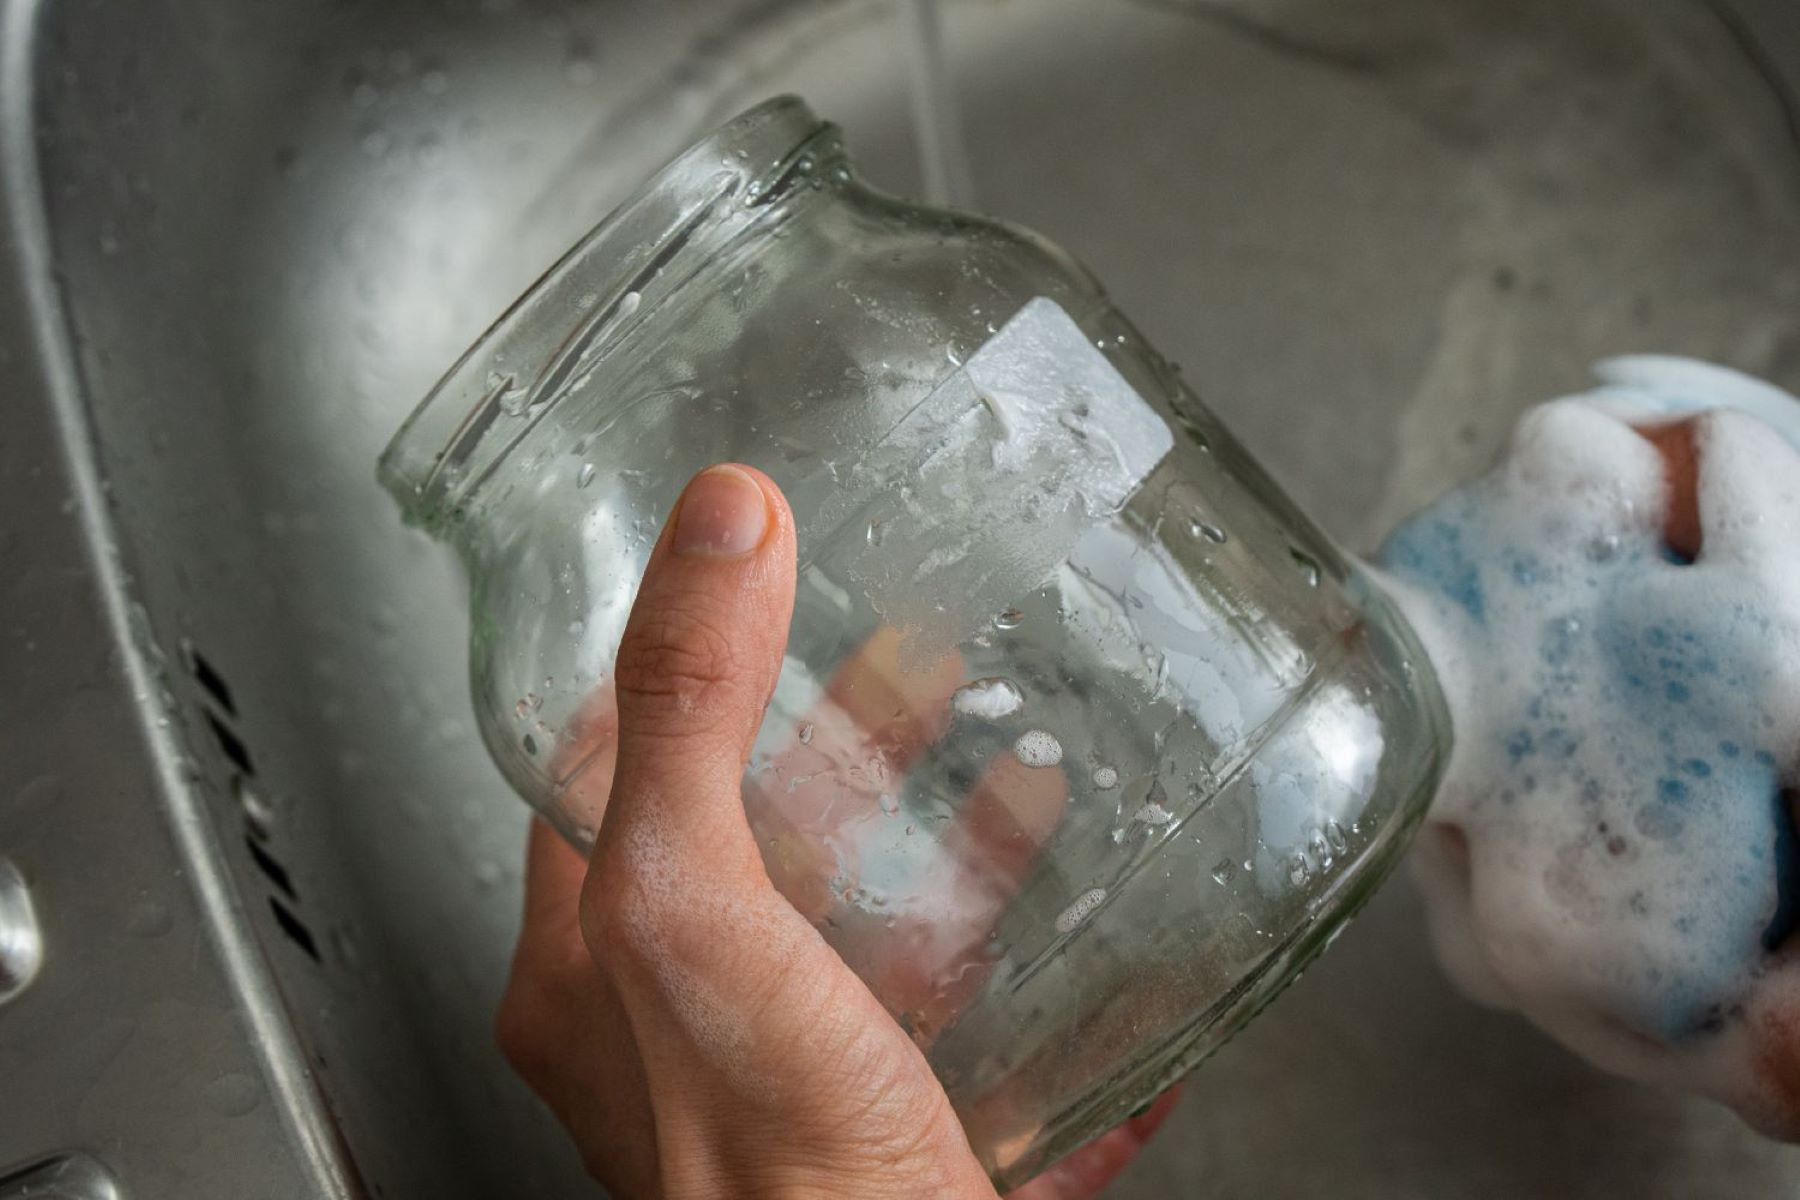
Step 4: Scrape off the frosted coating
With the frosted glass surface adequately prepared and the removal solution having effectively weakened the frosted coating, the next pivotal step involves delicately scraping off the loosened film to reveal the pristine glass underneath. This phase demands precision and care to ensure the glass surface remains unscathed throughout the removal process. Here's a detailed breakdown of the meticulous process of scraping off the frosted coating:
-
Select the Appropriate Tool: Opt for a utility knife or razor blade with a sharp, fine edge to facilitate the scraping process. Alternatively, a plastic scraper can be used, especially for more delicate glass surfaces. The chosen tool should allow for controlled and precise removal without causing damage to the glass.
-
Begin the Scrape: Gently position the blade or scraper at a shallow angle against the glass surface, starting from one edge. Apply light pressure and begin scraping off the loosened frosted coating in small, controlled motions. Exercise caution to avoid exerting excessive force, which could potentially scratch or damage the glass.
-
Work Methodically: Progress methodically across the glass surface, ensuring even and consistent scraping to remove the entirety of the frosted coating. Pay close attention to any stubborn areas where the film may require additional attention. Exercise patience and refrain from rushing the process to maintain the integrity of the glass.
-
Monitor the Glass Surface: As the scraping progresses, periodically inspect the glass surface to assess the removal progress. The transparency of the glass should gradually become more apparent as the frosted coating is meticulously scraped away. This visual cue indicates the effectiveness of the removal process.
-
Address Stubborn Residue: In cases where certain areas exhibit stubborn frosted residue, employ fine-grit sandpaper to gently buff and smoothen the glass surface. The sandpaper aids in removing any residual film and contributes to achieving a uniform and clear finish.
-
Exercise Caution: Throughout the scraping process, exercise caution to avoid accidental slips or sudden movements that could potentially damage the glass. Maintain a steady and controlled approach, prioritizing the preservation of the glass surface.
By meticulously following these steps to scrape off the frosted coating, you can effectively reveal the natural clarity of the glass, setting the stage for the final phase of cleaning and polishing the glass surface. This meticulous process ensures that the glass is restored to its original state, free from the frosted film that once obscured its transparency.
Use a mixture of equal parts vinegar and water to spray onto the frosted glass. Let it sit for a few minutes, then scrub with a sponge or cloth. Rinse with water and dry with a clean cloth for a streak-free finish.
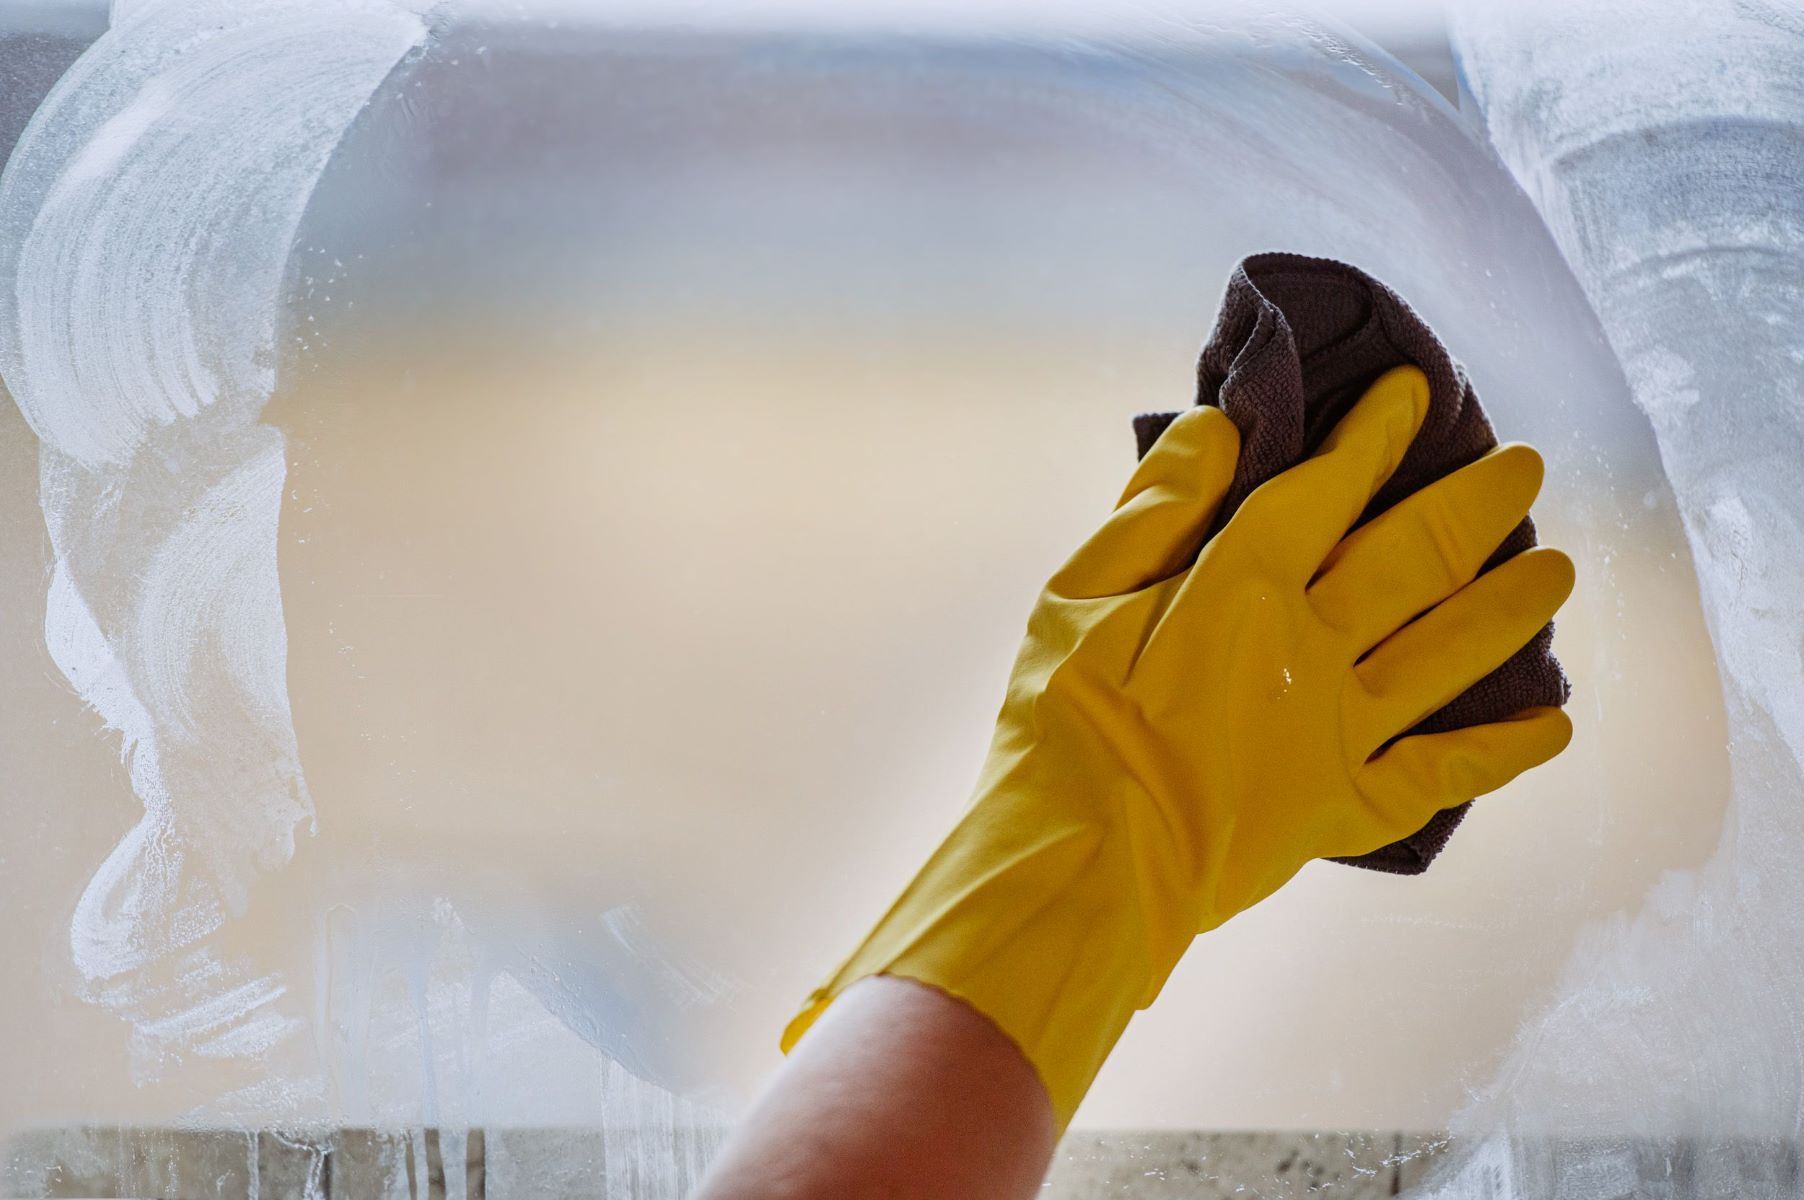
Step 5: Clean and polish the glass surface
After successfully removing the frosted coating from the glass surface, the final step involves thorough cleaning and polishing to achieve a pristine and lustrous finish. This critical phase not only ensures the removal of any residual removal solution and debris but also contributes to enhancing the visual appeal of the glass. Here's a detailed guide on the meticulous process of cleaning and polishing the glass surface:
-
Remove Residual Solution: Begin by thoroughly wiping the glass surface with a clean cloth or sponge to remove any residual frosted glass removal solution. Ensure that all traces of the solution are effectively eliminated, promoting a clean and residue-free surface.
-
Clean with Mild Solution: Prepare a mild cleaning solution by diluting a gentle glass cleaner with water. Apply the solution to the glass surface and use a clean cloth to meticulously clean and remove any remaining debris or streaks. This step contributes to achieving a pristine and transparent finish, free from any lingering residue.
-
Polish for Clarity: Utilize a lint-free cloth to polish the glass surface, working in circular motions to enhance its clarity and luster. The polishing process aids in removing any remaining smudges or streaks, resulting in a flawlessly transparent and gleaming glass surface.
-
Inspect for Imperfections: Carefully inspect the glass surface to identify any imperfections or streaks that may require additional attention. Address any remaining blemishes by gently polishing the affected areas until the glass achieves a uniform and crystal-clear appearance.
-
Ensure Streak-Free Finish: Prioritize a streak-free finish by meticulously polishing the glass surface with the lint-free cloth. This final polishing step contributes to the overall visual appeal of the glass, ensuring a flawless and reflective finish that enhances the aesthetic of the space.
By meticulously following these steps to clean and polish the glass surface, you can achieve a stunning transformation, restoring the glass to its original clarity and brilliance. This final phase of the process elevates the overall visual impact of the glass, allowing it to radiate with transparency and elegance, thereby completing the journey of removing the frosted coating and revitalizing the glass surface.
Conclusion
In conclusion, the process of removing frosted glass is a rewarding endeavor that allows individuals to unleash their creativity and transform the ambiance of a room. By following the comprehensive steps outlined in this guide, individuals can effectively restore the transparency of glass surfaces and breathe new life into their living or working space.
The journey begins with gathering the necessary tools and materials, ensuring that every essential item is readily available to facilitate a smooth and efficient removal process. Proper preparation of the frosted glass surface is paramount, encompassing thorough cleaning, protective measures for surrounding areas, and the donning of safety gear to create a secure and conducive workspace.
The application of the removal solution marks a pivotal phase, where the specialized solution works to dissolve and weaken the frosted coating, preparing it for the subsequent removal. This meticulous process demands precision and care to ensure the glass surface remains unscathed throughout the removal process.
Scraping off the loosened frosted coating requires a methodical approach, employing the appropriate tools and exercising caution to reveal the pristine glass underneath. The gradual removal of the frosted film unveils the natural clarity of the glass, setting the stage for the final phase of cleaning and polishing.
The culmination of the process involves thorough cleaning and polishing to achieve a pristine and lustrous finish, ensuring the removal of any residual removal solution and debris while enhancing the visual appeal of the glass. This final phase elevates the overall visual impact of the glass, allowing it to radiate with transparency and elegance, thereby completing the journey of removing the frosted coating and revitalizing the glass surface.
By embracing this step-by-step guide, individuals can embark on the journey to restore the natural beauty of their glass surfaces with confidence and precision. Whether it's revamping interior design or simply seeking to refresh the look of glass surfaces, the process of removing frosted glass empowers individuals to redefine and rejuvenate their living spaces, ultimately enhancing the aesthetic appeal and functionality of their environment.
Frequently Asked Questions about How To Remove Frosted Glass
Was this page helpful?
At Storables.com, we guarantee accurate and reliable information. Our content, validated by Expert Board Contributors, is crafted following stringent Editorial Policies. We're committed to providing you with well-researched, expert-backed insights for all your informational needs.


0 thoughts on “How To Remove Frosted Glass”