Articles
How To Glue Electrical Conduit
Modified: August 27, 2024
Discover the best practices for gluing electrical conduit with our informative articles. Get step-by-step instructions, tips, and tricks for a successful bond.
(Many of the links in this article redirect to a specific reviewed product. Your purchase of these products through affiliate links helps to generate commission for Storables.com, at no extra cost. Learn more)
Introduction
Gluing electrical conduit is an essential skill for any electrician or DIY enthusiast. Whether you are installing new electrical wiring or repairing an existing system, properly gluing the conduit ensures a secure and durable connection. This article will guide you through the step-by-step process of gluing electrical conduit, providing you with the knowledge and techniques needed to successfully complete the task.
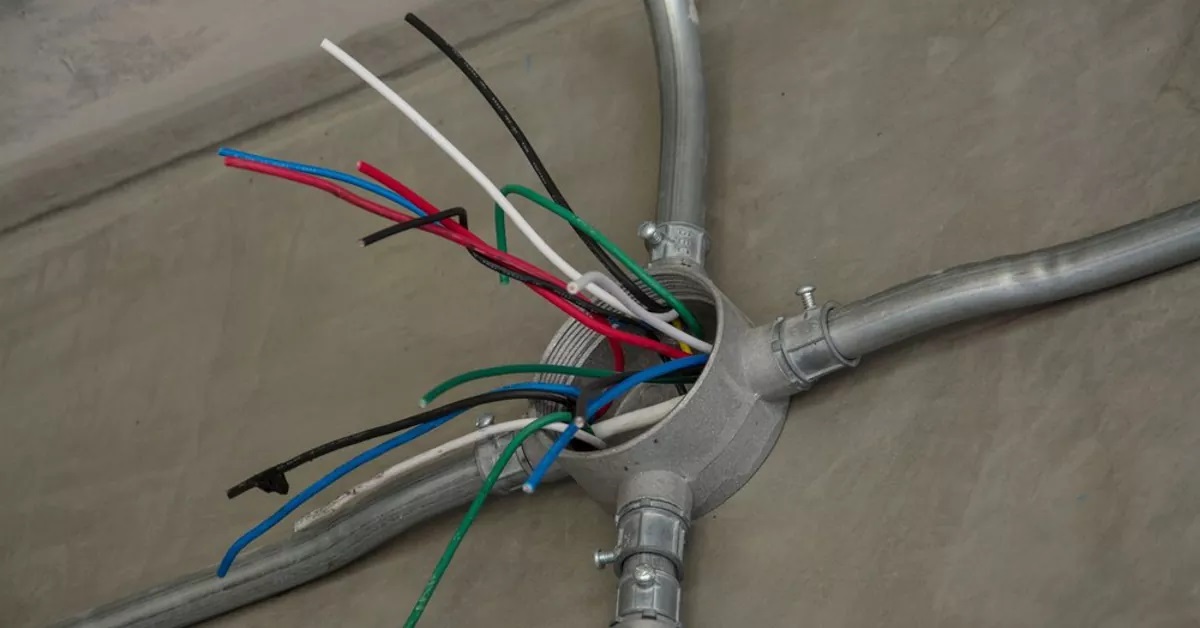
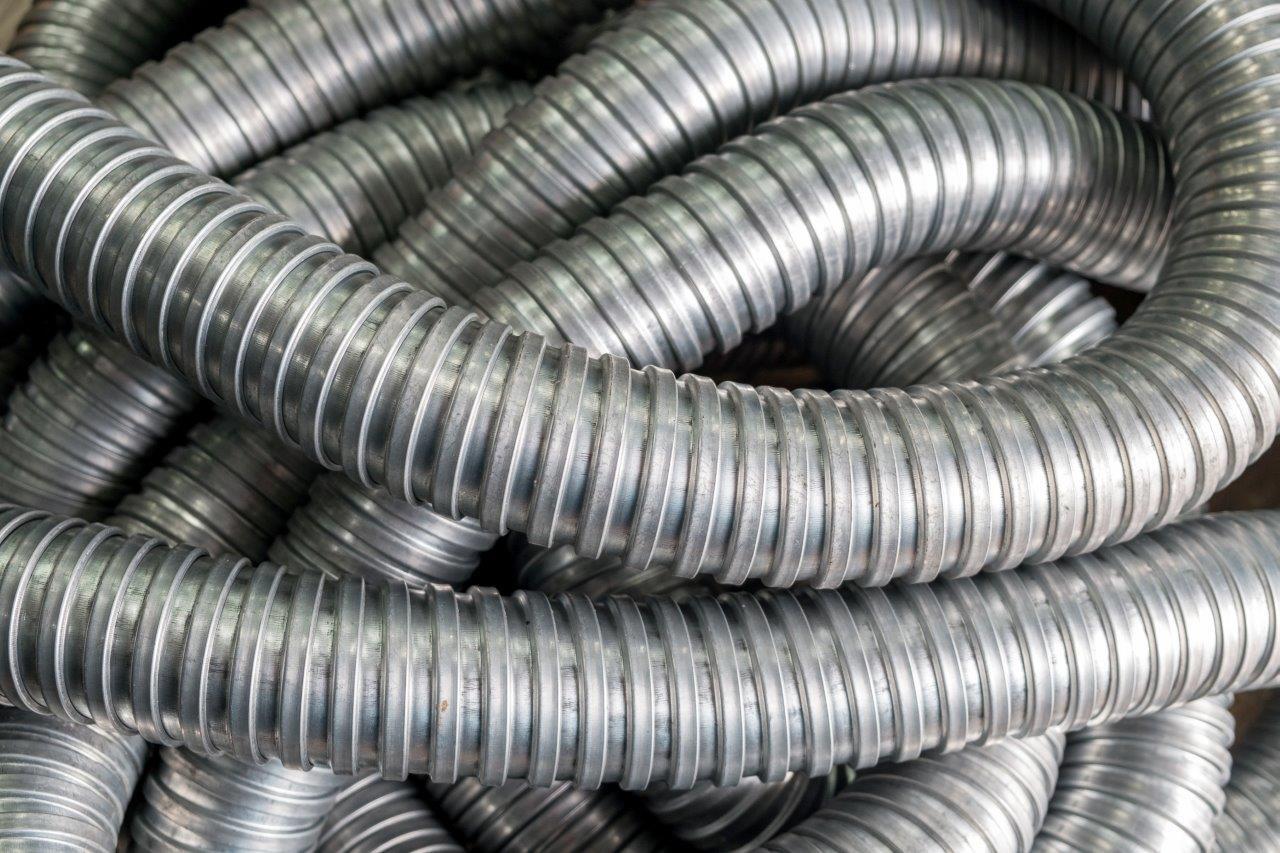
Before we delve into the details, let’s briefly understand what electrical conduit is and its importance. Electrical conduit refers to a protective tubing system used to house and protect electrical wires. It shields the wires from damage, provides a pathway for the electrical wiring, and complies with safety standards. Gluing the conduit ensures that the joints are tight, preventing moisture, debris, and pests from entering and damaging the electrical system.
It’s important to note that working with electrical systems requires proper knowledge and training. If you are unsure or uncomfortable with any of the steps described in this article, it is advisable to seek professional assistance. Safety should always be the top priority when working with electricity.
Now, let’s gather the necessary materials before we proceed with the step-by-step instructions.
Key Takeaways:
- Properly gluing electrical conduit is crucial for a secure and durable connection, ensuring protection for electrical wiring and compliance with safety standards.
- Prioritize safety, follow manufacturer’s instructions, and test connections for reliability to achieve successful and long-lasting electrical conduit joints.
Read more: How To Bend An Electrical Conduit
Materials Needed
Before you start gluing electrical conduit, make sure you have the following materials readily available:
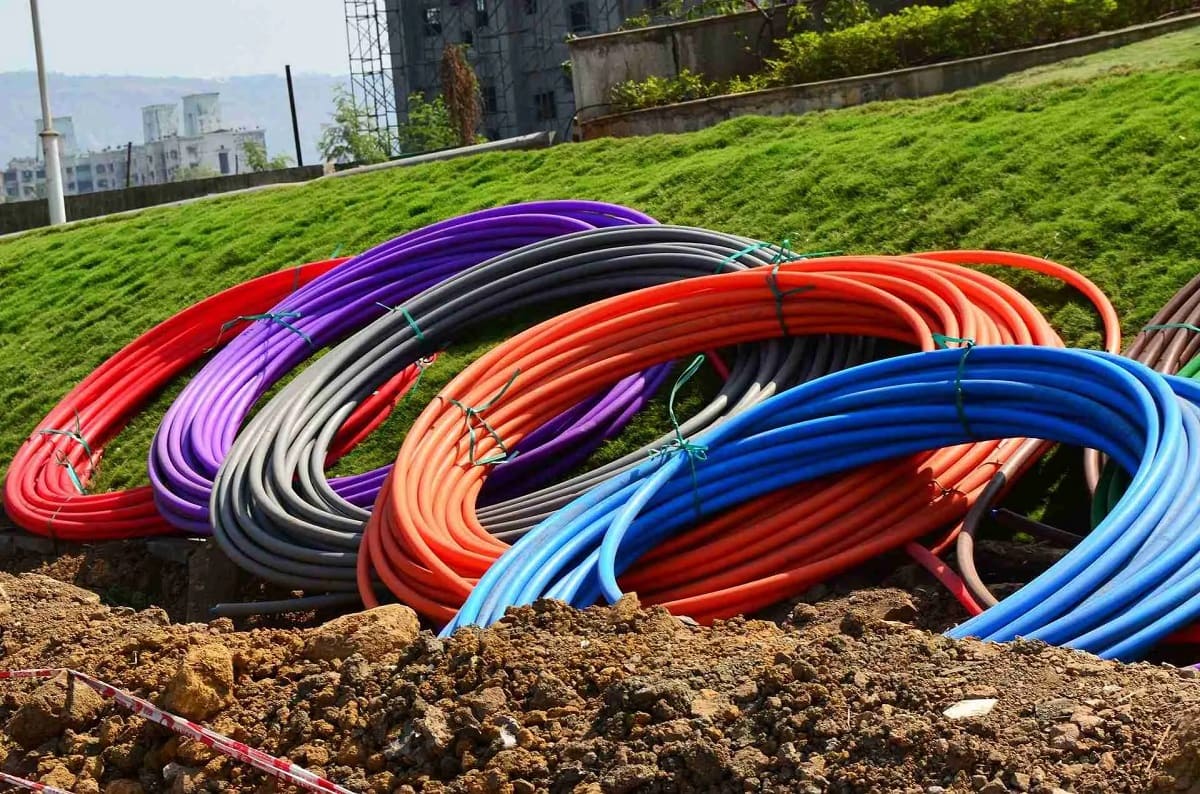
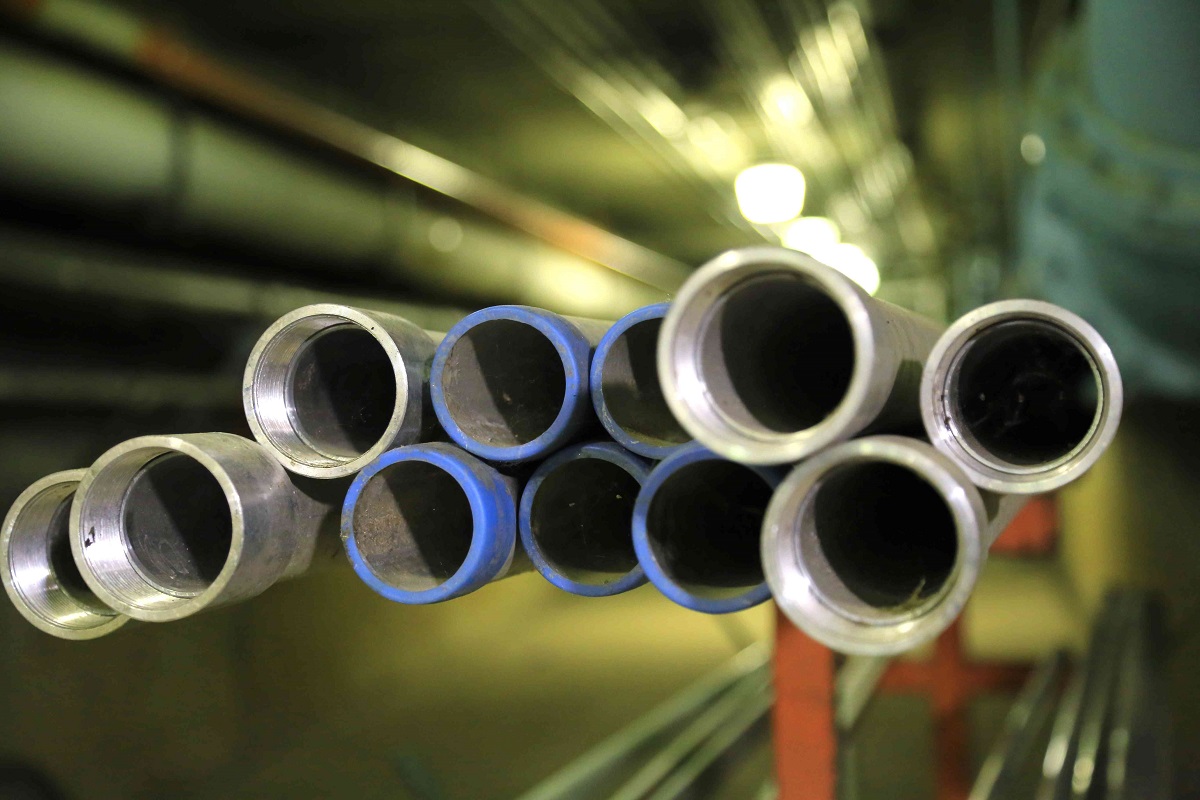
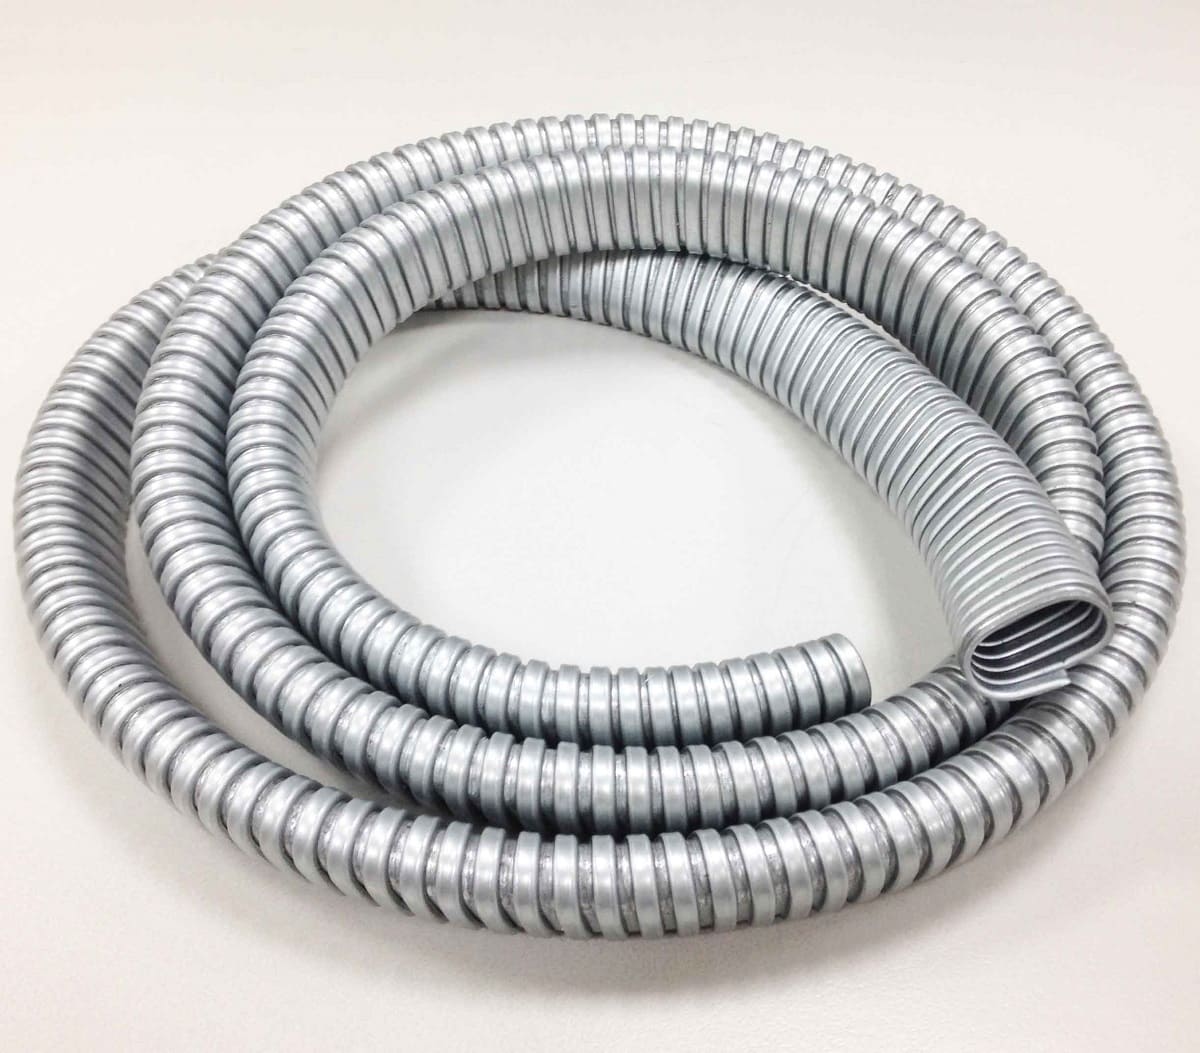
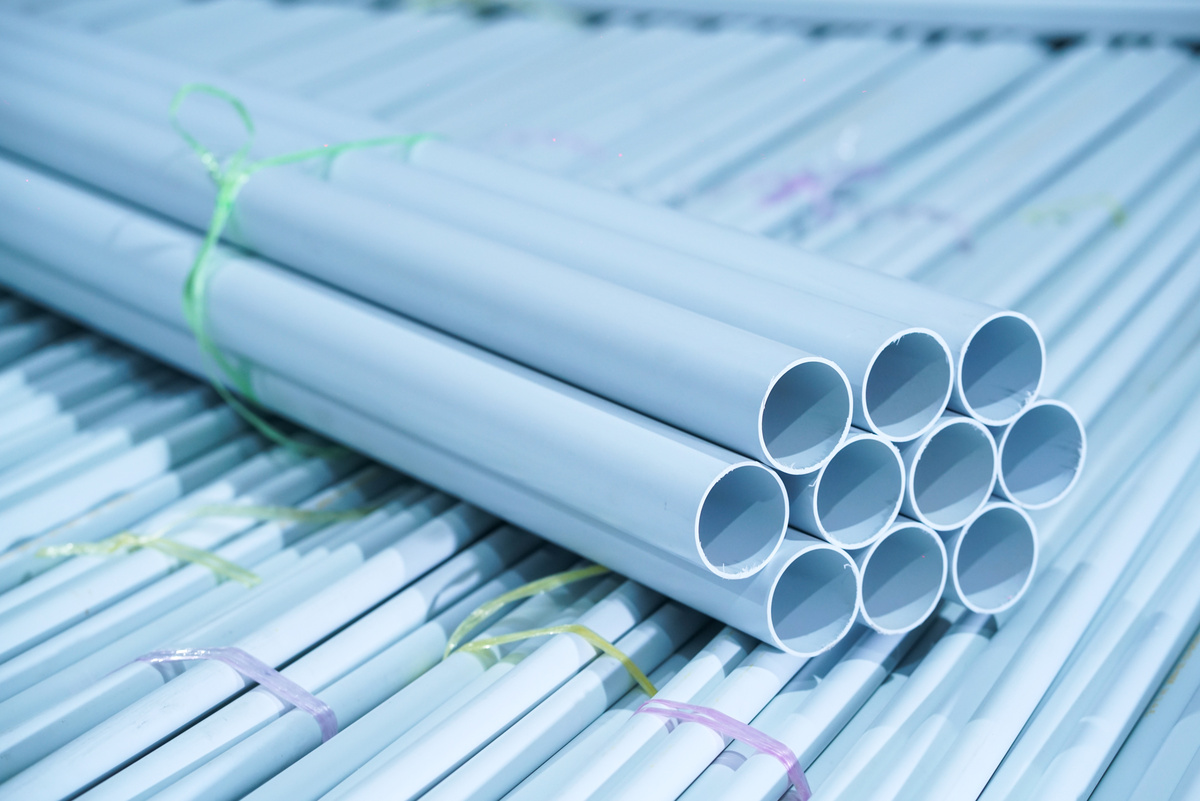
- Electrical Conduit: Purchase the appropriate size and type of electrical conduit for your project. Common types include PVC (polyvinyl chloride), EMT (electrical metallic tubing), and RMC (rigid metal conduit).
- Conduit Adhesive: Choose a high-quality conduit adhesive that is specifically designed for the type of conduit you are using. Ensure that the adhesive is approved for electrical applications and is suitable for the environment in which it will be installed.
- Cleaner or Solvent: Some types of conduit may require the use of a cleaner or solvent to remove dirt, grease, or other contaminants before applying the adhesive. Check the manufacturer’s instructions for specific cleaning recommendations.
- Applicator Brush: A brush or applicator designed for conduit adhesive will be necessary to apply the adhesive evenly and efficiently.
- Protective Gear: It is essential to prioritize safety when working with adhesive and electrical systems. Wear appropriate protective gear, including safety glasses, gloves, and a dust mask, to protect your eyes, hands, and respiratory system.
- Measuring Tape: Use a measuring tape to accurately measure and mark the conduit for cutting and positioning.
- Hacksaw or Pipe Cutter: Depending on the type of conduit you are using, you will need a hacksaw or pipe cutter to cut the conduit to the appropriate length.
- Deburring Tool: A deburring tool helps remove any sharp edges or burrs from the cut ends of the conduit, ensuring a smooth and secure fit.
- Rag or Cloth: Keep a rag or cloth handy to wipe off excess adhesive and clean the conduit surfaces as needed.
Having these materials prepared and easily accessible will help streamline the gluing process and ensure that you have everything you need to complete the task efficiently.
Step 1: Prep the Conduit
Before applying adhesive to the electrical conduit, it’s important to properly prepare the surface to ensure a strong and secure bond. Follow these steps to prepare the conduit:
- Cut the Conduit: Measure and mark the conduit at the desired length using a measuring tape. Use a hacksaw or pipe cutter to make a clean, straight cut at the marked spot. Ensure the ends are even and free from burrs.
- Deburr the Ends: After cutting the conduit, use a deburring tool to remove any sharp edges or burrs from the cut ends. This will prevent the adhesive from being hindered by rough surfaces and ensure a proper fit.
- Clean the Surfaces: Depending on the type of conduit you are using, you may need to clean the surfaces with a solvent or cleaner. This step is crucial to remove dirt, grease, or other contaminants that could inhibit the adhesive’s effectiveness. Follow the manufacturer’s instructions for the specific solvent or cleaner to use.
- Inspect the Conduit: Before proceeding, inspect the conduit for any cracks, damage, or defects. If any issues are found, replace the conduit to avoid compromising the integrity of the electrical system.
By properly prepping the conduit, you ensure that the adhesive will bond effectively and create a secure joint. Taking the time to cut, deburr, and clean the conduit before moving on to the gluing process will contribute to a successful and long-lasting connection.
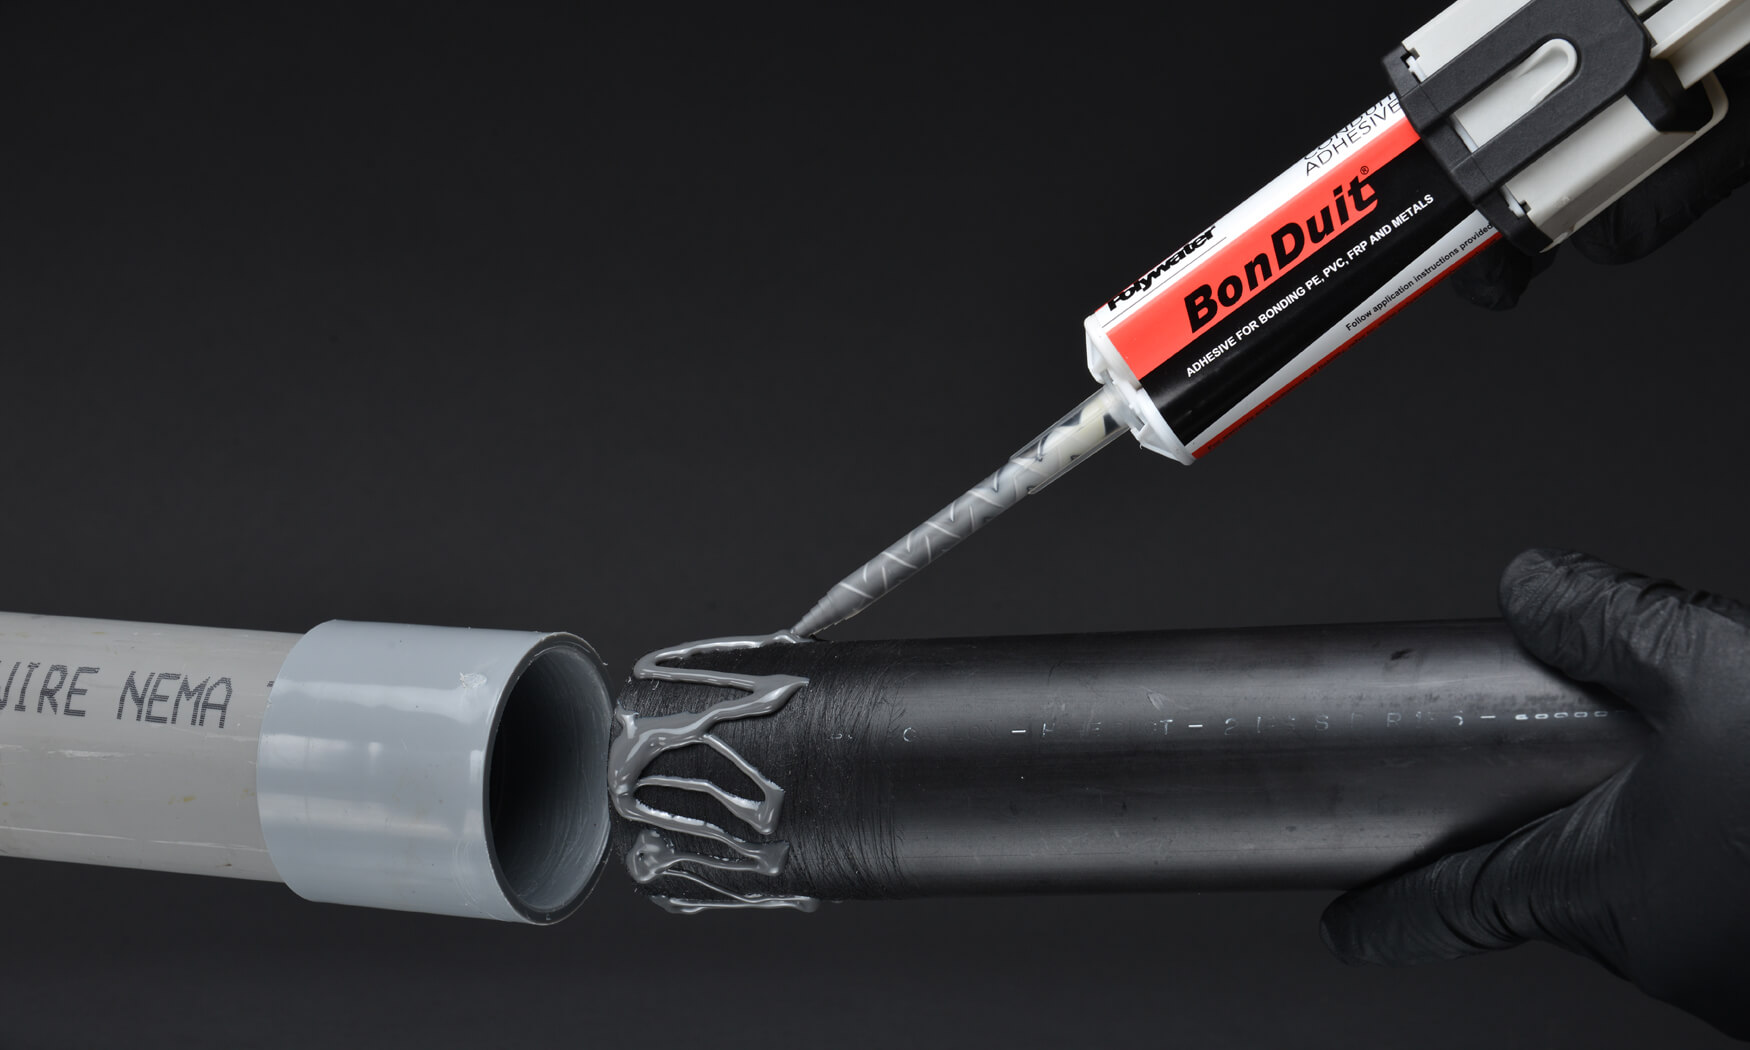
Step 2: Apply the Adhesive
Now that the conduit is prepped, it’s time to apply the adhesive. Follow these steps to properly apply the adhesive to the conduit:
- Read and Follow the Instructions: Carefully read the manufacturer’s instructions on the adhesive container before starting. Different adhesives may have specific application instructions or curing times, so it’s important to understand and follow them.
- Use an Applicator Brush: Dip the applicator brush into the adhesive and coat the inside surface of the first conduit end that will be joined with another piece. Apply a thin and even layer of adhesive, ensuring full coverage.
- Avoid Excessive Adhesive: While it’s essential to apply enough adhesive for a strong bond, avoid using excessive amounts. Excess adhesive can squeeze out of the joint and create a messy connection. A thin and even layer is sufficient.
- Apply Adhesive to the Second Conduit End: Repeat the same process on the inside surface of the second conduit end that will be joined. Ensure that both ends have a uniform layer of adhesive.
When applying the adhesive, it’s crucial to work quickly but efficiently, as some adhesives have a limited working time before they start to set. Be mindful of the manufacturer’s instructions regarding the adhesive’s curing time and any specific temperature or humidity requirements.
With the adhesive applied, it’s time to connect the conduit. Continue to the next step for detailed instructions on making the connection.
Step 3: Connect the Conduit
Now that the adhesive has been applied to the conduit ends, it’s time to connect them. Follow these steps to successfully join the conduit:
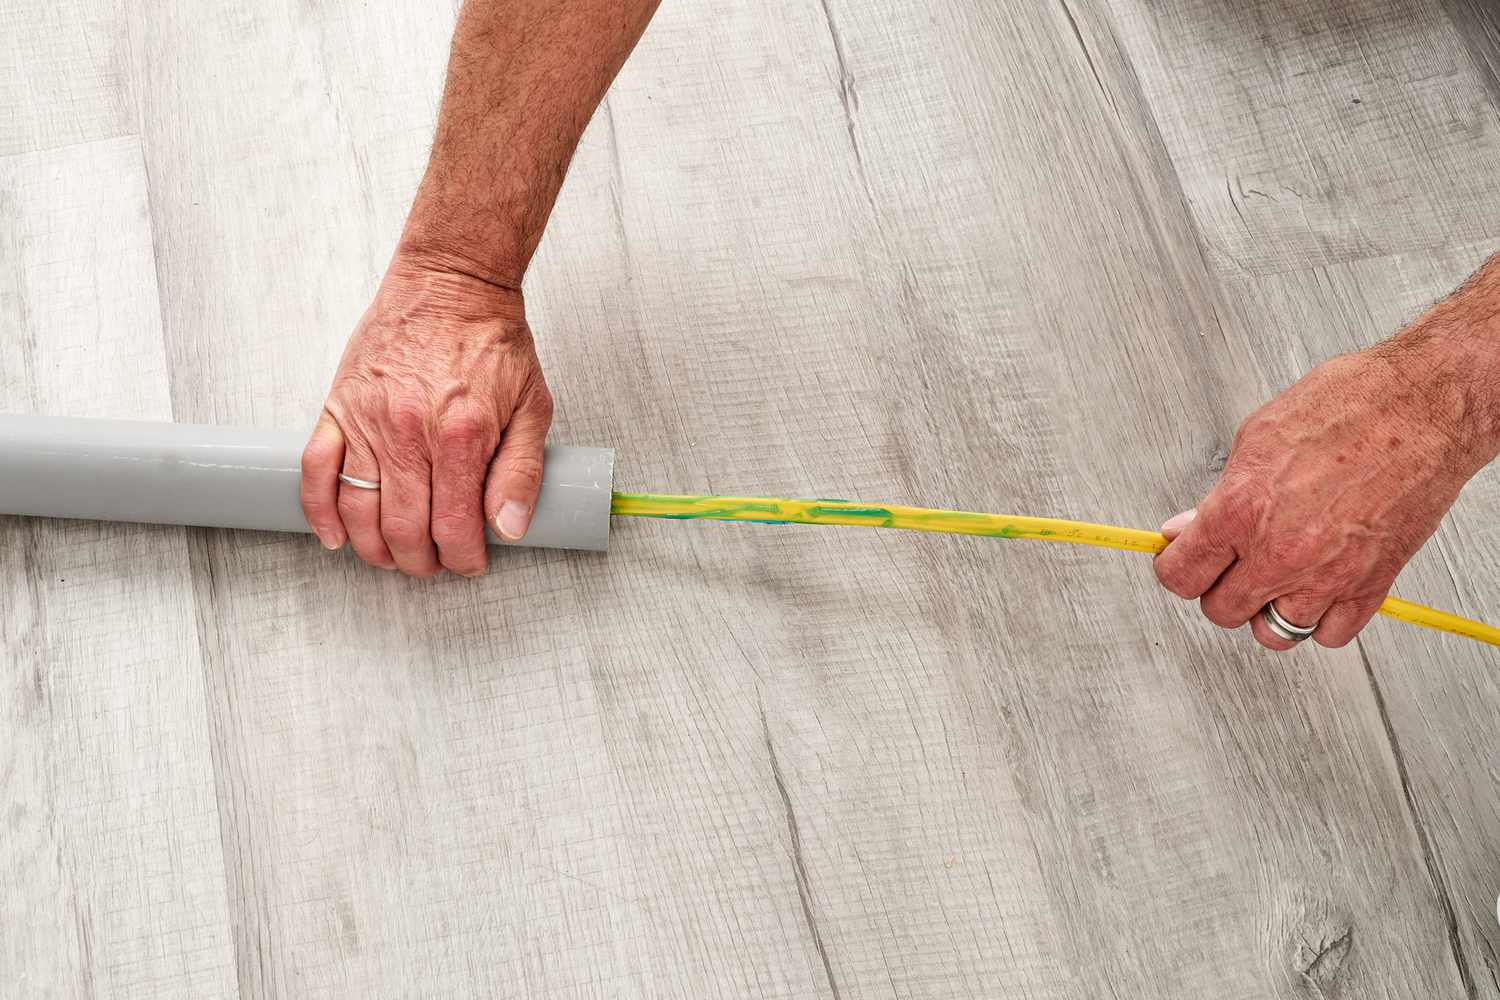
- Align the Conduit Ends: Carefully align the two conduit ends that have the adhesive applied. Make sure they are properly aligned, ensuring a tight and secure fit.
- Push the Conduit Ends Together: Firmly push the conduit ends together, applying even pressure to ensure a snug connection. Be cautious not to push too hard, as this can force adhesive out of the joint.
- Rotate the Conduit: After connecting the conduit ends, give them a slight rotation to distribute the adhesive evenly within the joint. This rotation helps create a stronger bond and ensures better coverage.
- Hold the Conduit in Place: Hold the conduit in place for a few seconds to allow the adhesive to set and create a secure bond. Refer to the adhesive manufacturer’s instructions for the recommended curing time.
Take care to not disturb the joint while the adhesive is curing. If required, you may use clamps or supports to hold the conduit in place until the adhesive fully sets.
Now that the conduits are connected, it’s time to allow the adhesive to properly cure before moving on to the next step.
When gluing electrical conduit, make sure to clean and dry the surfaces thoroughly before applying the PVC cement. Use a generous amount of cement and hold the pieces together firmly for a few seconds to ensure a strong bond.
Read more: How To Run An Electrical Conduit
Step 4: Allow the Glue to Cure
After connecting the conduit, it’s important to allow the adhesive to cure fully. Curing time may vary depending on the specific adhesive used, so refer to the manufacturer’s instructions for the recommended duration. Follow these guidelines to ensure proper curing:
- Do Not Disturb the Connection: Avoid moving or disturbing the conduit joint while the adhesive is curing. This can disrupt the bond and compromise the connection’s strength.
- Provide Adequate Ventilation: Ensure that the area where the conduit is curing has proper ventilation. Good airflow helps facilitate the curing process and reduces the chances of adhesive fumes accumulating.
- Monitor the Curing Time: Keep track of the recommended curing time specified by the adhesive manufacturer. Avoid rushing the process to ensure a strong and durable bond.
While waiting for the adhesive to cure, take this time to clean up any excess adhesive from the conduit surfaces. Use a rag or cloth to gently wipe away any adhesive that may have squeezed out during the connection process. Be careful not to disturb the joint or compromise the integrity of the connection.
Once the adhesive has fully cured, it’s time to test the connection to ensure its reliability.
Step 5: Test the Connection
After allowing the adhesive to cure, it is essential to test the connection to ensure its reliability and durability. Follow these steps to perform a proper connection test:
- Inspect the Connection: Visually examine the conduit joint for any signs of adhesive failure or separation. Ensure that the joint appears intact and secure.
- Tug Test: Apply gentle pressure and give a slight tug on the connected conduit. A properly glued joint should not show any movement or separation. If the connection feels loose or gives way, it may indicate a weak bond, and further action is required.
- Check for Leaks: If the conduit is intended for liquid flow, such as in irrigation systems, perform a leak test. Run water through the conduit while examining the joint for any signs of leakage. Any leaks should be addressed immediately, as they can cause damage to the electrical system or compromise safety.
- Perform Electrical Testing (if applicable): In electrical applications, it is advisable to conduct electrical testing to ensure a proper connection and continuity. Utilize appropriate testing equipment to verify a secure and reliable electrical connection.
If any issues are identified during the testing process, it is important to take corrective action. This may involve reapplying the adhesive, replacing the conduit, or seeking professional assistance depending on the severity of the problem.
By thoroughly testing the connection, you can have peace of mind knowing that your electrical conduit is properly joined and ready to be put into use.
Tips and Precautions
When gluing electrical conduit, it’s important to keep in mind the following tips and precautions to ensure a successful and safe outcome:
- Read and Follow Instructions: Always read and follow the manufacturer’s instructions for both the conduit adhesive and any cleaning solvents or materials used.
- Wear Proper Protective Gear: To protect yourself from potential hazards, such as adhesive fumes and sharp edges, wear safety glasses, gloves, and a dust mask.
- Work in a Well-Ventilated Area: Ensure that the work area is properly ventilated to minimize exposure to adhesive odors and fumes.
- Choose the Right Adhesive: Select an adhesive that is approved for electrical conduit and suitable for the specific type of conduit being used.
- Apply Adhesive Evenly: Coat the conduit ends with an even layer of adhesive to ensure a uniform bond.
- Do Not Rush the Curing Process: Allow the adhesive to cure fully according to the manufacturer’s recommended time. Rushing the process may result in a weak bond.
- Inspect the Conduit: Before gluing, thoroughly inspect the conduit for any defects, cracks, or damage. Replace any compromised conduit to ensure a reliable connection.
- Use the Proper Tools: Utilize appropriate tools such as hacksaws, pipe cutters, and deburring tools to cut and prepare the conduit ends.
- Follow Electrical Code Regulations: Adhere to the electrical code regulations in your area to ensure compliance and safety.
- Seek Professional Help if Needed: If you are uncertain or uncomfortable with any step of the gluing process, consult a professional electrician for assistance.
By following these tips and precautions, you can complete the gluing process effectively and minimize the risk of accidents or faulty connections.
Conclusion
Gluing electrical conduit is an important skill for anyone working with electrical systems. By following the step-by-step process outlined in this article and keeping the provided tips and precautions in mind, you can achieve a secure and durable connection.
Remember, safety should always be a top priority when working with electricity. Use the proper protective gear, work in a well-ventilated area, and adhere to electrical code regulations to ensure a safe working environment.
By prepping the conduit, applying the adhesive correctly, connecting the conduit ends, allowing the adhesive to cure, and testing the connection, you can establish a reliable and long-lasting joint. Regular inspection and maintenance of the electrical system will help identify any issues that may require attention.
Should you ever feel unsure or uncomfortable with any aspect of gluing electrical conduit, it is always advisable to seek professional assistance. Electrical work requires knowledge, skill, and experience to ensure a safe and effective outcome.
By mastering the art of gluing electrical conduit, you can confidently undertake electrical installation and repair projects with the assurance that your connections are secure and reliable.
Frequently Asked Questions about How To Glue Electrical Conduit
Was this page helpful?
At Storables.com, we guarantee accurate and reliable information. Our content, validated by Expert Board Contributors, is crafted following stringent Editorial Policies. We're committed to providing you with well-researched, expert-backed insights for all your informational needs.


0 thoughts on “How To Glue Electrical Conduit”