
Articles
How To Wind An Electrical Cord In A Braid
Modified: August 27, 2024
Learn how to wind an electrical cord in a braid with our informative articles. Discover the best techniques and tips for tidy cord organization.
(Many of the links in this article redirect to a specific reviewed product. Your purchase of these products through affiliate links helps to generate commission for Storables.com, at no extra cost. Learn more)
Introduction
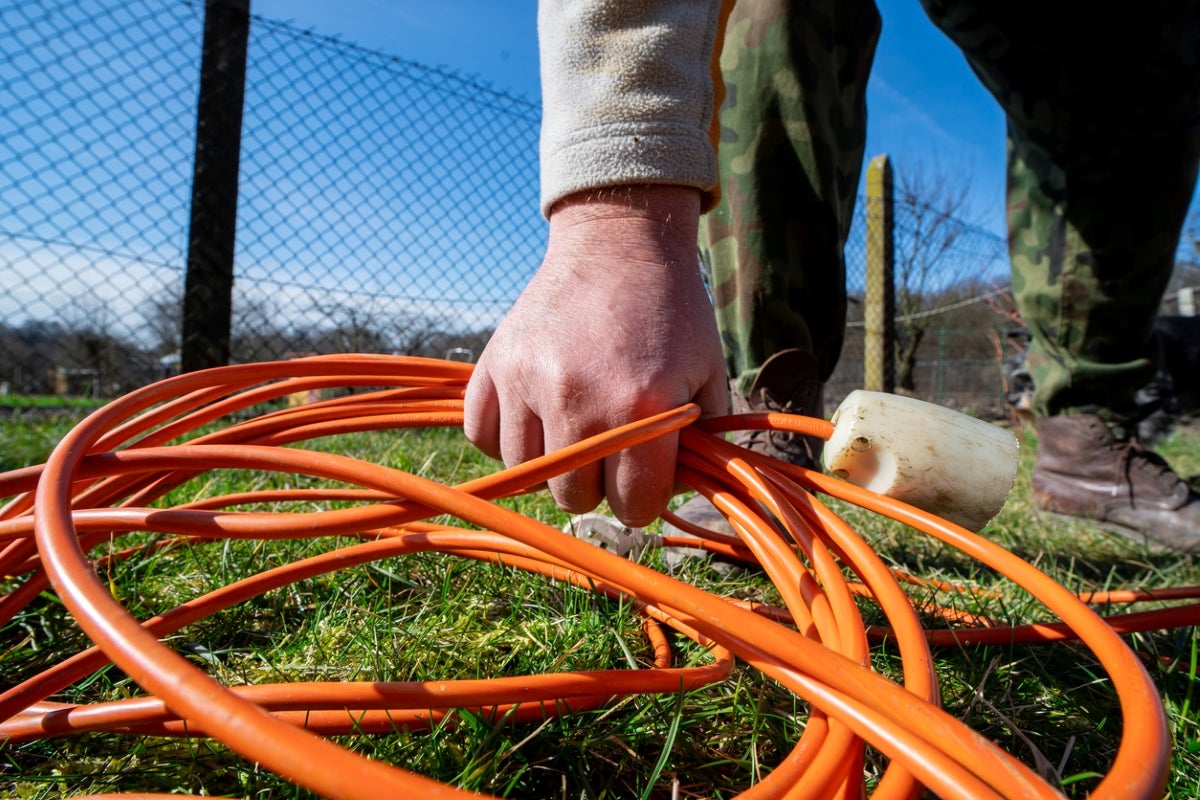
Electrical cords are an essential part of our daily lives. We rely on them for powering our electronic devices, appliances, and tools. However, dealing with tangled electrical cords can be a frustrating experience. Not only can they cause inconvenience and waste valuable time, but they can also pose a safety hazard if not properly managed.
One effective solution to the problem of tangled cords is to wind them in a braid. Braiding an electrical cord not only helps to keep it organized but also offers several benefits in terms of safety and convenience. In this article, we will explore the advantages of braiding electrical cords, the tools you need for the braiding process, and provide a step-by-step guide on how to wind an electrical cord in a braid.
Braiding an electrical cord has numerous benefits that make it a worthwhile practice. Firstly, it prevents tangling. Tangled cords can lead to trips, falls, and accidents, especially in workplaces or areas with heavy foot traffic. By braiding the cord, you eliminate the risk of entanglement, making it easier and safer to handle.
Secondly, a braided electrical cord is more organized and easier to store. Instead of a mess of tangled cords, you will have a neat and compact bundle that takes up less space. This makes it ideal for storage purposes, whether at home, in the office, or on the go.
Furthermore, braided cords are less likely to get damaged. The process of braiding creates a protective layer around the cord, shielding it from knots, kinks, and abrasion. With less wear and tear, your electrical cord will have an extended lifespan, saving you from the hassle and cost of frequent replacements.
Lastly, braiding an electrical cord improves its overall flexibility. A braided cord is more pliable and easier to maneuver around corners, furniture, and other obstacles. This allows for greater flexibility in positioning your electrical devices or appliances, giving you more freedom in how you set up your space.
Now that we understand the benefits of braiding electrical cords, let’s move on to the tools you’ll need for the braiding process.
Key Takeaways:
- Braiding electrical cords offers numerous benefits, including preventing tangling, improving organization, adding a protective layer, enhancing flexibility, and creating a more aesthetically pleasing cord management system.
- To successfully braid an electrical cord, ensure even sections, maintain consistent tension, practice the braiding motion, avoid twisting, and invest in cord management accessories for organized storage.
Read also: 13 Best Braided Electrical Cord for 2025
Benefits of Braiding Electrical Cords
Braiding electrical cords offers several advantages that can greatly improve your cord management and overall experience. Let’s take a closer look at some of the key benefits:
- Prevent Tangles and Tripping Hazards: One of the primary benefits of braiding electrical cords is the prevention of tangling. Tangled cords can be a safety hazard, leading to trips, falls, and potential damage to the cord itself. By braiding the cord, you eliminate the risk of entanglement and create a neat, organized bundle that is easier to handle and less likely to cause accidents.
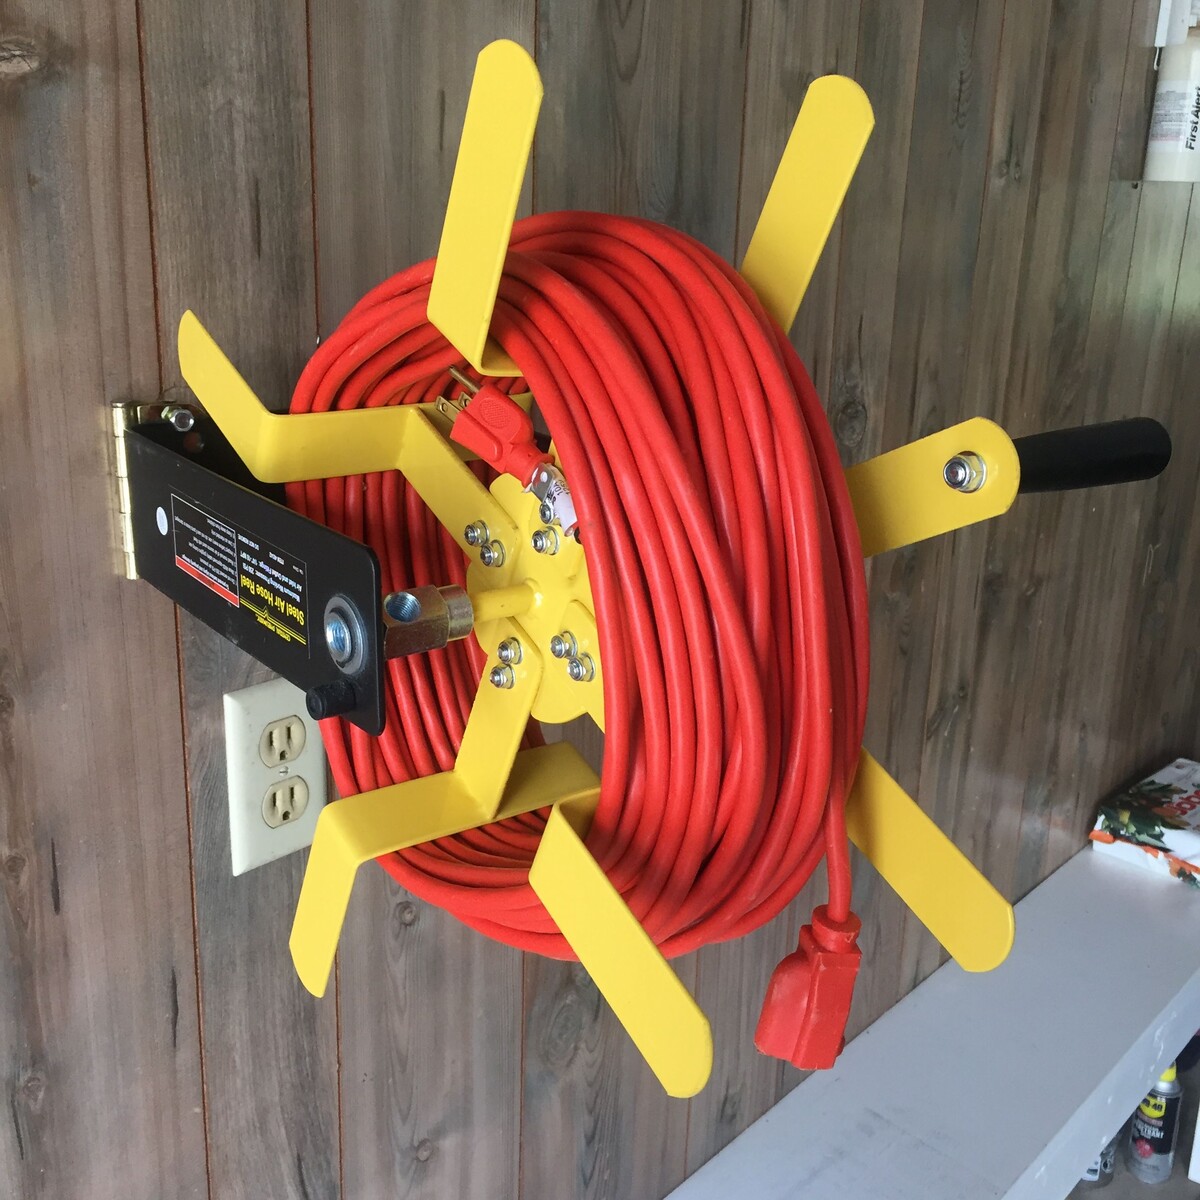
- Efficient Cord Storage: Braided cords take up less space and are easier to store compared to tangled cords. Instead of dealing with a messy pile, you can neatly coil the braided cord and keep it in a drawer, tool bag, or on a cord reel. This not only saves space but also makes it easier to find and access the cord when needed.
- Protective Layer: The process of braiding creates a protective layer around the cord, offering enhanced durability and safeguarding against knots, kinks, and abrasion. This helps to extend the lifespan of the cord, reducing the need for frequent replacements and saving you money in the long run.
- Improved Flexibility: Braided electrical cords are more flexible and easier to maneuver compared to tangled cords. The braiding process adds a level of pliability, allowing the cord to bend and twist smoothly around corners, furniture, and other obstacles. This makes it easier to position your electrical devices or appliances exactly where you need them without any awkward or strained cord configurations.
- Enhanced Aesthetics: A neatly braided electrical cord looks more presentable and aesthetically pleasing compared to a tangled mess. Whether it’s for your workspace, entertainment center, or other areas where cords are visible, braiding adds a professional and organized touch.
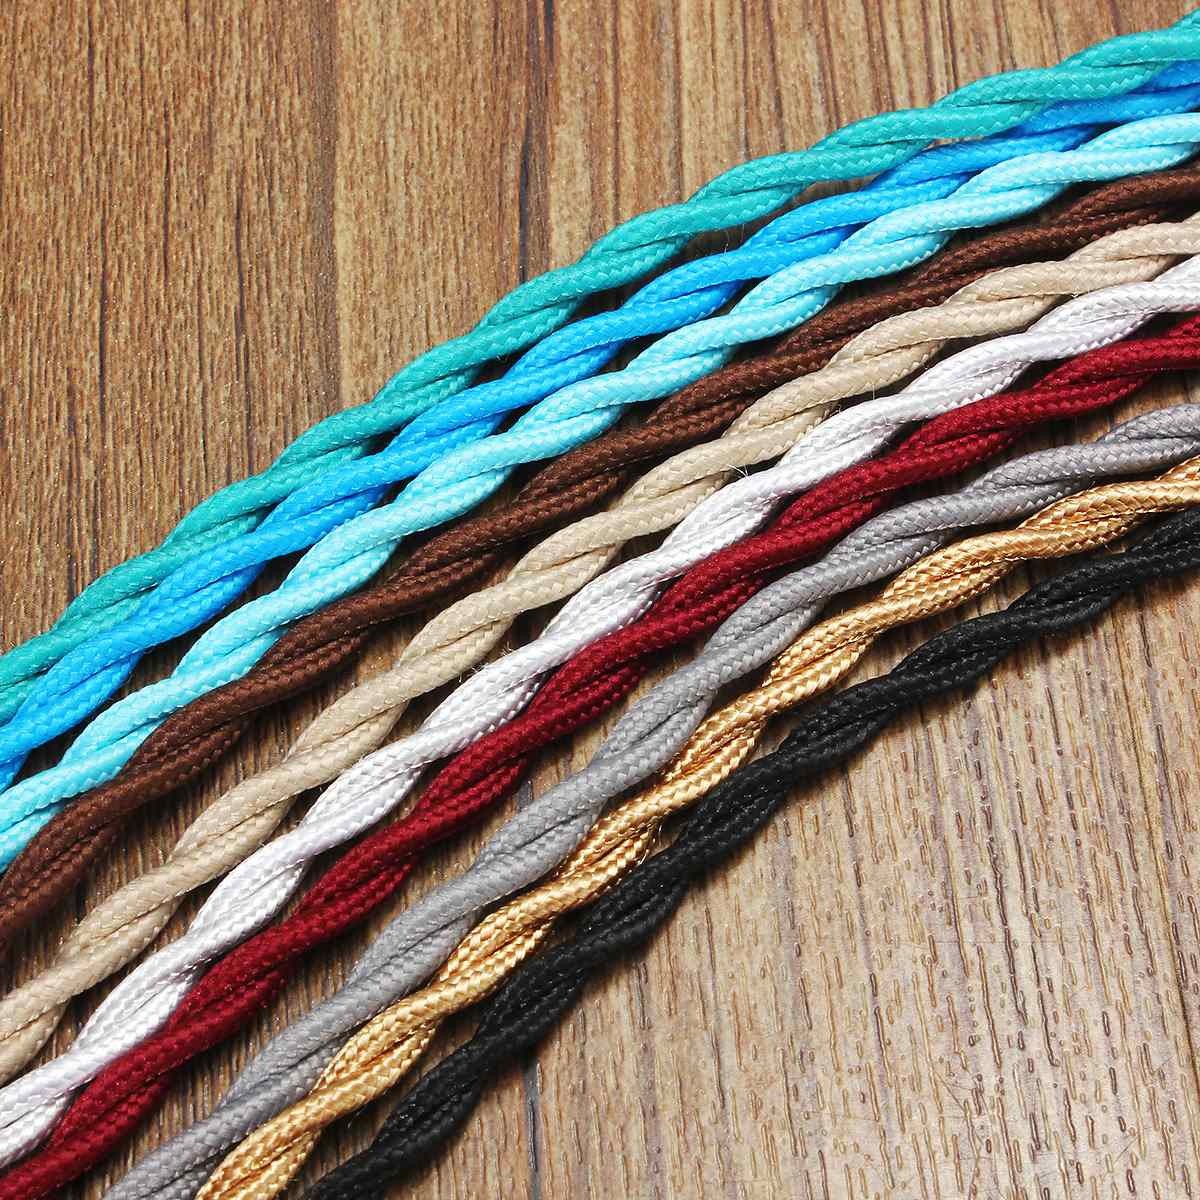
- Easier Identification: If you have multiple electrical cords in use, braiding them can help with identification. By using different-colored cords or adding additional markings, you can easily distinguish between different devices or cords, making it simpler to identify which cord belongs to which appliance or device.
Overall, braiding electrical cords offers numerous benefits that contribute to a safer, more organized, and efficient cord management experience. Now that we understand the advantages of braiding, let’s move on to the tools you’ll need to get started.
Tools Needed for Braiding
Braiding electrical cords requires a few simple tools that you might already have on hand. Before you begin, make sure you have the following items:
- Electrical cord: Choose the cord that you want to braid. It can be a power cord, an extension cord, or any other type of electrical cord that you need to organize and manage. Ensure that the cord is clean and free from any knots or tangles before you begin braiding.
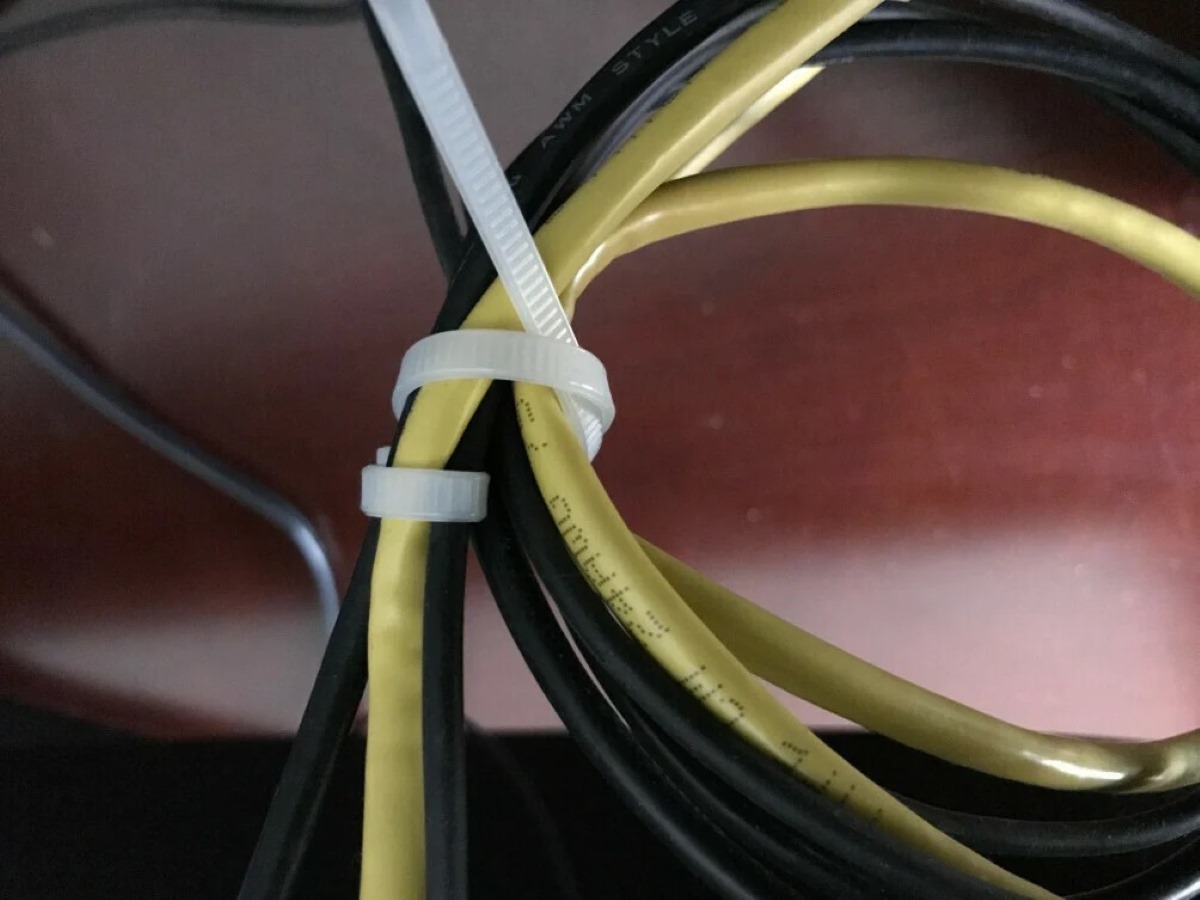
- Velcro straps or cable ties: These are useful for securing the braided cord once you have finished the braiding process. Velcro straps or cable ties help to keep the cord neatly coiled and prevent it from unraveling.
- Scissors or wire cutters: You will need a pair of scissors or wire cutters to trim any excess length from the cord before you start braiding. It is important to have a clean and even starting point to ensure a neat and uniform braid.
- Optional: Marker or tape: If you want to add markings or labels to your electrical cord for easy identification, you can use a marker or tape. Choose a color or labeling method that suits your needs and preferences.
These tools are readily available and can be found in most households or easily purchased at hardware stores or online retailers. Once you have gathered all the necessary tools, you are ready to start braiding your electrical cord.
Next, we will provide a step-by-step guide on how to wind an electrical cord in a braid, allowing you to effectively manage and organize your cords.
Step-by-Step Guide to Winding an Electrical Cord in a Braid
Braiding an electrical cord may seem like a daunting task at first, but with a step-by-step approach, it can be surprisingly easy and satisfying. Follow these instructions to wind your electrical cord in a neat and organized braid:
- Prepare the cord: Start by straightening the electrical cord and removing any knots or tangles. This will ensure a smooth braiding process. Use scissors or wire cutters to trim any excess length from the cord, creating an even starting point.
- Determine the length of the braid: Decide how long you want the braided section of the cord to be. This will depend on personal preference and the specific requirements of your cord management. Make a mental note or mark the cord at the desired length.
- Divide the cord into three sections: Hold the cord with one hand and separate it into three equal sections. The sections should be roughly the same length. If you prefer a tighter braid, you can separate the sections closer to the starting point.
- Start braiding: Begin by crossing the left section over the middle section, creating an X shape. Then, cross the right section over the new middle section, so that it becomes the new middle section. Repeat this process, alternating left and right, until you have braided the desired length.
- Secure the braid: Once you have reached the end of the desired braided section, use a Velcro strap or cable tie to secure the braid. Wrap it tightly around the cord to keep the braid in place and prevent it from unraveling.
- Optional: Add markings or labels: If you want to easily identify the purpose or destination of the cord, you can use a marker or tape to add color-coded markings or labels. This step is particularly useful if you have multiple braided cords in use.
- Store the braided cord: Finally, find a suitable storage space for your braided cord. You can use cord reels, storage hooks, or clip organizers to keep the cords neatly coiled and ready for use.
Following these steps will help you wind an electrical cord in a well-defined and organized braid. Practice makes perfect, so don’t be discouraged if your first attempt isn’t flawless. With time, you’ll develop your technique and be able to braid cords quickly and efficiently.
Now that you know how to braid an electrical cord, let’s explore some additional tips and tricks for achieving the best results.
When winding an electrical cord in a braid, start by holding the three ends together and then separate them into three sections. Cross the right section over the middle, then the left over the new middle, and continue until the entire cord is braided.
Tips and Tricks for a Successful Braid
Braiding electrical cords requires some practice and attention to detail to achieve the best results. Here are some tips and tricks to help you create a neat and successful braid:
- Keep the sections even: When dividing the cord into three sections, make sure they are as equal in length as possible. This will result in a more uniform and visually appealing braid.
- Maintain a consistent tension: While braiding, make sure to maintain a consistent tension on all three sections of the cord. This will help create an even and tight braid without any loose or saggy sections.
- Practice the braiding motion: Before you start braiding the cord, practice the braiding motion with your hands. This will help you get a feel for the movement and increase your braiding speed and precision.
- Avoid twisting the sections: Ensure that the sections of the cord do not twist as you braid. Twisted sections can result in an uneven and messy braid.
- Take breaks if needed: Braiding can be repetitive and can strain your hands and wrists. If you feel any discomfort or fatigue, take short breaks to rest and stretch your fingers and wrists.
- Experiment with cord colors: To add a touch of creativity or organization, consider using different-colored cords. This can help distinguish between cords and make it easier to identify them at a glance in a tangled mess of cords.
- Use cord management accessories: Invest in cord management accessories such as cord reels, clips, or hooks to keep your braided cords organized and easily accessible. These accessories can help minimize tangling and make it easier to transport or store your cords.
- Practice with shorter cords: If you’re new to braiding, start with shorter cords to build your skills and confidence before moving on to longer and more complex cords.
- Regularly inspect your cords: After braiding, regularly inspect your cords for any signs of wear or damage. Replace any cords that show fraying, exposed wires, or other potential safety hazards.
By incorporating these tips and tricks into your braiding routine, you can enhance the quality and efficiency of your braided electrical cords. Remember, practice makes perfect, so don’t be afraid to experiment and find the techniques that work best for you.
Now that you have a good grasp on braiding electrical cords, let’s explore some common mistakes to avoid during the braiding process.
Read more: How To Braid An Extension Cord
Common Mistakes to Avoid While Braiding Electrical Cords
Braiding electrical cords can be a simple and effective way to organize and manage your cords. However, there are some common mistakes that people may make during the braiding process. By being aware of these mistakes and avoiding them, you can achieve a clean and successful braid. Here are some common mistakes to watch out for:
- Uneven sections: Failing to divide the cord into three equal sections can result in an uneven and messy braid. Take the time to ensure that each section is of equal length before you begin braiding.
- Twisted sections: When braiding, be mindful of any twisting or rotating of the cord sections. Twisting can result in an irregular and unattractive braid. Keep the sections flat and untwisted as you braid.
- Inconsistent tension: Maintaining a consistent tension on all three sections of the cord is important for a neat and uniform braid. Avoid pulling too tightly or too loosely, as it can create an uneven or distorted braid.
- Skipping steps: It’s crucial to follow each step carefully and not skip any parts of the braiding process. Missing a step can lead to an incomplete or messy braid.
- Rushing the process: Braiding requires patience and attention to detail. Rushing through the process can result in mistakes, unevenness, or an overall sloppy appearance. Take your time and focus on each step.
- Ignoring cord condition: Before you start braiding, ensure that the cord is clean and free from knots, tangles, or damage. Braiding a cord with knots or damage can make the process more difficult and result in an unsatisfactory braid.
- Using incompatible cords: While braiding, make sure to use cords with compatible thicknesses. Attempting to braid cords with significant differences in thickness can lead to an uneven and unstable braid.
- Failing to secure the braid: After you have completed the braiding process, it is important to secure the braid to prevent it from unraveling. Use Velcro straps, cable ties, or other cord management accessories to keep the braid intact.
- Not practicing proper cord management: Braiding the cords is just one step in an efficient cord management system. Be sure to properly store and organize the braided cords using cord reels, clips, or hooks to prevent tangling and maximize their effectiveness.
By being mindful of these common mistakes, you can avoid them and achieve a clean and successful braided electrical cord. Remember, practice makes perfect, and with each braiding experience, you will improve your technique and achieve better results.
Now that we have covered the common mistakes to avoid, let’s wrap up our discussion on braiding electrical cords.
Conclusion and Final Thoughts
Braiding electrical cords is a simple yet effective method for organizing and managing your cords. By following the step-by-step guide and implementing the tips and tricks mentioned in this article, you can achieve neatly braided cords that are easier to handle, store, and identify.
The benefits of braiding electrical cords are numerous. It helps prevent tangling and tripping hazards, improves cord organization and storage, adds a protective layer to the cord, enhances flexibility, and improves the overall aesthetics of your cord management system. By investing a little time and effort into braiding your cords, you can enjoy a safer, more organized, and hassle-free cord management experience.
Remember to avoid common mistakes such as uneven sections, twisted cords, inconsistent tension, rushing the process, and ignoring the condition of your cords. By being mindful of these mistakes, you can ensure a clean and successful braid every time.
Lastly, practicing proper cord management goes hand in hand with braiding. Utilize cord management accessories such as cord reels, clips, or hooks to keep your braided cords organized and easily accessible. This will help prevent tangling and maintain the integrity of your braided cords over time.
In conclusion, braiding electrical cords is a valuable skill that can greatly improve the efficiency and safety of your cord management. With a little practice and attention to detail, you can achieve neatly braided cords that not only look great but also make your everyday life easier. So, grab your electrical cords, gather your tools, and start braiding your way to a more organized and tangle-free environment.
Frequently Asked Questions about How To Wind An Electrical Cord In A Braid
Was this page helpful?
At Storables.com, we guarantee accurate and reliable information. Our content, validated by Expert Board Contributors, is crafted following stringent Editorial Policies. We're committed to providing you with well-researched, expert-backed insights for all your informational needs.


0 thoughts on “How To Wind An Electrical Cord In A Braid”