Home>Furniture & Design>Interior Design Trends>How To Make A Glass Frame
Interior Design Trends
How To Make A Glass Frame
Modified: October 19, 2024
Learn how to create a stunning glass frame for your interior design with our step-by-step guide. Discover the latest interior design trends and elevate your space today!
(Many of the links in this article redirect to a specific reviewed product. Your purchase of these products through affiliate links helps to generate commission for Storables.com, at no extra cost. Learn more)
Introduction
Creating a glass frame is an excellent way to showcase cherished memories, artwork, or decorative pieces. Whether you're a seasoned DIY enthusiast or a novice looking to add a personal touch to your living space, making a glass frame can be a rewarding and fulfilling project. By following a few simple steps and using the right materials, you can craft a beautiful and professional-looking frame that complements your interior design style.
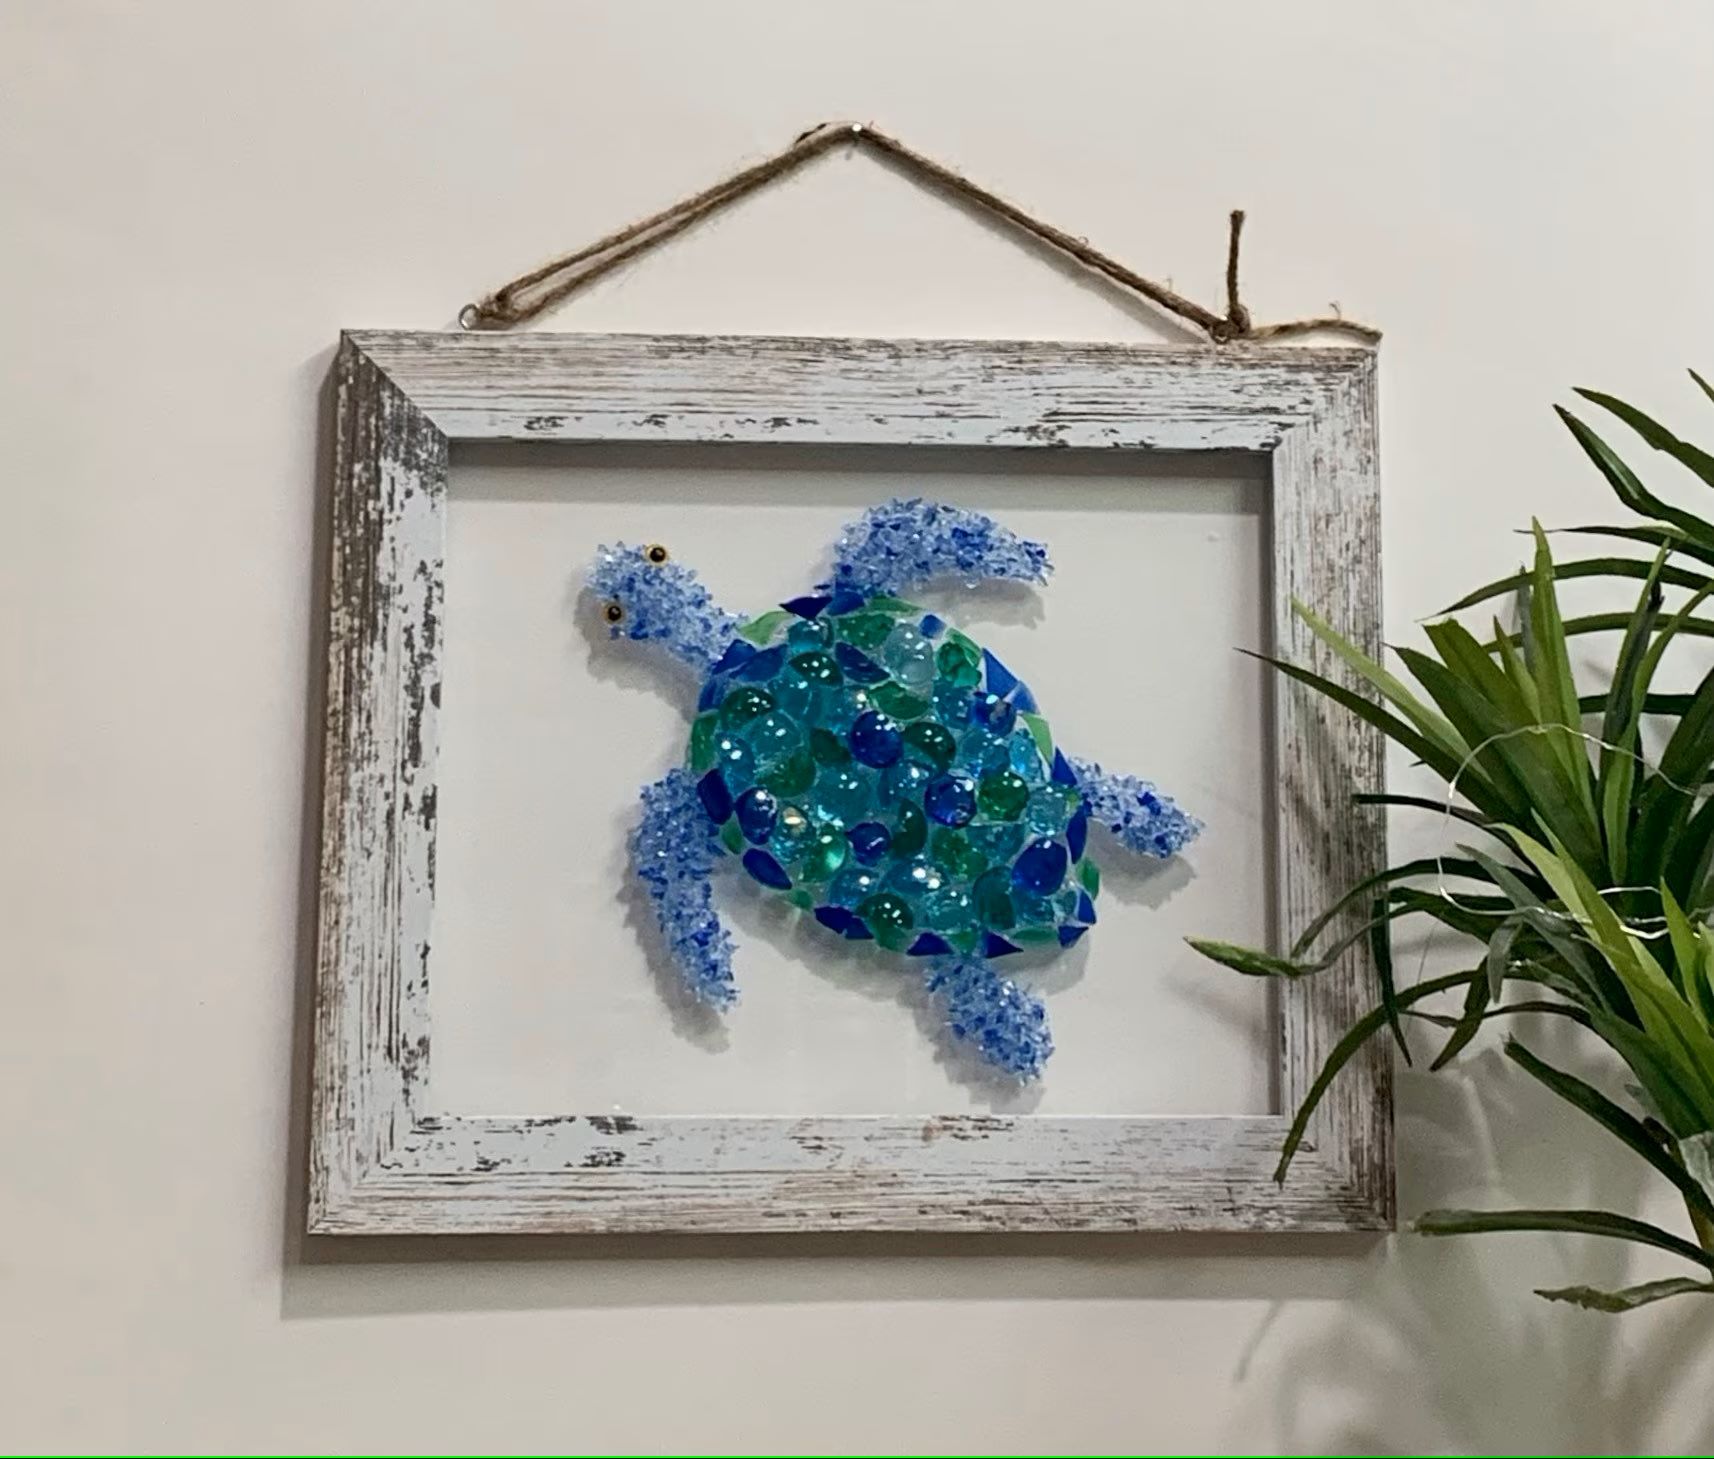
A glass frame adds a touch of elegance and sophistication to any room, serving as a focal point that draws attention to the displayed item. Whether you're framing a vintage photograph, a vibrant watercolor painting, or a pressed botanical specimen, a well-crafted glass frame can elevate the visual appeal of the artwork and protect it from dust and damage.
In this guide, we will walk you through the process of creating a glass frame from scratch. You'll learn how to measure and cut the glass to fit your desired dimensions, assemble the frame using simple yet effective techniques, secure the glass in place, and add those final finishing touches that make your creation truly stand out. With a little patience and attention to detail, you'll be able to craft a stunning glass frame that adds a personal touch to your home decor.
Whether you're looking to display a cherished family photo, a piece of art, or a meaningful memento, creating your own glass frame allows you to tailor the design to your specific preferences. By customizing the frame's size, color, and style, you can ensure that it seamlessly integrates with your existing decor, adding a unique and personal touch to your living space.
Now, let's gather the necessary materials and dive into the step-by-step process of creating a beautiful glass frame that will enhance the visual appeal of your cherished items.
Key Takeaways:
- Create a stunning glass frame to showcase cherished items with precision and care. From measuring and cutting the glass to assembling the frame, each step adds a personal touch to your living space.
- Personalize your glass frame with the right materials and finishing touches. Elevate your interior design style and protect your cherished items with a visually captivating and durable creation.
Read more: How To Frame Glass With Wood
Materials Needed
To embark on the journey of creating a stunning glass frame, you'll need a selection of essential materials that will enable you to bring your vision to life. Each item plays a crucial role in the construction process, ensuring that your glass frame is not only visually appealing but also durable and long-lasting. Here's a comprehensive list of the materials you'll need to get started:
-
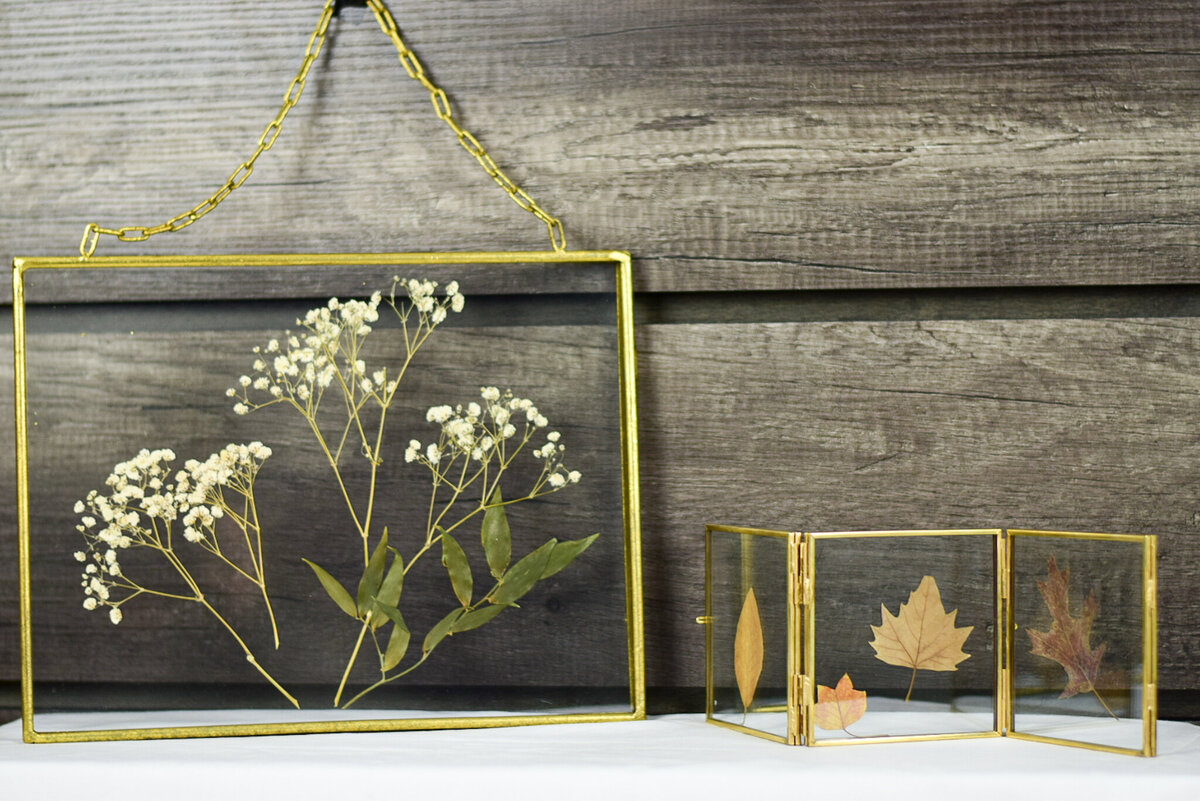
Glass Pane: The central element of your glass frame, the glass pane serves as the protective barrier for the item you intend to display. It's essential to choose a high-quality glass pane that is clear, free of imperfections, and cut to the precise dimensions required for your frame.
-
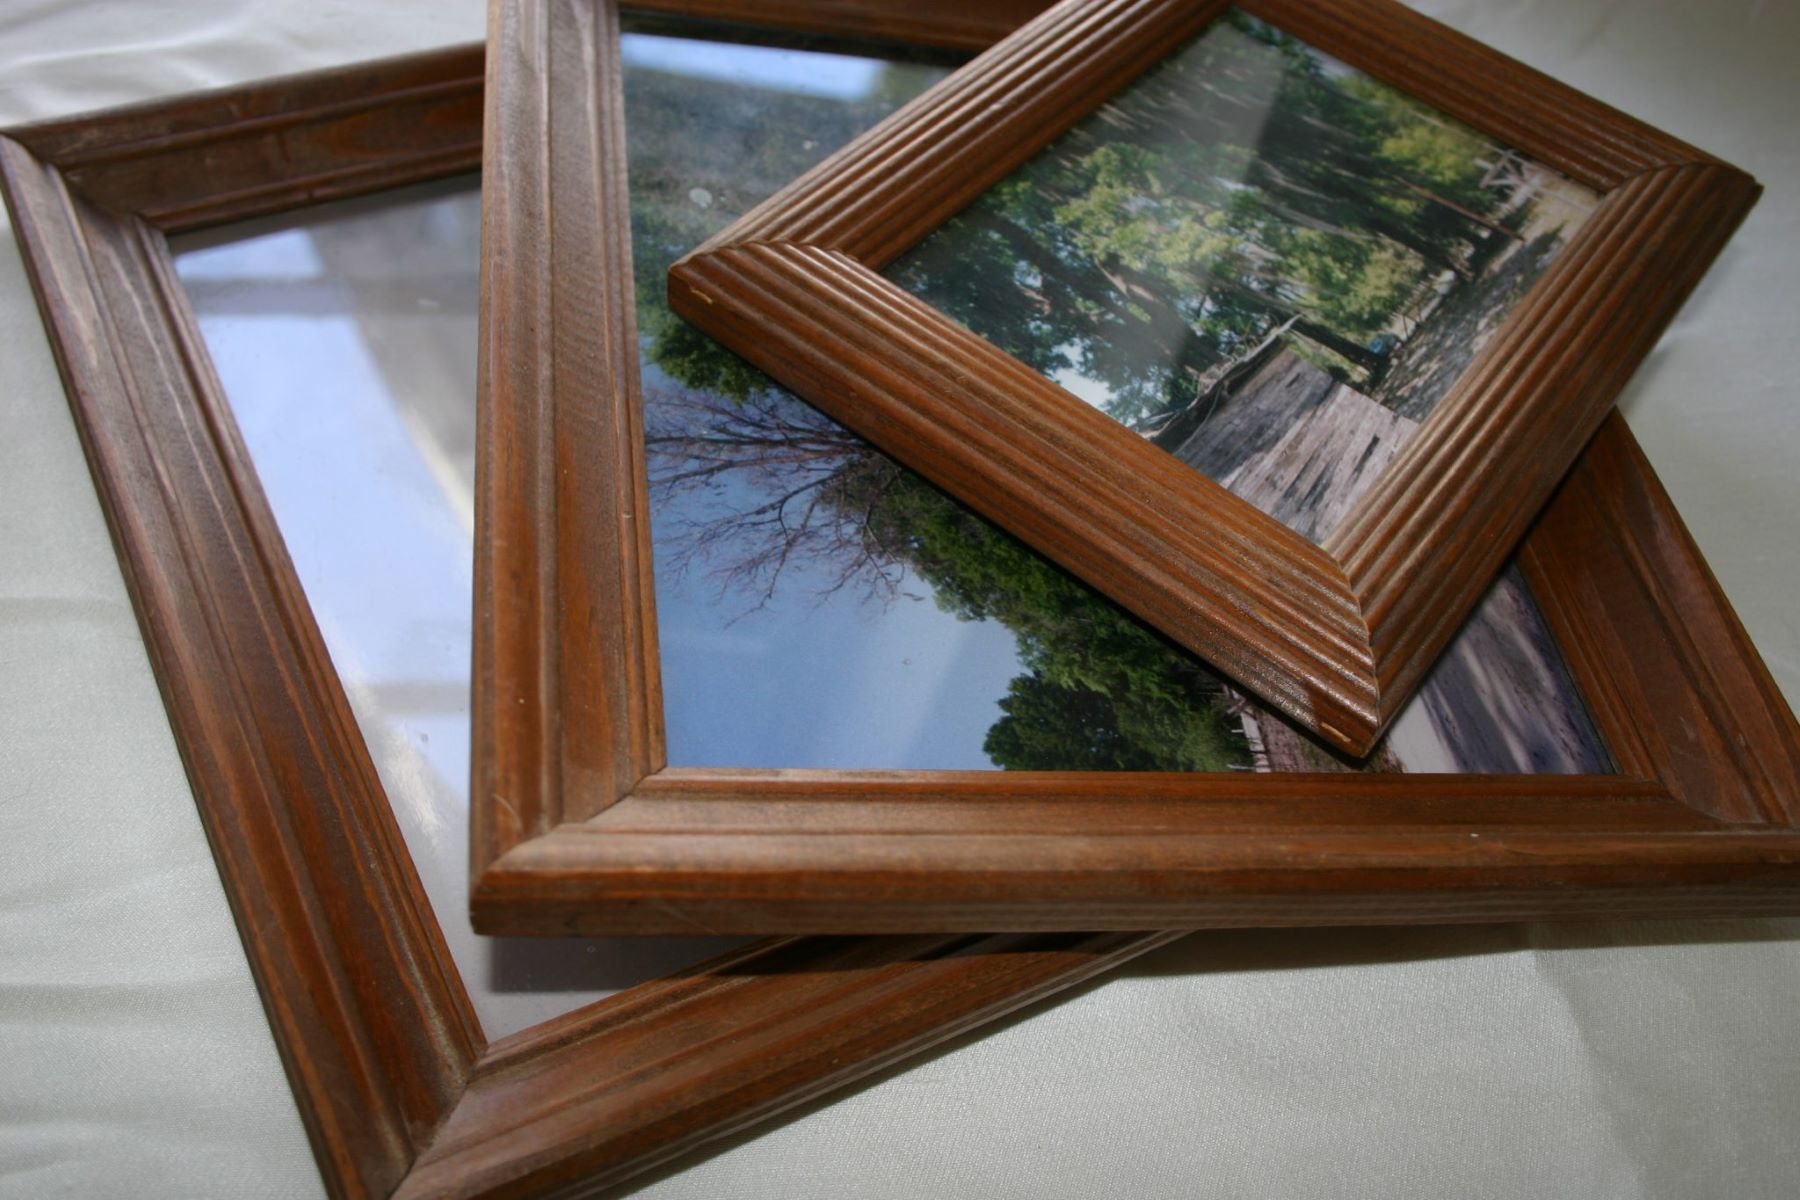
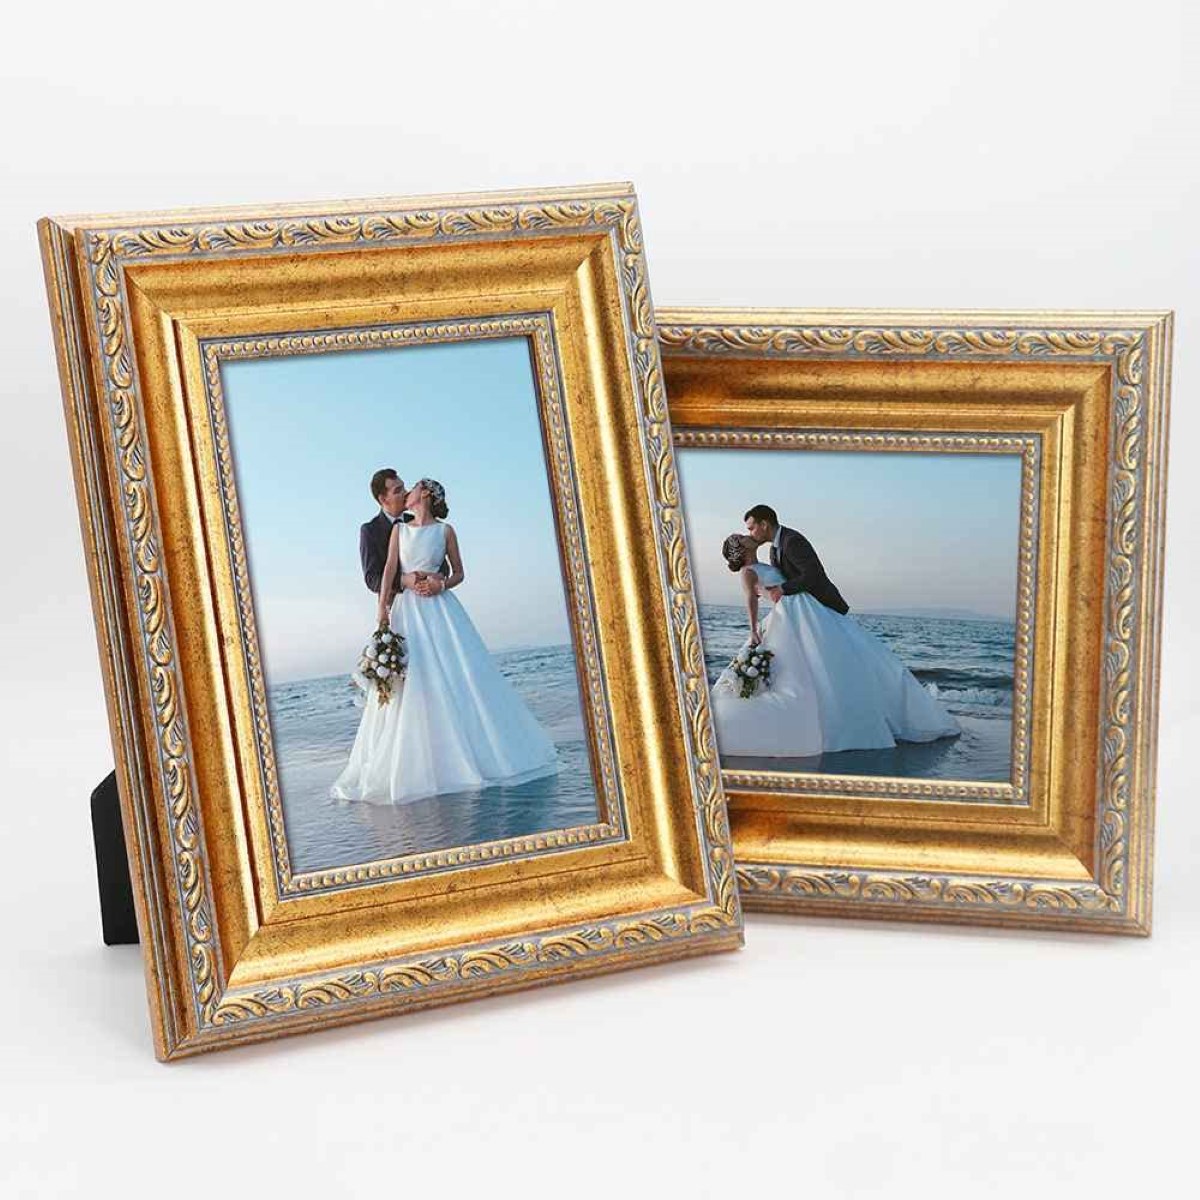
Frame Molding: Selecting the right frame molding is crucial for achieving the desired aesthetic for your glass frame. Whether you opt for sleek and modern metal molding, classic wooden molding, or ornate decorative molding, ensure that it complements the style of the item you plan to display.
-
Corner Clamps or Braces: These are essential for securing the frame molding together at the corners. Corner clamps or braces ensure that the frame remains sturdy and well-aligned during assembly.
-
Glass Cutter: A glass cutter is a specialized tool designed for scoring and cutting glass with precision. It's a fundamental tool for achieving clean and accurate cuts on the glass pane to fit the dimensions of your frame.
-
Safety Equipment: When working with glass, safety should be a top priority. Safety goggles and gloves are essential to protect your eyes and hands from potential glass shards and splinters.
-
Adhesive or Glazing Points: To secure the glass pane within the frame, you'll need an appropriate adhesive or glazing points. These materials ensure that the glass is held firmly in place while allowing for easy removal if necessary.
-
Backing Material: The backing material provides support for the item within the frame and helps maintain its position. Common backing materials include foam core board, mat board, or acid-free backing board, depending on the specific requirements of your display.
-
Hanging Hardware: Once your glass frame is complete, you'll need suitable hanging hardware to securely mount it on the wall. This may include D-rings, picture wire, or sawtooth hangers, depending on the size and weight of the frame.
By gathering these essential materials, you'll be well-prepared to embark on the process of creating a beautiful glass frame that will elegantly showcase your cherished items. With the right materials at your disposal, you can proceed to the next steps with confidence, knowing that you have everything you need to bring your vision to fruition.
Step 1: Measure and Cut the Glass
The first step in creating a stunning glass frame is to accurately measure and cut the glass pane to fit the dimensions of your frame. This process requires precision and attention to detail to ensure that the glass fits seamlessly within the frame, providing a clear and protective enclosure for the item you intend to display.
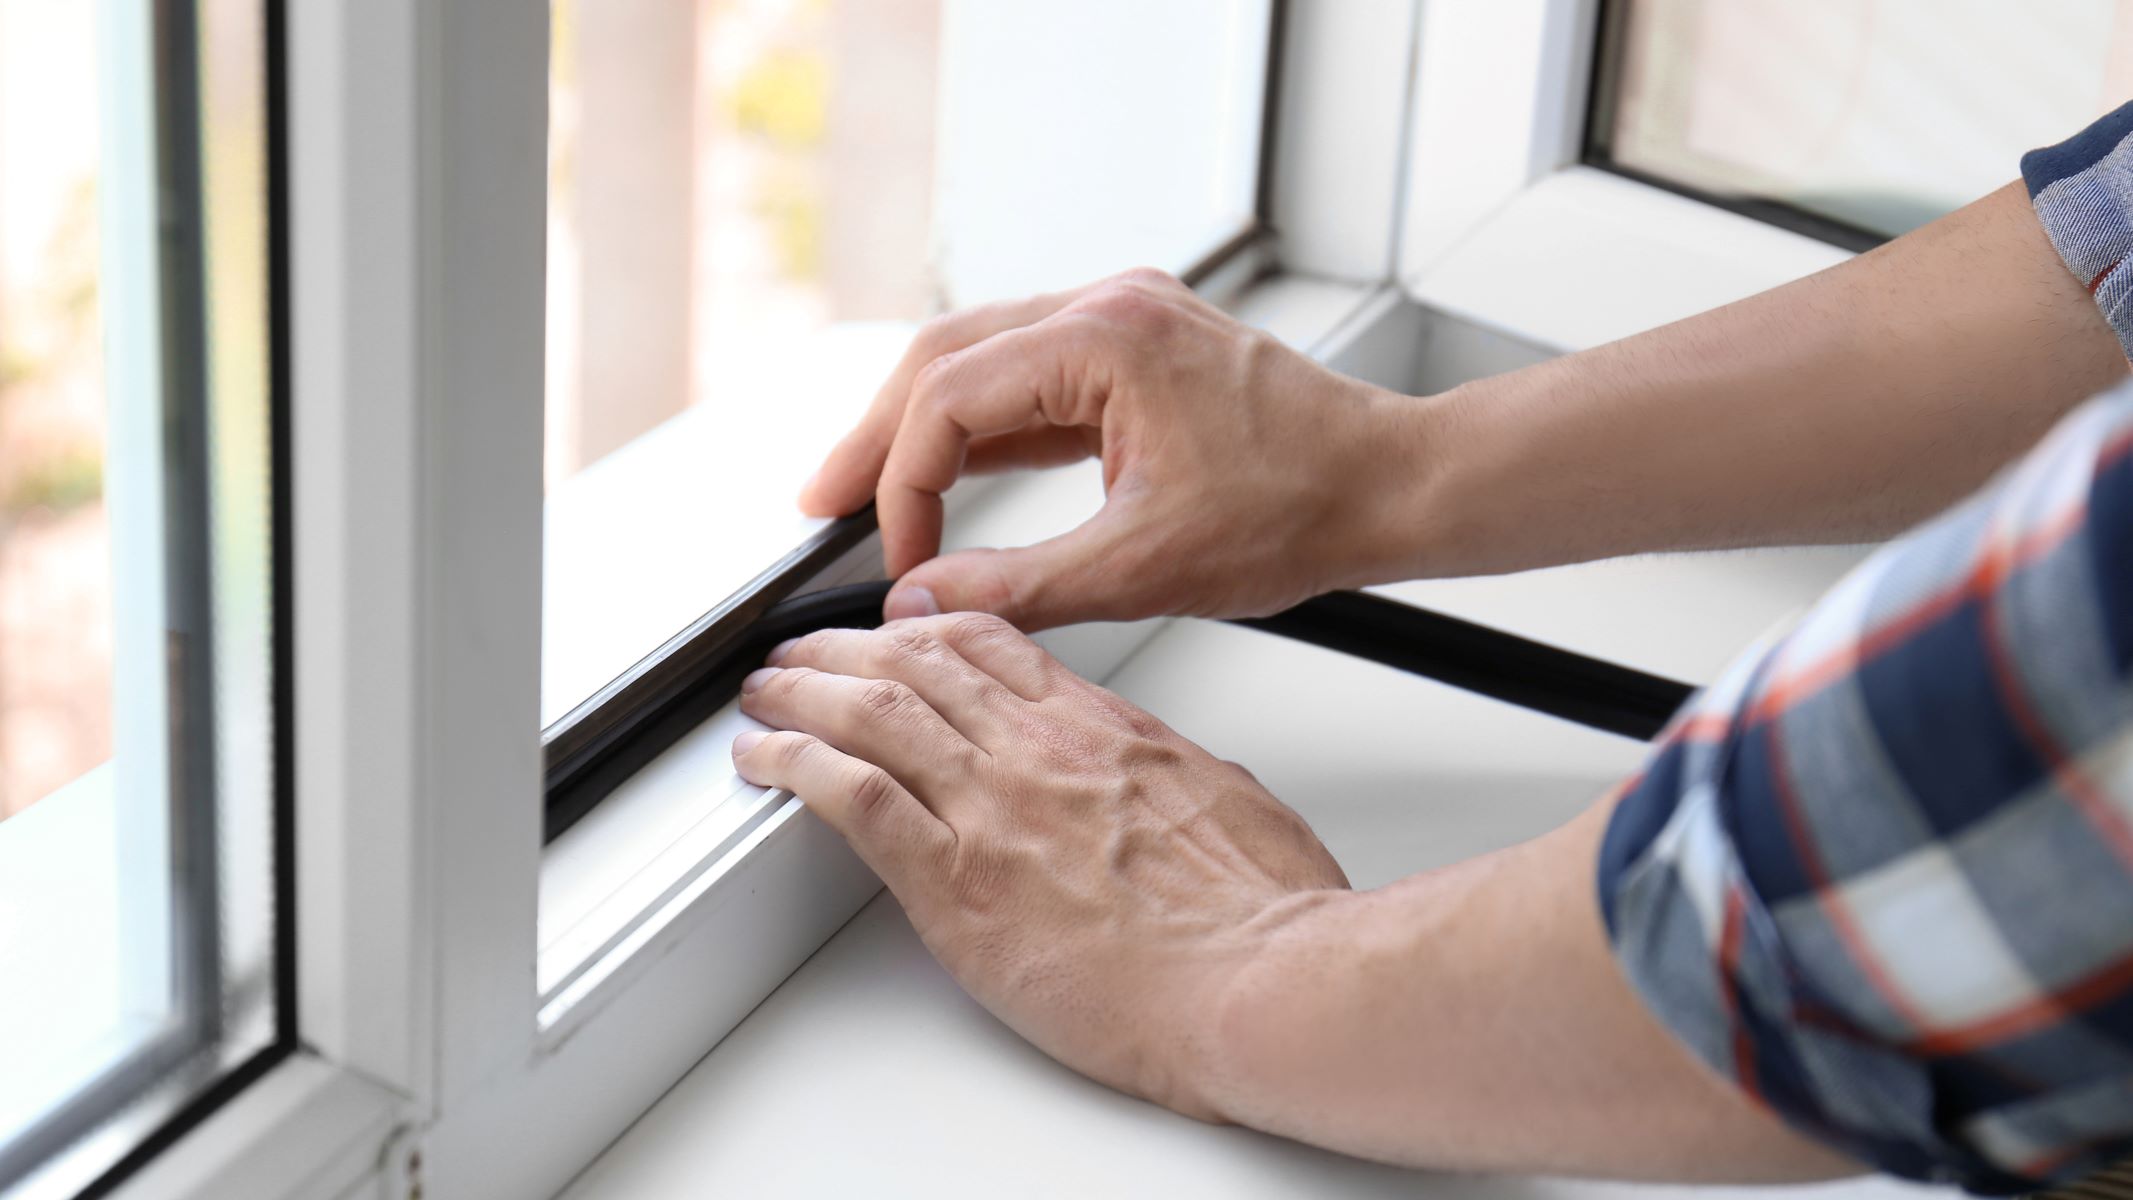
Begin by placing the frame molding on a flat, stable surface, ensuring that it is clean and free from any debris that could potentially scratch the glass. Lay the glass pane on top of the molding, aligning it with the edges to determine the exact dimensions needed. Using a glass cutter, carefully score the glass along the measured lines, applying even pressure to create a clean and precise cut.
It's crucial to exercise caution and patience when cutting the glass, as any inaccuracies or rough edges could compromise the overall quality of the frame. Safety goggles and gloves should be worn throughout this process to protect against potential glass shards and splinters.
Once the glass has been scored along the measured lines, carefully apply pressure to the scored line, allowing the glass to cleanly break along the intended cut. Take care to support the glass on either side of the scored line to prevent it from snapping unevenly or causing injury.
After the glass has been cut to the required dimensions, inspect the edges to ensure they are smooth and free from any sharp protrusions. If necessary, use a fine-grit sandpaper to gently smooth any rough edges, creating a safe and polished finish.
By meticulously measuring and cutting the glass to fit your frame, you'll ensure that the final result is a professional-looking glass frame that not only enhances the visual appeal of the displayed item but also provides durable protection. With the glass pane precisely tailored to the dimensions of the frame, you're ready to proceed to the next step of assembling the frame and bringing your creation to life.
Step 2: Assemble the Frame
With the glass pane cut to the precise dimensions of your frame, the next pivotal step is to assemble the frame itself. This process involves carefully joining the frame molding to create a sturdy and visually appealing enclosure for the glass and the item it will display. Assembling the frame requires attention to detail and a methodical approach to ensure that the final result is both structurally sound and aesthetically pleasing.
Begin by laying out the frame molding pieces in the desired configuration, ensuring that the corners align perfectly to create a seamless and uniform frame. Depending on the type of frame molding you've chosen, you may opt for mitered corners for a clean and sophisticated look, or utilize corner braces for added stability and support.
Once the frame molding is arranged to your satisfaction, it's time to secure the corners to create a cohesive frame structure. Corner clamps or braces are essential for this step, as they hold the molding pieces firmly in place while allowing for precise alignment. Carefully apply wood glue to the mitered corners before securing them with the clamps, ensuring a strong and durable bond.
If you've chosen to use corner braces, position them at each corner of the frame and secure them in place using appropriate fasteners. This step is crucial for maintaining the structural integrity of the frame, preventing any potential warping or misalignment over time.
As the frame assembly progresses, it's important to periodically check for any inconsistencies or gaps in the corners, adjusting the alignment as needed to achieve a seamless and professional finish. Attention to detail during this stage will contribute to the overall quality and visual appeal of the finished glass frame.
Once the frame has been securely assembled and the adhesive has set, carefully inspect the structure to ensure that it is stable and well-aligned. Any excess glue or imperfections should be promptly addressed to maintain the frame's clean and polished appearance.
By methodically assembling the frame with precision and care, you'll create a sturdy and visually striking enclosure for the glass pane and the cherished item it will display. With the frame now taking shape, you're ready to proceed to the next step of securing the glass within the frame, bringing your vision one step closer to reality.
When making a glass frame, be sure to use safety goggles and gloves to protect yourself from any potential glass shards. Additionally, measure and cut the glass carefully to ensure a precise fit.
Step 3: Secure the Glass
Securing the glass within the frame is a critical step in the process of creating a glass frame that is not only visually appealing but also functional and durable. Properly securing the glass ensures that the displayed item is protected and held in place, preventing any shifting or potential damage over time. This step requires attention to detail and the use of appropriate materials to achieve a secure and professional result.
One of the primary methods for securing the glass within the frame is through the use of glazing points or a suitable adhesive. Glazing points, also known as glazier's points, are small metal fasteners that are pressed into the frame to hold the glass in place. These points create a secure and stable fit for the glass, ensuring that it remains firmly positioned within the frame.
To begin the process of securing the glass, carefully place the cut glass pane into the assembled frame, ensuring that it fits snugly and aligns evenly with the edges. With the glass in position, gently press glazing points along the inner edge of the frame, spacing them evenly to provide consistent support. The glazing points should be positioned approximately every 6 to 8 inches to effectively secure the glass without creating excessive pressure points.
Alternatively, if you opt for an adhesive to secure the glass, apply a thin, even layer along the inner edge of the frame before carefully placing the glass into position. The adhesive should be selected based on its suitability for glass applications, providing a strong and reliable bond without causing any damage to the glass or frame. Once the glass is in place, gently press it against the adhesive to ensure a secure and uniform attachment.
After the glass has been secured within the frame, inspect the edges to confirm that it is held firmly in place without any visible movement or gaps. Any excess adhesive should be carefully removed to maintain a clean and polished appearance, ensuring that the focus remains on the displayed item rather than the securing mechanism.
By effectively securing the glass within the frame, you'll create a professional and visually stunning glass frame that not only enhances the displayed item but also provides long-term protection and stability. With the glass securely in place, your frame is now ready for the final step of adding those finishing touches that will elevate its visual appeal and make it a standout feature in your living space.
Read more: How To Make A Quilt Frame
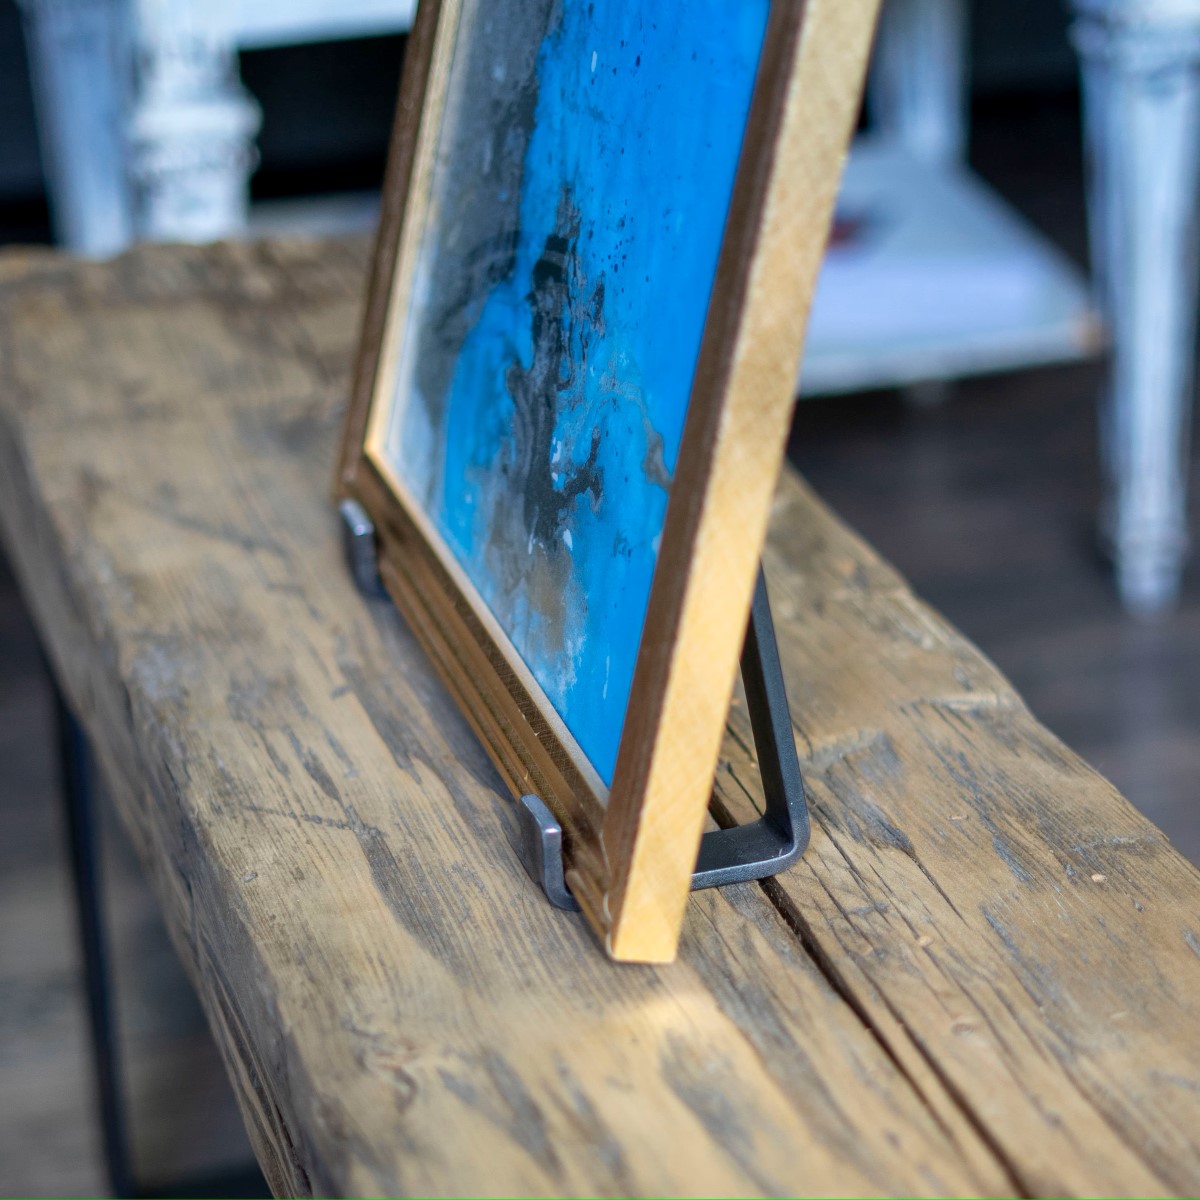
Step 4: Add Finishing Touches
With the glass securely in place within the frame, it's time to focus on the finishing touches that will elevate your glass frame from a functional enclosure to a visually captivating piece of art in its own right. The final steps in the creation of your glass frame are crucial for ensuring that it seamlessly integrates with your interior design style and effectively showcases the displayed item. By paying attention to these details, you'll transform your frame into a stunning focal point that enhances the aesthetic appeal of your living space.
One of the key finishing touches for your glass frame is the selection of a suitable backing material. The backing material serves as a support for the displayed item, providing a stable surface and preventing any potential movement within the frame. Depending on the nature of the item you're displaying, you may opt for a foam core board, mat board, or acid-free backing board. The backing material should be cut to fit the dimensions of the frame, ensuring a precise and secure fit that complements the overall presentation.
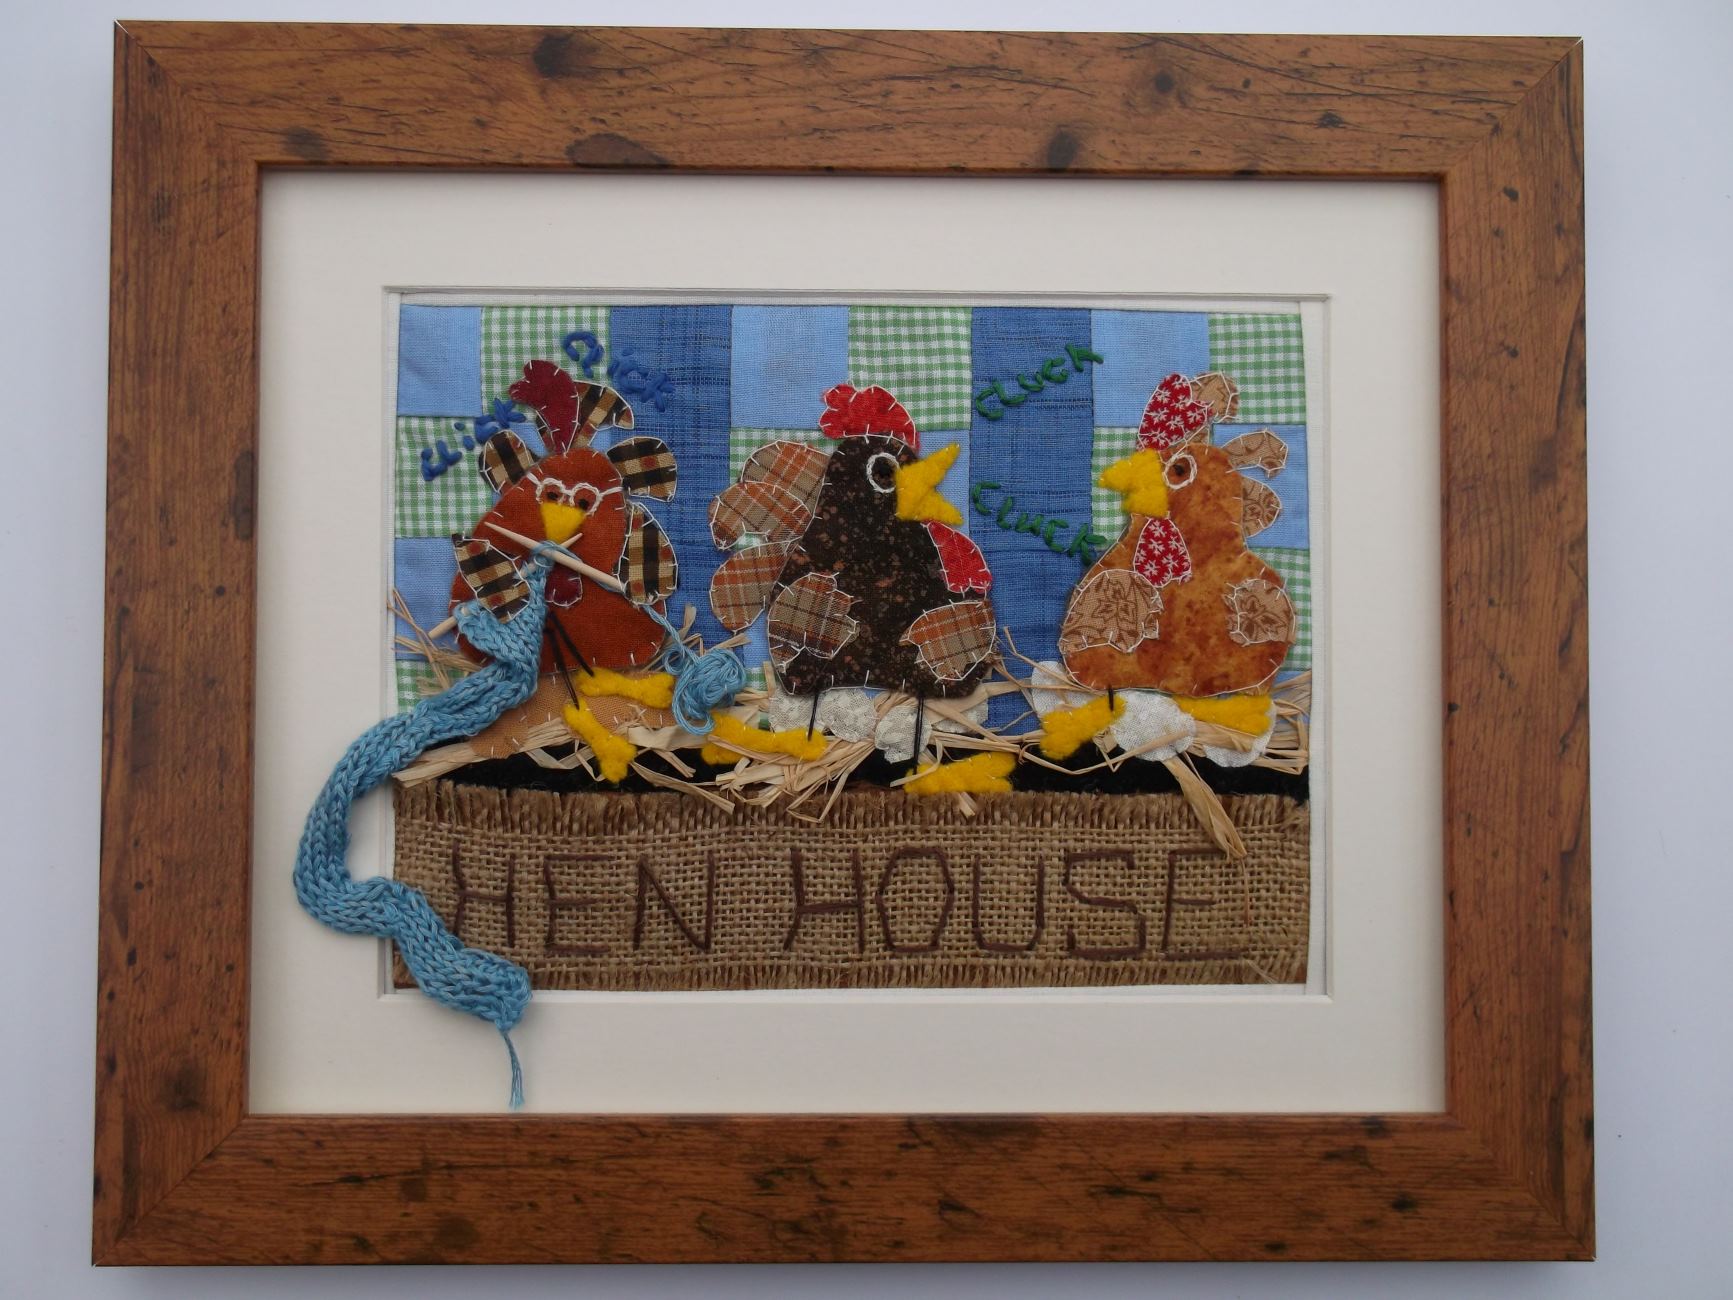
Once the backing material is in place, carefully position the item within the frame, ensuring that it is centered and aligned to your satisfaction. Whether you're displaying a cherished photograph, a delicate piece of artwork, or a meaningful memento, the positioning of the item within the frame is crucial for achieving a visually balanced and appealing display. Take the time to adjust the placement as needed, ensuring that it is showcased to its best advantage within the frame.
After the item is securely positioned, it's time to add the final layer of protection and visual polish to your glass frame. Depending on your preference, you may choose to use framing points or flexible tabs to secure the backing material in place, ensuring that the item remains stable within the frame. These securing mechanisms provide an additional layer of support, preventing any shifting or potential damage to the displayed item.
Finally, consider the addition of hanging hardware to the back of the frame, allowing for easy and secure mounting on the wall. Depending on the size and weight of the frame, you may opt for D-rings, picture wire, or sawtooth hangers. The choice of hanging hardware should be based on the specific requirements of your frame, ensuring that it is safely and securely positioned for display.
By meticulously attending to these finishing touches, you'll transform your glass frame into a visually stunning and functional piece that seamlessly integrates with your interior design. The completed frame will not only showcase your cherished item but also serve as an elegant and eye-catching addition to your living space, capturing the attention of all who encounter it.
Conclusion
In conclusion, the process of creating a glass frame is a rewarding endeavor that allows you to showcase cherished items in a visually captivating and protective manner. By following the step-by-step guide outlined in this article, you can embark on a journey of creativity and craftsmanship, culminating in the creation of a stunning glass frame that seamlessly integrates with your interior design style.
Crafting a glass frame involves a meticulous approach, from measuring and cutting the glass to assembling the frame, securing the glass, and adding the final finishing touches. Each step contributes to the overall quality and visual appeal of the finished frame, ensuring that it not only enhances the displayed item but also serves as an elegant and eye-catching feature in your living space.
The materials used in the construction of the glass frame play a crucial role in its durability and aesthetic impact. From selecting high-quality glass panes to choosing the perfect frame molding and securing materials, each component contributes to the overall craftsmanship of the frame. By paying attention to the details and using the right materials, you can create a glass frame that stands the test of time and effectively showcases your cherished items.
Furthermore, the process of creating a glass frame allows for personalization and customization, enabling you to tailor the design to your specific preferences. Whether you opt for sleek and modern frame molding or classic wooden molding, the ability to customize the frame to complement your interior design style is a significant advantage. This level of personalization ensures that the glass frame seamlessly integrates with your existing decor, adding a unique and personal touch to your living space.
Ultimately, the completed glass frame serves as a testament to your creativity and attention to detail. It not only provides a protective enclosure for the displayed item but also becomes a focal point that draws attention and admiration. Whether you choose to display a cherished family photo, a piece of art, or a meaningful memento, the glass frame elevates the visual impact of the item, transforming it into a captivating centerpiece within your home.
In essence, the process of creating a glass frame is a blend of artistry, craftsmanship, and personal expression. It offers a unique opportunity to showcase your creativity while adding a touch of elegance and sophistication to your living space. By following the steps outlined in this guide and infusing your own personal flair, you can create a glass frame that not only preserves and showcases cherished items but also becomes a cherished creation in its own right.
Frequently Asked Questions about How To Make A Glass Frame
Was this page helpful?
At Storables.com, we guarantee accurate and reliable information. Our content, validated by Expert Board Contributors, is crafted following stringent Editorial Policies. We're committed to providing you with well-researched, expert-backed insights for all your informational needs.


0 thoughts on “How To Make A Glass Frame”