Home>Furniture & Design>Interior Design Trends>How To Make Leaded Glass Window
Interior Design Trends
How To Make Leaded Glass Window
Modified: October 19, 2024
Learn how to create stunning leaded glass windows to elevate your interior design. Explore the latest interior design trends and techniques for timeless elegance.
(Many of the links in this article redirect to a specific reviewed product. Your purchase of these products through affiliate links helps to generate commission for Storables.com, at no extra cost. Learn more)
Introduction
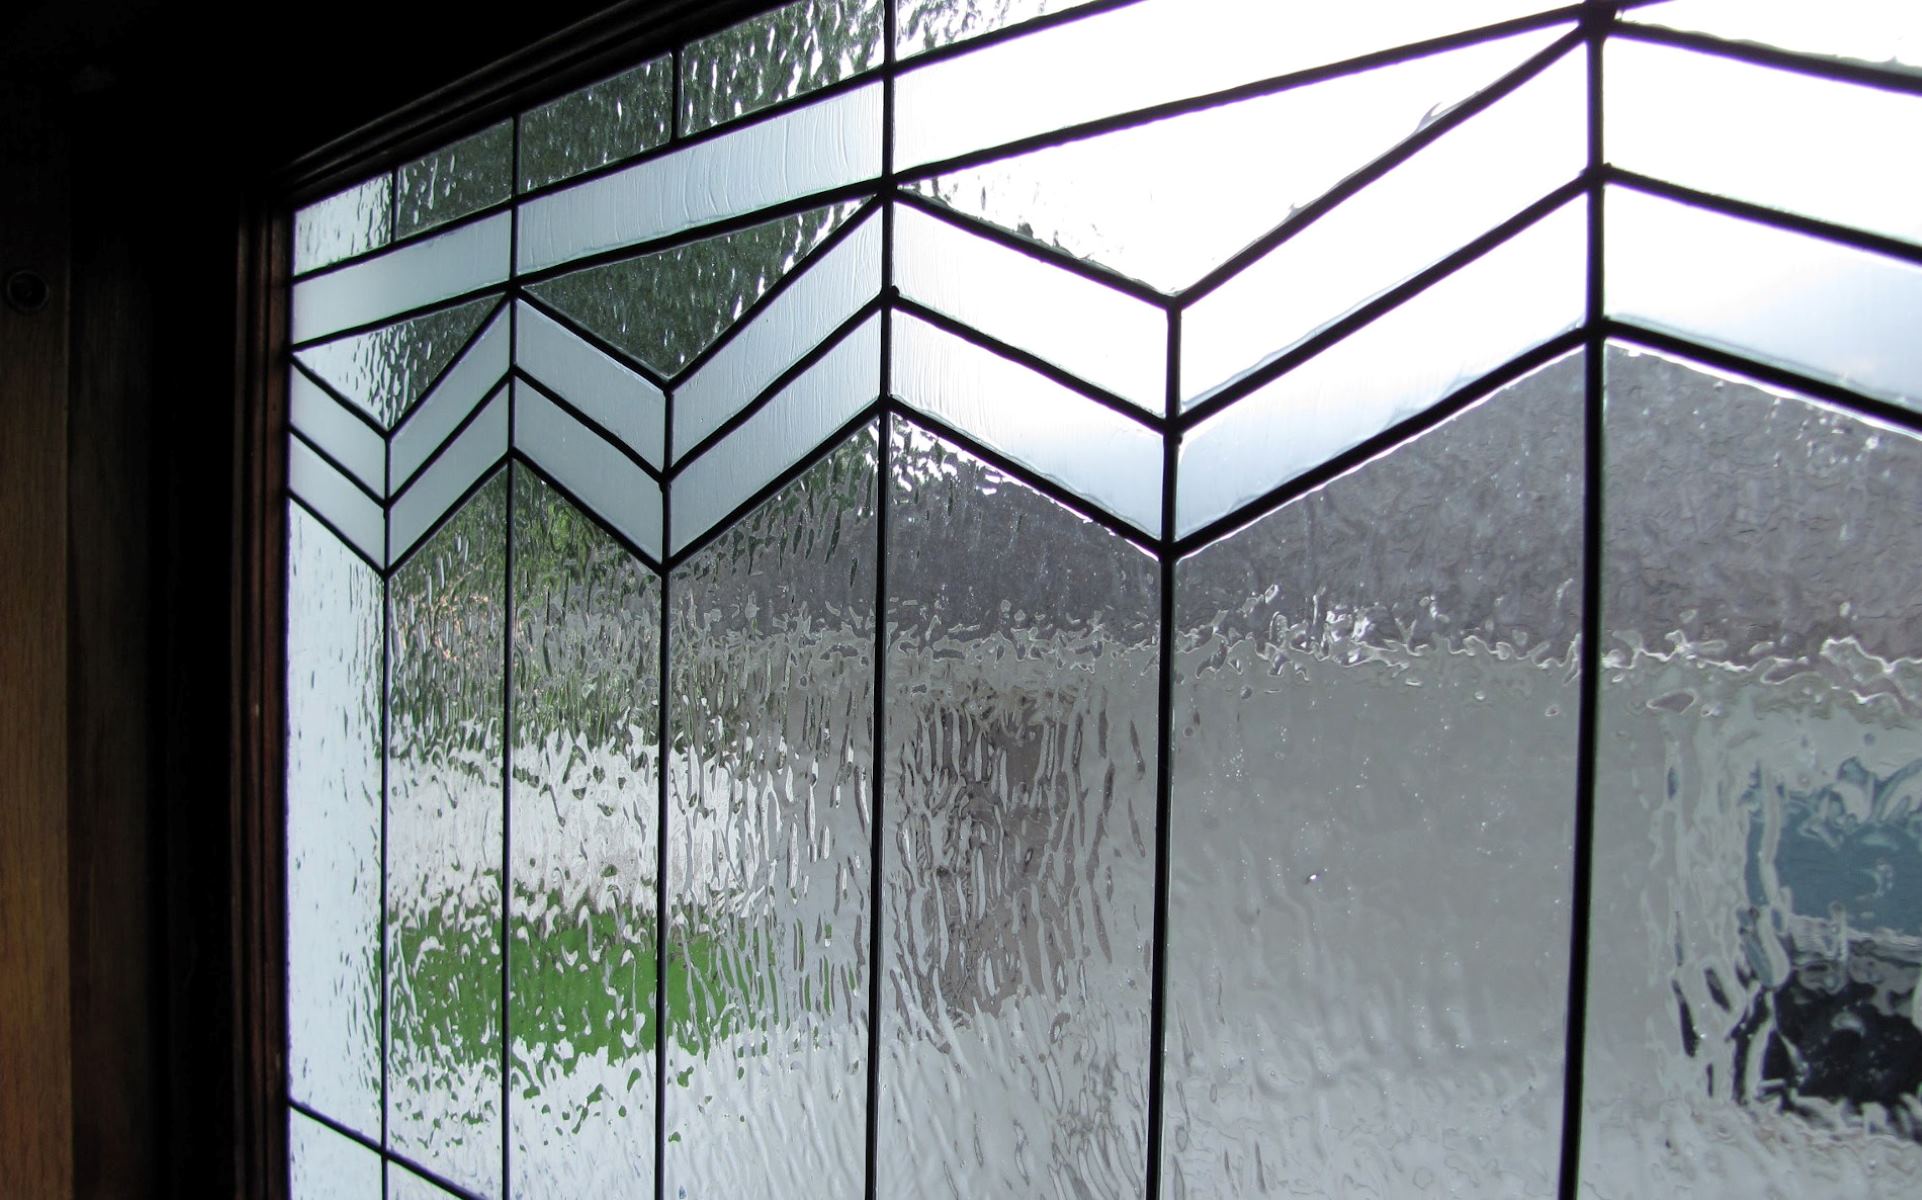
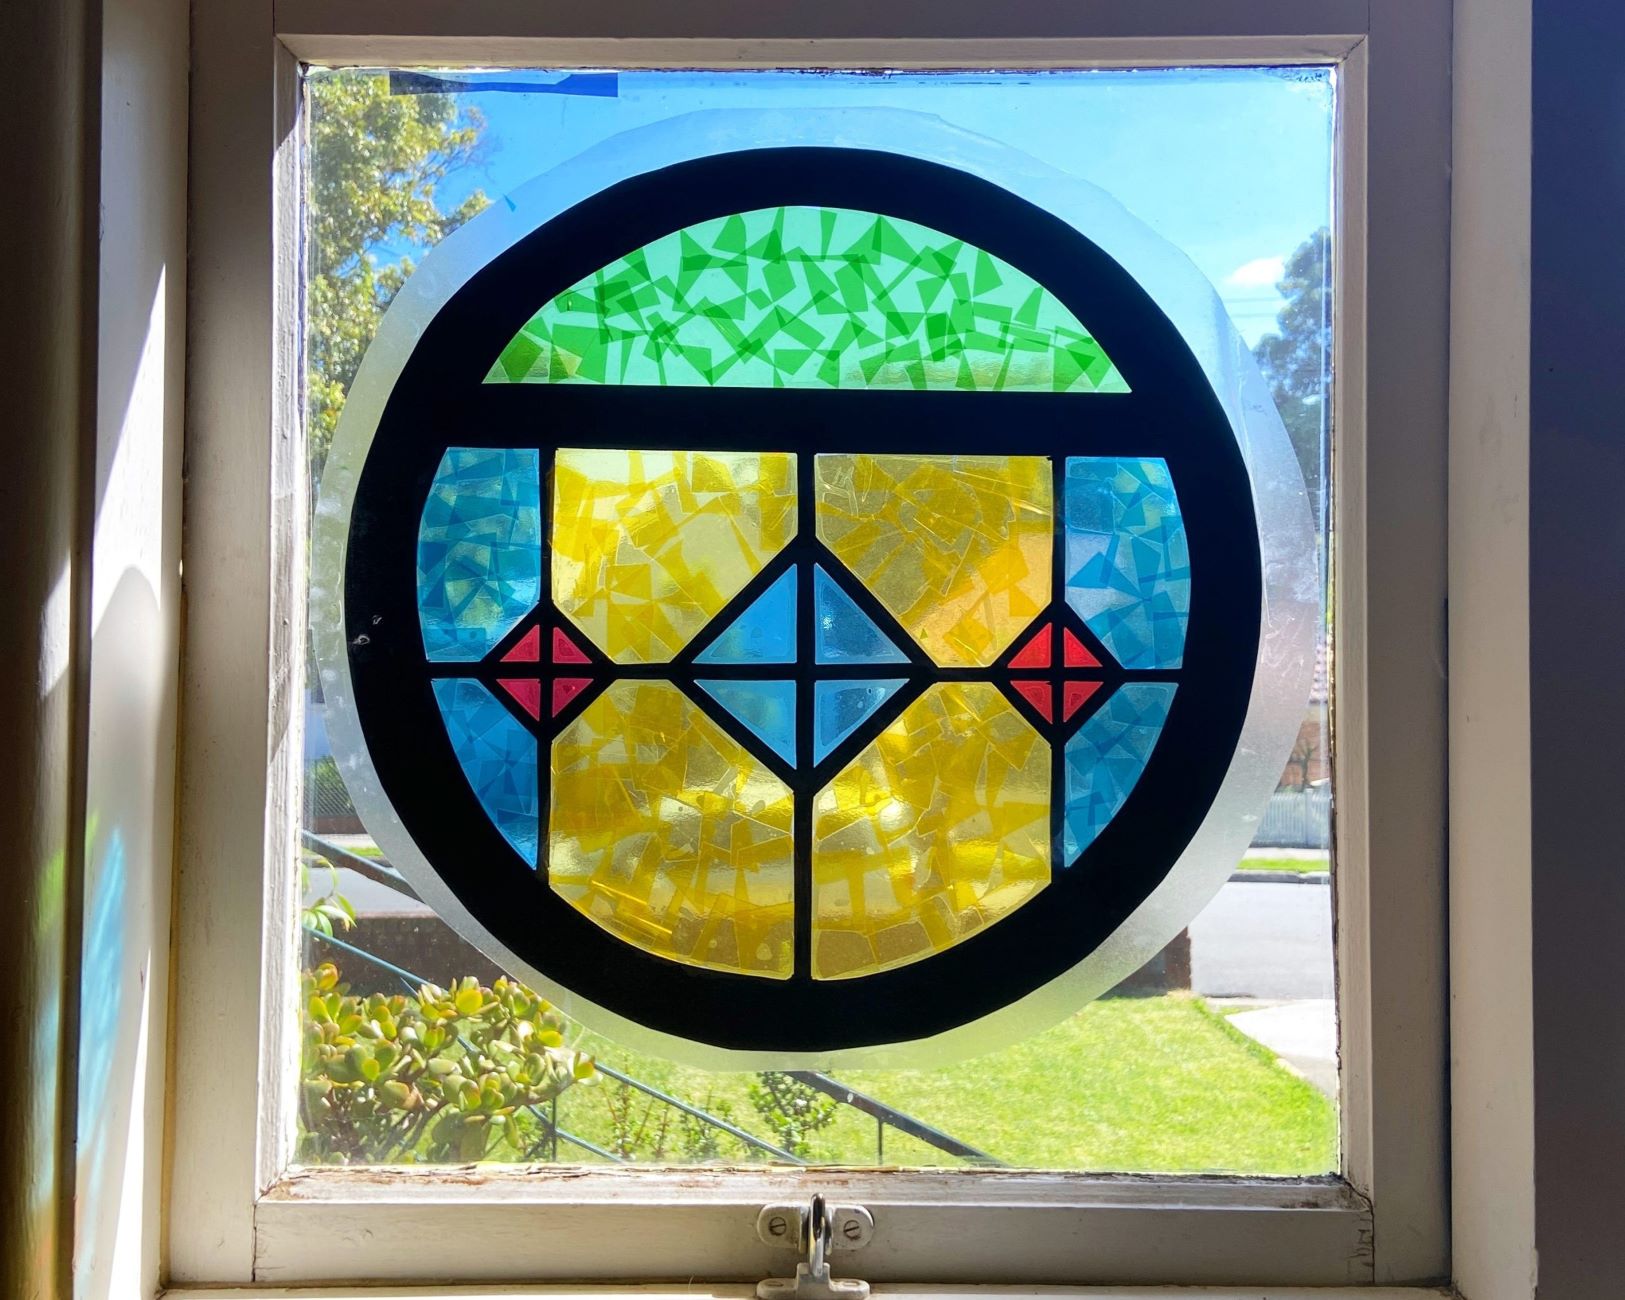
Creating leaded glass windows is a captivating and time-honored craft that adds a touch of elegance and artistry to any space. Whether you are a seasoned artisan or a novice enthusiast, the process of making leaded glass windows offers a rewarding and fulfilling experience. From designing intricate patterns to skillfully assembling the glass pieces, each step in the process requires precision, creativity, and patience.
Leaded glass windows have a rich history dating back to medieval times, where they adorned the grand cathedrals of Europe. Today, they continue to be cherished for their timeless beauty and ability to infuse natural light with a kaleidoscope of colors. Whether adorning a historic building or a modern home, leaded glass windows serve as a stunning focal point, capturing the imagination and admiration of all who behold them.
As you embark on the journey of creating your own leaded glass window, you will delve into a world where artistry and craftsmanship converge. This endeavor offers an opportunity to express your creativity and bring a unique vision to life. With the right materials, tools, and guidance, you can transform sheets of glass into a masterpiece that will stand the test of time.
Throughout this article, you will gain valuable insights into the intricate process of making leaded glass windows. From designing the pattern to soldering the joints, each stage will be explored in detail, providing you with the knowledge and inspiration to embark on this artistic endeavor. So, roll up your sleeves, gather your materials, and let's embark on this enchanting journey of creating a leaded glass window that will illuminate your space with beauty and artistry.
Key Takeaways:
- Crafting a leaded glass window is a captivating journey that requires precision, creativity, and patience. From designing the pattern to soldering the joints, each step infuses the window with timeless beauty and artistry.
- The process of creating a leaded glass window involves delicate cutting, meticulous assembly, and skillful soldering. The result is a masterpiece that illuminates spaces with vibrant colors and enduring allure.
Read more: What Is Lead Glass
Materials and Tools Needed
Creating a leaded glass window requires a precise selection of materials and tools to ensure the successful execution of this intricate craft. From glass and lead came to specialized tools, each component plays a crucial role in bringing your vision to life. Here's a comprehensive list of the materials and tools you'll need to embark on this artistic journey:
Materials:
- Glass Sheets: Choose high-quality glass sheets in various colors and textures to add depth and visual interest to your design. Stained glass, cathedral glass, and opalescent glass are popular choices for creating captivating leaded glass windows.
- Lead Came: This flexible H-shaped lead channel serves as the framework for holding the glass pieces together. It comes in various widths to accommodate different design requirements.
- Solder: A blend of tin and lead, solder is used to join the lead came and secure the glass pieces in place.
- Flux: This essential material facilitates the soldering process by promoting the flow of molten solder and preventing oxidation.
- Patina: Once the window is assembled and soldered, patina is applied to the lead came to create an aged or darkened appearance, enhancing the visual impact of the design.
Tools:
- Glass Cutter: A precision tool designed to score and break glass sheets accurately, allowing you to achieve the desired shapes and sizes for your design.
- Glass Grinder: This tool is used to smooth and refine the edges of the glass pieces, ensuring a perfect fit within the lead came channels.
- Lead Dykes: Also known as lead nippers, these specialized pliers are used to cut and shape the lead came with precision.
- Soldering Iron: Equipped with a temperature-controlled tip, the soldering iron is essential for melting solder and joining the lead came securely.
- Flux Brush: A small brush used to apply flux to the joints before soldering, ensuring a clean and strong bond between the lead came and glass pieces.
- Safety Gear: Safety glasses, gloves, and a well-ventilated workspace are essential for protecting yourself while working with glass, lead, and solder.
By gathering these materials and tools, you will be well-equipped to embark on the intricate and rewarding process of creating a leaded glass window. Each item plays a vital role in ensuring the precision, durability, and visual appeal of your finished masterpiece. Now that you have a comprehensive understanding of the materials and tools needed, let's delve into the next step of designing the pattern for your leaded glass window.
Designing the Pattern
Designing the pattern for a leaded glass window is a captivating and pivotal stage that sets the tone for the entire creative process. Whether you are drawing inspiration from nature, geometric shapes, or historical motifs, the design phase allows you to unleash your artistic vision and bring it to life through the interplay of color, texture, and form.
Begin by sketching your design on paper, allowing your imagination to flow freely as you explore various motifs, shapes, and compositions. Consider the architectural context in which the leaded glass window will be installed, as well as the desired visual impact and the interplay of light and shadow. This initial sketch serves as a springboard for refining your ideas and translating them into a cohesive pattern that will grace the glass surface.
Once you have honed in on a design that resonates with your creative vision, transfer the pattern onto a sturdy cardboard template. This template will serve as a guide for cutting the glass pieces to the exact dimensions required for your design. Precision is paramount at this stage, as each glass piece must seamlessly fit within the lead came framework to achieve a flawless and harmonious composition.
As you finalize the template, consider the interplay of colors and textures, strategically placing each glass piece to create a captivating visual narrative. Experiment with different combinations to evoke a sense of movement, balance, and depth within the design. Whether you opt for bold contrasts or subtle gradients, the arrangement of glass pieces will breathe life into your pattern, infusing it with a dynamic and captivating allure.
Throughout the design process, embrace the fluidity of creativity and allow your intuition to guide you. Whether you are crafting a symmetrical pattern or an abstract composition, trust in your artistic instincts to imbue the design with a sense of harmony and visual intrigue. Remember that the pattern is not merely a static arrangement of glass pieces; it is a living, breathing expression of your creativity and passion for the craft.
With the pattern meticulously crafted and the template ready for action, you have laid the foundation for bringing your leaded glass window to fruition. The next steps will involve cutting the glass, assembling the pieces, and infusing the design with the timeless allure of lead came. As you embark on this journey, let the pattern serve as a testament to your artistic prowess and unwavering dedication to creating a masterpiece that will stand as a testament to your creative vision.
Read more: How To Make Glass Windows
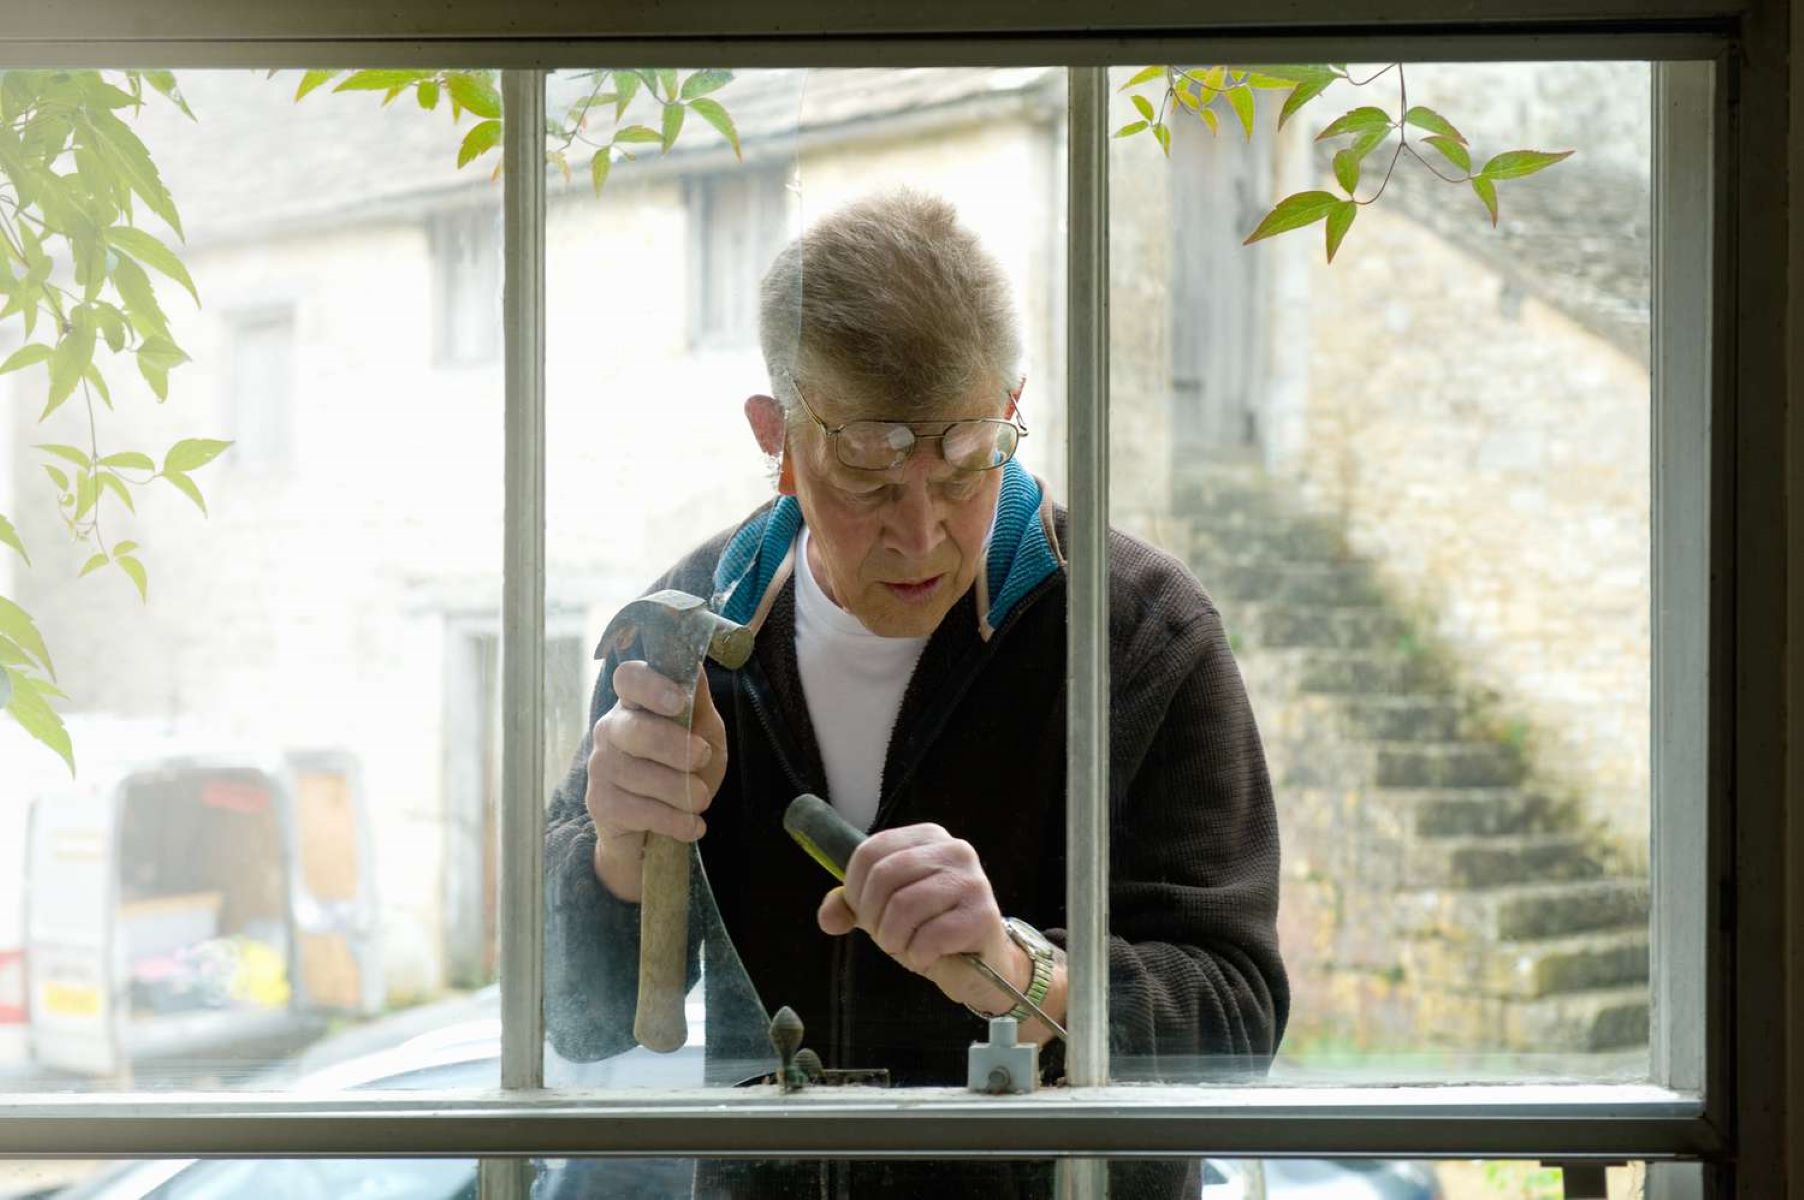
Cutting the Glass
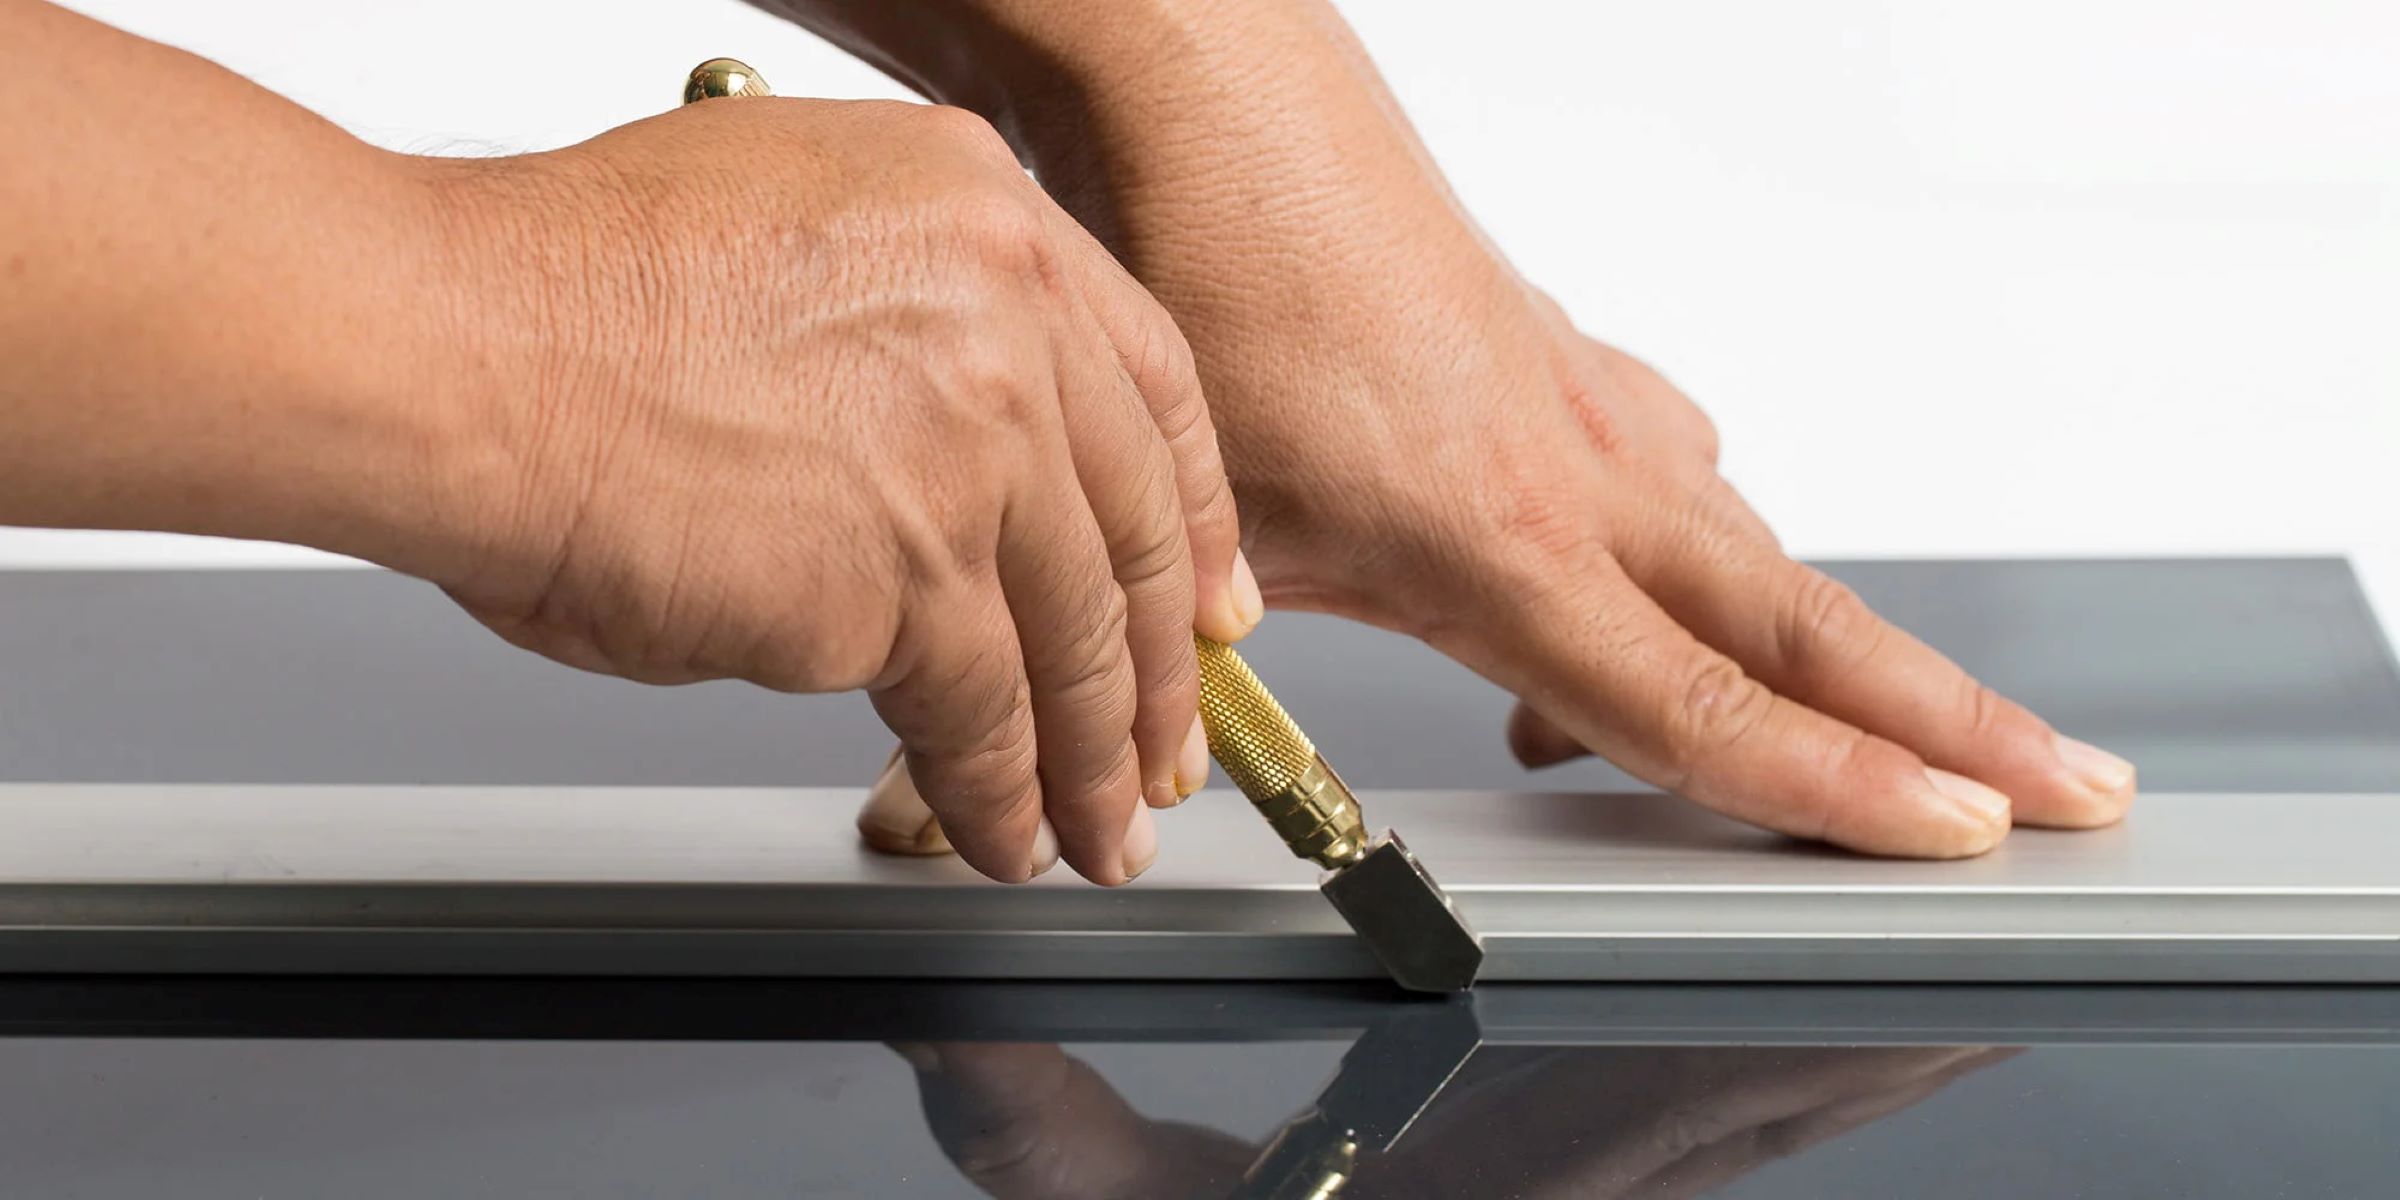
The process of cutting glass is a delicate yet gratifying endeavor that demands precision and finesse. With the pattern template as your guide, begin by selecting the appropriate glass sheets that correspond to the specific colors and textures outlined in your design. Place the template securely on the glass sheet, ensuring that it aligns with the desired areas to be cut. Using a glass cutter, score along the edges of the template, exerting even pressure to create clean and precise lines. This initial scoring is crucial, as it defines the shape and size of each glass piece, setting the stage for the subsequent steps in the crafting process.
Once the glass has been scored, carefully break along the scored lines using glass-breaking pliers, ensuring a clean and accurate separation of the glass pieces. Take care to execute this step with a steady hand, as it determines the integrity and fit of each piece within the overall design. After the initial breaking, refine the edges of the glass pieces using a glass grinder, smoothing any rough or uneven edges to achieve a perfect fit within the lead came channels.
Throughout the cutting process, maintain a keen focus on precision and attention to detail, as each glass piece contributes to the cohesive and harmonious composition of the leaded glass window. Embrace the meditative rhythm of cutting and refining the glass, allowing the creative vision to unfold with each meticulously crafted piece. As you progress through this stage, the design begins to take shape, with each glass piece embodying the essence of your artistic expression.
With the glass pieces expertly cut and refined, you have laid the groundwork for the next phase of the creative journey. The meticulous attention to detail and the seamless execution of the cutting process have set the stage for assembling the pieces and infusing the design with the timeless allure of lead came. As you proceed to the next stage, let the precision and artistry of the cut glass pieces serve as a testament to your unwavering dedication to creating a leaded glass window that transcends craftsmanship and becomes a true work of art.
Assembling the Pieces
As the meticulously cut and refined glass pieces lay before you, the stage is set for the captivating process of assembling the leaded glass window. This pivotal phase requires a delicate balance of precision and artistry, as each glass piece finds its rightful place within the intricate design. Begin by arranging the glass pieces according to the pattern, allowing the composition to unfold organically before your eyes. Embrace the interplay of colors and textures, ensuring that each piece harmonizes with its neighbors to create a seamless and visually captivating tableau.
With the pattern as your guide, carefully position each glass piece within the lead came framework, ensuring a snug and secure fit. The flexibility of the lead came allows for gentle manipulation, accommodating the unique contours of each glass piece while maintaining structural integrity. As you progress, the design begins to emerge with a sense of depth and dimension, each glass piece contributing to the visual narrative with its distinct hue and texture.
Embrace the meditative rhythm of assembling the pieces, allowing the design to come to life through the meticulous arrangement of glass within the lead came channels. Take a step back to admire the evolving composition, ensuring that the interplay of light and color aligns with your creative vision. As the design reaches its full expression, the lead came serves as a unifying framework, seamlessly integrating the glass pieces into a cohesive and captivating whole.
Throughout the assembly process, maintain a keen eye for detail, ensuring that each glass piece is nestled securely within the lead came, ready to withstand the test of time. Embrace the artistry of this phase, allowing the design to transcend the sum of its parts and become a living testament to your creative vision and dedication to the craft.
As the final glass piece finds its place within the lead came framework, a sense of fulfillment and accomplishment washes over you. The assembled leaded glass window stands as a testament to your unwavering dedication and artistic prowess, ready to illuminate its surroundings with timeless beauty and artistry.
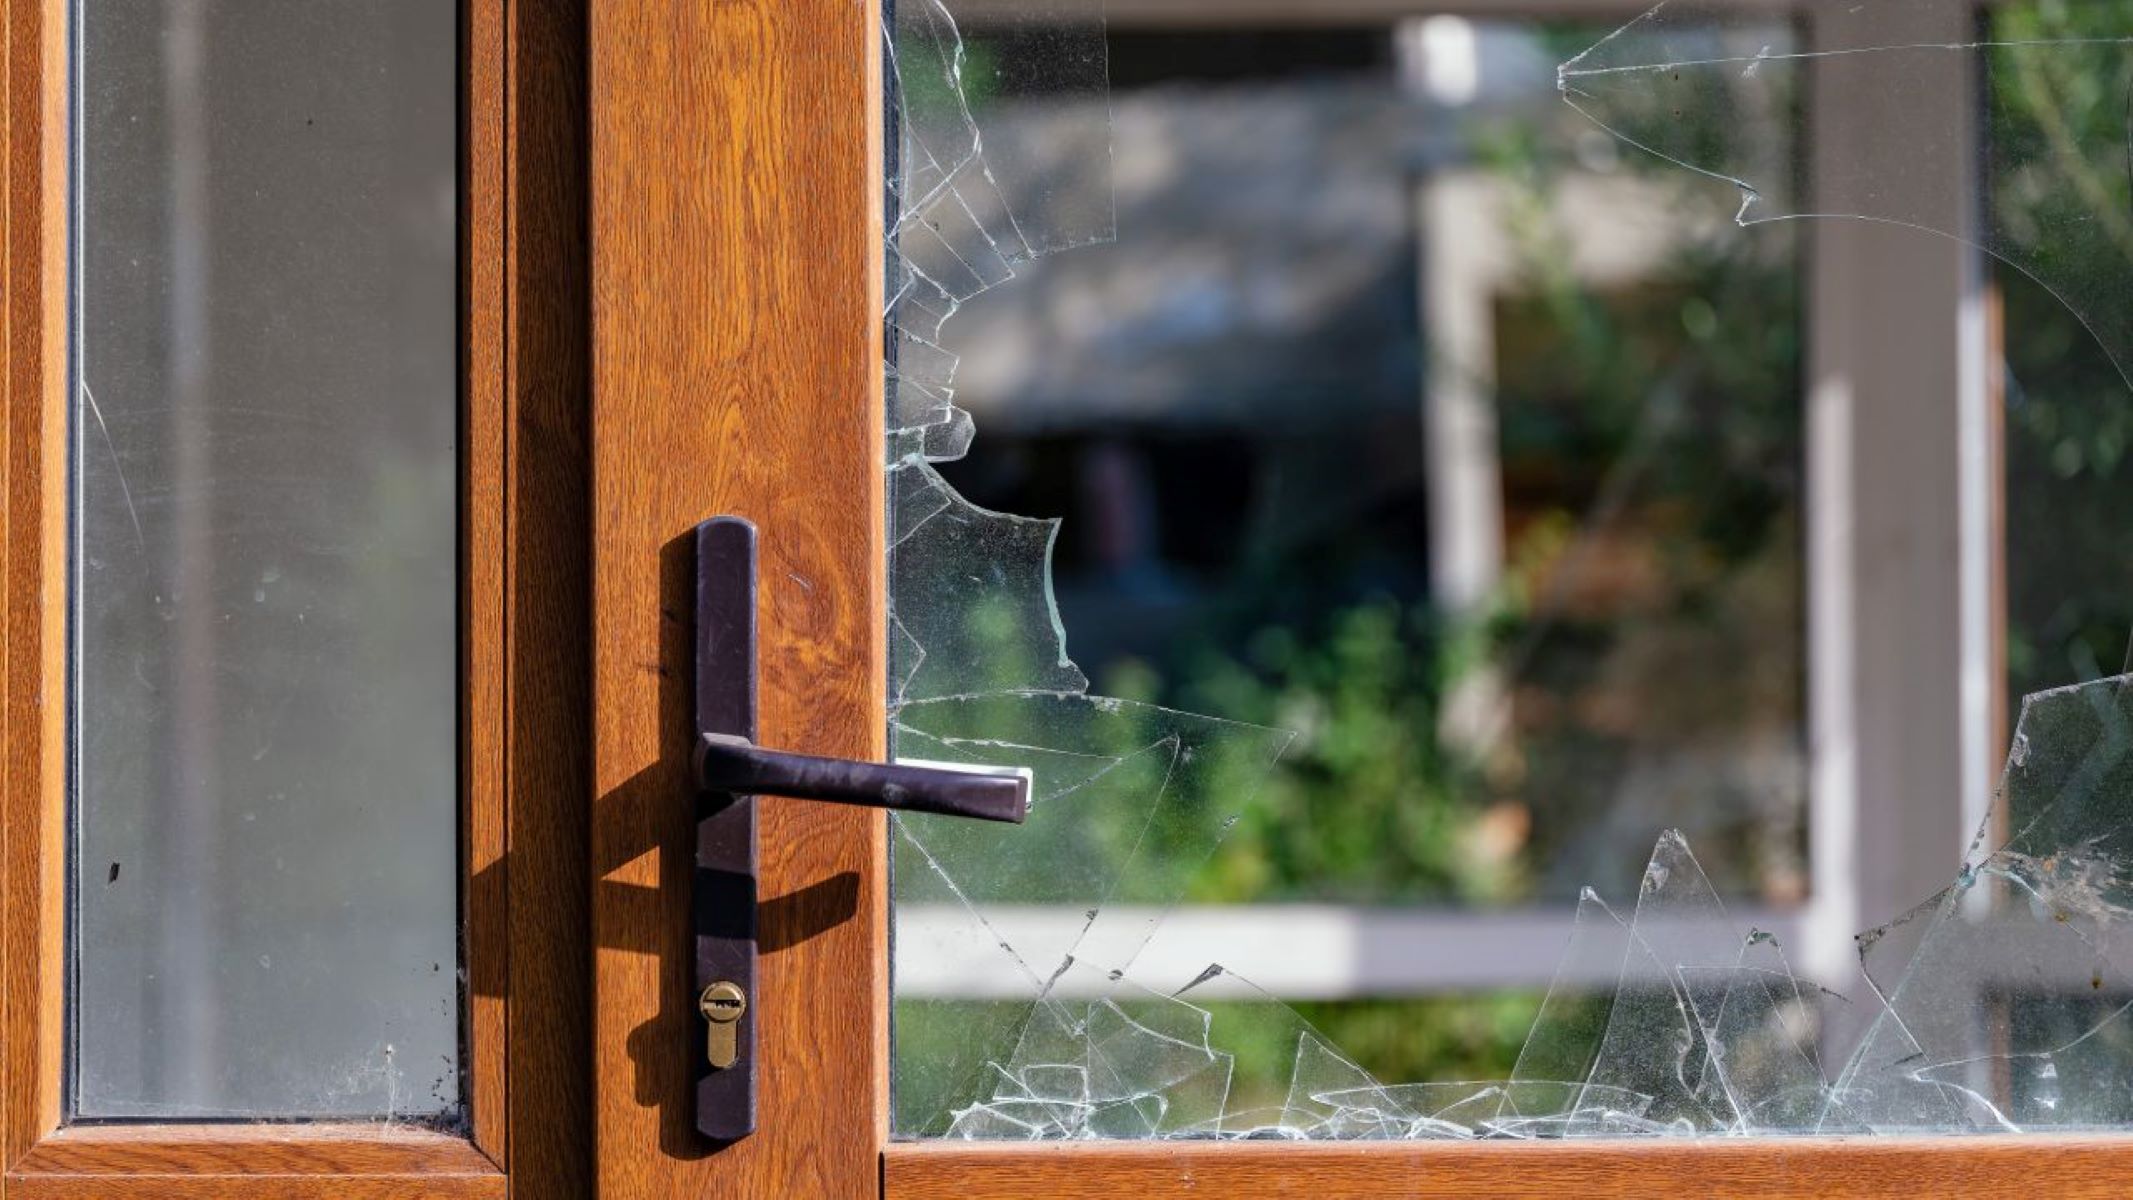
When making leaded glass windows, always wear protective gear such as gloves and goggles to prevent exposure to lead and glass shards. Proper ventilation is also important when working with lead and soldering materials.
Adding Lead Came
With the meticulously assembled glass pieces poised within the lead came framework, the next pivotal step in the creation of a leaded glass window is the addition of lead came. This flexible H-shaped lead channel serves as the structural backbone of the window, holding the glass pieces securely in place while imparting a timeless elegance to the design.
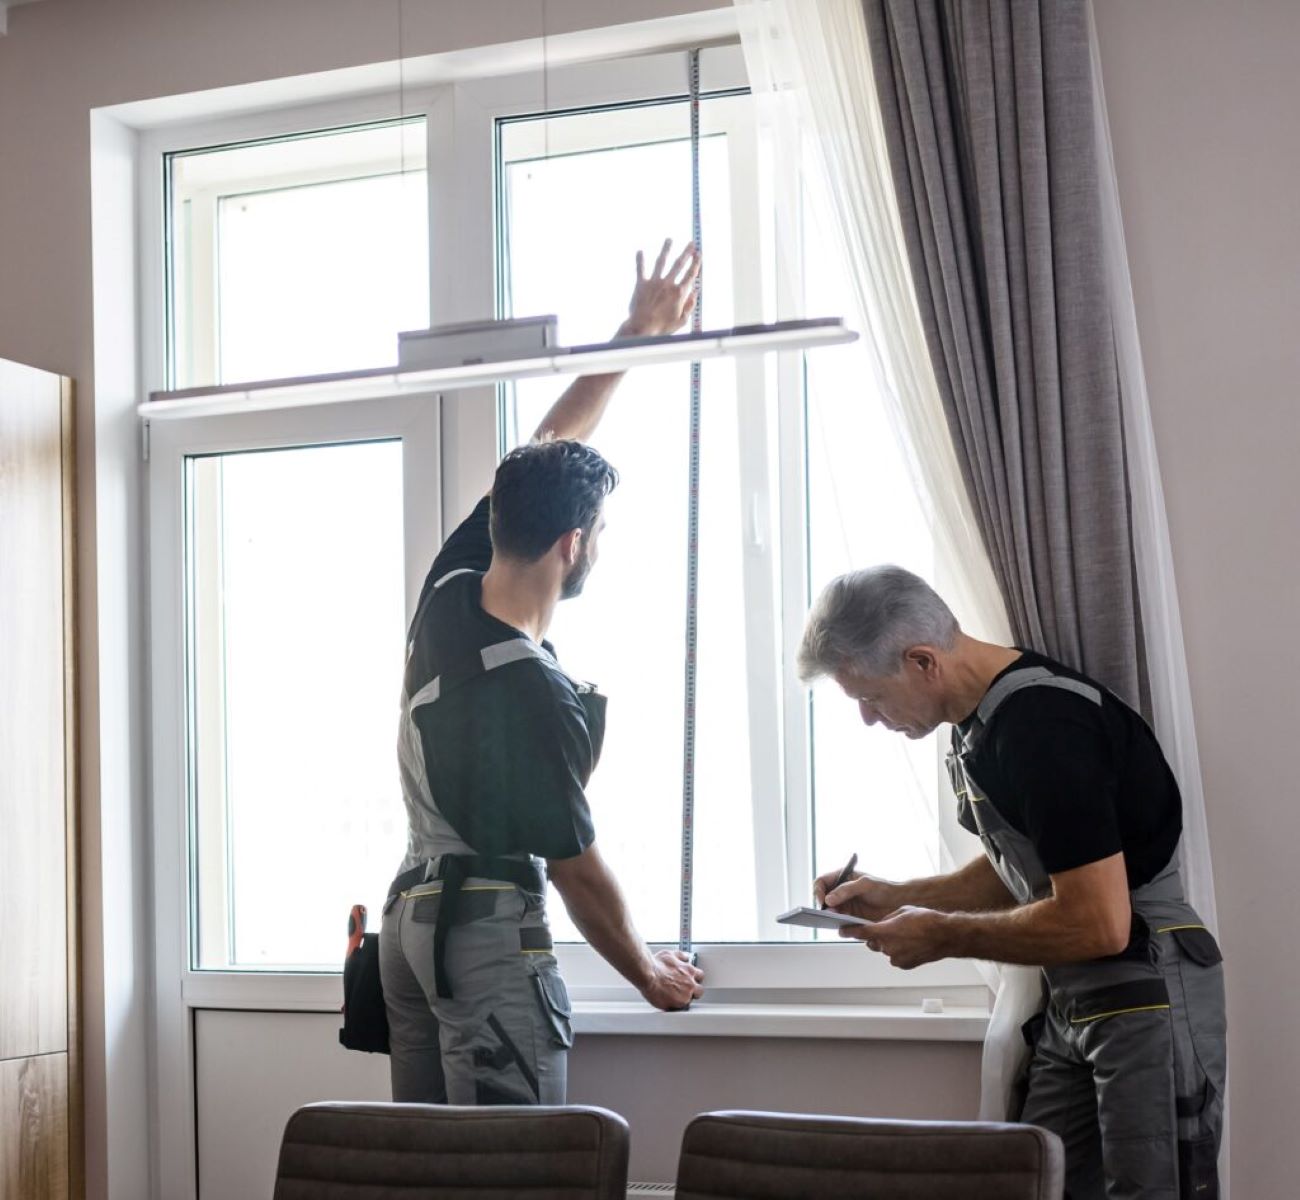
Begin by selecting the appropriate width of lead came that complements the scale and intricacy of your design. Carefully measure and cut the lead came to match the dimensions of each section of the window, ensuring a precise fit that aligns with the contours of the glass pieces. As you navigate the lead came around the intricate curves and angles of the design, embrace the flexibility of this material, gently coaxing it to conform to the contours of the glass pieces.
With the lead came in place, use horseshoe nails or lead tacks to secure it to the wooden frame or work surface, ensuring that it remains steady and taut throughout the process. As you progress, the lead came becomes a unifying element, seamlessly integrating the individual glass pieces into a cohesive and enduring composition.
Embrace the meditative rhythm of adding lead came, allowing the design to evolve with each carefully placed section. As the lead came weaves its way around the glass pieces, it imparts a sense of structure and unity to the window, elevating the design to a new level of visual impact and durability.
Throughout this process, maintain a keen eye for precision, ensuring that each section of lead came aligns seamlessly with the contours of the glass pieces. Embrace the artistry of this phase, allowing the lead came to enhance the design with its understated elegance and structural integrity.
As the final section of lead came is delicately positioned, a sense of accomplishment washes over you, knowing that the window has transcended craftsmanship to become a true work of art. The addition of lead came marks a pivotal stage in the journey of creating a leaded glass window, infusing the design with enduring beauty and structural resilience.
Soldering the Joints
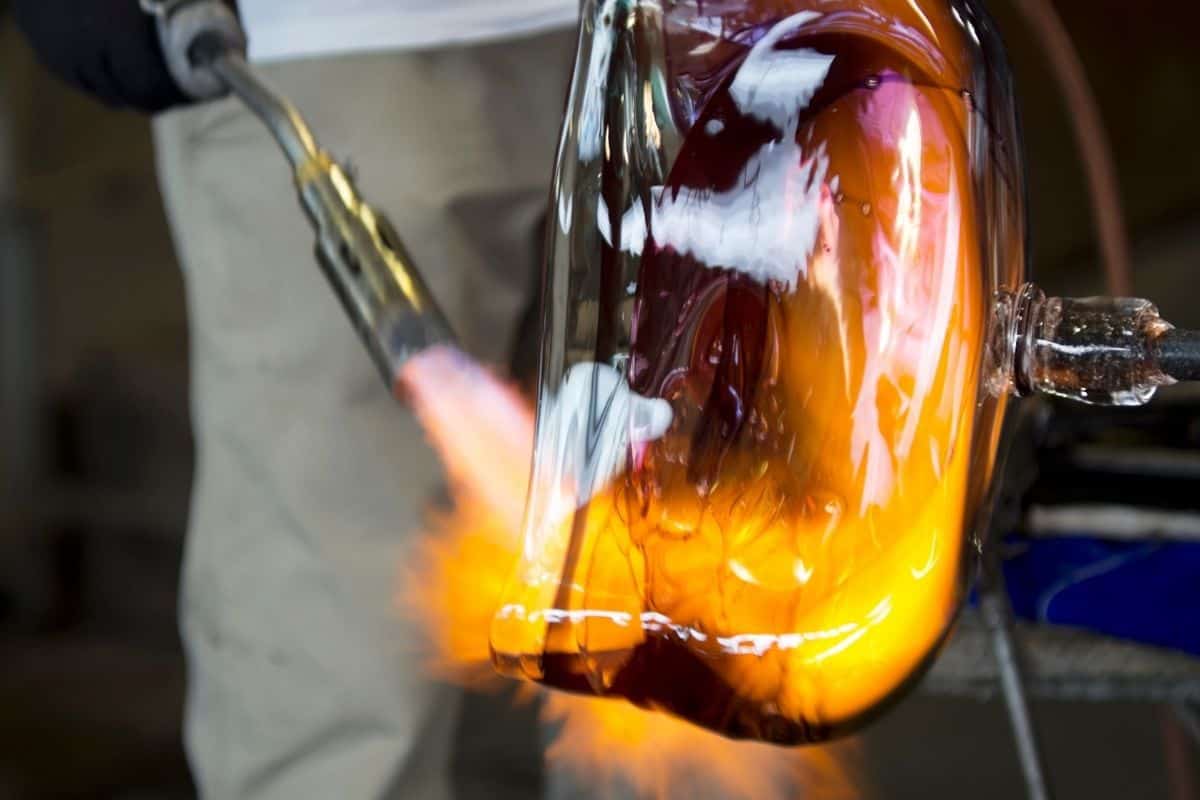
Soldering the joints is a transformative stage in the creation of a leaded glass window, where individual elements coalesce into a unified masterpiece. This intricate process involves the skillful application of solder to join the lead came and secure the glass pieces, culminating in a durable and visually captivating composition.
Begin by applying flux to the joints, ensuring a clean and strong bond between the lead came and glass pieces. The flux facilitates the flow of molten solder, promoting adhesion and preventing oxidation, laying the foundation for seamless and enduring connections.
As the soldering iron heats to the optimal temperature, the molten solder is delicately applied to the joints, creating a fusion that unites the lead came and glass pieces. The rhythmic motion of the soldering iron, guided by steady hands and unwavering focus, transforms the lead came and glass into a cohesive and resilient structure.
Embrace the meditative cadence of soldering, allowing the molten solder to flow along the lead came, forming robust and elegant bonds that withstand the test of time. As the solder solidifies, it encapsulates the joints, reinforcing the structural integrity of the window while imparting a subtle sheen that enhances the visual allure of the design.
Throughout this process, meticulous attention to detail is paramount, ensuring that each joint is seamlessly soldered to create a unified and enduring composition. The artistry of soldering extends beyond mere craftsmanship, infusing the window with a sense of permanence and timeless beauty.
As the final joints are meticulously soldered, a sense of accomplishment and reverence washes over you, knowing that the leaded glass window has transcended its individual components to become a true work of art. The soldering of joints marks the culmination of the creative journey, infusing the design with enduring strength and captivating allure, ready to illuminate its surroundings with timeless beauty and artistry.
Cleaning and Finishing
With the meticulous assembly and soldering of the leaded glass window complete, the final stage involves the essential processes of cleaning and finishing, elevating the window to its full potential. This transformative phase ensures that the window not only radiates timeless beauty but also exudes a pristine and polished allure that captivates the eye.
Begin by gently cleaning the entire surface of the leaded glass window using a mild detergent or glass cleaner, ensuring that any residual flux or soldering marks are meticulously removed. A soft cloth or sponge can be used to delicately cleanse the glass and lead came, restoring their luster and clarity. This meticulous cleaning process serves to unveil the true brilliance of the glass, allowing its vibrant colors and textures to shine with unparalleled radiance.
Following the cleansing process, the application of patina to the lead came imparts a rich and aged appearance, enhancing the visual impact of the design. The patina, available in various shades, can be carefully applied to the lead came using a small brush, allowing it to settle and imbue the lead with a subtle and captivating hue. This transformative step not only adds depth and character to the lead came but also harmonizes the overall aesthetic of the window, infusing it with a sense of timeless allure.
As the patina sets, a final round of cleaning ensures that the leaded glass window emerges in its full splendor, free from any residual marks or blemishes. A gentle polish with a soft cloth or buffing pad further enhances the luminosity of the glass, allowing it to radiate with a captivating sheen that reflects the interplay of light and color.
With the cleaning and finishing process complete, the leaded glass window stands as a testament to the meticulous craftsmanship and unwavering dedication poured into its creation. Each glass piece, lead came, and soldered joint now exudes a timeless allure, ready to grace its surroundings with enduring beauty and artistry. The transformative journey of crafting a leaded glass window culminates in this stage, where meticulous care and attention to detail elevate the window to a true work of art, poised to illuminate its environment with captivating radiance.
Frequently Asked Questions about How To Make Leaded Glass Window
Was this page helpful?
At Storables.com, we guarantee accurate and reliable information. Our content, validated by Expert Board Contributors, is crafted following stringent Editorial Policies. We're committed to providing you with well-researched, expert-backed insights for all your informational needs.


0 thoughts on “How To Make Leaded Glass Window”