Home>Furniture & Design>Interior Design Trends>How To Install Stained Glass Window

Interior Design Trends
How To Install Stained Glass Window
Modified: August 28, 2024
Learn how to install stained glass windows and stay updated with the latest interior design trends. Enhance your space with timeless elegance.
(Many of the links in this article redirect to a specific reviewed product. Your purchase of these products through affiliate links helps to generate commission for Storables.com, at no extra cost. Learn more)
Introduction
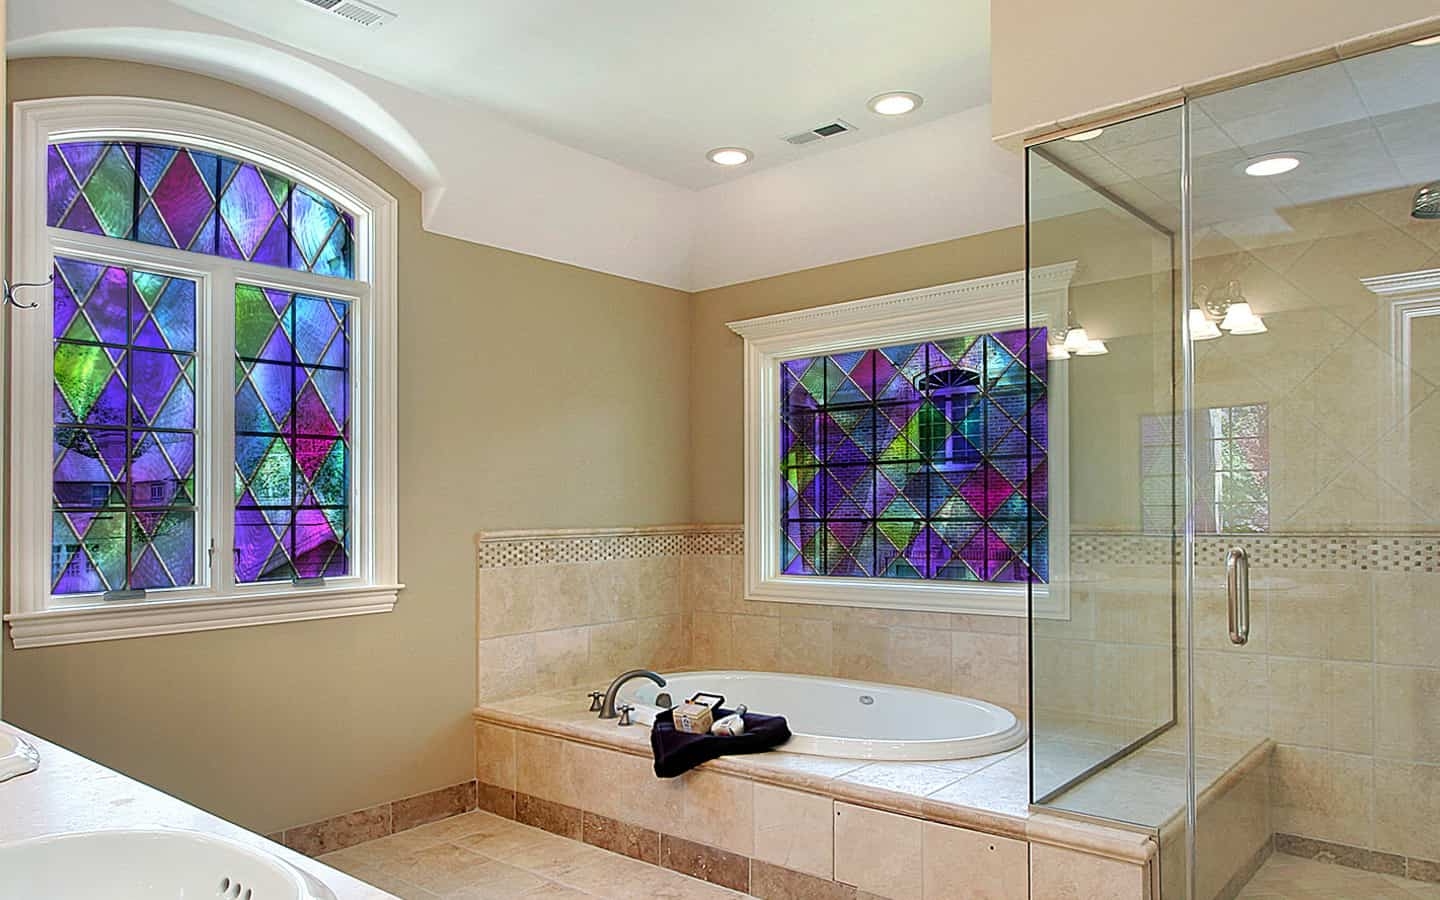
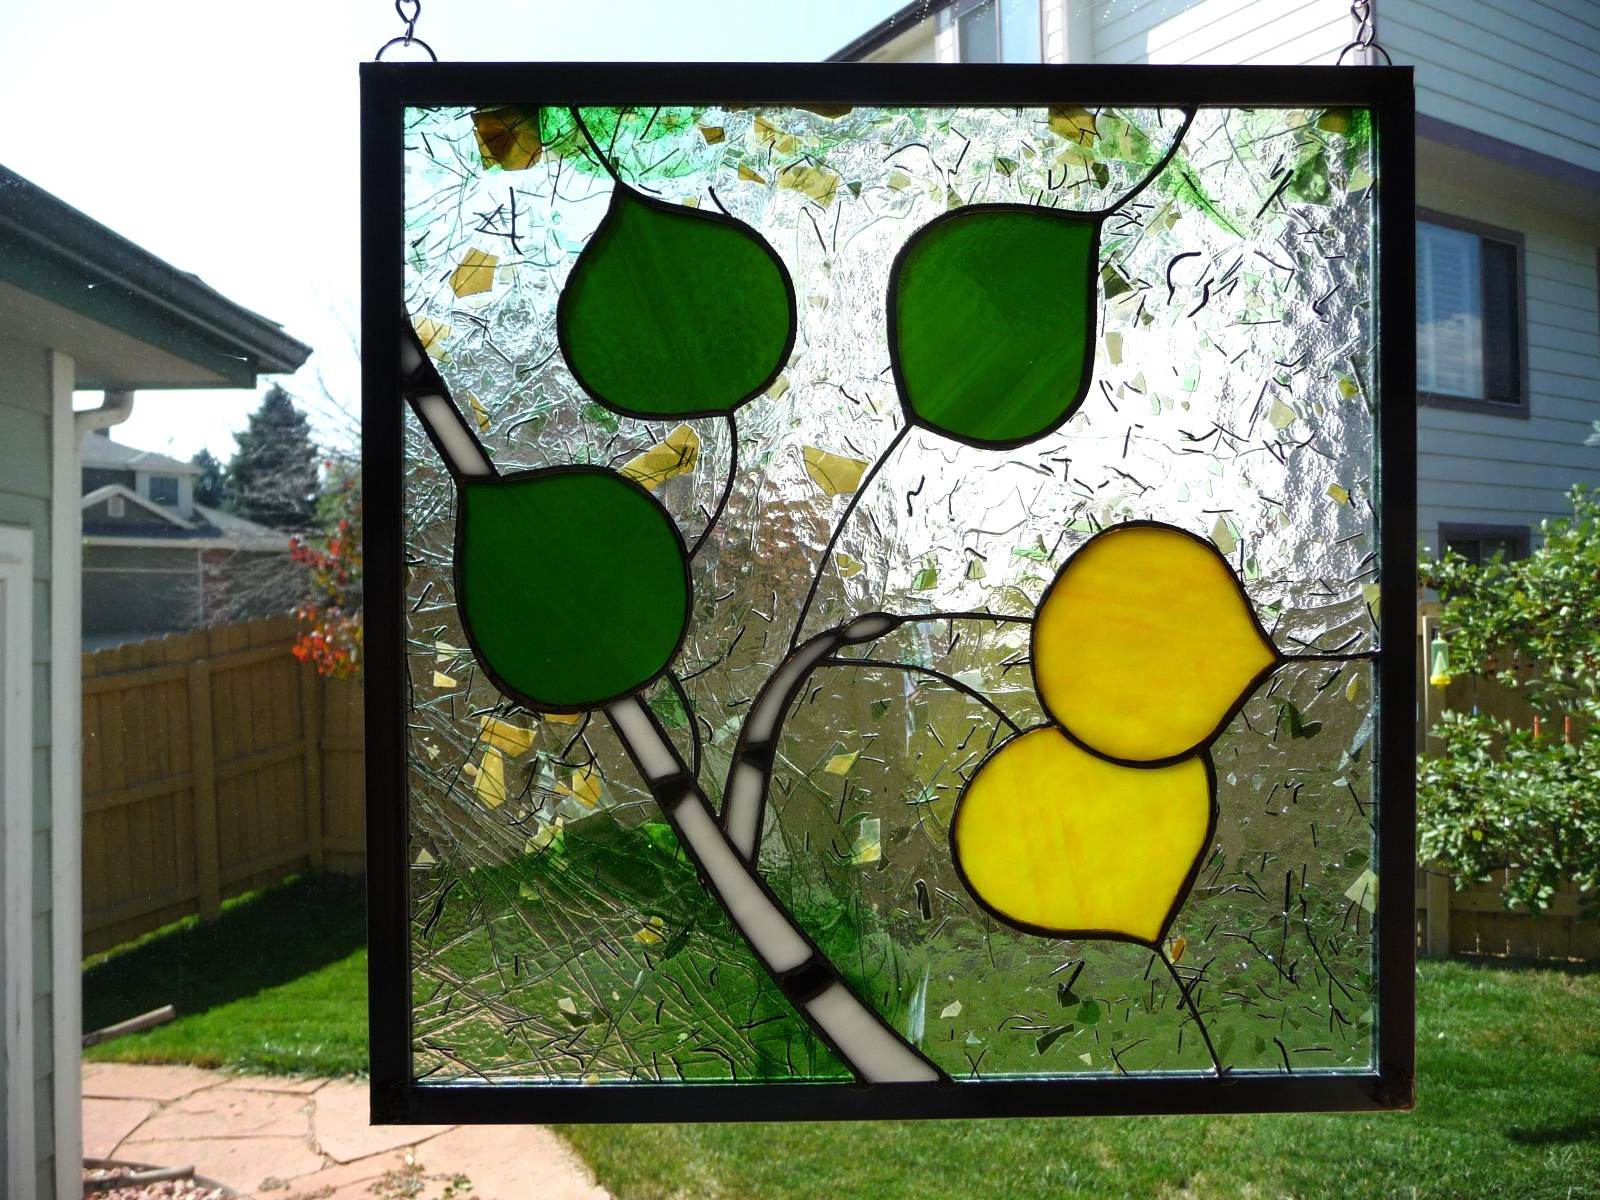
Installing stained glass windows can add a touch of timeless elegance and artistic flair to any space. Whether you're looking to enhance the aesthetic appeal of your home or seeking to infuse a sense of grandeur into a commercial setting, the installation of stained glass windows can be a transformative and rewarding endeavor.
Stained glass windows have a rich history dating back to medieval times when they adorned the grand cathedrals of Europe, depicting intricate religious scenes and colorful patterns. Today, stained glass continues to captivate with its mesmerizing play of light and vibrant hues, making it a sought-after design element in both traditional and contemporary settings.
The process of installing stained glass windows requires careful planning, precision, and a keen eye for detail. From gathering the necessary materials and tools to meticulously fitting the glass pieces into the designated window opening, each step demands patience and craftsmanship. However, the end result is a breathtaking display of artistry that can uplift the ambiance of any room and leave a lasting impression on all who behold it.
In this comprehensive guide, we will walk you through the step-by-step process of installing stained glass windows, providing valuable insights and practical tips to ensure a successful and visually stunning outcome. Whether you're a seasoned DIY enthusiast or a novice looking to embark on your first stained glass project, this guide will equip you with the knowledge and confidence to bring the timeless beauty of stained glass into your living or working space. So, roll up your sleeves, unleash your creativity, and let's dive into the enchanting world of stained glass window installation.
Key Takeaways:
- Installing stained glass windows requires meticulous planning, precise measurements, and careful fitting of glass pieces. The process demands patience and craftsmanship but results in a visually stunning and transformative addition to any space.
- The installation of stained glass windows involves securing the panel, applying finishing touches, and admiring the captivating artistry. It not only enhances the visual splendor but also imbues the space with enduring beauty and enchantment.
Read more: What Is A Stained Glass Window
Step 1: Gather Materials and Tools
Before embarking on the installation of stained glass windows, it is crucial to gather all the necessary materials and tools to ensure a smooth and efficient process. Here's a comprehensive list of items you'll need:
Materials:
-
Stained Glass Panels: Select high-quality stained glass panels in the desired colors and textures. Consider the dimensions of the window opening to determine the amount of glass required.
-
Lead Came Strips: These H-shaped lead strips are used to hold the individual glass pieces together, creating a sturdy and cohesive structure.
-
Solder: High-quality solder is essential for joining the lead came strips and securing the glass pieces in place.
-
Flux: Flux is applied to the lead came joints before soldering to facilitate the bonding process and ensure a strong, durable connection.
-
Reinforcement Bars: These metal bars provide additional support for larger stained glass panels, preventing sagging and maintaining structural integrity.
-
Putty: A reliable putty or cement compound is used to seal the edges of the stained glass panel within the window frame, providing insulation and protection against external elements.
-
Safety Equipment: Prioritize safety by acquiring protective gear, including safety glasses, gloves, and a respirator to safeguard against glass shards and fumes during soldering.
Tools:
-
Glass Cutter: A quality glass cutter with a carbide wheel is essential for precisely scoring and cutting the stained glass panels to the required dimensions.
-
Lead Dykes: These specialized pliers are designed for cutting and shaping lead came strips with accuracy and ease.
-
Soldering Iron: Invest in a reliable soldering iron with adjustable temperature settings to ensure clean and secure solder joints.
-
Grinder: A glass grinder equipped with diamond-coated bits is indispensable for refining the edges of the glass pieces, ensuring a perfect fit and smooth finish.
-
Work Surface: Prepare a dedicated work surface, such as a sturdy workbench or table, covered with a smooth, non-abrasive material to support the glass cutting and assembly process.
-
Brushes and Applicators: Various brushes and applicators are needed for applying flux, solder, and putty during different stages of the installation.
-
Measuring Tools: Accurate measurements are crucial, so have a reliable tape measure, T-square, and straightedge on hand for precise sizing and alignment.
By gathering these materials and tools, you'll be well-equipped to commence the installation process with confidence and efficiency. With the foundation laid and the essentials in place, you're ready to move on to the next step of measuring and preparing the window opening for the installation of the exquisite stained glass panels.
Step 2: Measure and Prepare the Window Opening
Accurate measurements and meticulous preparation are essential prerequisites for a successful stained glass window installation. Before diving into the intricate process of cutting and fitting the stained glass pieces, it is crucial to measure the window opening with precision and ensure that the surrounding framework is conducive to accommodating the stained glass panel.
Read more: How Are Stained Glass Windows Made
Measuring the Window Opening
Begin by carefully measuring the dimensions of the window opening using a reliable tape measure, ensuring that you record the width, height, and depth of the space. It is advisable to take multiple measurements at different points to account for any variations or irregularities in the window frame. Additionally, use a T-square and a straightedge to verify that the opening is perfectly square and level, as any deviations can impact the fitting and stability of the stained glass panel.
Assessing the Window Frame
Next, thoroughly examine the condition of the window frame and surrounding surfaces to identify any areas that may require repair or reinforcement. Look for signs of rot, decay, or structural instability, as these issues must be addressed before proceeding with the installation. Additionally, ensure that the frame is free from any obstructions or protrusions that could impede the placement of the stained glass panel.
Preparing the Surrounding Area
Create a clean and organized workspace by clearing any debris, dust, or obstructions from the window sill and surrounding surfaces. This will provide a conducive environment for handling the delicate stained glass panels and minimize the risk of damage during the installation process. Additionally, protect the surrounding areas with drop cloths or protective coverings to safeguard against accidental spills or debris.
Securing the Support Structure
If the window opening lacks adequate support for the stained glass panel, consider installing reinforcement bars or additional framing to ensure the stability and longevity of the installation. These support structures are especially crucial for larger or heavier stained glass panels, as they help distribute the weight and minimize the risk of sagging or distortion over time.
By meticulously measuring the window opening, assessing the condition of the frame, and preparing the surrounding area, you lay the groundwork for a seamless and successful installation of the exquisite stained glass panel. With the window opening primed and ready, you can proceed to the next step of cutting and fitting the stained glass pieces with confidence and precision.
Read more: How To Remove Stains From Glass Windows
Step 3: Cut and Fit the Stained Glass Pieces
With the window opening meticulously prepared, it's time to delve into the intricate process of cutting and fitting the stained glass pieces. This step demands precision, patience, and a keen eye for detail to ensure that the individual glass elements come together seamlessly to form a captivating and structurally sound panel.
Cutting the Stained Glass Panels
Begin by carefully transferring the precise measurements of each section of the stained glass panel onto the respective glass pieces using a glass cutter. Exercise caution and a steady hand to score the glass along the marked lines, creating clean and accurate cuts. It's essential to prioritize safety by wearing protective gloves and eyewear to shield against potential glass shards during the cutting process.
Refining the Edges
After cutting the glass pieces, utilize a glass grinder equipped with diamond-coated bits to refine the edges and achieve a perfect fit. The grinder allows for precise shaping and smoothing of the glass edges, ensuring that each piece aligns flawlessly with its counterparts. Take your time with this step, as the quality of the edge refinement directly impacts the overall aesthetics and structural integrity of the stained glass panel.
Fitting the Glass Pieces
Once the individual glass pieces are cut and their edges refined, proceed to fit them together within the lead came strips. Carefully position each piece within its designated section, ensuring a snug and uniform fit. This process demands meticulous attention to detail, as the alignment and spacing of the glass pieces contribute to the overall visual appeal and stability of the panel.
Assembling the Panel
As the glass pieces are fitted within the lead came framework, use lead dykes to cut the came strips to the appropriate lengths and angles, allowing them to seamlessly interconnect and secure the glass pieces in place. The lead came strips serve as the structural backbone of the stained glass panel, providing stability and cohesion while accentuating the delineation between the individual glass elements.
Verifying the Fit and Alignment
Throughout the assembly process, consistently verify the fit and alignment of the glass pieces to ensure a uniform and symmetrical appearance. Adjust the positioning as needed, making subtle refinements to achieve a harmonious composition. This meticulous attention to detail is instrumental in creating a visually stunning and structurally sound stained glass panel.
By meticulously cutting and fitting the stained glass pieces, you lay the foundation for a captivating and enduring installation. With the panel taking shape, the next step involves securing the stained glass within the window opening, bringing the vision of timeless elegance and artistic allure to fruition.
Step 4: Secure the Stained Glass in the Window Opening
Securing the stained glass panel within the window opening is a critical phase that demands meticulous attention to detail and a focus on both aesthetics and structural integrity. The following steps outline the process of securely installing the exquisite stained glass panel, ensuring its stability and longevity as a captivating design element within the space.
Fitting the Stained Glass Panel
Carefully maneuver the stained glass panel into the prepared window opening, ensuring a precise and snug fit. Take into account the surrounding framework and make any necessary adjustments to achieve optimal alignment and positioning. This step requires patience and precision to avoid any undue stress on the glass or the lead came framework.
Read more: How To Install Glass Block Windows
Applying Putty or Cement
Once the stained glass panel is in place, apply a high-quality putty or cement compound along the edges to seal the panel within the window frame. The putty not only provides a secure bond but also serves as a protective barrier against external elements, such as moisture and dust. Work methodically to ensure that the putty is evenly applied and seamlessly integrated with the surrounding framework.
Securing the Panel with Support Bars
For larger or heavier stained glass panels, consider installing support bars or additional reinforcement to distribute the weight and minimize the risk of sagging over time. These support structures play a crucial role in maintaining the stability and structural integrity of the panel, especially in settings where the glass panel is subject to potential vibrations or environmental stressors.
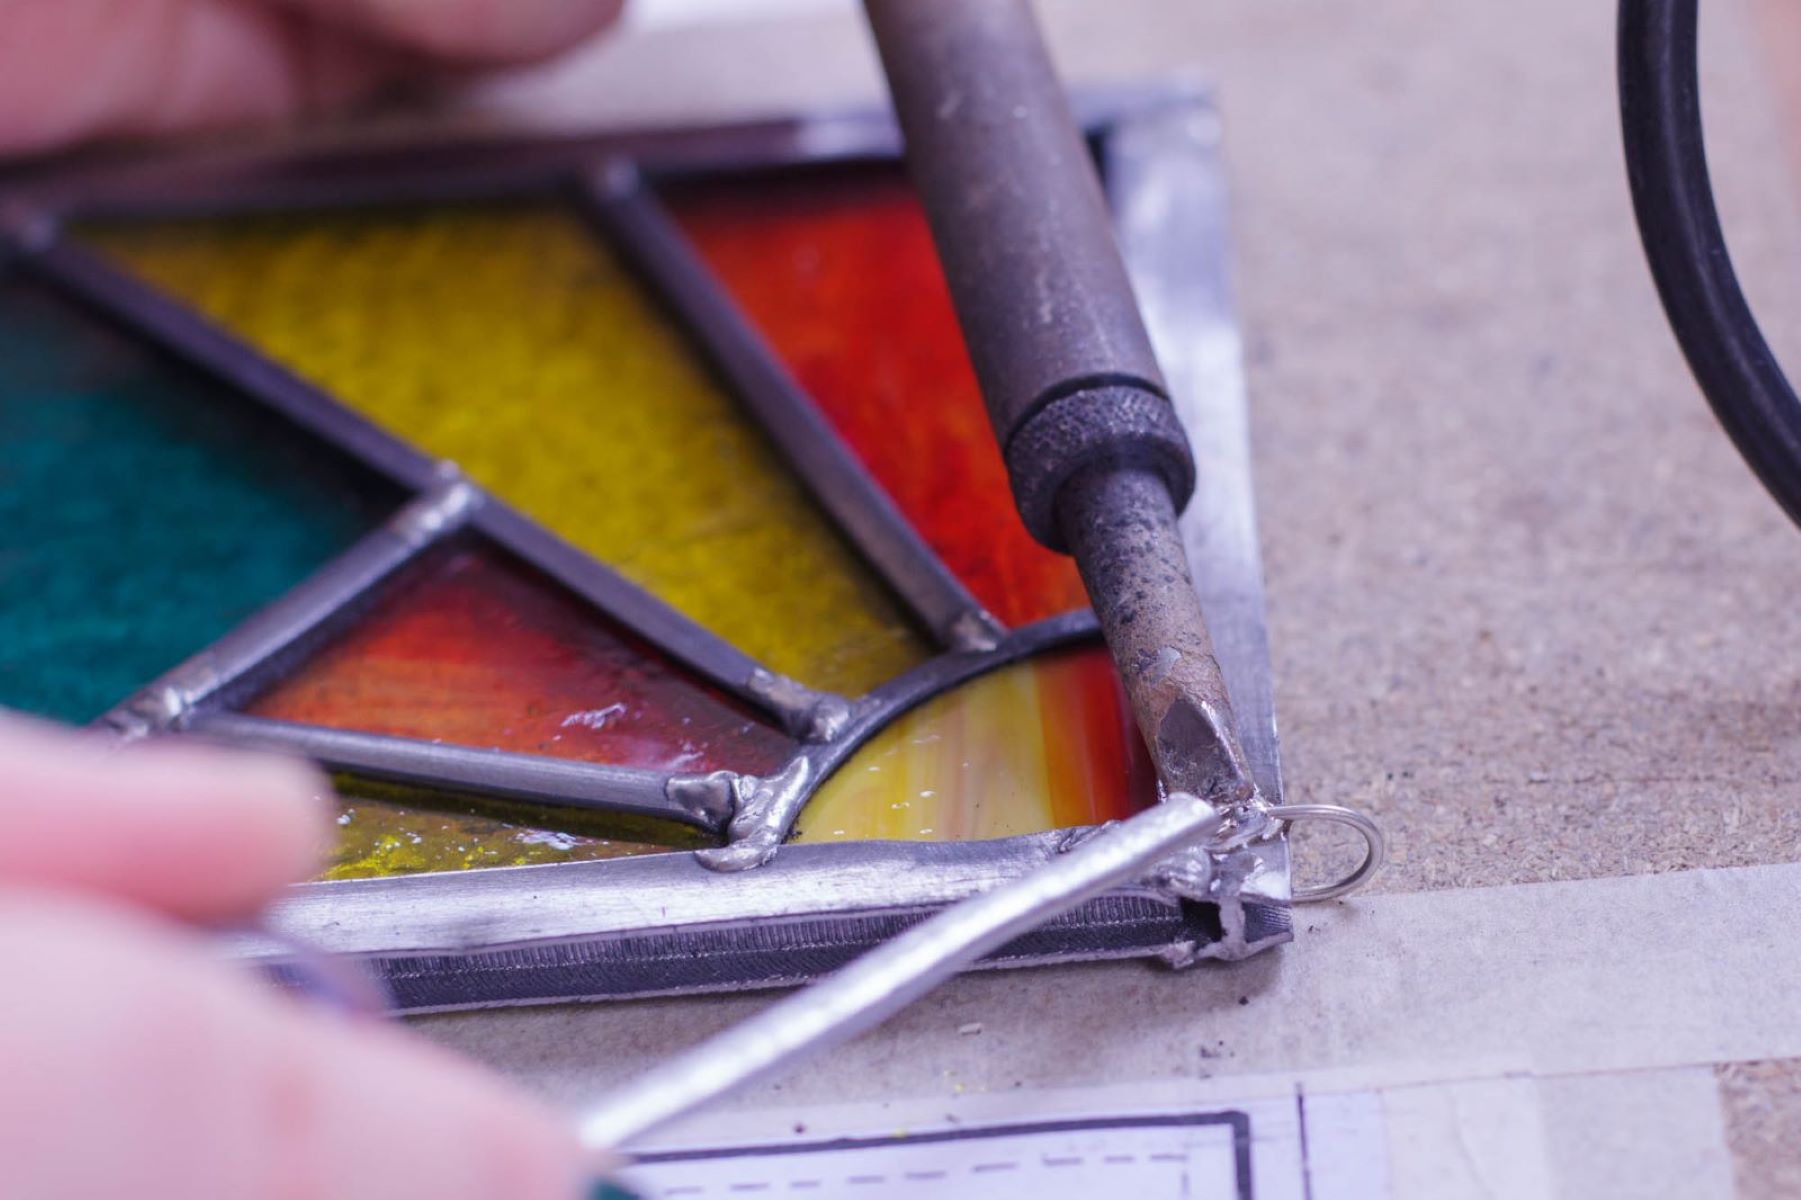
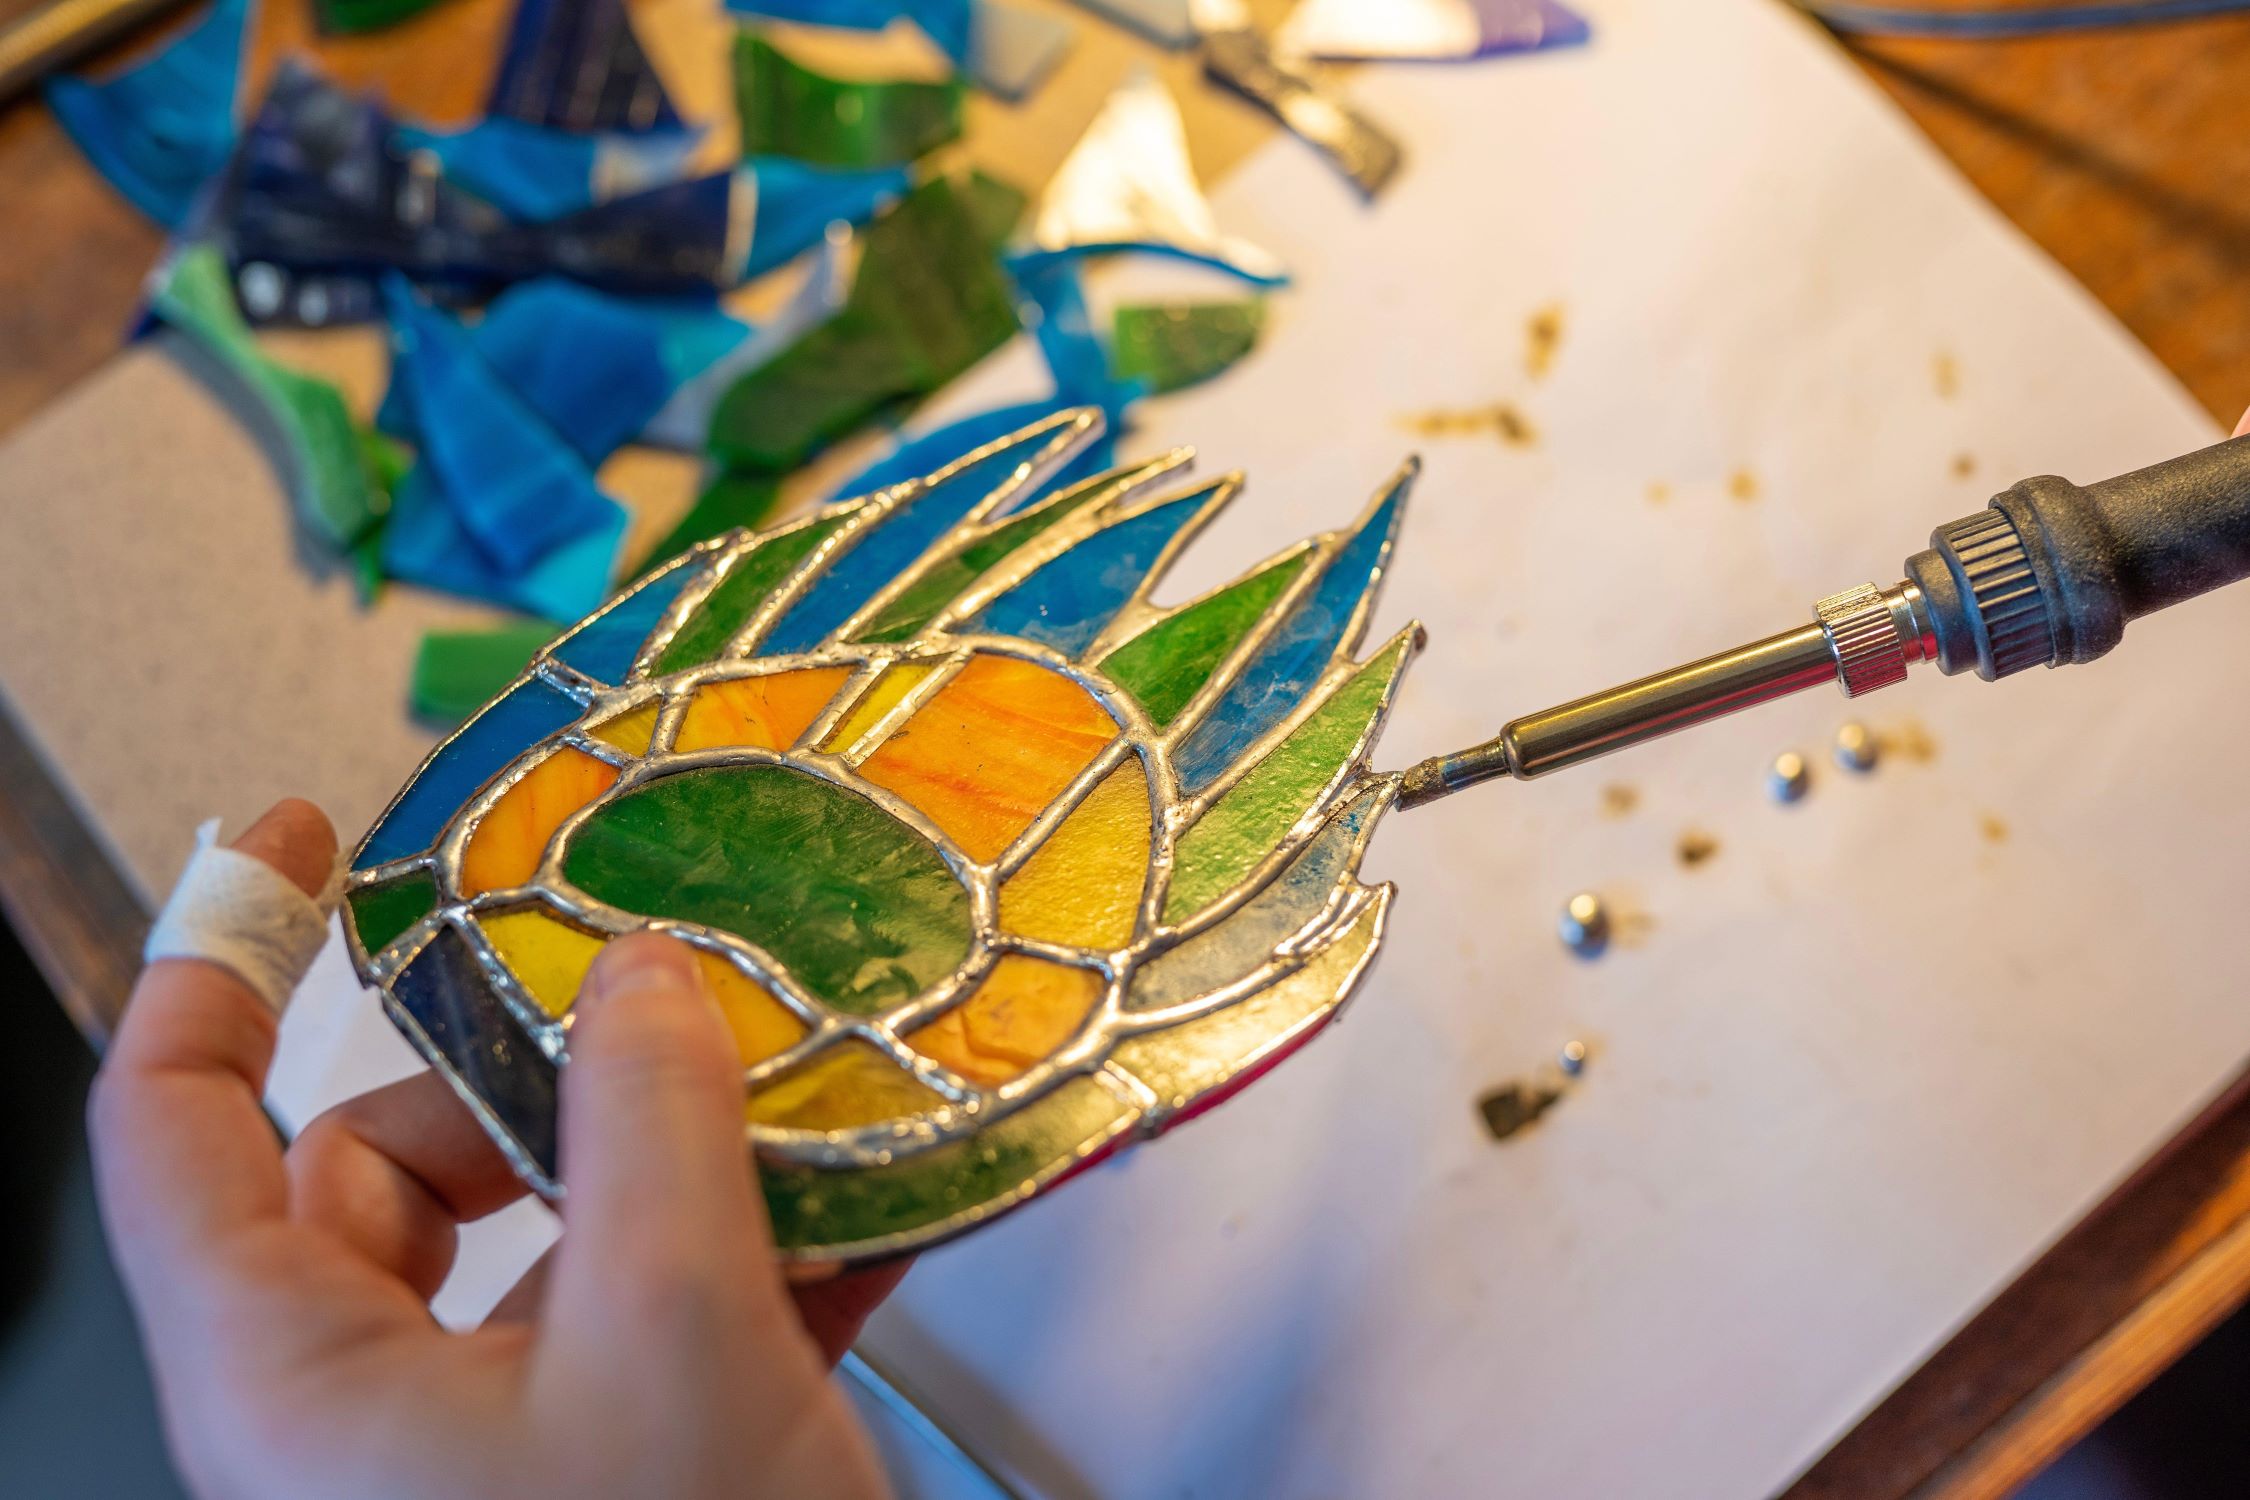
Soldering the Joints
With the stained glass panel securely positioned within the window opening, proceed to solder the joints of the lead came framework. The soldering process creates strong and durable connections, further enhancing the stability of the panel. Exercise caution and precision during soldering to achieve clean and seamless joints, contributing to both the visual appeal and structural robustness of the installation.
Verifying Stability and Alignment
After completing the installation, carefully inspect the stained glass panel to ensure that it is stable, level, and securely anchored within the window opening. Verify the alignment and symmetry of the panel, making any necessary adjustments to achieve a balanced and visually pleasing presentation.
By following these meticulous steps to secure the stained glass panel within the window opening, you ensure that the installation not only exudes timeless elegance but also stands the test of time, enriching the space with its captivating beauty and artistry.
Step 5: Apply Finishing Touches
As the stained glass panel is securely installed within the window opening, the application of finishing touches serves as the final flourish, elevating the visual impact and ensuring the longevity of the installation. This pivotal step encompasses a series of meticulous tasks aimed at refining the aesthetics, enhancing the structural integrity, and safeguarding the stained glass panel for years to come.
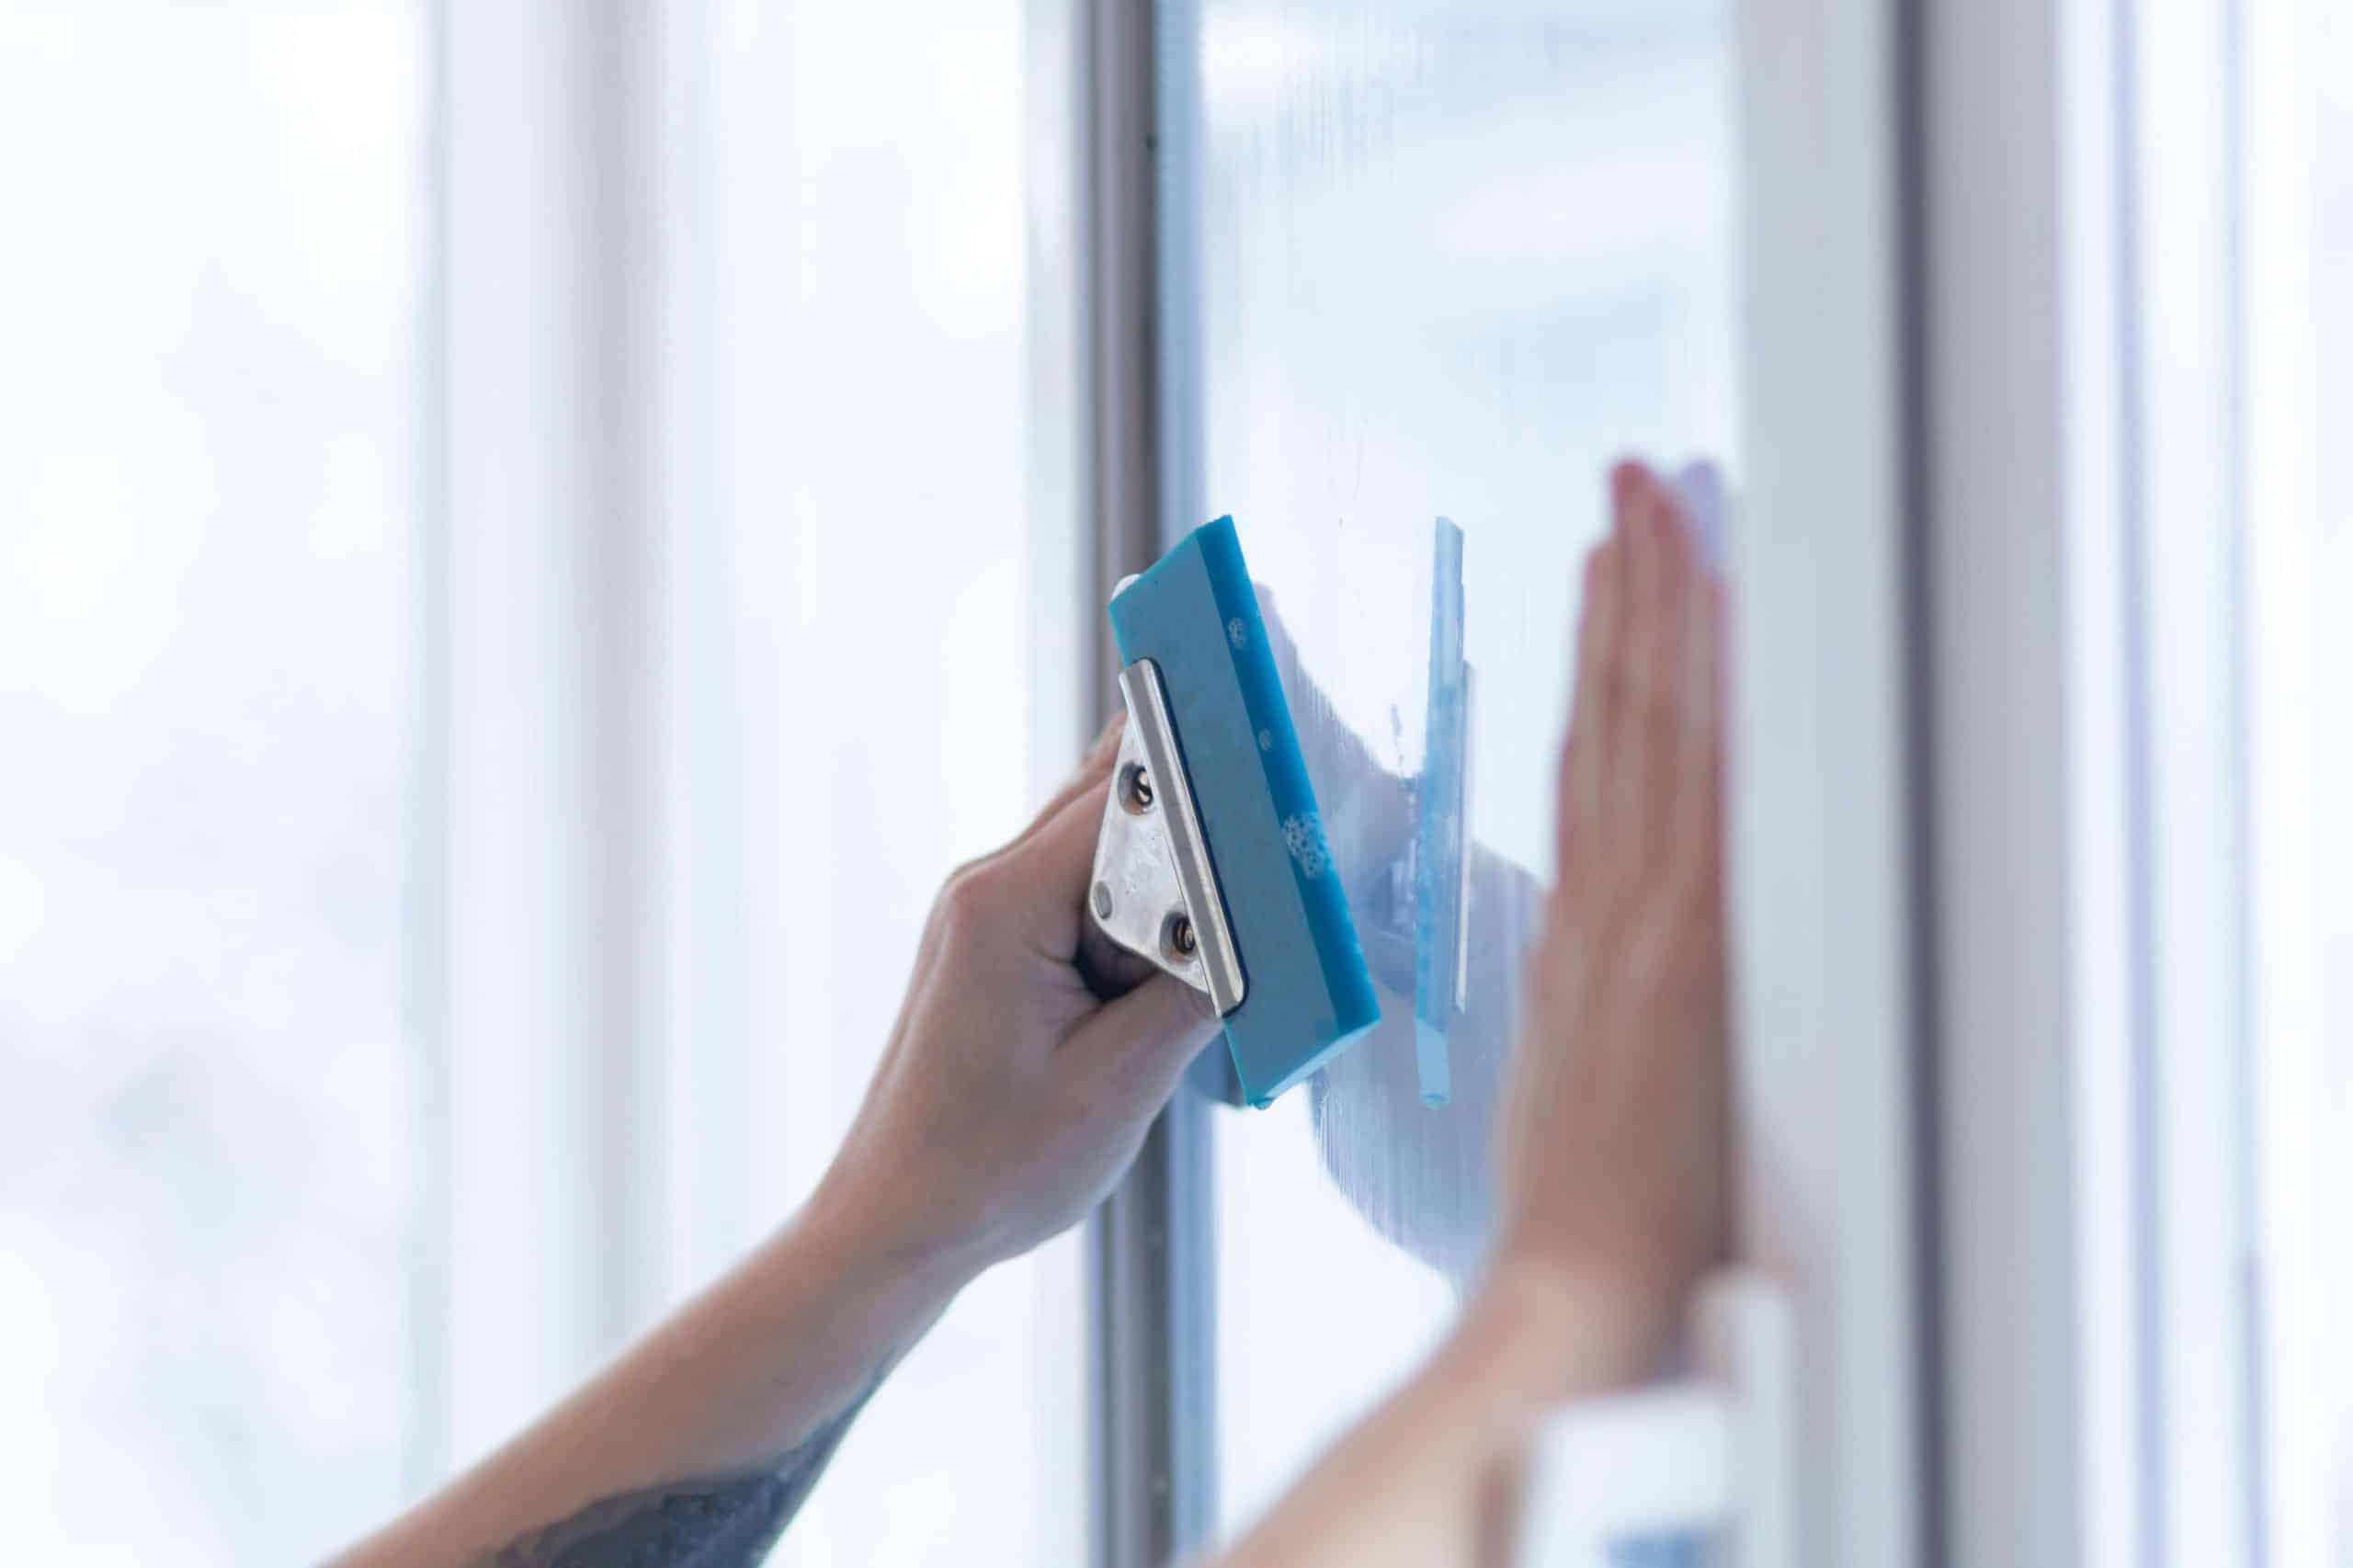
Cleaning and Polishing
Commence the finishing touches by meticulously cleaning the surface of the stained glass panel to remove any residual marks, fingerprints, or debris accumulated during the installation process. Utilize a gentle glass cleaner and soft, lint-free cloths to delicately polish the glass, restoring its luster and translucency. This step not only enhances the visual brilliance of the stained glass but also allows the intricate details and vibrant colors to shine through with captivating clarity.
Sealing and Weatherproofing
To fortify the longevity of the installation, apply a weatherproofing sealant or protective coating to the exterior surface of the stained glass panel. This safeguarding measure shields the glass from environmental elements, such as moisture, UV radiation, and temperature fluctuations, mitigating the risk of deterioration and preserving the panel's pristine appearance over time. Additionally, inspect the putty or cement compound used to seal the edges of the panel, ensuring that it forms a durable and impermeable barrier against external influences.
Inspecting and Reinforcing
Conduct a comprehensive inspection of the entire installation, scrutinizing the lead came joints, support structures, and surrounding framework for any signs of weakness or vulnerability. Address any areas of concern by reinforcing the lead came joints with additional solder, replacing damaged or compromised support bars, and rectifying any discrepancies in the alignment or stability of the stained glass panel. This meticulous scrutiny and reinforcement contribute to the enduring resilience of the installation, safeguarding it against potential stressors and ensuring its longevity.
Read more: How To Stain A Glass
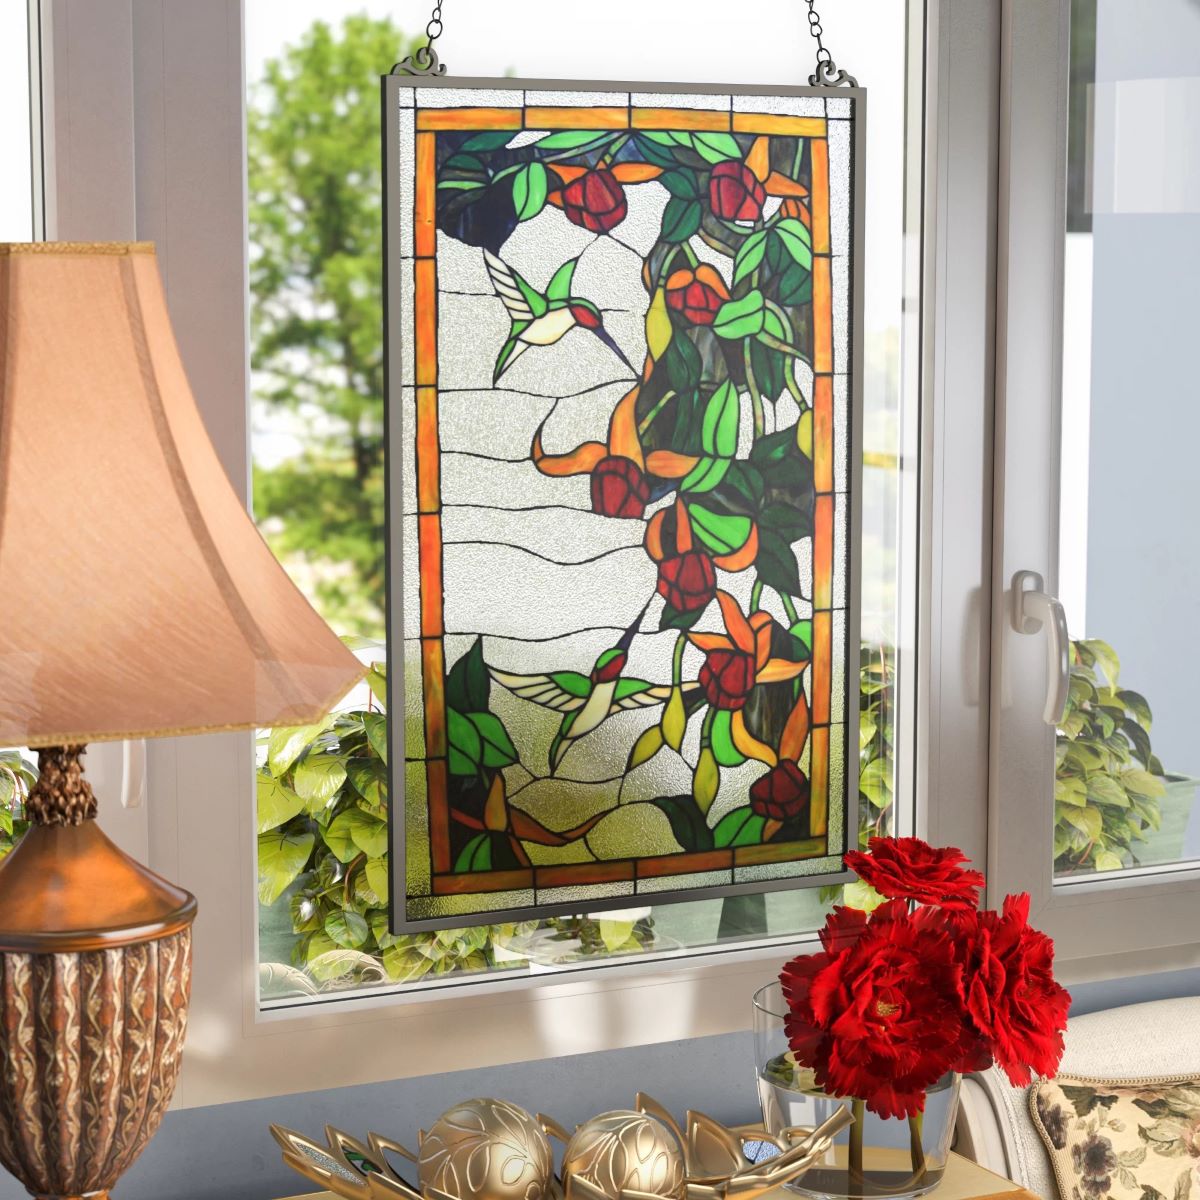
Admiring the Artistry
Finally, take a moment to step back and admire the captivating artistry and timeless allure of the installed stained glass panel. Observe how the interplay of light and color breathes life into the space, casting enchanting patterns and hues that evoke a sense of wonder and sophistication. Embrace the transformative impact of the stained glass installation, as it infuses the environment with a harmonious blend of artistic expression and architectural elegance.
By meticulously applying these finishing touches, you not only enhance the visual splendor and structural integrity of the stained glass installation but also imbue the space with a sense of enduring beauty and enchantment. The culmination of these meticulous steps marks the realization of a captivating vision, as the timeless allure of stained glass becomes an integral and cherished element within the living or working environment.
Conclusion
In conclusion, the installation of stained glass windows is a captivating journey that intertwines artistry, craftsmanship, and architectural elegance. From the meticulous gathering of materials and tools to the precise cutting and fitting of the stained glass pieces, each step in the installation process demands patience, precision, and a deep appreciation for the timeless allure of stained glass.
As the stained glass panel is securely positioned within the window opening, the application of finishing touches serves as the final act, elevating the visual impact and ensuring the longevity of the installation. The meticulous cleaning, sealing, and reinforcement measures not only enhance the aesthetic brilliance of the stained glass but also fortify its resilience against environmental influences, preserving its captivating beauty for years to come.
The transformative impact of stained glass extends beyond its visual allure, as it infuses the environment with a harmonious blend of artistic expression and architectural elegance. The interplay of light and color creates an enchanting ambiance, casting mesmerizing patterns and hues that evoke a sense of wonder and sophistication. Whether adorning a residential space, a place of worship, or a commercial establishment, stained glass windows stand as timeless testaments to the enduring legacy of art and craftsmanship.
As we reflect on the enchanting world of stained glass window installation, it becomes evident that this age-old art form continues to captivate hearts and minds, transcending generations and cultural boundaries. The installation of stained glass windows is not merely a technical endeavor; it is a celebration of creativity, tradition, and the profound impact of visual art in shaping our surroundings.
In embracing the art of stained glass installation, we honor a legacy of craftsmanship and creativity that has adorned architectural marvels throughout history. By bringing the timeless beauty of stained glass into our living and working spaces, we perpetuate a tradition that transcends time, enriching our environments with a symphony of color, light, and enduring elegance.
As we conclude this comprehensive guide, let the installation of stained glass windows serve as a testament to the enduring allure of art and the transformative power of design. May the captivating beauty of stained glass continue to inspire and elevate our surroundings, weaving a tapestry of timeless elegance and artistic grandeur into the fabric of our lives.
Frequently Asked Questions about How To Install Stained Glass Window
Was this page helpful?
At Storables.com, we guarantee accurate and reliable information. Our content, validated by Expert Board Contributors, is crafted following stringent Editorial Policies. We're committed to providing you with well-researched, expert-backed insights for all your informational needs.


0 thoughts on “How To Install Stained Glass Window”