Home>Furniture & Design>Interior Design Trends>How To Fix Window Glass
Interior Design Trends
How To Fix Window Glass
Modified: August 20, 2024
Learn how to fix window glass and stay updated with the latest interior design trends. Find expert tips and ideas for your home.
(Many of the links in this article redirect to a specific reviewed product. Your purchase of these products through affiliate links helps to generate commission for Storables.com, at no extra cost. Learn more)
Introduction
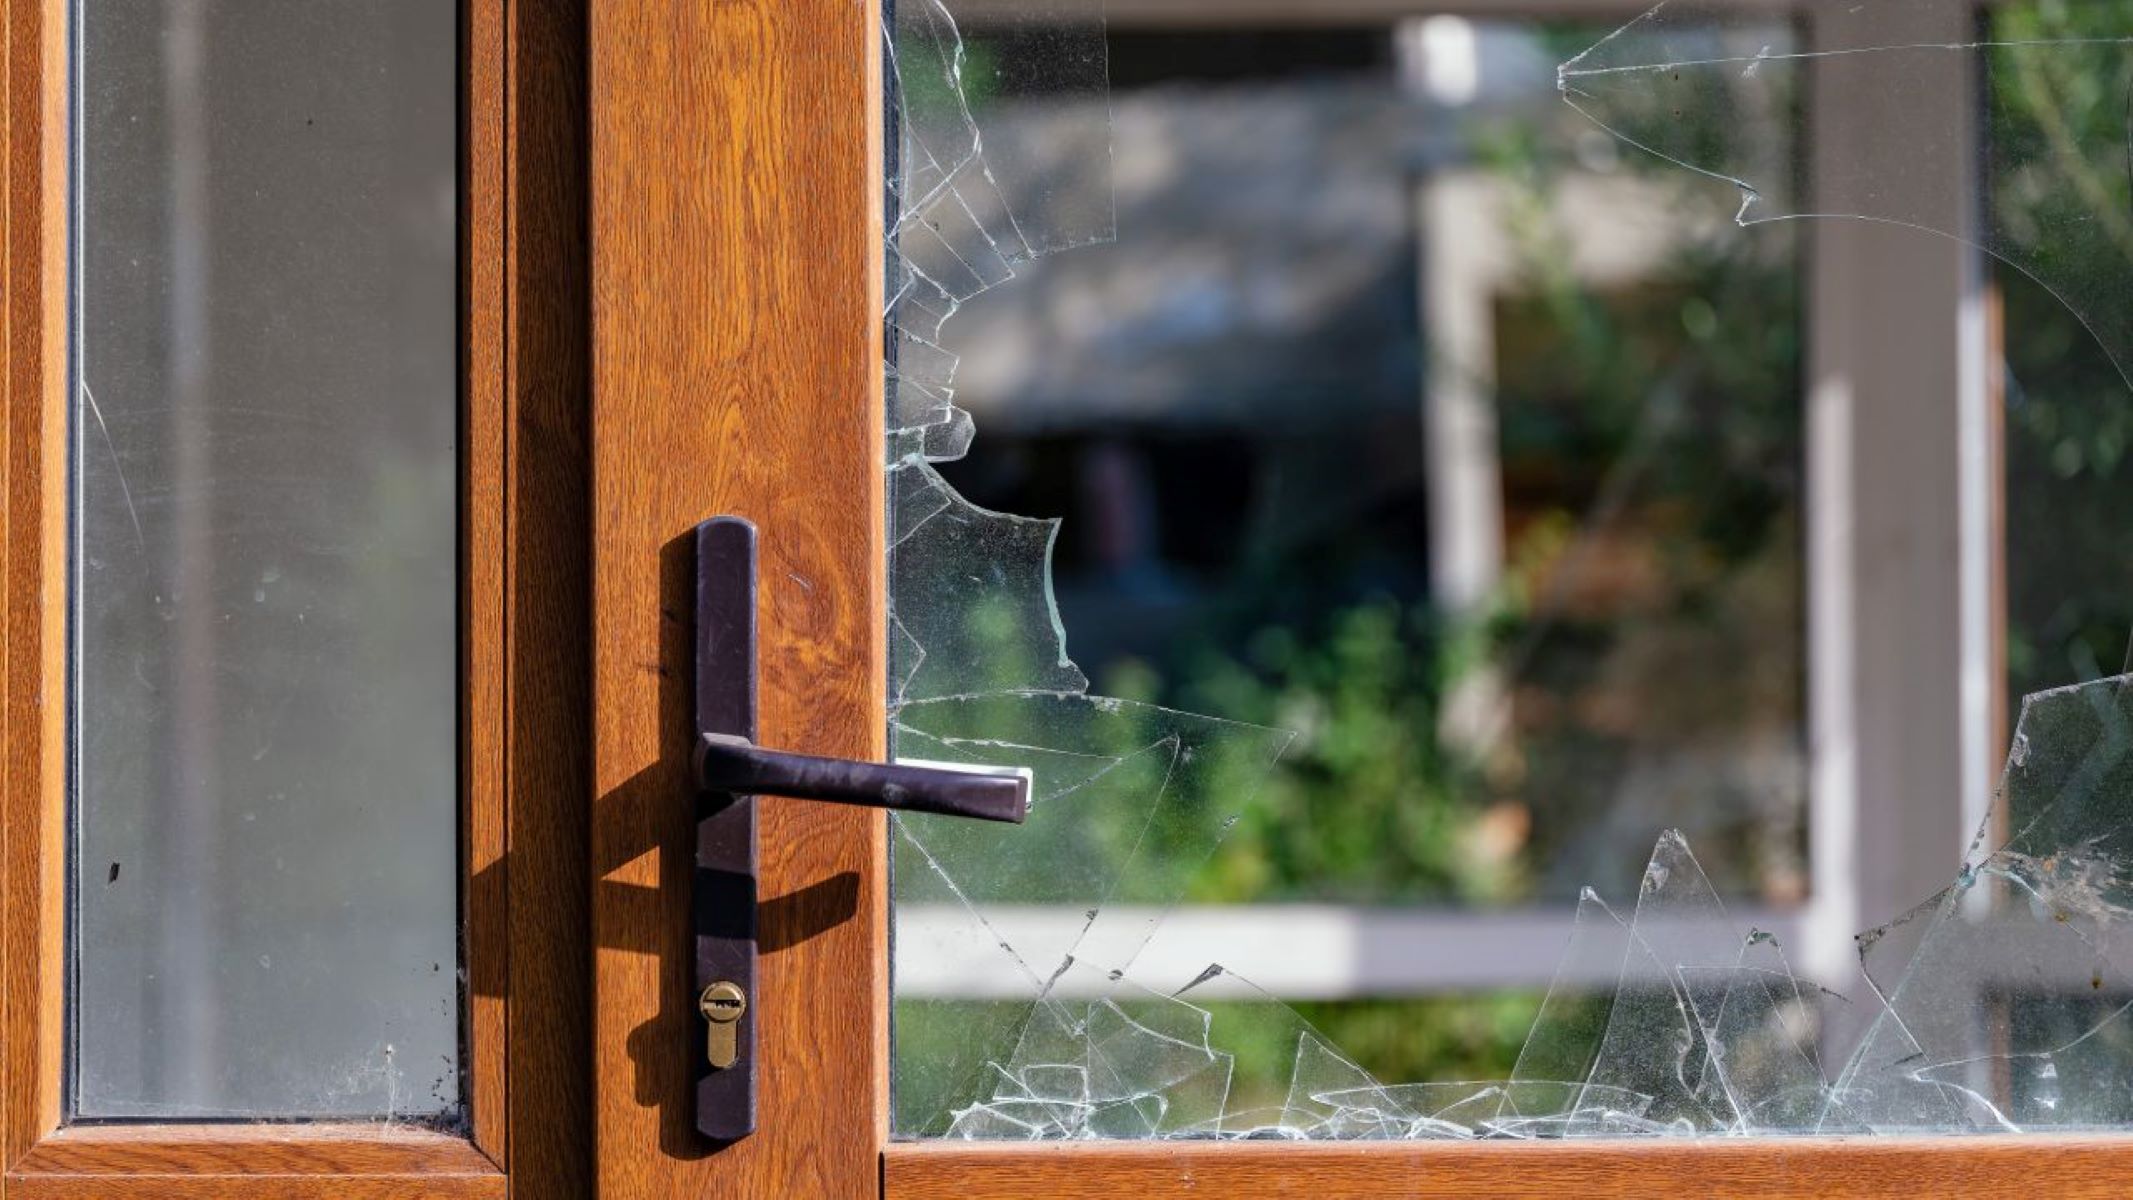
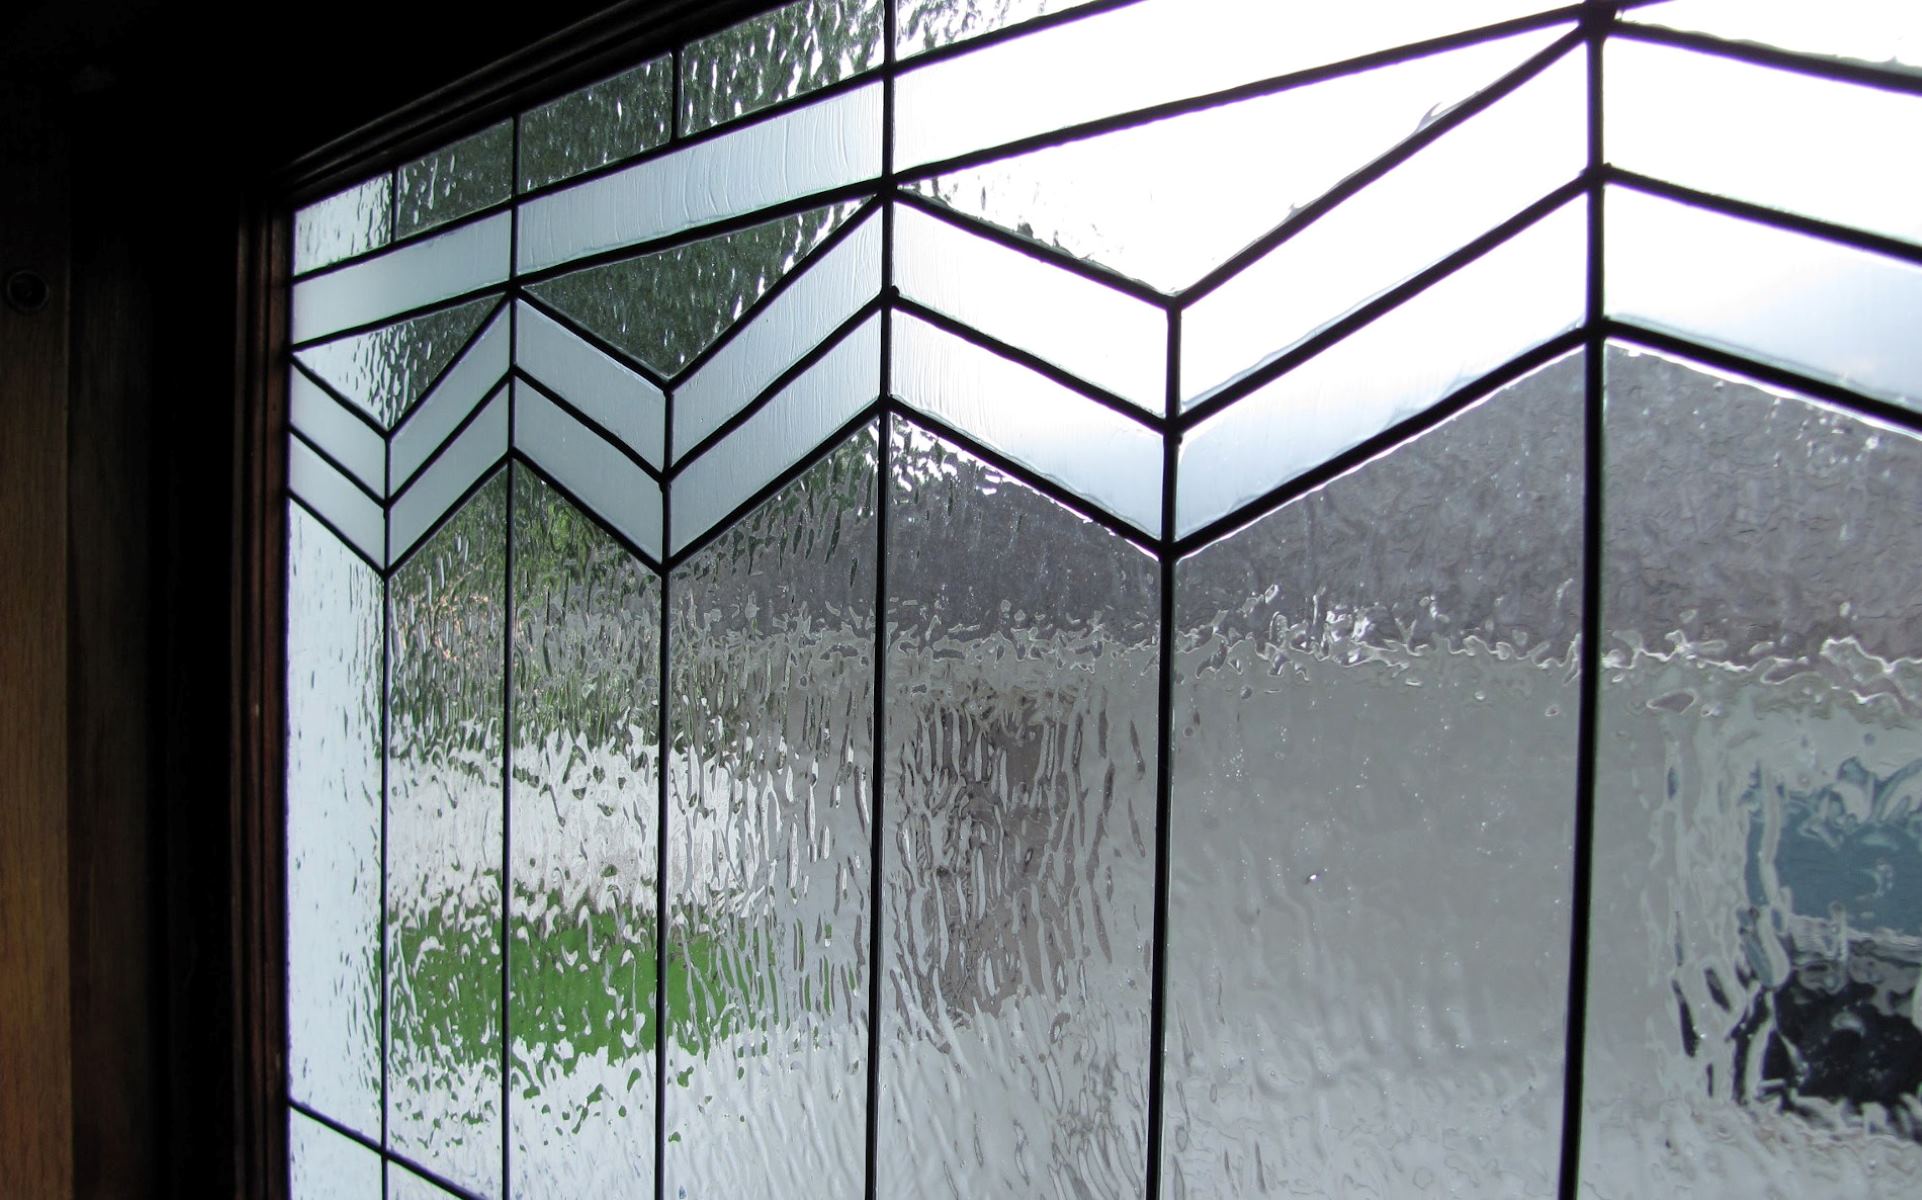
When it comes to maintaining the integrity and aesthetics of your home, ensuring that your windows are in pristine condition is paramount. However, accidents happen, and window glass can become cracked, chipped, or damaged due to various factors such as extreme weather conditions, errant projectiles, or simply wear and tear over time. The good news is that with the right guidance and a bit of elbow grease, you can easily replace damaged window glass and restore the functionality and visual appeal of your windows.
In this comprehensive guide, we will walk you through the step-by-step process of fixing window glass, from assessing the damage to sealing and adding the finishing touches. Whether you're a seasoned DIY enthusiast or a novice homeowner looking to tackle a new project, this guide will equip you with the knowledge and confidence to successfully replace window glass like a pro.
By the end of this journey, you'll not only have a newfound understanding of the intricacies involved in window glass replacement, but you'll also have the satisfaction of knowing that you've revitalized a crucial aspect of your home. So, roll up your sleeves, gather your tools, and let's embark on this rewarding endeavor together.
Key Takeaways:
- Assess the damage, gather tools, remove old glass, install new glass, and seal for a successful DIY window glass replacement. Get ready to revitalize your home with newfound skills and confidence!
- By meticulously assessing, gathering tools, and following step-by-step instructions, you can transform your windows and gain valuable DIY skills. Embrace the satisfaction of a job well done and a rejuvenated living space!
Read more: How To Clean Glass Windows
Assessing the Damage
Before diving into the process of fixing window glass, it's crucial to thoroughly assess the extent of the damage. This initial step sets the stage for a successful repair, ensuring that you have a clear understanding of the scope of work required. Here's how to effectively assess the damage:
-
Visual Inspection: Begin by visually examining the damaged window glass from both the interior and exterior of your home. Look for visible cracks, chips, or shattered areas. Take note of the size and location of the damage, as this will inform your approach to the repair process.
-
Check for Safety Hazards: If the damage is extensive and poses a safety risk, such as sharp shards of glass or compromised structural integrity, take necessary precautions to secure the area and prevent any potential accidents. It's essential to prioritize safety throughout the assessment and repair process.
-
Assess the Surrounding Frame: While focusing on the glass, also evaluate the condition of the window frame. Look for signs of decay, water damage, or any issues that may have contributed to the glass damage. Addressing frame-related issues alongside the glass replacement can prevent future problems and ensure a comprehensive repair.
-
Measure the Dimensions: Take precise measurements of the damaged glass area. Accurate measurements are crucial for obtaining the correct replacement glass and ensuring a seamless fit. Use a tape measure to record the width, height, and thickness of the glass, noting any irregularities in shape or size.
-
Identify the Cause: Consider the factors that may have led to the damage. Was it a result of impact, weather-related stress, or underlying structural issues? Understanding the cause can help in implementing preventive measures and choosing the most suitable replacement glass.
By meticulously assessing the damage and its surrounding elements, you'll be equipped with the essential information needed to proceed with confidence to the next phase of the window glass repair process.
Gathering the Necessary Tools and Materials
Before embarking on the task of replacing window glass, it's essential to gather the appropriate tools and materials to ensure a smooth and efficient repair process. Having the right equipment at your disposal will not only streamline the task but also contribute to the overall quality and longevity of the repair. Here's a comprehensive list of the necessary tools and materials you'll need:
Tools:
- Safety Gear: Prioritize safety by equipping yourself with protective gear, including heavy-duty gloves, safety goggles, and a dust mask. These items will safeguard you from potential injuries and exposure to glass particles and debris.
- Putty Knife: A putty knife is essential for removing old glazing compound and residual glass from the window frame. Opt for a sturdy, flexible putty knife that can effectively scrape away debris without damaging the frame.
- Glazier Points: These small, triangular metal clips are used to secure the glass in place within the window frame. They provide stability and prevent the glass from shifting or rattling once installed.
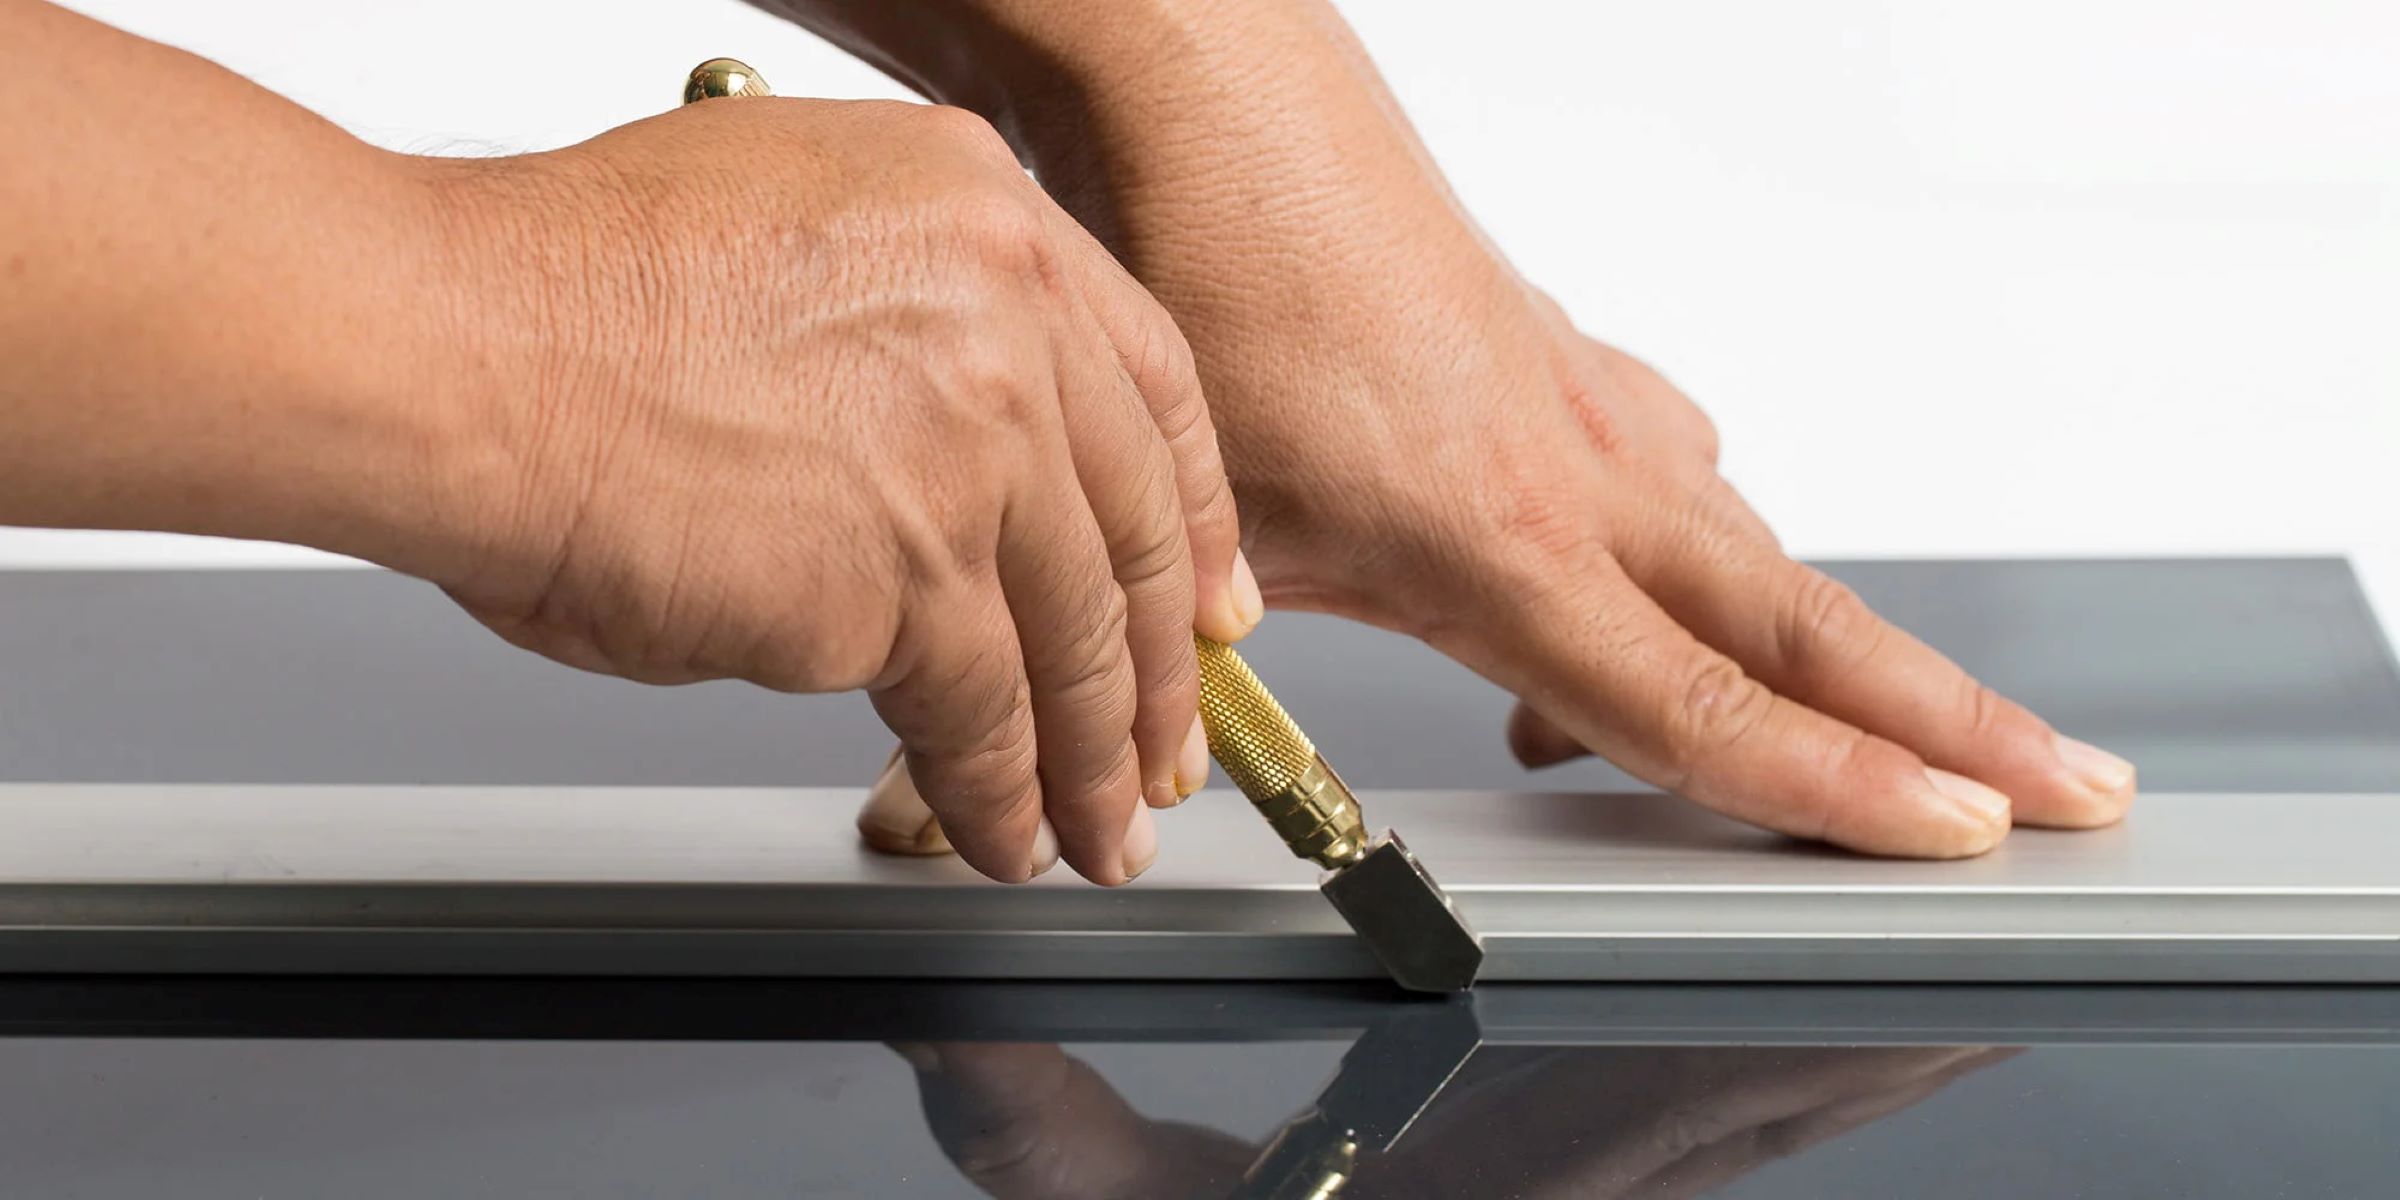
- Glass Cutter: If you're working with a larger sheet of glass that requires resizing, a glass cutter will enable you to score and cut the glass to the precise dimensions needed for your window.
- Caulking Gun: A high-quality caulking gun is indispensable for applying a smooth, even bead of sealant around the newly installed glass. Look for a durable caulking gun that dispenses sealant with precision and control.
- Hammer and Nail Set: These tools are necessary for removing old glazier points and driving in new ones. A small, lightweight hammer and a variety of nail set sizes will facilitate the installation process.
- Measuring Tape: Accurate measurements are crucial for obtaining the right-sized replacement glass. A reliable measuring tape will help you determine the precise dimensions needed for the new glass pane.
- Screwdriver: Depending on the type of window frame, you may need a screwdriver to remove any hardware or components that obstruct access to the damaged glass.
Materials:
- Replacement Glass: Obtain the appropriate type and thickness of glass for your specific window. Consider factors such as single-pane or double-pane glass, tempered or laminated glass, and any additional features required for energy efficiency or noise reduction.
- Glazing Compound or Putty: Choose a high-quality glazing compound or putty that is compatible with your window frame material. This material will secure the glass in place and create a weatherproof seal.
- Glazing Points: Ensure you have an adequate supply of glazier points to secure the new glass within the frame. These small metal clips are essential for stabilizing the glass and preventing movement.
- Window Sealant: Select a durable, weather-resistant window sealant to apply around the perimeter of the new glass. The sealant will create a watertight and airtight seal, enhancing the overall insulation and protection of the window.
- Cleaning Supplies: Prepare a solution of mild detergent and water, along with a lint-free cloth or sponge, for cleaning the window frame and ensuring a clean surface for the new glass installation.
- Paint and Primer (if applicable): If your window frame requires repainting or touch-ups, have the necessary paint and primer on hand to restore the frame's appearance after the glass replacement.
By assembling these essential tools and materials, you'll be well-prepared to tackle the window glass replacement process with confidence and precision. With safety gear in place and the right equipment at your disposal, you're ready to move on to the next phase of the repair journey.
Read more: How To Make Glass Windows
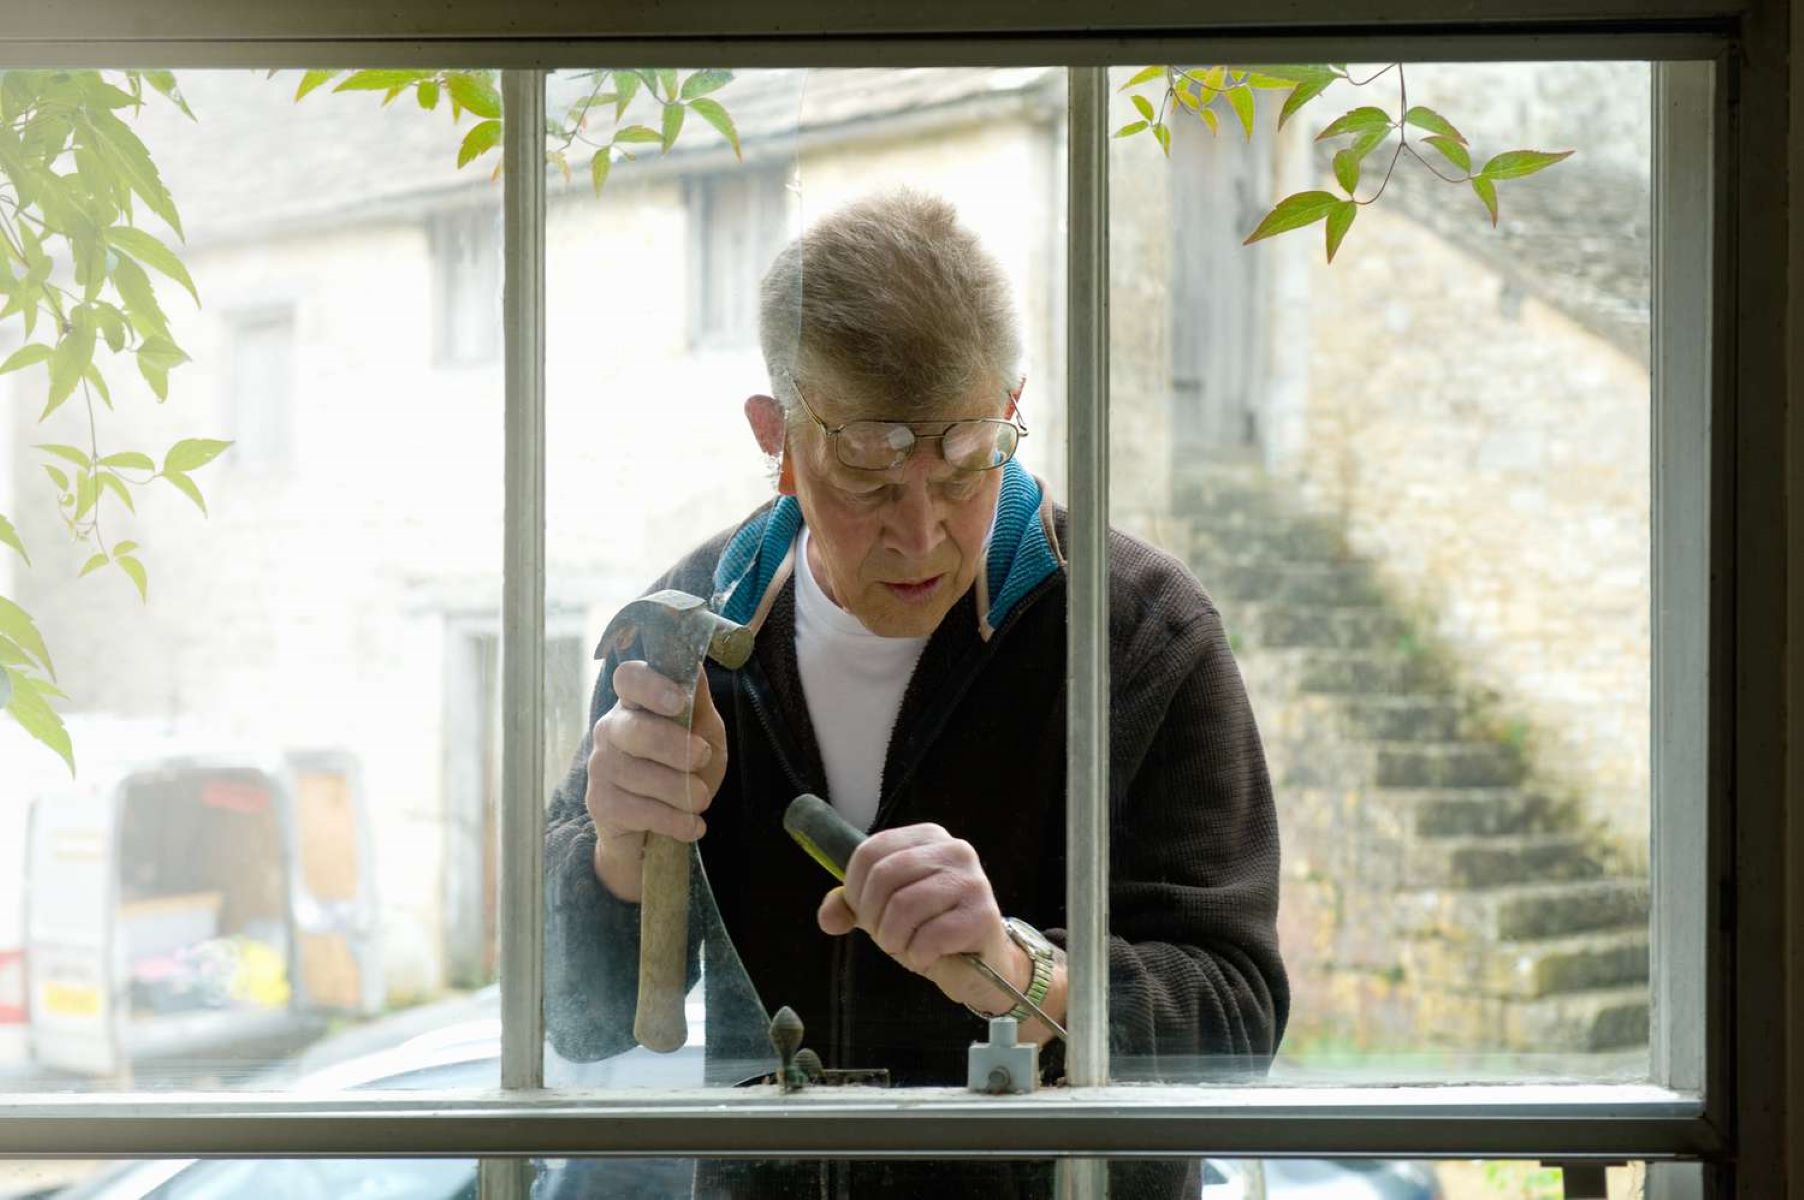
Removing the Old Glass
The process of removing the old glass is a critical step in the window glass replacement journey, requiring precision and care to ensure a safe and effective transition to the new pane. Here's a detailed guide on how to methodically remove the old glass and prepare the window frame for the installation of the replacement pane.
-
Safety First: Before commencing the glass removal process, it's essential to prioritize safety. Put on heavy-duty gloves and safety goggles to protect yourself from potential injuries caused by glass shards or debris. Additionally, ensure that the surrounding area is clear of any obstacles, and take precautions to prevent accidental breakage of the remaining glass.
-
Clearing the Frame: Using a putty knife, carefully remove any old glazing compound or putty from around the edges of the window frame. Gently insert the putty knife between the frame and the old glass, applying gradual pressure to loosen and dislodge the compound. Take your time to avoid damaging the frame during this step.
-
Extracting the Glazier Points: Once the glazing compound is cleared, locate the glazier points securing the glass within the frame. Using a hammer and a nail set, carefully tap the points to loosen them from the frame. Slowly and methodically remove each glazier point, taking care not to jostle or force the glass in the process.
-
Removing the Glass: With the glazing compound and glazier points removed, gently push the old glass from the frame. If the glass is cracked or damaged, handle it with caution to prevent any further breakage. If the glass is intact, consider having a helper support the glass from the opposite side as you push it out to prevent it from falling and causing injury.
-
Cleaning the Frame: Once the old glass is removed, thoroughly clean the window frame and surrounding areas. Use a mild detergent solution and a lint-free cloth to remove any residual debris, old putty, or dirt. Ensure that the frame is dry and free of any obstructions before proceeding to the next phase of the replacement process.
By meticulously following these steps, you'll effectively remove the old glass from the window frame, setting the stage for the seamless installation of the new glass pane. With the frame cleared and prepped, you're now ready to embark on the next phase of the window glass replacement journey.
Installing the New Glass
With the window frame cleared and prepped, the installation of the new glass marks a pivotal phase in the window glass replacement process. This step demands precision, attention to detail, and a methodical approach to ensure a secure and seamless fit for the replacement pane. Here's a comprehensive guide on how to effectively install the new glass and complete this crucial stage of the repair journey.
-
Preparing the Frame: Before placing the new glass, inspect the window frame to ensure it is clean, dry, and free of any residual debris or old putty. Take this opportunity to address any underlying issues with the frame, such as decay or damage, to guarantee a stable foundation for the new glass.
-
Fitting the Replacement Glass: Carefully position the new glass within the frame, ensuring that it aligns precisely with the dimensions and contours of the window opening. If the replacement glass requires resizing, utilize a glass cutter to achieve the accurate measurements, taking into account any necessary allowances for expansion and contraction.
-
Securing the Glass: Once the replacement glass is in place, gently press it against the frame to create a snug fit. With the glass properly positioned, insert glazier points along the edges of the frame to secure the glass in position. Use a hammer and nail set to gently tap the glazier points into place, ensuring that the glass remains stable and well-supported.
-
Applying Glazing Compound or Putty: To create a weatherproof seal and enhance the stability of the new glass, apply a uniform bead of glazing compound or putty around the perimeter of the glass. Use a putty knife to carefully press the compound into place, ensuring that it forms a tight seal between the glass and the frame. Smooth out any excess compound for a neat and professional finish.
-
Sealing the Edges: Once the glazing compound is applied, inspect the edges of the glass to verify that the seal is secure and free of gaps. Address any areas that require additional sealing to prevent air or moisture infiltration, ensuring that the new glass is effectively insulated and protected.
By meticulously following these steps, you'll successfully install the new glass, revitalizing the functionality and visual appeal of your window. With the replacement pane securely in place, you're now poised to proceed to the final phase of the window glass replacement process, bringing you one step closer to achieving a fully restored and enhanced window feature in your home.
Sealing and Finishing Touches
As the window glass replacement journey nears its completion, the sealing and finishing touches phase plays a pivotal role in ensuring the longevity, functionality, and aesthetic appeal of the newly installed glass. This critical step involves the application of sealants, addressing any remaining details, and adding the final touches to achieve a polished and professional outcome.
Applying Window Sealant
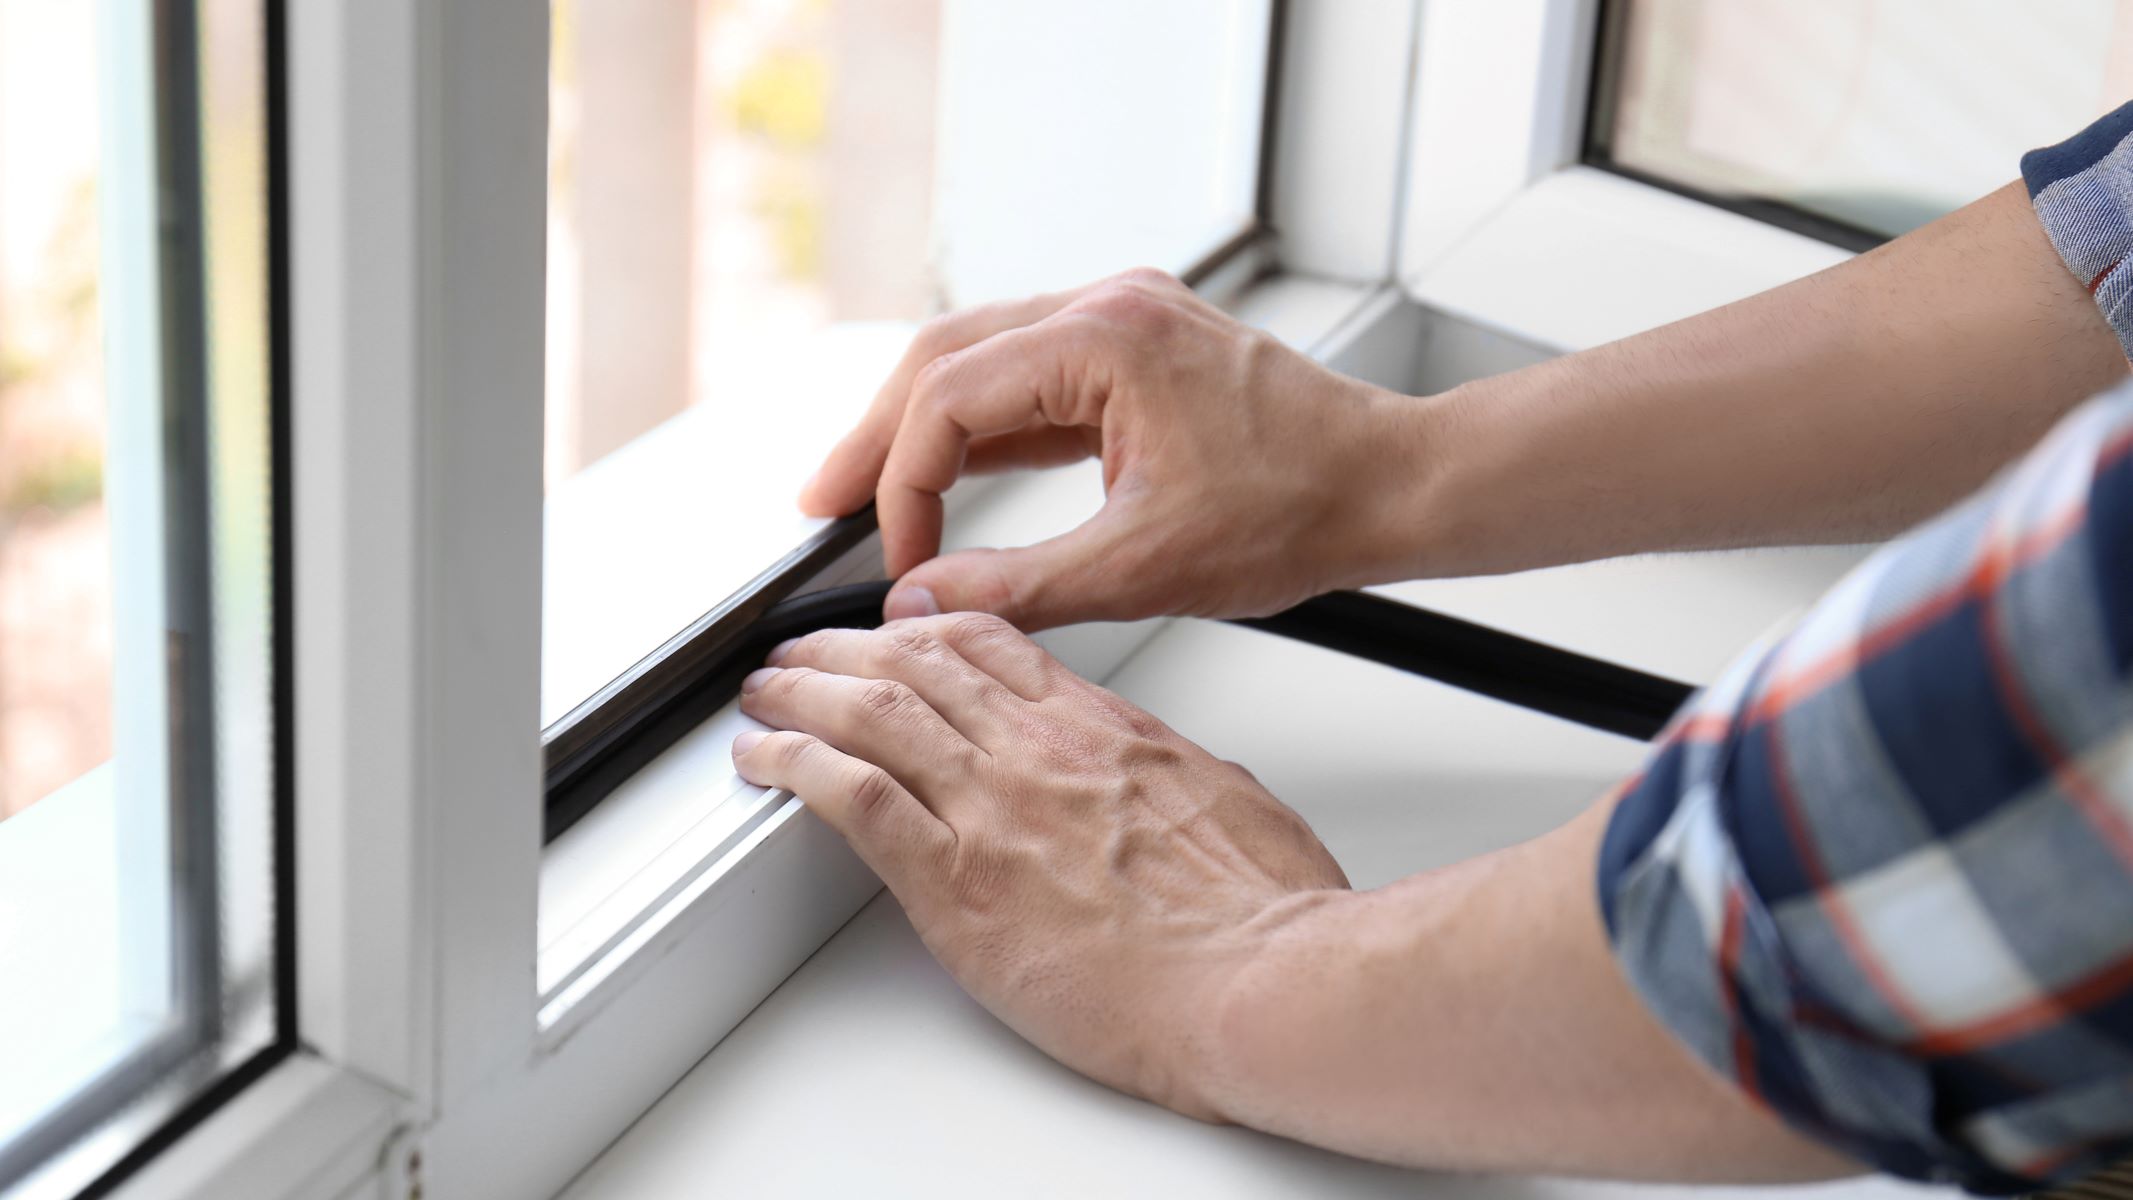
To fortify the integrity of the newly installed glass and enhance its resistance to external elements, the application of a high-quality window sealant is paramount. Select a durable, weather-resistant sealant that is compatible with the window frame material and designed to create a watertight and airtight barrier. Using a caulking gun, carefully apply a continuous bead of sealant along the perimeter of the glass, ensuring a uniform and secure seal. Pay close attention to the corners and edges, where air and moisture infiltration are most likely to occur, and meticulously fill any gaps or voids to achieve comprehensive protection.
Read more: How To Measure Glass For A Window
Inspecting and Refining
With the sealant in place, conduct a thorough inspection of the newly installed glass and its surrounding areas. Verify that the sealant has been applied uniformly and that all edges and seams are effectively sealed. Address any areas that require additional sealing or refinement, ensuring that the entire perimeter of the glass is impeccably sealed and protected. Additionally, take this opportunity to clean any residual sealant or smudges, further enhancing the visual appeal of the window and achieving a pristine finish.
Restoring the Frame (if applicable)
If the window frame requires repainting or touch-ups following the glass replacement, proceed to restore its appearance to complement the newly installed glass. Utilize the appropriate paint and primer to seamlessly blend any repaired areas with the existing frame, achieving a cohesive and refreshed look. Pay attention to detail, ensuring that the frame exudes a renewed vibrancy that harmonizes with the enhanced clarity and functionality of the new glass.
Final Assessment
Conduct a final assessment of the entire window assembly, ensuring that the replacement glass is securely installed, impeccably sealed, and visually appealing. Test the functionality of the window, ensuring smooth operation and a snug fit. Take a moment to appreciate the transformation, knowing that your meticulous efforts have revitalized a crucial element of your home.
By meticulously attending to the sealing and finishing touches, you have not only completed the window glass replacement process but also elevated the overall integrity and allure of your home's windows. With the newly installed glass seamlessly integrated and impeccably sealed, you can revel in the satisfaction of a job well done, knowing that your home now boasts a rejuvenated and enhanced window feature.
Conclusion
In conclusion, the journey of fixing window glass is a testament to the transformative power of DIY home maintenance. By embarking on this endeavor, you've not only restored the functionality and visual appeal of your windows but also gained valuable insights and skills in the realm of home repair. As you reflect on the comprehensive process you've undertaken, it's evident that each step, from assessing the damage to applying the finishing touches, has contributed to the holistic rejuvenation of your window feature.
Throughout this journey, you've embraced the role of a meticulous craftsman, meticulously assessing the damage, gathering the necessary tools and materials, and executing the intricate tasks with precision and care. The attention to detail and commitment to excellence that you've demonstrated are a testament to your dedication to maintaining and enhancing your living space.
Moreover, the knowledge and expertise you've acquired in the realm of window glass replacement extend beyond the immediate task at hand. The skills honed during this process can be applied to future home maintenance endeavors, empowering you to tackle new projects with confidence and proficiency. Whether it's addressing other aspects of window maintenance or venturing into broader DIY initiatives, the experience gained from fixing window glass serves as a foundation for ongoing home improvement pursuits.
As you admire the newly installed glass, impeccably sealed and seamlessly integrated into your window, take pride in the tangible impact of your efforts. Not only have you revitalized a crucial element of your home, but you've also cultivated a sense of accomplishment and self-sufficiency. The satisfaction derived from witnessing the transformation of your windows serves as a reminder of the remarkable capabilities within your grasp.
In essence, the journey of fixing window glass transcends the realm of home repair; it embodies the spirit of empowerment, creativity, and the pursuit of a more vibrant living environment. As you conclude this chapter of the repair process, carry forward the knowledge, confidence, and sense of fulfillment that accompany the successful completion of this project. Embrace the newfound understanding of window maintenance and let it inspire future endeavors, knowing that your home reflects not only your dedication but also the artistry of your craftsmanship.
Frequently Asked Questions about How To Fix Window Glass
Was this page helpful?
At Storables.com, we guarantee accurate and reliable information. Our content, validated by Expert Board Contributors, is crafted following stringent Editorial Policies. We're committed to providing you with well-researched, expert-backed insights for all your informational needs.


0 thoughts on “How To Fix Window Glass”