
Articles
How To Make Window Valances
Modified: August 22, 2024
Learn how to make beautiful window valances with our step-by-step articles. Transform your windows with custom-made valances that add style and elegance to any room.
(Many of the links in this article redirect to a specific reviewed product. Your purchase of these products through affiliate links helps to generate commission for Storables.com, at no extra cost. Learn more)
Introduction
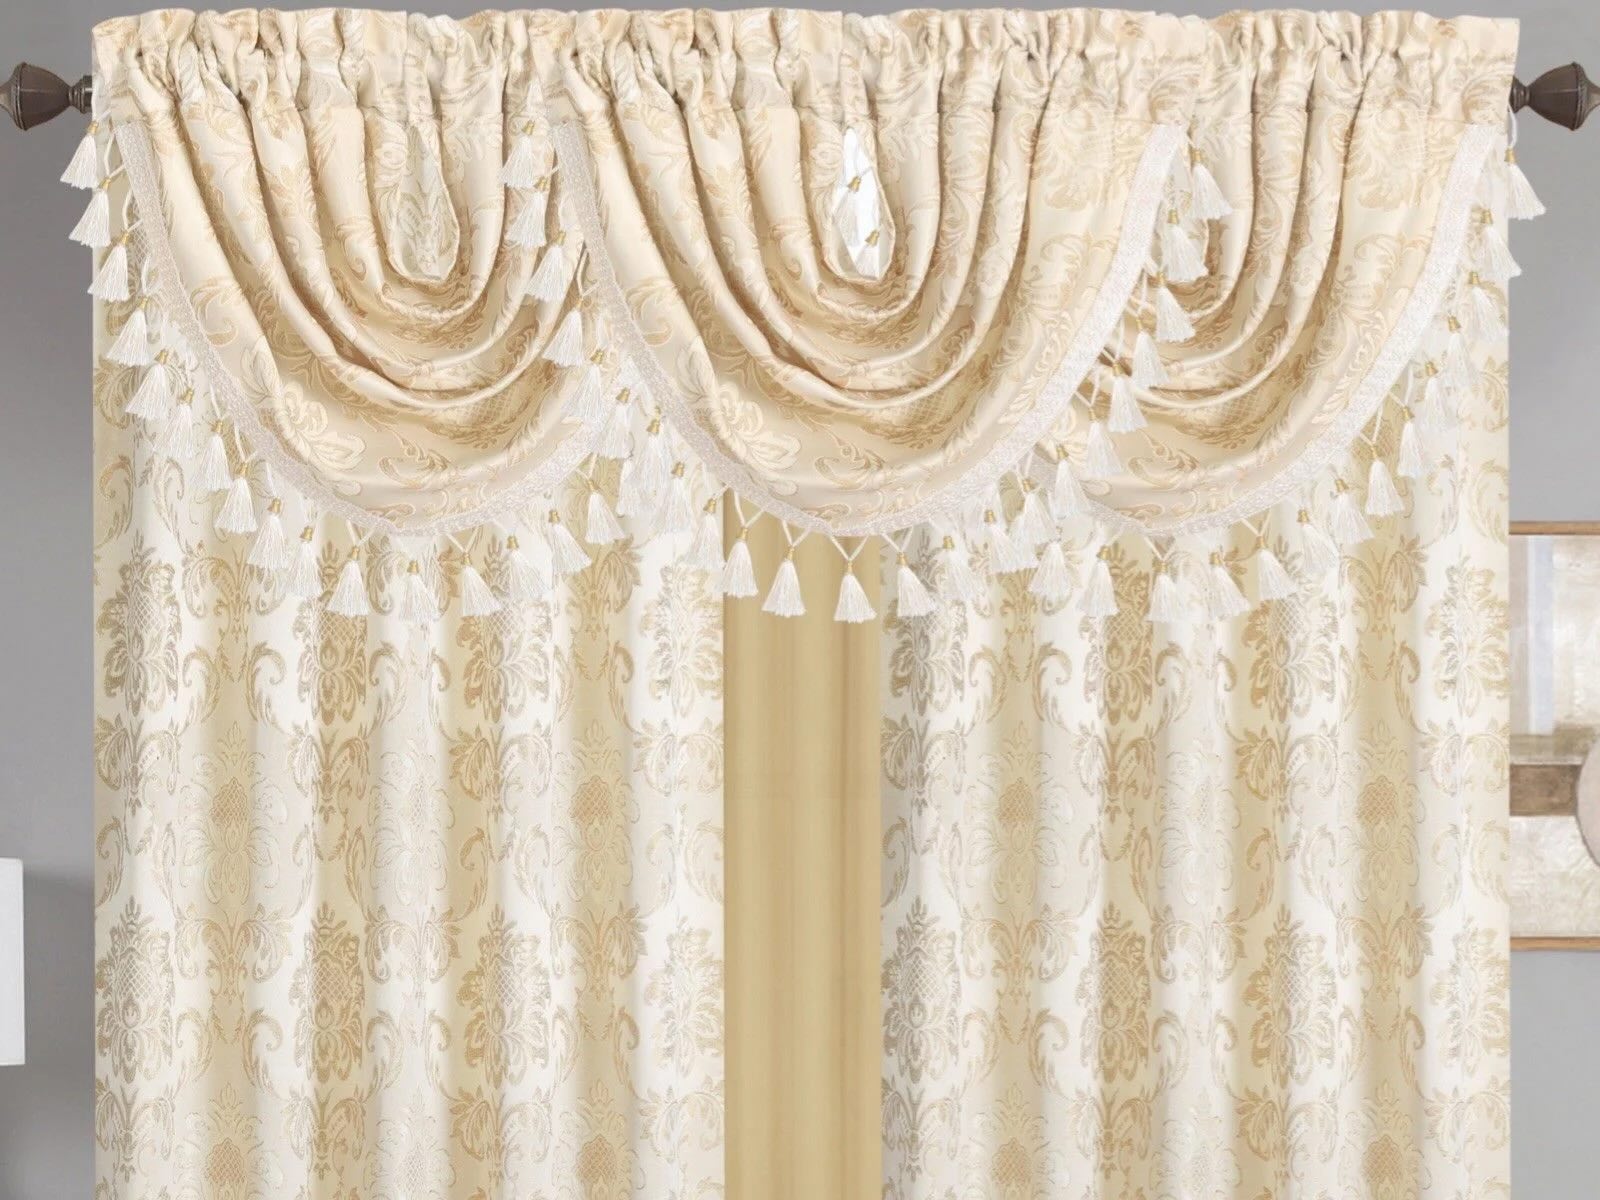
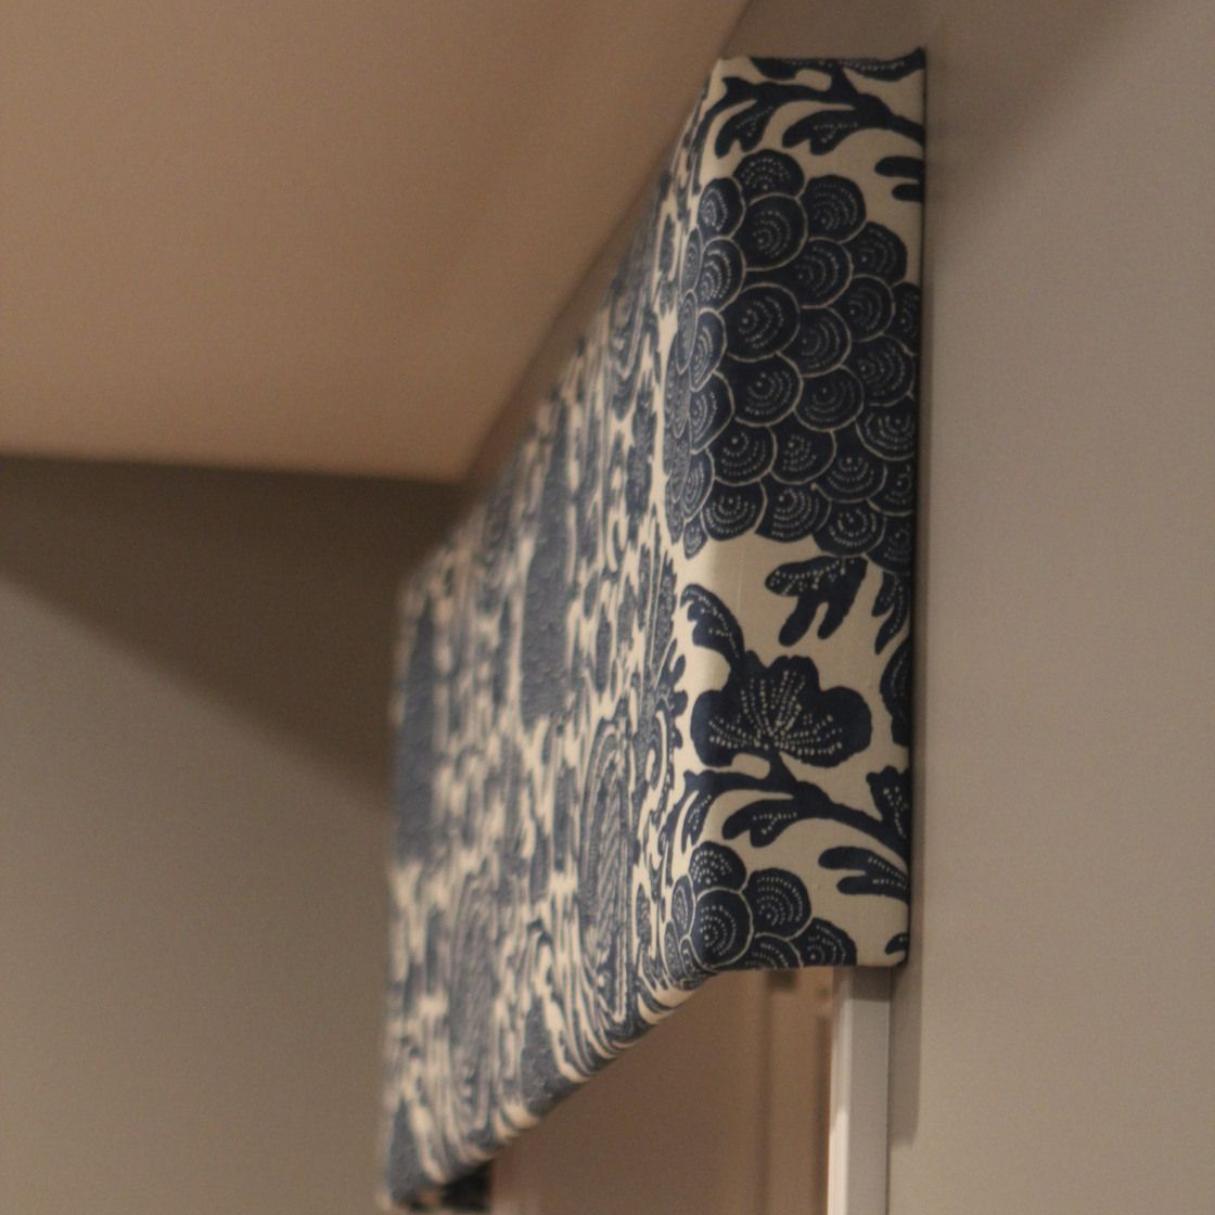
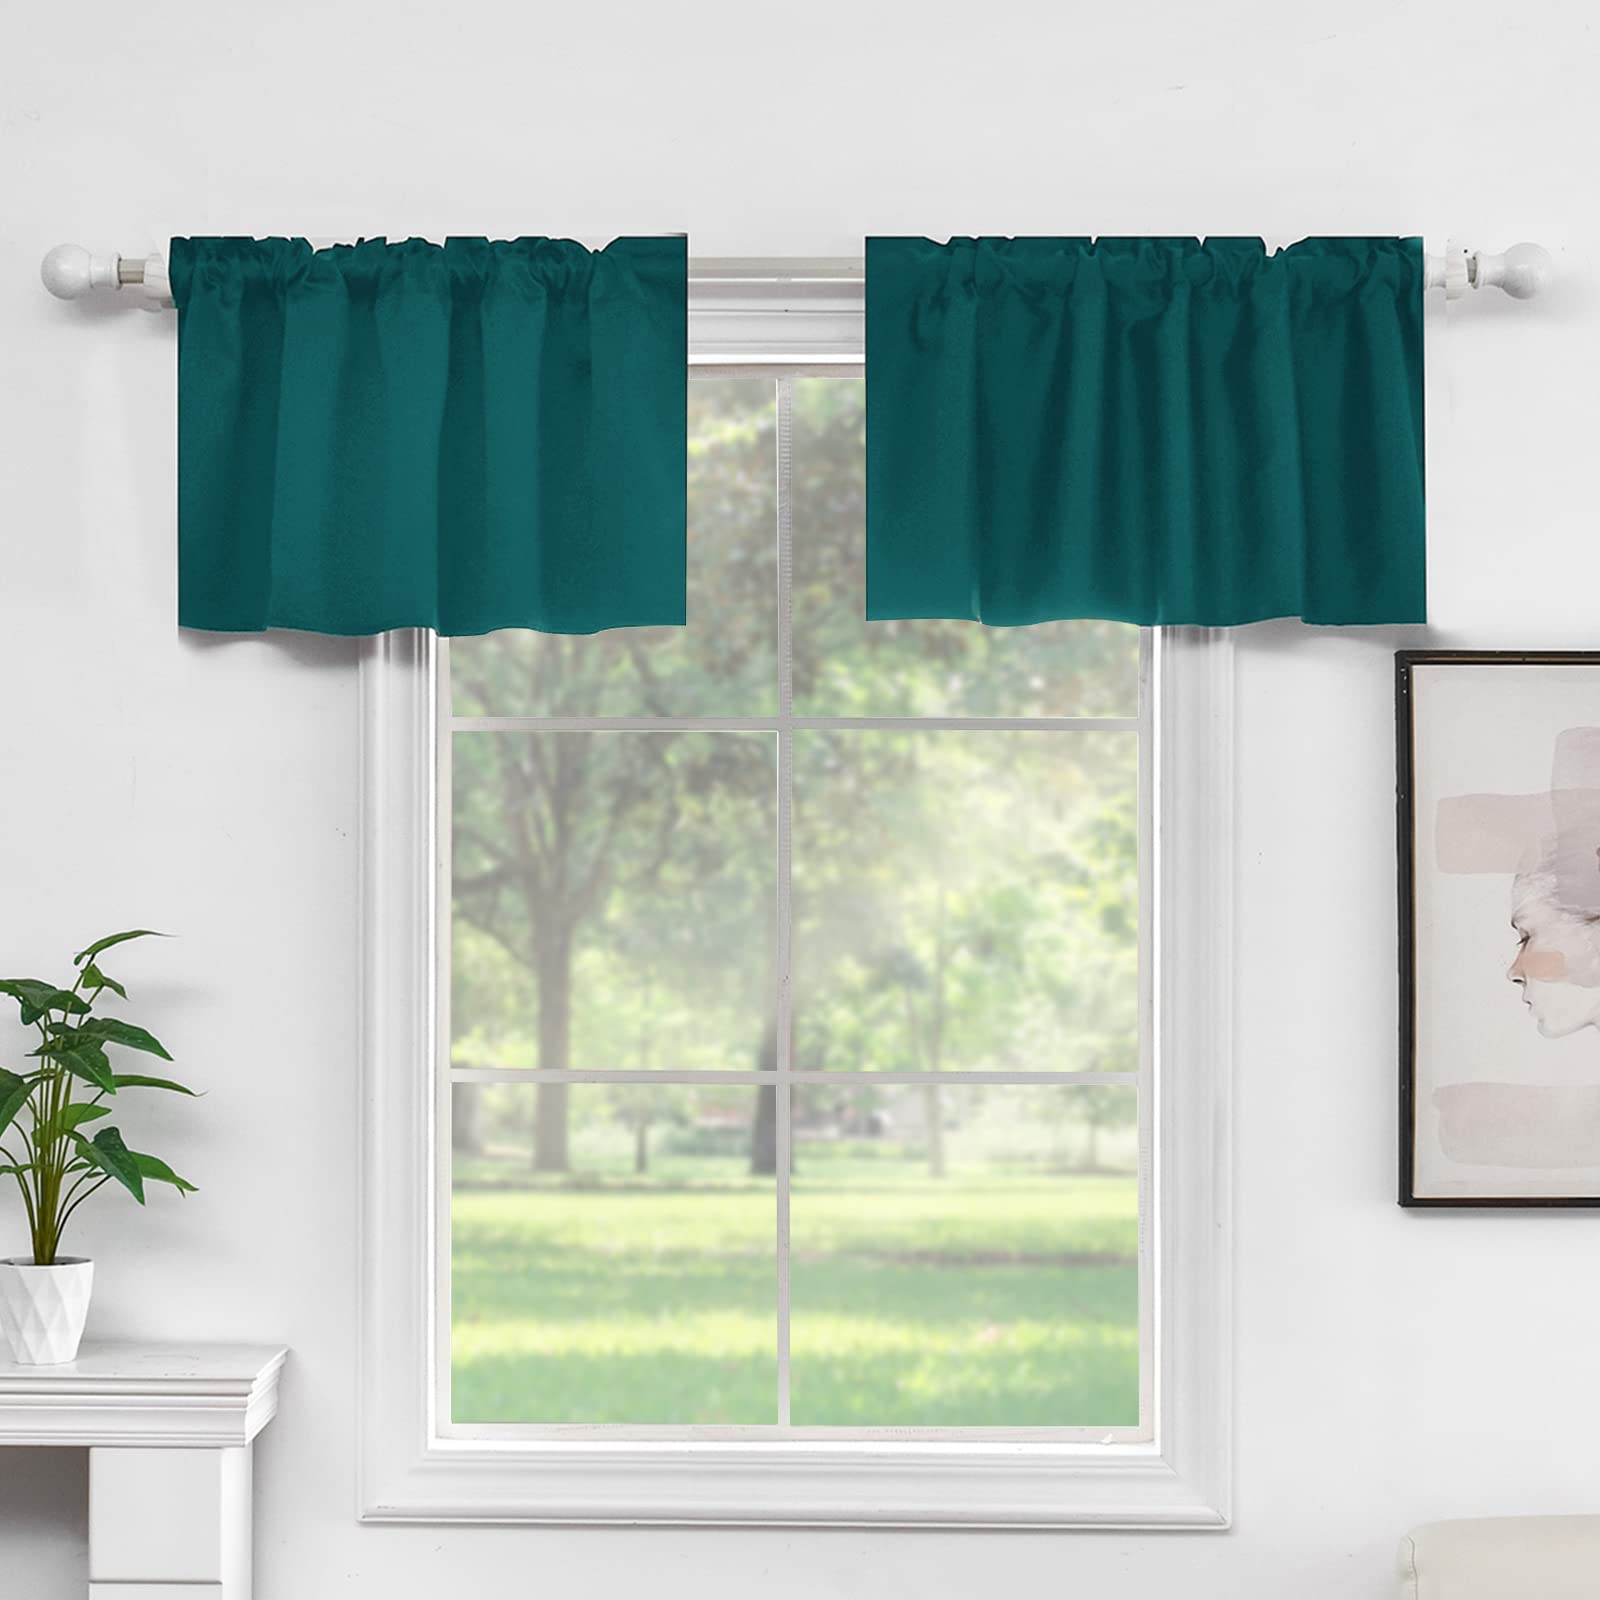
Window valances are a fantastic addition to any window treatment, adding both style and functionality to your home decor. They are versatile and can be used in various rooms, including the living room, bedroom, or even the kitchen. Valances can instantly transform the look of a window, making it more visually appealing while providing privacy and protection from sunlight.
In this article, we will provide you with a step-by-step guide on how to make window valances. We will walk you through the materials needed, the measurements required, and the sewing steps to create your own custom valance. Whether you are a beginner or an experienced DIY enthusiast, this guide will help you create beautiful valances that perfectly complement your home.
Before we dive into the process, it’s important to note that making window valances requires basic sewing skills and access to a sewing machine. If you are a beginner, don’t be discouraged! Valances are a great project for beginners as they are relatively simple to make and allow you to practice and enhance your sewing skills.
Now, let’s gather the materials needed and get started on creating your own window valances!
Key Takeaways:
- Transform your windows with custom valances that add style and functionality to any room. With basic sewing skills and creativity, you can create beautiful valances that perfectly complement your home decor.
- Choosing the right fabric, accurate measuring, and attention to detail are key to creating stunning window valances. Add your personal touch with embellishments to showcase your unique style and creativity.
Materials Needed
Before you begin making your window valances, gather the following materials:
- Fabric: Choose a fabric of your choice that complements your existing decor. Make sure you have enough fabric to cover the desired width and length of your valance, allowing for seam allowances.
- Measuring tape: This will be used to measure the dimensions of your window and determine the size of your valance.
- Ruler: A ruler will come in handy for measuring and marking fabric measurements accurately.
- Sewing machine: You will need a sewing machine to sew the fabric together and create hems.
- Thread: Choose a thread that matches the color of your fabric.
- Pins: These will be used to hold the fabric in place while sewing.
- Fabric scissors: Essential for cutting the fabric to the desired size.
- Pencil or fabric marker: Use this to mark any measurements or patterns on the fabric.
- Iron: An iron will be needed to press the fabric and create crisp, neat edges.
- Embellishments (optional): If desired, you can add embellishments such as tassels, lace, or trim to enhance the look of your valance.
Once you have gathered all the materials, you are ready to proceed to the next steps in creating your window valances. Ensure that your work area is well-lit and spacious enough to accommodate your fabric and sewing machine comfortably.
Step 1: Measuring the Window
The first step in making window valances is to accurately measure the dimensions of your window. This will help you determine the size of the valance you need to create. Follow these steps to measure your window:
- Use a measuring tape to measure the width of your window from one end to the other. Take note of this measurement.
- Next, measure the desired length of your valance. Decide how far down you want the valance to hang from the top of the window. This can vary depending on your personal preference and the style you are aiming for.
- Add extra inches to both the width and length measurements. This is to account for the hems and seams that will be created during the sewing process. Adding an extra 1-2 inches is usually sufficient.
- Record the final measurements. It’s a good idea to write them down to refer to later when cutting the fabric.
Once you have measured your window and determined the size of your valance, you are ready to move on to the next step in the process – choosing the fabric.
Remember, accuracy is key when measuring your window for a valance. Taking precise measurements will ensure that your finished valance fits your window perfectly and looks professionally made.
Step 2: Choosing the Fabric
Choosing the right fabric for your window valance is crucial as it sets the tone for the overall look and feel of your window treatment. Consider the following factors when selecting your fabric:
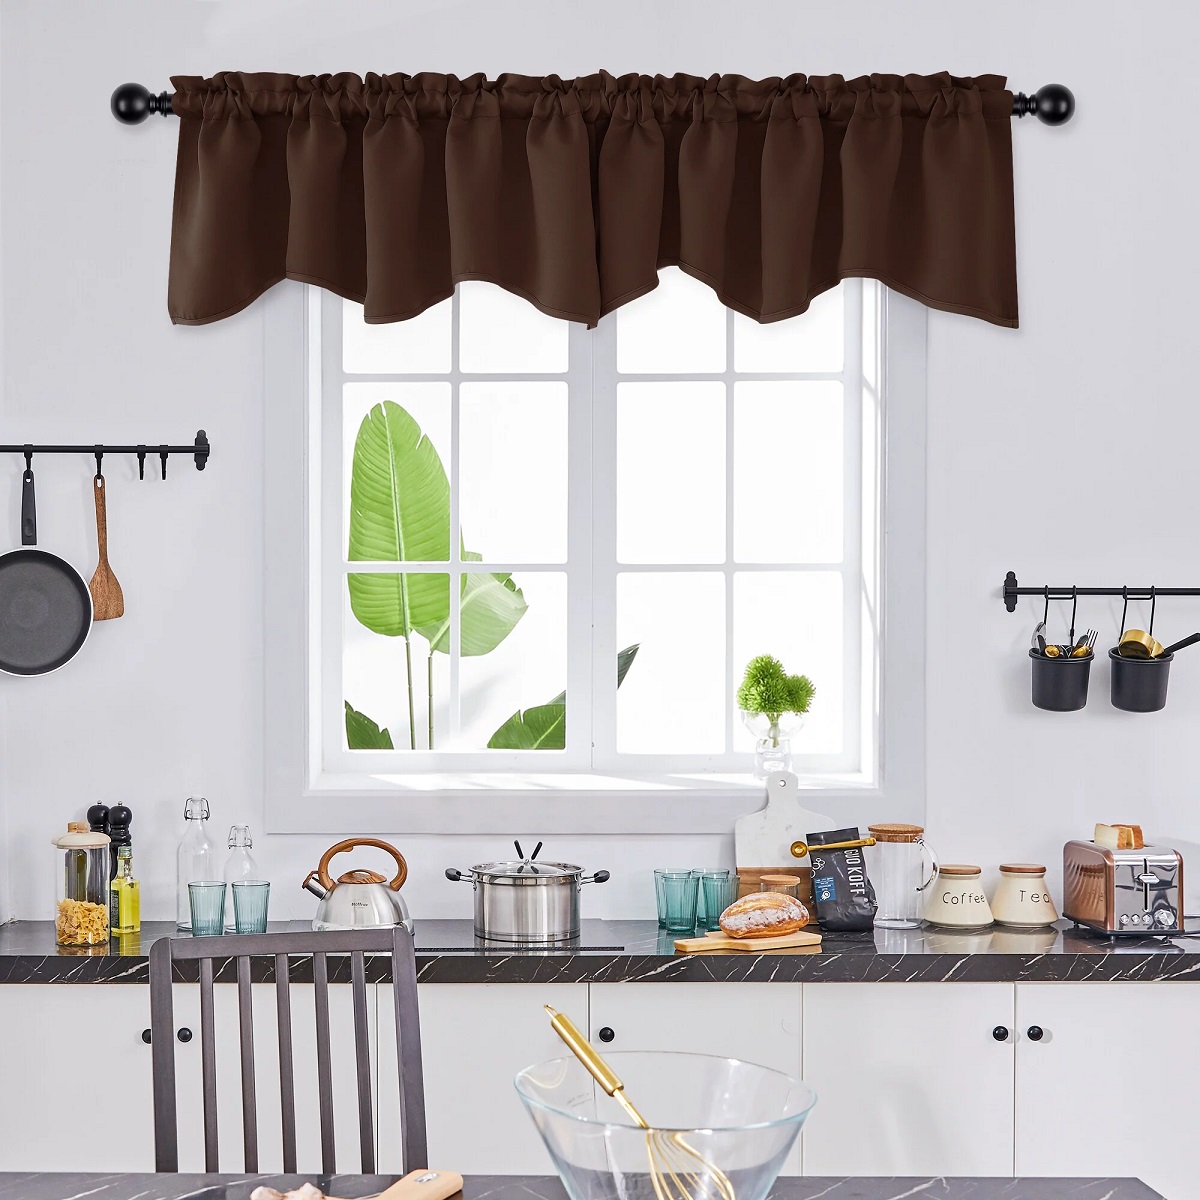
- Style: Determine the style you want to achieve with your valance – whether it’s modern, traditional, rustic, or any other aesthetic. Look for fabrics that align with your desired style. For example, if you want a classic and elegant look, consider using silk or velvet. If you prefer a more casual and relaxed vibe, opt for cotton or linen.
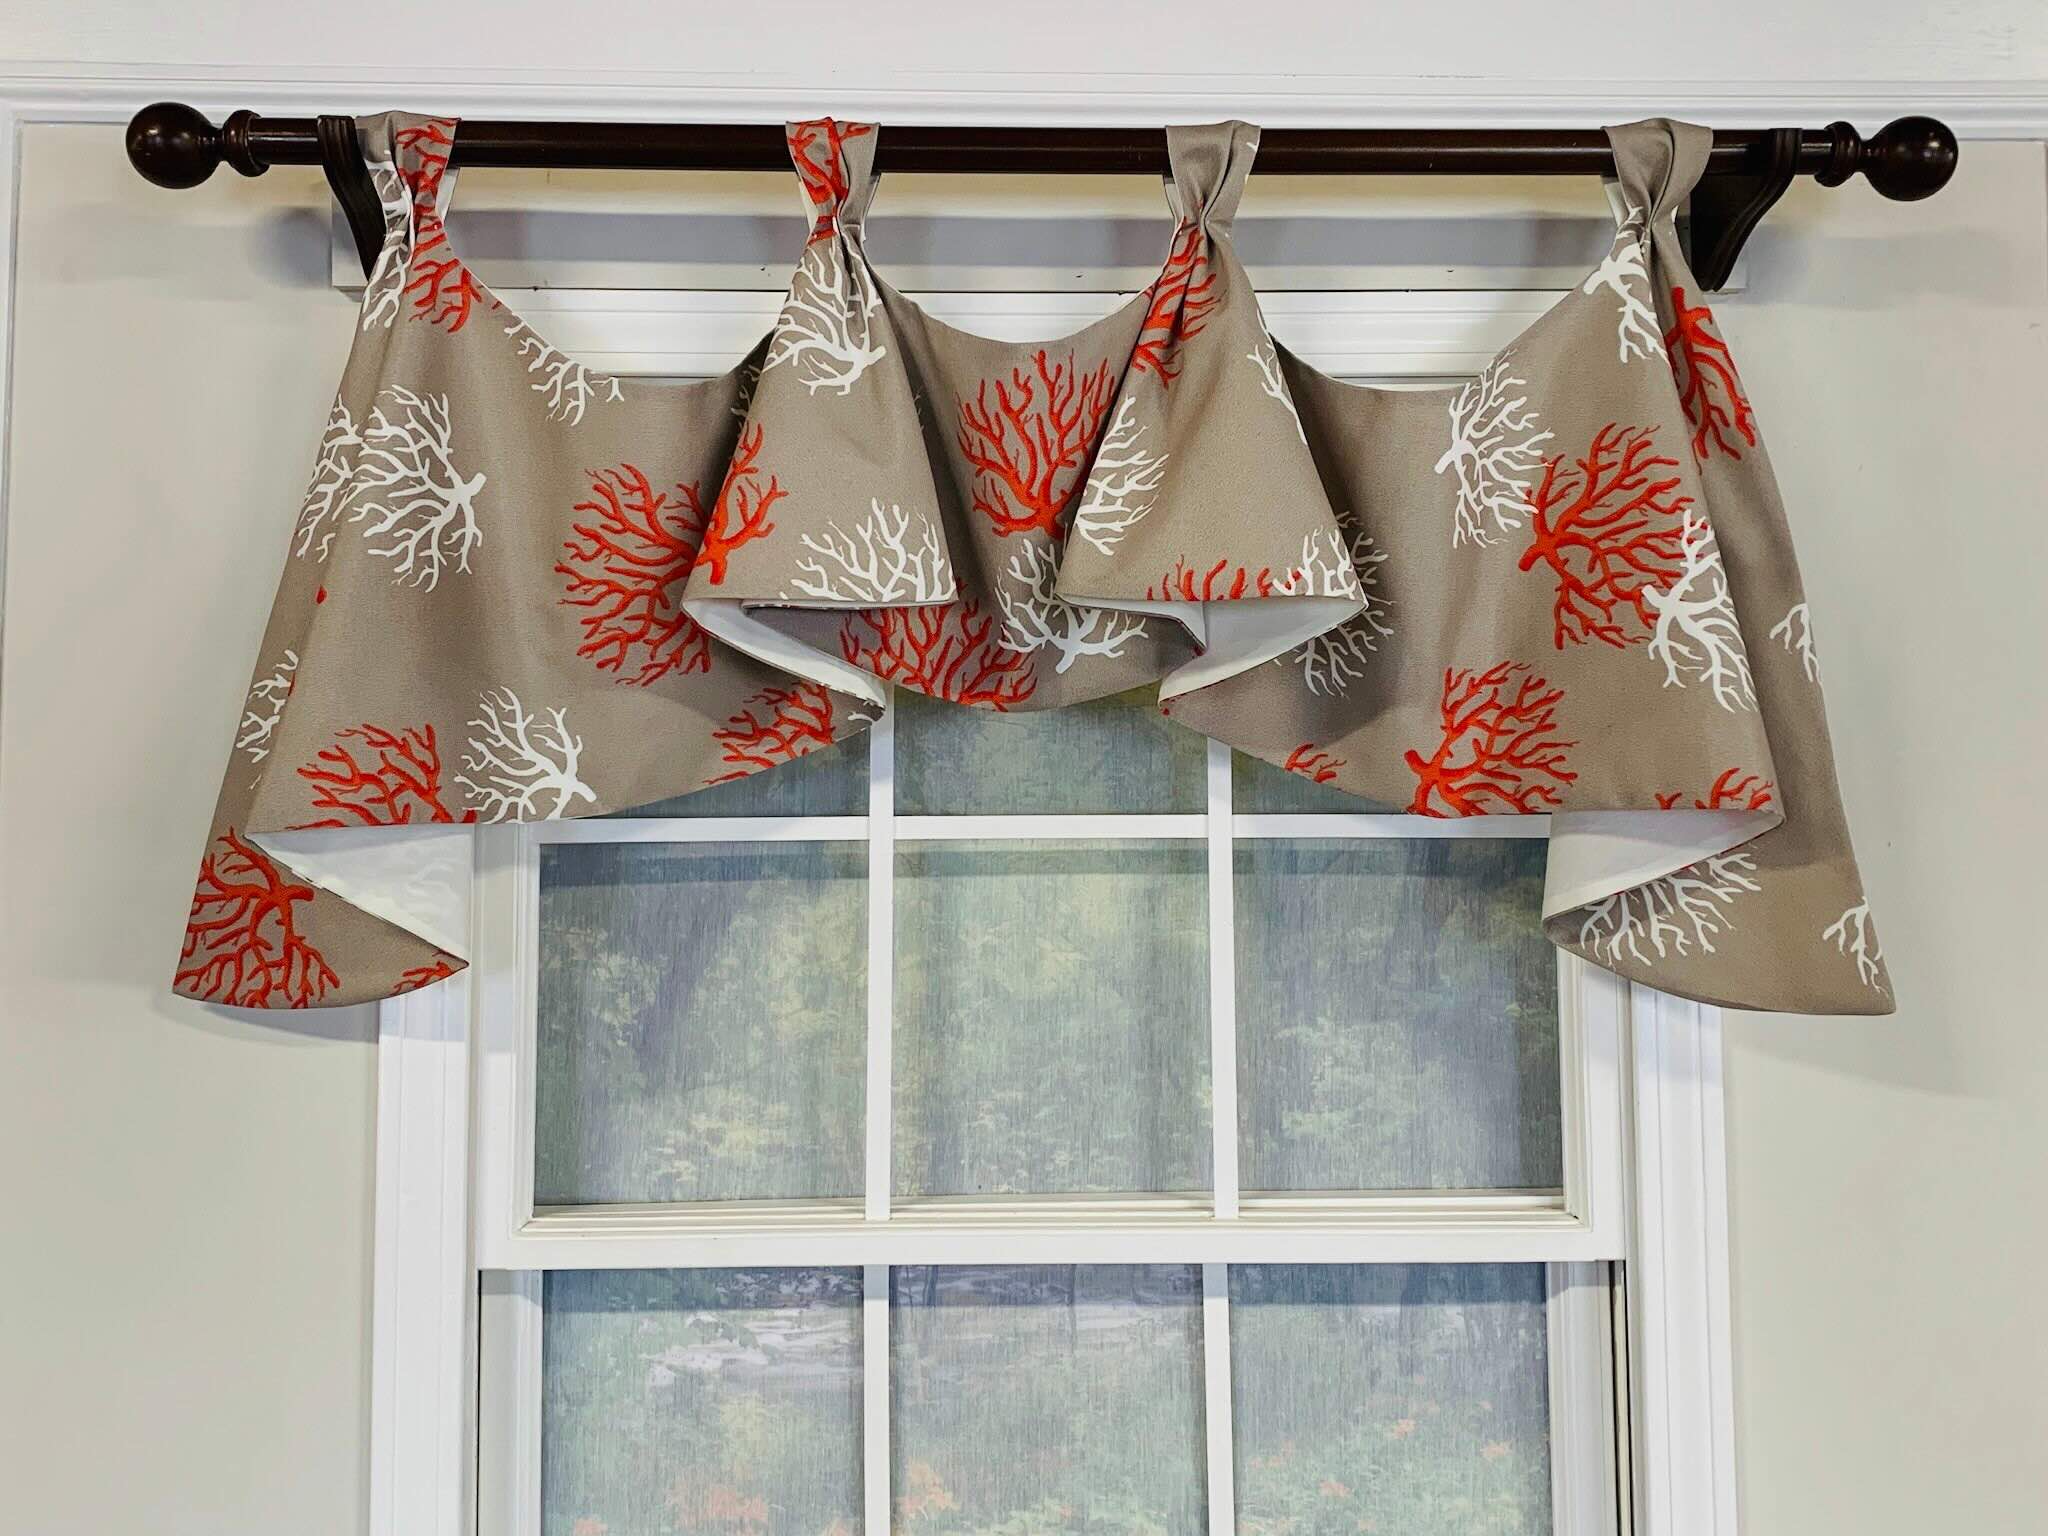
- Color and Pattern: Take into account the existing color scheme in your space and choose a fabric that complements it. If your room has neutral tones, you can use the valance as an opportunity to introduce a pop of color or a bold pattern. However, if your space already has vibrant elements, you may opt for a more subtle or monochromatic fabric.
- Lighting: Consider how much natural light enters your room. If your window gets a lot of sunlight, you may want to choose a fabric that provides some level of light filtering or blocking. Sheer and lightweight fabrics allow more light to pass through, while heavier fabrics provide better light control.
- Care and Maintenance: Think about practicality when choosing your fabric. Consider if it needs to be machine-washable or dry-cleaned. You may also want to consider the fabric’s durability and stain resistance, especially if you have young children or pets.
Once you have considered these factors, visit fabric stores or search online for options that suit your preferences and needs. Take swatches or samples home to see how they look in your space, as lighting and surroundings can affect the appearance of the fabric.
Remember, choosing the right fabric for your window valance is crucial in achieving the desired aesthetic and functionality for your space. Take your time in this step to ensure that your fabric selection complements your overall design vision.
Step 3: Cutting the Fabric
Now that you have measured your window and chosen the perfect fabric, it’s time to cut the fabric to the desired size. Follow these steps to ensure accurate cutting of your fabric:
- Prepare your work area by clearing any clutter and ensuring you have enough space to lay out your fabric.
- Double-check your measurements to ensure accuracy.
- Using a ruler or measuring tape, mark the measurements on your fabric. Use a pencil or fabric marker that is easily visible but won’t leave permanent marks.
- Draw straight lines across the fabric, connecting the measurement points. Ensure that the lines are straight and parallel to the edges of the fabric.
- Carefully cut along the marked lines using fabric scissors. Take your time and make smooth, precise cuts to ensure clean edges.
- Once you have cut out the main piece of your valance, you can also cut any additional fabric for any trim or embellishments you plan to add.
It’s important to note that when cutting the fabric, you should be mindful of the fabric’s pattern and alignment. If your fabric has a pattern or a directional print, ensure that the pattern is aligned correctly when cutting and sewing.
After you have successfully cut your fabric pieces, keep them organized and labeled to avoid confusion during the sewing process. Double-check your dimensions and make any adjustments if necessary before moving on to the next step.
Now that your fabric is cut to the desired size, we can move on to the next step – hemming the fabric.
When measuring for window valances, be sure to add at least 2-3 inches to the width of your window for a full and gathered look.
Read more: How To Remove RV Window Valances
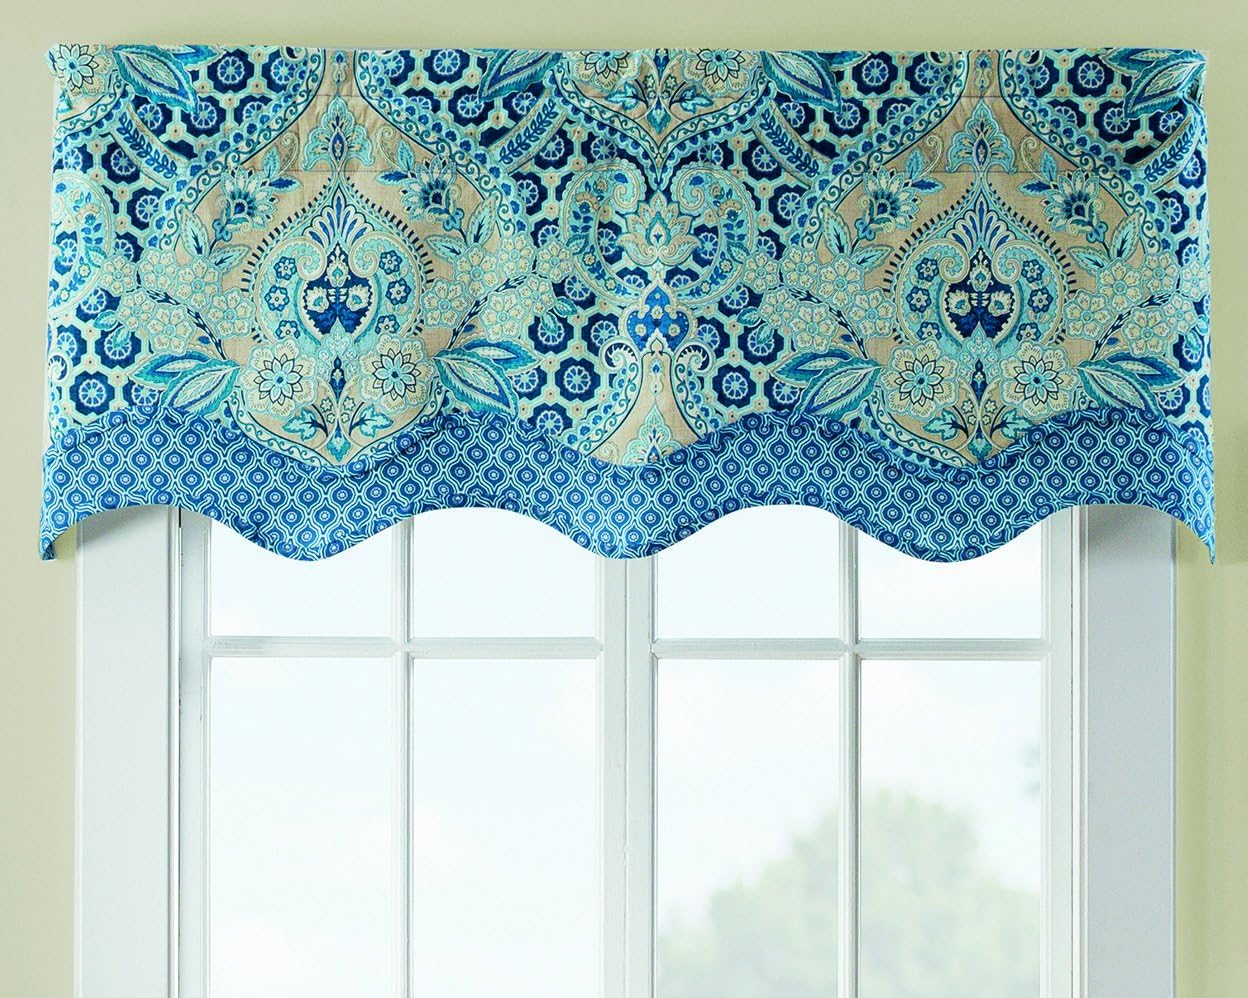
Step 4: Hemming the Fabric
Hemming the fabric is an essential step in creating a clean and polished look for your window valance. Follow these steps to hem the edges of your fabric:
- Start by folding over one edge of the fabric by about ½ inch. Use your fingers or a hot iron to press down the fold and create a crisp edge.
- Once the first fold is in place, fold over the edge again by another ½ inch. This will encase the raw edge of the fabric within the fold.
- Secure the folded edge in place by using pins. Place pins at regular intervals along the folded edge to hold it in place during sewing.
- Repeat the folding and pinning process on the remaining edges of the fabric.
- Thread your sewing machine with a thread color that matches your fabric.
- Starting at one end of the fabric, sew along the folded edge, removing the pins as you go. Use a straight stitch or a zigzag stitch to secure the folded edge in place. Backstitch at the beginning and end of the stitching to reinforce the seam.
- Continue sewing along all the folded edges until all the hems are completely stitched.
After hemming, give your valance a final press with an iron to create neat and crisp edges. Be cautious when ironing, especially if you are using delicate or heat-sensitive fabrics.
If you prefer a more decorative hem, you can experiment with different hemming techniques, such as adding a decorative trim or using a contrasting thread color. The choice of hemming style is entirely up to you and your desired aesthetic.
With the fabric properly hemmed, you are now ready to move on to the next step – adding embellishments, if desired.
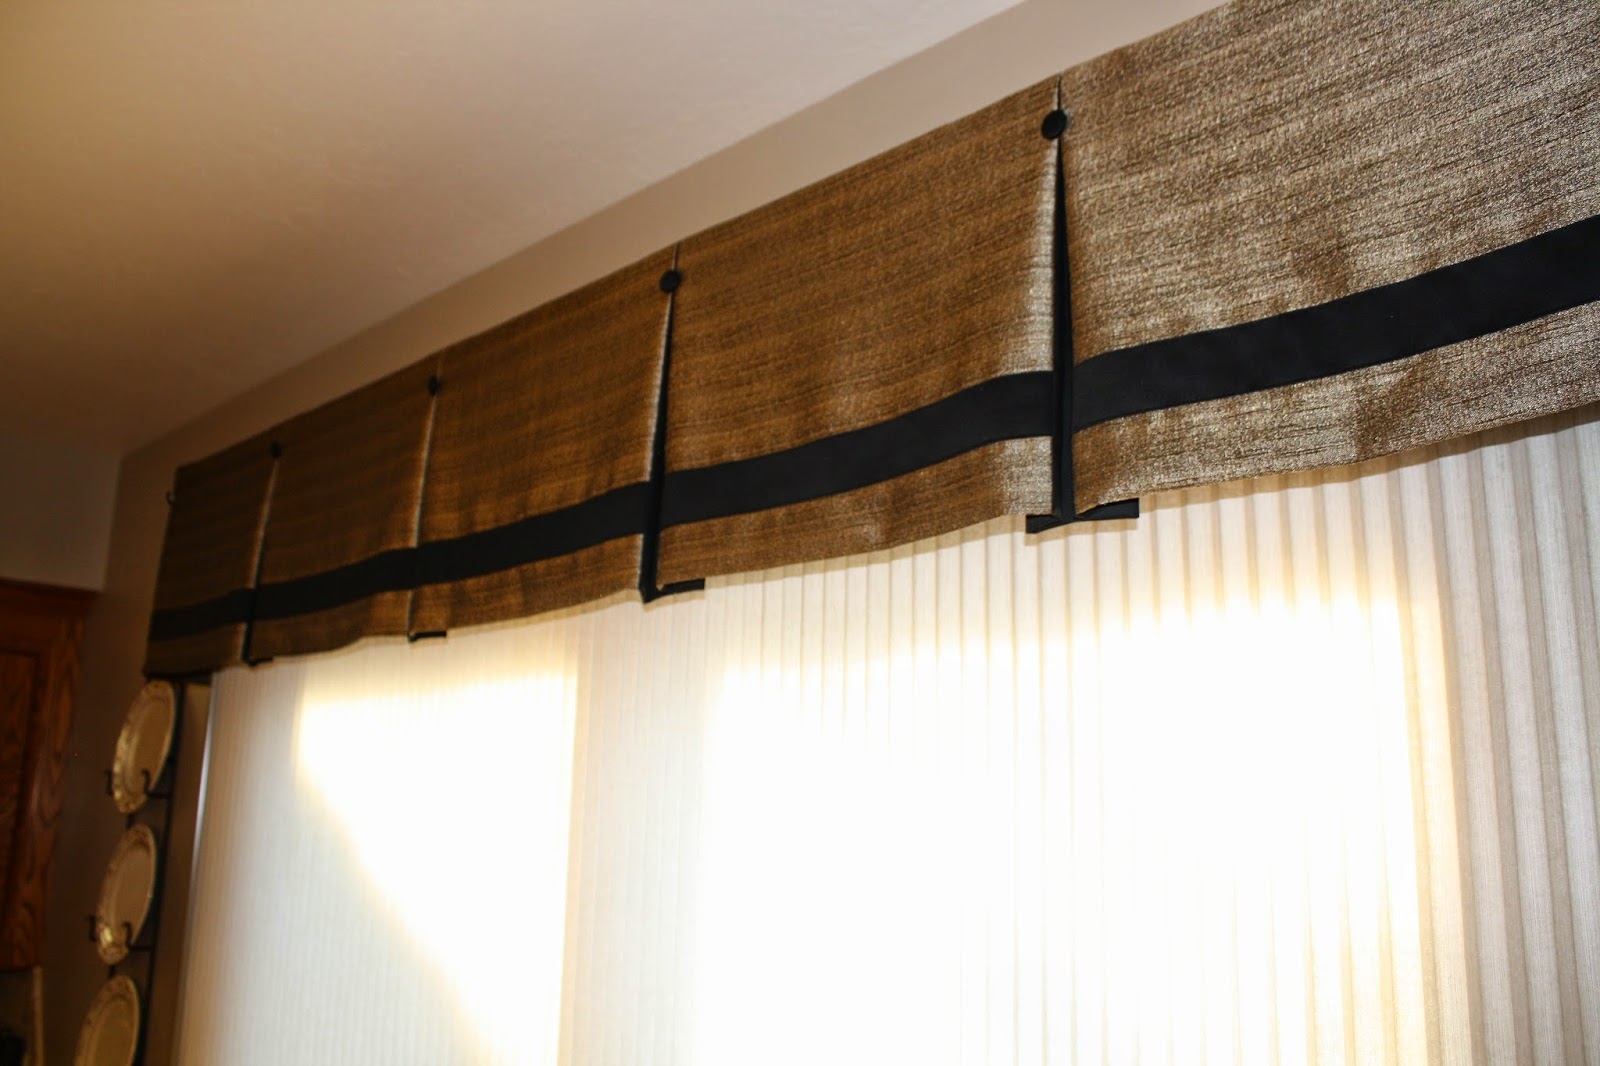
Step 5: Adding Embellishments (Optional)
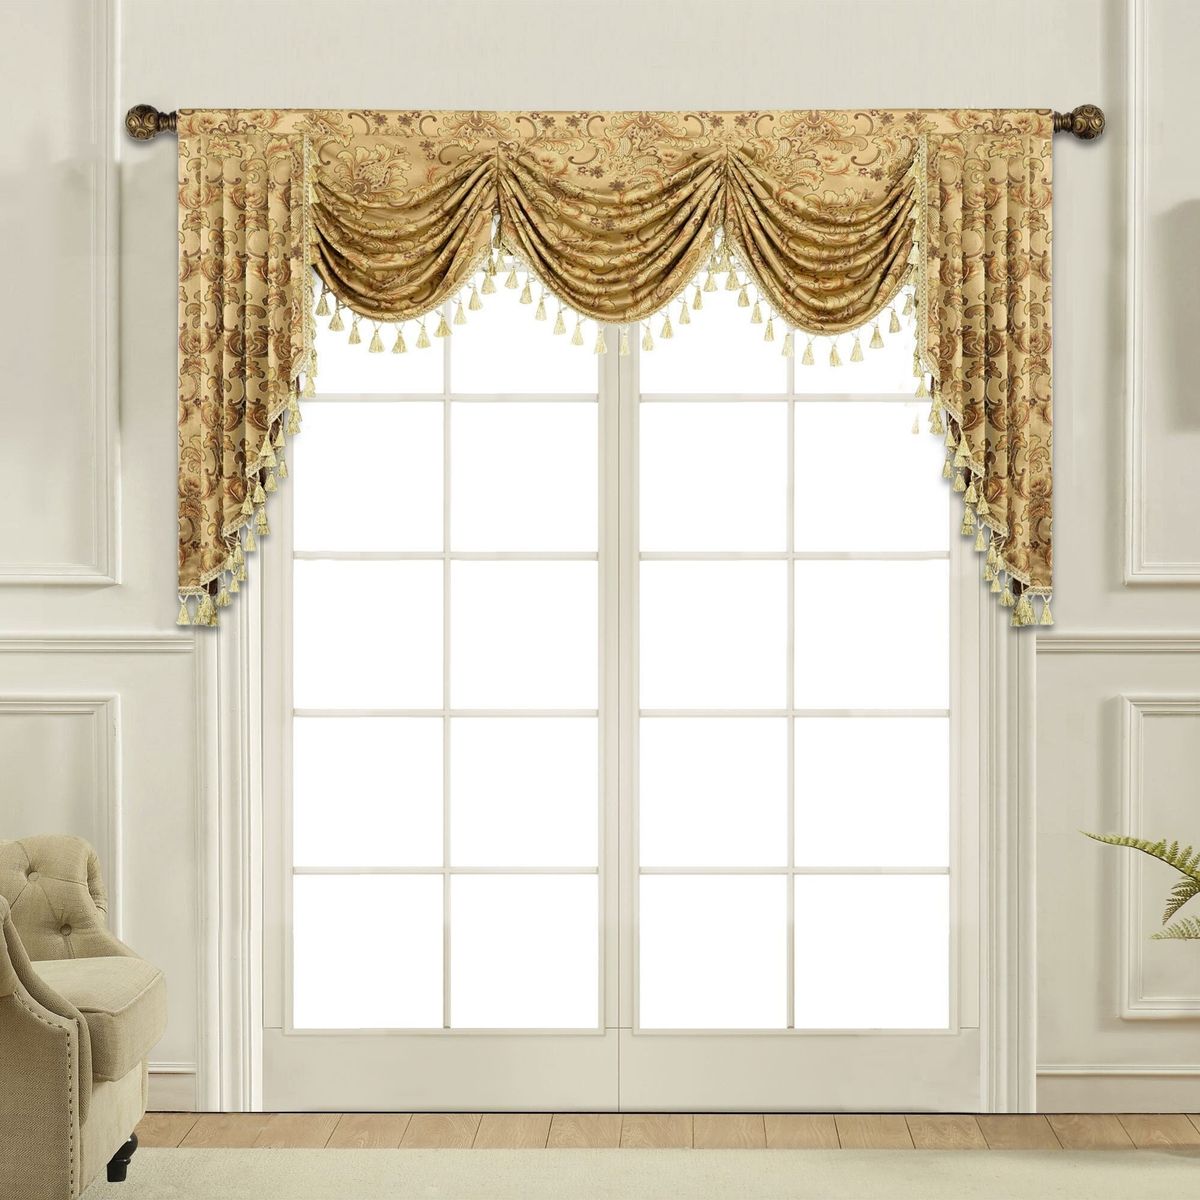
If you want to take your window valance to the next level, you can add embellishments to enhance its overall visual appeal. Embellishments can add personality, depth, and a unique touch to your valance. Follow these steps to add embellishments to your valance:
- Choose the type of embellishment that suits your style and complements your fabric. Some popular options include tassels, lace trims, fringe, or decorative buttons.
- Measure the length of your valance to determine the amount of embellishment you will need. Cut the embellishment to the desired length, ensuring it is slightly longer than the width of your valance.
- If your embellishment has a raw edge, consider using a hot glue gun or fabric glue to seal the ends to prevent fraying.
- Decide where you want to place the embellishment on your valance. You can experiment with different placements such as along the bottom edge, the sides, or even create a pattern by spacing them out evenly.
- Attach the embellishment to the valance by sewing it on or using fabric glue. If you choose to sew, make sure to use a thread color that matches the embellishment or blends well with the fabric.
- Secure the embellishment by stitching along the edges or in the center, depending on the design and structure of your embellishment.
Remember to take your time and ensure that the embellishments are securely attached. Test the durability by gently pulling on the embellishment to make sure it is securely in place.
Adding embellishments to your valance is a great way to showcase your personal style and creativity. It can transform a simple valance into a stunning focal point in your room.
Once you have added the desired embellishments, you are ready for the final step – attaching the valance to the window.
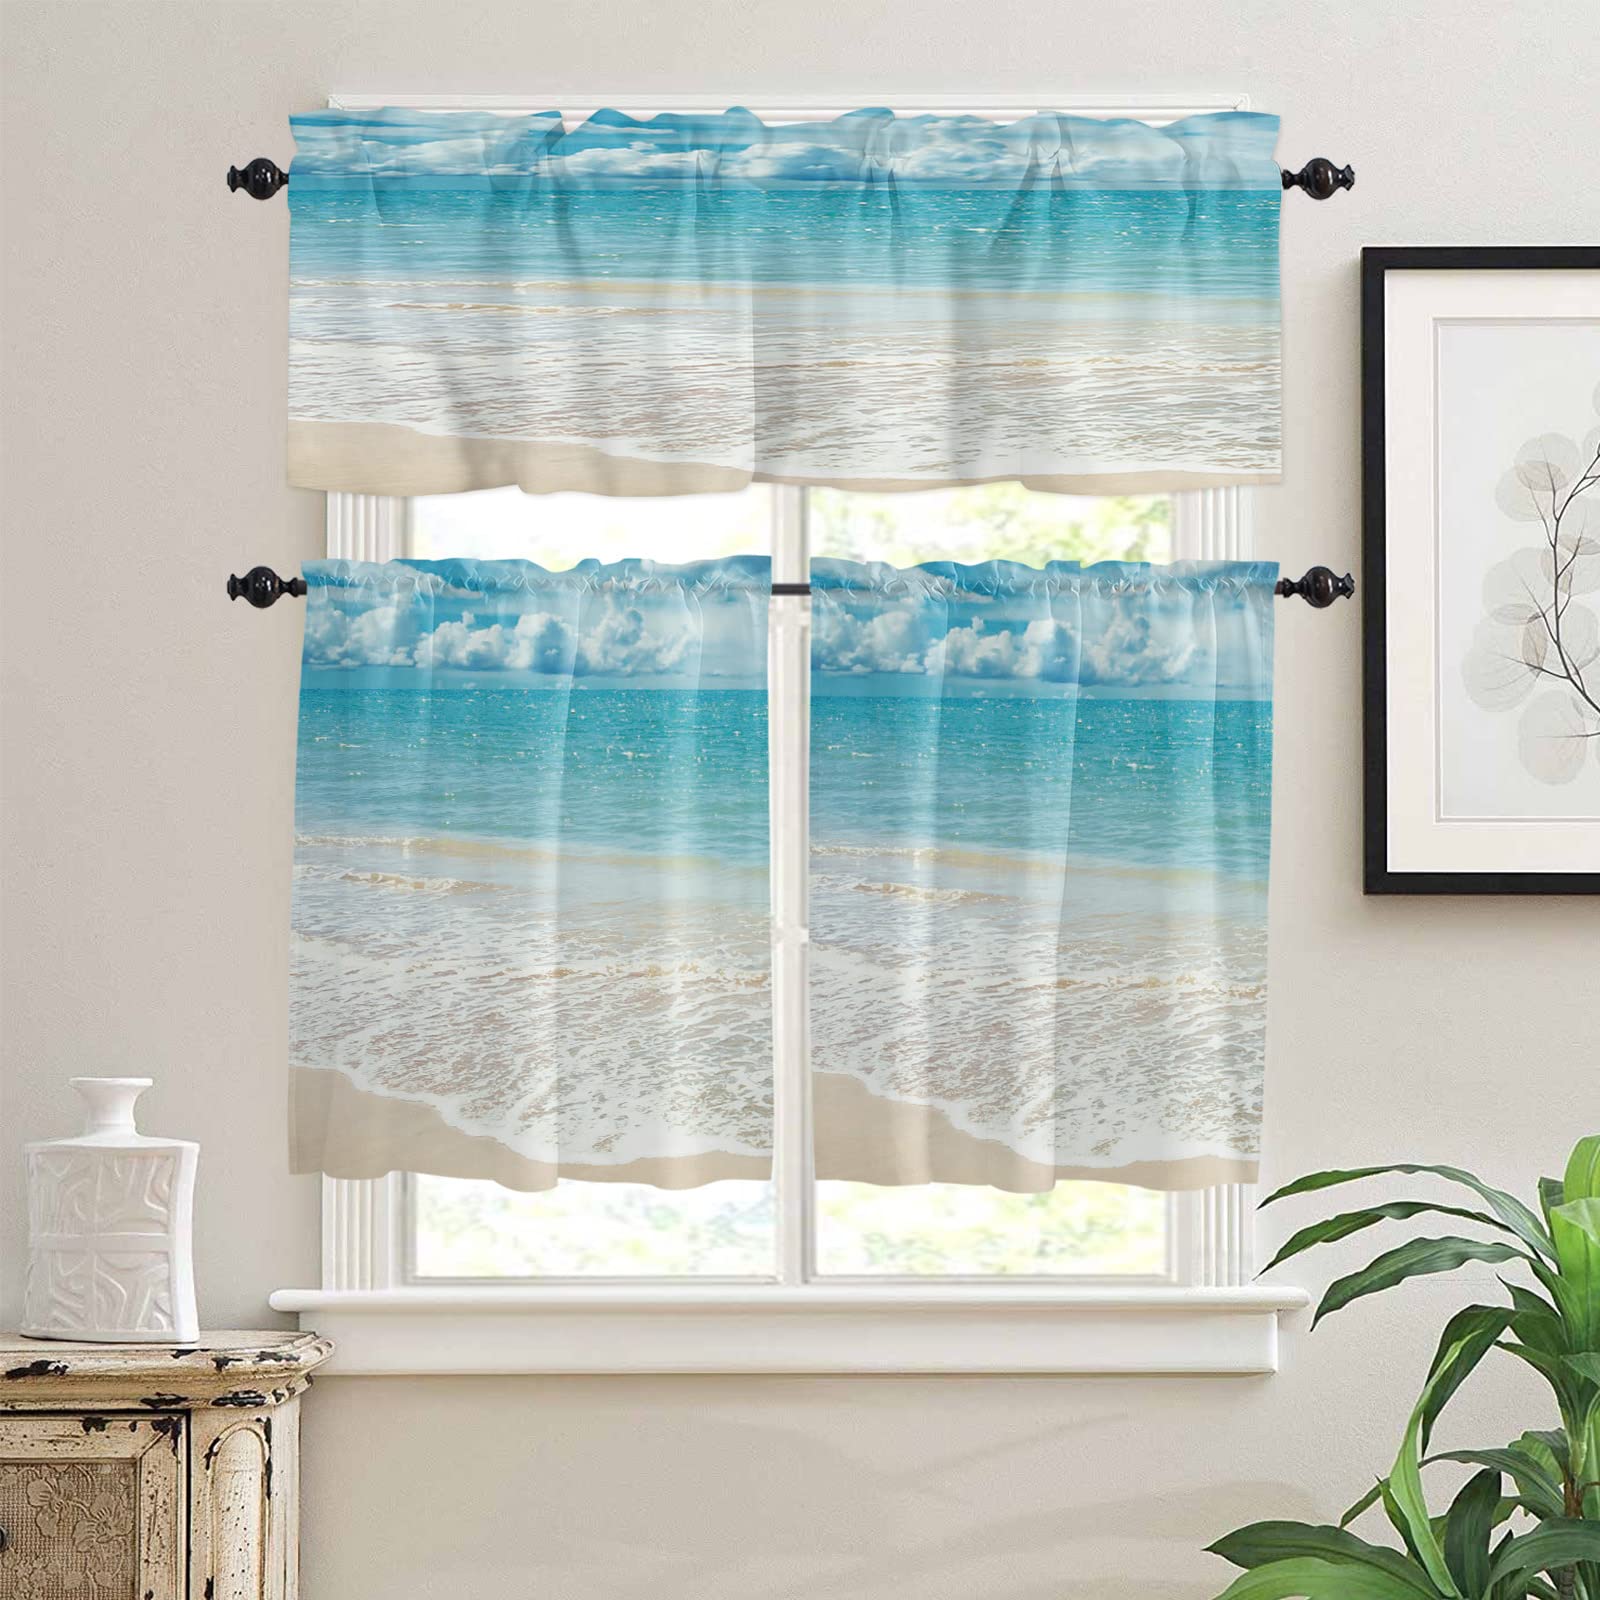
Step 6: Attaching the Valance to the Window
Now that your window valance is complete, it’s time to attach it to your window. Depending on your preference and the type of window treatment you have, there are several methods you can use to hang your valance.
Here are a few common ways to attach a valance to a window:
- Using a curtain rod: If you have a curtain rod installed, you can simply place the valance onto the rod. Some valances come with rod pockets sewn into the fabric, while others may require curtain clips or hooks to attach to the rod.
- Velcro or adhesive hooks: Velcro strips or adhesive hooks can be used to attach the valance directly to the top of the window frame. This is a great option if you want a simple and temporary installation.
- Tension rods: Tension rods are adjustable rods that can be installed inside the window frame. They provide a clean and minimalist look for hanging valances.
- Café rods: Café rods are typically used for lightweight window treatments, such as café curtains or valances. They are installed near the top of the window frame and can be easily adjusted to fit the width of your valance.
Before attaching the valance, make sure to clean the window surface and remove any dust or debris. This will help ensure a smooth and secure attachment.
Once you have chosen the method for attaching your valance, follow the manufacturer’s instructions or use the appropriate hardware to ensure a secure installation. Double-check that the valance is straight and evenly distributed along the window.
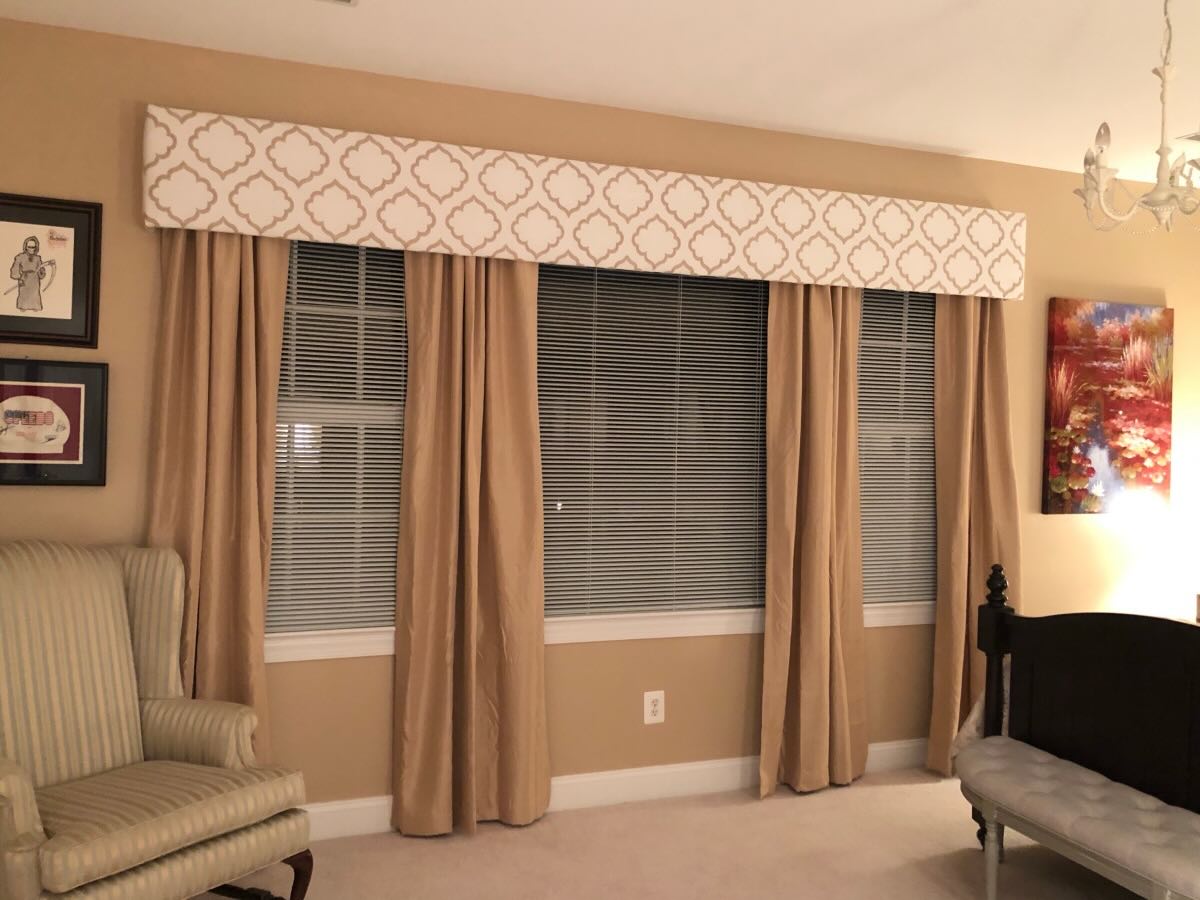
Stand back and admire your newly attached window valance. It’s a beautiful finishing touch that adds style and sophistication to your window and overall room decor!
With the valance securely attached, your window treatment project is complete. Take a moment to appreciate your hard work and enjoy the transformed look of your window.
Conclusion
Congratulations, you have successfully learned how to make window valances! By following the steps in this guide, you can create custom valances that add a touch of style and elegance to your windows. Whether you are a beginner or an experienced DIY enthusiast, making window valances is a fun and rewarding project that allows you to showcase your creativity.
Remember, the key to making beautiful valances is accurate measuring, careful cutting, precise sewing, and attention to detail. Take your time in each step and ensure that your fabric choice, measurements, hems, and embellishments align with your overall design vision.
Don’t be afraid to experiment with different fabric patterns, colors, and embellishments to create a valance that perfectly complements your room decor. Customizing your valances allows you to add your personal touch and truly make them a reflection of your unique style.
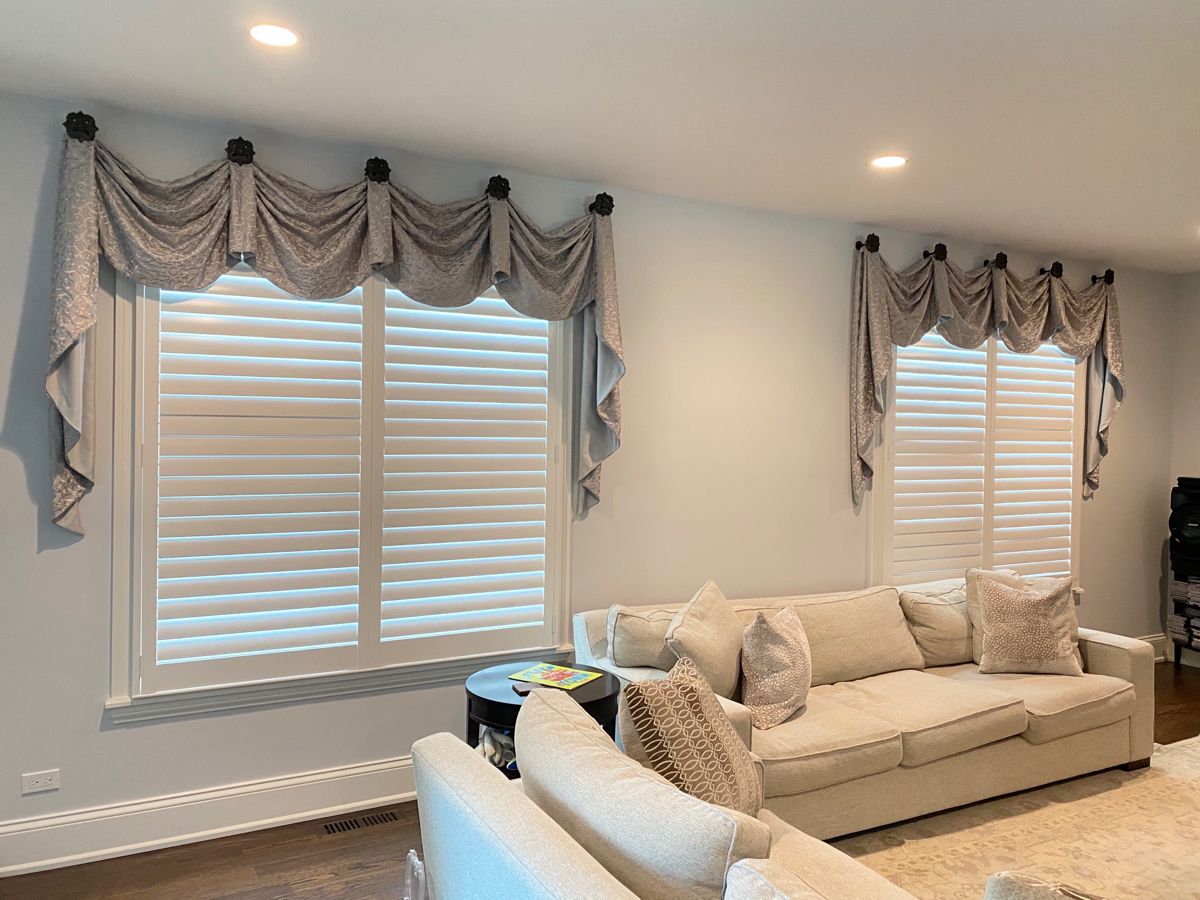
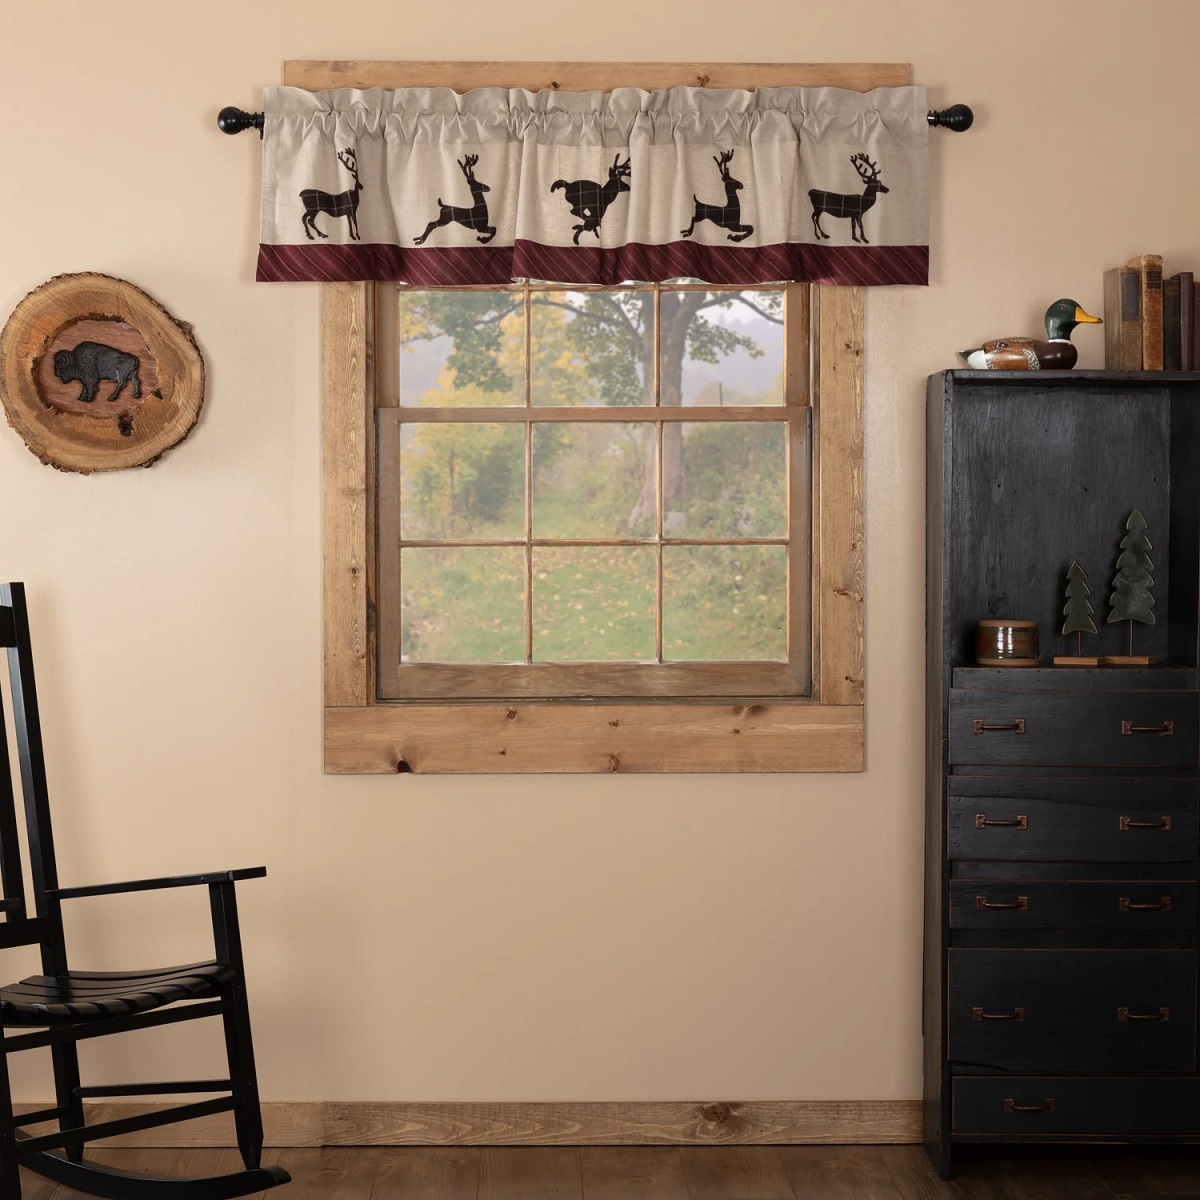
Now that you have mastered the art of making window valances, you can confidently enhance the look of any room in your home. Whether you are aiming for a cozy and rustic feel or a modern and sleek look, valances can instantly elevate your window treatment and transform the ambiance of your space.
Take pride in your DIY skills and enjoy the satisfaction of creating something beautiful with your own hands. So go ahead, get creative, and make your windows shine with stylish and functional valances!
Frequently Asked Questions about How To Make Window Valances
Was this page helpful?
At Storables.com, we guarantee accurate and reliable information. Our content, validated by Expert Board Contributors, is crafted following stringent Editorial Policies. We're committed to providing you with well-researched, expert-backed insights for all your informational needs.

0 thoughts on “How To Make Window Valances”