Home>Furniture & Design>Interior Design Trends>How To Replace A Glass Window Pane
Interior Design Trends
How To Replace A Glass Window Pane
Modified: February 18, 2024
Learn how to replace a glass window pane and stay updated with the latest interior design trends. Expert tips and techniques for a modern and stylish home.
(Many of the links in this article redirect to a specific reviewed product. Your purchase of these products through affiliate links helps to generate commission for Storables.com, at no extra cost. Learn more)
Introduction
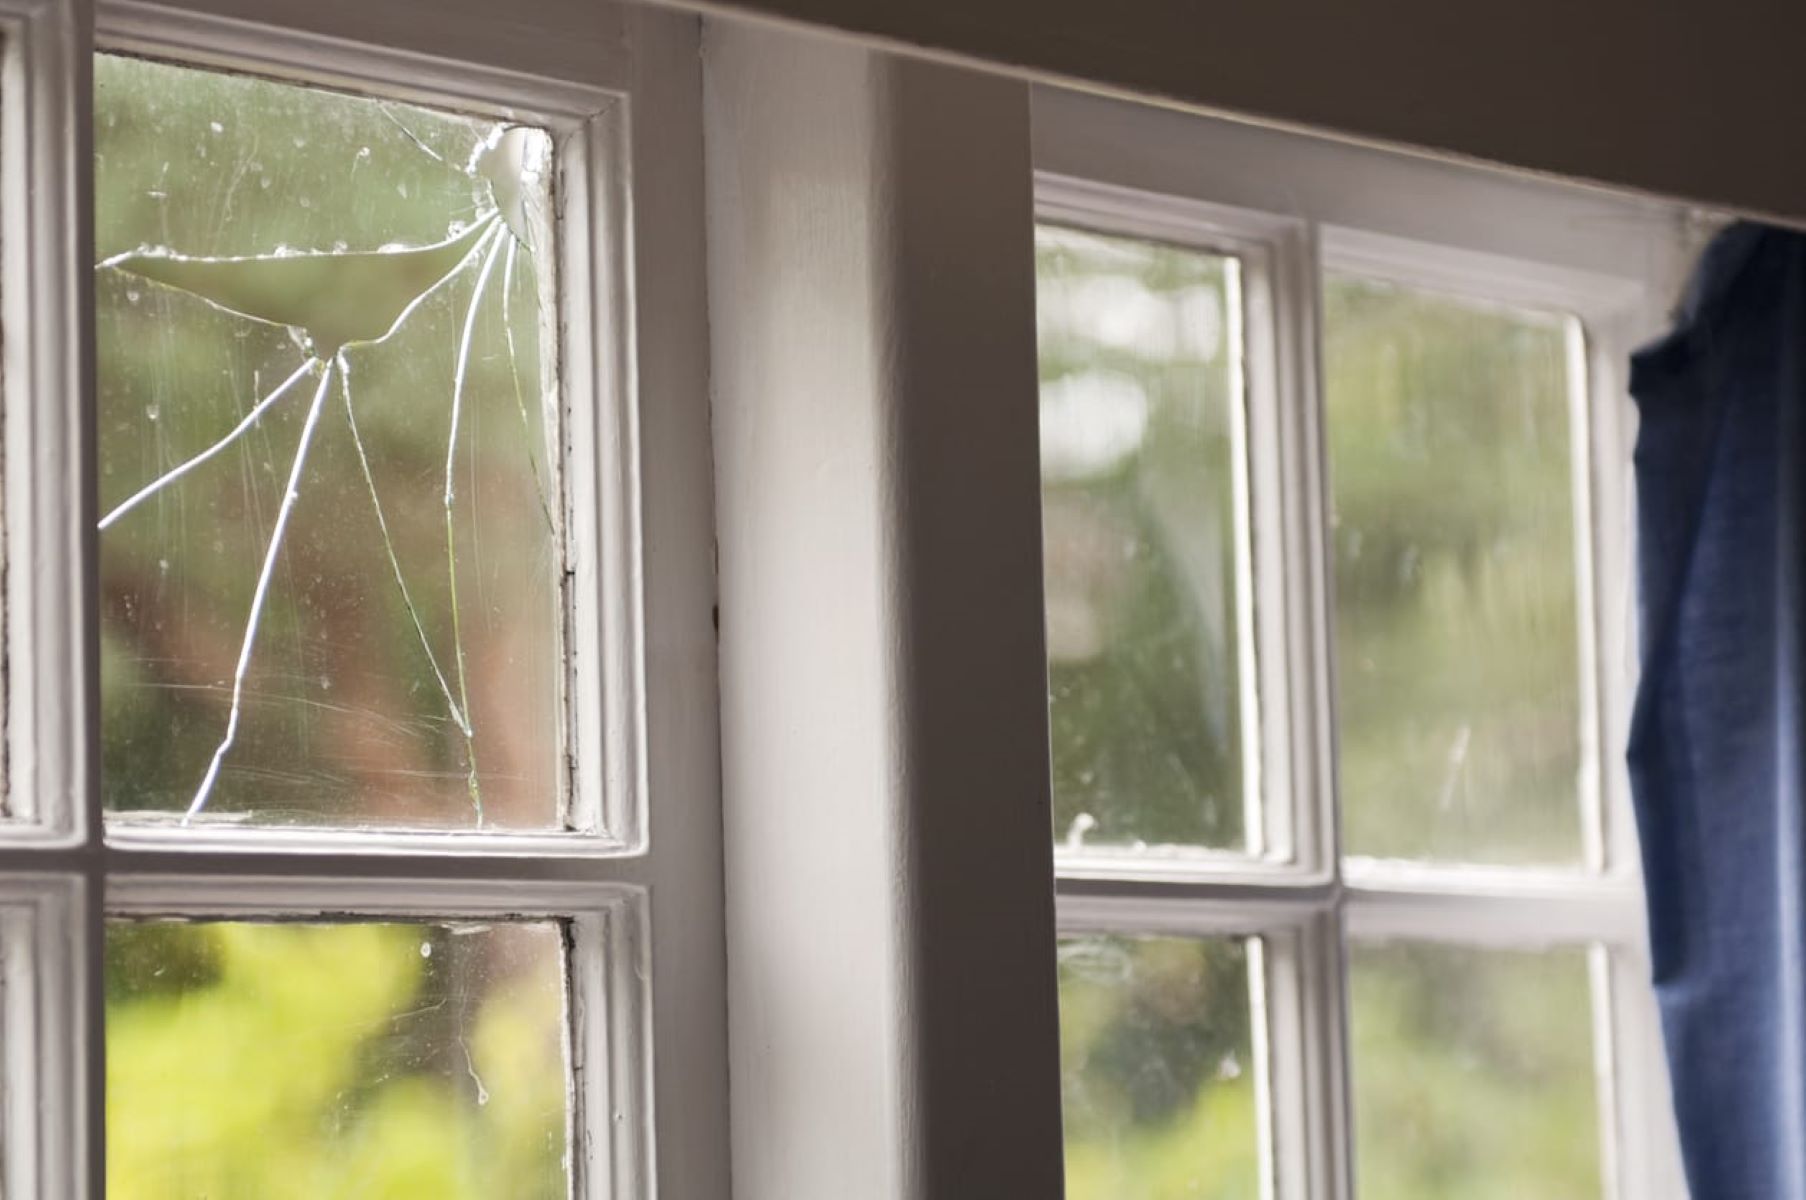
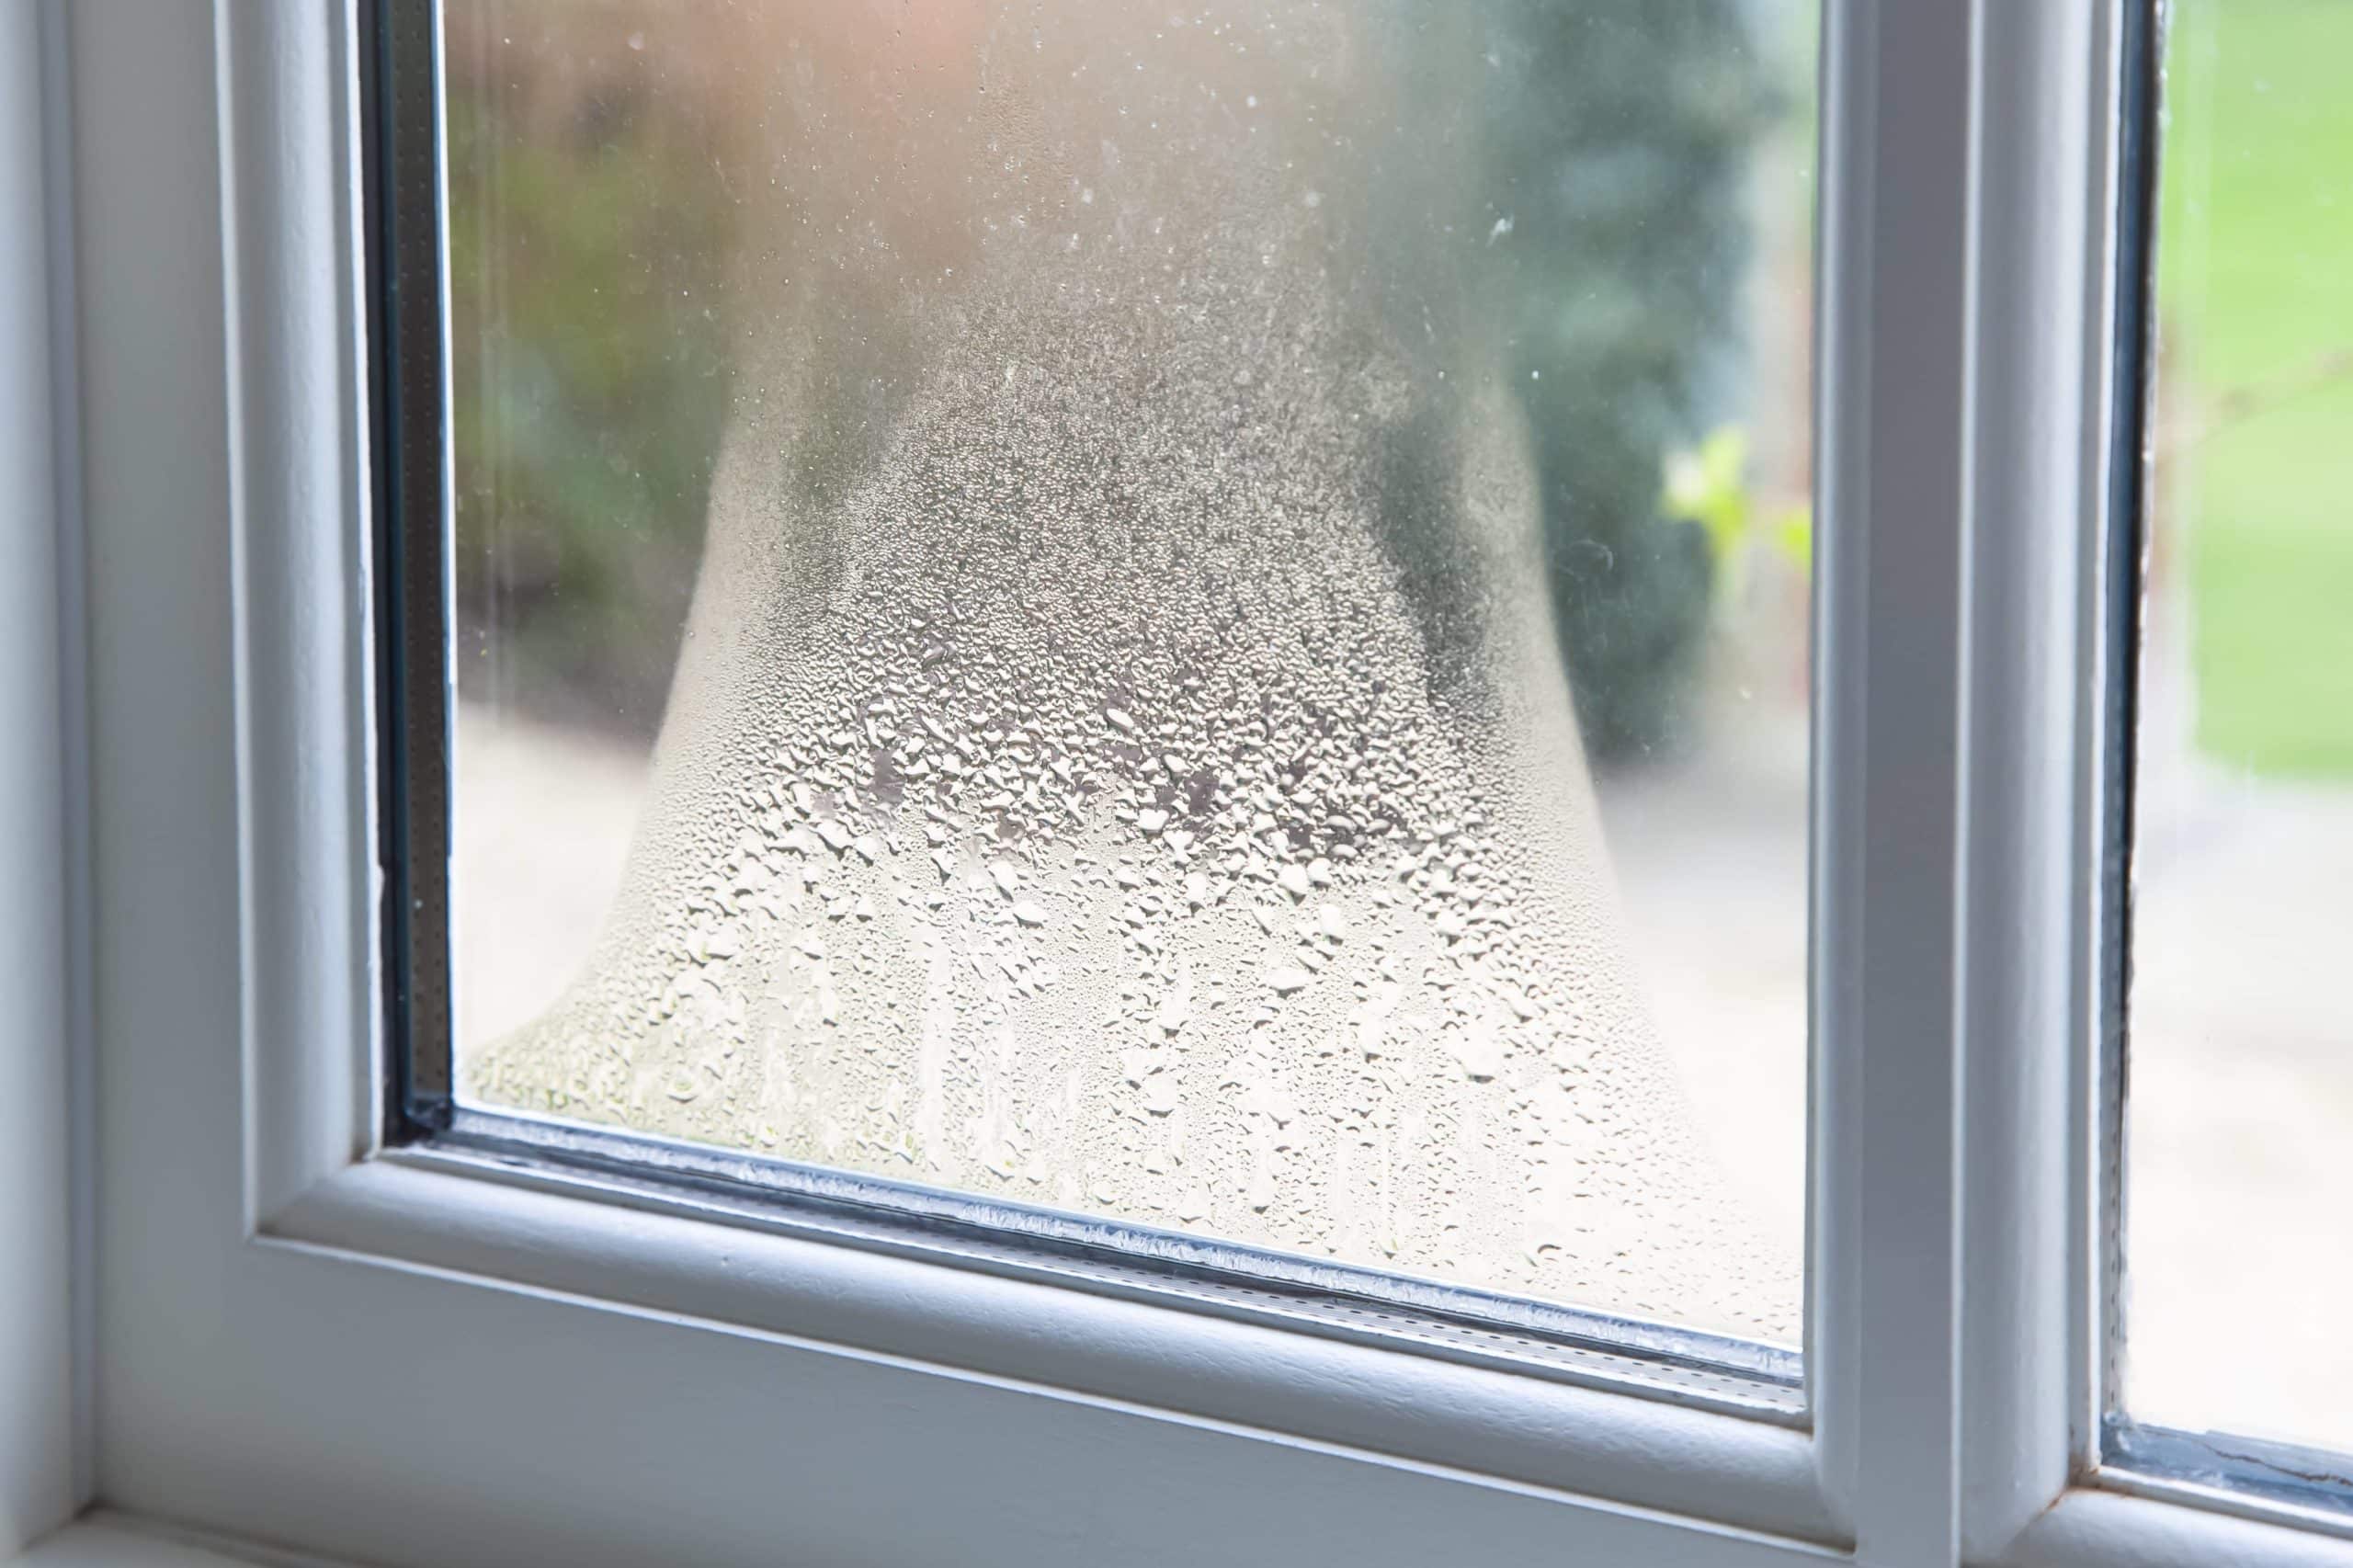
Replacing a broken glass window pane may seem like a daunting task, but with the right tools, materials, and guidance, it can be a manageable and rewarding DIY project. Whether the damage was caused by an accident, extreme weather, or simply wear and tear, addressing a broken window pane is essential for maintaining the integrity and aesthetics of your home.
In this comprehensive guide, we will walk you through the step-by-step process of replacing a glass window pane. From gathering the necessary tools and materials to measuring, cutting, and installing the new pane, we will cover each stage with clarity and precision. By following these instructions, you can restore the functionality and visual appeal of your window while gaining a sense of accomplishment from completing the task yourself.
Before embarking on this project, it's important to approach it with patience and attention to detail. While the process may require some physical exertion and careful handling of glass, the end result will contribute to the comfort and security of your living space. Additionally, by taking on this DIY endeavor, you have the opportunity to save on repair costs and develop valuable skills that can be applied to future home improvement projects.
As we delve into the steps for replacing a glass window pane, keep in mind that safety should always be a top priority. Handling glass and using tools such as putty knives and glazing compounds requires caution and focus. By following the guidelines outlined in this guide, you can navigate the process with confidence and ensure a successful outcome.
Now, let's gather the necessary tools and materials to begin the journey of restoring your window to its former glory.
Key Takeaways:
- Replacing a glass window pane is a manageable DIY project that requires patience, attention to detail, and the right tools. By following safety guidelines and precise steps, you can restore your window’s functionality and save on repair costs.
- From measuring and cutting the new glass pane to securing it in place, each step of the replacement process contributes to the window’s durability and visual appeal. Embrace the challenge and take pride in enhancing your home with valuable DIY skills.
Read more: How To Replace A Pane Of Glass
Step 1: Gather the necessary tools and materials
Before embarking on the task of replacing a glass window pane, it's crucial to gather all the essential tools and materials. Having the right equipment at hand will streamline the process and ensure that you can proceed with confidence. Here's a comprehensive list of what you'll need:
Tools:
-
Safety goggles and gloves: Protecting your eyes and hands is paramount when working with glass and tools. Safety goggles shield your eyes from potential debris, while gloves provide a layer of protection against sharp edges.
-
Putty knife: This versatile tool will be used to remove the old putty and glazing from the window frame. Look for a putty knife with a sturdy blade that can effectively scrape away old materials.
-
Glass cutter: A high-quality glass cutter is essential for scoring and cutting the new glass pane to the precise dimensions required for your window frame.
-
Measuring tape: Accurate measurements are crucial for ensuring that the new glass pane fits perfectly. A reliable measuring tape will help you determine the exact dimensions needed for the replacement pane.
-
Glazing points: These small, triangular metal pieces are used to secure the glass pane within the window frame. They provide stability and prevent the glass from shifting once installed.
-
Glazing compound: This putty-like material is applied to the window frame to hold the glass pane in place. It also serves as a sealant to protect the pane from moisture and drafts.
-
Paint scraper: A paint scraper can be used to remove any excess glazing compound or paint from the window frame, ensuring a clean and smooth surface for the new pane.
-
Hammer: A lightweight hammer will be necessary for gently tapping in the glazing points and ensuring they are securely fastened.
Materials:
-
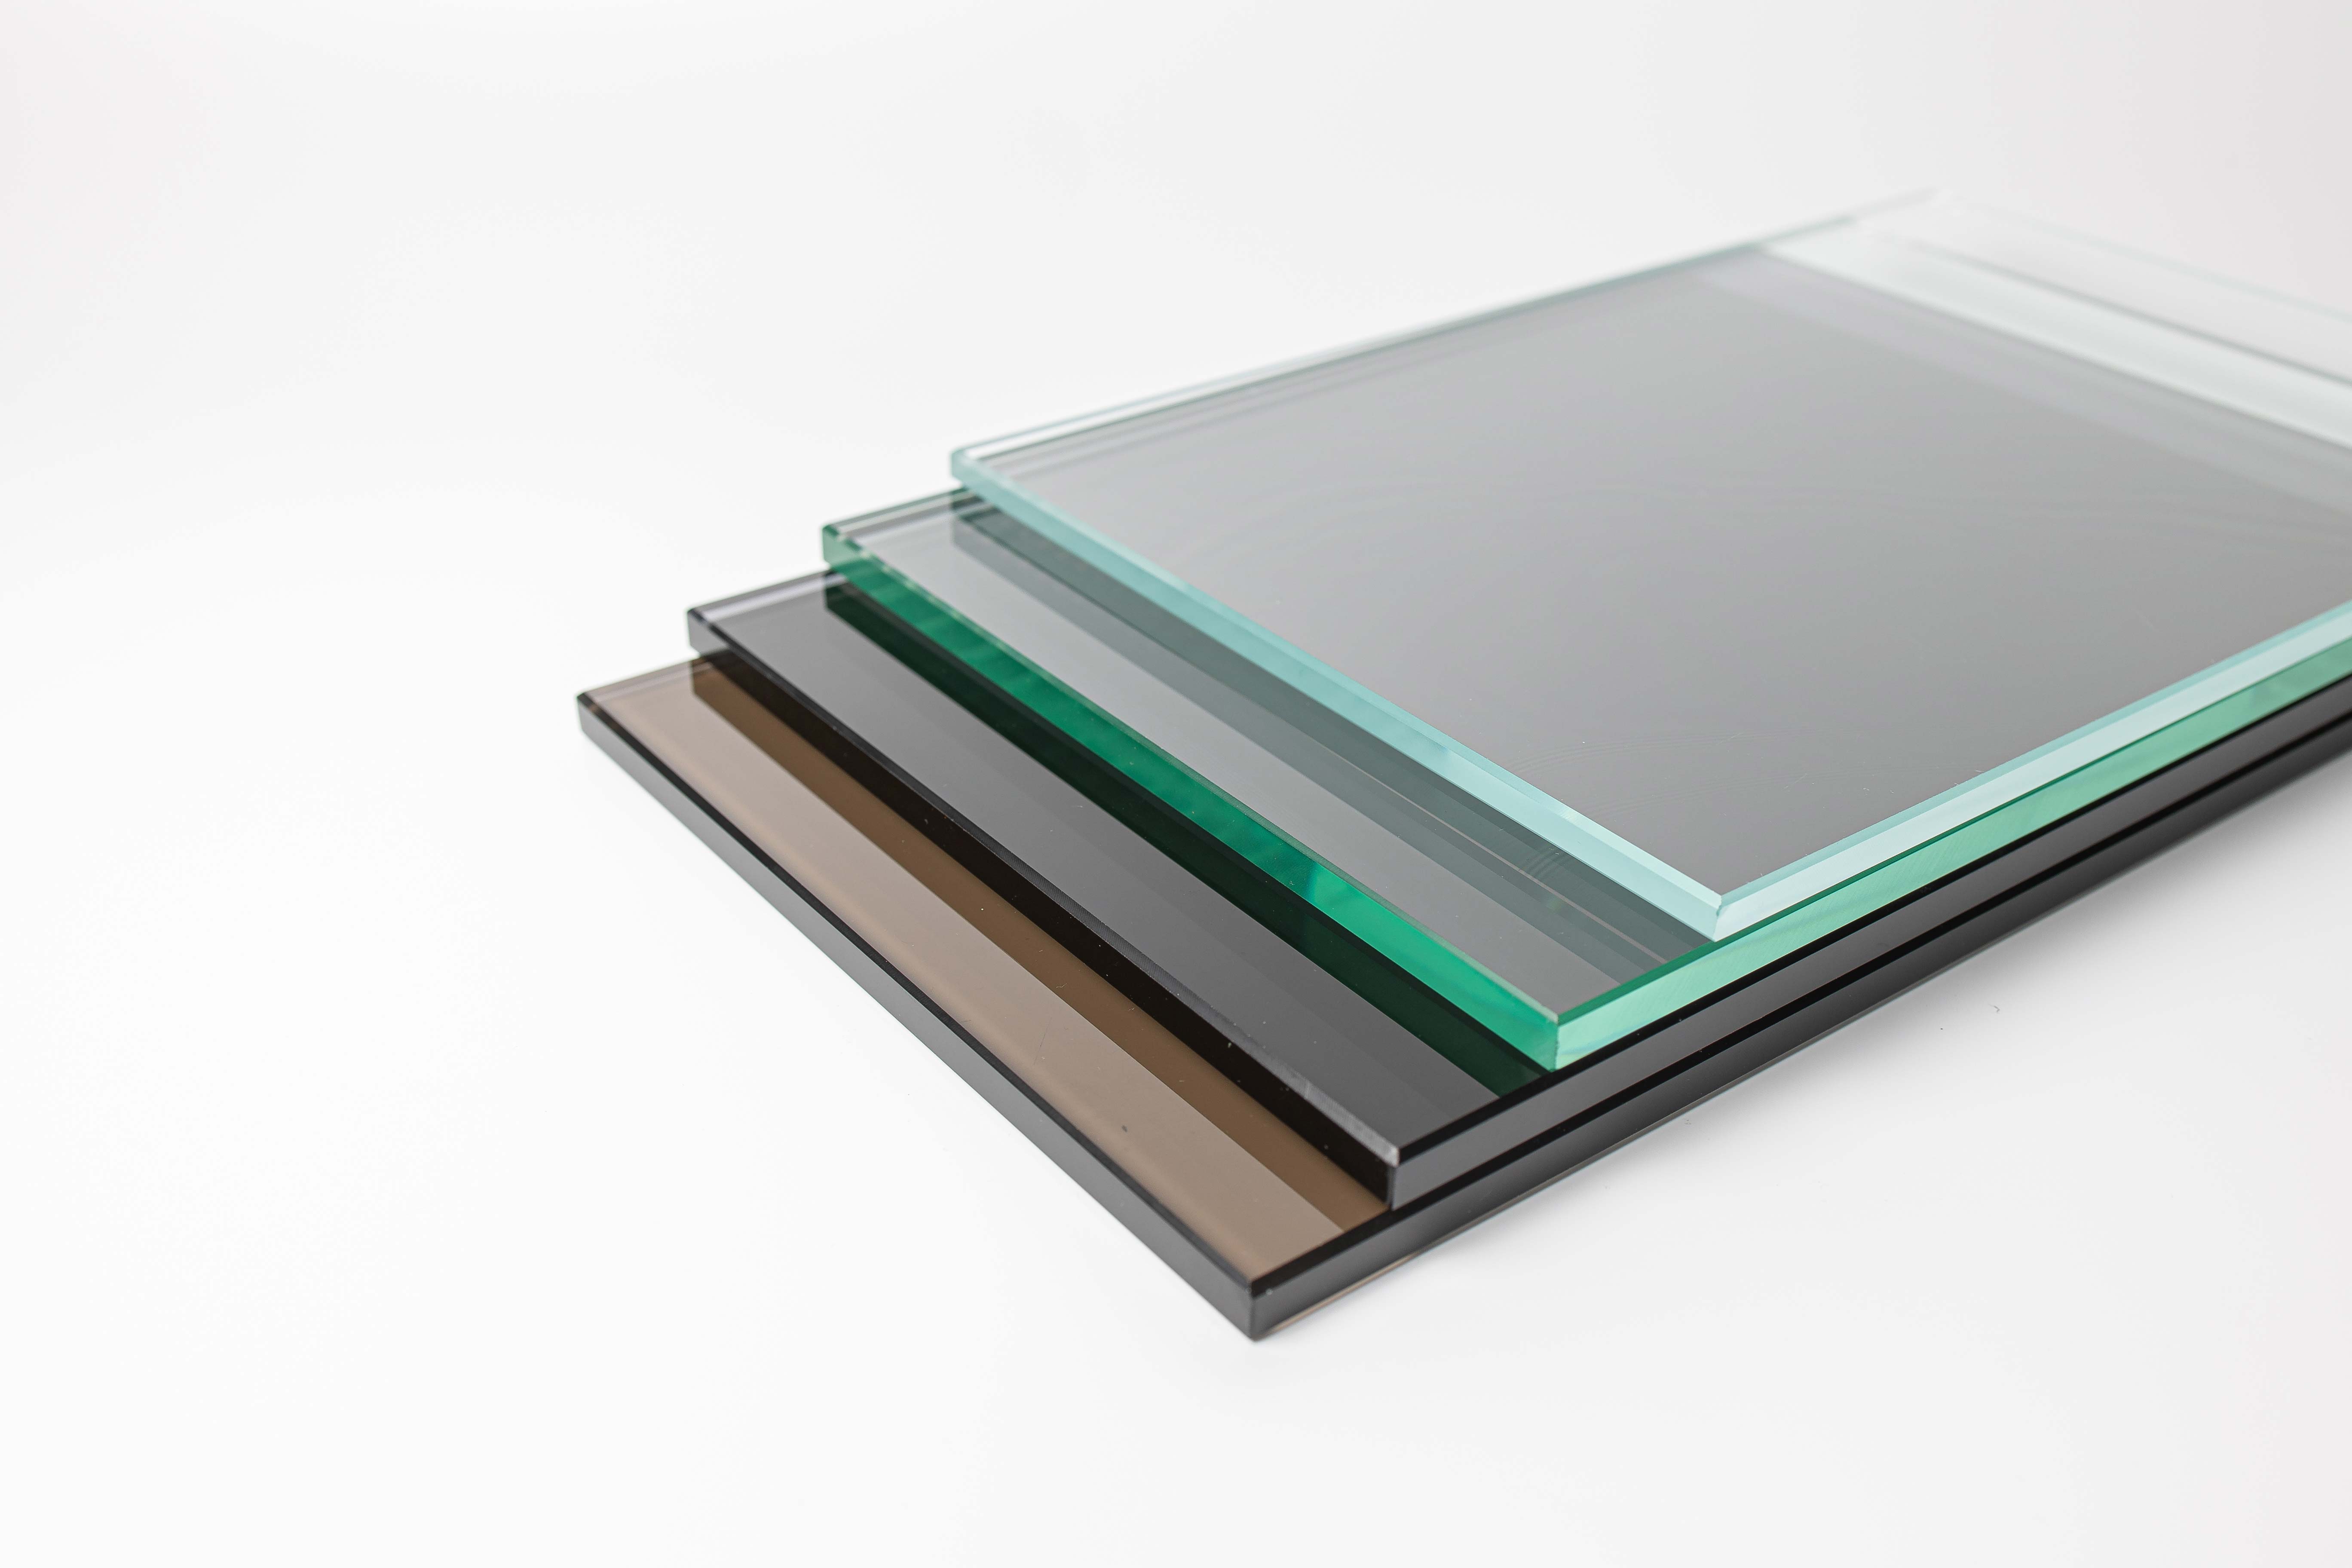
Replacement glass pane: Measure the dimensions of the window frame accurately to determine the size of the new glass pane needed. It's advisable to opt for safety glass, which is more durable and less likely to shatter.
-
Linseed oil: This natural oil is often used to condition and soften glazing putty, making it easier to work with during the installation process.
-
Sandpaper: Having sandpaper on hand will allow you to smooth any rough edges on the new glass pane or the window frame, ensuring a precise fit and a professional finish.
By ensuring that you have all the necessary tools and materials ready, you can proceed to the next step with confidence, knowing that you are well-equipped to tackle the task of replacing the glass window pane.
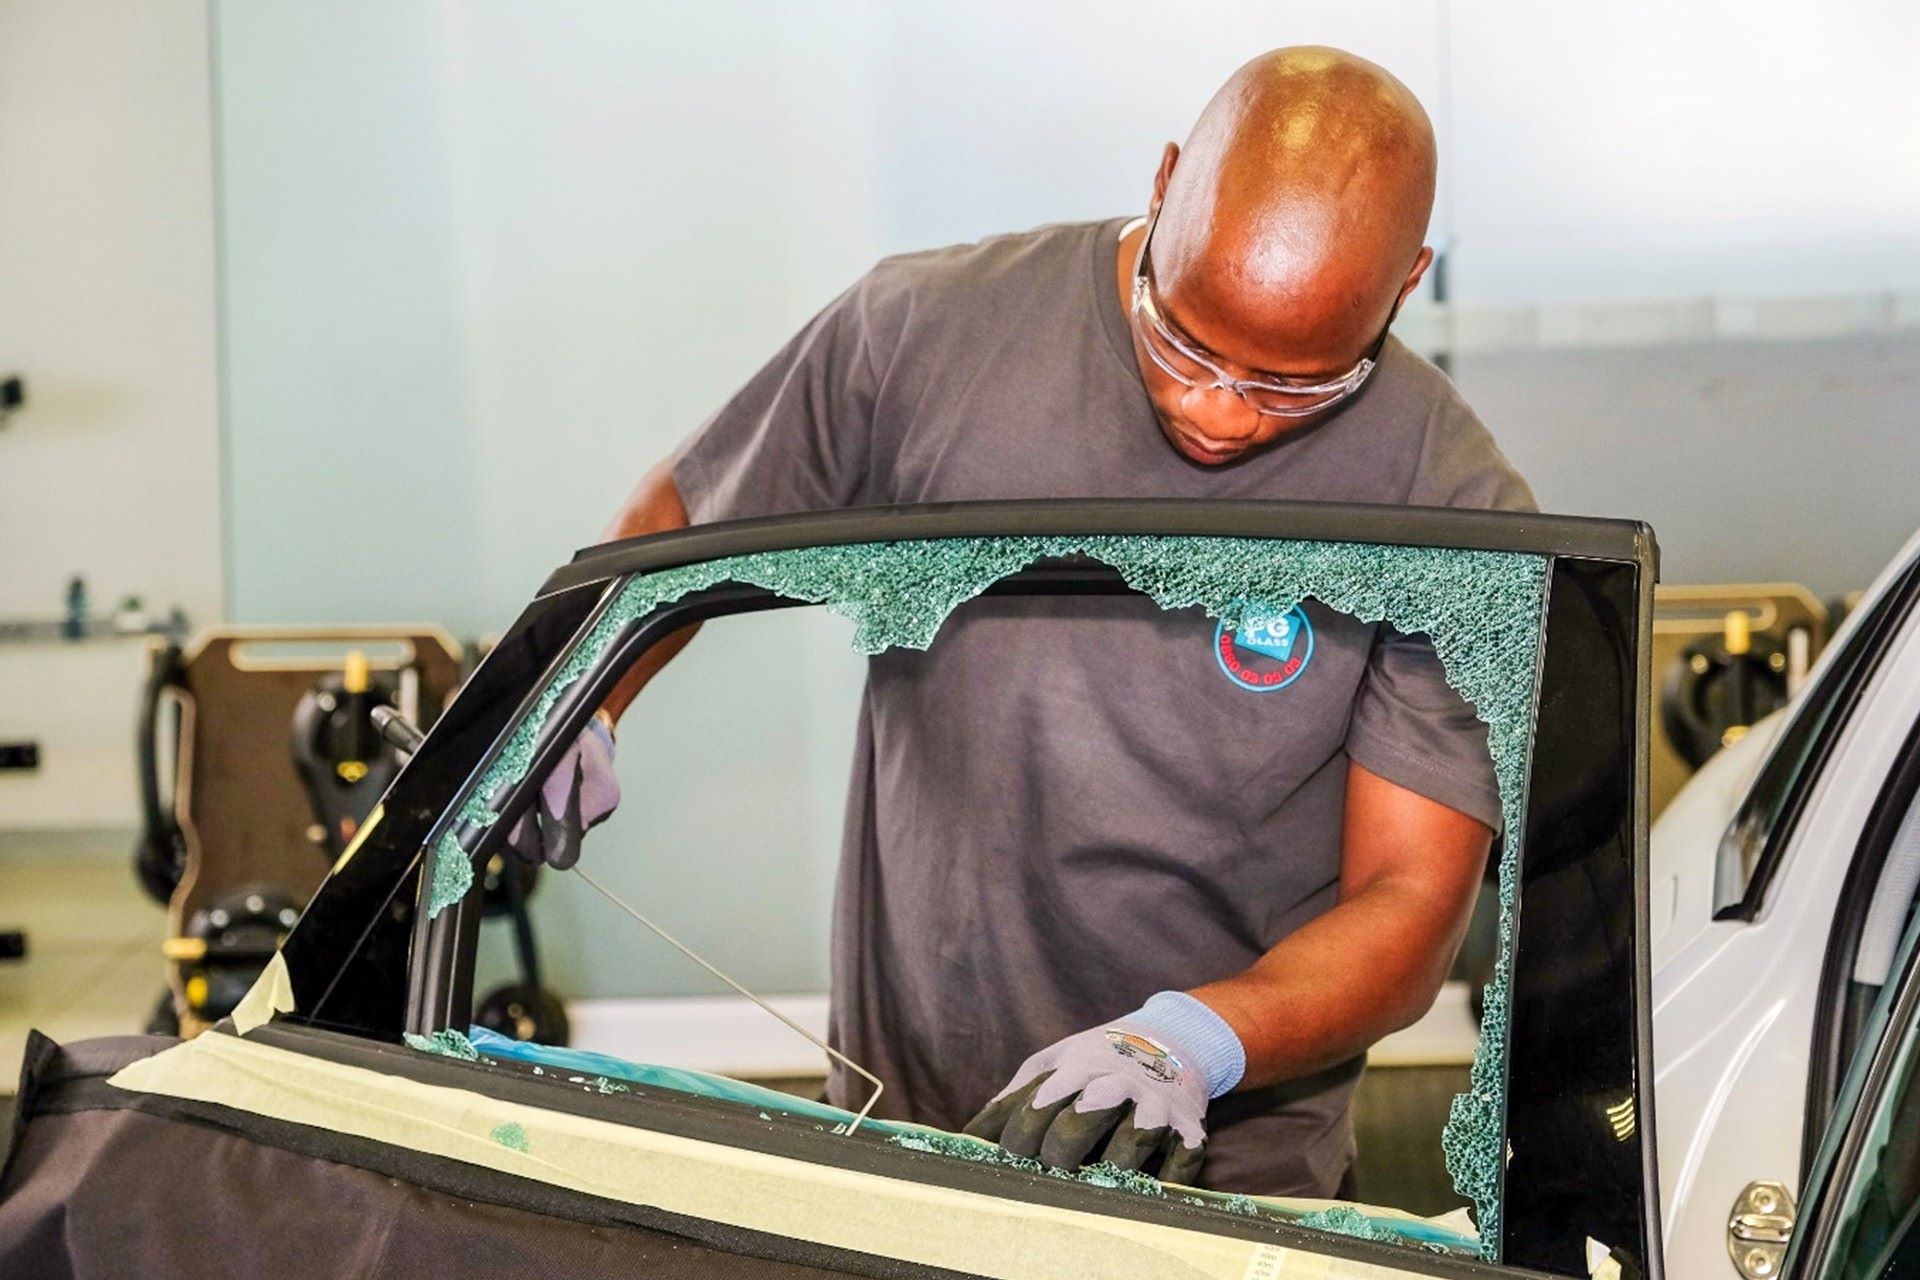
Step 2: Remove the broken glass pane
Removing the broken glass pane is a crucial step in the process of replacing a glass window pane. It requires careful handling and attention to safety to avoid any injuries from sharp edges or glass shards. Here's a detailed guide on how to safely and effectively remove the broken glass pane from the window frame:
-
Safety Precautions: Before starting the removal process, it's essential to prioritize safety. Put on your safety goggles and gloves to protect your eyes and hands from glass fragments. Additionally, ensure that the surrounding area is clear of any obstacles, and consider laying down a drop cloth to catch any debris that may fall during the removal.
-
Clear the Surrounding Putty and Glazing: Use a putty knife to carefully remove the old putty and glazing from around the broken glass pane. Gently insert the putty knife between the frame and the putty, applying even pressure to loosen and lift the old material. Take your time to avoid damaging the window frame or causing further breakage to the glass.
-
Secure the Glass: If the broken glass pane is still intact within the frame, use masking tape to create a grid pattern across the surface. This will help prevent the glass from shattering further as you work to remove it. Carefully apply the tape in both horizontal and vertical directions, ensuring that it adheres firmly to the glass.
-
Remove the Glass: With the necessary precautions in place, carefully push the broken glass pane from the frame. Use a gentle and controlled motion to avoid sudden movements that could cause the glass to splinter. If the glass is already shattered, use the putty knife to carefully dislodge the remaining pieces, working from the edges towards the center.
-
Clean the Frame: Once the broken glass pane has been removed, use the putty knife and a vacuum cleaner to clear any remaining putty, glazing, or glass shards from the window frame. Thoroughly inspect the frame to ensure that it is clean and free of any debris that could affect the installation of the new glass pane.
By following these steps with precision and care, you can safely remove the broken glass pane from the window frame, setting the stage for the next phase of the replacement process. Remember to dispose of the broken glass responsibly and continue to prioritize safety throughout the project.
Read more: How To Replace Double Pane Glass
Step 3: Measure and cut the new glass pane
Accurate measurements and precise cutting are essential for ensuring that the new glass pane fits perfectly within the window frame. This step requires careful attention to detail and the use of the right tools to achieve a seamless and professional result.
Measuring the Window Frame
Begin by measuring the dimensions of the window frame to determine the exact size needed for the replacement glass pane. Use a reliable measuring tape to record the width and height of the opening, taking measurements at multiple points to account for any variations. It's crucial to measure the width and height separately, as windows are often not perfectly square.
When recording the measurements, subtract approximately 1/8 inch from both the width and height to allow for a slight clearance around the edges of the glass pane. This clearance will accommodate the glazing compound and ensure a snug fit within the frame.
Cutting the Glass Pane
Once the precise measurements have been obtained, it's time to cut the new glass pane to the correct size. Using a high-quality glass cutter, carefully score the glass along the measured dimensions. Apply even pressure to create a clean and straight scoreline, ensuring that it extends across the entire surface of the glass.
After scoring the glass, gently tap along the scored line with the ball end of the glass cutter. This controlled force will help to propagate the scoreline, resulting in a clean break along the intended dimensions. It's important to wear safety goggles and gloves during this process to protect against any glass shards or splinters.
Once the glass has been cut to size, use fine-grit sandpaper to smooth any rough edges and ensure a precise fit within the window frame. Pay close attention to the corners and edges, as these areas should be free of any sharp or jagged edges that could interfere with the installation process.
By meticulously measuring and cutting the new glass pane, you can ensure that it aligns perfectly with the window frame, setting the stage for the next phase of the replacement process. This careful attention to detail will contribute to a seamless and professional finish, restoring both the functionality and aesthetic appeal of your window.
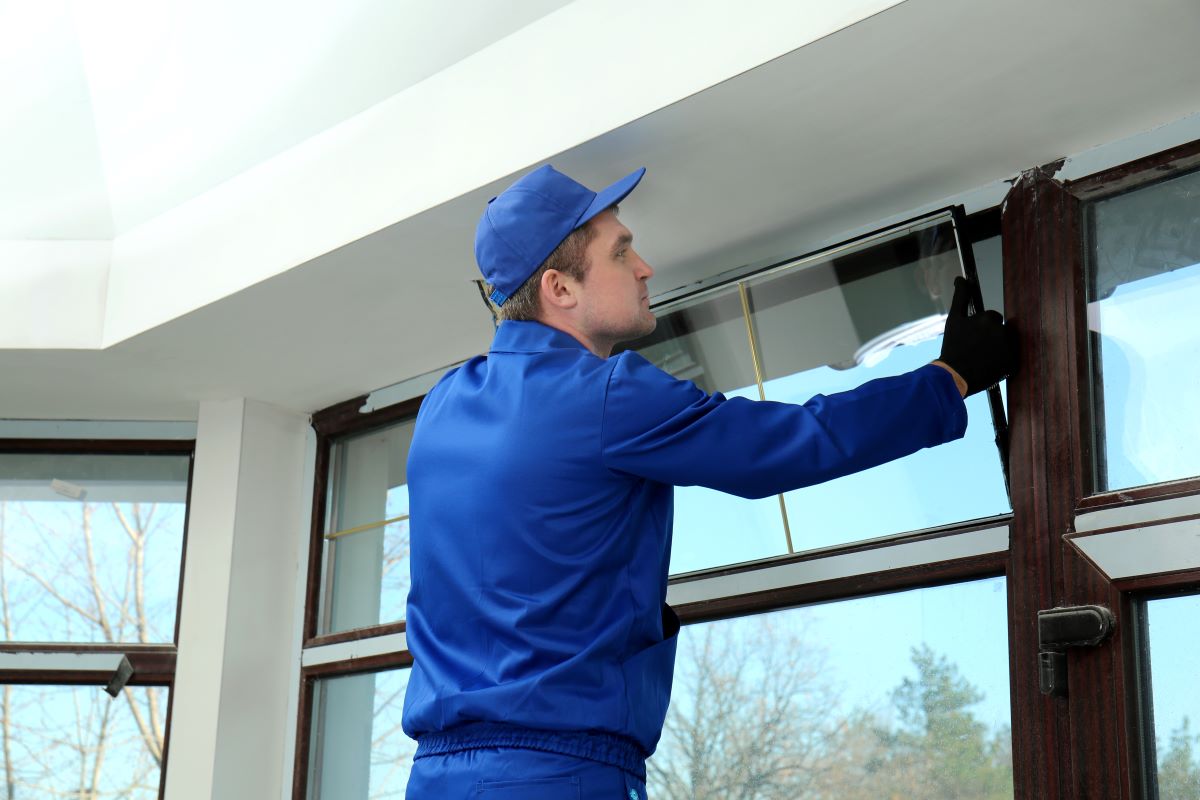
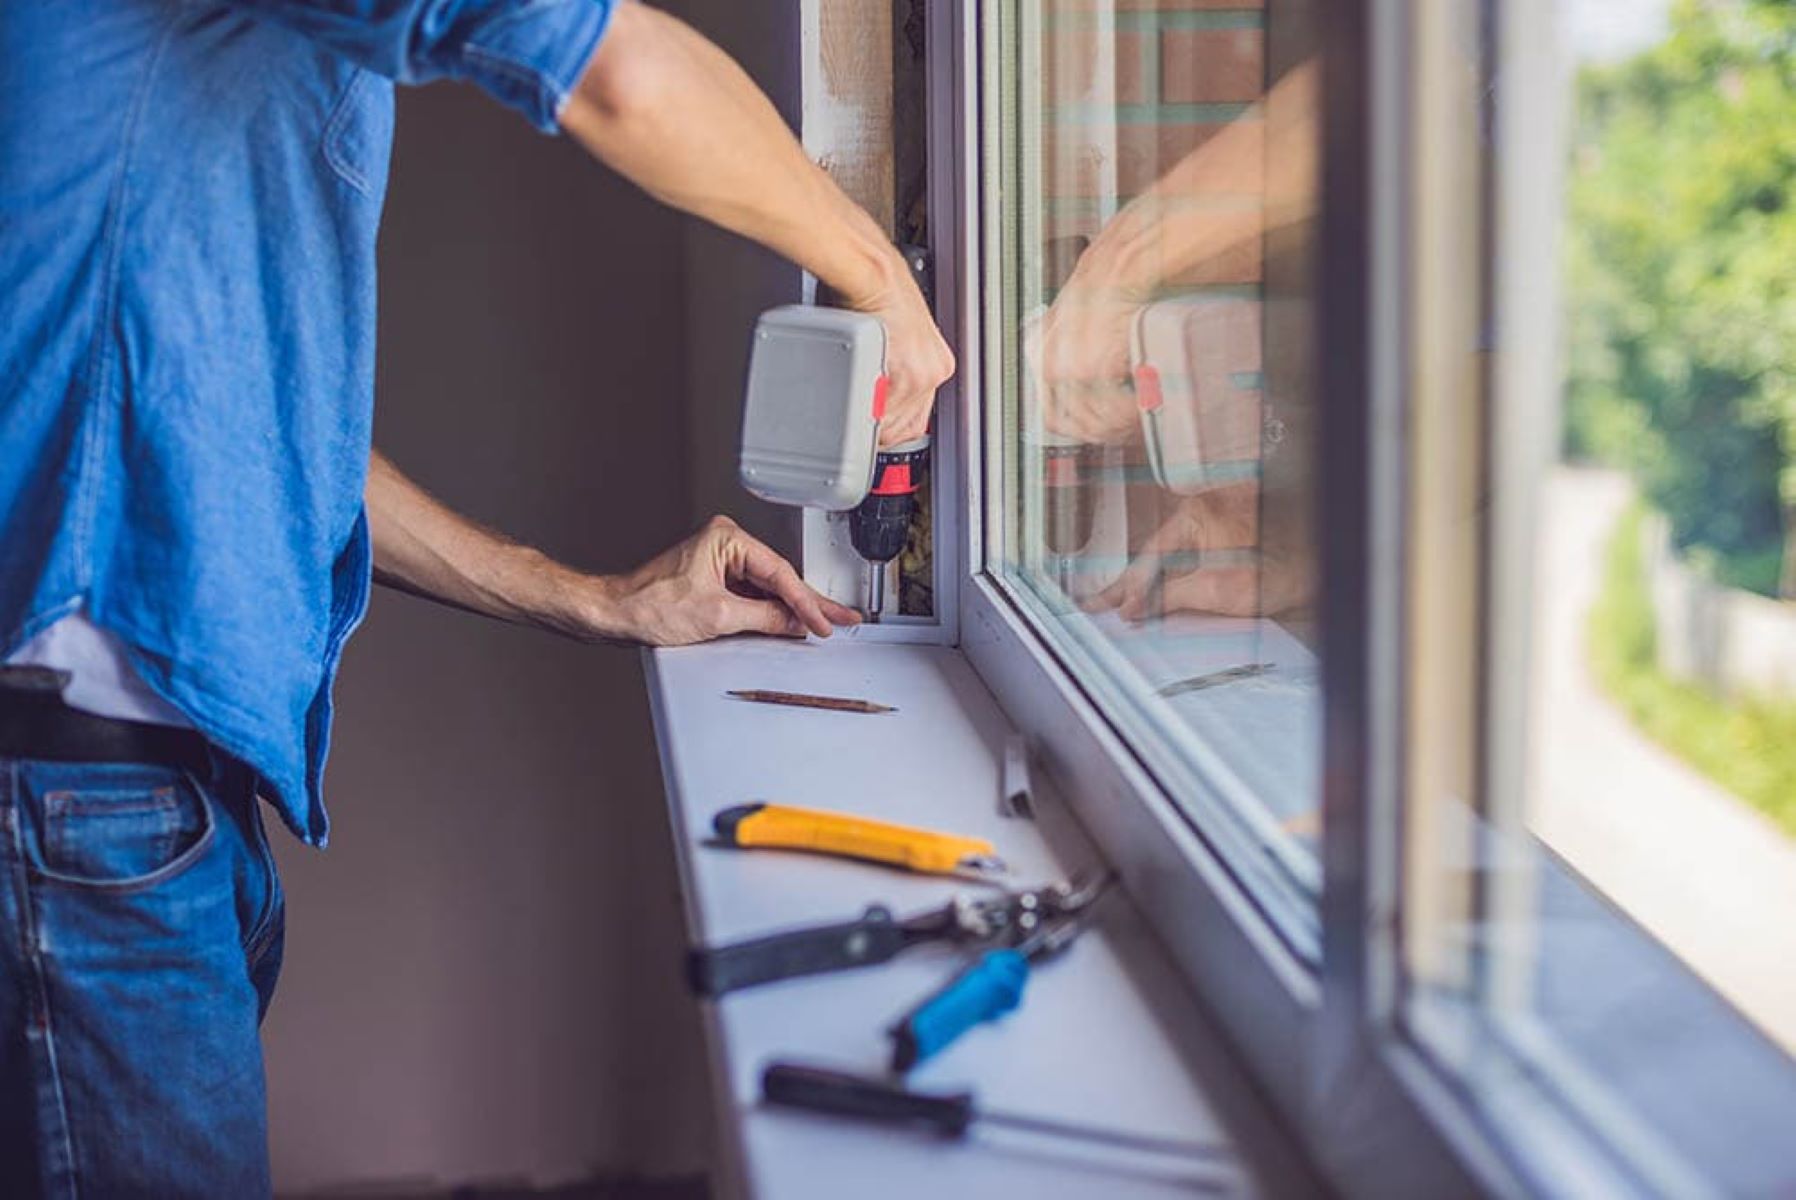
Step 4: Install the new glass pane
With the accurately measured and cut new glass pane at hand, it's time to proceed with the installation process. This step requires precision and attention to detail to ensure that the new pane fits securely within the window frame, providing both functionality and visual appeal.
Begin by applying a thin layer of linseed oil to the rebate, or the recessed channel, within the window frame. This will help condition the wood and create a smooth surface for the glazing compound to adhere to. Additionally, the linseed oil aids in preventing the wood from absorbing the oils present in the glazing compound, contributing to a longer-lasting seal.
Next, carefully position the new glass pane within the prepared rebate, ensuring that it aligns evenly with the edges of the frame. Take your time to make any necessary adjustments, as the goal is to achieve a snug and symmetrical fit. Once the glass pane is in place, gently press it against the linseed oil-treated surface to create a preliminary bond.
After positioning the glass pane, it's time to insert glazing points along the edges of the frame to secure the pane in place. Using a putty knife or a specialized glazing tool, carefully press the glazing points into the wood, ensuring that they hold the glass firmly without protruding beyond the surface. The glazing points provide stability and prevent the glass from shifting once installed, contributing to the overall security of the window.
With the glazing points in position, it's time to apply the glazing compound to create a durable and weather-resistant seal around the glass pane. Using a putty knife, take a small amount of glazing compound and work it into a pliable consistency by kneading it in your hands. Then, carefully press the compound into the gap between the glass and the frame, ensuring that it forms a continuous and uniform seal.
Smooth the glazing compound along the edges using the putty knife, creating clean lines and removing any excess material. The goal is to achieve a seamless and professional finish that not only secures the glass pane but also provides protection against moisture and drafts. Pay close attention to the corners and junctions, ensuring that the glazing compound forms a tight seal at every point.
Once the glazing compound is applied, allow it to cure according to the manufacturer's instructions. This curing period is essential for the compound to set and form a strong bond with the glass and the frame, contributing to the long-term stability of the installation.
By following these detailed steps, you can successfully install the new glass pane with precision and care, contributing to the restoration of your window's functionality and aesthetic appeal. This phase of the replacement process sets the stage for the final steps of securing the glass pane in place and adding finishing touches to complete the project.
Read more: How To Dispose Of Glass Panes
Step 5: Secure the glass pane in place
Securing the newly installed glass pane is a critical step in the process of replacing a glass window pane. By ensuring that the pane is firmly held in position, you contribute to the overall stability and longevity of the window, safeguarding it against potential shifting or dislodgment. This phase involves reinforcing the installation with additional measures to fortify the glass pane within the frame, providing both security and peace of mind.
One effective method of securing the glass pane is to apply a second layer of glazing compound along the edges of the frame. This supplementary layer serves to reinforce the initial seal, providing an added level of protection against external elements such as moisture and drafts. Using a putty knife, carefully apply the glazing compound to the existing seal, ensuring that it seamlessly integrates with the previous application. This process contributes to a robust and weather-resistant barrier around the glass pane, enhancing its durability and resilience.
In addition to the application of glazing compound, the use of glazing clips or points can further bolster the security of the glass pane. These small metal clips are strategically positioned along the edges of the frame to provide additional support and stability. Using a hammer, gently tap the glazing clips into place, ensuring that they firmly grasp the glass pane without exerting excessive pressure. The presence of glazing clips reinforces the structural integrity of the installation, minimizing the risk of displacement and enhancing the overall strength of the window assembly.
Furthermore, the application of a bead of caulk along the exterior perimeter of the window frame can contribute to the securement of the glass pane. This waterproof sealant serves as a protective barrier, shielding the edges of the glass pane from moisture and external elements. By carefully applying a continuous bead of caulk along the frame, you create an additional layer of defense against potential environmental factors, further fortifying the installation and ensuring its long-term stability.
By implementing these measures to secure the glass pane in place, you reinforce the integrity of the window assembly, contributing to its functionality and resilience. This meticulous attention to detail and commitment to securing the glass pane ensures that the replacement process culminates in a robust and enduring installation, providing both practical and aesthetic benefits for your living space.
When replacing a glass window pane, be sure to wear protective gloves and goggles to prevent injury from broken glass. Use a putty knife to remove old putty and carefully place the new pane in the frame, securing it with fresh putty.
Step 6: Clean up and finishing touches
As the installation of the new glass pane nears completion, attention to detail during the clean-up process and the addition of finishing touches are essential to ensure a polished and professional outcome. This phase involves meticulous tidying of the work area and the application of final elements that contribute to the overall aesthetics and functionality of the window.
Begin by carefully inspecting the window frame and the surrounding area for any residual debris, such as glass shards, putty remnants, or dust. Using a vacuum cleaner with a soft brush attachment, gently remove any remaining particles from the frame, ensuring that the surface is clean and free of obstructions. Additionally, a damp cloth can be used to wipe down the frame, eliminating any lingering traces of dust or dirt.
Once the immediate work area is tidied, it's time to address any imperfections or irregularities in the glazing compound. Using a putty knife or a specialized glazing tool, carefully examine the edges of the glazing compound and make any necessary adjustments to ensure a smooth and uniform finish. Pay close attention to the corners and junctions, ensuring that the glazing compound presents a seamless and professional appearance.
To further enhance the visual appeal of the window, consider applying a fresh coat of paint to the frame. Select a high-quality exterior paint that complements the existing color scheme of your home, and carefully brush or roll a uniform layer onto the frame. This step not only contributes to the aesthetic cohesion of the window but also provides an additional layer of protection against environmental elements.
Finally, inspect the newly installed glass pane for any smudges or marks. Using a glass cleaner and a lint-free cloth, gently polish the surface of the glass to achieve a pristine and transparent finish. Pay attention to detail, ensuring that the glass is free of any streaks or blemishes that could detract from its visual clarity.
By meticulously attending to the clean-up process and adding the finishing touches, you elevate the overall quality and presentation of the window replacement project. This attention to detail not only contributes to the visual appeal of the window but also reflects a commitment to excellence and craftsmanship. With the completion of these final steps, the replacement of the glass window pane culminates in a professional and enduring result, enhancing both the functionality and aesthetic allure of your living space.
Conclusion
In conclusion, the process of replacing a glass window pane is a multifaceted endeavor that demands meticulous attention to detail, precision, and a commitment to safety. By following the step-by-step guide outlined in this comprehensive tutorial, you have gained valuable insights into the intricacies of this DIY project, empowering you to undertake the task with confidence and proficiency.
Throughout the journey of replacing a glass window pane, you have navigated through essential stages, from gathering the necessary tools and materials to measuring, cutting, and installing the new glass pane. Each step has been carefully crafted to equip you with the knowledge and skills needed to execute the project effectively, ensuring a successful outcome that enhances the functionality and visual appeal of your window.
The emphasis on safety throughout the process underscores the importance of prioritizing personal well-being and taking precautions when working with glass and tools. By adhering to safety guidelines and exercising caution, you have not only safeguarded yourself but also contributed to the overall success of the project.
Furthermore, the attention to detail in securing the glass pane in place and adding finishing touches underscores the dedication to achieving a professional and enduring result. By implementing measures to fortify the installation and enhance its visual appeal, you have demonstrated a commitment to excellence and craftsmanship, elevating the overall quality of the window replacement project.
As you reflect on the journey of replacing a glass window pane, it's important to recognize the valuable skills and knowledge you have acquired. The ability to measure, cut, and install a new glass pane not only contributes to the maintenance of your living space but also empowers you to tackle future DIY projects with confidence and proficiency.
Ultimately, the successful completion of the glass window pane replacement project is a testament to your dedication, resourcefulness, and commitment to enhancing your home. By embracing the challenges and intricacies of this endeavor, you have not only restored the functionality and visual allure of your window but also cultivated valuable skills that will serve you well in your ongoing pursuit of home improvement and maintenance.
With the completion of this project, you can take pride in the tangible impact of your efforts, knowing that you have contributed to the comfort, security, and aesthetic appeal of your living space. As you admire the newly installed glass pane, may it serve as a reminder of your capability, resourcefulness, and dedication to creating a home that reflects your vision and craftsmanship.
Frequently Asked Questions about How To Replace A Glass Window Pane
Was this page helpful?
At Storables.com, we guarantee accurate and reliable information. Our content, validated by Expert Board Contributors, is crafted following stringent Editorial Policies. We're committed to providing you with well-researched, expert-backed insights for all your informational needs.


0 thoughts on “How To Replace A Glass Window Pane”