Home>Furniture & Design>Interior Design Trends>How To Make Glass Cups With Cricut
Interior Design Trends
How To Make Glass Cups With Cricut
Published: February 7, 2024
Learn how to create stunning glass cups using Cricut for your interior design trends. Discover step-by-step instructions and tips for a perfect DIY project.
(Many of the links in this article redirect to a specific reviewed product. Your purchase of these products through affiliate links helps to generate commission for Storables.com, at no extra cost. Learn more)
Introduction
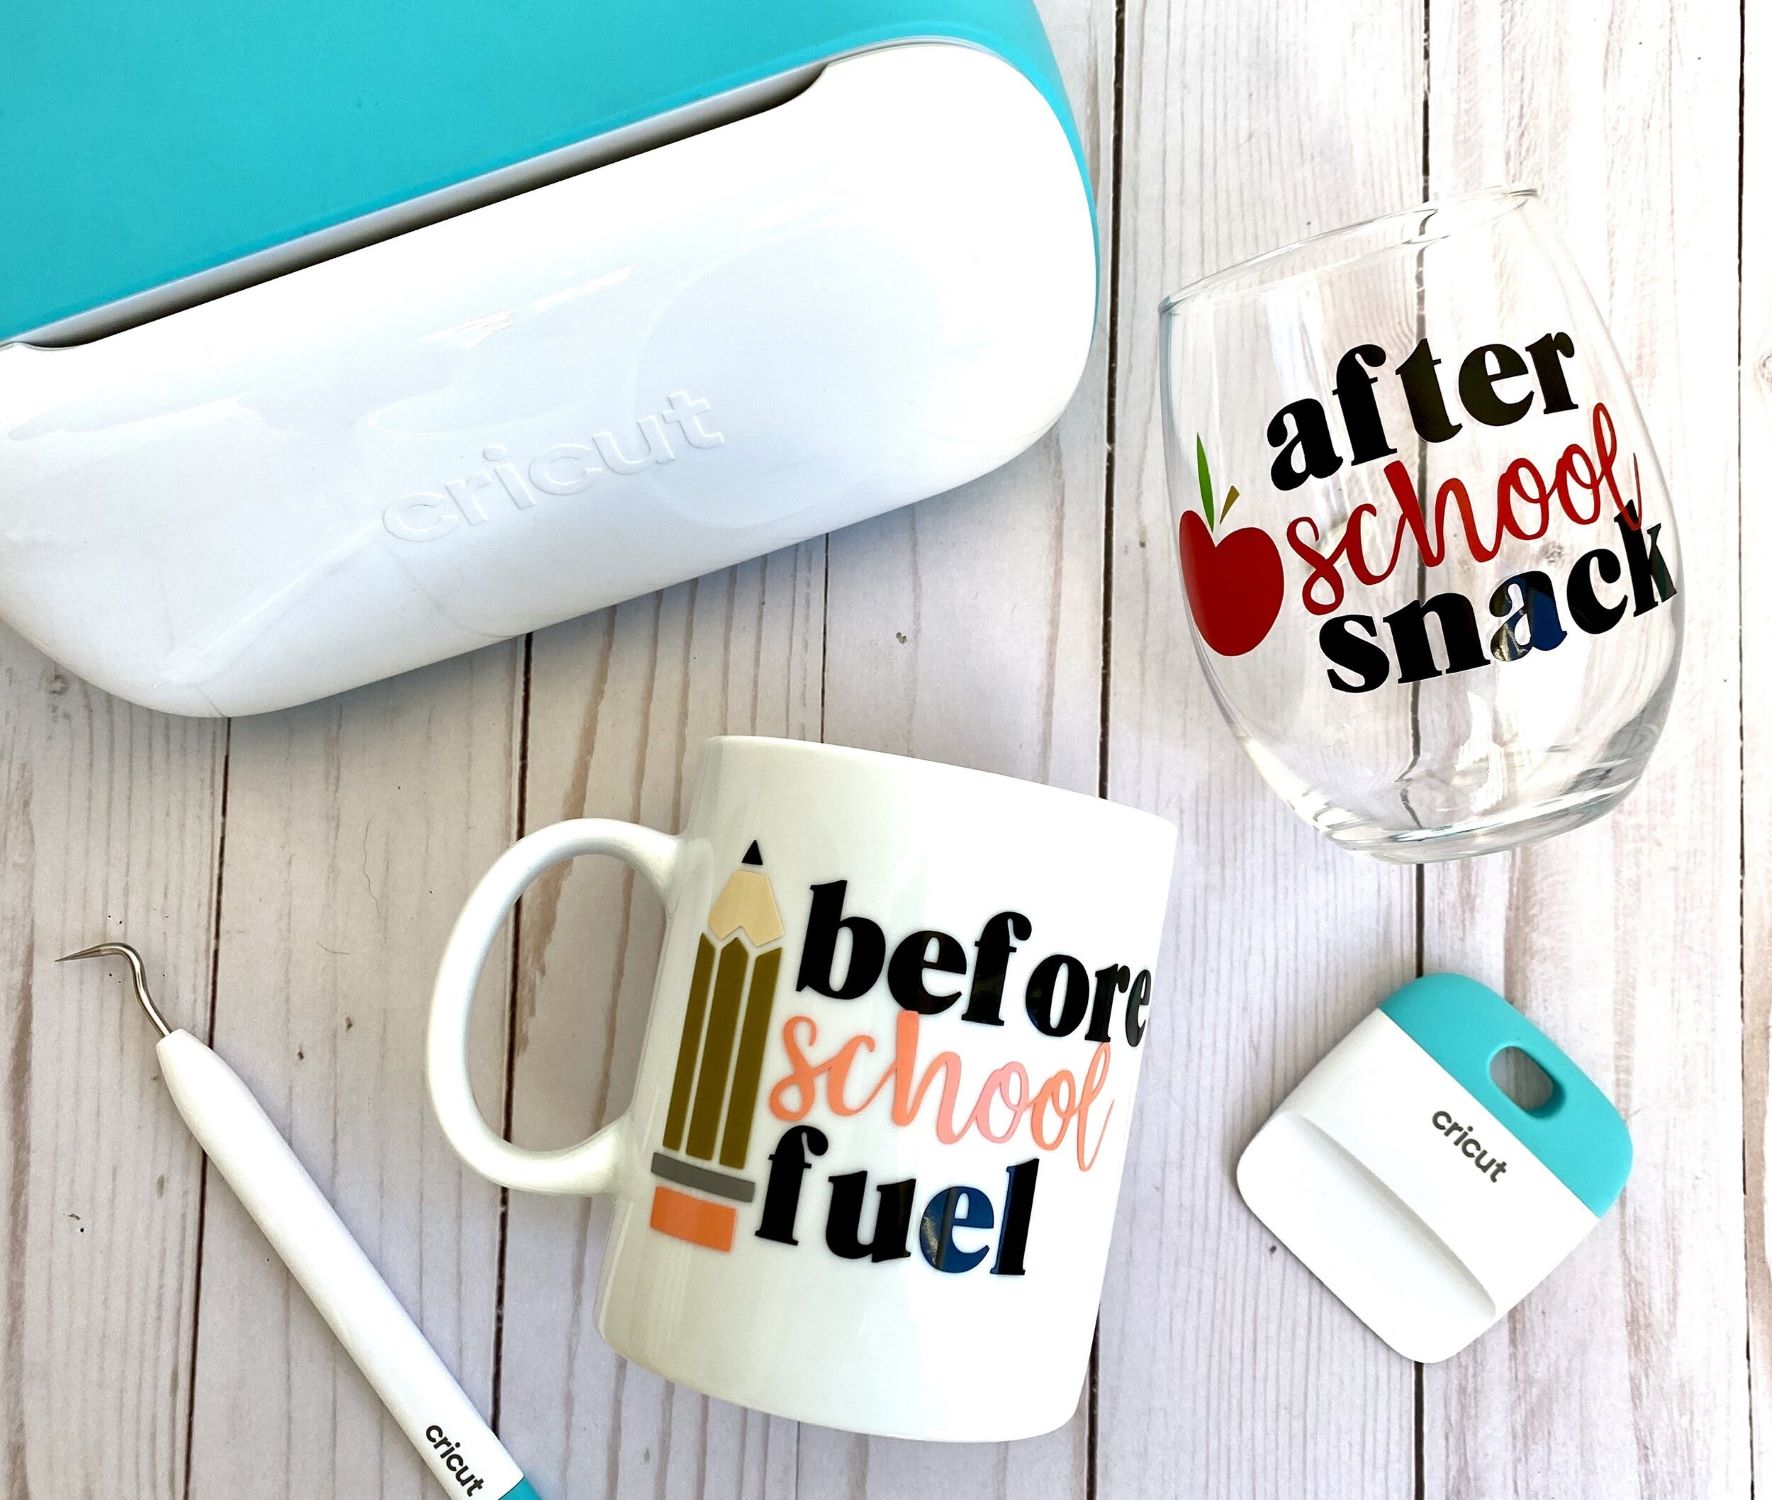
Creating personalized glass cups with Cricut is a delightful way to add a touch of individuality to your drinkware collection. Whether you're looking to craft a unique gift for a loved one or simply seeking to elevate your own glassware, this DIY project offers a perfect blend of creativity and functionality. By harnessing the power of Cricut, a versatile cutting machine, you can transform ordinary glass cups into stunning, customized pieces that reflect your personal style.
In this comprehensive guide, we will walk through the step-by-step process of designing and crafting glass cups with Cricut. From selecting the right materials to mastering the art of applying and curing the design, you'll gain valuable insights into the intricate world of personalized glassware creation. Whether you're a seasoned crafter or a newcomer to the world of DIY projects, this tutorial is designed to equip you with the knowledge and inspiration needed to embark on this exciting creative journey.
By the end of this guide, you'll be well-versed in the techniques required to bring your imaginative designs to life on glass cups, allowing you to infuse a personal touch into your everyday dining and entertaining experiences. So, gather your materials, unleash your creativity, and let's dive into the enchanting realm of crafting custom glass cups with Cricut.
Key Takeaways:
- Personalize glass cups with Cricut by designing, cutting, applying, and curing vinyl designs. Infuse everyday dining experiences with creativity and individuality, creating cherished, enduring pieces of functional art.
- Transform ordinary glass cups into personalized, enduring pieces of functional art with Cricut. From design to application and curing, unleash creativity and infuse everyday dining experiences with individuality and charm.
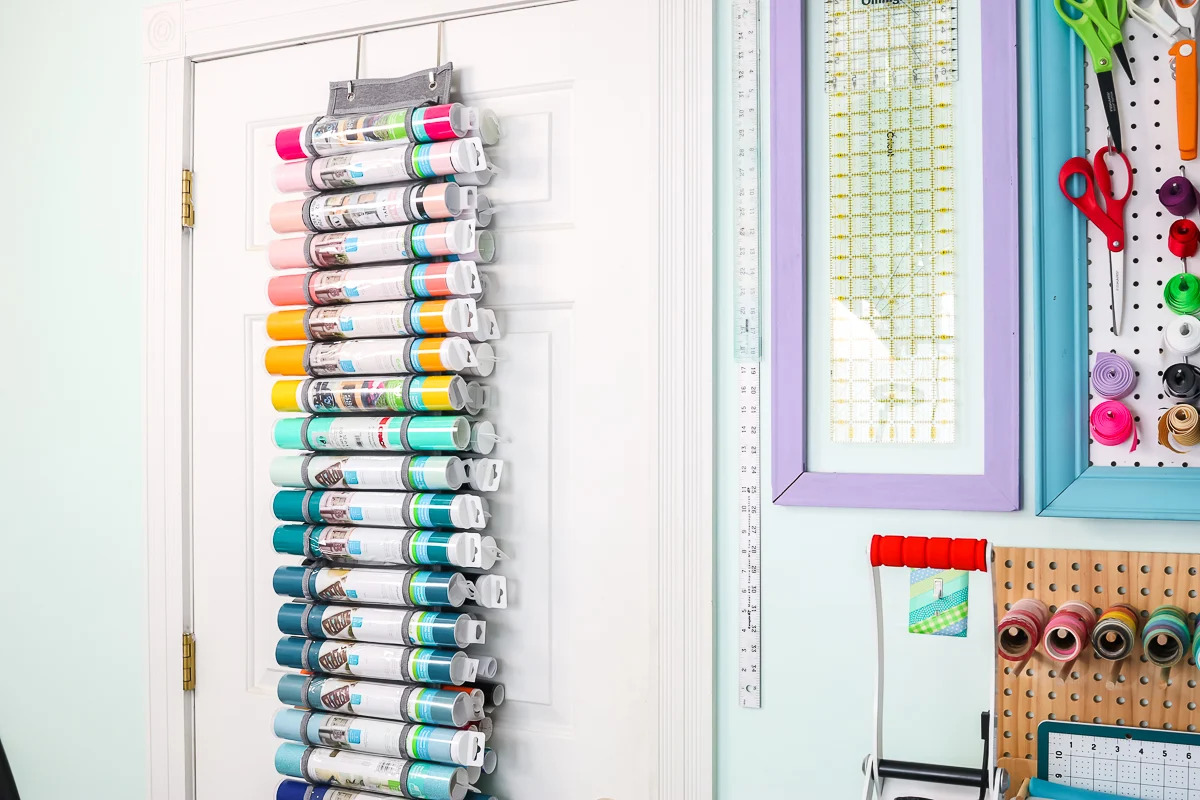
Materials Needed
To embark on the captivating journey of creating personalized glass cups with Cricut, you'll need a selection of essential materials to ensure a seamless and rewarding crafting experience. Here's a comprehensive list of the items required to bring your imaginative designs to life on glassware:
-
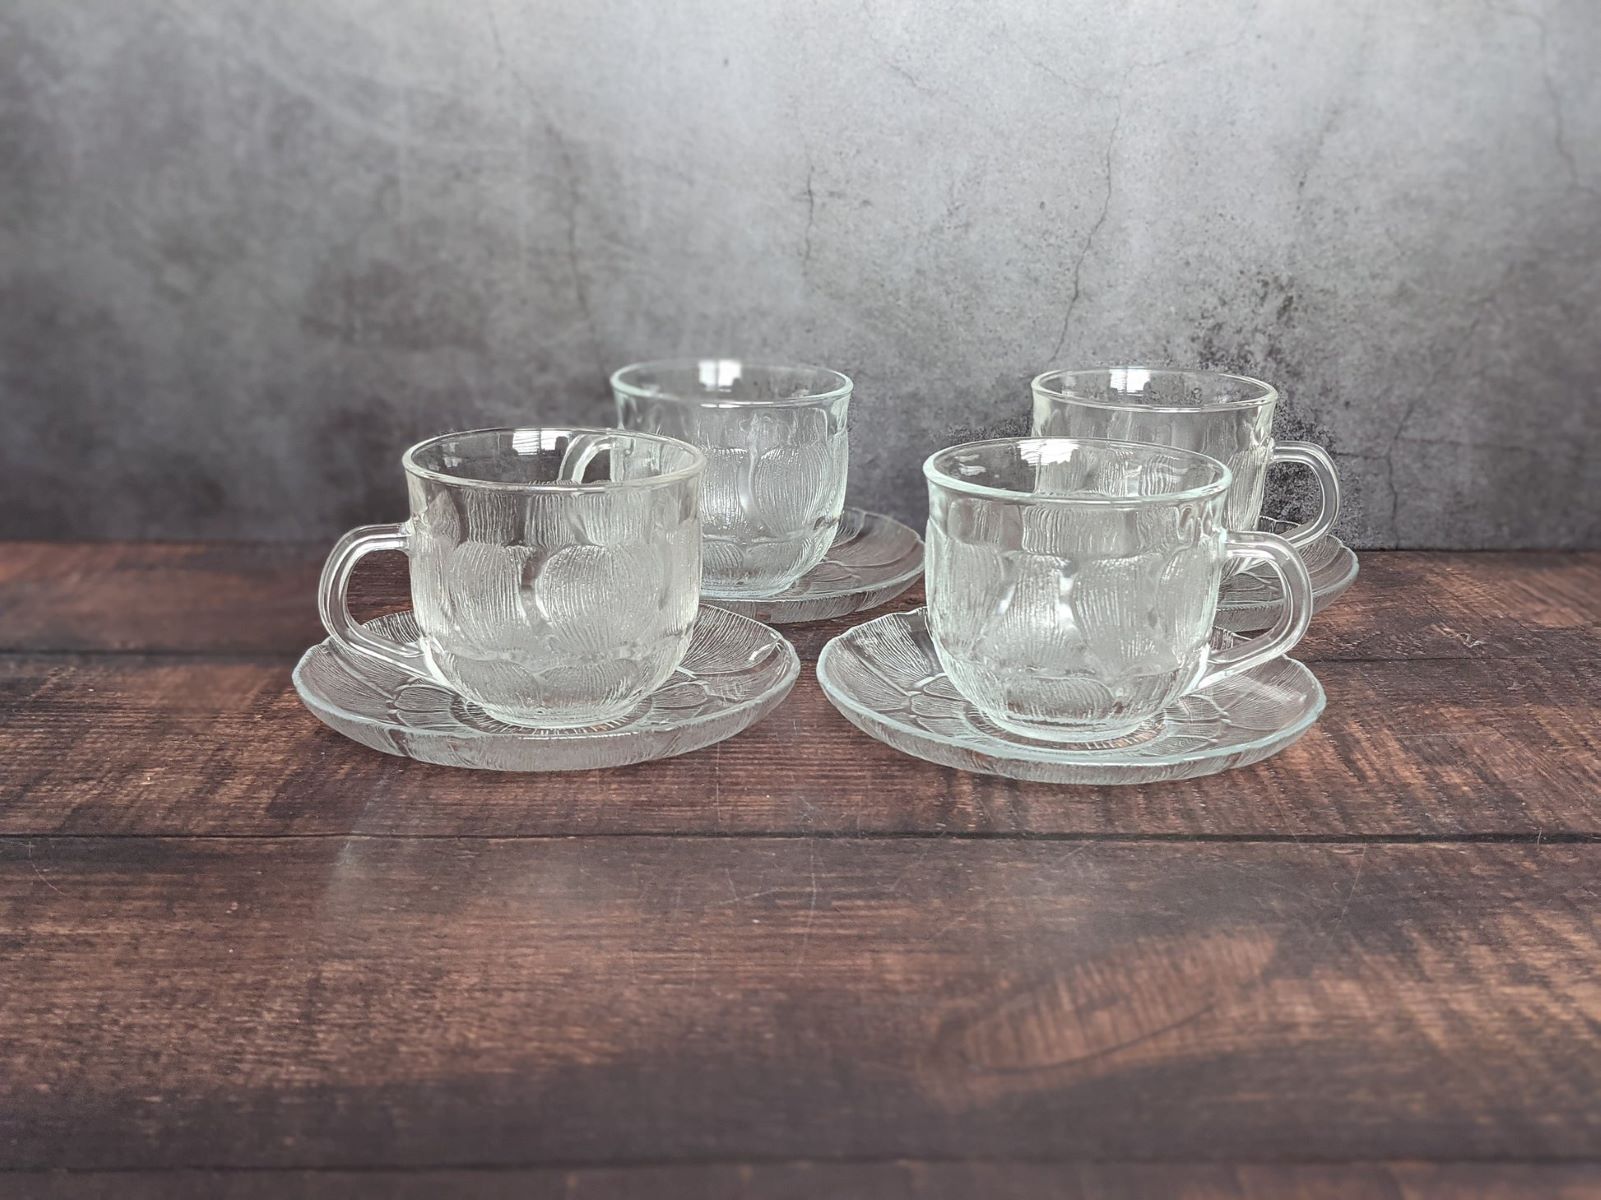
Glass Cups: Select a set of high-quality glass cups that serve as the canvas for your personalized designs. Opt for smooth, clean-surfaced cups to facilitate the application of the vinyl design.
-
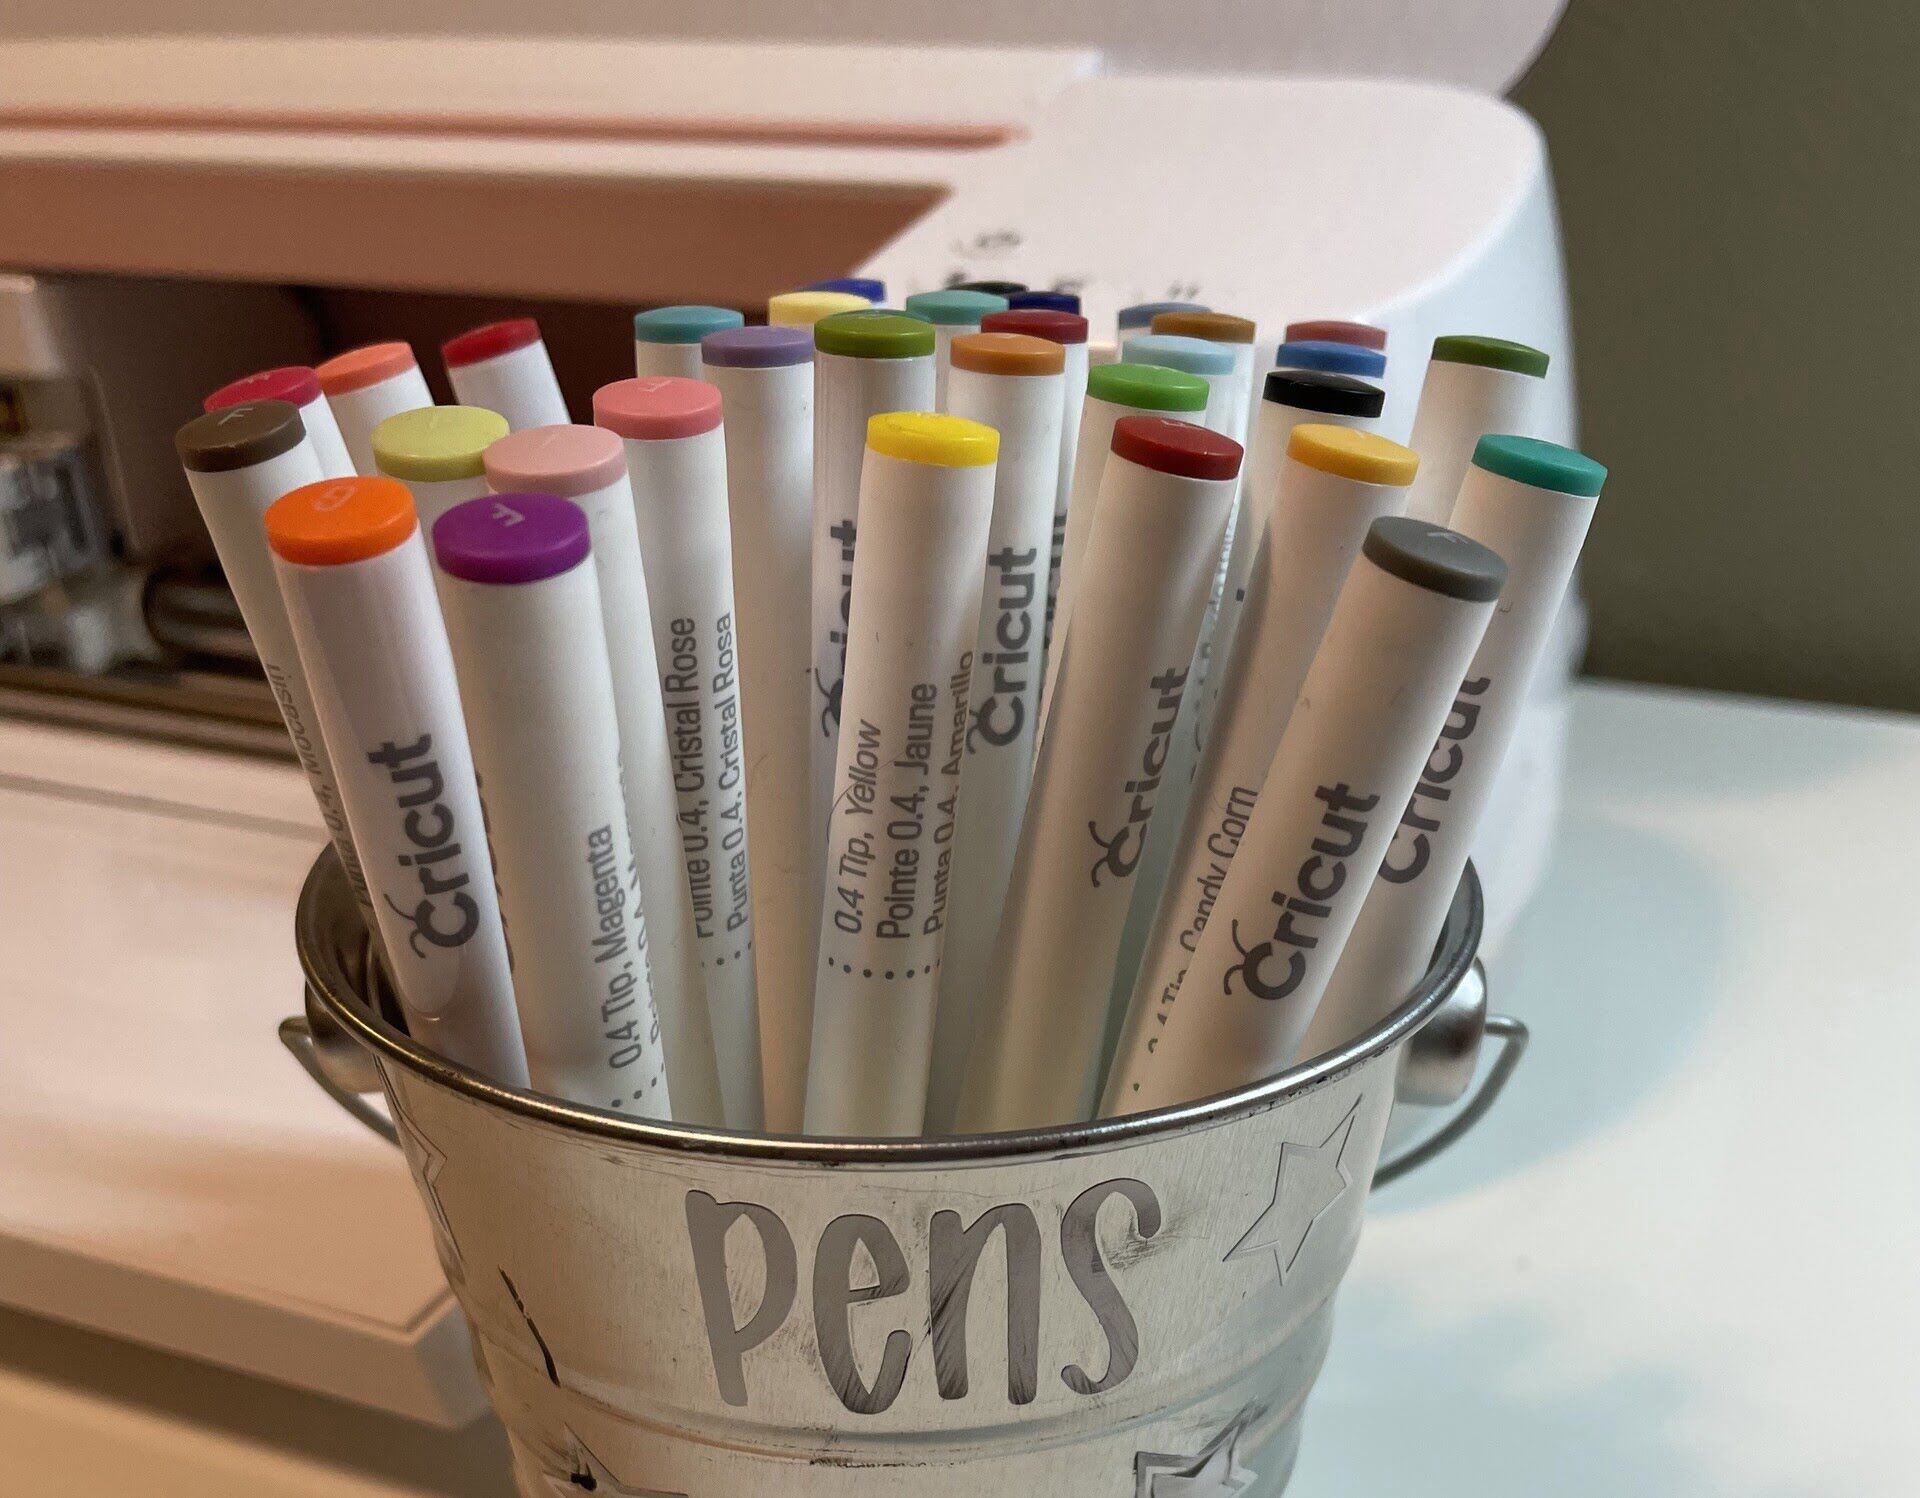
Vinyl Sheets: Choose a variety of vibrant and durable vinyl sheets in an array of colors to suit your design preferences. Ensure that the vinyl is compatible with glass surfaces and is designed for long-lasting adhesion.
-
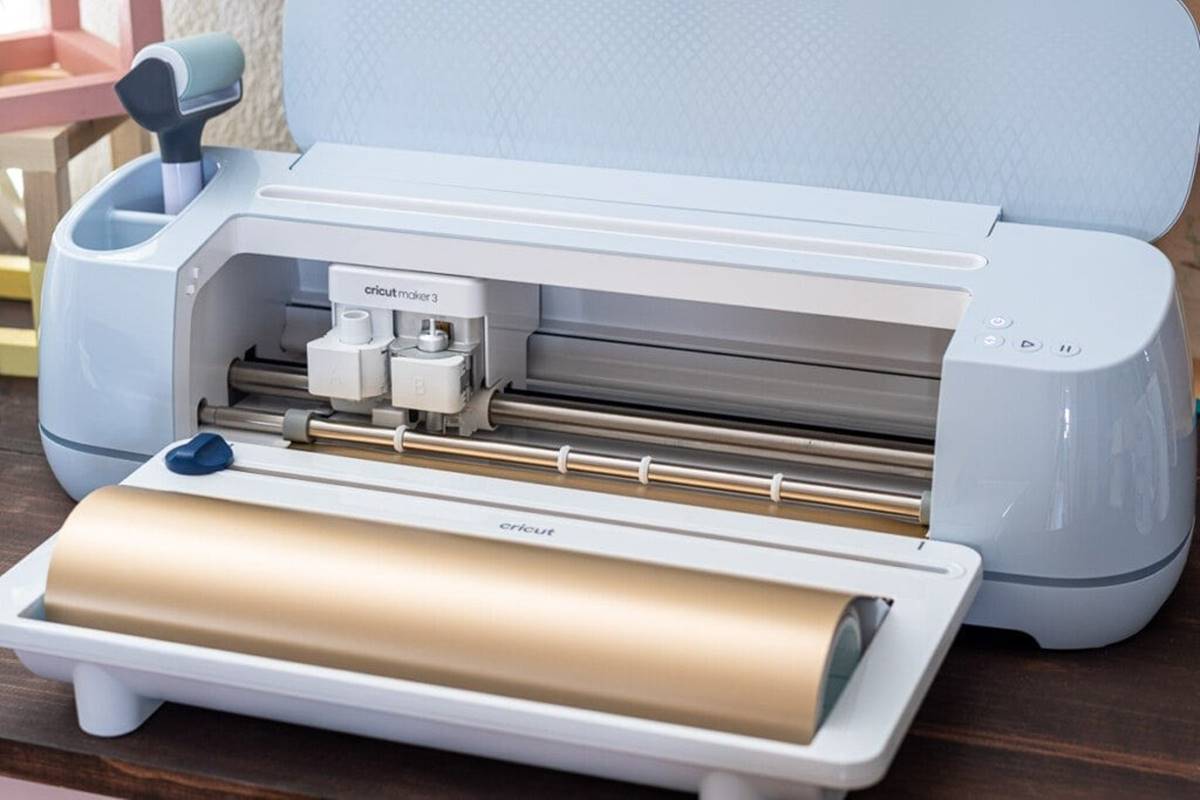
Cricut Cutting Machine: A Cricut cutting machine is the heart of this creative endeavor. Whether you have the Cricut Explore Air 2 or the Cricut Maker, ensure that your machine is equipped with a fine-point blade for precise cutting.
-
Design Software: Utilize design software compatible with your Cricut machine to create and customize your unique designs. Popular options include Cricut Design Space, Adobe Illustrator, or Inkscape.
-
Weeding Tools: Weeding tools are essential for removing excess vinyl from your designs with precision and ease. These tools enable you to achieve clean and intricate designs without damaging the vinyl.
-
Transfer Tape: Opt for high-quality transfer tape to effortlessly transfer your vinyl designs from the cutting mat to the glass cups. This ensures that the designs remain intact and aligned during the application process.
-
Scraper Tool: A scraper tool is indispensable for smoothing out the vinyl designs onto the glass cups, ensuring a seamless and bubble-free application.
-
Rubbing Alcohol: Prepare rubbing alcohol to thoroughly clean the glass cups before applying the vinyl designs. This step is crucial for promoting strong adhesion and longevity of the designs.
-
Lint-Free Cloth: Use a lint-free cloth to wipe the glass cups after cleaning with rubbing alcohol, ensuring a pristine surface for applying the vinyl designs.
-
Heat Gun or Hair Dryer: A heat gun or hair dryer is essential for curing the vinyl designs onto the glass cups, enhancing their durability and resistance to wear and tear.
By gathering these materials, you'll be well-equipped to embark on the enchanting process of crafting personalized glass cups with Cricut, infusing your everyday dining experiences with a touch of creativity and individuality.
Step 1: Designing the Cup
The initial step in creating personalized glass cups with Cricut involves the captivating process of designing your unique artwork. This pivotal stage allows you to unleash your creativity and bring your imaginative visions to life on the canvas of glassware. Whether you're inspired by intricate patterns, inspiring quotes, or whimsical illustrations, the design phase sets the stage for a truly personalized and enchanting end result.
To commence the design process, begin by selecting your preferred design software, such as Cricut Design Space, Adobe Illustrator, or Inkscape. These versatile platforms provide a canvas for your creativity, enabling you to craft and customize your designs with precision and flair. Whether you're a seasoned graphic designer or a novice enthusiast, these user-friendly tools offer a seamless and intuitive interface to bring your artistic concepts to fruition.
Once you've chosen your design software, let your imagination take the lead as you explore a myriad of design elements, including fonts, shapes, and graphics. Whether you're crafting a monogram, a vibrant floral motif, or a playful illustration, the design phase offers boundless opportunities to infuse your glass cups with a touch of your unique personality.
As you delve into the design process, consider the dimensions and curvature of the glass cups to ensure that your designs are tailored to fit seamlessly on the surface. This attention to detail ensures that your artwork will adorn the glass cups harmoniously, enhancing their visual appeal and overall aesthetic.
Furthermore, take advantage of the design software's features to experiment with color palettes and layering, adding depth and vibrancy to your designs. Whether you opt for a bold and striking color scheme or a delicate and understated palette, the design phase empowers you to curate a visual narrative that resonates with your personal style and preferences.
Throughout the design process, allow yourself the freedom to iterate and refine your designs, embracing the creative journey as an opportunity for self-expression and artistic exploration. Whether you draw inspiration from nature, literature, or your own imagination, infuse your designs with a sense of authenticity and meaning that reflects your individuality.
By immersing yourself in the enchanting process of designing your glass cups, you lay the foundation for a truly personalized and captivating end result. With your designs meticulously crafted and infused with your unique flair, you're now ready to embark on the exhilarating next step: cutting the design with Cricut.
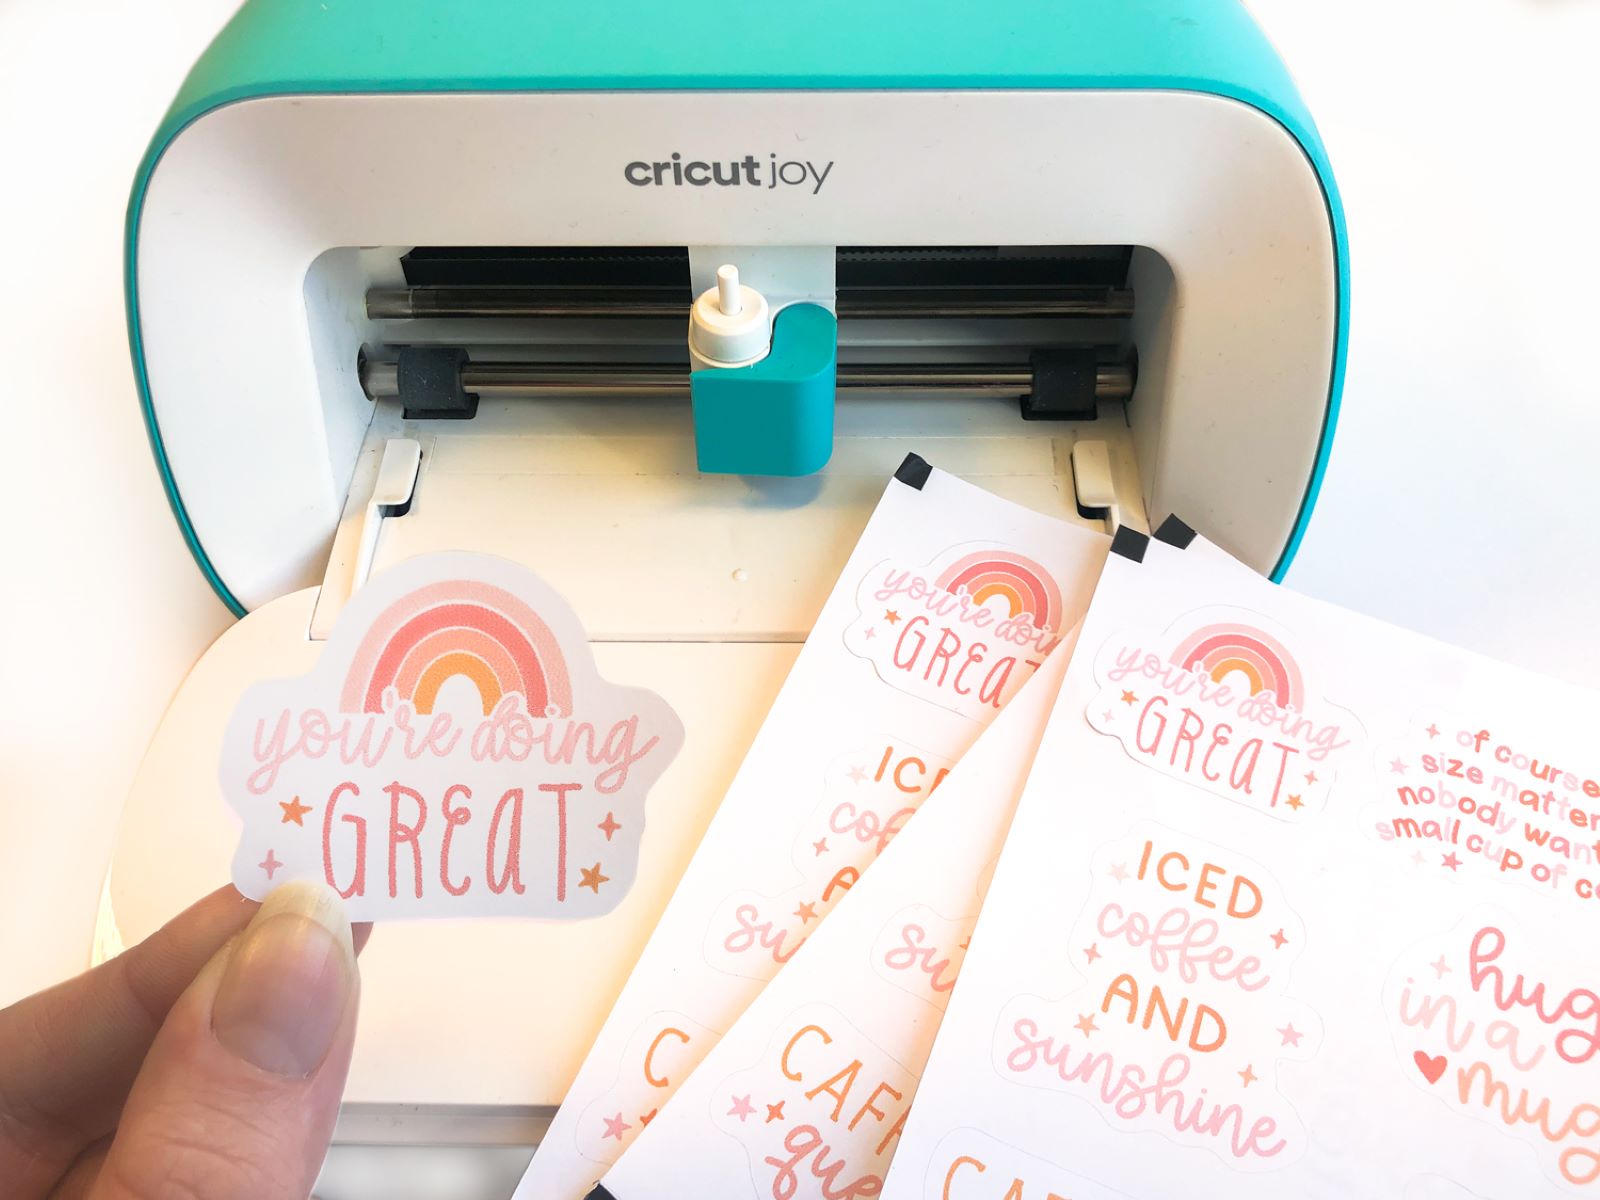
Step 2: Cutting the Design with Cricut
With your meticulously crafted designs at the ready, it's time to bring them to life through the precision and finesse of the Cricut cutting machine. This exhilarating phase marks the transformation of your artistic visions into tangible vinyl designs, poised to adorn your glass cups with elegance and individuality.
To commence the cutting process, ensure that your Cricut machine is primed and ready for action. Whether you're using the Cricut Explore Air 2 or the advanced capabilities of the Cricut Maker, the key lies in selecting the appropriate settings to achieve precise and flawless cuts. With a fine-point blade inserted into the machine, you're poised to embark on a seamless and captivating cutting journey.
Before loading the vinyl into the cutting machine, it's essential to prepare the material for optimal results. Begin by securing the vinyl onto a cutting mat, ensuring a smooth and wrinkle-free surface for the intricate designs to unfold. Whether you're working with vibrant hues or sleek metallic finishes, the cutting mat serves as the canvas for your designs to take shape with unparalleled precision.
As you navigate the design software, such as Cricut Design Space, revel in the opportunity to fine-tune the cutting settings to align with the intricacy of your designs. Whether you're crafting delicate filigree patterns or bold, sweeping motifs, the ability to adjust the pressure and speed of the cutting machine ensures that your designs are brought to life with unparalleled accuracy.
With the settings meticulously configured, initiate the cutting process and witness the Cricut machine spring to life with a symphony of precision and artistry. As the fine-point blade glides across the vinyl, intricately tracing the contours of your designs, a sense of anticipation and wonder fills the air, heralding the imminent transformation of the vinyl into captivating works of art.
Upon completion of the cutting process, delicately remove the excess vinyl from the cutting mat, unveiling the exquisite designs that have taken shape with remarkable finesse. Whether you've crafted a series of intricate patterns or a collection of inspiring quotes, each design emerges as a testament to your creativity and attention to detail.
With the designs impeccably cut and poised for the next phase of the crafting journey, you've successfully navigated the exhilarating process of cutting the designs with Cricut, setting the stage for the enchanting endeavor of applying the designs to the glass cups.
To make glass cups with Cricut, use permanent vinyl for designs, apply transfer tape for precise placement, and use a scraper tool to ensure the vinyl adheres well.
Step 3: Applying the Design to the Glass Cup
With the meticulously crafted vinyl designs at the ready, the enthralling phase of applying them to the glass cups unfolds as a captivating blend of precision and creativity. This pivotal step marks the seamless transition from digital artwork to tangible, personalized glassware, infusing everyday dining experiences with a touch of individuality and charm.
To commence the application process, begin by thoroughly cleaning the surface of the glass cups with rubbing alcohol, ensuring a pristine canvas for the vinyl designs to adhere to with steadfast durability. This crucial step not only promotes strong adhesion but also eliminates any traces of debris or oils, setting the stage for a flawless application.
Once the glass cups are impeccably cleaned and dried, delicately position the vinyl designs onto the surface, ensuring precise alignment and placement. The transparency of the transfer tape facilitates a seamless and accurate application, allowing you to visualize the positioning of the designs before they become a permanent part of the glassware.
As you delicately press the vinyl designs onto the glass cups, utilize a scraper tool to smooth out any air bubbles and ensure a flawless adhesion. This meticulous process not only enhances the visual appeal of the designs but also contributes to their longevity, ensuring that they withstand the test of time with grace and resilience.
Whether you're adorning the glass cups with intricate patterns, inspiring quotes, or whimsical illustrations, the application phase offers an opportunity to witness your artistic visions come to life in a tangible and enchanting form. With each design meticulously applied, the glass cups begin to exude a sense of individuality and charm, poised to elevate your dining and entertaining experiences with a touch of personalized elegance.
Upon completing the application of the vinyl designs, delicately remove the transfer tape to unveil the captivating artwork that now graces the glass cups. Revel in the seamless fusion of creativity and functionality as your personalized designs infuse the glassware with a sense of character and distinction, transforming them into cherished pieces that reflect your unique style and personality.
With the vinyl designs impeccably applied to the glass cups, you've navigated the enchanting process of infusing everyday dining experiences with a touch of individuality and creativity, setting the stage for the final phase: curing the designs to ensure their enduring beauty and resilience.
Read more: How To Make A Projector With A Glass Cup
Step 4: Curing the Design
The transformative journey of crafting personalized glass cups with Cricut culminates in the pivotal phase of curing the vinyl designs, elevating them from captivating artwork to enduring, resilient embellishments. This essential step ensures that the designs withstand the rigors of everyday use, maintaining their vibrancy and allure for years to come.
To commence the curing process, prepare a heat gun or a hair dryer set to a moderate heat level. Position the glass cups on a stable surface, ensuring that they are secure and easily accessible for the curing procedure. With the heat gun or hair dryer in hand, embark on the meticulous process of subjecting the vinyl designs to gentle, consistent heat, allowing the designs to bond securely to the glass surface.
As the heat is applied, observe the gradual transformation of the vinyl designs, witnessing their adherence to the glass surface solidify with each passing moment. The gentle warmth not only enhances the bond between the vinyl and the glass but also contributes to the longevity of the designs, ensuring that they withstand the test of time with unwavering resilience.
Throughout the curing process, maintain a steady and fluid motion with the heat gun or hair dryer, ensuring that the heat is evenly distributed across the surface of the vinyl designs. This meticulous approach promotes uniform adhesion and minimizes the risk of air bubbles or imperfections, resulting in flawlessly cured designs that exude a sense of enduring beauty and charm.
As the vinyl designs undergo the transformative embrace of heat, revel in the captivating metamorphosis taking place before your eyes. Witness the designs attaining a heightened vibrancy and luster, embodying a sense of permanence and elegance that elevates the glass cups to cherished, personalized pieces of functional art.
Upon completing the curing process, allow the glass cups to cool gradually, ensuring that the vinyl designs set and bond securely to the surface. With the designs now cured and poised to withstand the ebb and flow of daily use, you've successfully navigated the enchanting journey of crafting personalized glass cups with Cricut, infusing your dining and entertaining experiences with a touch of individuality and creativity.
Conclusion
In conclusion, the art of crafting personalized glass cups with Cricut encapsulates a harmonious blend of creativity, precision, and personal expression. From the exhilarating design phase, where imaginative visions take shape on digital canvases, to the transformative application and curing processes that bring these designs to life on tangible glassware, this DIY endeavor offers a captivating journey of self-expression and functional artistry.
By harnessing the power of Cricut cutting machines and a curated selection of high-quality materials, enthusiasts and crafters alike can embark on an enchanting creative odyssey, infusing everyday dining and entertaining experiences with a touch of individuality and charm. The meticulous attention to detail, from the selection of vibrant vinyl sheets to the precise application and curing of the designs, ensures that the resulting glass cups stand as personalized reflections of the creator's unique style and personality.
As the vinyl designs seamlessly adhere to the glass cups, the once-ordinary vessels are transformed into cherished pieces of functional art, poised to elevate the ambiance of any dining setting. Whether adorned with intricate patterns, inspiring quotes, or whimsical illustrations, these personalized glass cups serve as testaments to the creator's creativity and attention to detail, inviting admiration and sparking conversations with their captivating designs.
Furthermore, the enduring resilience of the cured vinyl designs ensures that these personalized glass cups withstand the test of time, maintaining their vibrancy and allure through countless uses and gentle washings. This longevity, coupled with the individuality infused into each design, renders the crafted glass cups as cherished mementos, ideal for gifting or as treasured additions to one's own collection of drinkware.
In essence, the process of crafting personalized glass cups with Cricut transcends the realm of DIY projects, emerging as a captivating fusion of art and functionality. It empowers individuals to curate their own visual narratives, infusing everyday objects with a touch of personal flair and creativity. As the designs come to life on the glass cups, they serve as tangible reflections of the creator's artistic sensibilities, enriching daily rituals with a sense of individuality and charm.
With each personalized glass cup bearing the hallmark of its creator's unique vision, this DIY endeavor stands as a testament to the transformative power of creativity and the enduring allure of functional artistry. Whether embarked upon as a solo creative pursuit or as a shared crafting experience, the process of crafting personalized glass cups with Cricut offers an enchanting avenue for individuals to leave their indelible mark on the canvas of everyday objects, infusing them with a touch of personalized elegance and charm.
Frequently Asked Questions about How To Make Glass Cups With Cricut
Was this page helpful?
At Storables.com, we guarantee accurate and reliable information. Our content, validated by Expert Board Contributors, is crafted following stringent Editorial Policies. We're committed to providing you with well-researched, expert-backed insights for all your informational needs.


0 thoughts on “How To Make Glass Cups With Cricut”