Home>Furniture & Design>Interior Design Trends>How To Take Off Tempered Glass
Interior Design Trends
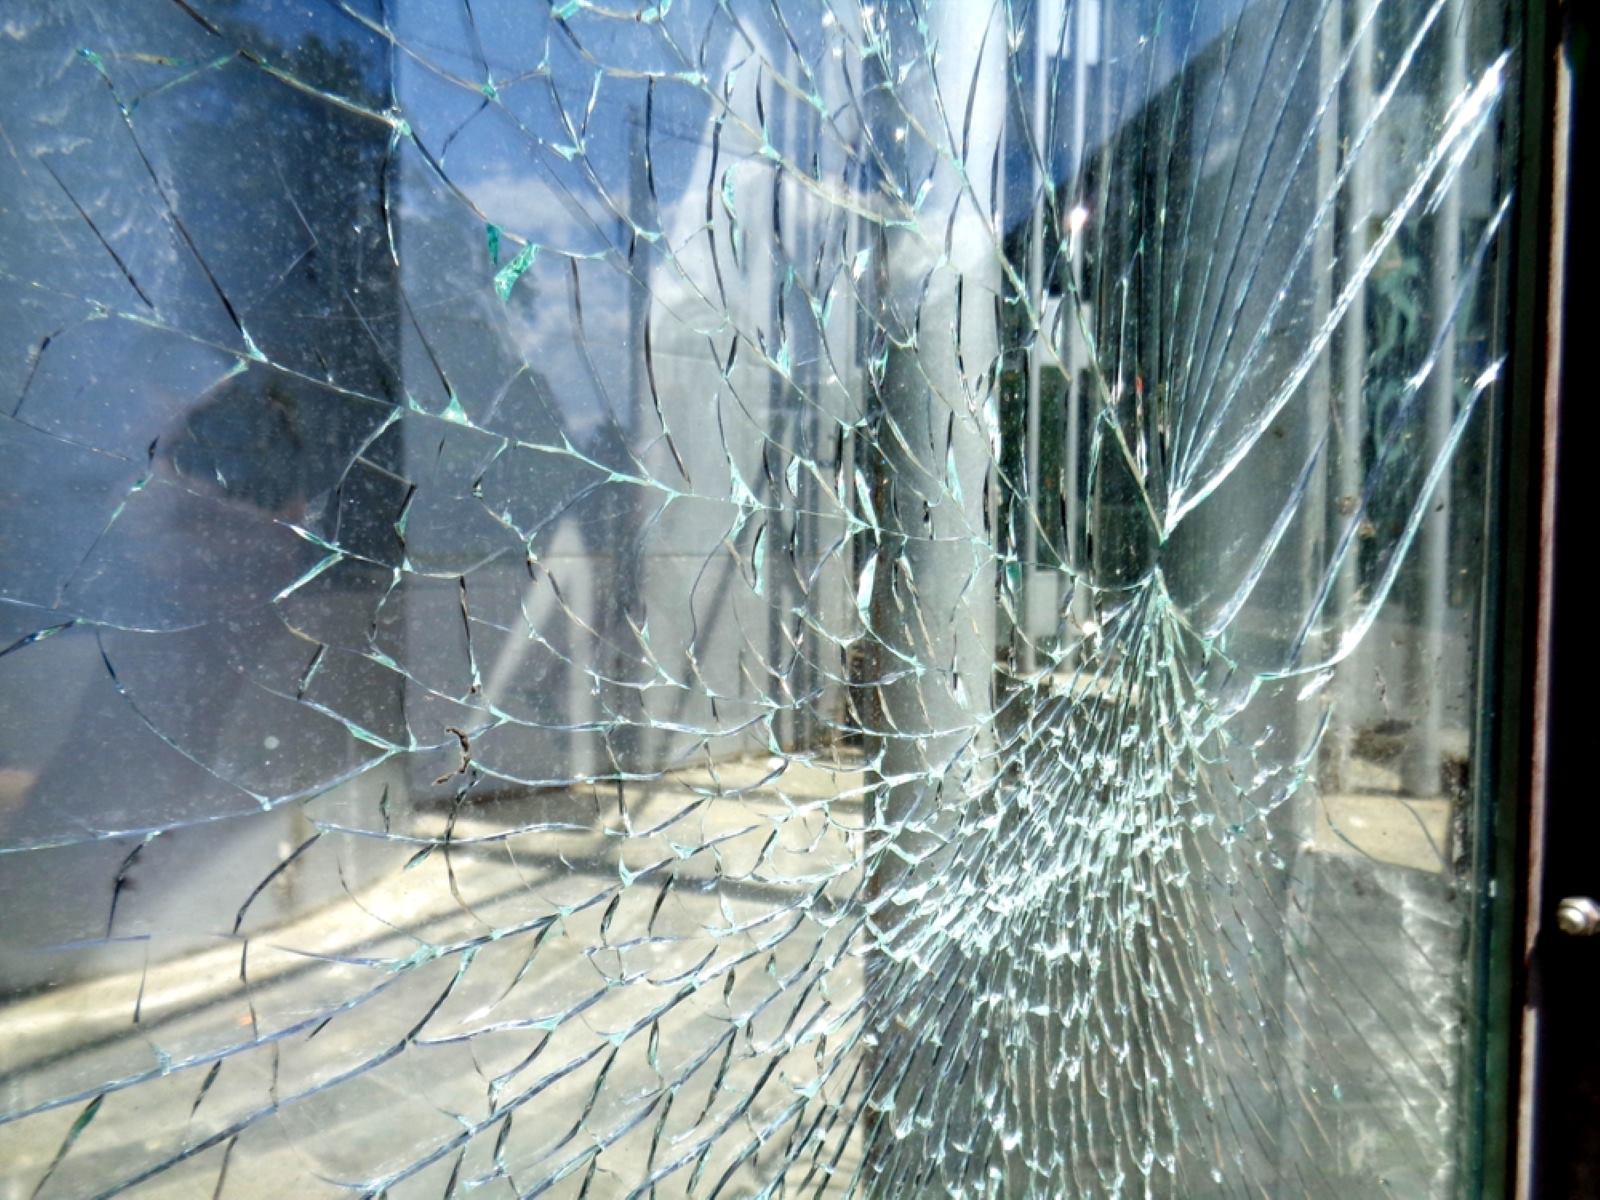
How To Take Off Tempered Glass
Modified: October 19, 2024
Discover the latest interior design trends and learn how to safely remove tempered glass with our expert tips and techniques. Elevate your space with our insightful advice.
(Many of the links in this article redirect to a specific reviewed product. Your purchase of these products through affiliate links helps to generate commission for Storables.com, at no extra cost. Learn more)
Introduction
Removing tempered glass can be a daunting task, especially if you're unfamiliar with the process. Whether you're looking to replace a damaged piece or simply want to switch up the aesthetic of your space, knowing how to safely and effectively remove tempered glass is essential. This comprehensive guide will walk you through the step-by-step process, ensuring that you can tackle this task with confidence.
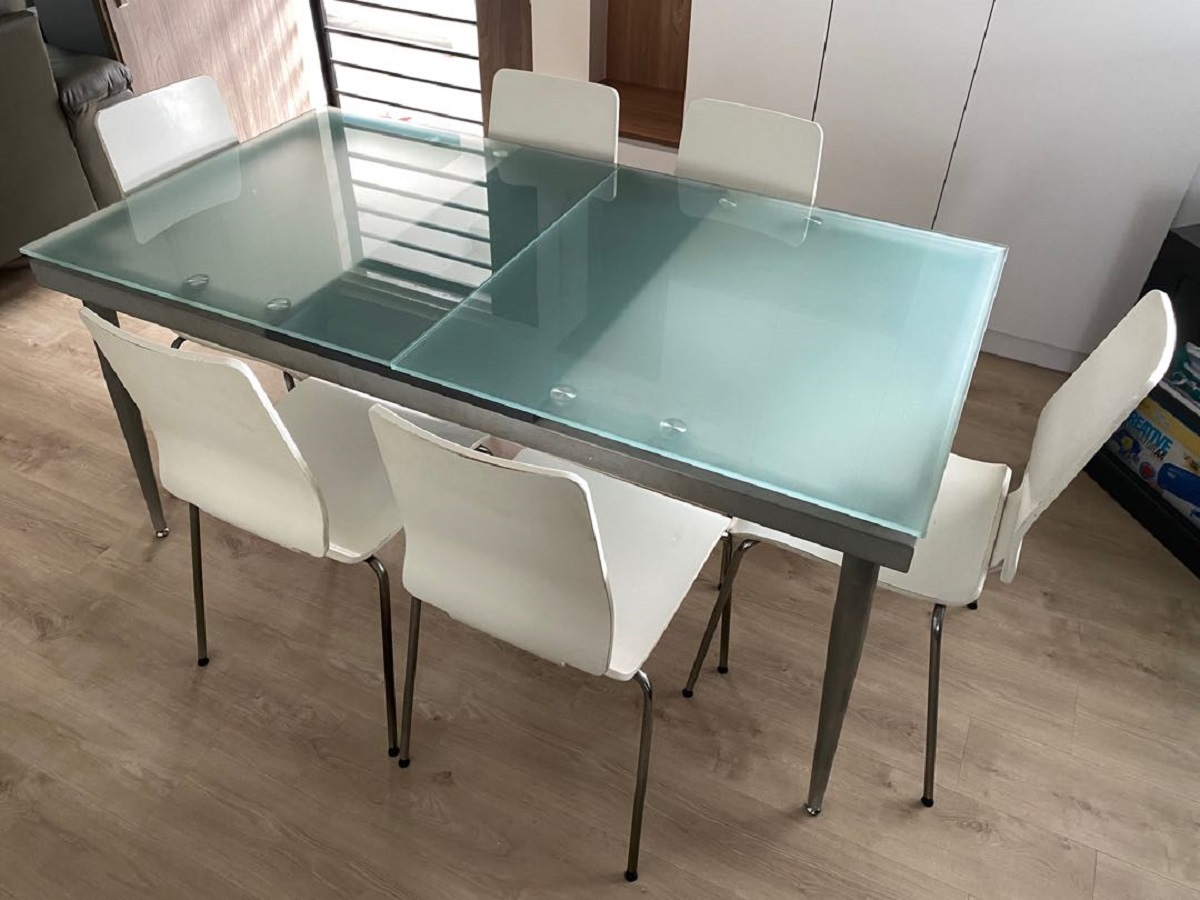
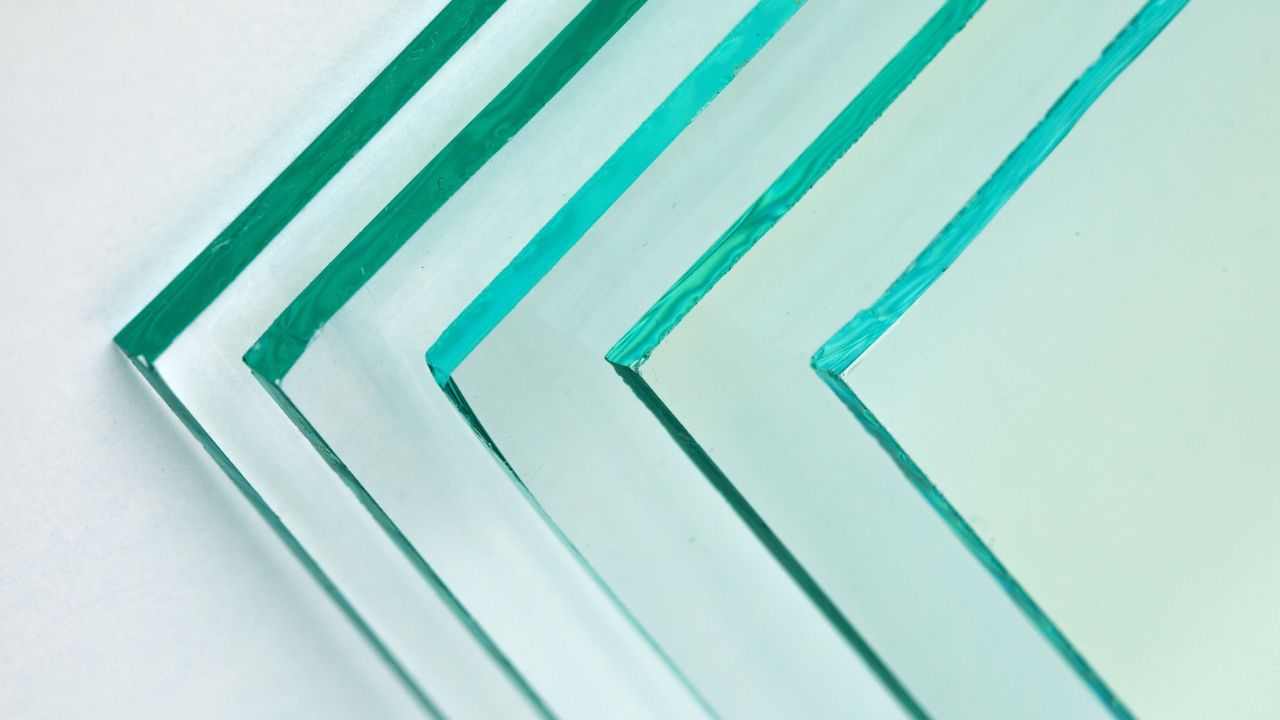
Tempered glass, known for its strength and safety features, is commonly found in household items such as shower doors, tabletops, and glass cabinets. While its durability is a definite advantage, it also means that removing it requires a strategic approach. By following the methods outlined in this guide, you'll be equipped with the knowledge and techniques necessary to successfully take off tempered glass without causing damage to the surrounding area or risking injury.
Whether you're a seasoned DIY enthusiast or a first-time home improver, this guide is designed to be accessible and easy to follow. By gathering the necessary tools and carefully preparing the surface, you'll set the stage for a smooth removal process. Applying heat to the tempered glass and executing the removal with precision are crucial steps that will be thoroughly explained. Additionally, the guide will cover the essential task of cleaning the surface post-removal, ensuring that your space is left looking pristine.
With this comprehensive guide at your disposal, you'll be well-prepared to take on the task of removing tempered glass, allowing you to achieve your desired home improvement goals with confidence and precision. Let's dive into the step-by-step process, starting with gathering the necessary tools.
Key Takeaways:
- Removing tempered glass requires safety gear, heat application, and precision. By following the step-by-step guide, you can confidently tackle this task and ensure a smooth and successful glass removal process.
- Preparing the surface, applying heat, and careful removal are essential for a safe and effective glass removal. Thoroughly cleaning the area post-removal leaves the space ready for further enhancements.
Read more: How To Tell If Glass Is Tempered
Step 1: Gather the necessary tools
Before embarking on the task of removing tempered glass, it's essential to gather the necessary tools to ensure a smooth and efficient process. Having the right equipment at your disposal will not only make the removal process easier but also contribute to the overall safety of the task. Here's a comprehensive list of tools you'll need:
-
Safety Gear: Prioritize safety by equipping yourself with protective gear, including heavy-duty gloves to shield your hands from sharp edges and potential glass shards. Safety goggles are also crucial to safeguard your eyes from debris during the removal process.
-
Heat Source: A heat source, such as a heat gun or blow dryer, is essential for applying heat to the tempered glass. This will help weaken the glass and make it easier to remove without shattering.
-
Pliers or Glass Suction Cups: Depending on the size and location of the tempered glass, you may require pliers to grip and maneuver the glass during removal. Alternatively, glass suction cups provide a secure grip, particularly for larger pieces of glass.
-
Protective Coverings: To shield the surrounding area from potential damage or debris, gather protective coverings such as drop cloths or cardboard. These will help prevent scratches or marks on floors, walls, or other surfaces near the tempered glass.
-
Cleaning Supplies: Prepare cleaning supplies in advance to ensure that the surface is thoroughly cleaned after the glass removal. This may include glass cleaner, a squeegee, and microfiber cloths to leave the area spotless.
-
Utility Knife or Putty Knife: A utility knife or putty knife will come in handy for carefully loosening and removing any adhesive or sealant securing the tempered glass in place.
By ensuring that you have these essential tools at your disposal, you'll be well-prepared to tackle the task of removing tempered glass with confidence and efficiency. With safety gear in place and the necessary equipment at hand, you're ready to proceed to the next step: preparing the surface for glass removal.
Step 2: Prepare the surface
Preparing the surface before removing tempered glass is a crucial step that sets the stage for a smooth and efficient removal process. By taking the time to prepare the surrounding area, you can minimize the risk of damage to floors, walls, and other surfaces, ensuring that the task is carried out with precision and care.
Begin by clearing the immediate area around the tempered glass. Remove any objects or furniture that may obstruct the removal process, creating a clear and unobstructed workspace. This will not only make it easier to access the glass but also reduce the likelihood of accidental damage to surrounding items.
Next, lay down protective coverings such as drop cloths or cardboard to shield the floor and nearby surfaces from potential scratches, marks, or debris. These coverings act as a safeguard, providing a barrier between the tempered glass and the surrounding area. Additionally, they make the cleanup process more manageable by containing any glass shards or adhesive residue.
If the tempered glass is part of a larger structure, such as a glass door or window, use masking tape to outline the edges of the glass. This step helps to define the boundaries of the glass and serves as a visual guide during the removal process. It also aids in preventing accidental contact with the glass edges, reducing the risk of injury.
Inspect the perimeter of the tempered glass to identify any sealants or adhesives securing it in place. Use a utility knife or putty knife to carefully loosen and remove any sealant, taking care not to damage the surrounding surfaces. This preparatory step eases the subsequent removal of the glass and minimizes the likelihood of residual adhesive remaining on the surface post-removal.
By meticulously preparing the surface before removing tempered glass, you create a controlled and safe environment for the removal process. This attention to detail not only safeguards the surrounding area from potential damage but also streamlines the overall task, setting the foundation for a successful glass removal endeavor.
With the surface adequately prepared, you're now ready to proceed to the next step: applying heat to the tempered glass.
Step 3: Apply heat to the tempered glass
Applying heat to tempered glass is a critical step in the removal process, as it helps weaken the glass and reduce the risk of shattering during removal. The controlled application of heat is essential for safely detaching the glass from its position without causing damage to the surrounding area. Here's a detailed overview of the process of applying heat to tempered glass:
Heat Source Selection:
Select a suitable heat source, such as a heat gun or blow dryer, to apply heat to the tempered glass. These tools provide a controlled and consistent heat output, allowing you to target specific areas of the glass effectively. Ensure that the heat source is set to a moderate temperature to avoid sudden thermal shocks to the glass, which could lead to breakage.
Read more: What Is Tempered Glass
Even Heat Distribution:
Begin applying heat to the edges of the tempered glass, moving the heat source in a steady, sweeping motion. It's crucial to maintain an even distribution of heat across the glass surface to gradually weaken its structural integrity. By focusing on the edges and gradually working towards the center of the glass, you can facilitate the separation process.
Monitoring the Glass:
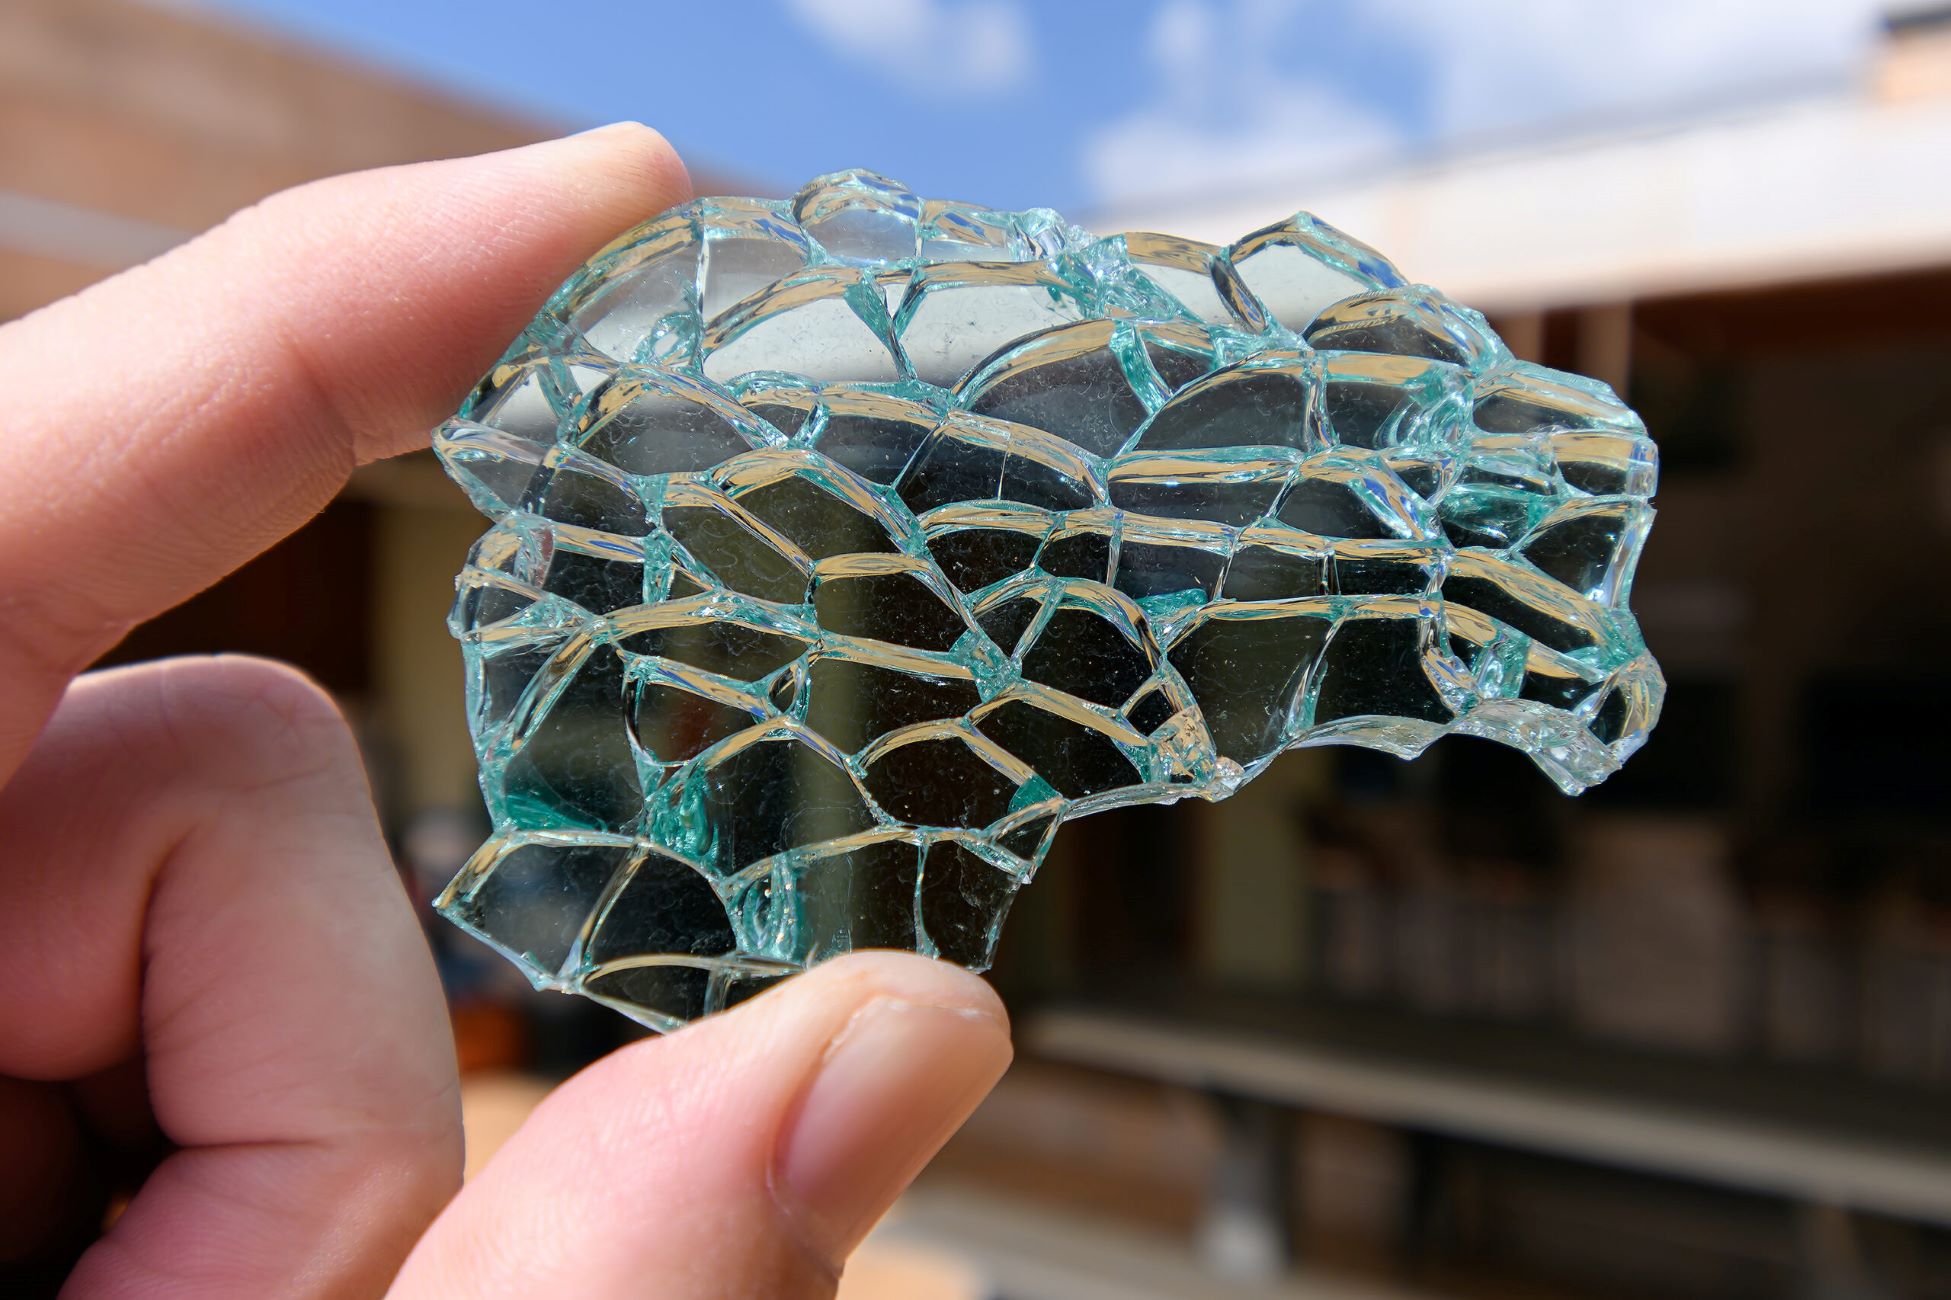
As the glass absorbs the heat, monitor it closely for any visible signs of stress or expansion. Tempered glass is designed to withstand thermal stress to a certain extent, but continuous and even heating will gradually reduce its strength. Be attentive to any changes in the glass, such as small fractures or a subtle shift in appearance, indicating that it is reaching the desired level of weakening.
Caution and Patience:
Exercise caution and patience throughout the heating process, ensuring that the glass is heated uniformly without rushing the procedure. Avoid concentrating the heat on a single spot for an extended period, as this can create uneven stress and increase the risk of breakage. Patience is key, as the gradual application of heat will ultimately facilitate a smoother and safer removal.
Safety Measures:
While applying heat, maintain a safe distance from the glass to minimize the risk of accidental contact or exposure to hot surfaces. Additionally, ensure that the surrounding area is clear of any flammable materials, and be mindful of the heat source's proximity to other objects to prevent potential hazards.
By following these detailed steps for applying heat to tempered glass, you can effectively weaken its structure in preparation for the subsequent removal process. The controlled application of heat is a critical element in ensuring a safe and successful glass removal endeavor.
With the tempered glass appropriately heated and prepared for removal, the next step involves executing the removal process with precision and care.
Read more: How Thick Is Tempered Glass
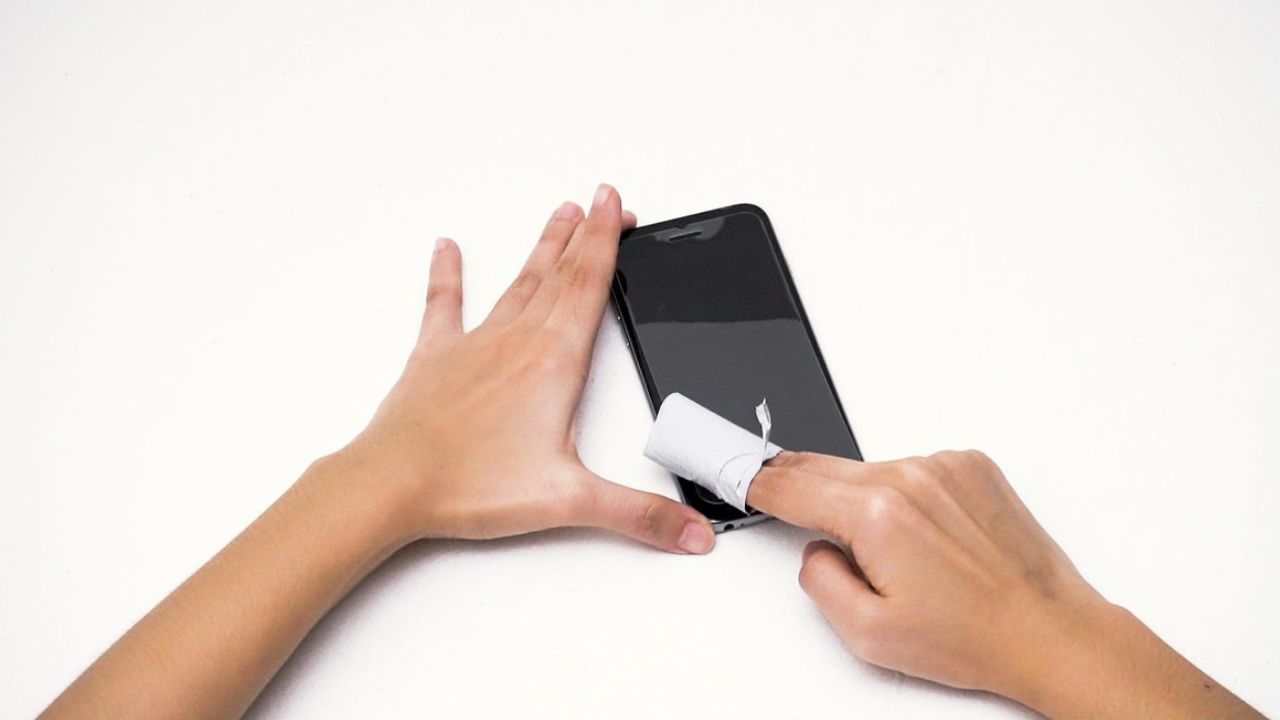
Step 4: Remove the tempered glass
With the tempered glass adequately heated and prepared, the removal process can be approached with precision and care. Executing this step requires a methodical approach to ensure the safe and effective detachment of the glass from its position. Here's a detailed overview of the process of removing tempered glass:
-
Gripping and Maneuvering: Using pliers or glass suction cups, carefully grip the heated tempered glass at a secure point, ensuring a firm hold without applying excessive pressure. If the glass is part of a larger structure, such as a door or window, enlist the assistance of a partner to support the glass during removal. Maintain a steady grip and avoid sudden movements to minimize the risk of accidental breakage.
-
Gradual Detachment: With a controlled grip on the glass, begin the gradual process of detaching it from its position. Apply gentle and consistent pressure to slowly separate the glass from any remaining adhesive or sealant. If resistance is encountered, pause and reapply heat to the specific area, further weakening the glass and facilitating its detachment.
-
Support and Guidance: As the glass begins to detach, guide its movement to ensure a smooth and controlled removal. If the glass is part of a larger structure, such as a door, carefully angle it to prevent sudden shifts or tilting. Maintain a steady and deliberate motion, allowing the glass to release from its position without abrupt movements.
-
Safe Disposal: Once the tempered glass is successfully removed, carefully place it on a secure and stable surface, such as a padded workbench or a protective covering. Exercise caution to prevent accidental contact with the glass edges, as they may still pose a risk of injury. If the glass is being disposed of, follow local regulations for safe and responsible disposal methods.
-
Surface Inspection: After the glass removal, inspect the surrounding surface for any residual adhesive or sealant. Use a utility knife or putty knife to gently remove any remaining traces, taking care not to damage the surface. This step ensures that the area is left clean and ready for any subsequent modifications or installations.
By following these detailed steps for removing tempered glass, you can navigate the process with confidence and precision, ensuring the safe and successful detachment of the glass from its position. With the glass removed and the surface inspected, the final step involves thoroughly cleaning the area to complete the removal process.
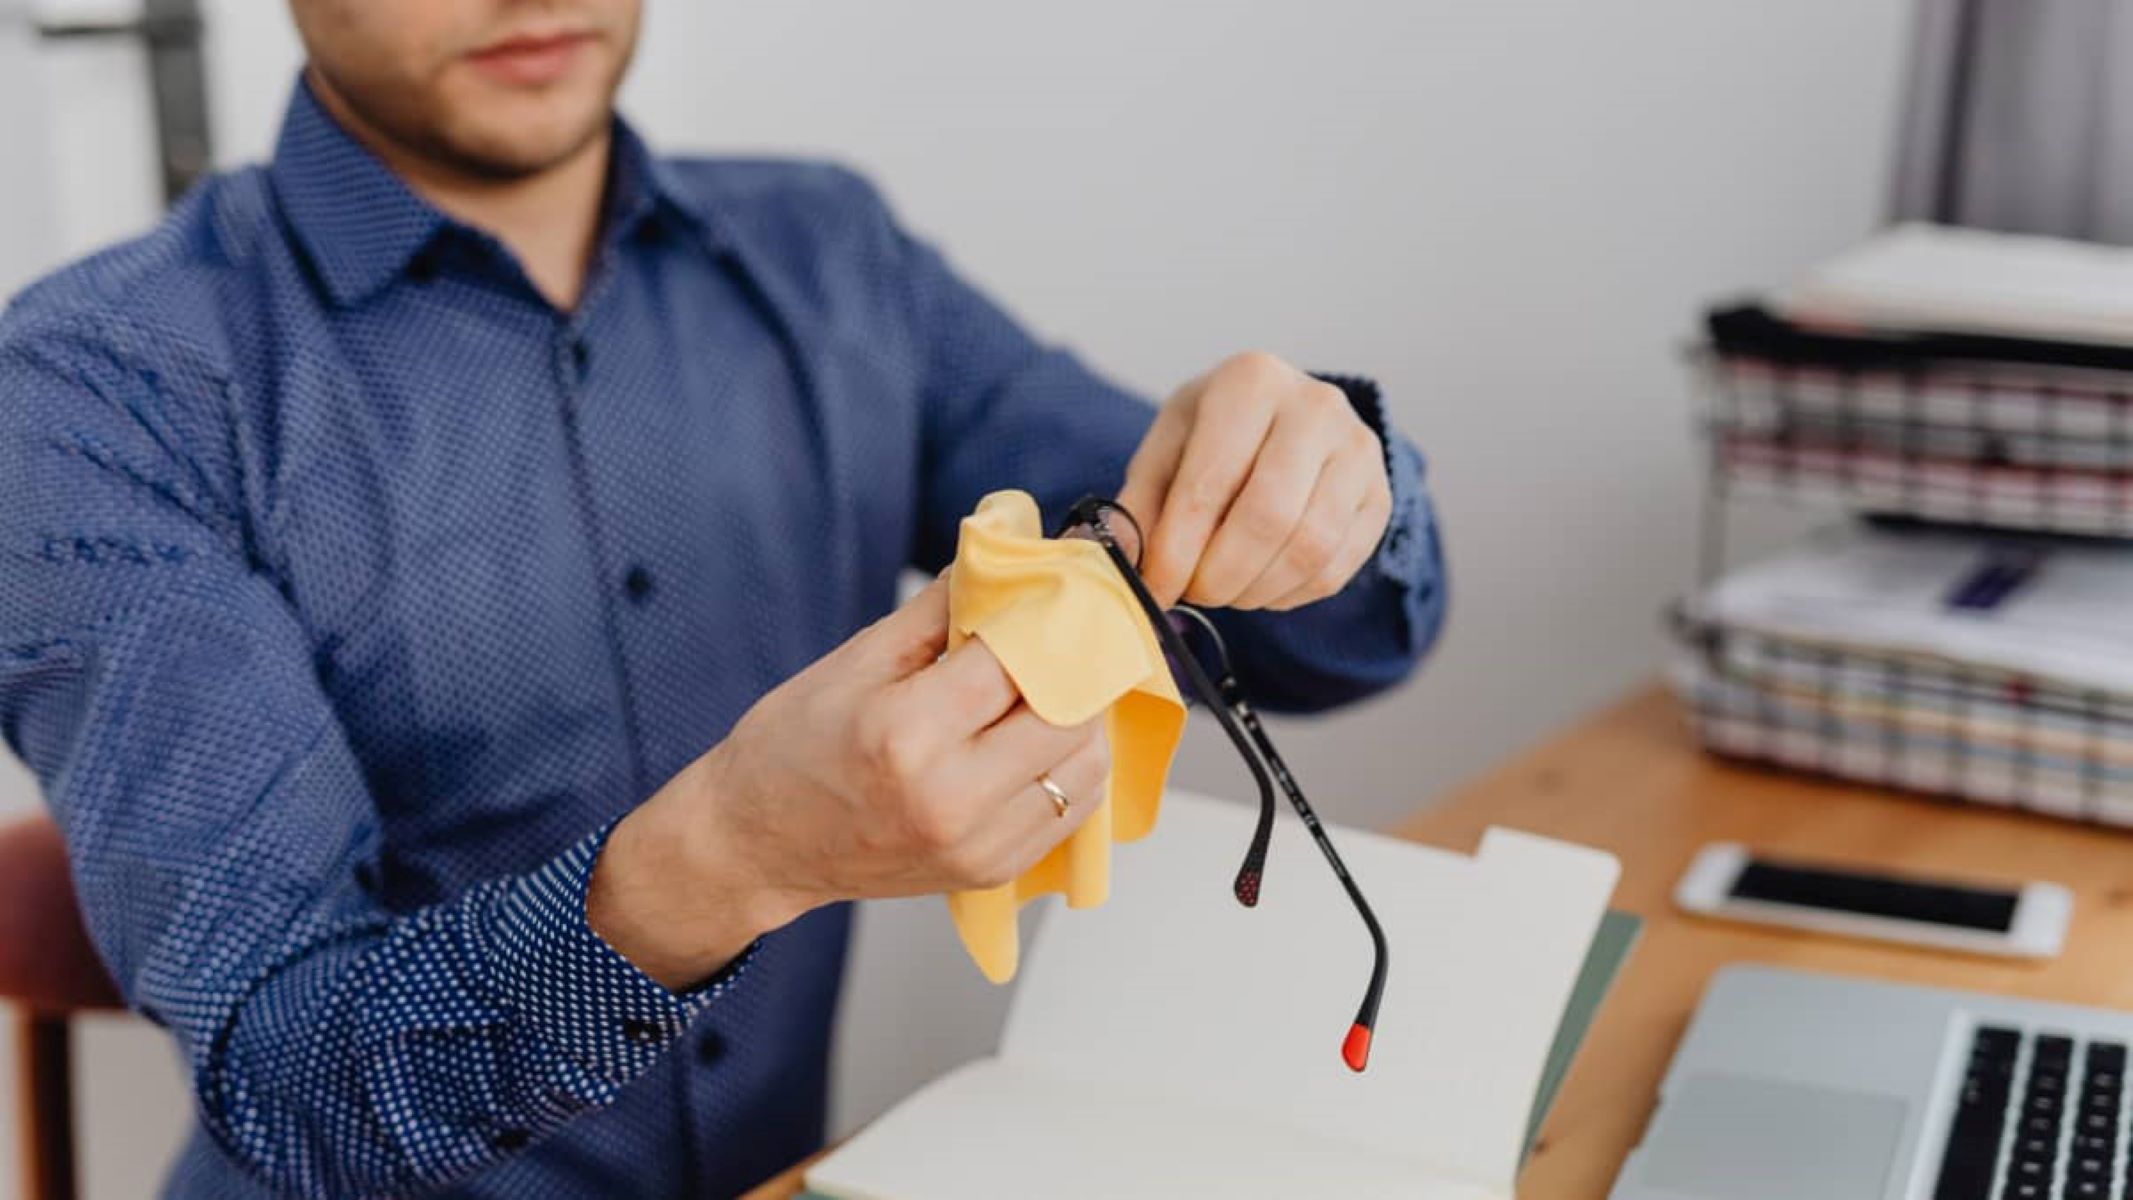
Step 5: Clean the surface
After the successful removal of tempered glass, thorough cleaning of the surface is essential to ensure that the area is left pristine and ready for any subsequent modifications or installations. This step involves meticulous attention to detail, focusing on the removal of any residual adhesive, sealant, or debris left behind from the glass removal process.
Begin by inspecting the surface for any remaining traces of adhesive or sealant. Utilize a utility knife or putty knife to gently scrape away any stubborn residue, taking care to avoid damaging the underlying surface. Exercise patience and precision during this process, ensuring that the surface is thoroughly cleared of any remnants that may impede future applications or compromise the visual appeal of the area.
Once the adhesive and sealant residues have been removed, proceed to clean the surface using an appropriate glass cleaner or a solution of mild dish soap and water. Apply the cleaner to the surface and use a soft, lint-free cloth or a squeegee to wipe away any remaining debris or streaks. Pay close attention to detail, ensuring that the surface is left immaculate and free from any lingering marks or residues.
For surfaces that require extra attention, such as glass tabletops or windows, consider using a glass polish or vinegar solution to achieve a streak-free and polished finish. These specialized cleaning agents can enhance the clarity and luster of the surface, leaving it looking pristine and inviting.
As a final touch, use a microfiber cloth to gently buff the cleaned surface, removing any remaining moisture and ensuring a polished appearance. This step not only enhances the visual appeal of the area but also contributes to a thorough and professional finish.
By meticulously cleaning the surface post-tempered glass removal, you ensure that the area is left in optimal condition, ready for any subsequent design updates or installations. This attention to detail reflects a commitment to precision and care, resulting in a space that is not only free from the remnants of glass removal but also primed for further enhancements.
With the surface thoroughly cleaned and prepared, you have successfully completed the comprehensive process of removing tempered glass, from initial preparation to meticulous cleaning. This accomplishment signifies a dedication to quality and precision, setting the stage for future design endeavors with confidence and clarity.
When taking off tempered glass, use a suction cup to lift the glass and then gently pry it off with a plastic tool to avoid shattering.
Conclusion
In conclusion, the process of removing tempered glass requires careful planning, precision, and a methodical approach. By following the step-by-step guide outlined in this comprehensive resource, individuals can confidently undertake the task of removing tempered glass with the necessary knowledge and techniques at their disposal.
From the initial step of gathering the essential tools to the meticulous cleaning of the surface post-removal, each stage of the process plays a crucial role in ensuring the safe and successful detachment of tempered glass. The emphasis on safety gear, heat application, and controlled removal techniques underscores the importance of approaching this task with caution and attention to detail.
Furthermore, the preparatory measures, such as surface protection and adhesive inspection, contribute to a controlled and organized removal process, minimizing the risk of damage to surrounding areas and ensuring a smooth transition to the cleaning phase. The thorough cleaning of the surface serves as the final touch, leaving the area immaculate and ready for any subsequent modifications or design updates.
By mastering the art of removing tempered glass, individuals gain the confidence to pursue various home improvement projects, whether it involves replacing damaged glass or refreshing the aesthetic of a space. The knowledge and skills acquired through this guide empower individuals to approach glass removal tasks with precision and care, fostering a sense of accomplishment and self-sufficiency in their home improvement endeavors.
Ultimately, the successful removal of tempered glass signifies not only the completion of a specific task but also the cultivation of valuable skills and expertise. This accomplishment paves the way for further design and renovation projects, allowing individuals to transform their living spaces with confidence and creativity.
In embracing the process of removing tempered glass, individuals embark on a journey of learning, problem-solving, and skill development, all of which contribute to a fulfilling and enriching home improvement experience. With the knowledge gained from this guide, individuals are well-equipped to navigate the intricacies of glass removal, setting the stage for a future filled with successful design endeavors and transformative home improvements.
Frequently Asked Questions about How To Take Off Tempered Glass
Was this page helpful?
At Storables.com, we guarantee accurate and reliable information. Our content, validated by Expert Board Contributors, is crafted following stringent Editorial Policies. We're committed to providing you with well-researched, expert-backed insights for all your informational needs.


0 thoughts on “How To Take Off Tempered Glass”