Articles
How To Reinforce Dining Room Chairs
Modified: August 25, 2024
Discover practical articles on how to strengthen your dining room chairs. Explore useful tips and techniques to ensure your chairs remain sturdy and durable.
(Many of the links in this article redirect to a specific reviewed product. Your purchase of these products through affiliate links helps to generate commission for Storables.com, at no extra cost. Learn more)
Introduction
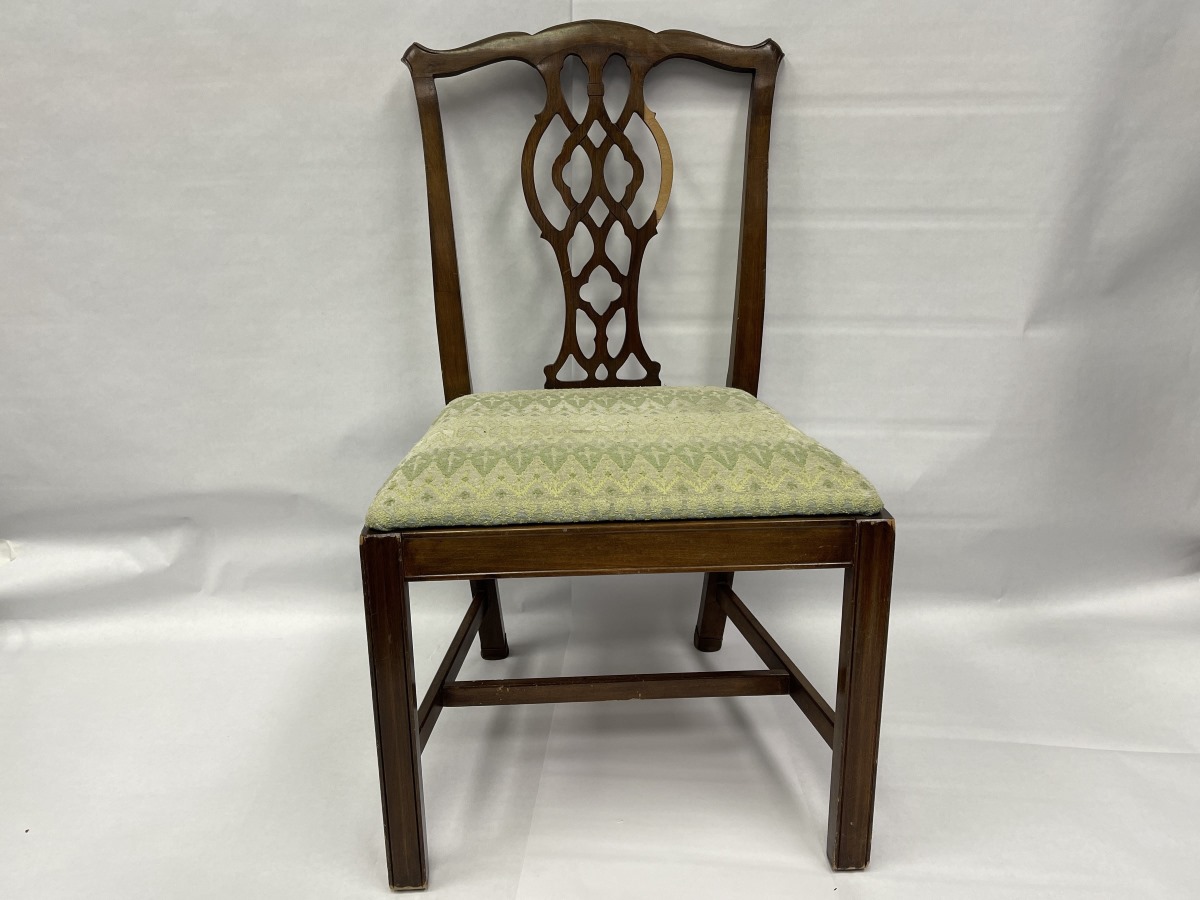
Do you have dining room chairs that are starting to feel a bit wobbly? Perhaps you have noticed a cracked leg or a loose joint that is compromising the stability of the chair. It’s common for dining room chairs to experience wear and tear over time, especially if they are frequently used or have been passed down through generations. Instead of replacing your chairs, why not consider reinforcing them to extend their lifespan?
In this article, we will guide you through the process of reinforcing dining room chairs to make them sturdy and secure once again. You don’t need to be a carpentry expert to get the job done. With a few simple supplies and some handy instructions, you’ll have your chairs back in top shape in no time.
Before we begin, let’s gather the supplies you’ll need:
- Phillips screwdriver
- Wood glue
- Clamps or rope
- Wood screws
- Drill
- Sanding block or sandpaper
- Replacement parts (if necessary)
- Upholstery fabric (if desired)
Once you have these supplies ready, we can move on to the first step of the process, which is assessing the chair.
Key Takeaways:
- Reinforcing dining room chairs is a cost-effective and sustainable way to extend their lifespan, providing a safer and more comfortable seating experience for years to come. It’s a rewarding DIY project that saves money and reduces waste.
- By following the step-by-step process of assessing, reinforcing, and adding finishing touches to dining room chairs, you can restore their stability and functionality without the need for replacements. Enjoy the pride of a job well done and the comfort of sturdy, secure chairs.
Read more: How Tall Is A Dining Room Chair
Supplies Needed
Before you get started with reinforcing your dining room chairs, it’s important to gather all the necessary supplies. Here’s a list of what you’ll need:
- Phillips screwdriver: This will come in handy for removing screws and disassembling the chair.
- Wood glue: A high-quality wood adhesive is essential for reinforcing loose joints and securing any cracked or weakened areas of the chair.
- Clamps or rope: These will be used to hold the chair together while the glue dries. Clamps are recommended for a stronger grip, but if you don’t have any, you can also use rope to tie the pieces together tightly.
- Wood screws: In some cases, you may need to replace old or damaged screws with new ones to reinforce the chair’s structure. Make sure to choose screws that are appropriate in size and material for the type of wood you’re working with.
- Drill: If you need to install new screws, a drill will be necessary to create pilot holes for easy insertion.
- Sanding block or sandpaper: This will be used to smooth the surfaces of the chair, ensuring a seamless finish.
- Replacement parts (if necessary): If any parts of the chair are beyond repair, such as a broken leg or a cracked backrest, you may need to purchase replacement parts to restore the chair’s integrity. Make sure to measure and match the replacements properly.
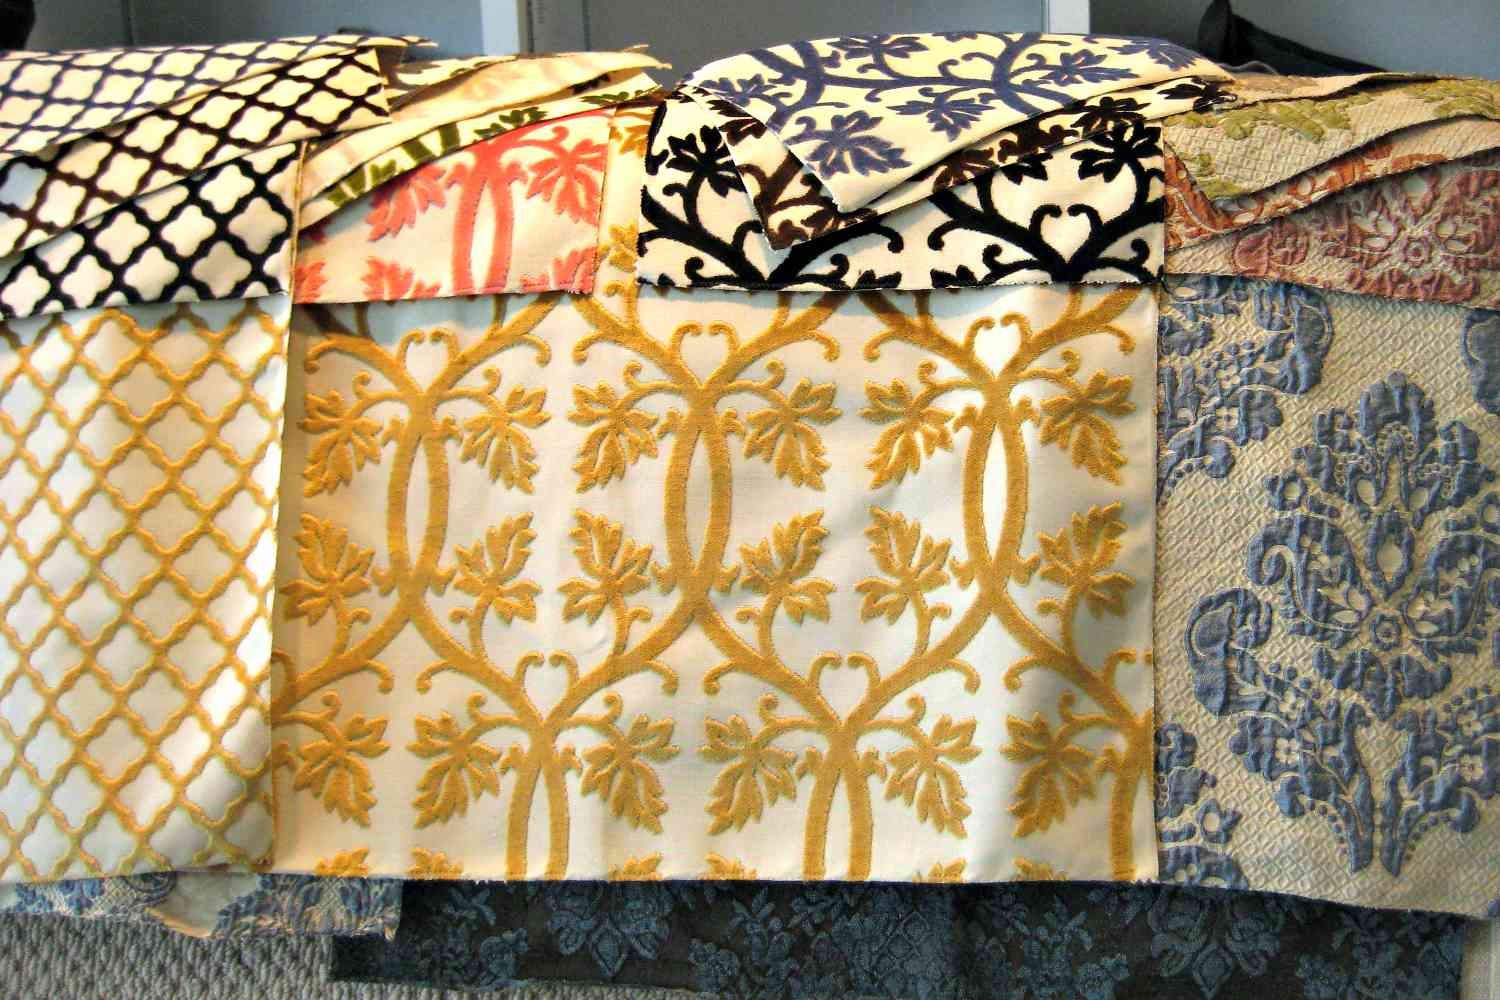
- Upholstery fabric (if desired): If you also want to refresh the appearance of your dining room chairs, you can choose to reupholster the seats. Select a fabric of your choice that complements the overall style and décor of your dining room.
Having these supplies ready before you start the reinforcement process will ensure a smooth and efficient repair job. Now that you have everything you need, let’s move on to the next step: assessing the chair.
Step 1: Assess the Chair
Before you begin the process of reinforcing your dining room chairs, it’s important to thoroughly assess the condition of each chair. Look for signs of damage, such as loose joints, cracked wood, or broken parts. Take a close look at the legs, backrest, and seat to identify any areas that may need reinforcement or repair.
If there are loose joints, try wiggling the affected areas to determine the extent of the problem. Look for any visible signs of wear, such as gaps between joints or wobbling when pressure is applied. This will help you understand which areas of the chair need attention.
Inspect the wood for cracks or splintering. Small cracks can often be repaired, but if you notice larger cracks or significant damage, you may need to consider replacing the affected parts or the entire chair.
Another important aspect to assess is the stability of the chair. Sit on it and see if it feels sturdy. Pay attention to any creaking sounds or shifting movements. This will help you identify weak spots that require reinforcement.
Once you have thoroughly assessed the chair and identified the areas that need attention, you can proceed to the next step: removing the seat.
Remember, it’s crucial to assess each chair individually, as the extent of damage may vary. By taking the time to inspect your chairs properly, you’ll have a clearer understanding of the work required and be better equipped to reinforce them effectively.
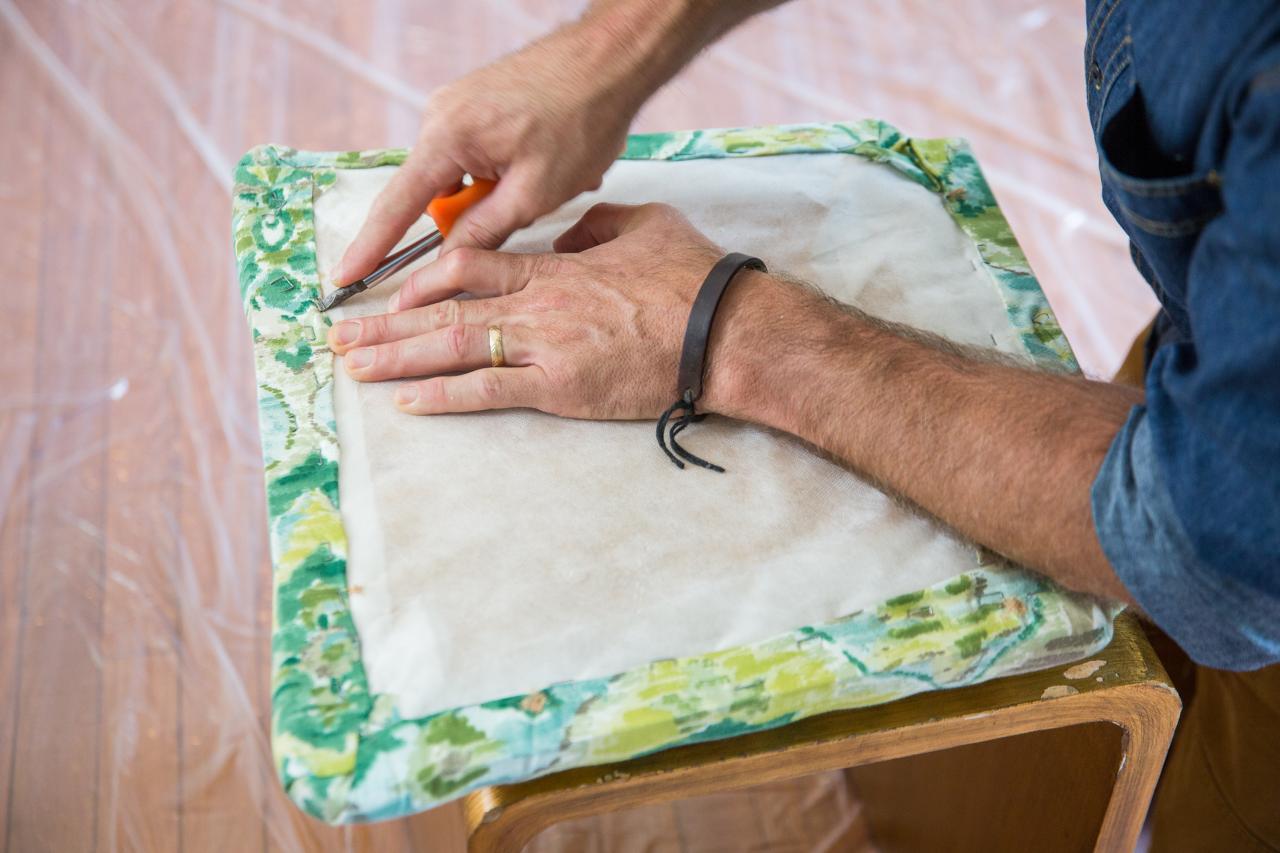
Step 2: Remove the Seat
Now that you have assessed the condition of your dining room chairs, it’s time to remove the seat. Removing the seat will allow you to work on the chair’s frame more easily and access the joints and screws that may require reinforcement or replacement.
Follow these steps to safely remove the seat:
- Turn the chair upside down to expose the underside of the seat.
- Locate the screws or nails that are holding the seat in place. They are typically positioned around the perimeter of the seat.
- Using a Phillips screwdriver, unscrew the screws or pry out the nails to release the seat from the chair frame. Be careful not to damage the seat or the chair in the process.
- Once all the screws or nails are removed, gently lift the seat off the chair frame. Take note of any fabric or cushioning that may be attached to the seat.
- If your chairs have upholstered seats, this is also a good time to remove the fabric or cushioning if you plan to reupholster them later.
By removing the seat, you’ll expose the inner structure of the chair, making it easier to reinforce and make any necessary repairs. It also allows you to thoroughly clean and inspect the seat for any signs of damage or wear.
Now that the seat has been removed, you’re ready to move on to the next step: reinforcing any loose joints or connections.
Step 3: Reinforce Loose Joints
After removing the seat, it’s time to address any loose joints in your dining room chair. Loose joints are a common issue that can cause instability and wobbling. By reinforcing these joints, you can restore the structural integrity of the chair.
Follow these steps to reinforce loose joints:
- Inspect the joints that are causing the wobbling or instability. These are typically the connections between the legs and the frame, as well as the joints between the backrest and the frame.
- If the joints are loose, apply a small amount of wood glue to the areas where the joints connect. Be careful not to use too much glue, as it can create a messy finish.
- Using a clamp or rope, secure the joints tightly together. This will help the glue bond the pieces firmly.
- Allow the glue to dry completely according to the manufacturer’s instructions. This usually takes around 24 hours.
- Once the glue is dry, remove the clamps or rope. Test the stability of the joints to ensure they are now secure and sturdy.
If the loose joints persist or if the chair has multiple loose joints, it may be helpful to reinforce them further by adding extra support. This can be done by inserting wood screws at an angle through the joints to provide additional strength.
Remember to be gentle when tightening the screws to avoid damaging the wood. Use a drill to create pilot holes if necessary, as this will prevent the wood from splitting.
By reinforcing the loose joints, you will eliminate the wobbling and improve the overall stability of your dining room chair.
Now that the loose joints have been addressed, it’s time to move on to step 4: replacing or repairing any broken parts of the chair.
Consider adding corner braces to reinforce the joints of your dining room chairs. These metal brackets can provide extra support and stability, helping to prevent wobbling or breakage.
Read more: How To Pick Dining Room Chairs
Step 4: Replace or Repair Broken Parts
If you have identified any broken parts in your dining room chair during the assessment, it’s important to address them in order to reinforce the overall structure and ensure the chair’s longevity. In this step, we will guide you through the process of replacing or repairing these broken parts.
Follow these steps to replace or repair broken parts:
- Identify the broken parts of the chair that need attention. This could be a cracked leg, a damaged backrest, or any other compromised area.
- Assess whether the broken parts can be repaired or if they need to be completely replaced. In some cases, a strong adhesive or wood filler can be used to fix minor cracks or damages. For more severe damage, replacement parts may be necessary.
- If the broken parts are repairable, follow the instructions provided with the wood adhesive or wood filler to apply and cure the product properly. Allow ample time for the repair to dry and harden before proceeding.
- If the broken parts need to be replaced, measure and carefully remove the damaged pieces from the chair. You may need to use a saw or chisel to carefully separate the broken parts from the chair frame.
- Once the broken parts are removed, replace them with new, matching components. Make sure to align the new parts properly and secure them using wood glue or screws, depending on the design of the chair.
- Allow the adhesive to dry or the newly installed parts to set firmly according to the manufacturer’s recommendations.
When replacing or repairing broken parts, it’s important to consider the type and quality of the wood used in your chair. If the broken parts are made of solid wood, try to source replacement pieces that match in terms of wood species and grain pattern. This will help maintain the overall aesthetic of the chair.
By addressing the broken parts, you will strengthen the chair’s structure and ensure that it can withstand regular use without further damage.
Now that any broken parts have been replaced or repaired, let’s move on to the next step: strengthening the seat.
Step 5: Strengthen the Seat
The seat of a dining room chair can experience wear and tear over time, especially if it is frequently used. To ensure its durability and comfort, it is essential to strengthen the seat during the reinforcement process. This step will help prevent sagging and maintain the stability of the chair.
Follow these steps to strengthen the seat of your dining room chair:
- Examine the seat to identify any weak areas or signs of sagging. This can typically be noticed by pressing down on the seat and observing if it feels firm or if there is excessive give.
- If the seat feels weak or saggy, reinforce it by adding additional support underneath. Cut a piece of plywood or MDF (medium-density fiberboard) to fit the size of the seat, covering its entire surface.
- Apply wood glue to the top surface of the seat or the underside of the plywood/MDF piece. Make sure to spread an even layer of glue to ensure proper adhesion.
- Place the plywood or MDF piece on top of the seat, aligning it properly. Apply pressure evenly to ensure a strong bond between the seat and the reinforcing material.
- If desired, you can further secure the reinforcement by screwing it into place using wood screws. Insert the screws at regular intervals along the perimeter of the seat.
- Allow the wood glue to dry completely and the reinforcement to set firmly before proceeding.
Strengthening the seat of the chair will provide added support and stability, ensuring that it can withstand regular use for years to come. It will also enhance the comfort of the chair, allowing you and your guests to dine and sit comfortably.
With the seat now reinforced, let’s move on to the next step: reattaching the seat to the chair frame.
Step 6: Reattach the Seat
Once you have reinforced the seat and completed the necessary repairs, it’s time to reattach the seat to the chair frame. Properly securing the seat ensures that the chair is stable, safe, and ready for use.
Follow these steps to reattach the seat of your dining room chair:
- Position the seat over the chair frame, aligning it properly. Take note of any screw holes or pre-existing marks that indicate the original placement of the seat.
- Using a Phillips screwdriver, reattach the seat to the frame by screwing it in. Make sure to use the original screws if they are in good condition. If not, use new screws that are suitable for the type of wood you are working with.
- Tighten the screws securely, but be cautious not to overtighten and damage the wood or strip the screws.
- Check the stability of the chair by sitting on it and applying gentle pressure. Ensure that the seat is securely attached and does not wobble or shift.
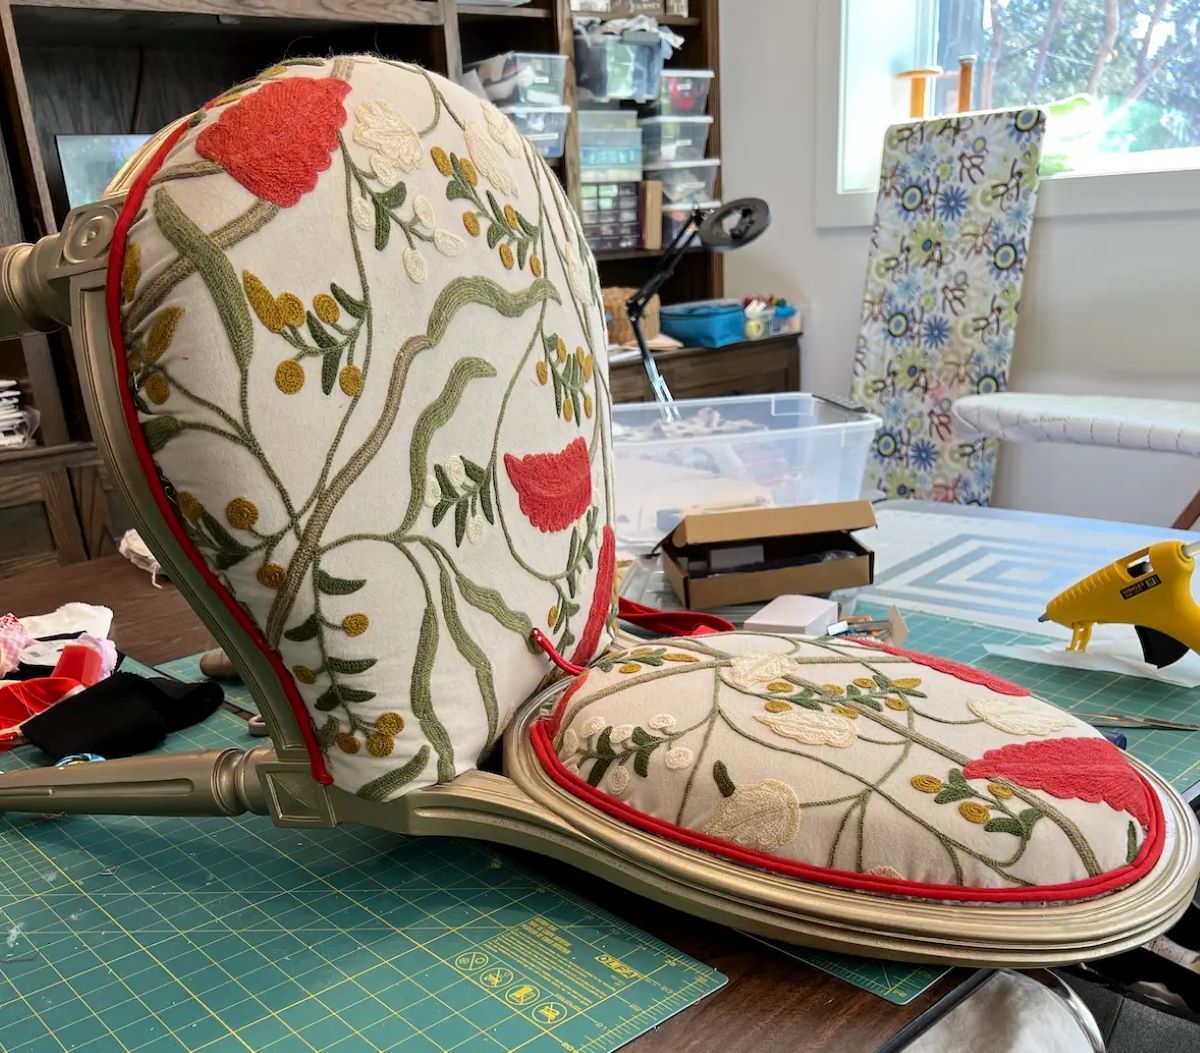
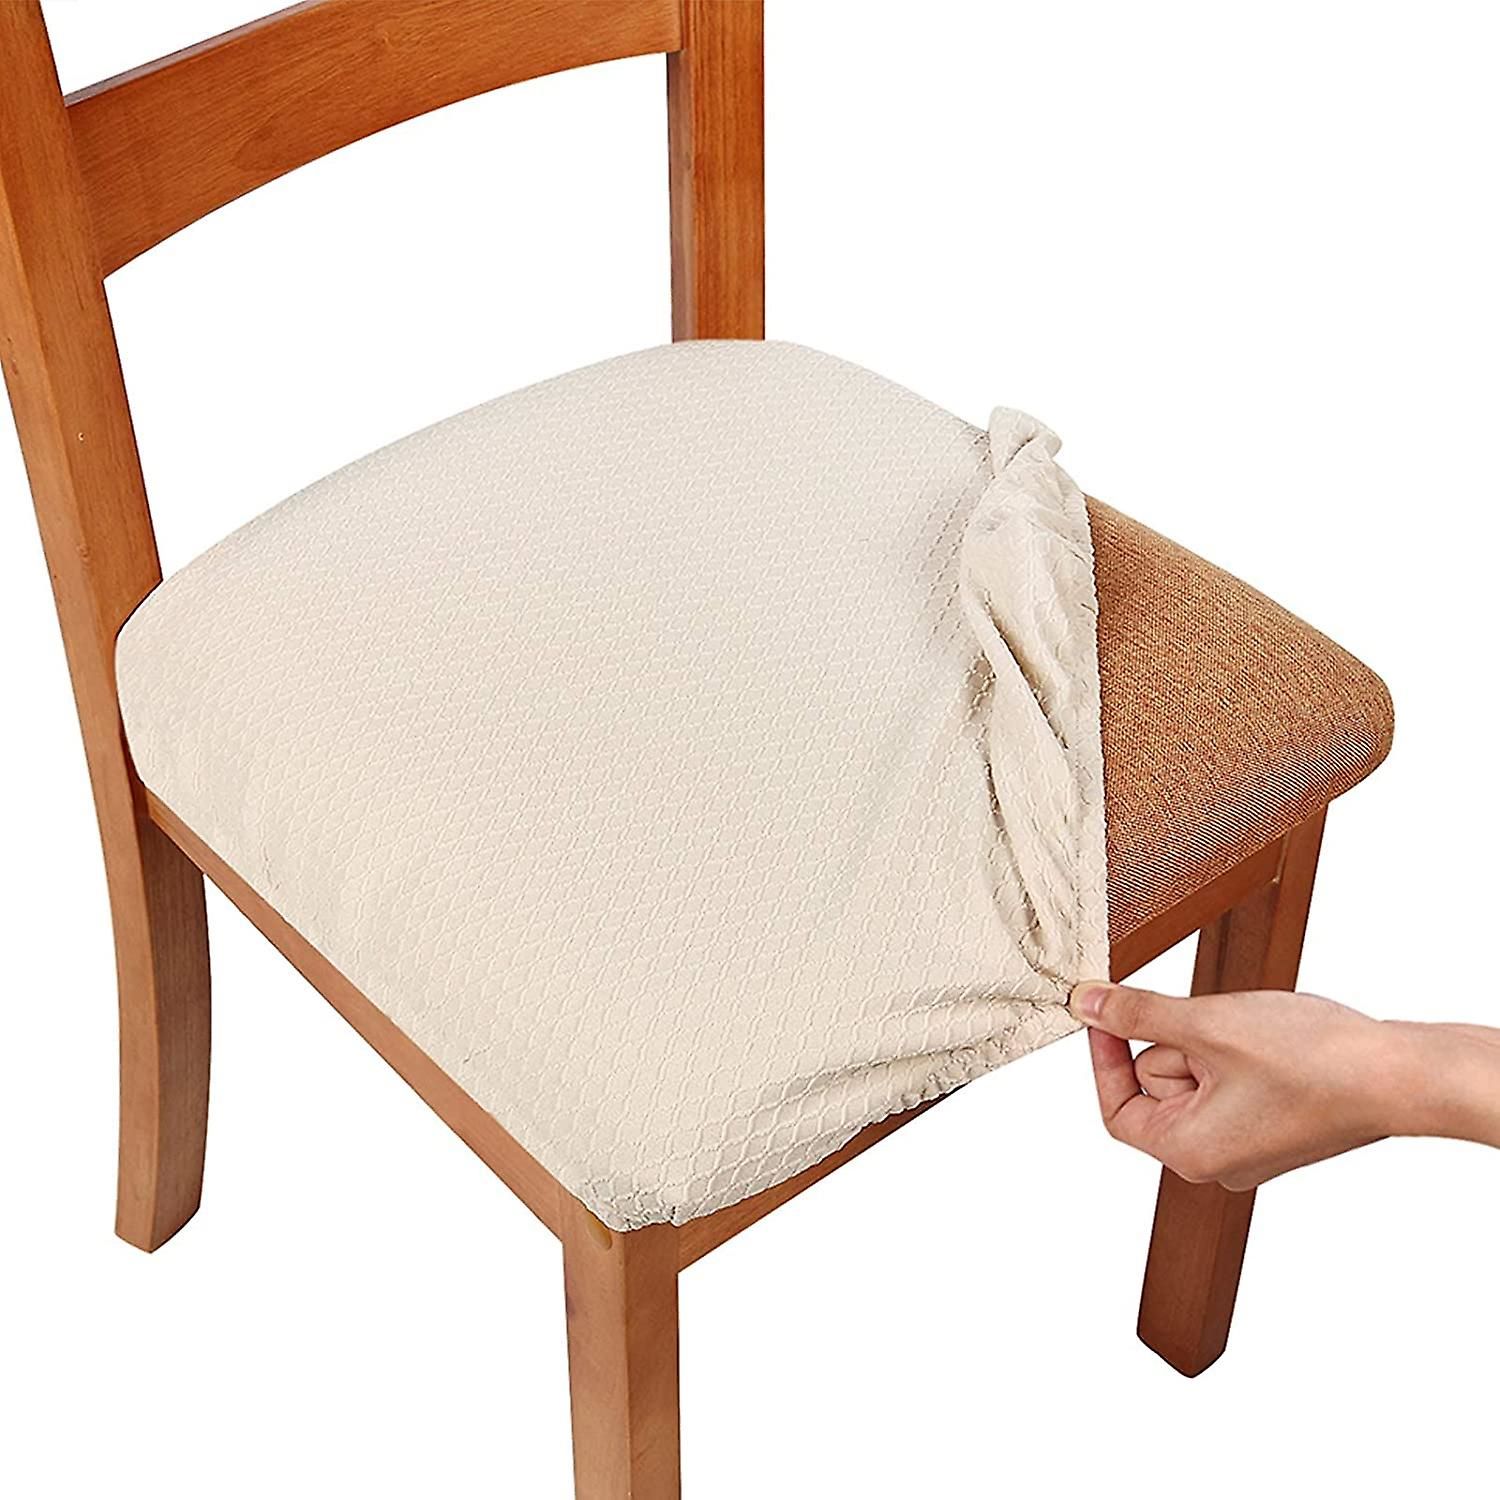
If the chair had upholstery that you removed earlier, now is the time to reattach or replace it. Align the upholstery fabric or cushioning with the seat, making sure it is taut and secure. Use a staple gun or upholstery tacks to fasten the fabric to the underside of the seat.
By reattaching the seat securely, you can enjoy the restored functionality and stability of your dining room chair. It will be ready to use for meals, gatherings, and everyday activities.
With the seat now reattached, let’s move on to the final step: putting the finishing touches on your reinforced dining room chair.
Step 7: Finishing Touches
With your dining room chair reinforced and the seat securely reattached, it’s time to add the finishing touches to complete the restoration process. These final touches will not only enhance the aesthetics of the chair but also contribute to its overall durability and longevity.
Here are some suggested finishing touches:
- Sanding and refinishing: If the chair’s wood surface appears worn or rough, consider sanding it down to create a smooth finish. Apply wood stain or paint to rejuvenate the appearance and protect the wood from future damage.
- Clear coat or varnish: Apply a clear coat or varnish to protect the wood from spills and stains. This extra layer will also add a subtle sheen to the surface of the chair.
- Cushions or padding: If you prefer a more comfortable seating experience, consider adding seat cushions or padding to the chair. This can provide additional support and enhance the overall comfort.
- Reupholstery: If you have chosen to reupholster the seat, now is the time to complete this step. Carefully attach the new fabric or cushioning to the seat, ensuring a smooth and secure fit.
- Maintenance: Regularly clean and inspect your reinforced dining room chair to maintain its condition. Wipe away dust and spills promptly, and periodically check for any signs of wear or damage that may require attention.
By adding these finishing touches, you will not only enhance the appearance of your dining room chair but also prolong its lifespan and usability. These steps will ensure that your reinforced chair remains in top-notch condition for many years to come.
With the finishing touches complete, your dining room chair is now reinforced, stable, and ready to be enjoyed. You have successfully restored its function and appearance, saving money on replacements and preserving a beloved piece of furniture.
Congratulations on completing the process of reinforcing your dining room chairs!
Remember, the techniques learned in this article can be applied to other chairs or furniture pieces that may require reinforcement in the future. Now you can confidently host gatherings and meals, knowing that your chairs are sturdy and secure.
Happy dining!
Read more: How To Construct Dining Room Chairs
Conclusion
Reinforcing your dining room chairs is a rewarding and practical way to extend their lifespan and restore their stability. Instead of discarding and replacing chairs that may seem wobbly or have minor damage, you can follow these steps to reinforce them and enjoy their functionality for years to come.
By assessing the condition of your chairs, removing the seat, reinforcing loose joints, replacing or repairing broken parts, strengthening the seat, reattaching the seat, and adding finishing touches, you have taken the necessary steps to ensure the durability and stability of your dining room chairs.
While the process may require some time and effort, the end result will be well worth it. Reinforced chairs provide a safer and more comfortable seating experience, allowing you to dine, relax, or entertain with confidence.
Remember to gather the necessary supplies and take your time throughout each step of the process. Assess each chair individually and tailor the reinforcement techniques to their specific needs. Additionally, consider incorporating the finishing touches that fit your style and preferences to make your chairs truly unique and inviting.
Whether you have inherited your dining room chairs or simply want to give them a new lease on life, the reinforcement process can be a rewarding DIY project. Not only will you save money on replacements, but you will also reduce waste and contribute to a more sustainable lifestyle.
Now that you have completed the reinforcement process, take pride in your restored dining room chairs. Feel free to show them off to your guests, share your newfound knowledge with others, and continue enjoying the comfort and stability they provide.
Remember, the techniques learned here can be applied to other chairs or furniture pieces in need of reinforcement, so keep these skills in mind for future projects.
Thank you for joining us on this journey to reinforce your dining room chairs. We hope this article has been informative and helpful in guiding you through the process. Here’s to many more years of enjoyable meals and cherished moments around your sturdy and secure dining room chairs!
Frequently Asked Questions about How To Reinforce Dining Room Chairs
Was this page helpful?
At Storables.com, we guarantee accurate and reliable information. Our content, validated by Expert Board Contributors, is crafted following stringent Editorial Policies. We're committed to providing you with well-researched, expert-backed insights for all your informational needs.


0 thoughts on “How To Reinforce Dining Room Chairs”