Home>Furniture & Design>Living Room Furniture>How To Build A Console Table
Living Room Furniture
How To Build A Console Table
Modified: October 23, 2024
Learn how to build a stylish and functional console table for your living room with our expert furniture and design tips. Transform your space today!
(Many of the links in this article redirect to a specific reviewed product. Your purchase of these products through affiliate links helps to generate commission for Storables.com, at no extra cost. Learn more)
Introduction
Welcome to the world of furniture design! A console table is not only a functional piece of furniture, but it also adds a touch of elegance and style to any living room. Whether you are a DIY enthusiast or just looking to personalize your space, building a console table is a rewarding project that allows you to showcase your creativity and craftsmanship.
In this comprehensive guide, we will walk you through the step-by-step process of building a console table. From gathering materials to adding the final touches, you will learn all the skills and techniques needed to create a beautiful and functional piece that complements your living room’s decor.
Building your own console table offers several advantages. Firstly, it allows you to customize the design and dimensions to perfectly fit your living room’s space and style. Secondly, it can save you money compared to buying a pre-made console table from a furniture store. Lastly, it provides a sense of accomplishment and satisfaction knowing that you have built a unique piece of furniture that will be enjoyed for years to come.
Before we jump into the building process, let’s take a moment to gather the necessary materials and tools.
Key Takeaways:
- Building a console table is a rewarding DIY project that allows for customization to fit your living room perfectly, saving money and providing a sense of accomplishment.
- From gathering materials to adding final touches, constructing a console table involves precision, creativity, and personalization, enhancing the aesthetic appeal of your living space.
Step 1: Gather Materials
The first step in building a console table is to gather all the necessary materials. Here’s a list of items you will need for this project:
- Wood: Choose a sturdy and durable wood, such as oak or maple, for the tabletop and legs. The dimensions will depend on the size of the table you want to build.
- Screws: You will need screws to attach the legs to the tabletop and any additional components.
- Sanding Supplies: Sandpaper or a sanding block will be required to smooth out the wood surfaces.
- Wood Stain or Paint: Decide whether you want to stain the wood for a natural look or paint it to match your living room’s color scheme.
- Brushes/Rags: Depending on the staining or painting method you choose, you will need brushes or rags for application.
- Saw: A saw will be necessary to cut the wood to the desired dimensions.
- Measuring Tape: Accurate measurements are essential for building a table that fits your space perfectly. Make sure to have a measuring tape on hand.
- Screwdriver: A screwdriver will be needed to tighten the screws when assembling the table.
Once you have gathered all the materials, double-check to ensure that you have everything you need. It’s always a good idea to have some extra screws and sandpaper in case you run out or need to make adjustments during the build.
With the materials collected, we can move on to the next step: measuring and cutting the wood.
Step 2: Measure and Cut Wood
Now that you have all the materials ready, it’s time to measure and cut the wood to the desired dimensions for your console table. Follow these steps to ensure accuracy:
- Measure the length and width of the tabletop: Decide how long and wide you want your console table to be. Use a measuring tape to measure and mark these dimensions on the wood plank that will serve as the tabletop.
- Measure and mark the length of the legs: Determine the desired height for your console table. Measure and mark this length on each of the wood planks that will serve as the legs.
- Cut the wood: Using a saw, carefully cut along the marked lines to create the individual components – the tabletop and the legs. Take your time and make precise cuts to ensure a clean and professional finish.
Remember to prioritize safety while using any cutting tools. Wear appropriate safety gear such as goggles and gloves, and follow the manufacturer’s instructions for operating the saw safely.
Once you have cut all the pieces to the correct dimensions, double-check that they align properly and make any necessary adjustments. With the wood prepared, it’s time to move on to the next step: assembling the table legs.
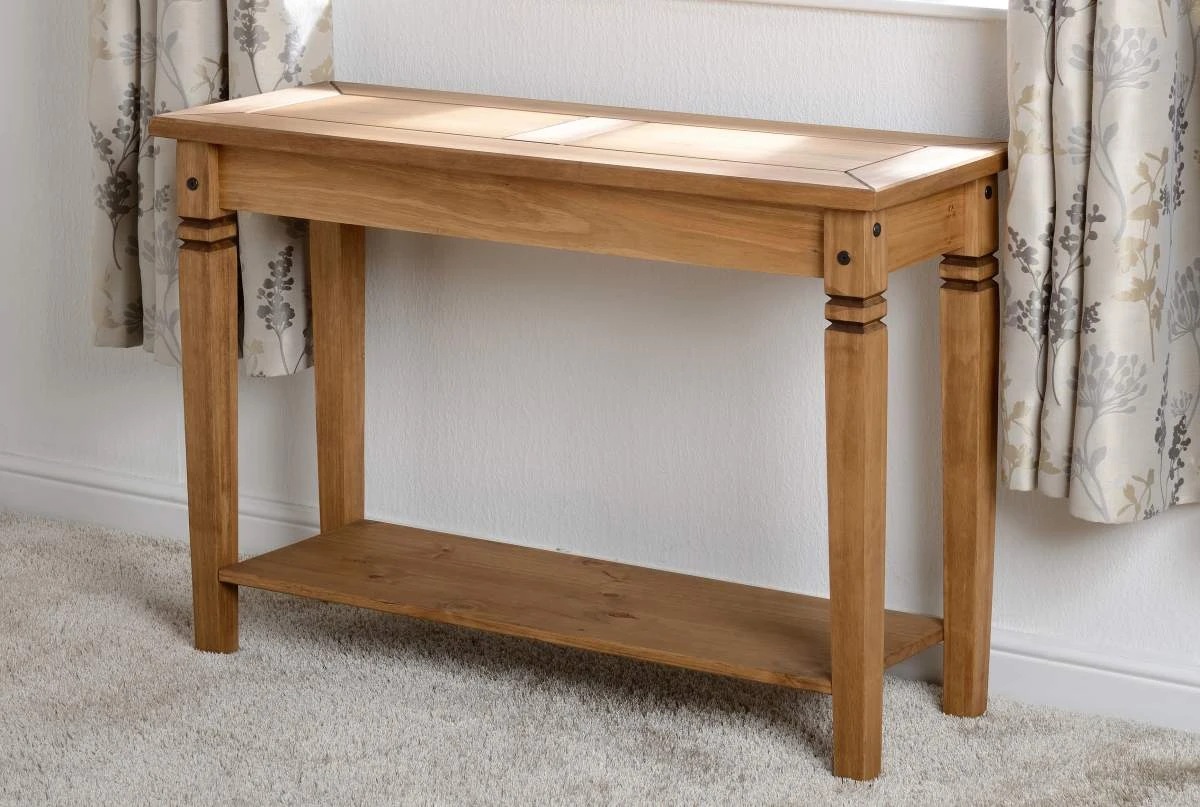
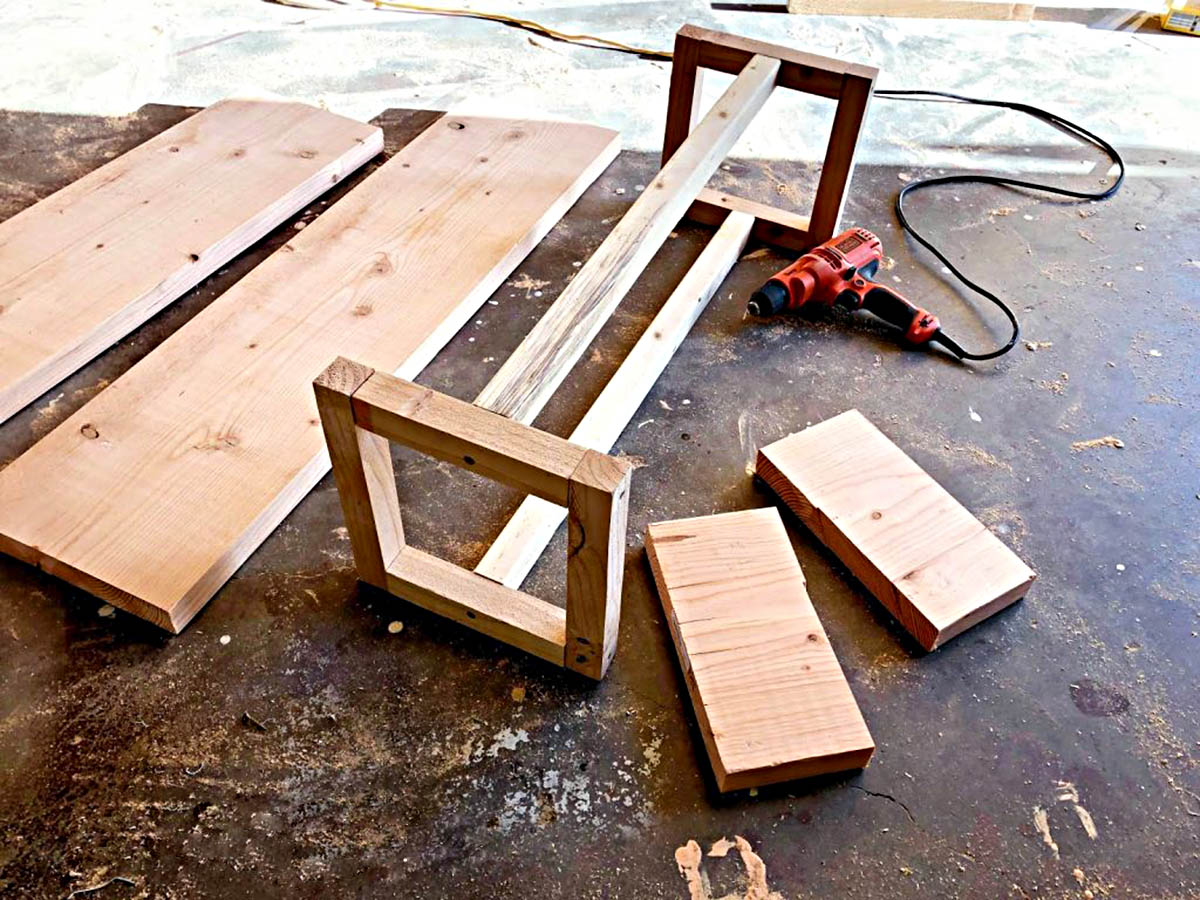
Step 3: Assemble Table Legs
With the wood pieces cut to the right dimensions, it’s time to start assembling the table legs. The table legs will provide stability and support to your console table. Follow these steps:
- Place the leg pieces in the desired position: Lay the leg pieces on a flat surface, positioning them parallel to each other at the correct distance apart. Ensure that the shorter sides of the legs are facing inward.
- Align the leg pieces: Use clamps or a helping hand to align the pieces properly. Make sure that they are both flush at the top and the bottom.
- Pre-drill holes: To prevent the wood from splitting, pre-drill pilot holes where you will be inserting screws. Use a drill bit slightly smaller than the diameter of the screws.
- Secure the pieces together: Once the pilot holes are in place, use screws to secure the leg pieces together. Start by inserting screws at the top and bottom, ensuring a secure connection. Repeat the process for each leg.
- Double-check for stability: After assembling the table legs, check that they are sturdy and stable. Apply pressure and ensure that there is no wobbling or movement. Adjust the screws if necessary to create a more secure connection.
By following these steps, you will have successfully assembled the table legs. Now, it’s time to move on to the next step: attaching the legs to the tabletop.
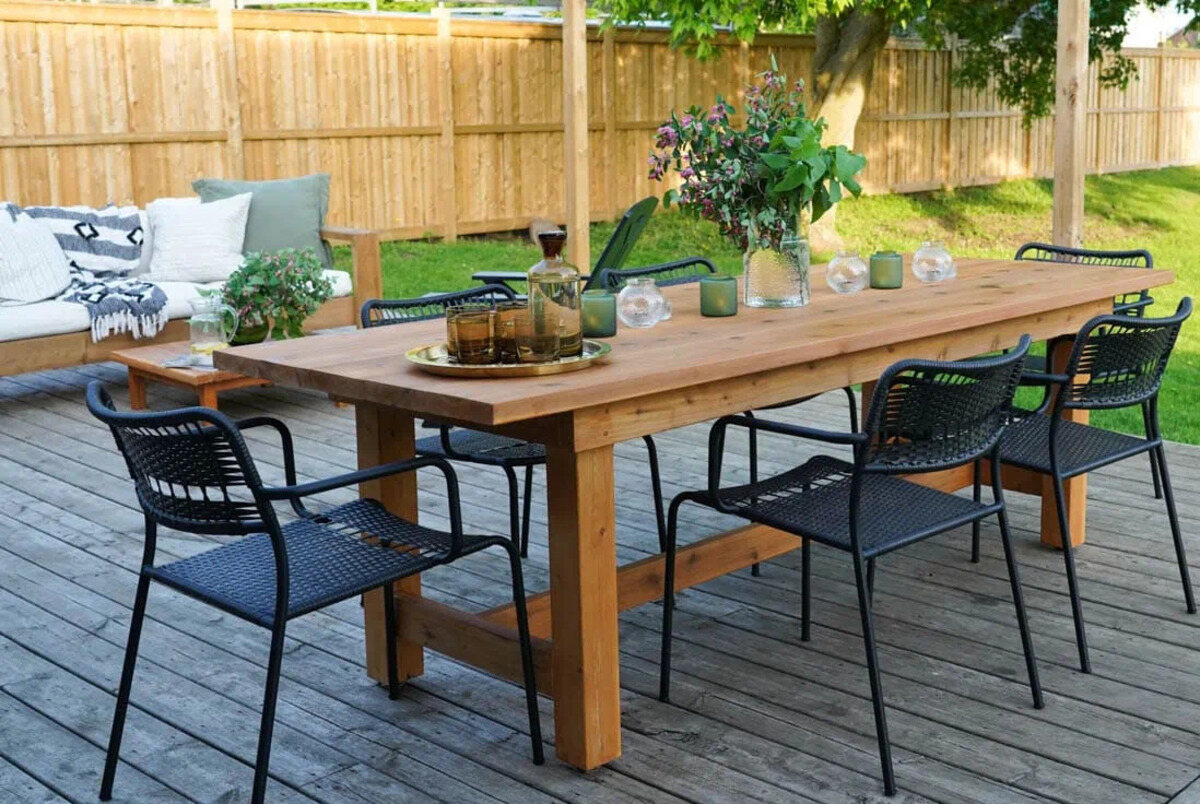
Step 4: Attach Legs to Tabletop
Now that the table legs are assembled, you can move on to attaching them to the tabletop. This step is crucial for ensuring stability and structural integrity. Follow these steps to securely attach the legs:
- Position the tabletop: Place the tabletop upside down on a flat surface. Ensure that it is positioned correctly with the desired overhang on all sides.
- Align the legs: Hold the legs in position against the underside of the tabletop, making sure they are centered and evenly spaced. Take measurements to ensure accuracy.
- Pre-drill holes: Similar to the previous step, pre-drill pilot holes in the tabletop where you will be inserting screws to attach the legs. Make sure the pilot holes are smaller in diameter than the screws you will use.
- Attach the legs: With the pilot holes in place, use screws to attach the legs to the tabletop. Start by inserting screws through the pilot holes in the legs and into the tabletop. Repeat this process for each leg, ensuring a secure and firm connection.
- Check for stability: After attaching the legs, flip the tabletop to its upright position and check for stability. Apply pressure to the table and ensure that the legs are securely attached and there is no wobbling or movement. Adjust the screws if needed.
By following these steps, you will successfully attach the legs to the tabletop, bringing your console table one step closer to completion. Next, let’s move on to the next step: sanding and finishing the table to achieve a smooth and polished look.
When building a console table, make sure to measure the space where it will be placed to ensure it fits properly. Consider the height, width, and depth to create a functional and visually appealing piece.
Read more: What To Put On A Console Table
Step 5: Sand and Finish the Table
Now that the console table is assembled, it’s time to give it a smooth and polished finish. Sanding and finishing the table will not only enhance its appearance but also protect the wood from wear and tear. Follow these steps to complete this important step:
- Sand the surfaces: Start by using sandpaper or a sanding block to sand all the surfaces of the console table. Begin with a coarse-grit sandpaper to remove any rough edges or imperfections. Then, switch to a finer-grit sandpaper to create a smooth and even surface. Sand in the direction of the wood grain for the best results.
- Remove dust: After sanding, use a clean cloth or a vacuum cleaner to remove any dust or debris from the table. This will ensure a clean and smooth finish on the wood.
- Apply wood stain or paint: Decide whether you want to stain the wood to bring out its natural beauty or paint it to match your living room’s decor. If you choose to stain it, use a brush or rag to apply the stain evenly, following the manufacturer’s instructions. If you prefer to paint it, use a brush or roller to apply multiple thin coats, allowing each coat to dry before applying the next.
- Allow for drying time: After applying the wood stain or paint, allow the console table to dry completely. Follow the recommended drying time mentioned on the product packaging to ensure a durable and long-lasting finish.
- Seal with a protective finish: To protect the wood and add a glossy or matte sheen, apply a coat of clear sealer or varnish. Use a brush or a foam applicator to evenly distribute the sealer over the entire surface of the table. Allow it to dry completely as per the manufacturer’s instructions.
By following these steps, you will have successfully sanded and finished your console table, giving it a beautiful and professional look. Now, let’s move on to the optional step of adding drawers or shelves to enhance the functionality of your table.
Step 6: Optional: Add Drawers or Shelves
If you want to increase the storage capacity of your console table, adding drawers or shelves can be a great option. This step is optional, but it can enhance the functionality of your table. Follow these steps to add drawers or shelves:
- Measure and mark: Determine where you want to install the drawers or shelves on your console table. Use a measuring tape to mark the dimensions and ensure accuracy.
- Cut the inserts: Cut the wood inserts for the drawers or shelves according to the measurements you took. Make sure they fit snugly into the designated spaces.
- Assemble the drawers or shelves: If you are adding drawers, assemble them according to the manufacturer’s instructions using wood glue and screws. If you are adding shelves, attach them securely to the insides of the table legs or use shelf brackets for added support.
- Install the hardware: Attach drawer slides to the insides of the table legs if you are adding drawers. This will allow the drawers to slide in and out smoothly. Use screws to secure the hardware in place.
- Apply a finish: Once the drawers or shelves are installed, sand any rough edges and apply a matching finish or paint to ensure a cohesive look with the rest of the table.
Adding drawers or shelves to your console table can provide convenient storage for various items such as remote controls, books, or decorative accessories. However, if you prefer to keep your console table as a simple and minimalist piece, you can skip this step and move on to the final step: adding the finishing touches and decoration.
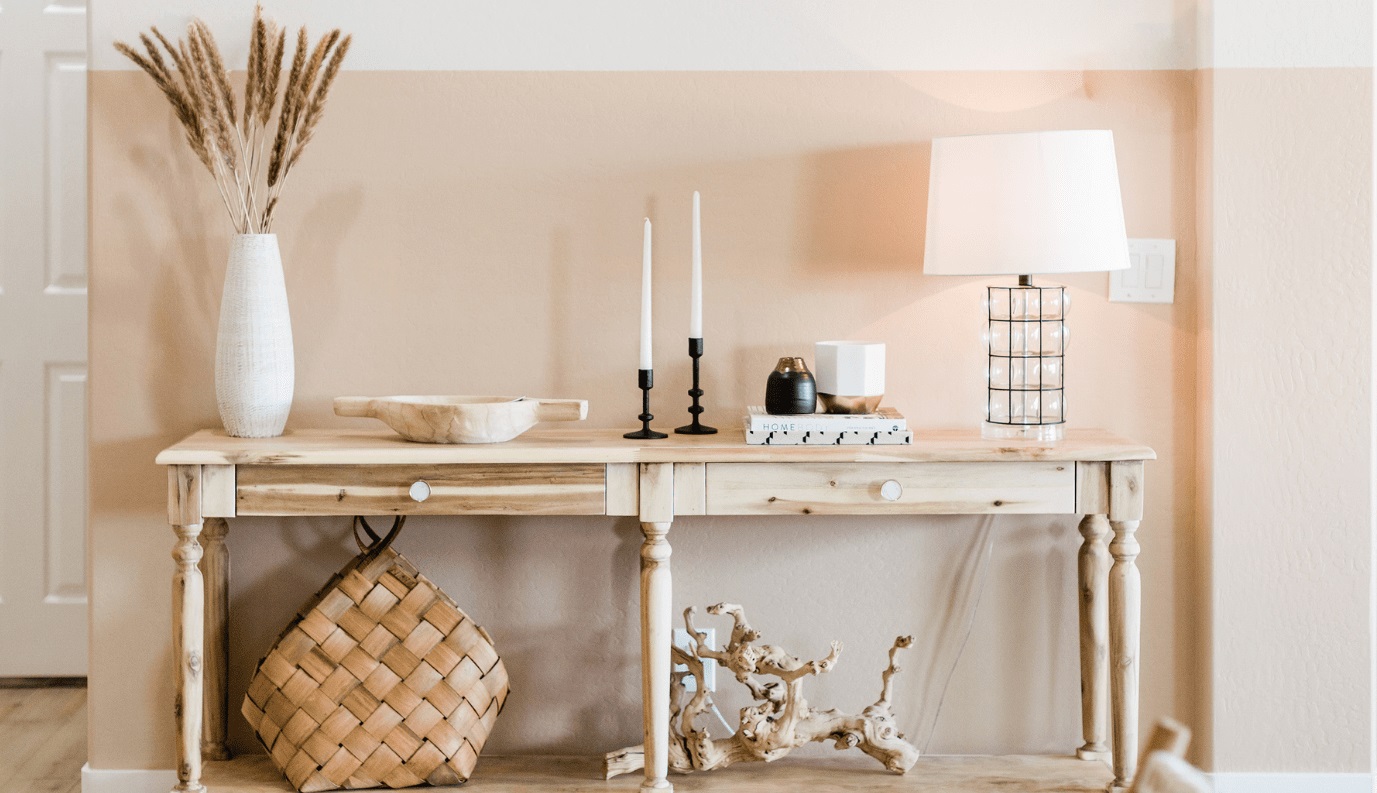
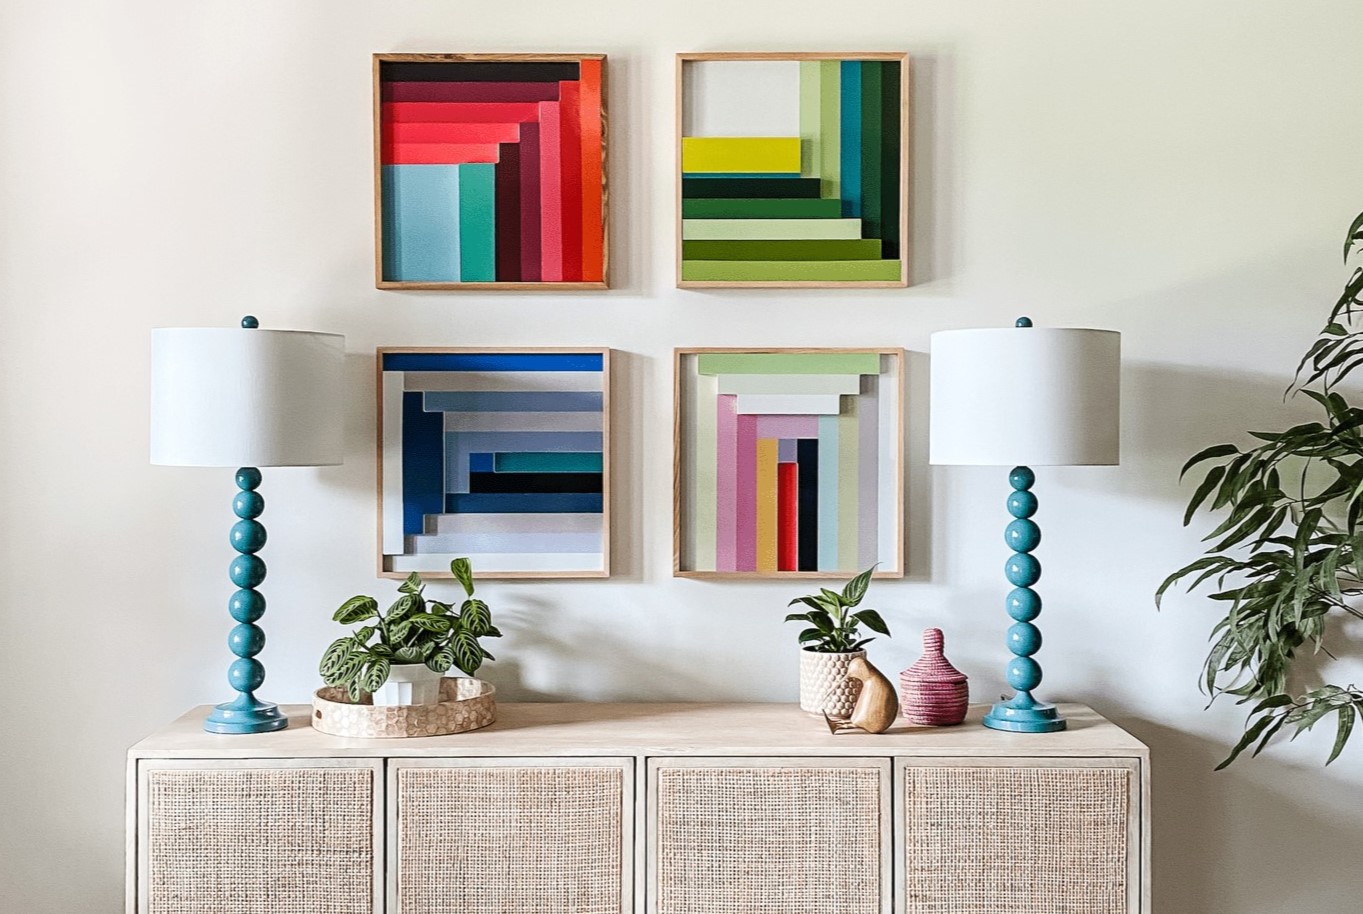
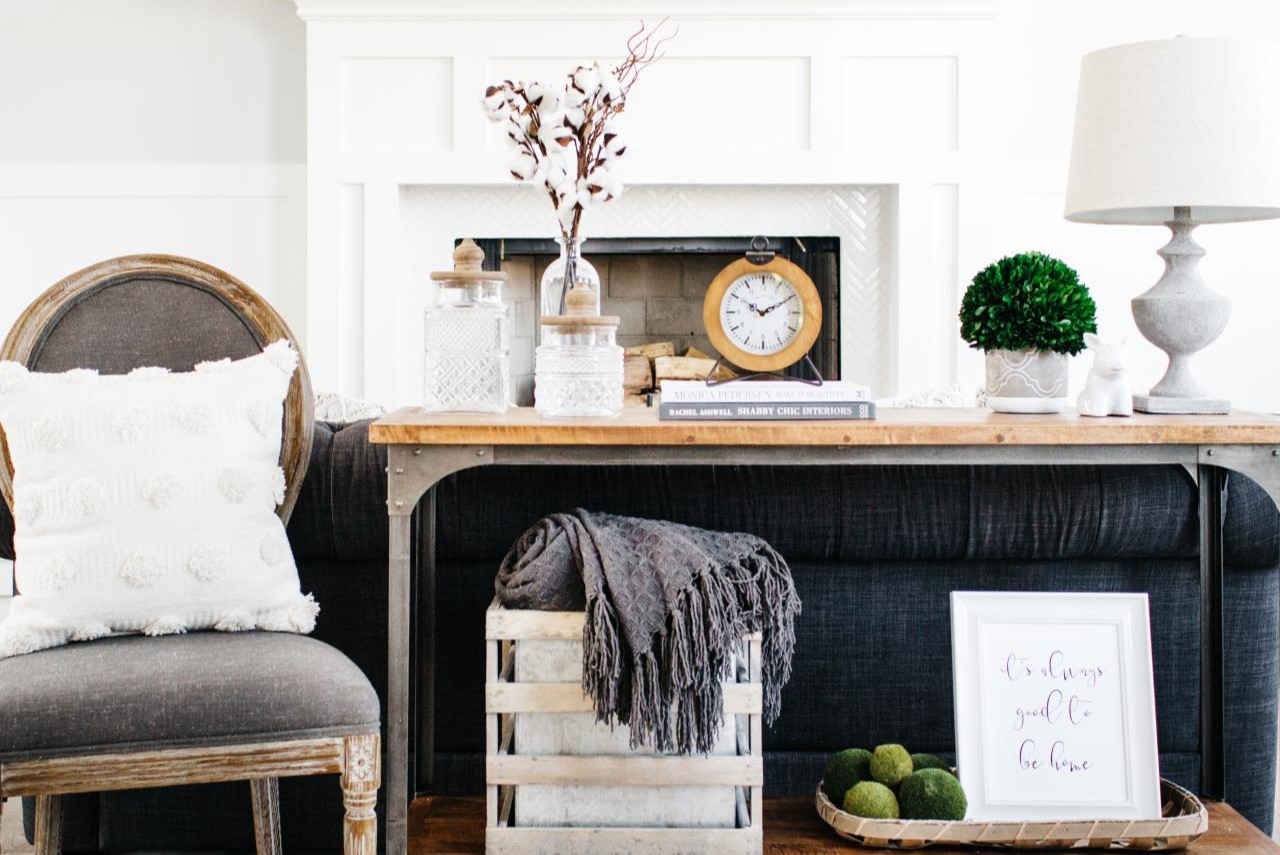
Step 7: Final Touches and Decoration
Congratulations on reaching the final step of building your console table! Now that the construction is complete, it’s time to add the final touches and decorations to make your table truly unique. Follow these steps to put the finishing touches on your console table:
- Clean the table: Before adding any decorations, make sure to clean the table surface and remove any dust or debris. Use a damp cloth or a gentle cleaning solution to wipe down the entire table.
- Add personal touches: Personalize your console table by adding decorative elements that reflect your style and complement your living room’s aesthetic. This could include candles, vases, picture frames, or small sculptures.
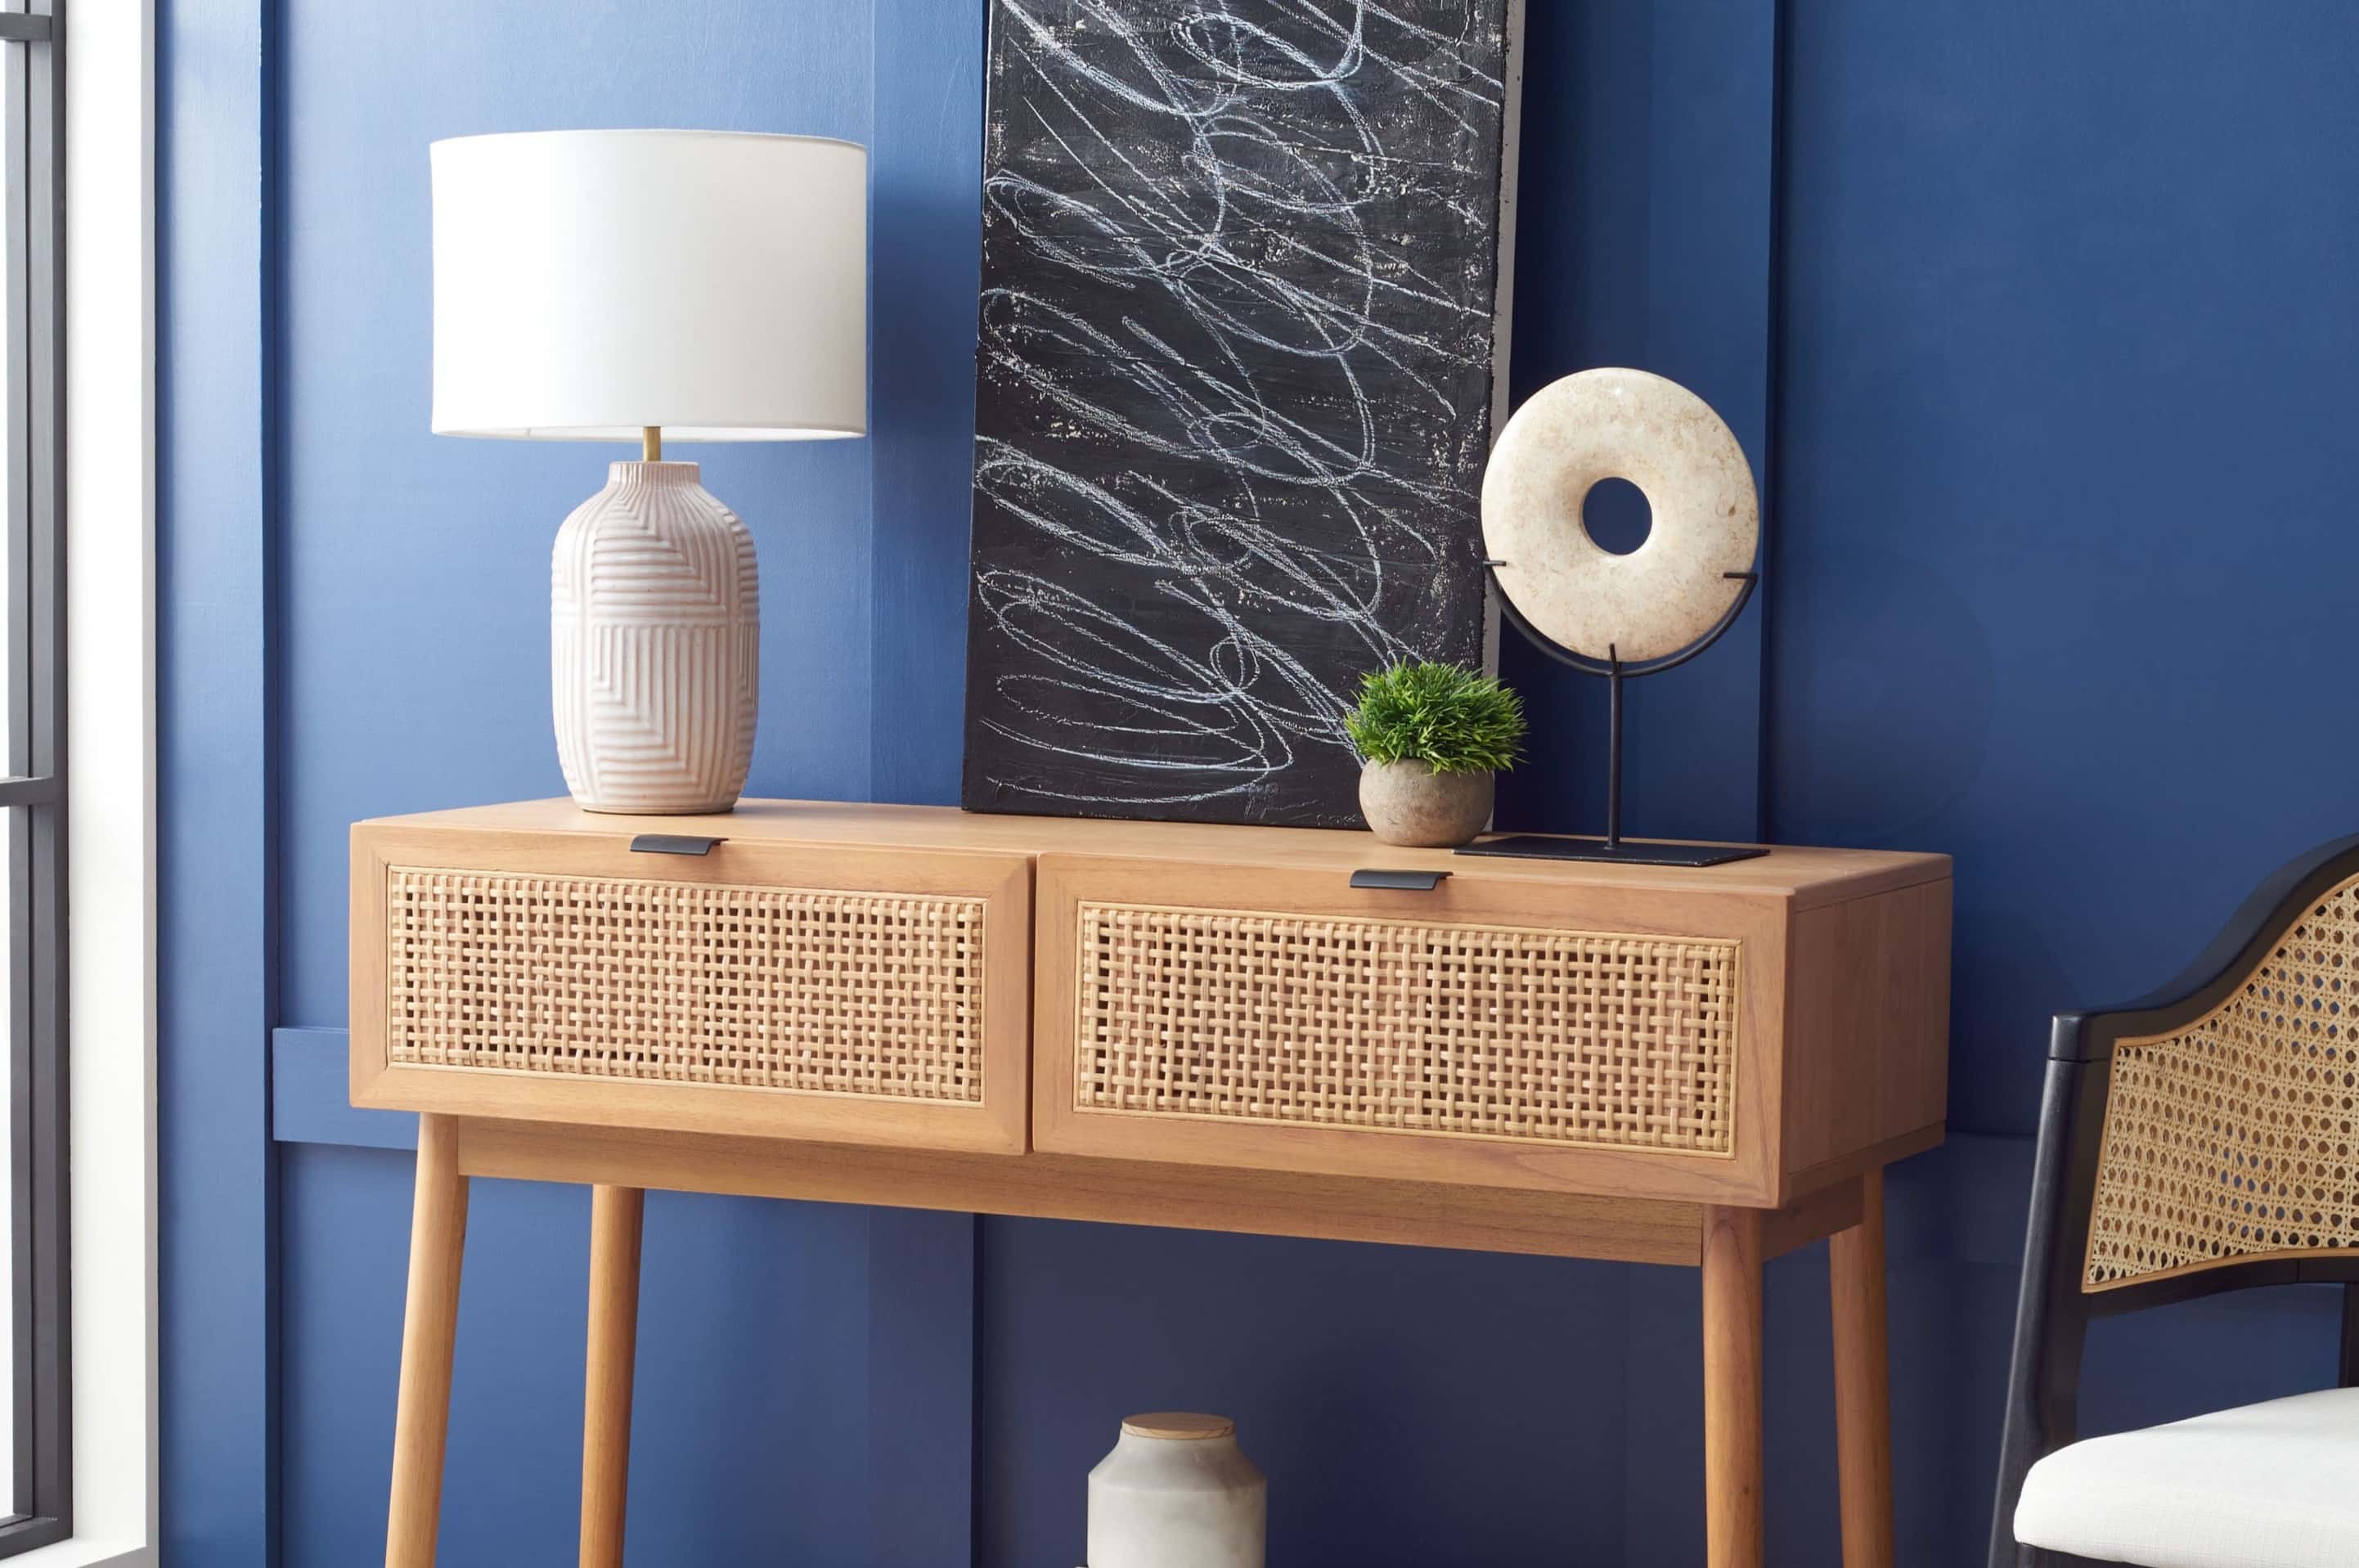
- Consider lighting: If you have outlets nearby, adding a table lamp or string lights can provide both functionality and ambiance to your living room space. Choose a lamp that matches the overall style of your console table.
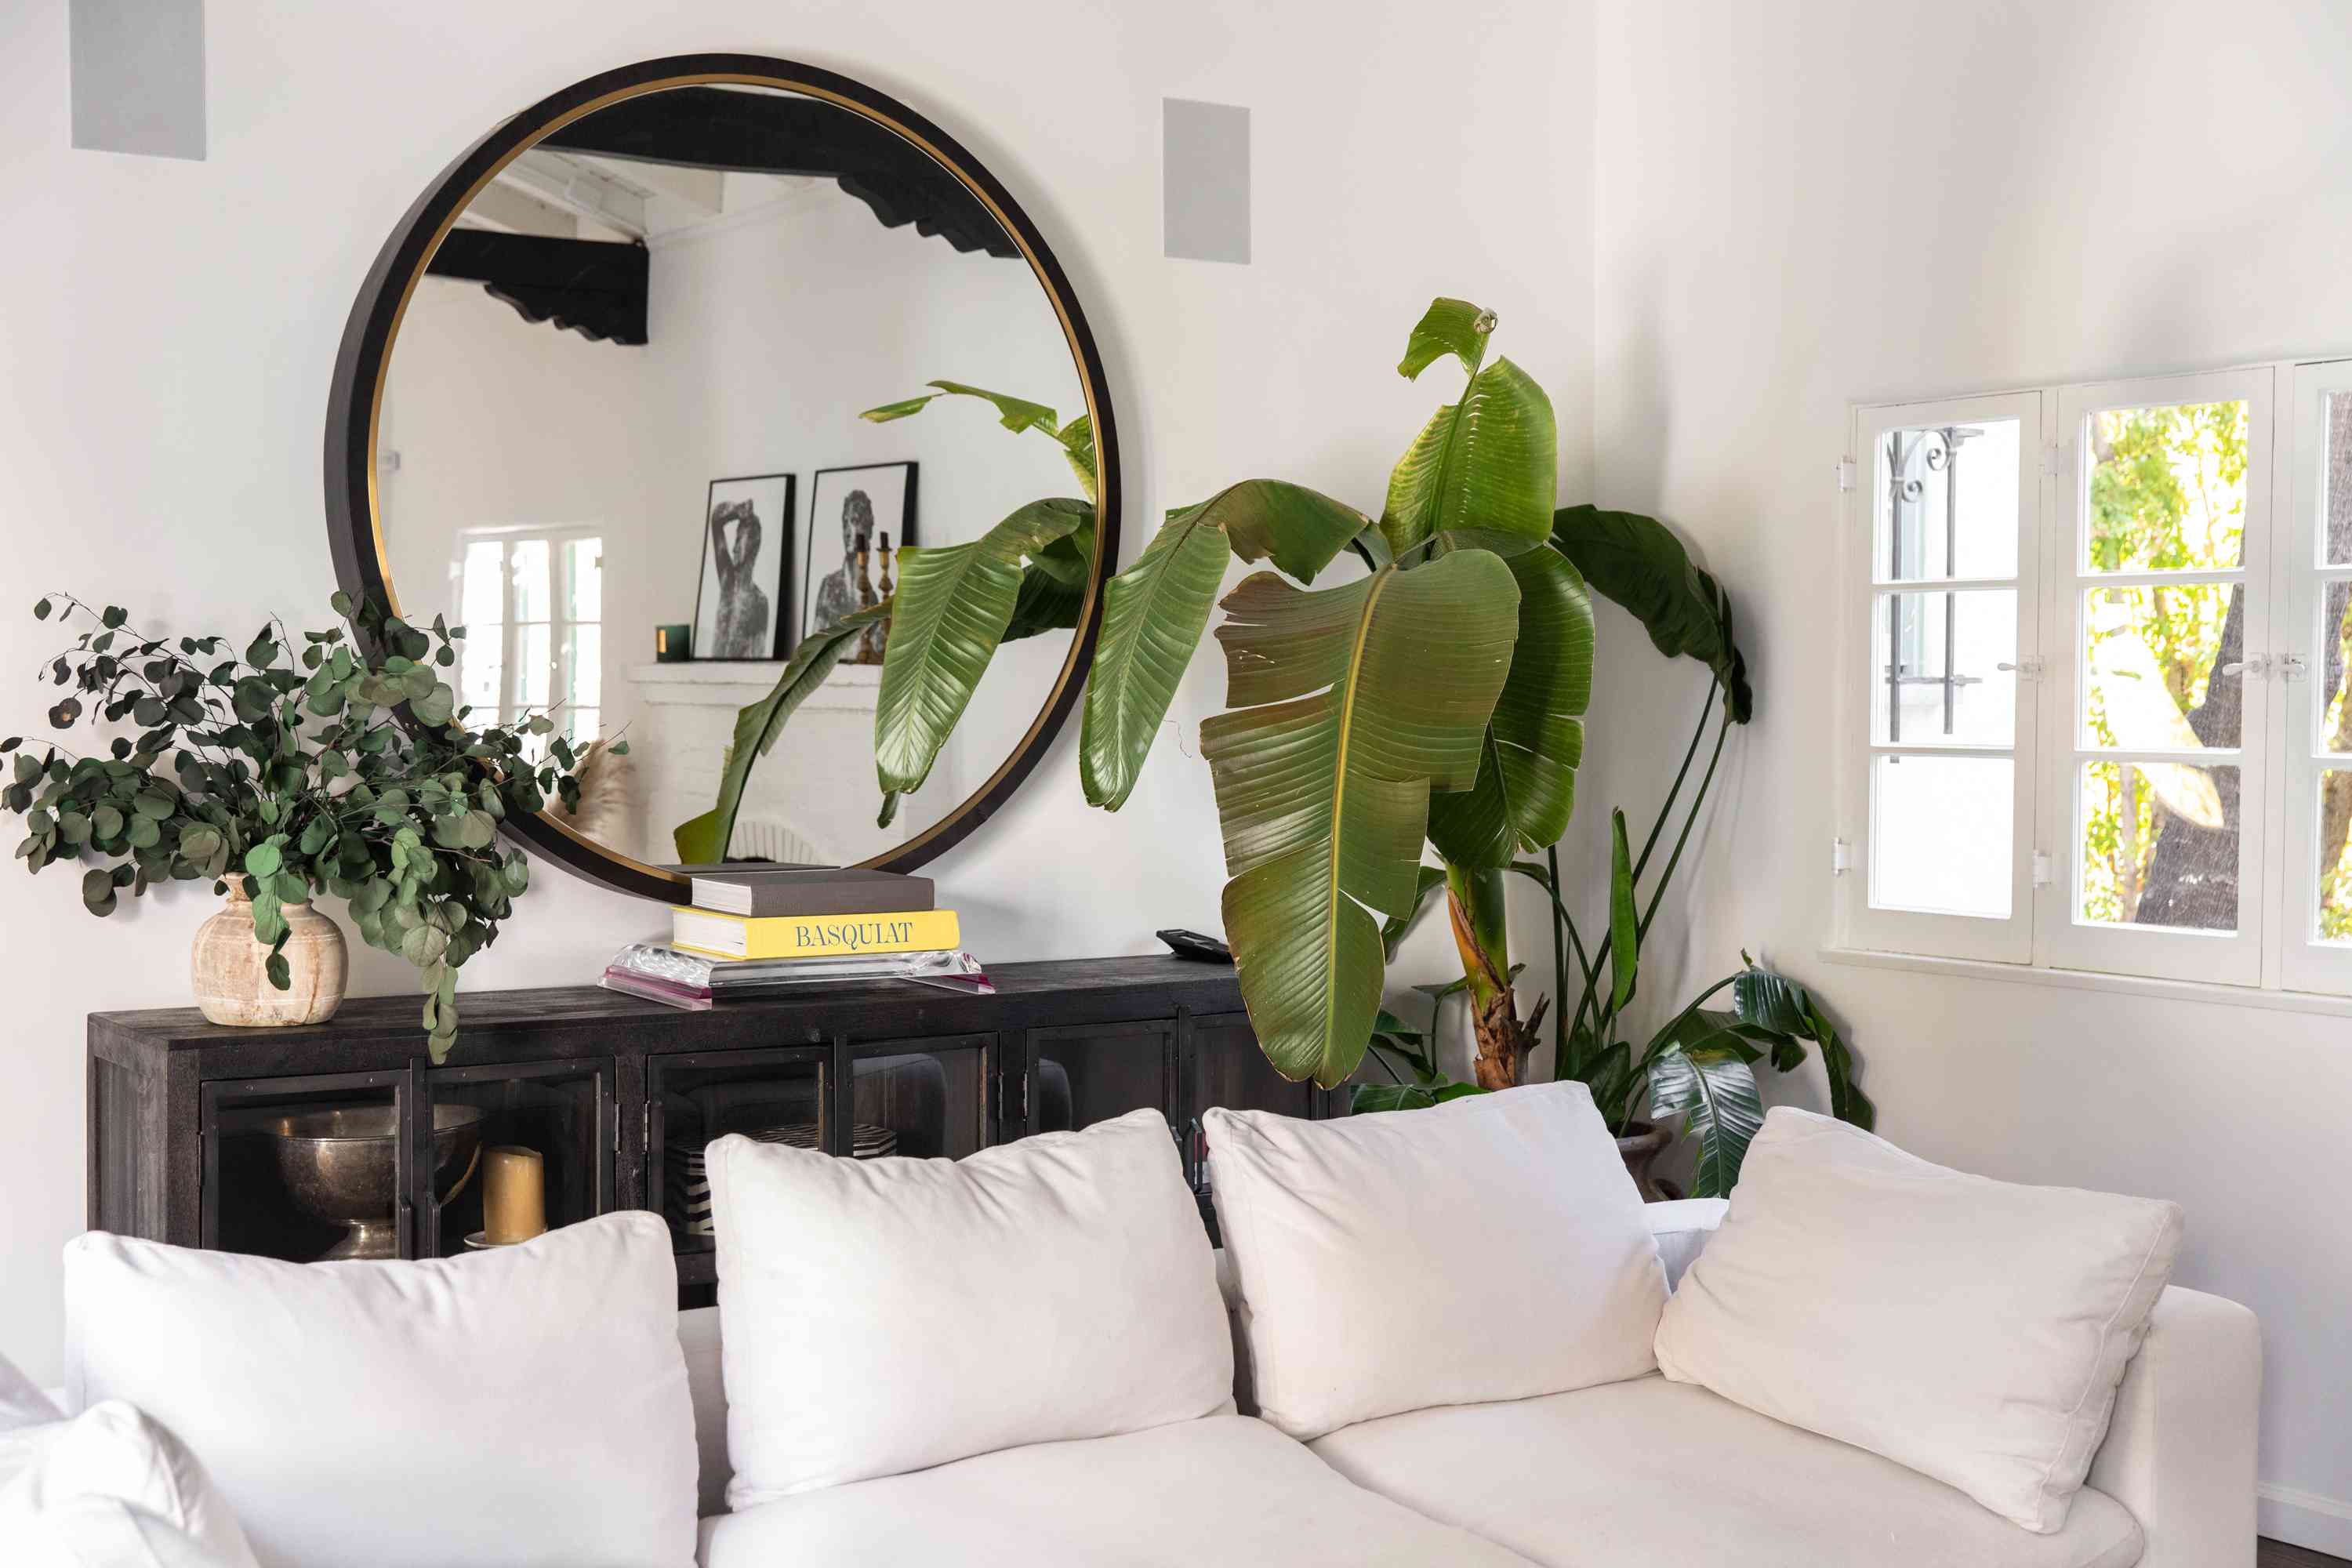
- Showcase artwork: Hang a piece of artwork or a mirror above your console table to create a focal point in the room. This will enhance the visual appeal and add depth to your living room decor.
- Accessorize with plants: Incorporate greenery by placing potted plants or succulents on your console table. Not only will they add a touch of nature, but they will also help purify the air in your living room.
- Ensure balance: Arrange your decorative items in a way that creates balance and symmetry on the table. Experiment with different layouts until you find a visually pleasing arrangement.
- Step back and admire: Once you are satisfied with the final touches and decorations, step back and take a moment to admire your creation. Your console table is now complete and ready to enhance the aesthetic appeal of your living room.
Remember, the final touches and decorations are an opportunity to showcase your personal style and creativity. Play around with different ideas and find a combination that brings joy and harmony to your living space.
With the completion of this final step, you have successfully built and decorated your console table. Enjoy the satisfaction of your DIY project and the beauty it adds to your living room!
Congratulations once again!
Conclusion
Building a console table is not only a practical endeavor but also a creative and rewarding experience. By following the step-by-step process outlined in this guide, you have learned how to construct a custom-made console table that fits perfectly in your living room. From gathering the materials to adding the final touches, you have acquired the skills and knowledge required to create a stunning piece of furniture that reflects your personal style.
Throughout the journey, you have experienced the satisfaction of working with your hands, bringing raw materials together, and transforming them into a functional and aesthetically pleasing piece. By DIY-ing your console table, you have the freedom to customize its design, dimensions, and finish to suit your unique preferences and needs.
Remember, building furniture involves attention to detail, patience, and precision. Take your time with each step, ensuring accuracy and quality craftsmanship. Safety should always be a priority, so use the appropriate tools and safety gear when working with cutting tools and power tools.
Upon completing your console table, don’t forget to personalize it and make it your own with decorative touches and accessories. Consider the overall style and theme of your living room to create a cohesive and visually appealing space.
With your newfound knowledge and skills in furniture design, the possibilities are endless. You can embark on new projects and continue to enhance your living space with handmade creations that showcase your creativity and passion.
So, go ahead and take pride in your DIY console table. Sit back, relax, and enjoy the beauty and functionality it brings to your living room for years to come.
Frequently Asked Questions about How To Build A Console Table
Was this page helpful?
At Storables.com, we guarantee accurate and reliable information. Our content, validated by Expert Board Contributors, is crafted following stringent Editorial Policies. We're committed to providing you with well-researched, expert-backed insights for all your informational needs.


0 thoughts on “How To Build A Console Table”