Articles
How To Add Drawers To A Cabinet
Modified: August 17, 2024
Learn how to add drawers to your storage cabinets and maximize your space. Step-by-step guide to increase functionality and organization.
(Many of the links in this article redirect to a specific reviewed product. Your purchase of these products through affiliate links helps to generate commission for Storables.com, at no extra cost. Learn more)
Introduction
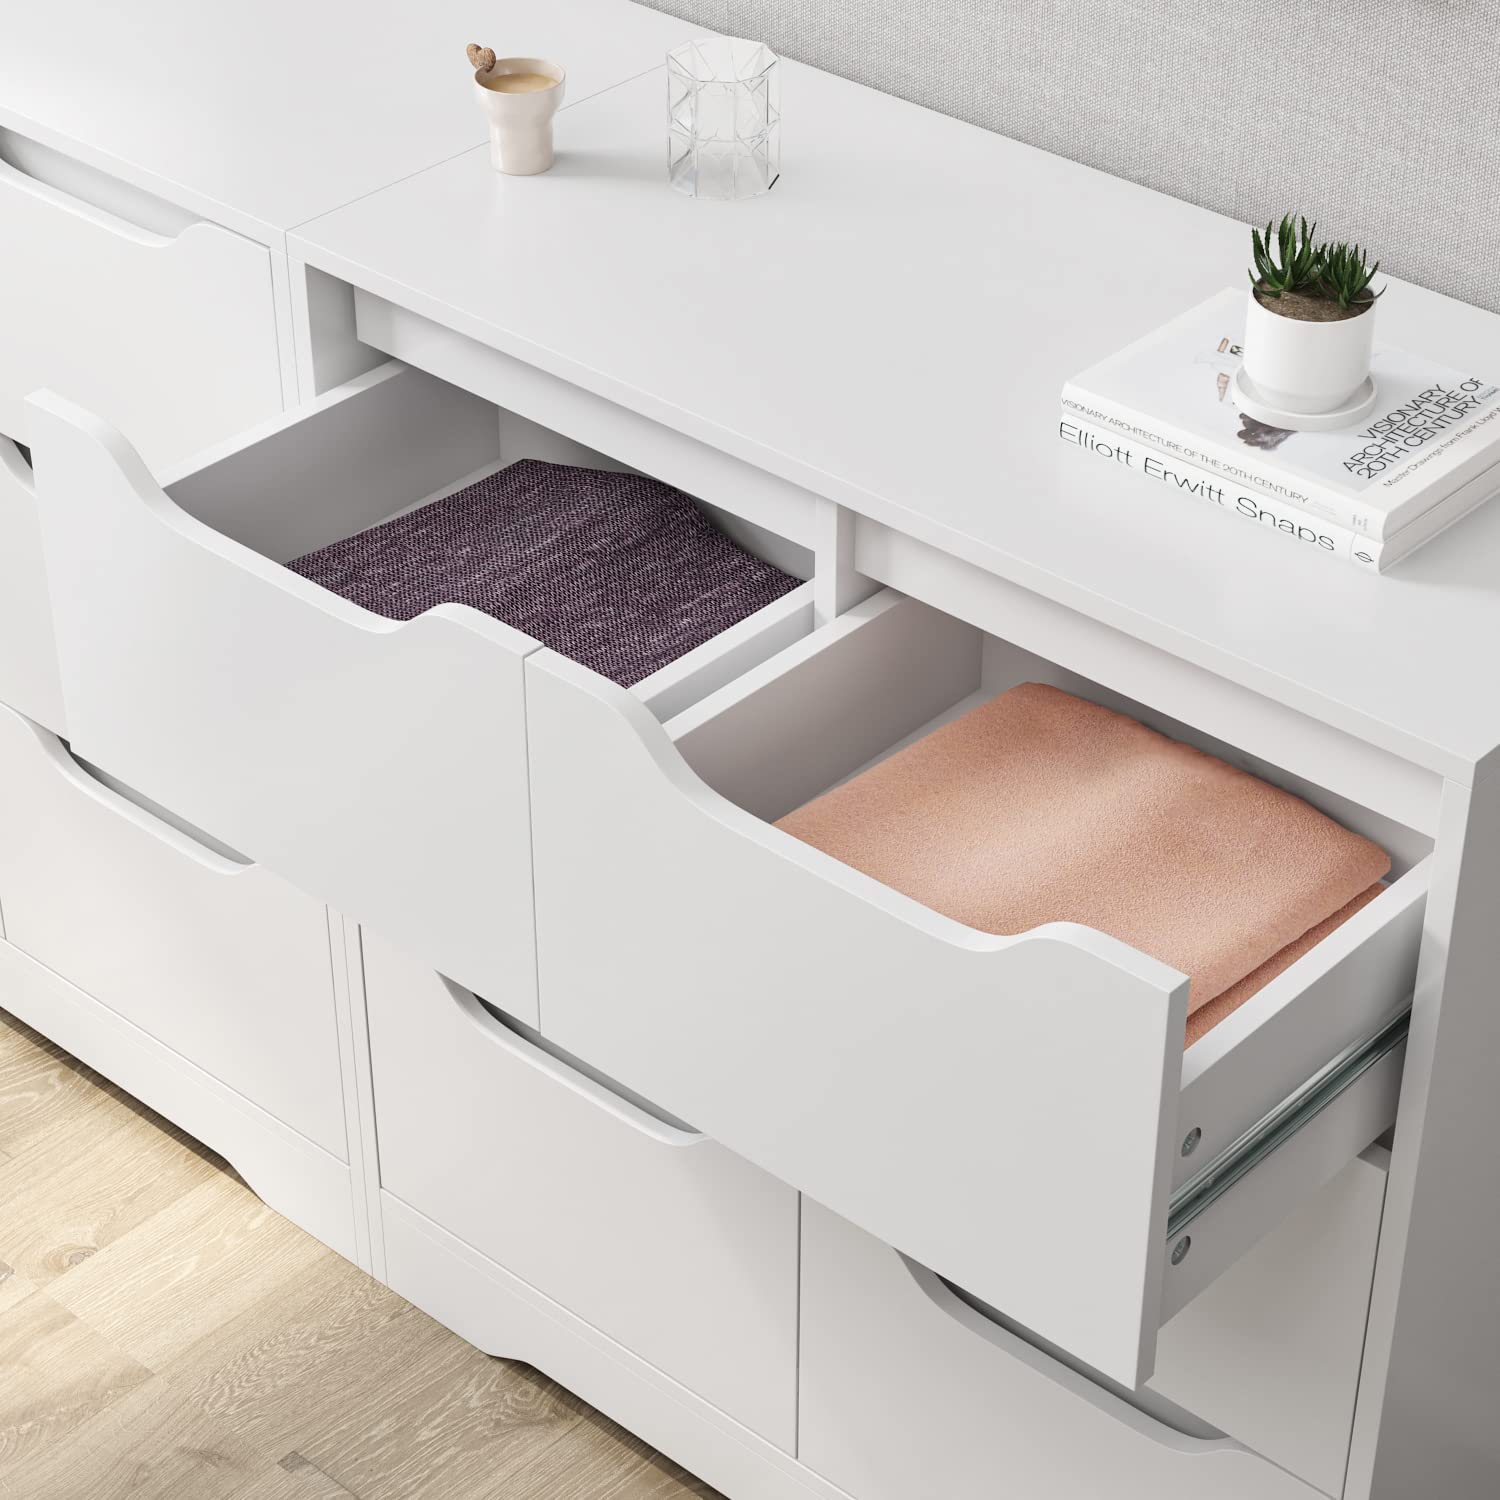
Adding drawers to a cabinet can be a practical and efficient way to maximize storage space and improve the functionality of your furniture. Whether you have a kitchen cabinet, bathroom vanity, or wardrobe that needs some extra organization, installing drawers can help you keep your belongings in order and easily accessible.
In this guide, we will take you through the step-by-step process of adding drawers to a cabinet. From gathering the necessary materials to installing the drawers, we will cover everything you need to know to successfully complete this project.
Before you begin, it’s important to note that the process of adding drawers to a cabinet may vary depending on the type of cabinet you have and your level of experience with DIY projects. We recommend reading through the entire guide before starting to ensure you understand each step and have all the required tools and materials on hand.
Remember, adding drawers to a cabinet requires a certain level of precision and attention to detail. Take your time, measure twice, and if needed, seek assistance from a professional if you feel unsure about any particular step.
Now, let’s dive into the exciting world of cabinet upgrades and learn how to add drawers to your furniture!
Key Takeaways:
- Maximize storage space and improve furniture functionality by adding drawers to your cabinet. Follow the step-by-step guide for a DIY project that enhances organization and accessibility.
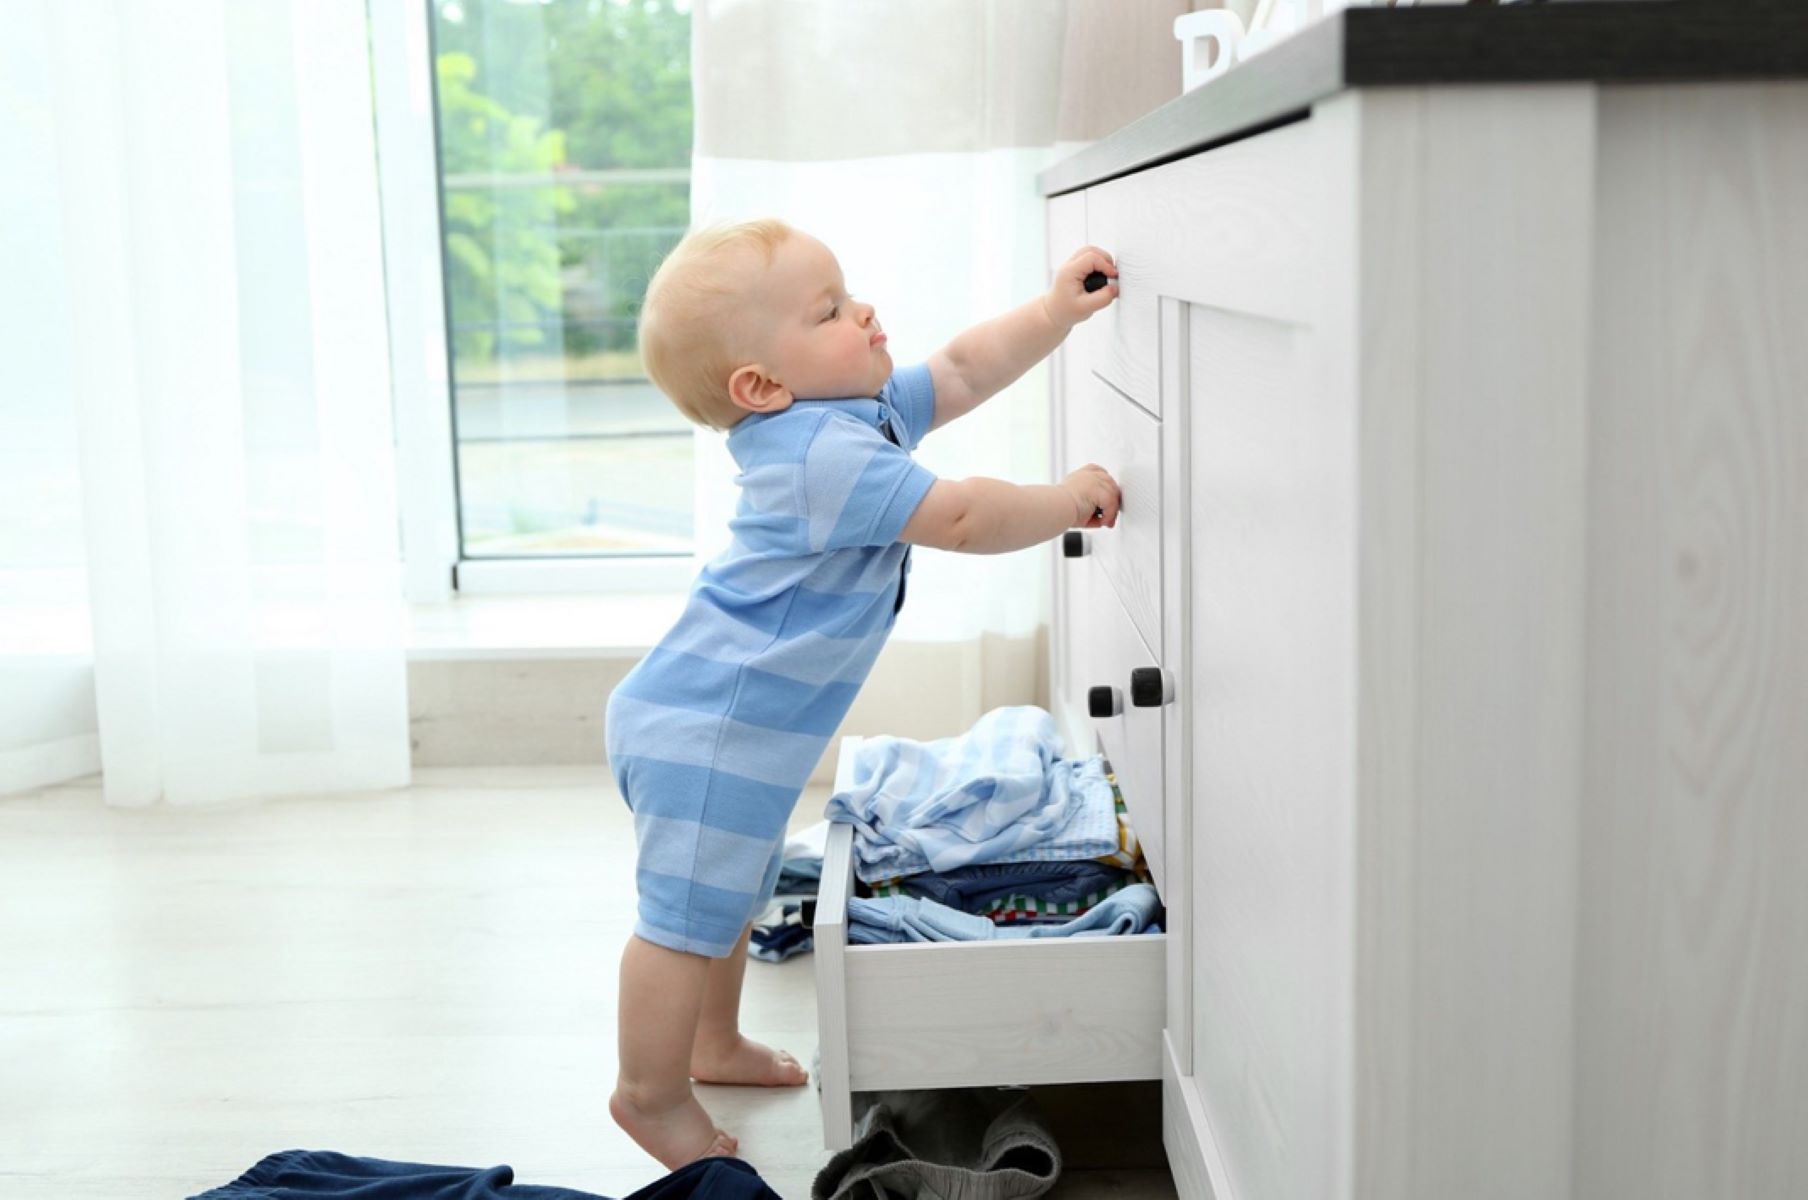
- Prioritize safety, precision, and attention to detail when adding drawers to your cabinet. Enjoy the convenience of easily locating and retrieving items from your revamped furniture.
Read more: How To Install A Drawer In A Cabinet
Step 1: Gather the necessary materials
Before you begin the process of adding drawers to a cabinet, it’s important to gather all the necessary materials and tools. Here’s a list of what you’ll need:
- Drawer slides: These are the mechanisms that allow the drawers to slide in and out of the cabinet smoothly. Choose the appropriate size and type of drawer slides based on your cabinet’s dimensions and the weight capacity required.
- Plywood: You’ll need plywood to build the drawer boxes. Make sure to choose a sturdy and durable plywood that will withstand regular usage.
- Screws: Select screws that are suitable for attaching the drawer slides to the cabinet and securing the drawer fronts.
- Measuring tape: Accurate measurements are crucial when installing drawers. Have a measuring tape handy to ensure precise dimensions for the drawers and the placement of the drawer slides.
- Power drill: A power drill will make the installation process much easier and quicker. Make sure to have the appropriate drill bits for your screws and drilling holes for the drawer slides.
- Saw: If you need to modify the cabinet or cut the plywood for the drawer boxes, a saw will be necessary. Choose a saw that is suitable for the material you’ll be working with.
- Screwdriver: While a power drill is handy, a screwdriver may still be needed for certain tasks, such as tightening screws in tight spaces.
- Sandpaper: To ensure smooth and polished surfaces, have sandpaper on hand to sand down any rough edges or imperfections.
- Drawer fronts: Depending on your preference, you can either purchase ready-made drawer fronts or make your own using matching material to your existing cabinet.
- Safety goggles and gloves: Whenever working with tools and materials, it’s essential to prioritize safety. Wear safety goggles to protect your eyes and gloves to safeguard your hands.
Once you have gathered all the materials and tools, ensure that they are easily accessible and organized in your workspace. Having everything ready before starting the project will help save time and reduce the risk of errors along the way.
Now that you have everything you need, let’s move on to the next step: measuring and marking the cabinet.
Step 2: Measure and mark the cabinet
Measuring and marking the cabinet is a crucial step in ensuring that the drawers will fit properly and function smoothly. Here’s how to proceed:
- Clean the cabinet: Before you take any measurements, make sure the cabinet is clean and free from any debris. This will give you an accurate surface to work with.
- Identify the drawer placement: Determine where you want to install the drawers inside the cabinet. Consider the items you’ll be storing and how you want to organize them. Typically, base cabinets have two or more drawers, so plan accordingly.
- Measure cabinet width and depth: Use a measuring tape to measure the width and depth of the cabinet. Take precise measurements at the height where you intend to install the drawers. Note down these measurements as they will be crucial when building the drawer boxes.
- Determine the drawer slide position: Based on the measurements you’ve taken, determine the placement of the drawer slides. Usually, the slides are mounted on the sides of the cabinet, allowing the drawers to glide in and out smoothly. Mark the position for the drawer slides using a pencil or masking tape.
- Account for clearance space: It’s important to leave enough clearance space for the drawers to slide in and out without any obstructions. Typically, a 1/2-inch clearance is recommended on each side of the drawer. Take this into account when marking the position for the drawer slide.
- Check for levelness: Use a level to ensure that the cabinet is level both horizontally and vertically. Adjust if necessary to maintain proper alignment for the drawers.
Once you have measured and marked the cabinet, double-check your measurements to ensure accuracy. It’s better to spend a little extra time at this stage to avoid any issues during the installation process.
With the cabinet measured and marked, you are now ready to move on to the next step: removing the cabinet doors.
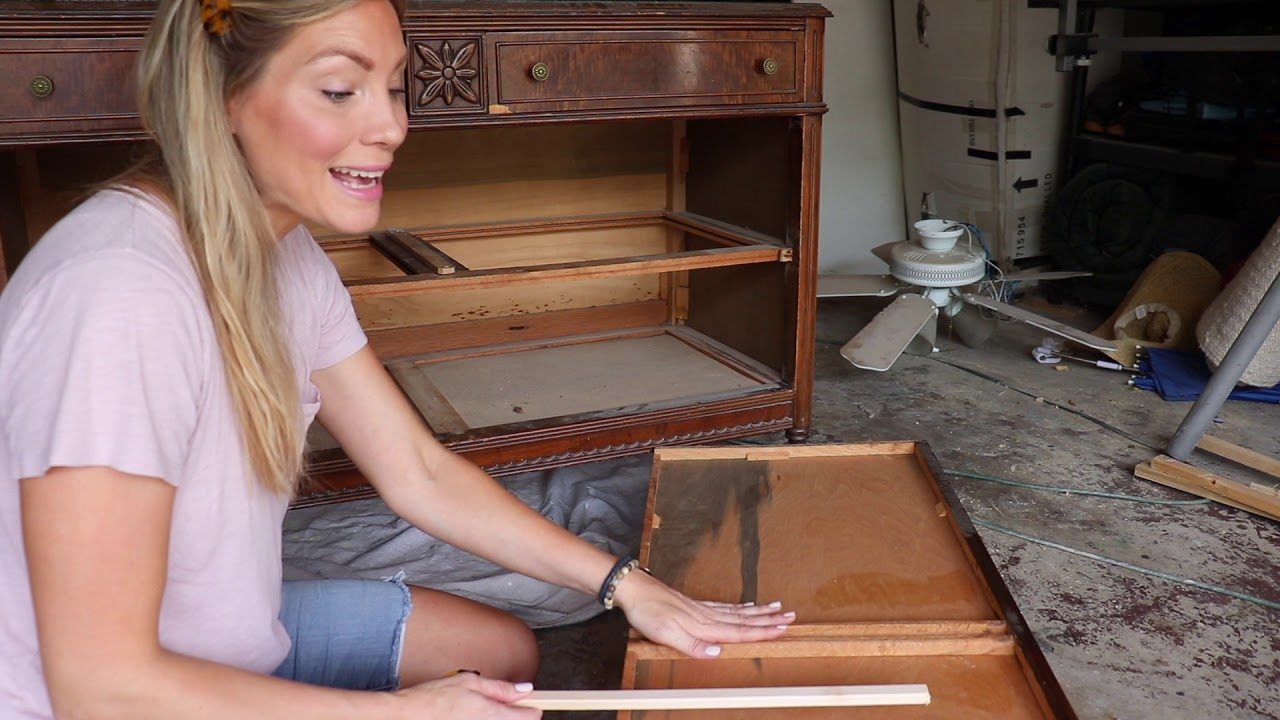
Step 3: Remove the cabinet doors
Before you can install the drawers, you’ll need to remove the cabinet doors to have access to the inside of the cabinet. Here’s how to remove the cabinet doors:
- Open the cabinet doors: Start by fully opening the cabinet doors to expose the hinges and screws.
- Locate the hinges: Identify the hinges that are attaching the cabinet doors to the cabinet frame. They are usually located on the inside edge of the doors.
- Remove the screws: Using a screwdriver, carefully unscrew and remove the screws that are securing the hinges to the cabinet frame. Make sure to keep the screws in a safe place so that you can easily reattach the doors later.
- Detach the cabinet doors: Once the screws have been removed, gently lift the cabinet doors away from the cabinet frame. Set them aside in a safe and designated area.
- Remove any additional hardware: Some cabinet doors may have additional hardware such as handles or knobs. If so, remove these hardware pieces to prevent any damage during the installation of the drawers.
It is important to handle the cabinet doors with care to avoid any accidental damage. Place them in a secure location where they won’t get scratched or damaged during the remainder of the installation process.
With the cabinet doors successfully removed, you are now ready to move on to the next step: installing the drawer slides.
Step 4: Install drawer slides
The installation of the drawer slides is a critical step that ensures smooth and reliable operation of the drawers. Follow the instructions below to install the drawer slides:
- Locate the drawer slide hardware: Begin by identifying the drawer slide hardware that includes two sets of slides – one for the drawer and one for the cabinet. Each set typically consists of a side-mounted slide and a corresponding track mounted inside the cabinet.
- Attach the cabinet-side slides: Start by attaching the cabinet-side slides. Position the slide flush with the front edge of the cabinet, ensuring proper alignment and levelness. Use screws to secure the slides to the cabinet framework.
- Mount the drawer-side slides: With the cabinet-side slides securely in place, it’s time to install the drawer-side slides. Align them with the slides mounted on the cabinet and attach them to the sides of the drawers using screws or other provided hardware.
- Check for smooth operation: After installing the slides, slide the drawers into the cabinet to test their movement. Ensure that the drawers slide smoothly and do not stick or wobble. Make any necessary adjustments to the slides for optimal operation.
- Secure and reinforce the slides: Once you are satisfied with the placement and functionality of the slides, double-check the screws and tighten them if needed. Additionally, consider reinforcing the connection between the slides and the cabinet or drawer for added stability.
During the installation process, refer to the specific instructions provided by the manufacturer of the drawer slides and follow them carefully. It’s essential to ensure that the slides are properly aligned and securely fastened to avoid any issues with the drawers moving forward.
With the drawer slides successfully installed, you are now ready to move on to the next step: building or purchasing the drawers.
When adding drawers to a cabinet, make sure to measure the space accurately and choose the right size and type of drawer slides for smooth operation. Consider the weight capacity and installation method for the slides.
Read more: How To Fix A Cabinet Drawer
Step 5: Build or purchase the drawers
Now that the drawer slides are securely in place, it’s time to focus on the main component of the drawers themselves. In this step, you have the option to build the drawers from scratch or purchase pre-made ones. Here’s what you need to know:
If you choose to build the drawers from scratch:
- Measure and cut the plywood: Using the measurements you took earlier, cut the plywood into panels for the bottom, sides, and back of the drawer boxes. Make sure to account for the thickness of the plywood when determining the dimensions.
- Assemble the drawer boxes: Begin by attaching the sides of the drawer boxes to the bottom panel using screws or nails. Apply wood glue along the edges for added stability. Then, attach the back panel to complete the box structure.
- Sand and finish: Use sandpaper to smooth any rough edges or surfaces of the drawer boxes. Apply a finish of your choice, such as paint or varnish, to protect the wood and enhance its appearance.
If you prefer to purchase pre-made drawers:
- Measure the cabinet dimensions: Take accurate measurements of the cabinet width, depth, and height to ensure that the pre-made drawers will fit properly.
- Select the appropriate drawer size: Choose pre-made drawers that match the measurements of your cabinet or can be easily modified to fit.
- Check the quality and functionality: Examine the drawers to ensure they are of good quality, with smooth operation and sturdy construction.
When building or purchasing the drawers, it’s important to consider factors such as material quality, drawer weight capacity, and the overall style that matches your existing cabinet. Take your time in selecting or constructing the drawers to ensure their long-term durability and functionality.
Once you have the drawers ready, it’s time to move on to the next step: attaching the drawer fronts.
Step 6: Attach the drawer fronts
Attaching the drawer fronts is an important step in giving your drawers a polished and cohesive look. Follow these steps to ensure a proper installation:
- Position the drawer fronts: Hold the drawer fronts in front of the drawers and align them properly. Make sure they are centered and level with each other and the surrounding cabinet doors.
- Secure the drawer fronts: Using screws or other appropriate hardware, attach the drawer fronts to the drawer boxes. Be careful not to overtighten the screws, as it could distort the wood or cause damage.
- Check for alignment: After attaching each drawer front, double-check the alignment to ensure they are straight and evenly spaced. Make any necessary adjustments as needed.
When attaching the drawer fronts, you can also consider adding decorative hardware, such as handles or knobs, for a personalized touch. Take your time to select hardware that matches the style and aesthetic of your cabinet and complements the overall design.
Once the drawer fronts are securely attached, you’re almost done! The next step is to install the drawers in the cabinet.
Step 7: Install the drawers
With the drawer fronts in place, it’s time to install the drawers into the cabinet. Follow these steps to ensure a successful installation:
- Align the drawer slides: Carefully position the drawers on the cabinet slides, making sure they align properly with the drawer slides mounted on the cabinet.
- Slide the drawers in: Slowly and carefully slide the drawers into the cabinet, allowing the drawer slides to guide their movement. Ensure that the drawers glide smoothly and align with the cabinet opening.
- Test the movement: Open and close the drawers several times to ensure they move freely and do not catch or rub against any surfaces. If needed, make adjustments to the slides or drawer alignment to achieve optimal movement.
- Check for levelness: Use a level to ensure that the drawers are level both horizontally and vertically. Adjust the slides or drawer placement if necessary to maintain proper alignment.
- Secure the drawers: Once you are satisfied with the drawer placement and movement, secure them by tightening any screws or fasteners provided with the drawer slides. This will prevent the drawers from accidentally sliding out of the cabinet.
It’s important to note that each drawer may have different weight capacities, so avoid placing heavy items in drawers that may not support the load. Distribute weight evenly and avoid overloading the drawers to maintain their longevity and smooth operation.
With the drawers successfully installed, you’re nearing the completion of this project. The final step is to reattach the cabinet doors.
Step 8: Reattach the cabinet doors
Now that the drawers are installed and functioning smoothly, it’s time to reattach the cabinet doors to bring your cabinet back to its original appearance. Follow these steps to reattach the cabinet doors:
- Identify the hinge placement: Take note of the location and orientation of the hinges on both the cabinet frame and the back of the cabinet doors.
- Align the cabinet doors: Hold each cabinet door in its respective position and align the hinges on the door with the hinge cutouts on the cabinet frame.
- Insert the screws: With the hinges aligned, insert the screws and tighten them securely to attach the cabinet doors to the cabinet frame. Use the original screws if available or appropriate replacements if needed.
- Test the door movement: Open and close each cabinet door to ensure it moves smoothly and aligns properly with the cabinet’s edges. Adjust the hinges if necessary to achieve the desired door movement and alignment.
- Check for levelness: Use a level to ensure that the cabinet doors are level both horizontally and vertically. Make any adjustments to maintain a balanced and even appearance.
- Check for gaps and even spacing: Assess the gaps and spacing between the cabinet doors and adjacent cabinet doors or drawers. Ensure that they are consistent and even for a visually appealing look.
Upon reattaching the cabinet doors, take a moment to admire your newly installed drawers and the refreshed appearance of the cabinet. You have successfully completed the process of adding drawers to your cabinet!
Remember to take care when opening and closing the cabinet doors to prevent any damage to the newly installed drawers. Enjoy the added functionality and organization that the drawers bring to your space.
Thank you for following this step-by-step guide. We hope it has been helpful in assisting you with adding drawers to your cabinet.
Disclaimer: Ensure that you adhere to proper safety precautions and consult professional advice if needed. The author and publisher shall not be held responsible for any accidents, injuries, or damages that may occur during the implementation of this guide.
Read more: How To Add A Shelf In A Cabinet
Conclusion
Congratulations on successfully adding drawers to your cabinet! By following this step-by-step guide, you have transformed your cabinet into a more organized and functional space. The process of measuring, marking, installing drawer slides, building or purchasing drawers, attaching drawer fronts, and reattaching the cabinet doors has brought new life to your furniture.
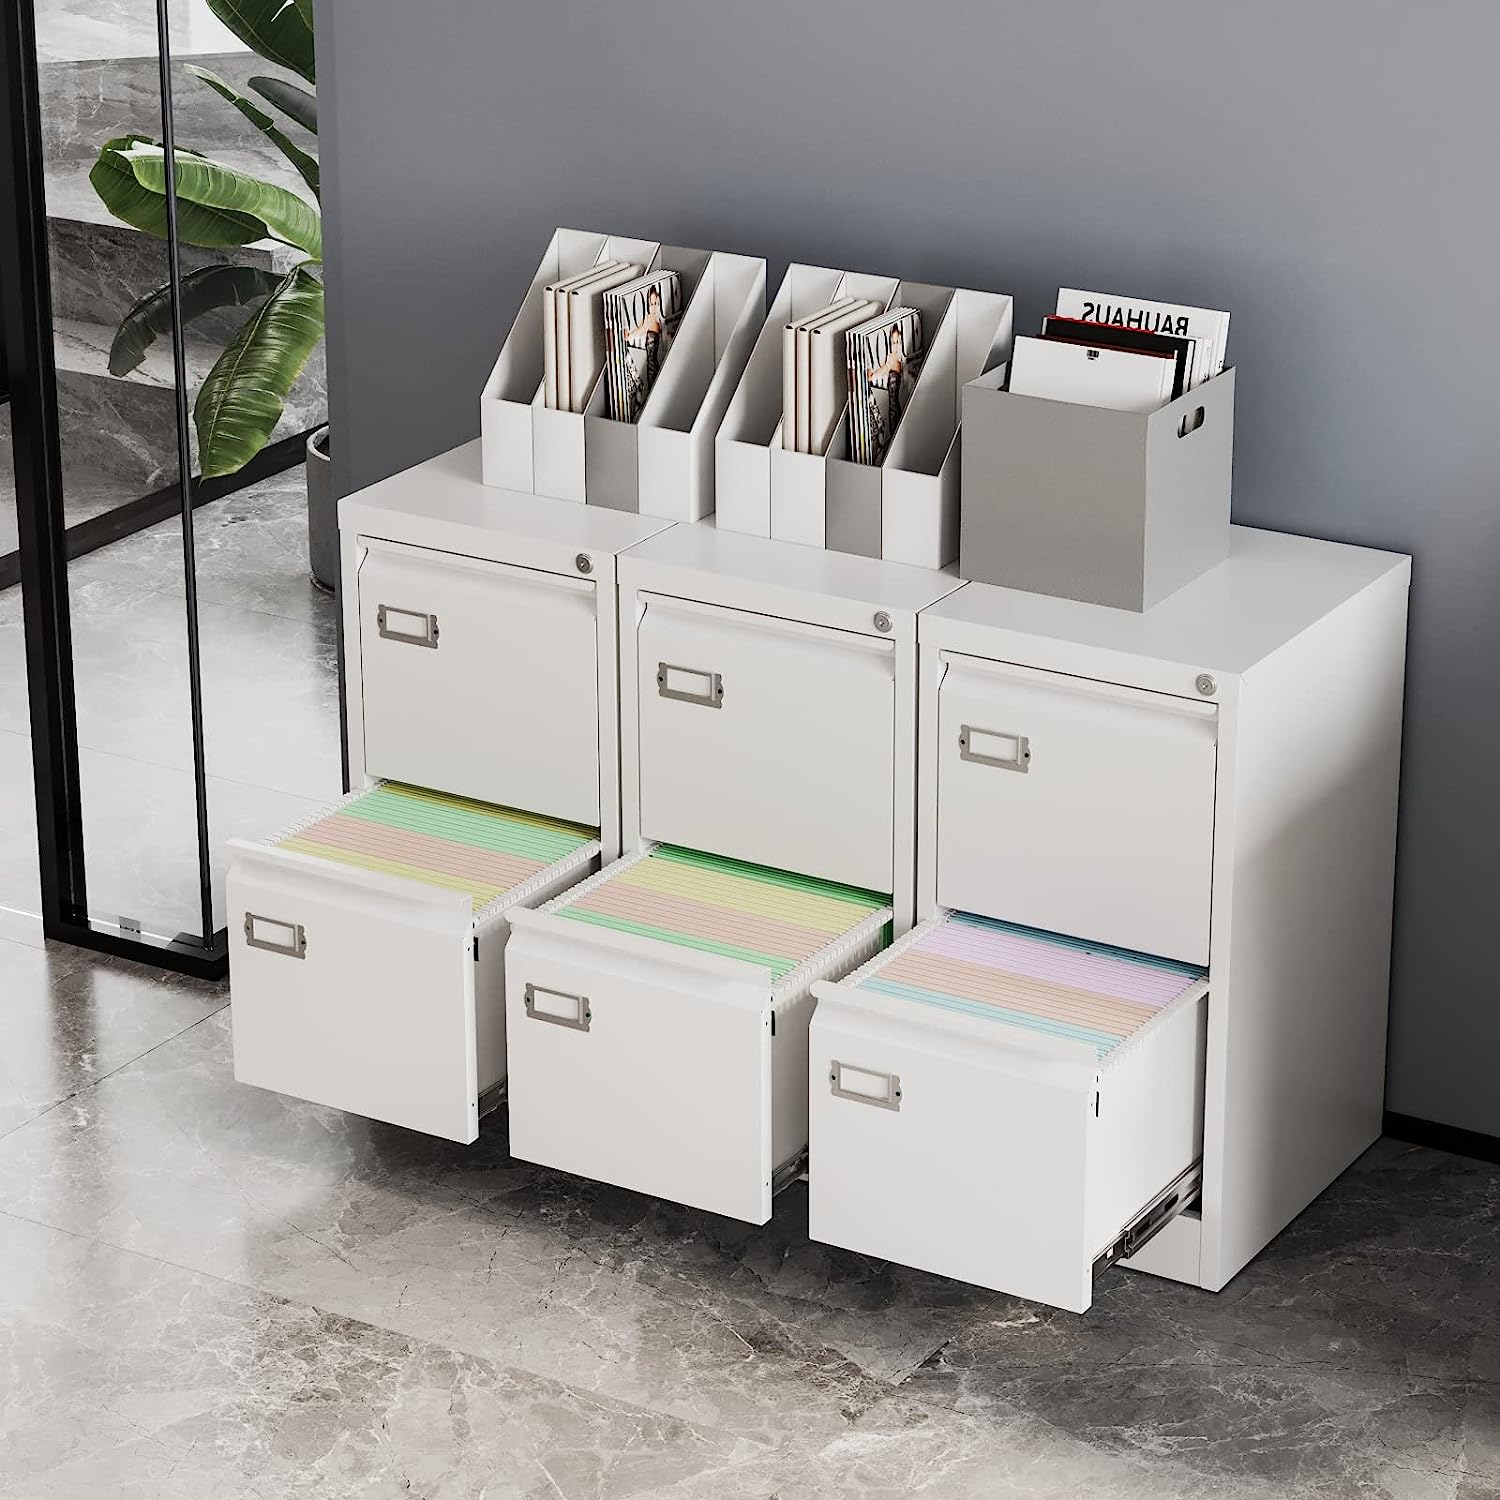
Adding drawers to a cabinet not only increases storage capacity but also enhances accessibility to your belongings. You can now enjoy the convenience of easily locating and retrieving items from your cabinet without having to rummage through cluttered spaces.
Remember to consider the materials, dimensions, and weight capacity when selecting drawer slides and building or purchasing drawers. Taking accurate measurements and ensuring proper alignment during the installation process is crucial for seamless operation and longevity.
Throughout this project, prioritize safety by wearing protective gear, such as safety goggles and gloves, and handling tools and materials with care. If you encounter any difficulties or feel unsure about a particular step, don’t hesitate to seek assistance from a professional.
Now that you have successfully completed the process of adding drawers to your cabinet, take a moment to appreciate your hard work and enjoy the improved functionality and aesthetics of your revamped furniture. Organize your belongings and experience the ease and efficiency that the added drawers bring to your daily life.
We hope this guide has been helpful in guiding you through the process of adding drawers to your cabinet. Remember that with some creativity and DIY skills, you can transform other furniture pieces in your home for increased functionality and style.
Disclaimer: The information provided in this guide is for general informational purposes only. The author and publisher shall not be held responsible for any accidents, injuries, or damages that may occur during the implementation of this guide. Always follow proper safety protocols and consult professional advice if needed.
Frequently Asked Questions about How To Add Drawers To A Cabinet
Was this page helpful?
At Storables.com, we guarantee accurate and reliable information. Our content, validated by Expert Board Contributors, is crafted following stringent Editorial Policies. We're committed to providing you with well-researched, expert-backed insights for all your informational needs.


0 thoughts on “How To Add Drawers To A Cabinet”