Home>Furniture>Living Room Furniture>How To Build A Rustic Coffee Table
Living Room Furniture
How To Build A Rustic Coffee Table
Modified: March 16, 2024
Learn how to build a beautiful rustic coffee table for your living room with this step-by-step guide. Find inspiration for your living room furniture project.
(Many of the links in this article redirect to a specific reviewed product. Your purchase of these products through affiliate links helps to generate commission for Storables.com, at no extra cost. Learn more)
Introduction
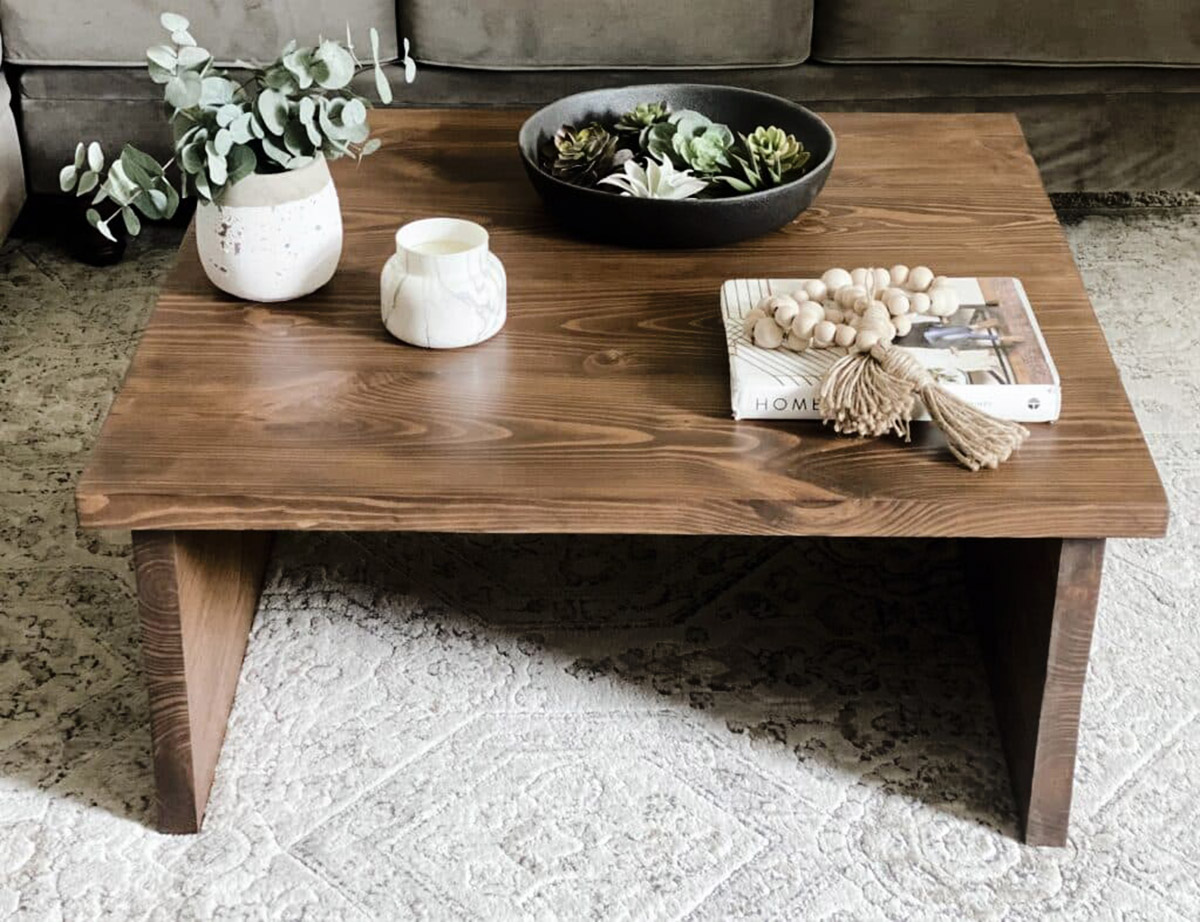
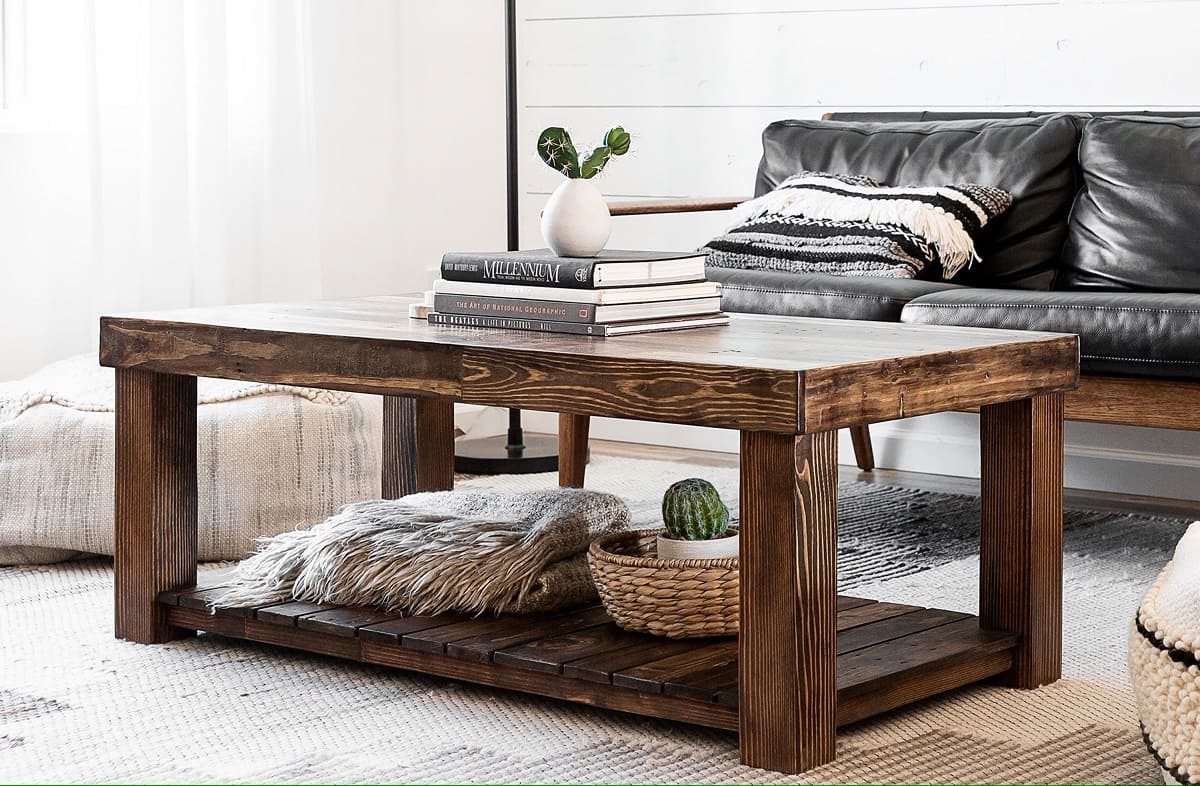
Welcome to the world of rustic living room furniture! Are you looking to add a touch of warmth and charm to your living space? Look no further than a rustic coffee table. With its weathered look, sturdy build, and timeless appeal, a rustic coffee table can be the perfect centerpiece for your living room.
Building your own rustic coffee table is not only a creative and rewarding project, but it also allows you to customize the design to perfectly suit your style and needs. In this comprehensive guide, we will take you through the step-by-step process of building a rustic coffee table, from choosing the right wood to adding the finishing touches.
Before we jump into the project, it’s important to understand what makes a coffee table “rustic”. Rustic furniture is characterized by its raw and natural elements, often showcasing the beauty of aged or reclaimed wood. The imperfections, knots, and textures of the wood add to its unique charm.
So, let’s get started on this exciting journey of creating your very own rustic coffee table!
Key Takeaways:
- Building a rustic coffee table involves choosing the right wood, gathering tools, and carefully planning and designing the table. The process requires precision, creativity, and attention to detail to create a beautiful and functional piece of furniture.
- The final steps of building a rustic coffee table include adding finishing touches, such as sanding, applying a protective coating, and accessorizing. Once completed, the table brings warmth and charm to any living room, creating a cozy and inviting space.
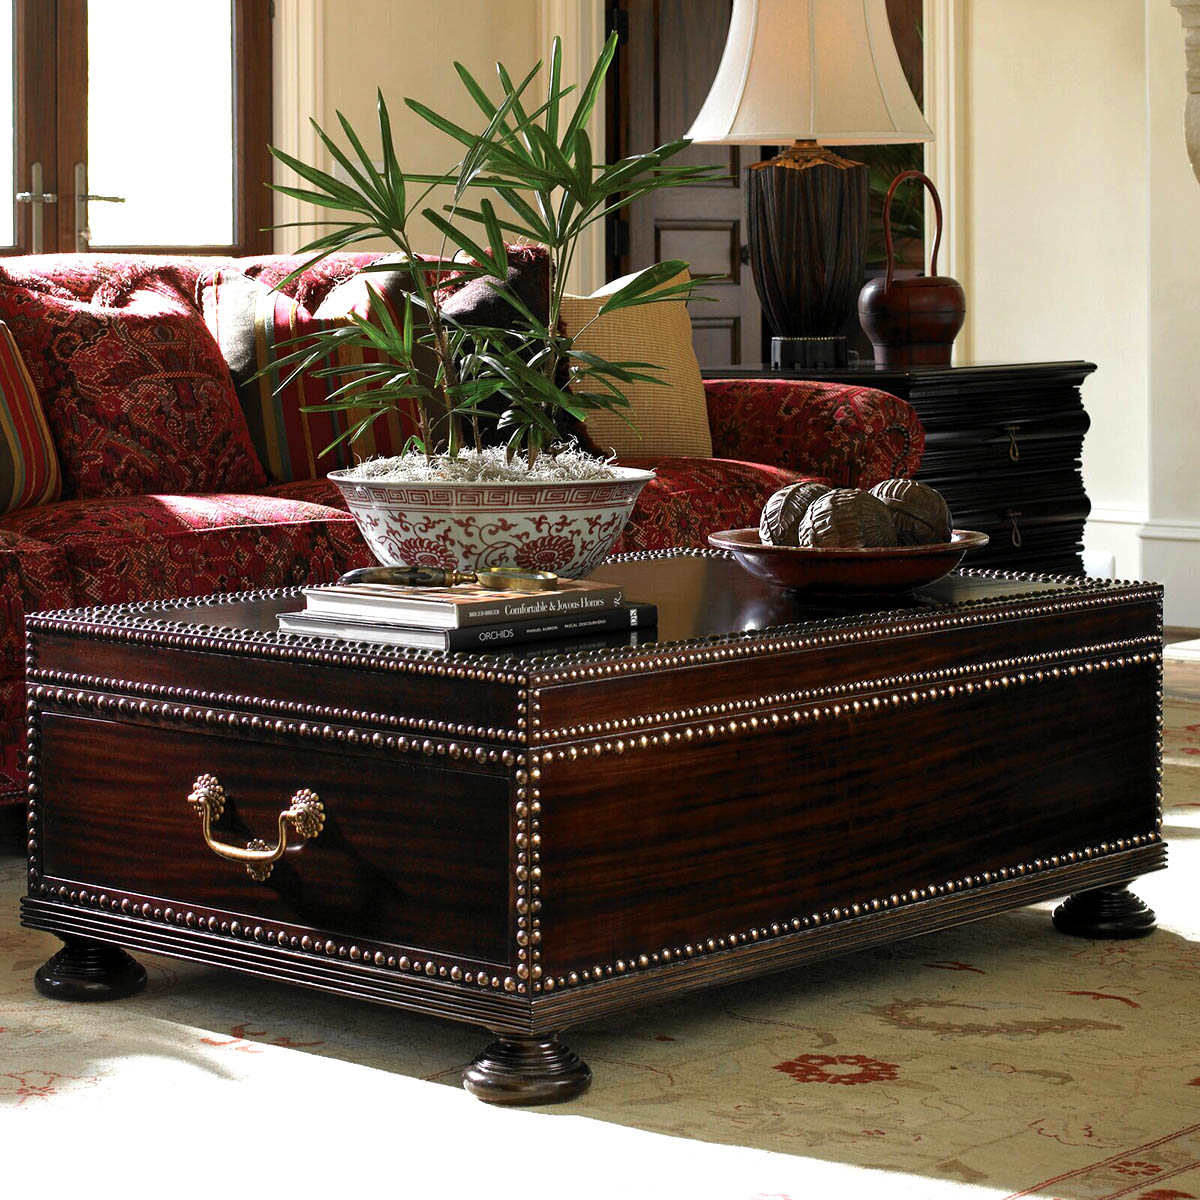
Read more: How To Build An Acrylic Coffee Table
Choosing the Right Wood
When it comes to building a rustic coffee table, selecting the right wood is crucial. The wood you choose will affect not only the overall appearance of your table but also its durability and longevity. Here are some popular wood options for a rustic coffee table:
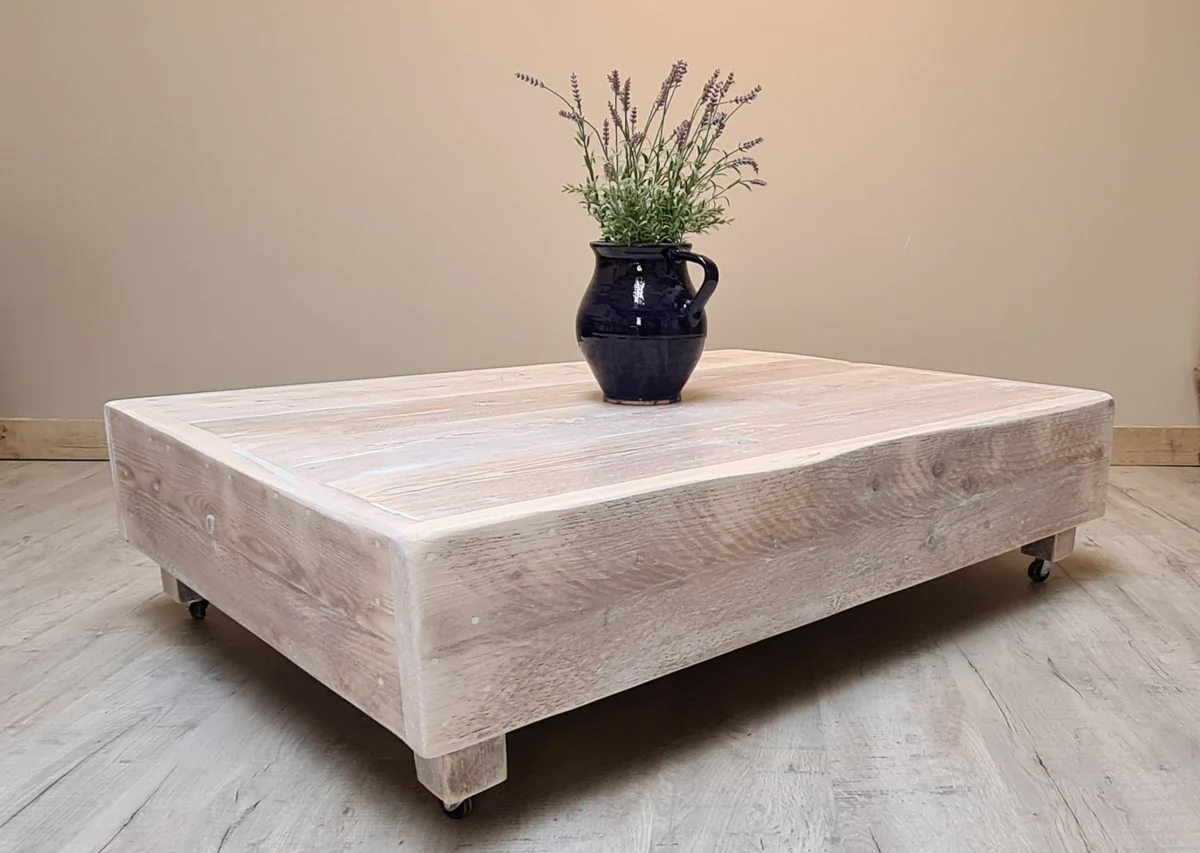
- Reclaimed Wood: One of the most popular choices for a rustic coffee table is reclaimed wood. This is wood that has been salvaged from old barns, factories, or other structures. Reclaimed wood provides a rich history and character, with its weathered patina and natural imperfections. It adds a sense of authenticity and vintage charm to your coffee table.
- Barn Wood: If you can’t find reclaimed wood, consider using barn wood. Barn wood is similar to reclaimed wood in terms of its aged and weathered appearance. It has a distinct rustic look and can be easily sourced from local salvage yards or suppliers.
- Pine: Pine is another popular choice for rustic furniture. It is known for its light color and straight grain, making it easy to work with. Pine has a natural rustic appeal and can be stained or distressed to achieve the desired look.
- Oak: If you prefer a more traditional and robust look, oak is a great option. It is a hardwood known for its durability and strength. Oak furniture has a timeless beauty and can withstand the test of time.
- Cedar: If you want your coffee table to have a natural aroma and insect-repellent qualities, cedar is an excellent choice. Cedar has a warm, reddish hue and is resistant to rot and decay.
When selecting the wood for your rustic coffee table, consider both the aesthetic appeal and practicality. Keep in mind the size and weight of the table, as some hardwoods can be heavier and more challenging to work with. Additionally, consider the level of maintenance required for the chosen wood, as some may require regular sealing or treatment.
Now that you have an idea of the different wood options, it’s time to gather the necessary tools and materials for your rustic coffee table project.
Gathering Necessary Tools and Materials
Before you can begin building your rustic coffee table, it’s important to gather all the necessary tools and materials. Having everything prepared and organized will make the construction process smoother and more enjoyable. Here is a list of the essential tools and materials you will need:
- Wood: As mentioned earlier, select the type of wood that best suits your design and preferences. Make sure to measure and purchase the appropriate amount of wood for the size of your coffee table.
- Measuring Tape and Square: Accurate measurements are essential when building furniture. Invest in a good-quality measuring tape and square to ensure your cuts are precise.
- Circular Saw or Miter Saw: A circular saw or miter saw will be needed to cut the wood to the desired lengths and angles. Choose the type of saw that you are comfortable using and that meets your project requirements.
- Drill: A drill is essential for creating pilot holes and securing screws when assembling the coffee table.
- Screws and Nails: Depending on your project, you may need a combination of screws and nails to join the pieces of wood together. Make sure to choose the appropriate size and type for the job.
- Sanding Blocks or Power Sander: To achieve a smooth and polished finish, you will need sanding blocks or a power sander. This will help to remove any rough edges or imperfections in the wood surface.
- Wood Glue: Wood glue is useful for reinforcing joints and ensuring the stability of your coffee table.
- Clamps: Clamps are necessary to hold the wood in place while the glue dries or when joining pieces together. They help to achieve precise and secure connections.
- Stain or Sealant: Depending on the look you want to achieve, you may choose to stain or apply a sealant to protect the wood and enhance its natural beauty.
- Paintbrush or Foam Brush: If you decide to stain or apply a sealant, you will need a paintbrush or foam brush for even application.
- Safety Equipment: Don’t forget to prioritize safety! Wear protective goggles, gloves, and a dust mask when working with wood and power tools.
Once you have gathered all the necessary tools and materials, you are ready to move on to the next step: planning and designing your rustic coffee table.
Planning and Designing the Table
Now that you have your wood and tools ready, it’s time to dive into the planning and designing phase of your rustic coffee table project. This step is crucial as it will determine the overall dimensions, style, and functionality of your table. Here are some key factors to consider:
- Size and Shape: Determine the desired size and shape of your coffee table based on the available space in your living room and your specific needs. Consider the height, width, and length that will work best for your furniture arrangement and individual preferences.
- Functionality: Think about how you will be using the coffee table. Will it primarily serve as a surface for drinks and snacks, or do you need additional storage options such as shelves or drawers? Understanding the intended function will guide the design process.
- Style and Aesthetic: Decide on the style and aesthetic you want to achieve with your rustic coffee table. Are you aiming for a more traditional farmhouse look or a modern rustic vibe? Look for inspiration in magazines, online platforms, and furniture stores to help narrow down your preferred style.
- Drawings or Plans: Sketch out a basic design or create detailed plans for your coffee table. This will help you visualize the final product and serve as a reference during the construction process.
- Joinery and Construction: Consider the type of joinery you will use to connect the different pieces of wood. Options include butt joints, lap joints, mortise and tenon, or pocket hole joinery. Research the pros and cons of each method and choose the one that suits your skill level and desired level of complexity.
- Additions and Extras: Decide if you want to incorporate any additional features, such as decorative accents, metal accents, or unique finishes. These elements can add personality and make your coffee table truly one-of-a-kind.
Take your time in the planning and design phase to ensure that you have a clear vision of what you want to achieve. Consider creating a mood board or collecting samples of finishes and materials you intend to use. Once you have finalized your design, it’s time to move on to the next step: preparing and cutting the wood.
Preparing and Cutting the Wood
With your design in hand, it’s time to prepare and cut the wood for your rustic coffee table. Proper preparation and precise cuts are essential to ensure that all the pieces fit together seamlessly. Here’s how to get started:
- Measure and Mark: Use your measuring tape and square to carefully measure and mark the dimensions of each piece of wood according to your design. Double-check your measurements to ensure accuracy.
- Cut the Tabletop: Start by cutting the tabletop pieces to the desired length and width. Use a circular saw or miter saw to make straight and clean cuts. Take your time and follow your marked lines to achieve precise results.
- Cut the Legs and Support Beams: Next, cut the legs and support beams according to your design. Pay attention to the angle and length of the cuts, especially if you want tapered or angled legs. Use a miter saw for angled cuts or a circular saw for straight cuts.
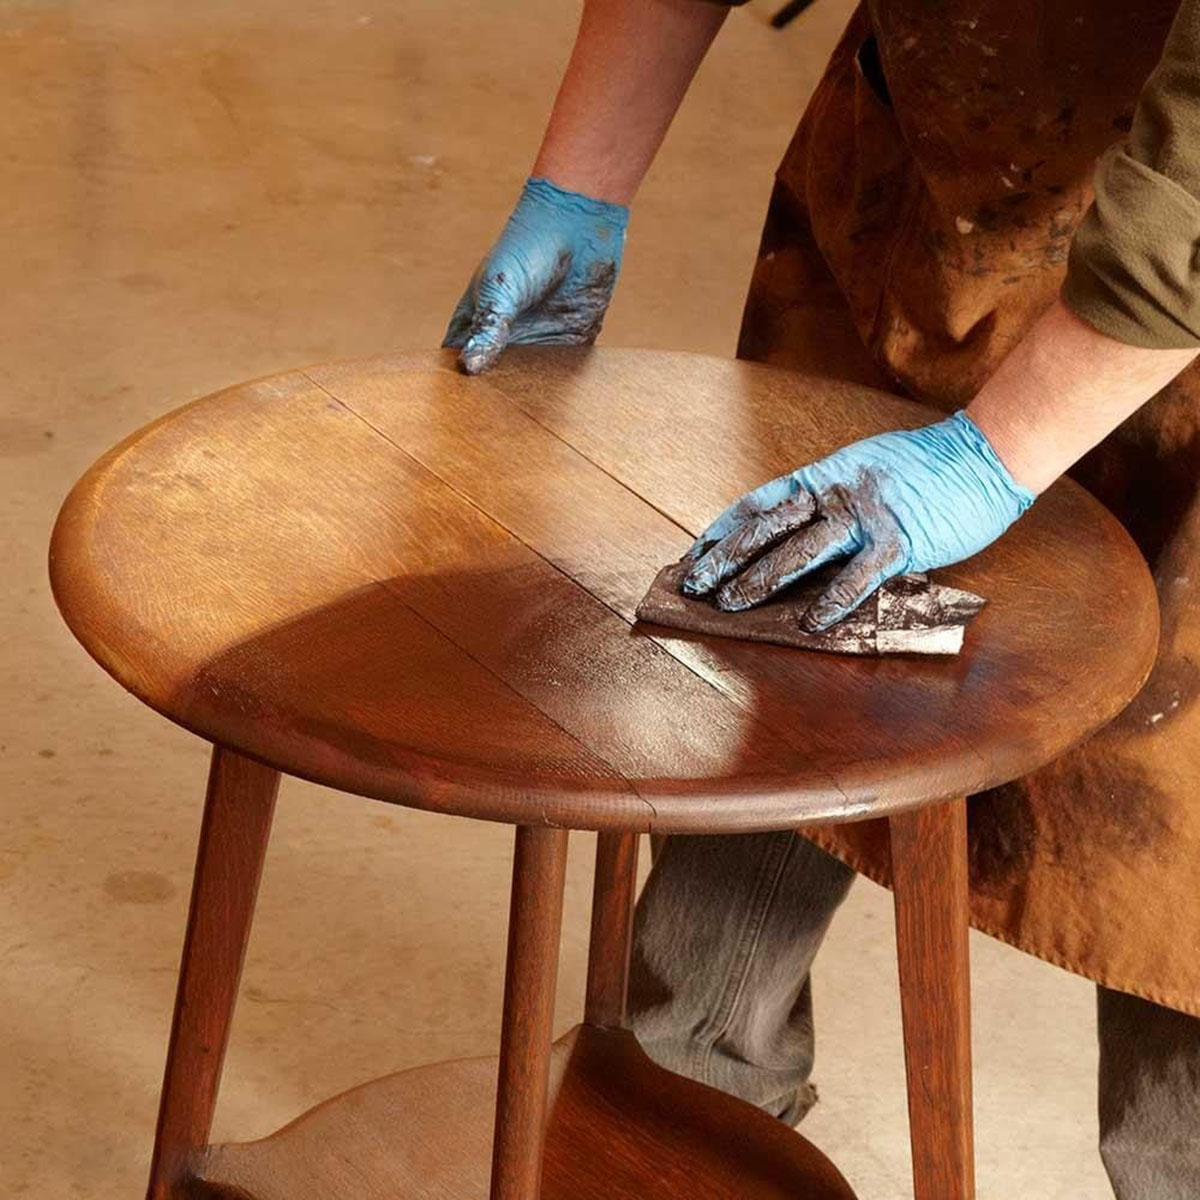
- Sand the Wood: Once all the pieces have been cut, use sanding blocks or a power sander to smooth any rough edges or surfaces. Start with a coarse grit sandpaper and gradually move to finer grits for a polished finish. Sanding will also help to prepare the wood for staining or sealing.
- Pre-Drill Holes: Before assembling the table, pre-drill pilot holes where screws or nails will be inserted. This will prevent the wood from splitting and make the assembly process easier.
- Label and Organize: It’s a good idea to label each piece of wood to avoid confusion during the assembly process. Use masking tape or a marker to mark each piece with its corresponding label or number.
Remember, precision is key when cutting the wood. Take your time and double-check your measurements before making any cuts. It’s always better to cut slightly larger pieces and trim them down if needed than to cut them too short.
Now that you have your wood pieces prepared and cut, it’s time to move on to the exciting stage of assembling the tabletop!
When building a rustic coffee table, use reclaimed wood for a weathered look. Sand the wood to remove rough edges and apply a clear sealant to protect the surface. This will give your table a natural and rustic appearance.
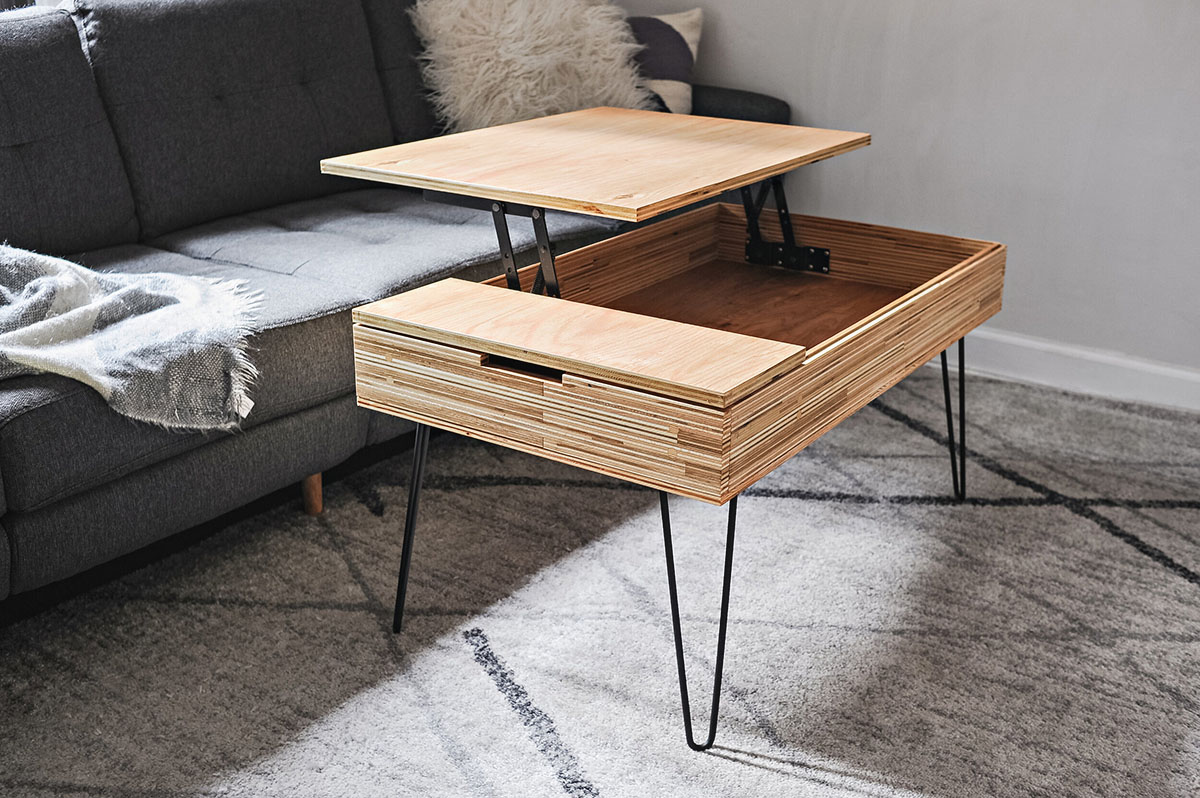
Read more: How To Build A Modern Coffee Table
Assembling the Tabletop
Assembling the tabletop is a significant step in building your rustic coffee table. This is where all the individual pieces of wood come together to form a solid and sturdy surface. Follow these steps to ensure a successful assembly:
- Lay Out the Pieces: Start by laying out the tabletop pieces in the desired order and orientation. Make sure they fit together snugly and align properly.
- Apply Wood Glue: Apply a thin and even layer of wood glue to the edges of each piece of wood that will be joined together. Be careful not to use too much glue, as it can cause a mess and excess glue can weaken the bond.
- Join the Pieces: Carefully press the pieces together, ensuring that they are aligned properly. Use clamps to hold the pieces firmly in place while the glue dries. Wipe off any excess glue that oozes out with a damp cloth.
- Secure with Screws or Nails: To reinforce the joints, secure the tabletop pieces together with screws or nails. Choose the appropriate size and type of fasteners that will provide enough strength and stability. Pre-drilled pilot holes will make the process easier and prevent the wood from splitting.
- Check for Levelness: Use a level to ensure that the assembled tabletop is level and even. Adjust as necessary by adding shims or adjusting the clamps.
- Allow the Glue to Dry: Follow the manufacturer’s instructions on the wood glue for drying time. Typically, it’s recommended to let the glue dry for at least 24 hours before moving on to the next step.
Take your time in the assembly process to ensure that the tabletop is securely joined and properly aligned. Once the glue has dried, you can proceed to the next step: building the table legs.
Building the Table Legs
The table legs are the foundation of your rustic coffee table, providing stability and support. Building sturdy and visually appealing legs is essential to the overall design and functionality of your table. Follow these steps to create beautiful table legs:
- Measure and Cut: Begin by measuring and marking the desired length and angle of each table leg. Use a miter saw or circular saw to make precise cuts. Double-check your measurements before cutting the wood.
- Taper the Legs: To achieve a classic rustic look, consider tapering the legs. This involves removing some material from the inside faces of the legs, starting from the bottom and narrowing towards the top. Use a band saw or hand plane to carefully shape the taper.
- Add Decorative Accents: If you want to incorporate additional decorative elements into your table legs, such as notches or carvings, now is the time to do so. Be creative and experiment with different designs, keeping in mind the overall aesthetic of your rustic coffee table.
- Sand and Smooth: After tapering and adding any decorative accents, sand the legs to achieve a smooth and polished finish. Start with a coarse grit sandpaper and gradually move to finer grits. Don’t forget to sand the edges and corners as well.
- Seal or Stain: Depending on your preference, you may choose to seal or stain the legs. A clear sealant will preserve the natural color and grain of the wood, while a stain can enhance or alter the color. Apply the sealer or stain according to the manufacturer’s instructions, and allow it to dry completely.
Remember to take your time and pay attention to detail when building the table legs. Precise measurements and accurate cuts are essential for a professional-looking result. Once the legs are complete, you are ready for the next step: attaching the legs to the tabletop.
Attaching the Legs to the Tabletop
Attaching the legs to the tabletop is a critical step in the construction of your rustic coffee table. This process ensures the stability and durability of the table while allowing it to stand firmly. Follow these steps to securely attach the legs:
- Position the Tabletop: Place the tabletop upside down on a flat and stable surface. Make sure it is positioned in the desired orientation and location.
- Measure and Mark: Using a measuring tape and square, measure and mark the desired placement of each leg on the underside of the tabletop. Ensure that the legs are positioned evenly and spaced appropriately for stability.
- Pre-Drill Pilot Holes: With the tabletop still upside down, pre-drill pilot holes for the screws that will attach the legs. This will prevent the wood from splitting and ensure secure attachment. Use a drill bit slightly smaller than the size of the screws.
- Align the Legs: Place each leg in its designated position on the underside of the tabletop, aligning it with the pre-marked spots. Ensure that the legs are flush with the tabletop and straight.
- Secure with Screws: Insert screws through the previously drilled pilot holes and into the legs. Use a drill or screwdriver to tighten the screws, ensuring a secure attachment. Repeat this process for each leg.
- Check for Stability: After attaching all the legs, carefully flip the table over to its upright position. Check for any wobbliness or instability. If needed, adjust the screws or add additional support to ensure a stable and level coffee table.
Take your time during the leg attachment process to ensure that everything is aligned correctly and securely fastened. The legs are a vital component of the coffee table, so it’s essential to double-check their stability. Once the legs are securely attached, it’s time for the final steps: adding the finishing touches.
Finishing Touches and Final Steps
Congratulations, you’re almost done with building your rustic coffee table! The finishing touches will add the final aesthetic and protective elements to complete your project. Follow these steps for the perfect finishing details:
- Sand and Smooth: Use a fine-grit sandpaper or sanding block to smooth out any rough edges or surfaces on the entire table. Pay special attention to the tabletop surface and edges, as well as the legs. Sanding will create a polished and professional look.
- Apply a Finish: Choose a finish that matches your vision for the table. Options include clear varnish, wood stain, or paint. Apply the finish according to the manufacturer’s instructions, using a brush or a foam applicator. Allow it to dry thoroughly before moving on to the next step.
- Protective Coating: Depending on your desired level of protection, consider applying a protective coating, such as a polyurethane sealant. This will help to protect the wood from wear and tear and preserve its beauty for years to come.
- Inspect and Test: Before placing your rustic coffee table in its final location, thoroughly inspect it for any loose screws, unevenness, or imperfections. Make any necessary adjustments or repairs to ensure a sturdy and visually appealing final product.
- Accessorize: Enhance the overall look of your rustic coffee table by accessorizing it with decorative elements that complement your style. Consider adding a tray, books, candles, or other items that reflect your personal taste.
- Place and Enjoy: Finally, carefully place your finished rustic coffee table in its designated spot in your living room. Step back, admire your handiwork, and enjoy the warmth and charm it brings to your space. It’s now ready to be used for gatherings, relaxation, and cherished moments.
Remember, the finishing touches not only add beauty but also protect and prolong the life of your coffee table. Take your time in this final stage to ensure that every detail is perfected. Congratulations on completing your rustic coffee table!
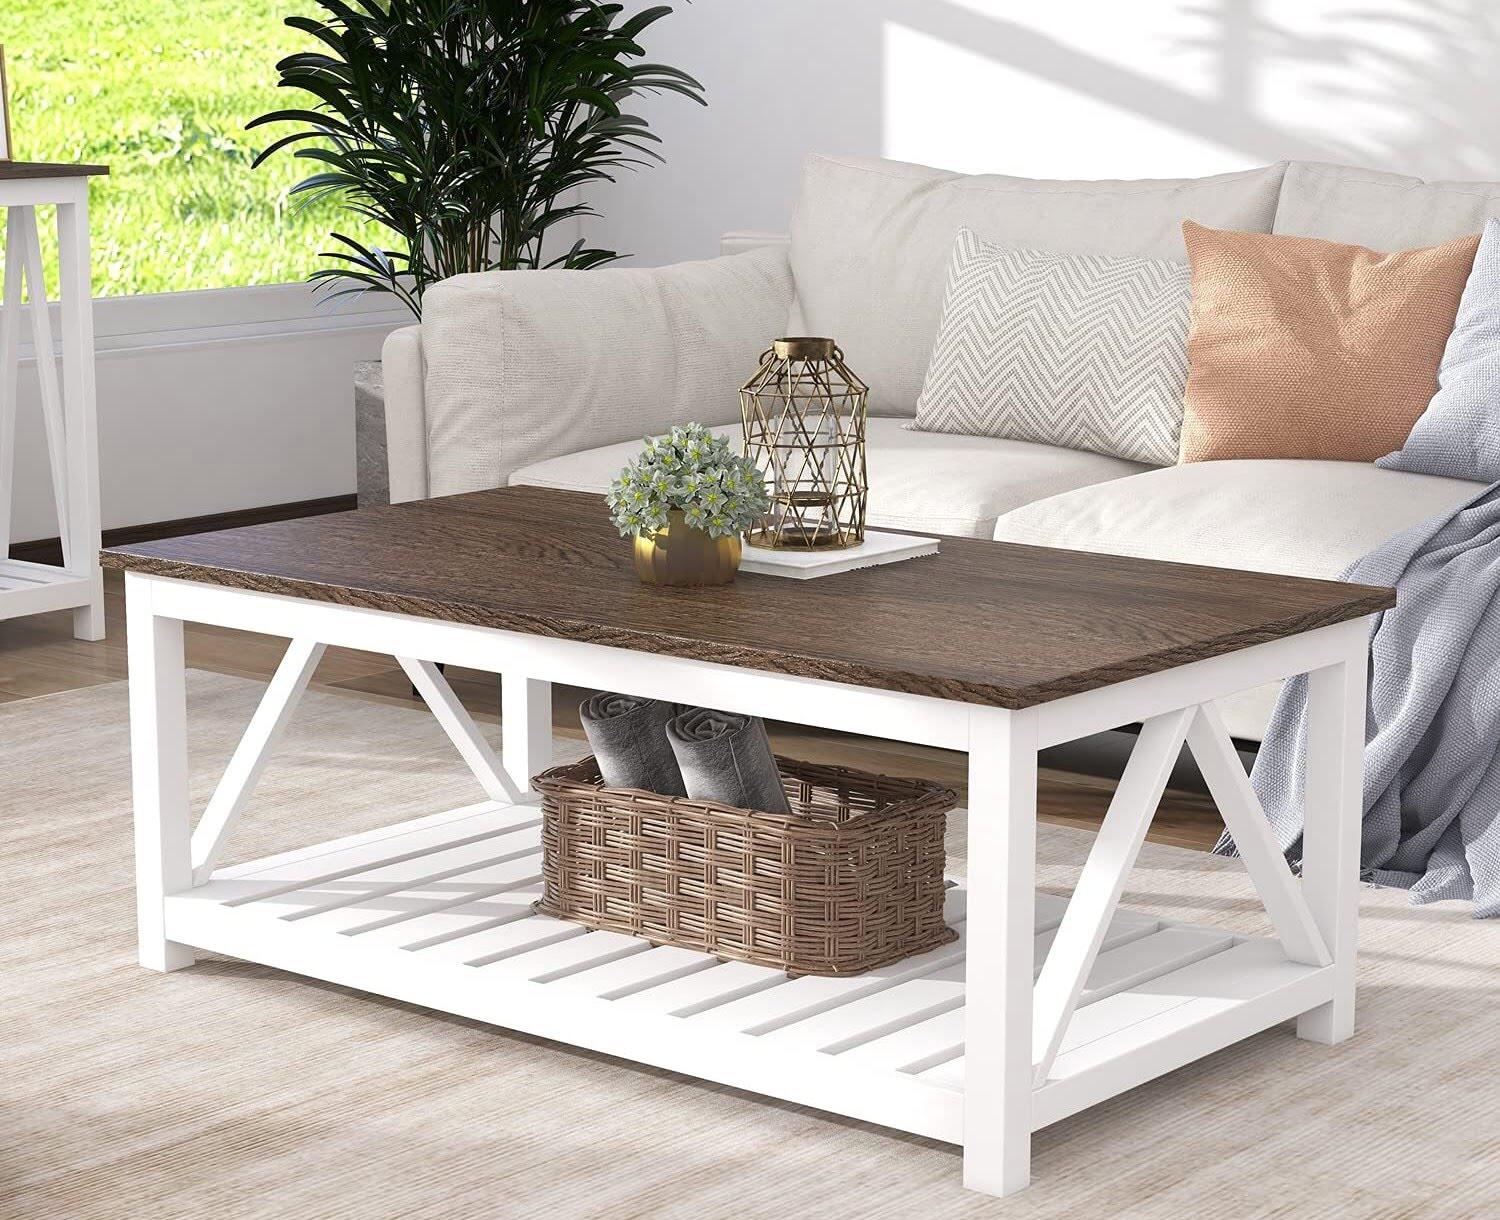
Read more: How To Build A Wicker Coffee Table
Conclusion
Building a rustic coffee table is a fulfilling and rewarding project that allows you to unleash your creativity and showcase your woodworking skills. Throughout this comprehensive guide, we have explored the step-by-step process of creating a rustic coffee table from choosing the right wood to adding the finishing touches.
By selecting the appropriate wood, gathering the necessary tools, planning and designing the table, preparing and cutting the wood, assembling the tabletop, building the table legs, attaching the legs to the tabletop, and adding the finishing touches, you have transformed raw materials into a beautiful and functional piece of furniture.
A rustic coffee table adds warmth, character, and charm to any living room. Its weathered look and sturdy build make it a timeless centerpiece that can complement various styles and decor themes. Moreover, the satisfaction of designing and constructing your own furniture piece cannot be underestimated.
Remember to take your time, measure accurately, and pay attention to detail throughout the entire process. Safety should always be a priority, so don’t forget to use proper protective gear when working with tools and equipment.
Now that your rustic coffee table is complete, take a moment to admire your craftsmanship. It’s not just a piece of furniture, but a reflection of your creativity and passion. So go ahead, place it in your living room, gather around it with loved ones, and enjoy the cozy moments it will bring.
We hope you found this guide helpful and inspiring. May your rustic coffee table become a cherished heirloom that adds beauty and functionality to your living space for years to come!
Frequently Asked Questions about How To Build A Rustic Coffee Table
Was this page helpful?
At Storables.com, we guarantee accurate and reliable information. Our content, validated by Expert Board Contributors, is crafted following stringent Editorial Policies. We're committed to providing you with well-researched, expert-backed insights for all your informational needs.


0 thoughts on “How To Build A Rustic Coffee Table”