Home>Furniture & Design>Living Room Furniture>How To Build A Riser For A Recliner
Living Room Furniture
How To Build A Riser For A Recliner
Modified: October 18, 2024
Learn how to build a custom riser for your recliner to elevate your comfort level and enhance your living room furniture and design. Step-by-step instructions for a perfect DIY project.
(Many of the links in this article redirect to a specific reviewed product. Your purchase of these products through affiliate links helps to generate commission for Storables.com, at no extra cost. Learn more)
Introduction
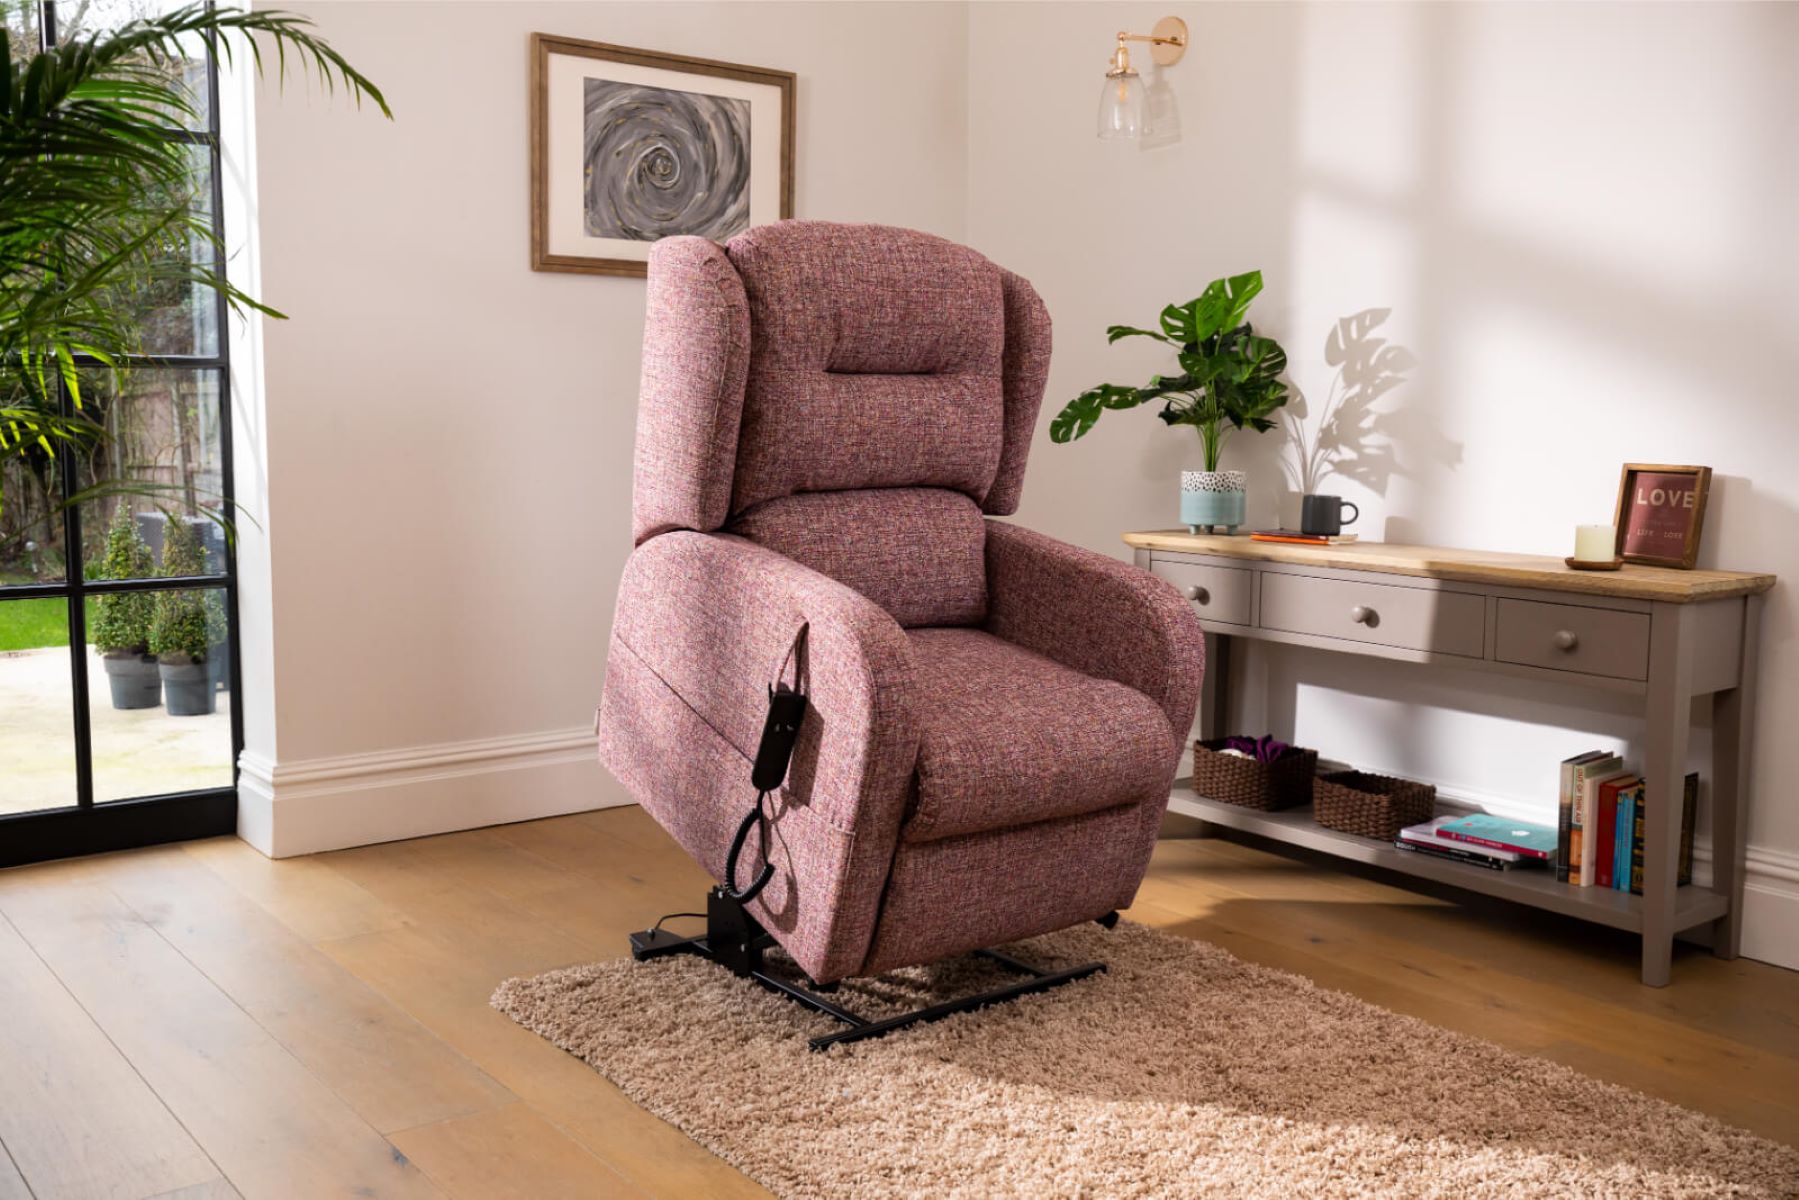
So, you've got a comfy recliner, but you find it a bit too low for your liking. Maybe it's causing you discomfort when getting in and out of it, or perhaps you just prefer a higher seating position. Whatever the reason, building a riser for your recliner can be a practical solution to elevate its height and enhance your comfort.
In this guide, we'll walk you through the process of creating a sturdy and stable riser for your recliner. By following these step-by-step instructions, you'll be able to customize the height of your favorite seat to better suit your needs. Whether you're a DIY enthusiast or simply looking for an affordable way to modify your furniture, this project is a great opportunity to add a personal touch to your living space.
With just a few basic materials and some straightforward techniques, you can elevate your recliner to new heights – quite literally. So, roll up your sleeves, gather your tools, and let's get started on this practical and rewarding DIY project!
Key Takeaways:
- Elevate your recliner’s height for improved comfort and accessibility with a DIY riser. Enjoy a personalized seating experience tailored to your preferences and add a unique touch to your living space.
- Transform your recliner into a more comfortable and stylish seating option by building a custom riser. Enhance the functionality of your furniture and showcase your creativity with this practical and rewarding DIY project.
Read more: What Is A Riser Recliner Chair
Materials Needed
Before embarking on this DIY project, it’s essential to gather the necessary materials and tools. Here’s what you’ll need:
- Measuring tape
- Pencil
- 4×4 wooden blocks (quantity will depend on the desired height of the riser)
- 2×4 wooden boards
- Screws
- Drill
- Screwdriver
- Sandpaper
- Wood stain or paint (optional, for a decorative finish)
- Paintbrush or rag (if using wood stain or paint)
- Protective gloves
- Safety goggles
These materials are readily available at most hardware stores and are relatively affordable, making this DIY project a cost-effective way to customize your recliner to your desired height.
Now that you have all the necessary materials at hand, it’s time to move on to the first step of the process: measuring and cutting the components for your recliner riser.
Step 1: Measuring and Cutting
The first step in building a riser for your recliner is to measure and cut the wooden components to the appropriate size. Start by determining the desired height increase for your recliner. This will guide the measurements for the wooden blocks that will form the base of the riser.
Using the measuring tape and pencil, carefully mark the dimensions on the 4×4 wooden blocks according to the desired height. Ensure that the measurements are precise and uniform across all the blocks to maintain stability and even elevation.
Next, using a saw, carefully cut the wooden blocks to the marked dimensions. It’s crucial to exercise caution and use appropriate safety measures when operating the saw to prevent accidents and achieve clean, accurate cuts.
Once the wooden blocks are cut to size, it’s time to proceed to the next step: assembling the base of the recliner riser. With the measurements and cutting completed, you’re one step closer to enhancing the comfort and functionality of your recliner.
Remember, precision is key in this step to ensure that the riser components fit together seamlessly and provide a stable foundation for your recliner. With the measuring and cutting stage accomplished, you’re ready to move on to assembling the base of the riser.
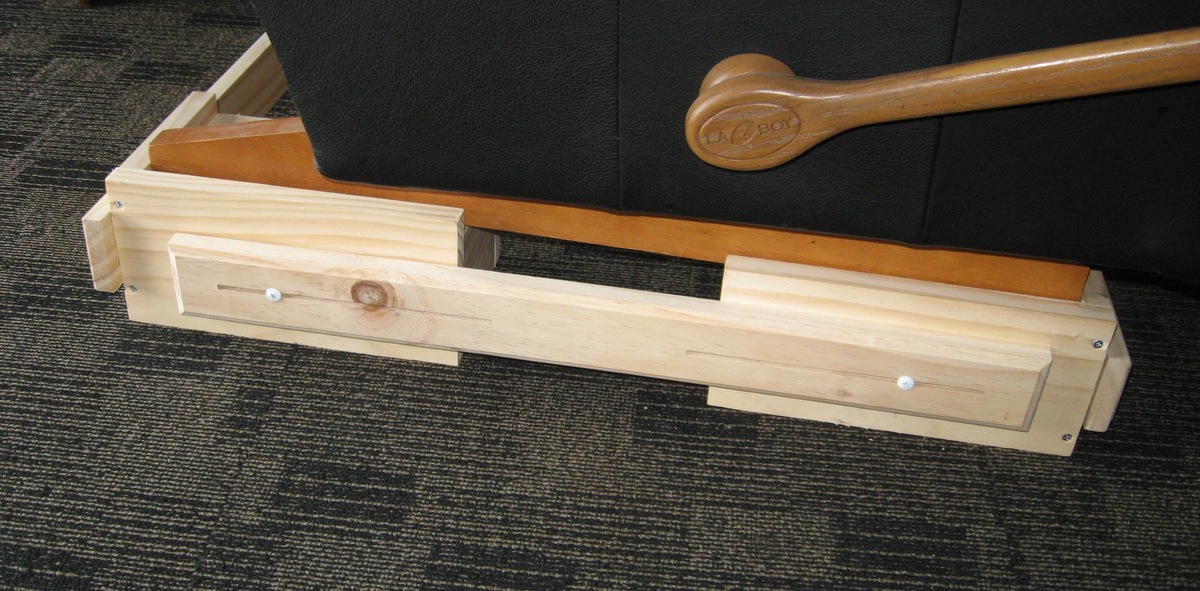
Step 2: Assembling the Base
With the wooden blocks cut to the desired height, it’s time to assemble the base of the recliner riser. This step involves arranging the wooden blocks in a sturdy and secure configuration to provide a stable foundation for the recliner.
Begin by positioning the cut wooden blocks in the desired layout, ensuring that they are evenly spaced and aligned to form a solid base. Depending on the design of your recliner and the placement of its legs, you may need to adjust the positioning of the wooden blocks to accommodate the chair’s base effectively.
Once you have determined the optimal arrangement of the wooden blocks, use the 2×4 wooden boards to secure them together. Place the boards horizontally across the top of the wooden blocks and use screws and a drill to fasten them securely. This will create a unified base that can support the weight of the recliner and its occupants.
As you assemble the base, it’s important to ensure that the components are tightly secured and that the base is level and stable. This will contribute to the safety and reliability of the riser, providing you with a dependable platform to elevate your recliner.
After completing the assembly of the base, you’re ready to progress to the next step: attaching the legs to the base. This crucial stage will integrate the riser with the recliner, bringing you closer to enjoying an elevated and more comfortable seating experience. With the base assembled, the transformation of your recliner is well underway.
When building a riser for a recliner, make sure to use sturdy and durable materials that can support the weight of the recliner and the person sitting in it. Additionally, consider adding non-slip padding to the bottom of the riser to prevent it from sliding on the floor.
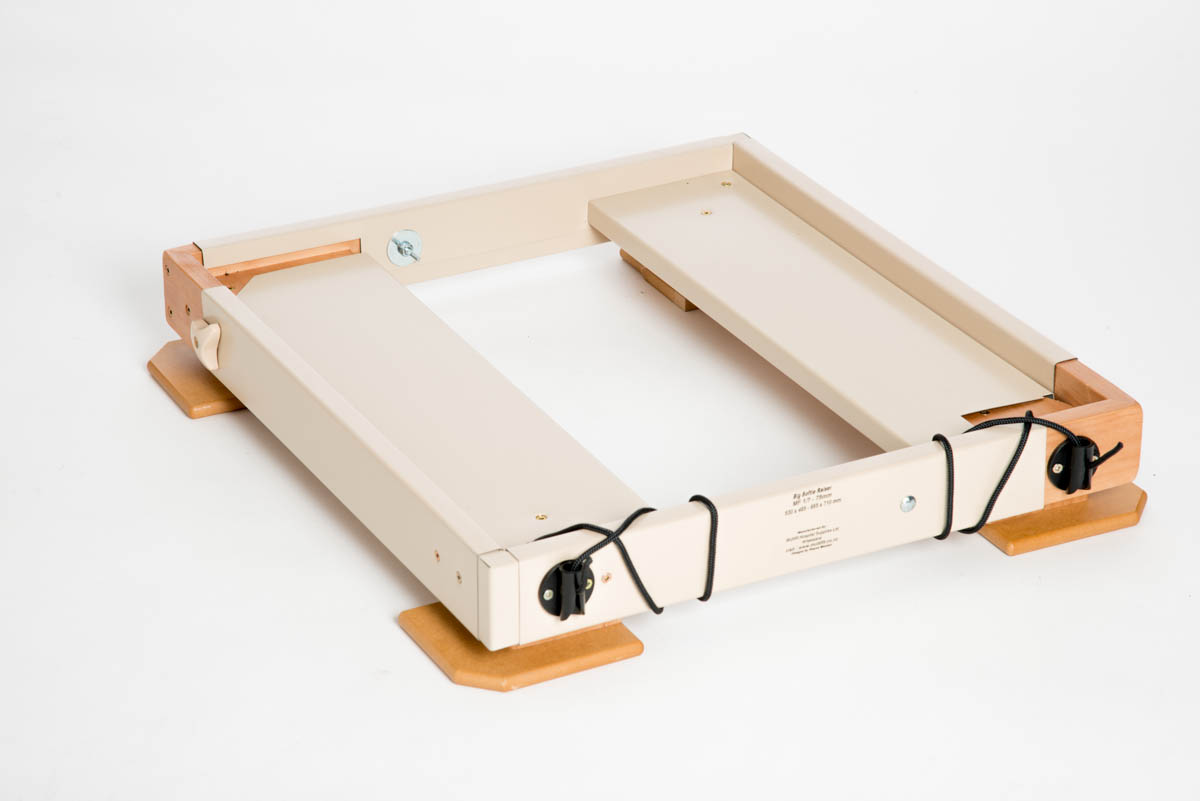
Step 3: Attaching the Legs
With the base of the recliner riser securely assembled, the next step is to attach the legs that will provide support and stability to the elevated chair. This stage is essential for ensuring that the riser effectively integrates with the recliner, creating a unified and functional piece of furniture.
Begin by carefully flipping the recliner onto its back, allowing access to the underside of the chair. Position the assembled base of the riser in alignment with the recliner’s legs, ensuring that it fits snugly and securely beneath the chair. It’s important to verify that the base is centered and properly aligned to maintain balance and stability.
Using screws and a drill, attach the legs of the recliner to the base of the riser, securing them firmly in place. Ensure that the attachment is robust and that the legs are evenly affixed to the base, preventing any wobbling or instability once the riser is in use.
Once the legs are securely attached to the base, carefully flip the recliner back into its upright position, allowing the riser to support the chair’s weight. Take a moment to inspect the attachment and confirm that the riser is level and stable, providing a reliable foundation for the elevated recliner.
With the legs successfully attached to the base, you’re one step closer to completing the transformation of your recliner. The sturdy integration of the riser with the recliner ensures that you’ll soon be able to enjoy an elevated seating experience, tailored to your comfort preferences.
As the legs are securely affixed to the base, the final step of adding the finishing touches to the recliner riser awaits. This will not only enhance the aesthetic appeal of the riser but also contribute to its durability and longevity. With the legs attached, the realization of an elevated and customized recliner is within reach.
Read more: How Much Is A Riser Recliner Chair
Step 4: Finishing Touches
As you near the completion of your recliner riser project, the final step involves adding the finishing touches to enhance both the appearance and durability of the elevated chair. These details will not only contribute to the visual appeal of the riser but also provide additional protection and longevity to the wooden components.
Begin by smoothing any rough edges or surfaces on the wooden blocks and base using sandpaper. This step is essential for ensuring that the riser is safe to handle and minimizes the risk of splinters or snagged fabrics. Take care to sand the edges and corners thoroughly, creating a polished and comfortable finish.
If you desire a decorative touch, consider applying a coat of wood stain or paint to the riser. This not only adds a personalized aesthetic to the furniture but also serves to protect the wood from wear and tear, moisture, and other environmental factors. Using a paintbrush or rag, evenly apply the wood stain or paint, allowing it to dry completely before proceeding.
Once the wood stain or paint has dried, consider applying a protective finish, such as a clear sealant or varnish, to safeguard the wood and preserve the riser’s appearance. This additional layer of protection will shield the wooden components from potential damage and ensure that your recliner riser remains in top condition for years to come.
With the finishing touches applied, take a moment to admire your handiwork and appreciate the transformation of your recliner. The customized riser not only elevates the chair to a more comfortable height but also adds a personal and stylish touch to your living space. Sit back and revel in the satisfaction of a DIY project successfully completed.
With the finishing touches in place, your recliner riser is now ready to provide you with an elevated and improved seating experience. Whether you’re relaxing, reading, or simply unwinding after a long day, your customized recliner will offer enhanced comfort and functionality, tailored to your preferences.
Conclusion
Congratulations! You’ve successfully completed the construction of a custom riser for your recliner, transforming it into a more comfortable and personalized seating option. By undertaking this DIY project, you’ve not only elevated the height of your recliner but also added a unique touch to your living space.
Building a recliner riser is a practical and rewarding endeavor that allows you to tailor your furniture to better suit your needs. Whether you prefer a higher seating position for improved comfort or require assistance with mobility, the riser offers a simple yet effective solution to enhance your recliner’s functionality.
Through careful measurement, precise cutting, and skillful assembly, you’ve created a stable and reliable base that seamlessly integrates with your recliner. The addition of the finishing touches, such as sanding, staining, and protective sealing, ensures that your customized riser not only looks great but also withstands the test of time.
As you settle into your newly elevated recliner, take a moment to appreciate the craftsmanship and effort invested in this project. Your handcrafted riser reflects your ingenuity and resourcefulness, providing a tangible sense of accomplishment and pride.
Furthermore, the versatility of this DIY project extends beyond personal use. Should you wish to share your expertise, you can assist others in customizing their recliners or even consider offering your services to enhance the comfort and accessibility of their furniture.
By embracing the art of DIY furniture modification, you’ve not only improved your living space but also honed your skills as a craftsman. As you enjoy the elevated comfort of your recliner, remember that your creative touch has made a tangible difference in your daily life.
So, kick back, relax, and revel in the satisfaction of a successful DIY project. Your elevated recliner awaits, offering a comfortable and customized seating experience that reflects your ingenuity and craftsmanship.
Frequently Asked Questions about How To Build A Riser For A Recliner
Was this page helpful?
At Storables.com, we guarantee accurate and reliable information. Our content, validated by Expert Board Contributors, is crafted following stringent Editorial Policies. We're committed to providing you with well-researched, expert-backed insights for all your informational needs.


0 thoughts on “How To Build A Riser For A Recliner”