Home>Furniture & Design>Living Room Furniture>How To Recover A Recliner

Living Room Furniture
How To Recover A Recliner
Modified: October 19, 2024
Learn how to recover a recliner and breathe new life into your living room furniture. Follow our step-by-step guide for a fresh, updated look.
(Many of the links in this article redirect to a specific reviewed product. Your purchase of these products through affiliate links helps to generate commission for Storables.com, at no extra cost. Learn more)
Introduction
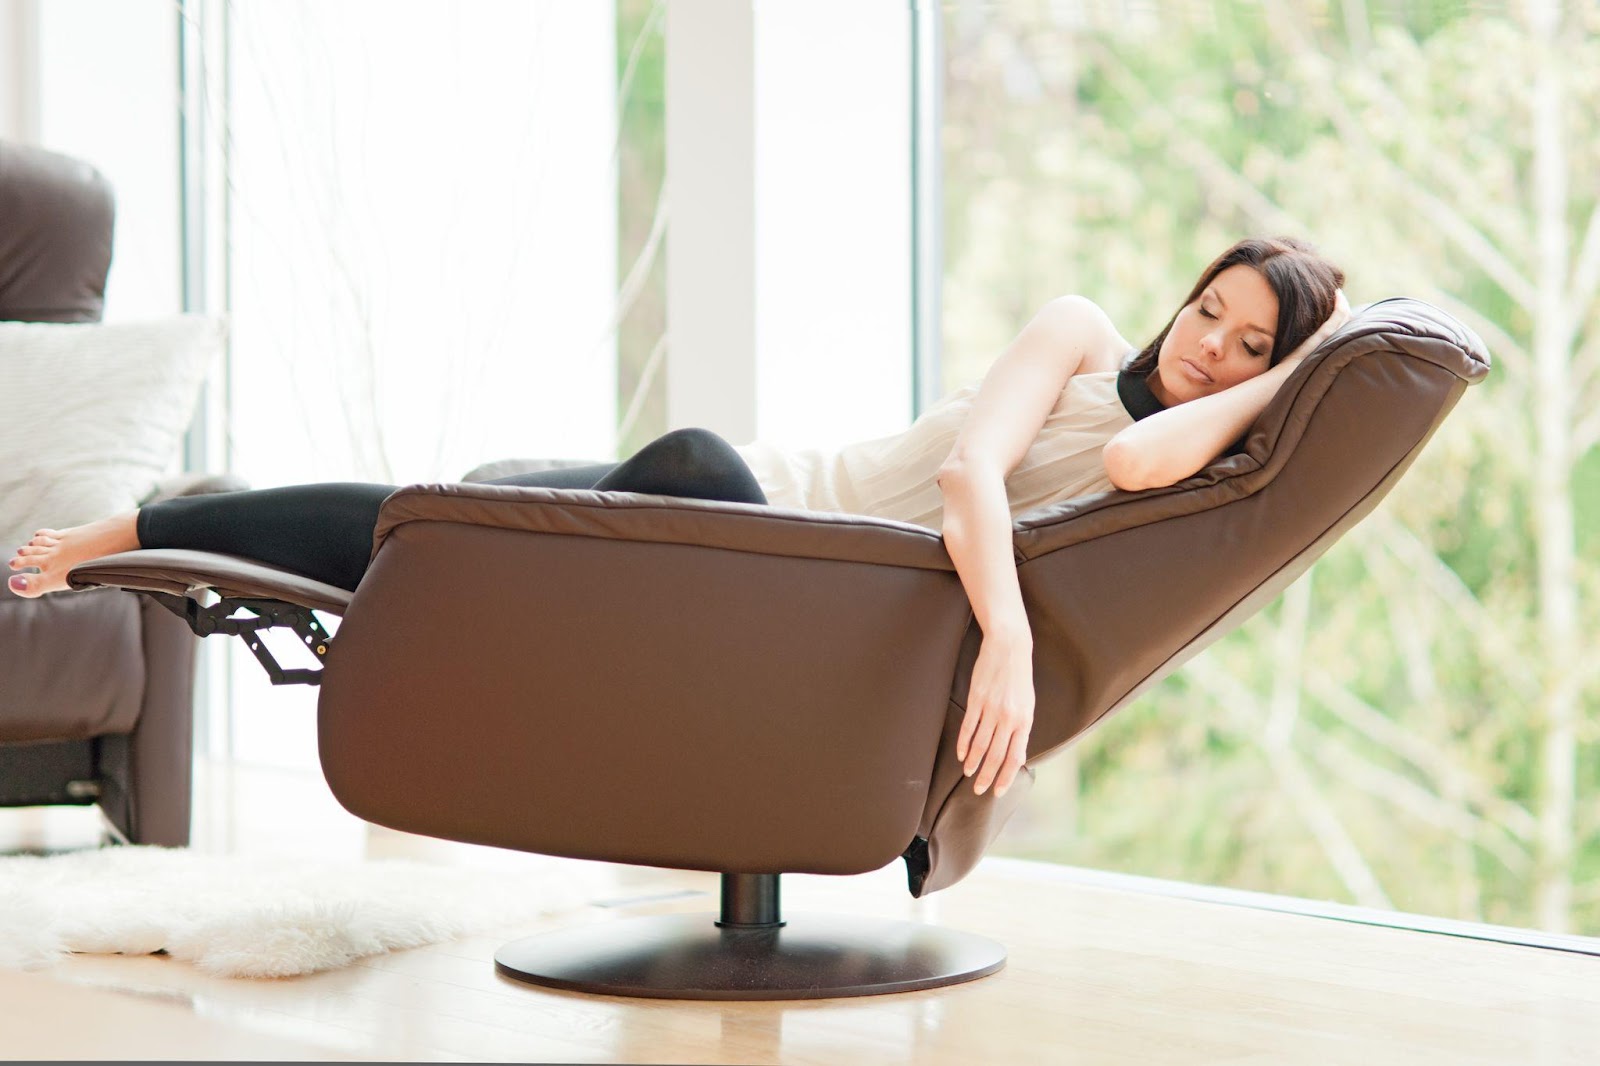
Recliners are beloved pieces of furniture that offer unparalleled comfort and relaxation. Whether it's the go-to spot for unwinding after a long day or the perfect place to catch up on favorite TV shows, a recliner holds a special place in many households. However, over time, wear and tear can take a toll on these cherished pieces, leading to a decline in their functionality and appearance. Fortunately, with the right knowledge and a bit of effort, it's possible to breathe new life into a tired recliner and restore it to its former glory.
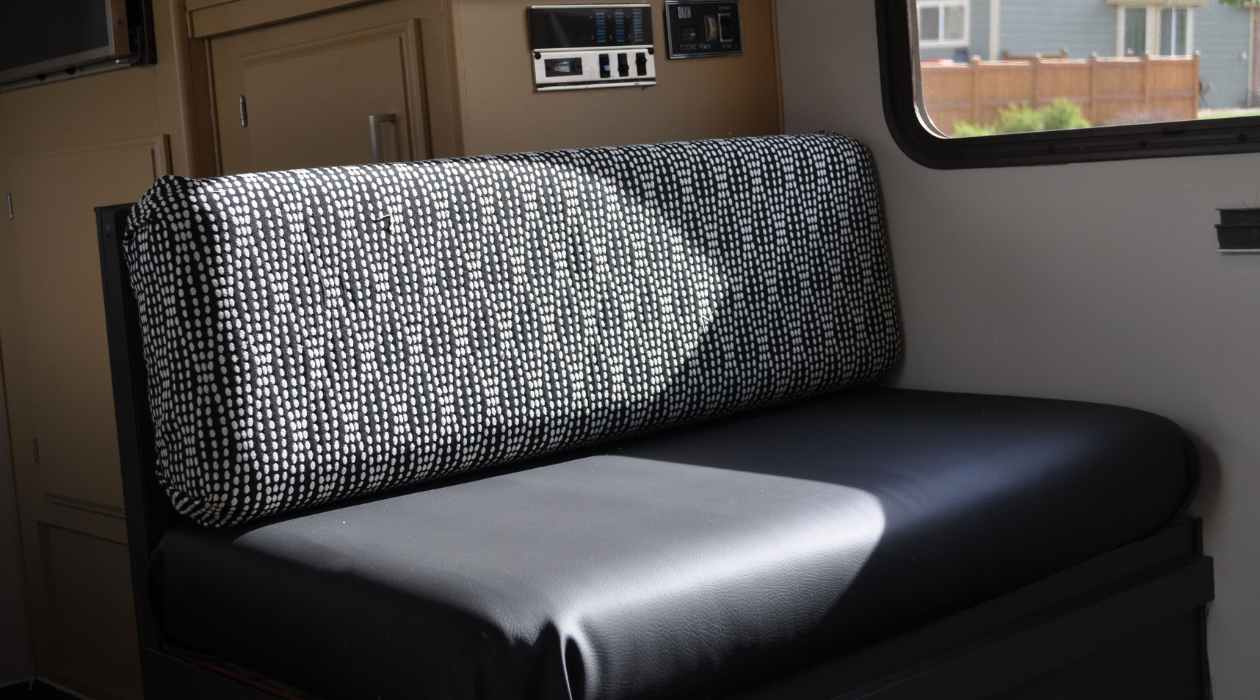
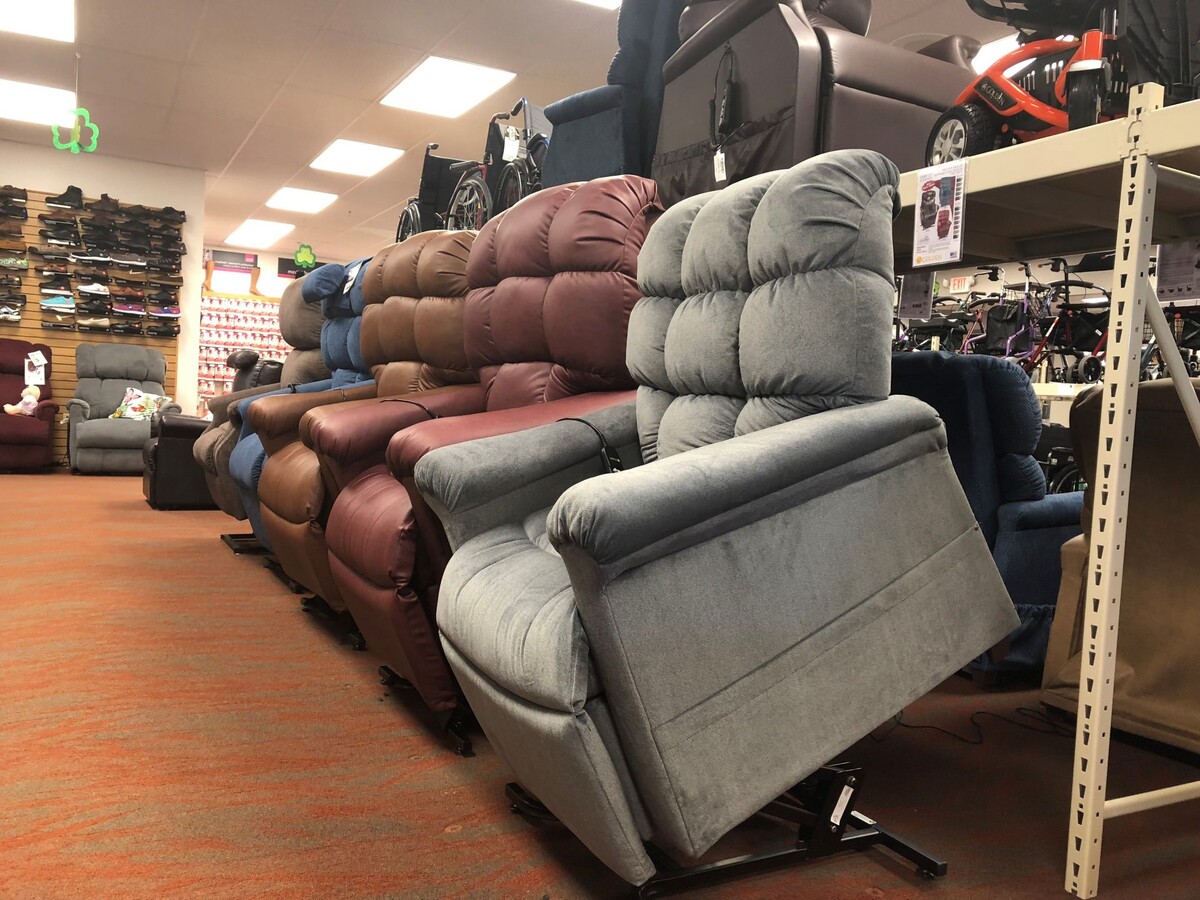
A well-maintained recliner can be a focal point of comfort and style in any living room, providing a cozy sanctuary for its owner. From plush cushioning to ergonomic designs, recliners come in various shapes and sizes, catering to different preferences and needs. Whether it's a classic leather recliner or a modern fabric one, these pieces of furniture are designed to offer a luxurious seating experience.
However, even the sturdiest recliners can succumb to wear and tear over time. The frame may weaken, springs may lose their elasticity, and the upholstery may start showing signs of damage. When these issues arise, many people may consider replacing their recliners altogether. However, with the right guidance, it's possible to revive a recliner and extend its lifespan, saving both money and sentimental value.
In this comprehensive guide, we will explore the step-by-step process of reviving a recliner, from assessing the damage to performing necessary repairs and giving it a fresh new look. By following these instructions and utilizing the right tools and materials, anyone can embark on a rewarding journey to restore their recliner to its former glory. So, let's roll up our sleeves and delve into the world of recliner recovery, where comfort meets craftsmanship!
Key Takeaways:
- Revive your tired recliner by assessing damage, gathering tools and materials, repairing the frame, replacing springs, and reupholstering. Add final touches and maintain for a cozy, stylish living room centerpiece.
- Breathe new life into your recliner with a step-by-step restoration process. From frame repair to upholstery replacement, and maintenance tips, your beloved recliner can be transformed into a comfortable and elegant focal point in your home.
Read more: How To Recover A Grass Lawn
Assessing the Damage
Before embarking on the journey of recliner recovery, it's crucial to thoroughly assess the extent of damage. This initial step sets the stage for the subsequent repair and restoration process, providing a clear understanding of the issues that need to be addressed. When assessing the damage, it's essential to pay attention to the following key areas:
-
Frame Integrity: Begin by inspecting the frame of the recliner. Look for any signs of structural damage, such as cracks, warping, or weakened joints. A sturdy frame is essential for the overall stability and functionality of the recliner.
-
Spring Condition: Check the condition of the springs within the recliner. Over time, springs can lose their elasticity, leading to sagging or uneven support. Test the resilience of the springs by gently pressing down on different areas of the seat and backrest.
-
Upholstery Wear and Tear: Examine the upholstery for any signs of wear, tear, or staining. Pay close attention to areas that experience the most friction and pressure, such as the seat, armrests, and footrest. Look for rips, fraying, or discoloration that may detract from the recliner's appearance.
-
Mechanism Functionality: For recliners with mechanical components, such as power reclining or swivel features, assess the functionality of these mechanisms. Test each control and movement to identify any issues with smooth operation or unusual sounds.
-
Overall Aesthetic: Take a step back and evaluate the overall aesthetic condition of the recliner. Consider factors such as fading, discoloration, or outdated design elements that may warrant attention during the restoration process.
By conducting a thorough assessment of these key areas, you'll gain valuable insights into the specific areas that require attention. This detailed evaluation serves as a roadmap for the subsequent steps, guiding the repair and restoration efforts with precision and clarity. With a clear understanding of the damage, you can proceed to gather the necessary tools and materials to begin the recliner recovery process.
Gathering the Necessary Tools and Materials
Before diving into the repair and restoration process, it's essential to gather the necessary tools and materials to ensure a smooth and efficient recliner recovery journey. Having the right equipment at your disposal will not only streamline the repair tasks but also contribute to the overall quality and longevity of the recliner's revitalization. Here's a comprehensive list of tools and materials required for the job:
Tools:
- Screwdriver Set: A versatile set of screwdrivers, including flathead and Phillips head varieties, will be indispensable for disassembling and reassembling various components of the recliner.
- Pliers: Both regular and needle-nose pliers will aid in gripping, bending, and manipulating small parts during the repair process.
- Staple Remover: Essential for removing staples holding the upholstery in place without causing damage to the fabric or frame.
- Hammer: A lightweight hammer will be useful for tapping and securing components without exerting excessive force.
- Tape Measure: Accurate measurements are crucial for replacing upholstery and ensuring proper alignment of components.
- Scissors and Utility Knife: These cutting tools will facilitate the removal of old fabric and the precise trimming of new upholstery materials.
- Needle and Thread: If hand-sewing is required during the reupholstering process, a sturdy needle and durable thread will be essential.
- Power Drill: For more extensive repairs, a power drill with appropriate bits can expedite the disassembly and reassembly of the recliner's frame and components.
Materials:
- Upholstery Fabric: Select a durable and visually appealing fabric that complements the recliner's design and meets the desired comfort and aesthetic standards.
- Foam Padding: High-quality foam padding will restore the plushness and support of the seat and backrest, enhancing the overall comfort of the recliner.
- Springs: If the existing springs are worn or damaged, replacement springs of the appropriate size and tension will be necessary to restore optimal support.
- Staples: Ensure you have a supply of appropriate staples for securing the new upholstery to the frame, considering both size and compatibility with the staple gun.
- Wood Glue: If the recliner's frame requires reinforcement or repair, a reliable wood glue will be essential for securing joints and addressing minor structural issues.
- Replacement Parts: For recliners with mechanical components, such as levers, cables, or power mechanisms, ensure you have any necessary replacement parts on hand.
By assembling these tools and materials, you'll be well-equipped to tackle the repair and restoration tasks with confidence and precision. This proactive approach sets the stage for a successful recliner recovery endeavor, ensuring that each step of the process can be carried out efficiently and effectively.
Read more: How To Recover Outdoor Chairs
Repairing the Frame
Repairing the frame of a recliner is a critical step in the restoration process, as it directly impacts the structural integrity and stability of the furniture. Over time, the frame may develop issues such as cracks, warping, or weakened joints, compromising the overall functionality and safety of the recliner. To address these concerns and restore the frame to its optimal condition, the following steps can be undertaken:
Step 1: Disassembly
Begin by carefully disassembling the recliner to access the frame. Use the appropriate tools, such as a screwdriver set and pliers, to remove the upholstery, padding, and any mechanical components that may obstruct access to the frame. Take note of the original configuration and placement of components to facilitate reassembly.
Step 2: Inspection and Assessment
Thoroughly inspect the frame for any signs of damage, including cracks, splits, or weakened joints. Pay close attention to areas that bear the most weight and stress, such as the seat and armrests. Evaluate the extent of the damage and identify the specific areas that require repair or reinforcement.
Step 3: Reinforcement and Repair
For minor cracks or splits, apply wood glue to the affected areas and carefully realign the pieces to ensure a secure bond. Use clamps to hold the joints in place while the glue sets, following the manufacturer's recommendations for drying time. For more extensive damage, consider reinforcing the frame with additional support brackets or braces to enhance its strength and stability.
Read more: How To Recover Cushions For Glider Rocker
Step 4: Replacement of Components
If any frame components are beyond repair, such as severely warped or damaged sections, consider replacing them with new, sturdy pieces of wood or metal. Ensure that the replacement components match the original dimensions and specifications to maintain the structural integrity of the recliner.
Step 5: Reassembly
Once the necessary repairs and reinforcements have been completed, carefully reassemble the recliner, ensuring that all components are securely fastened and aligned. Pay attention to the proper placement of springs, mechanisms, and any other internal components to restore the functionality of the recliner.
By diligently addressing frame-related issues through these systematic steps, the structural stability and durability of the recliner can be effectively restored, laying a solid foundation for the subsequent stages of the restoration process. A well-repaired frame not only ensures the safety and longevity of the recliner but also sets the stage for enhancing its overall comfort and aesthetic appeal.
Replacing the Springs
The springs within a recliner play a pivotal role in providing essential support and ensuring optimal comfort for the user. Over time, these springs may lose their elasticity, leading to sagging or uneven support, ultimately compromising the recliner's functionality. To address this issue and rejuvenate the recliner's seating experience, the process of replacing the springs is a crucial step in the restoration journey.
Step 1: Assessment and Preparation
Begin by carefully assessing the condition of the existing springs. Test the resilience of the springs by gently pressing down on different areas of the seat and backrest, noting any areas of excessive sagging or diminished support. Once the affected areas have been identified, prepare the recliner for the spring replacement process by ensuring it is fully disassembled, allowing clear access to the internal components.
Read more: How To Recover A Lampshade
Step 2: Removal of Old Springs
Using appropriate tools, such as pliers and screwdrivers, carefully remove the old springs from the recliner. Take note of the original positioning and attachment points of the springs, as this will guide the installation of the new springs. Exercise caution during this process to avoid damaging the surrounding components or upholstery.
Step 3: Selection of Replacement Springs
Select replacement springs that closely match the original specifications in terms of size, tension, and compatibility with the recliner's design. Consider the specific seating requirements and desired level of support when choosing the replacement springs, ensuring they align with the intended comfort and functionality of the recliner.
Step 4: Installation of New Springs
Carefully position the new springs in the designated locations within the recliner, ensuring they are securely attached and aligned to provide uniform support across the seat and backrest. Follow any manufacturer guidelines or recommendations regarding the installation process to ensure the proper tension and positioning of the new springs.
Step 5: Testing and Adjustment
Once the new springs are in place, conduct thorough testing to assess the impact of the replacement on the recliner's support and comfort. Sit in the recliner and evaluate the evenness of support and the restoration of firmness in the seating areas. Make any necessary adjustments to the positioning or tension of the springs to achieve the desired level of support and comfort.
By systematically replacing the worn-out springs with high-quality replacements, the recliner's essential support system is revitalized, contributing to an enhanced seating experience and prolonged durability. This meticulous approach to spring replacement ensures that the recliner's foundational elements are optimized, setting the stage for the subsequent stages of the restoration process.
Read more: How Much Fabric To Recover Dining Chairs
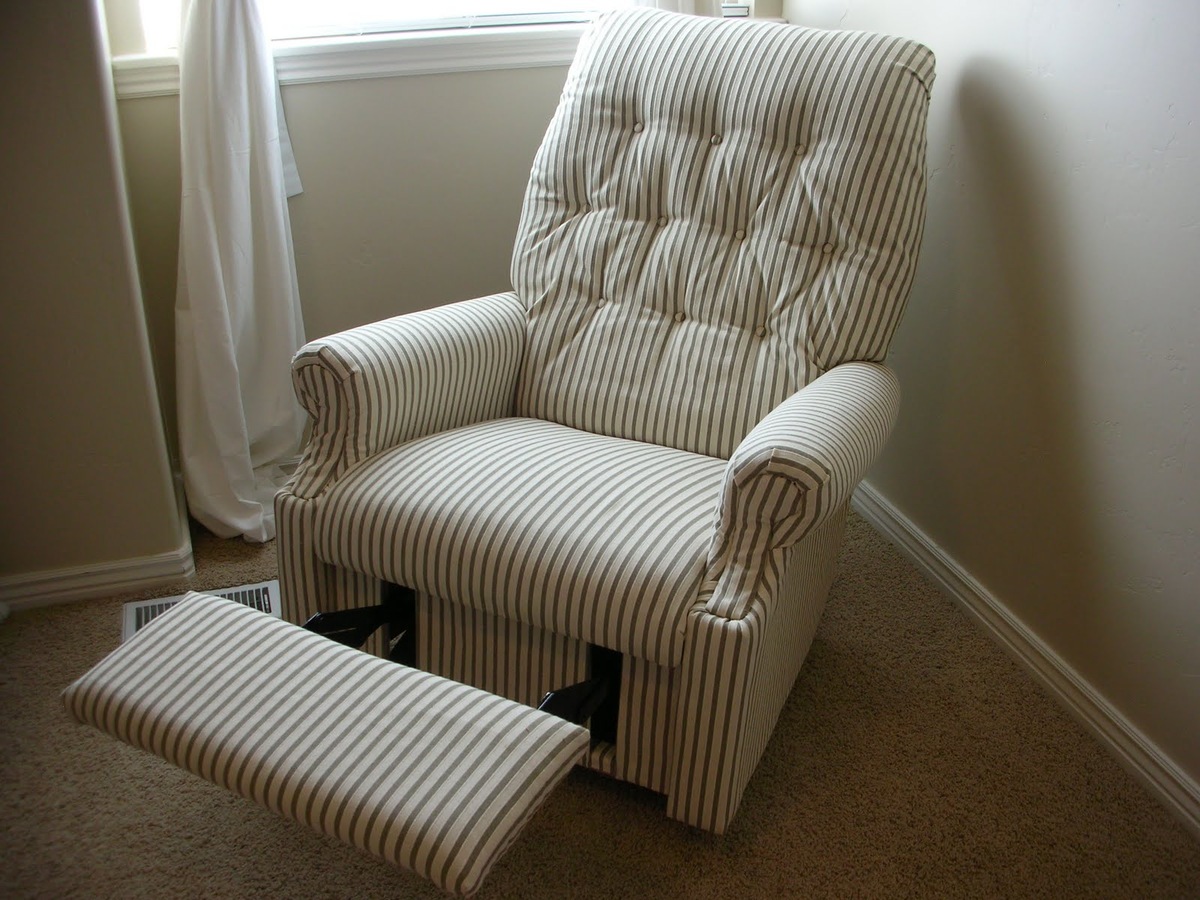
Reupholstering the Recliner
Reupholstering a recliner marks a transformative phase in its restoration journey, breathing new life into its appearance and comfort. This meticulous process involves replacing the worn or damaged upholstery with fresh, high-quality fabric, revitalizing the recliner's aesthetic appeal and tactile experience. The following steps outline the comprehensive process of reupholstering a recliner, infusing it with renewed elegance and comfort.
Step 1: Dismantling the Existing Upholstery
Begin by carefully disassembling the existing upholstery, removing staples, and separating the fabric from the recliner's frame. Exercise caution to preserve any underlying padding or cushioning that remains in good condition, as it may be reused in the reupholstering process.
Step 2: Selecting Quality Upholstery Fabric
Choose a durable and visually appealing upholstery fabric that aligns with the recliner's design and the desired level of comfort. Consider factors such as color, texture, and durability, ensuring that the selected fabric complements the overall aesthetic of the recliner while meeting the functional requirements of daily use.
Step 3: Crafting and Fitting New Upholstery
Lay out the new upholstery fabric and carefully trace and cut out pattern pieces based on the dimensions of the recliner's individual sections. Pay meticulous attention to detail, ensuring precise cutting and shaping to achieve a seamless fit when the new fabric is applied to the recliner's frame.
Read more: How To Recover Patio Cushions
Step 4: Upholstering the Frame
Begin affixing the new upholstery to the recliner's frame, securing it in place with appropriate staples or fasteners. Work methodically, starting from one section and progressing to the next, ensuring a snug and wrinkle-free application of the fabric. Tautly stretch the fabric to achieve a smooth and uniform appearance, paying attention to corners and curves for a professional finish.
Step 5: Reassembling and Finishing Touches
Once the new upholstery is securely in place, reassemble the recliner, ensuring that all components are properly aligned and fastened. Pay attention to the reattachment of any mechanical or decorative elements, ensuring that the recliner is restored to its original functionality and visual appeal. Trim any excess fabric and conceal staples or fasteners to achieve a polished and refined look.
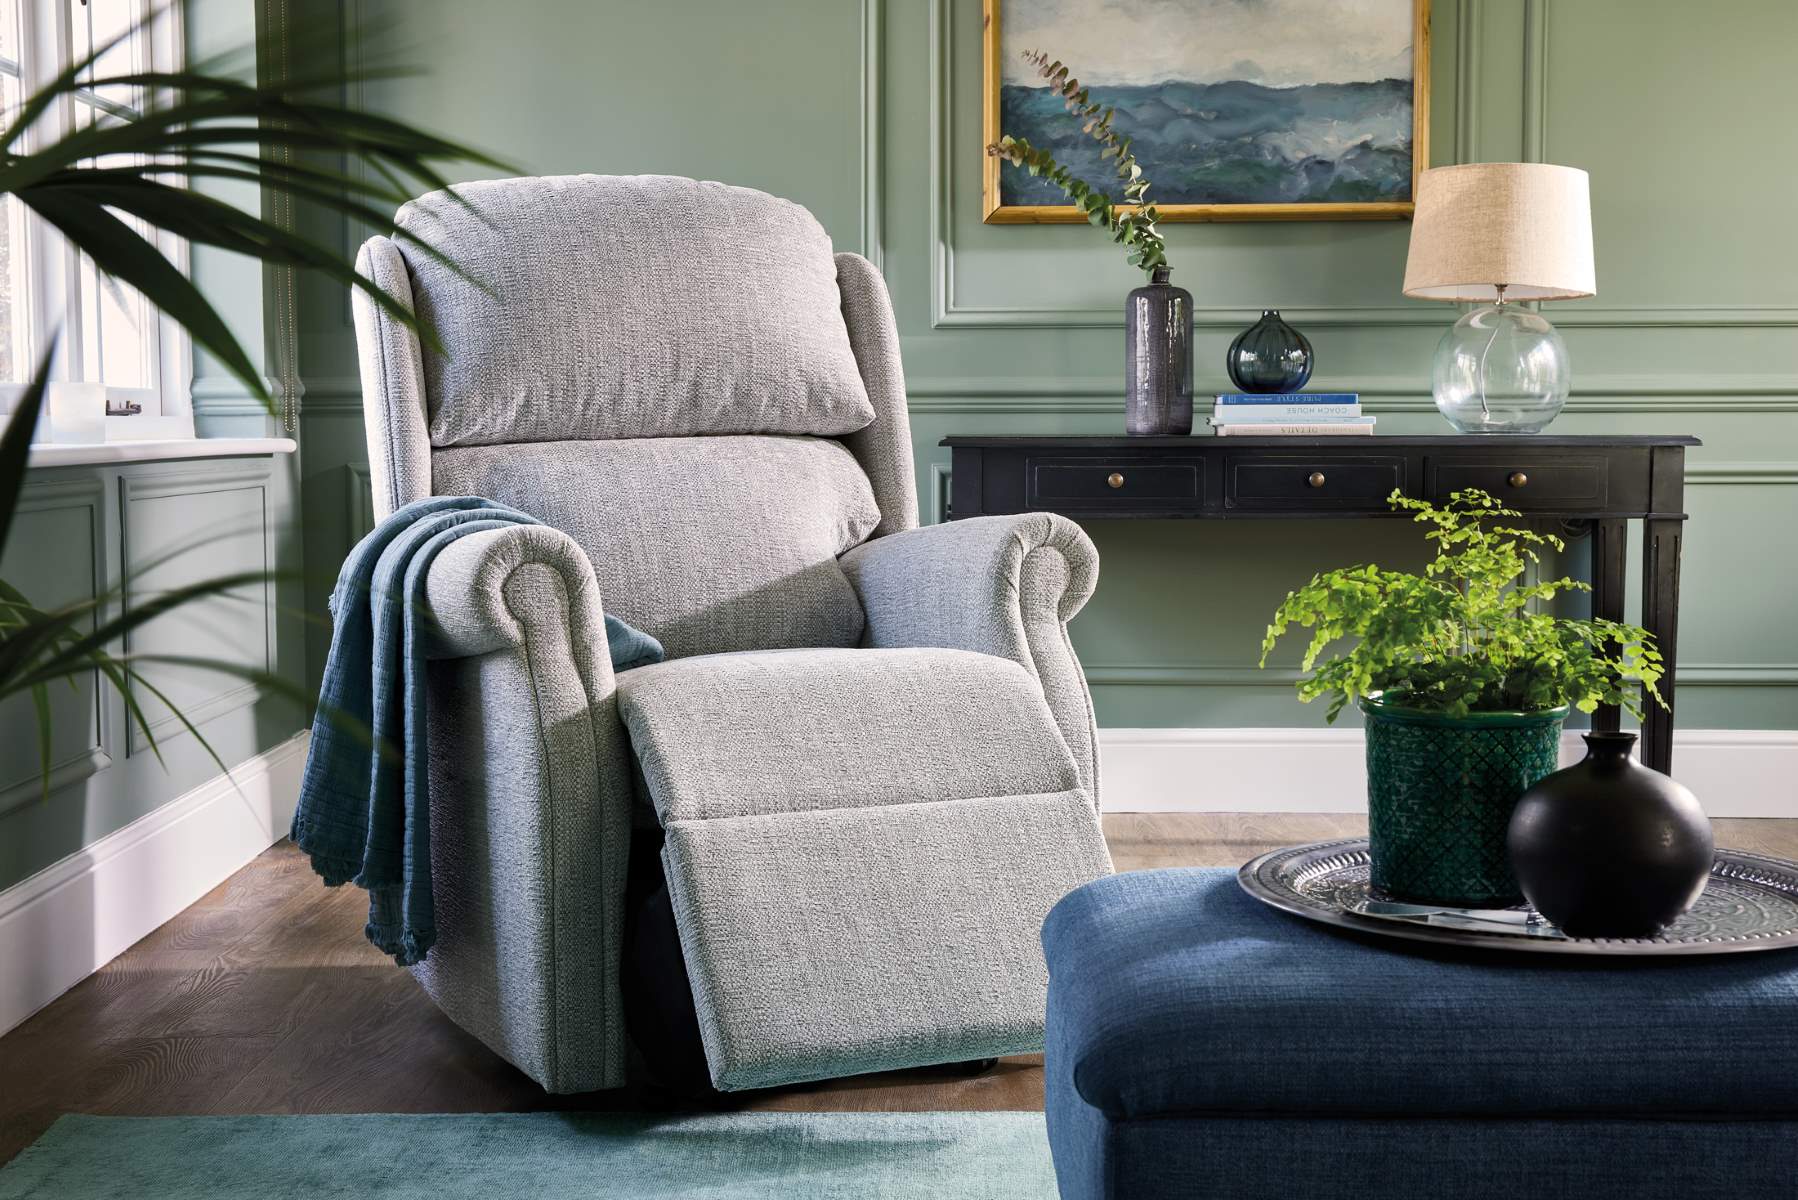
By meticulously reupholstering the recliner, it undergoes a remarkable transformation, emerging with a rejuvenated appearance and enhanced comfort. This process not only revitalizes the recliner's visual allure but also extends its lifespan, allowing it to continue serving as a cherished and inviting piece of furniture within the living space.
Final Touches and Maintenance Tips
With the completion of the intricate restoration process, attention to final touches and maintenance tips ensures that the revitalized recliner remains a source of comfort and elegance for years to come. These concluding steps and proactive maintenance practices contribute to the longevity and pristine condition of the recliner, allowing its renewed allure to shine through in the living room.
Final Touches
After the comprehensive restoration journey, adding final touches can elevate the visual appeal and functionality of the recliner. Consider incorporating decorative elements, such as accent pillows or a coordinating throw, to complement the new upholstery and infuse the recliner with a touch of personal style. Additionally, applying a fabric protector or stain repellent to the newly upholstered surfaces can safeguard the fabric against spills and stains, preserving its pristine appearance.
Read more: How To Recover An Office Chair
Maintenance Tips
To uphold the rejuvenated state of the recliner, regular maintenance is essential. Implement the following maintenance tips to ensure the ongoing beauty and functionality of the restored recliner:
-
Routine Cleaning: Establish a regular cleaning routine to remove dust, debris, and pet hair from the upholstery. Use a soft brush attachment on a vacuum cleaner or a lint roller to gently remove surface particles without causing damage to the fabric.
-
Avoid Direct Sunlight: Minimize prolonged exposure to direct sunlight, as it can cause fading and deterioration of the upholstery fabric over time. Utilize curtains or blinds to shield the recliner from harsh sunlight, preserving its vibrant colors and texture.
-
Check and Tighten Fasteners: Periodically inspect the recliner for any loose fasteners, such as screws or bolts, and tighten them as needed to maintain the structural integrity of the frame and components.
-
Upholstery Spot Treatment: Promptly address any spills or stains by gently blotting the affected area with a clean, damp cloth. Avoid rubbing the stain, as this can spread it further. If necessary, use a mild upholstery cleaner recommended for the specific fabric type.
-
Professional Inspection: Consider scheduling periodic professional inspections of the recliner to identify any potential issues or areas requiring maintenance. Professional upholstery cleaning services can also help refresh and revitalize the fabric, extending its lifespan.
By incorporating these final touches and embracing proactive maintenance practices, the restored recliner becomes a focal point of comfort and sophistication in the living room, embodying the dedication and craftsmanship invested in its revitalization.
The journey of recliner recovery culminates in the fulfillment of its renewed purpose, offering a haven of relaxation and style within the home.
Frequently Asked Questions about How To Recover A Recliner
Was this page helpful?
At Storables.com, we guarantee accurate and reliable information. Our content, validated by Expert Board Contributors, is crafted following stringent Editorial Policies. We're committed to providing you with well-researched, expert-backed insights for all your informational needs.


0 thoughts on “How To Recover A Recliner”