Home>Furniture & Design>Living Room Furniture>How To Disassemble A Recliner

Living Room Furniture
How To Disassemble A Recliner
Published: February 12, 2024
Learn how to properly disassemble a recliner with our step-by-step guide. Keep your living room furniture in top shape with our expert tips and advice.
(Many of the links in this article redirect to a specific reviewed product. Your purchase of these products through affiliate links helps to generate commission for Storables.com, at no extra cost. Learn more)
Introduction
Disassembling a recliner may seem like a daunting task, but with the right tools and a systematic approach, it can be a manageable and rewarding endeavor. Whether you're moving to a new home, reupholstering the chair, or simply need to clean hard-to-reach areas, knowing how to disassemble a recliner can be incredibly useful. By following the step-by-step guide provided here, you'll gain the confidence and know-how to tackle this project with ease.
Taking apart a recliner requires careful attention to detail and a methodical approach to avoid damaging any components. It's essential to gather the necessary tools before starting the disassembly process. With the right tools and a clear understanding of the recliner's construction, you'll be well-equipped to navigate each step effectively.
As you embark on this disassembly journey, keep in mind that patience and precision are key. Each component of the recliner is interconnected, and understanding how they fit together is crucial for successful disassembly. By following the steps outlined in this guide, you'll be able to disassemble your recliner safely and efficiently, opening up a world of possibilities for maintenance, repair, or customization.
Now, let's delve into the step-by-step process of disassembling a recliner, starting with gathering the necessary tools for the task at hand.
Key Takeaways:
- Disassembling a recliner requires patience, the right tools, and a methodical approach. By carefully removing the backrest, seat cushion, armrests, footrest, and separating the base from the frame, you can gain a deeper understanding of your furniture and prepare for maintenance or customization.
- Mastering the art of disassembling a recliner unlocks a world of possibilities for maintaining, enhancing, and personalizing your furniture. With the knowledge and skills acquired, you can confidently tackle future maintenance, repair, or refurbishment projects, ensuring a fulfilling and informed relationship with your furniture.
Step 1: Gather the necessary tools
Before embarking on the disassembly of your recliner, it's essential to gather the appropriate tools to ensure a smooth and efficient process. Having the right tools at your disposal will not only make the disassembly easier but also help prevent any accidental damage to the chair's components. Here's a comprehensive list of tools you'll need:
-
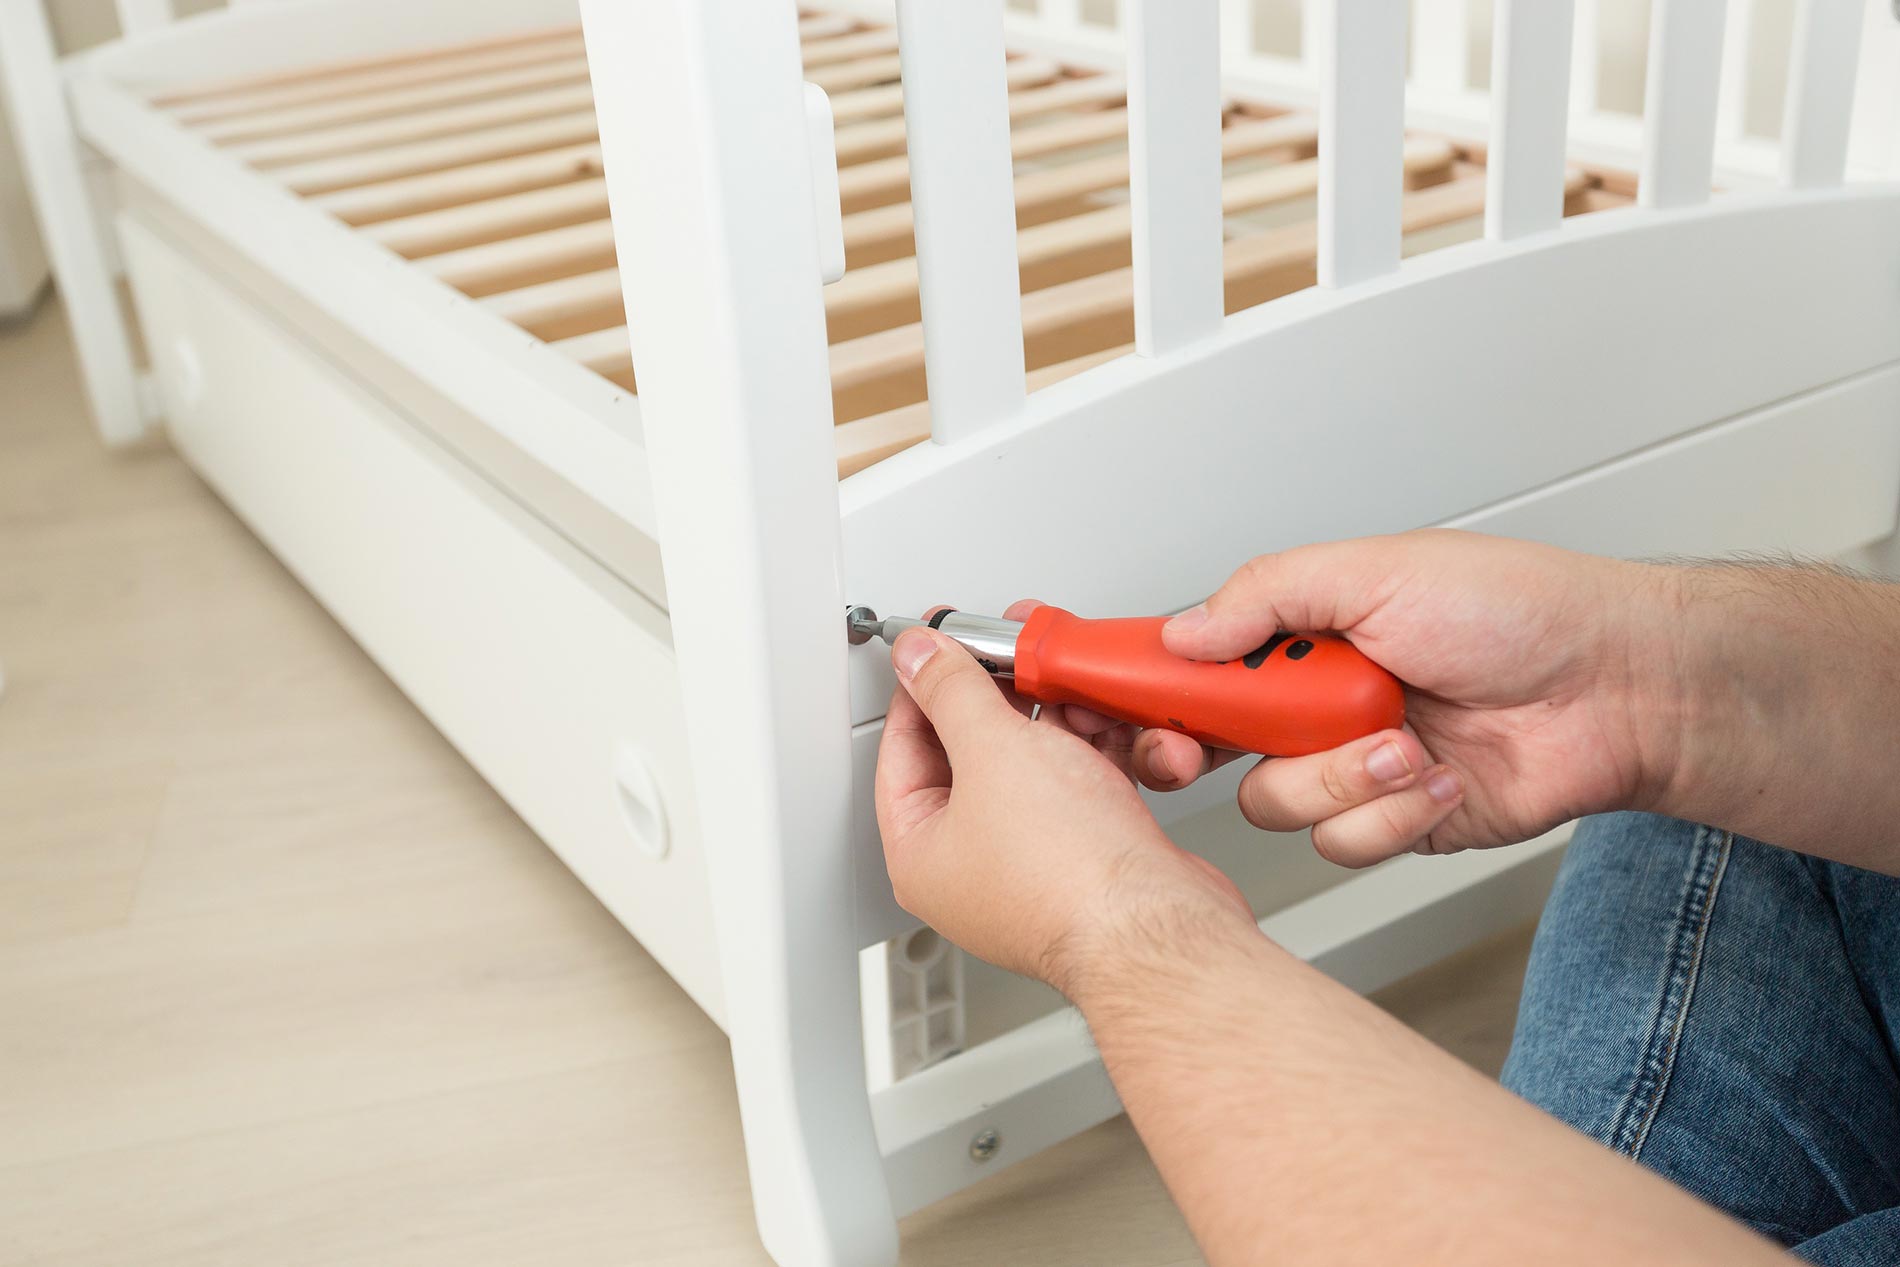
Screwdriver Set: A set of screwdrivers with various head types, including Phillips and flathead, will be indispensable for removing screws from different parts of the recliner.
-
Adjustable Wrench: This tool will come in handy for loosening and tightening nuts and bolts, particularly those securing the recliner's frame and base.
-
Pliers: A pair of pliers will be useful for gripping and manipulating small components, such as cotter pins or retaining clips.
-
Allen Wrench Set: Many recliners feature bolts or screws with hexagonal sockets, requiring an Allen wrench for removal. Ensure you have a set of these wrenches in different sizes to accommodate various fasteners.
-
Protective Gloves: It's important to prioritize safety during the disassembly process. Wearing protective gloves will shield your hands from sharp edges and potential injury.
-
Drop Cloth or Plastic Sheets: To protect your work area from scratches, stains, or any debris that may fall during disassembly, lay down a drop cloth or plastic sheets.
-
Ziplock Bags or Small Containers: As you remove screws, nuts, bolts, and other small parts, it's crucial to keep them organized. Using labeled ziplock bags or small containers will help you keep track of the hardware and prevent any loss.
-
Marker and Labels: Having a marker and labels on hand will allow you to clearly mark and identify the components and hardware you remove, making reassembly much more straightforward.
By ensuring you have these essential tools readily available, you'll be well-prepared to begin the disassembly process with confidence and efficiency. With the necessary tools in hand, you can proceed to the next step of removing the backrest of the recliner.
Step 2: Remove the backrest
Removing the backrest of a recliner is a crucial step in the disassembly process, as it grants access to the internal mechanisms and facilitates further dismantling. To begin, carefully tilt the recliner forward or onto its side, ensuring it is stable and secure. This position will provide better visibility and maneuverability when working on the backrest.
Locate the retaining clips or screws that secure the backrest to the frame. Using the appropriate screwdriver or wrench from your tool set, carefully remove these fasteners, taking care not to misplace them. As you detach the backrest, it's important to support it with one hand to prevent it from falling and causing damage.
Once the retaining clips or screws are removed, gently lift the backrest away from the recliner, taking note of any wires or cables that may be connected to the internal mechanisms. If the backrest is equipped with electrical components, such as massage or heating elements, carefully disconnect the corresponding wires by following the manufacturer's instructions.
As you remove the backrest, it's advisable to have a designated area, such as a clean and padded surface, to place it down securely. This will prevent any accidental scratches or damage to the backrest during the disassembly process.
With the backrest successfully detached, take a moment to inspect its condition and the underlying components. This is an opportune time to address any maintenance or repair needs, such as replacing worn upholstery or addressing any mechanical issues within the backrest assembly.
By effectively removing the backrest, you've achieved a significant milestone in the disassembly of your recliner. This step sets the stage for further dismantling, allowing you to access and address various components with greater ease. With the backrest out of the way, you're now ready to proceed to the next stage of disassembling the seat cushion, bringing you one step closer to the comprehensive disassembly of your recliner.
Step 3: Take off the seat cushion
Removing the seat cushion is a pivotal step in the disassembly process, as it unveils the internal framework of the recliner and allows for thorough inspection and potential maintenance. To initiate this step, carefully flip the recliner onto its back or side, ensuring stability to prevent any accidental tipping. This position provides optimal access to the underside of the seat cushion, where fasteners and securing mechanisms are typically located.
Inspect the underside of the recliner to locate the fasteners holding the seat cushion in place. Depending on the recliner's design, these fasteners may include screws, bolts, or clips securing the cushion to the frame. Utilize the appropriate tools from your set, such as a screwdriver or wrench, to systematically remove these fasteners, taking care to keep track of each piece of hardware.
As you detach the fasteners, it's essential to support the seat cushion to prevent it from unexpectedly falling or shifting. Once the fasteners are removed, gently lift the seat cushion away from the recliner frame, ensuring a smooth and controlled removal process. If the cushion is upholstered, be mindful of any fabric or padding that may be attached to the frame and handle it with care to avoid damage.
Upon removing the seat cushion, take a moment to assess the condition of the underlying framework. This is an opportune time to inspect the support structure, springs, or any additional components concealed beneath the cushion. If any maintenance or repairs are necessary, such as addressing sagging springs or worn-out padding, this stage provides a clear view of the components requiring attention.
With the seat cushion successfully removed, you've unveiled the internal framework of the recliner, setting the stage for further disassembly and potential maintenance. This step not only facilitates access to the recliner's internal mechanisms but also presents an opportunity to address any structural or comfort-related issues. By systematically progressing through the disassembly process, you're well on your way to gaining a comprehensive understanding of your recliner's construction and functionality.
Moving forward, the next step involves the careful detachment of the armrests, marking another significant milestone in the disassembly journey. As you proceed, maintain a methodical approach and prioritize safety to ensure a successful and rewarding disassembly experience.
Before disassembling a recliner, make sure to unplug and remove any electrical components. Use a screwdriver to remove the screws and bolts, keeping track of where each piece goes. Take pictures or label parts to help with reassembly.
Step 4: Detach the armrests
Detaching the armrests is a crucial step in the disassembly process of a recliner, as it allows for comprehensive access to the chair's internal structure and mechanisms. The armrests are integral components that contribute to the overall comfort and functionality of the recliner, and removing them is essential for thorough maintenance, repair, or customization.
To initiate the process of detaching the armrests, carefully position the recliner in a stable and accessible manner, ensuring that it is secure and unlikely to shift during the disassembly. This may involve gently tipping the recliner onto its side or back, providing optimal visibility and maneuverability for working on the armrests.
Inspect the armrests to identify the fasteners or attachment points securing them to the recliner's frame. Depending on the recliner's design, these fasteners may consist of screws, bolts, or clips, and it's essential to locate and access them for removal. Utilize the appropriate tools from your set, such as a screwdriver or wrench, to systematically loosen and remove the fasteners, taking care to organize and keep track of each piece of hardware.
As you detach the fasteners, it's important to provide support to the armrests to prevent any unexpected shifting or damage. Once the fasteners are removed, gently lift the armrests away from the recliner, ensuring a controlled and careful removal process. If the armrests are upholstered, handle them with care to avoid any damage to the fabric or padding during the detachment process.
Upon successfully detaching the armrests, take a moment to inspect the areas from which they were removed. This presents an opportunity to assess the condition of the recliner's frame and identify any underlying components that may require attention. Whether it's addressing structural issues, inspecting the internal mechanisms, or preparing for reupholstering, this stage provides a clear view of the recliner's framework, setting the stage for further disassembly and potential maintenance.
By systematically progressing through the disassembly process, you're gaining a comprehensive understanding of your recliner's construction and functionality. With the armrests detached, you're now well-positioned to proceed to the next stage of disassembling the footrest, bringing you closer to a thorough exploration of your recliner's inner workings. As you continue, maintain a methodical approach and prioritize safety to ensure a successful and rewarding disassembly experience.
Read more: How To Disassemble Spikeball
Step 5: Disassemble the footrest
Disassembling the footrest is a pivotal step in the comprehensive disassembly of a recliner, as it grants access to the intricate mechanisms responsible for extending and retracting the footrest. The footrest, an essential component contributing to the recliner's comfort and functionality, requires careful attention and precision during the disassembly process.
To commence the disassembly of the footrest, carefully position the recliner to ensure stability and accessibility, allowing for a clear view and maneuverability around the footrest assembly. Depending on the recliner's design, the footrest may be secured by a combination of fasteners, such as screws, bolts, or retaining clips, and it's essential to identify and access these attachment points for removal.
Using the appropriate tools from your set, such as a screwdriver or wrench, systematically loosen and remove the fasteners securing the footrest to the recliner's frame. As you proceed, it's crucial to maintain organization and keep track of each piece of hardware to facilitate a seamless reassembly process.
Once the fasteners are removed, gently detach the footrest from the recliner, ensuring a controlled and cautious approach to prevent any accidental damage. If the footrest is equipped with mechanical or electrical components, such as the release mechanism or wiring, take care to disconnect these elements according to the manufacturer's instructions, ensuring a safe and systematic disconnection process.
Upon successfully disassembling the footrest, take a moment to inspect the underlying mechanisms and framework. This stage provides an opportunity to assess the condition of the footrest assembly, identify any components requiring maintenance or repair, and prepare for potential customization or refurbishment.
By systematically progressing through the disassembly process, you're gaining a comprehensive understanding of your recliner's construction and functionality. With the footrest disassembled, you're now well-prepared to proceed to the next stage of separating the base from the frame, marking a significant milestone in the disassembly journey. As you continue, maintain a methodical approach and prioritize safety to ensure a successful and rewarding disassembly experience.
Step 6: Separate the base from the frame
Separating the base from the frame of a recliner is a critical step in the disassembly process, as it allows for a comprehensive exploration of the chair's structural components and facilitates potential repairs or modifications. The base, which houses the recliner's support and movement mechanisms, is intricately connected to the frame, and detaching it requires careful attention to detail and a systematic approach.
To initiate the separation of the base from the frame, carefully position the recliner to ensure stability and accessibility, providing a clear view and maneuverability around the base and frame assembly. Depending on the recliner's design, the base may be secured to the frame by a combination of fasteners, such as bolts, screws, or retaining clips. It's essential to identify and access these attachment points for systematic removal.
Using the appropriate tools from your set, such as a wrench or screwdriver, systematically loosen and remove the fasteners securing the base to the frame. As you proceed, it's crucial to keep track of each piece of hardware, ensuring organized disassembly and facilitating a smooth reassembly process in the future.
Once the fasteners are removed, gently detach the base from the frame, exercising caution to prevent any unintended damage. Depending on the recliner's design, there may be electrical connections or wiring associated with the base, particularly if it features motorized or powered functionalities. Carefully disconnect these elements according to the manufacturer's instructions, ensuring a safe and systematic disconnection process.
Upon successfully separating the base from the frame, take a moment to inspect the underlying components and framework. This stage provides an opportunity to assess the condition of the base assembly, identify any components requiring maintenance or repair, and prepare for potential customization or refurbishment. Additionally, inspecting the frame allows for a thorough evaluation of its structural integrity and the identification of any areas requiring attention.
By systematically progressing through the disassembly process, you're gaining a comprehensive understanding of your recliner's construction and functionality. With the base successfully separated from the frame, you've reached a significant milestone in the disassembly journey, setting the stage for potential maintenance, repair, or customization. As you continue, maintain a methodical approach and prioritize safety to ensure a successful and rewarding disassembly experience.
Conclusion
In conclusion, the process of disassembling a recliner involves a systematic approach, careful attention to detail, and the utilization of the appropriate tools. By following the step-by-step guide outlined in this comprehensive disassembly journey, you've gained valuable insights into the intricate construction of your recliner and the interconnected components that contribute to its comfort and functionality.
Throughout the disassembly process, you've successfully navigated the removal of the backrest, seat cushion, armrests, footrest, and the separation of the base from the frame. Each step presented an opportunity to inspect, assess, and potentially address various components, whether for maintenance, repair, or customization purposes.
As you embarked on this disassembly journey, you've not only gained a deeper understanding of your recliner's internal mechanisms but also acquired the confidence and knowledge to undertake future maintenance or refurbishment projects. The careful handling of each component, the systematic removal of fasteners, and the attention to safety considerations have contributed to a successful and rewarding disassembly experience.
With the disassembly completed, you now have the opportunity to address any maintenance or repair needs, such as replacing worn upholstery, addressing mechanical issues, or customizing the recliner to suit your preferences. Additionally, the insights gained from the disassembly process can inform future reassembly, ensuring a seamless and secure reconstruction of the recliner.
It's important to note that as you proceed with any maintenance, repair, or customization activities, referring to the manufacturer's guidelines and recommendations is essential to ensure the proper functioning and safety of the recliner.
By mastering the art of disassembling a recliner, you've unlocked a world of possibilities for maintaining, enhancing, and personalizing your furniture. Whether it's for relocation, refurbishment, or simply gaining a deeper understanding of your recliner, the knowledge and skills acquired through this disassembly journey will undoubtedly serve you well in your furniture-related endeavors.
As you reflect on this disassembly experience, you've not only dismantled a recliner but also empowered yourself with valuable insights and capabilities, setting the stage for a fulfilling and informed relationship with your furniture.
Congratulations on successfully completing the disassembly journey, and may your newfound knowledge and skills continue to enrich your furniture and design endeavors.
Frequently Asked Questions about How To Disassemble A Recliner
Was this page helpful?
At Storables.com, we guarantee accurate and reliable information. Our content, validated by Expert Board Contributors, is crafted following stringent Editorial Policies. We're committed to providing you with well-researched, expert-backed insights for all your informational needs.


0 thoughts on “How To Disassemble A Recliner”