Home>Furniture & Design>Living Room Furniture>How To Reupholster A Recliner
Living Room Furniture
How To Reupholster A Recliner
Modified: February 18, 2024
Learn how to reupholster a recliner and give your living room furniture a fresh new look. Our step-by-step guide will help you transform your living room furniture and design.
(Many of the links in this article redirect to a specific reviewed product. Your purchase of these products through affiliate links helps to generate commission for Storables.com, at no extra cost. Learn more)
**
Introduction
**
When it comes to reviving the aesthetic appeal of your living room, reupholstering a recliner can work wonders. Whether your recliner has endured years of wear and tear or you simply want to update its look, reupholstering offers a cost-effective and rewarding solution. Not only does it breathe new life into your favorite relaxation spot, but it also allows you to personalize the design to suit your unique style.
Reupholstering a recliner may seem like a daunting task, especially for those unfamiliar with the process. However, armed with the right tools, materials, and a bit of guidance, this DIY project can be both manageable and gratifying. In this comprehensive guide, we will walk you through the step-by-step process of reupholstering a recliner, empowering you to embark on this creative endeavor with confidence.
From dismantling the old upholstery to refurbishing the recliner frame and attaching the new fabric, each stage of the reupholstering journey presents an opportunity to infuse your personal touch. By the end of this guide, you will not only have a beautifully reupholstered recliner but also a newfound sense of accomplishment and pride in your handiwork. So, roll up your sleeves, gather your supplies, and let's embark on this transformative journey to breathe new life into your beloved recliner.
**
Key Takeaways:
- Transform your recliner with a personal touch by reupholstering it. Revive worn-out furniture, showcase your creativity, and enjoy a revitalized, stylish sanctuary in your living room.
- Reupholstering a recliner is a rewarding DIY project that breathes new life into your favorite relaxation spot. Infuse your unique style, extend the lifespan of your furniture, and revel in the satisfaction of a job well done.
Read more: How To Reupholster A Leather Recliner
Tools and Materials Needed
**
Before diving into the reupholstering process, it’s essential to gather the necessary tools and materials. Having these items on hand will streamline the project and ensure a smoother transition from one step to the next.
Tools:
- Flathead screwdriver
- Phillips screwdriver
- Needle-nose pliers
- Staple remover
- Scissors
- Tack puller
- Staple gun
- Sewing machine (optional, for creating custom upholstery)
Materials:
- Upholstery fabric
- Upholstery foam (if cushion replacement is needed)
- Dacron batting
- Upholstery thread
- Staples
- Tack strips
- Fabric glue
- Wood glue (if frame repairs are necessary)
Ensuring that you have these tools and materials readily available will set the stage for a successful reupholstering project. Additionally, having a well-organized workspace with ample room to maneuver will contribute to a more efficient and enjoyable experience.
**
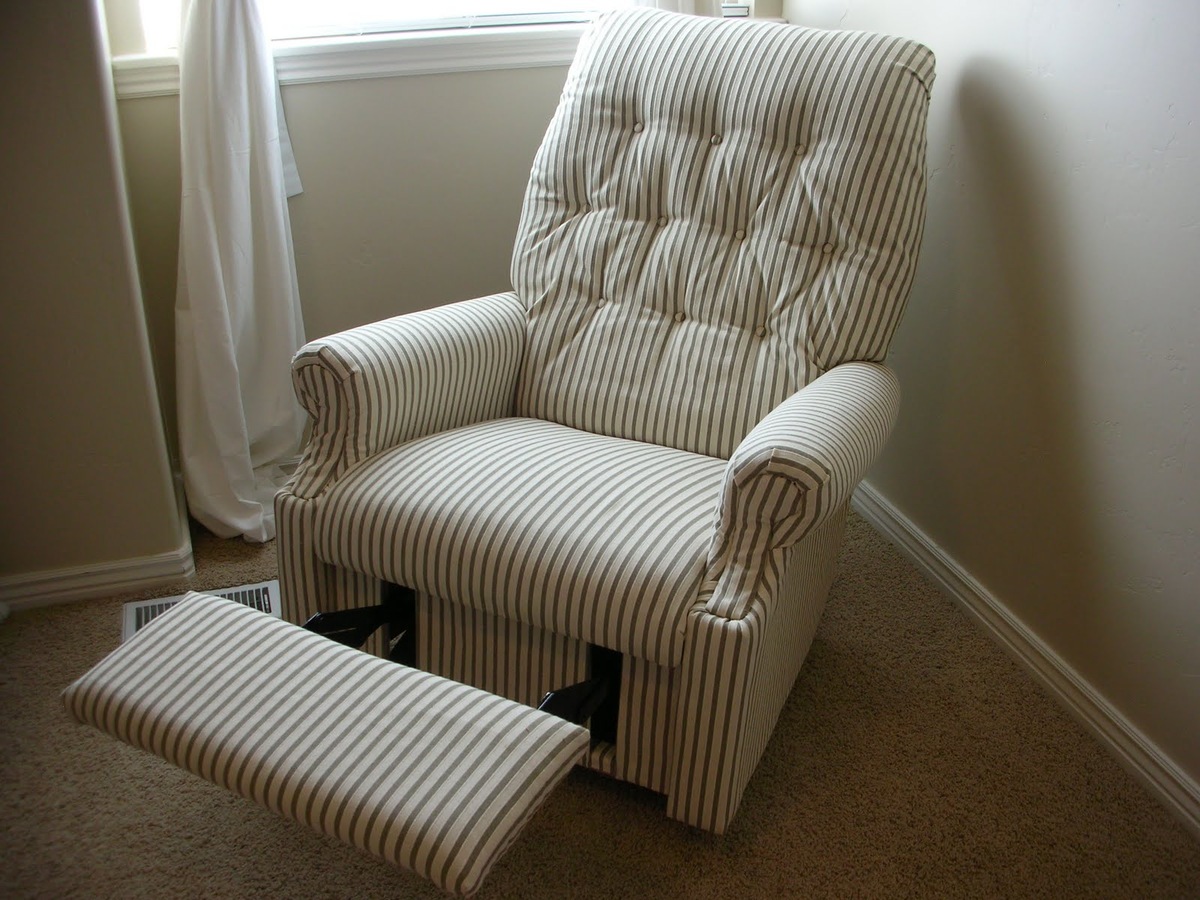
Removing the Old Upholstery
**
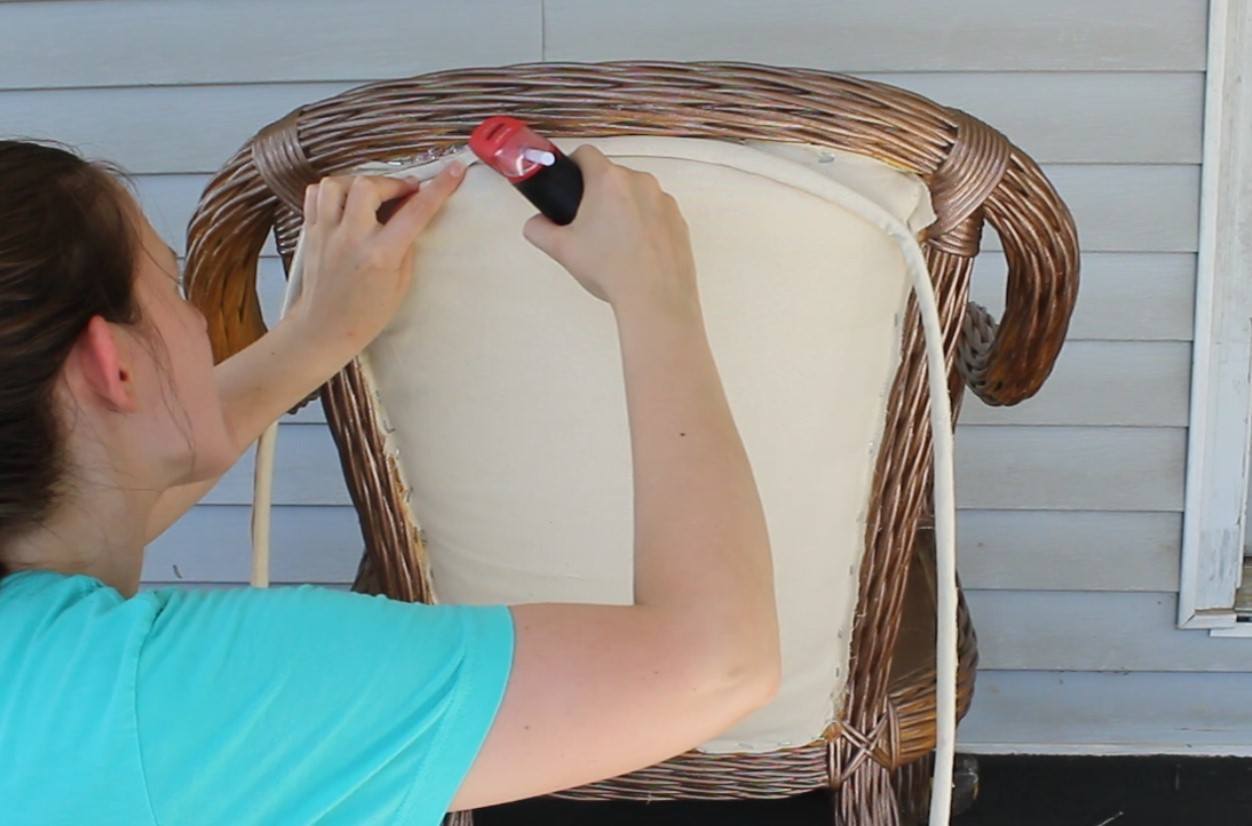
Before embarking on the creative process of reupholstering, the first step involves removing the existing upholstery from the recliner. This phase requires patience and attention to detail to avoid damaging the frame or any underlying components.
Begin by carefully examining the recliner to identify the attachment points of the upholstery. Typically, these are secured with staples or tacks. Utilize a staple remover or tack puller to gently extract these fasteners, taking care not to tear the fabric or puncture the underlying materials. As you progress, use a flathead screwdriver to navigate hard-to-reach areas and a pair of needle-nose pliers to extract any stubborn staples or tacks.
Once the upholstery is detached, set it aside for reference when cutting the new fabric. This step is crucial for creating accurate patterns and ensuring a proper fit for the revamped recliner. Take note of how the old fabric was assembled and any areas that may require additional padding or reinforcement.
As you peel back the layers of the old upholstery, inspect the condition of the recliner’s frame and foam padding. This is an opportune time to address any structural issues or worn-out cushioning before proceeding with the reupholstering process. If the frame shows signs of damage or instability, consider reinforcing it with wood glue or making necessary repairs to fortify its integrity.
By meticulously removing the old upholstery and assessing the recliner’s condition, you set the stage for a seamless transition to the subsequent phases of the reupholstering journey. With the old fabric removed and the frame inspected, you are now ready to embark on the next steps toward revitalizing your recliner.
**
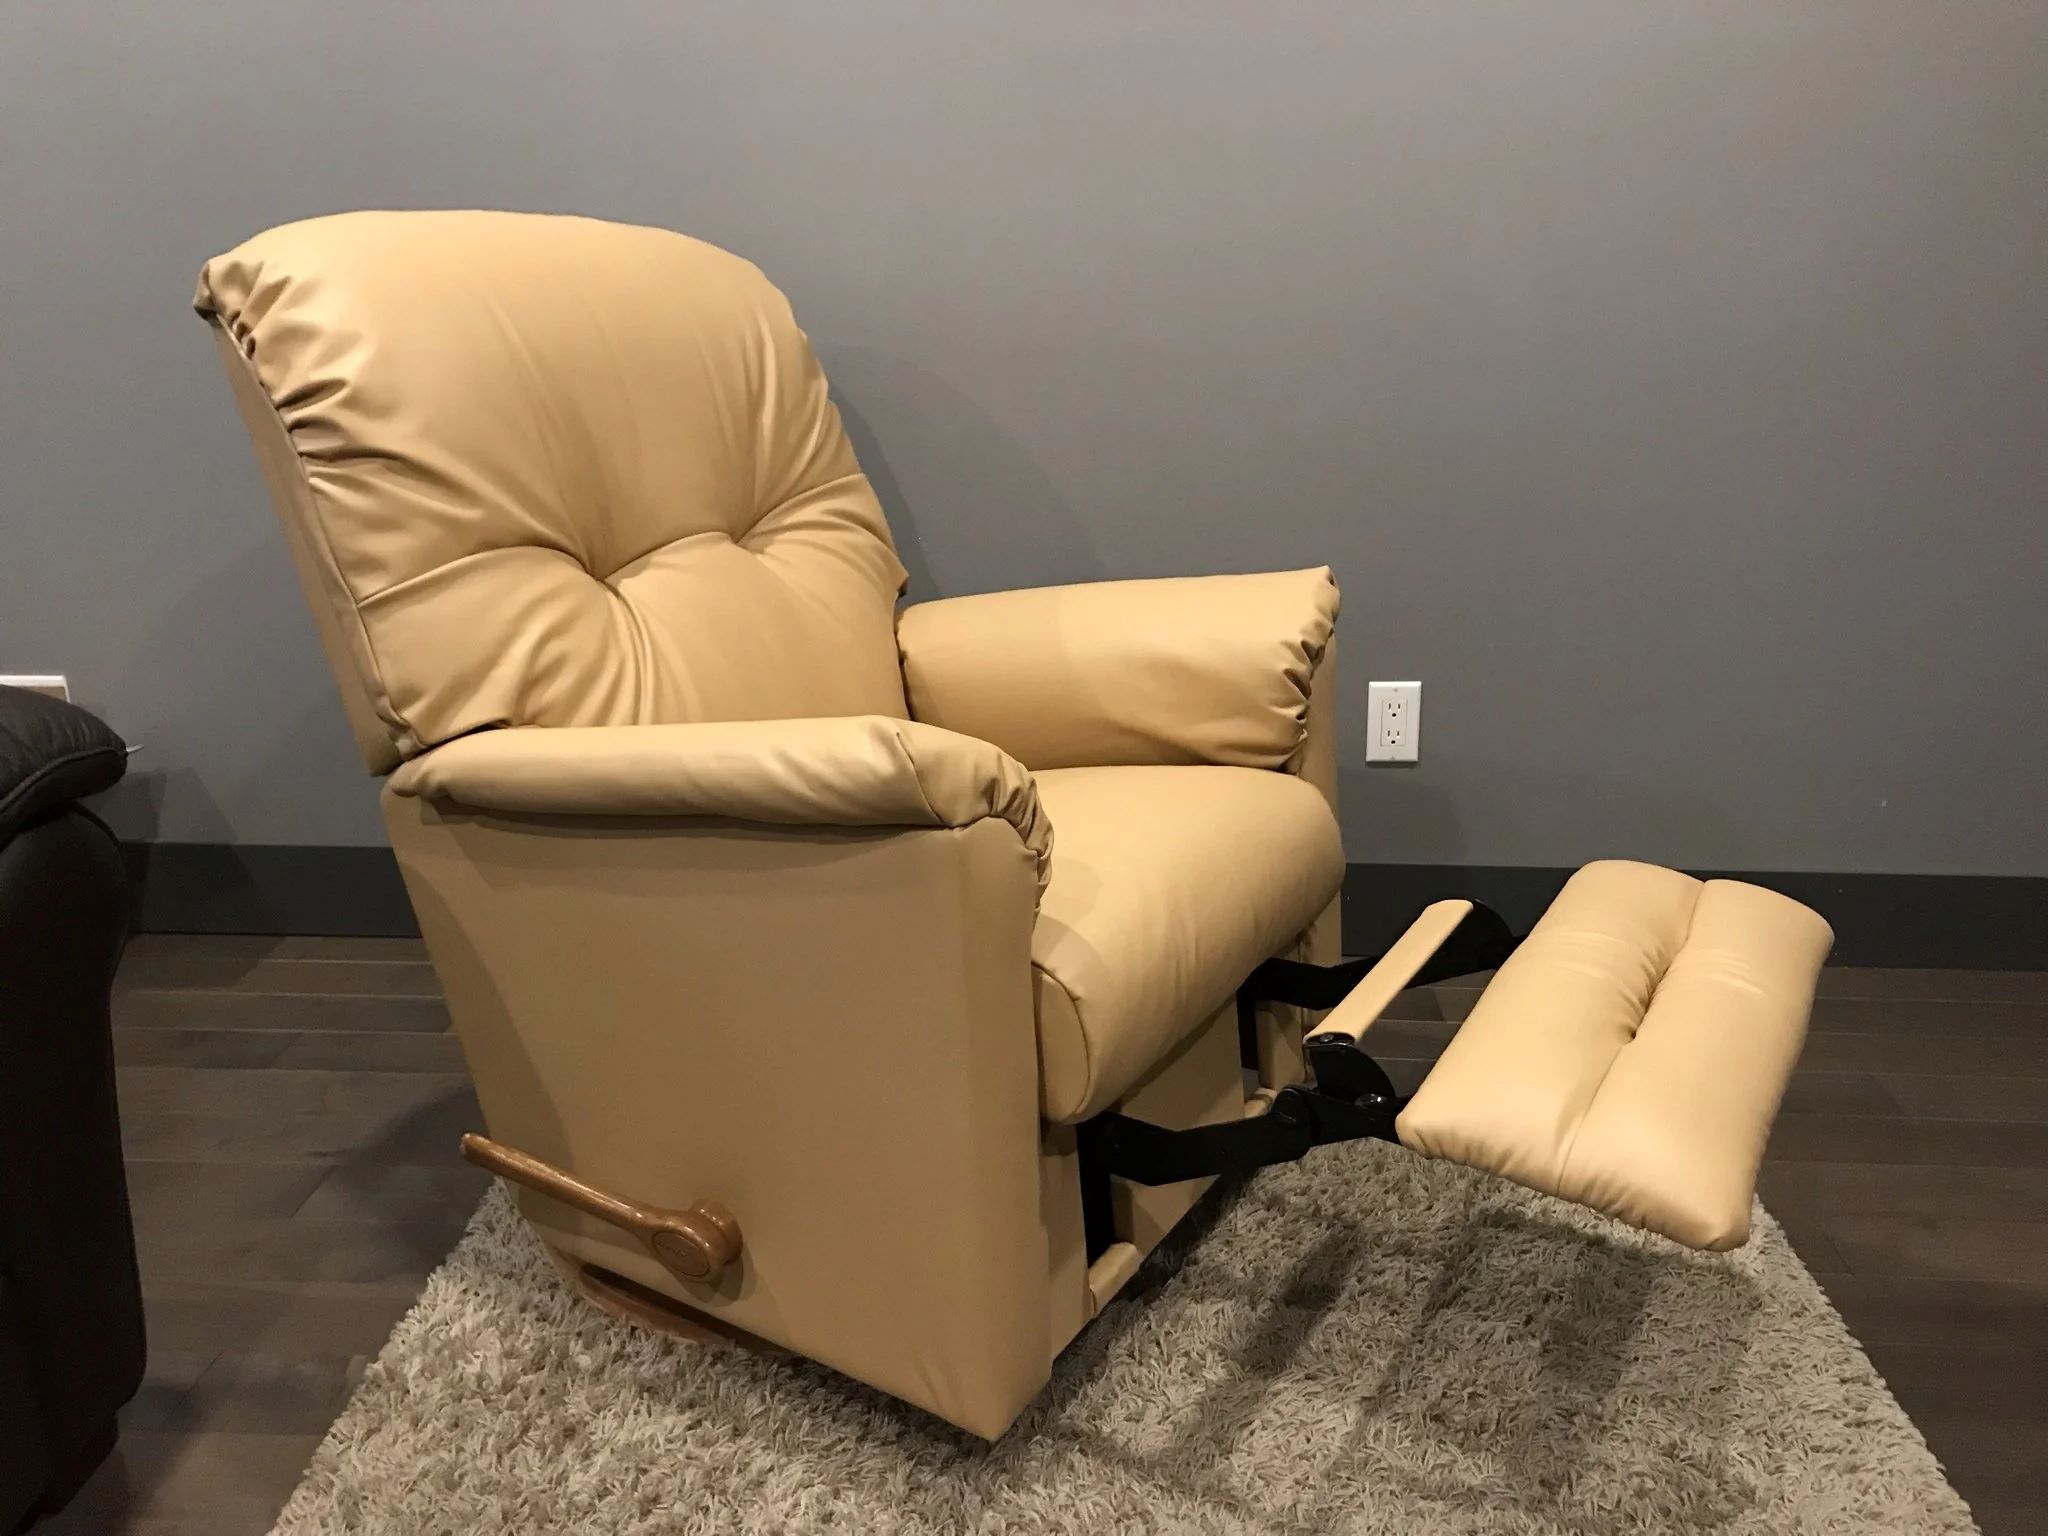
Repairing the Recliner Frame
**
Once the old upholstery has been removed, it’s time to shift your focus to the structural integrity of the recliner frame. This pivotal step ensures that the foundation of your recliner is sturdy and capable of supporting the new upholstery for years to come.
Begin by thoroughly examining the frame for any signs of wear, damage, or instability. Common areas to inspect include the joints, support beams, and any areas that have been subject to repeated stress. If you identify any loose or weakened components, it’s essential to address these issues before proceeding further.
If the frame requires repair, consider utilizing wood glue to reinforce loose joints and mend any minor cracks or separations. Apply the wood glue generously to the affected areas, ensuring a secure bond, and allow ample time for it to dry thoroughly. For more extensive damage, such as significant cracks or fractures, consider consulting a professional or a skilled woodworker to assess the best course of action.
Additionally, inspect the recliner’s support springs and mechanisms, ensuring that they are functioning optimally. Lubricate any moving parts as needed to guarantee smooth operation and longevity.
By taking the time to address and rectify any structural concerns, you are laying a solid foundation for the reupholstering process. A well-maintained and reinforced frame not only enhances the durability of your recliner but also contributes to the overall comfort and functionality of the revitalized piece.
With the frame repaired and strengthened, you are now prepared to embark on the next phase of the reupholstering journey: cutting and attaching the new upholstery.
**
When reupholstering a recliner, make sure to carefully label and organize all the pieces you remove. This will make it much easier to put everything back together correctly.
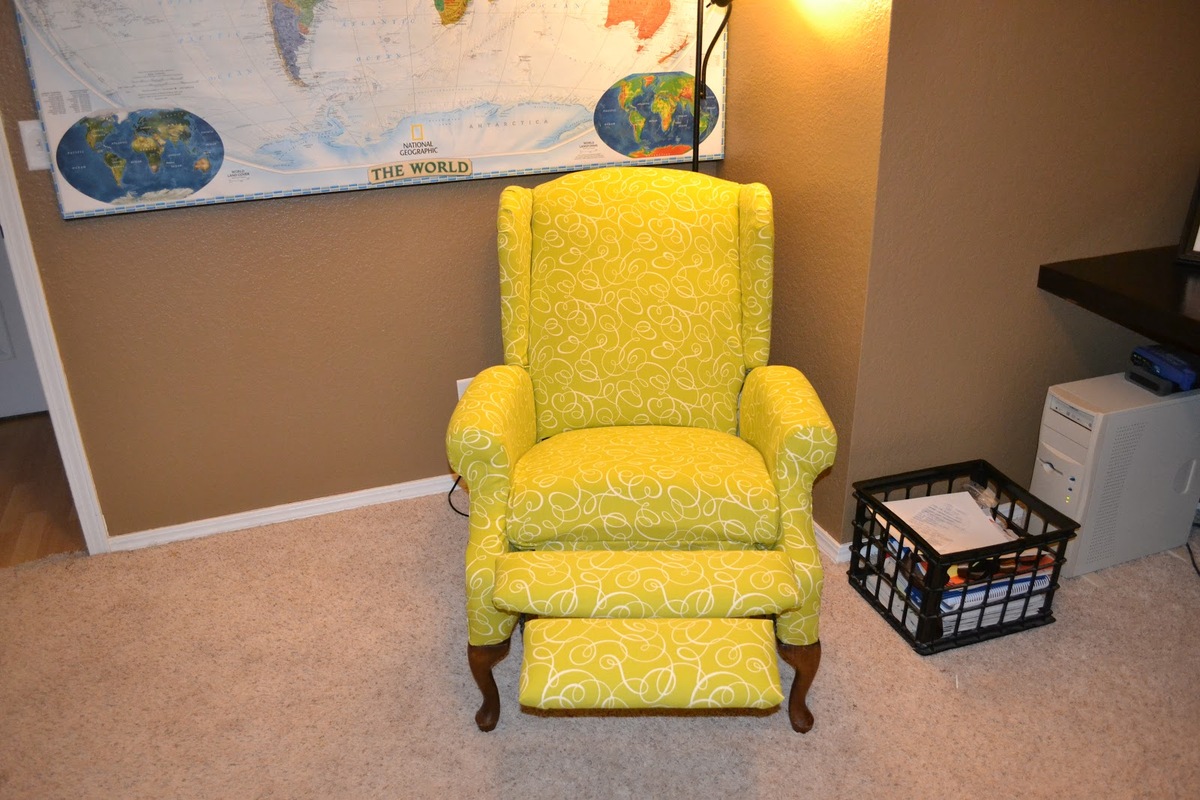
Cutting and Attaching New Upholstery
**
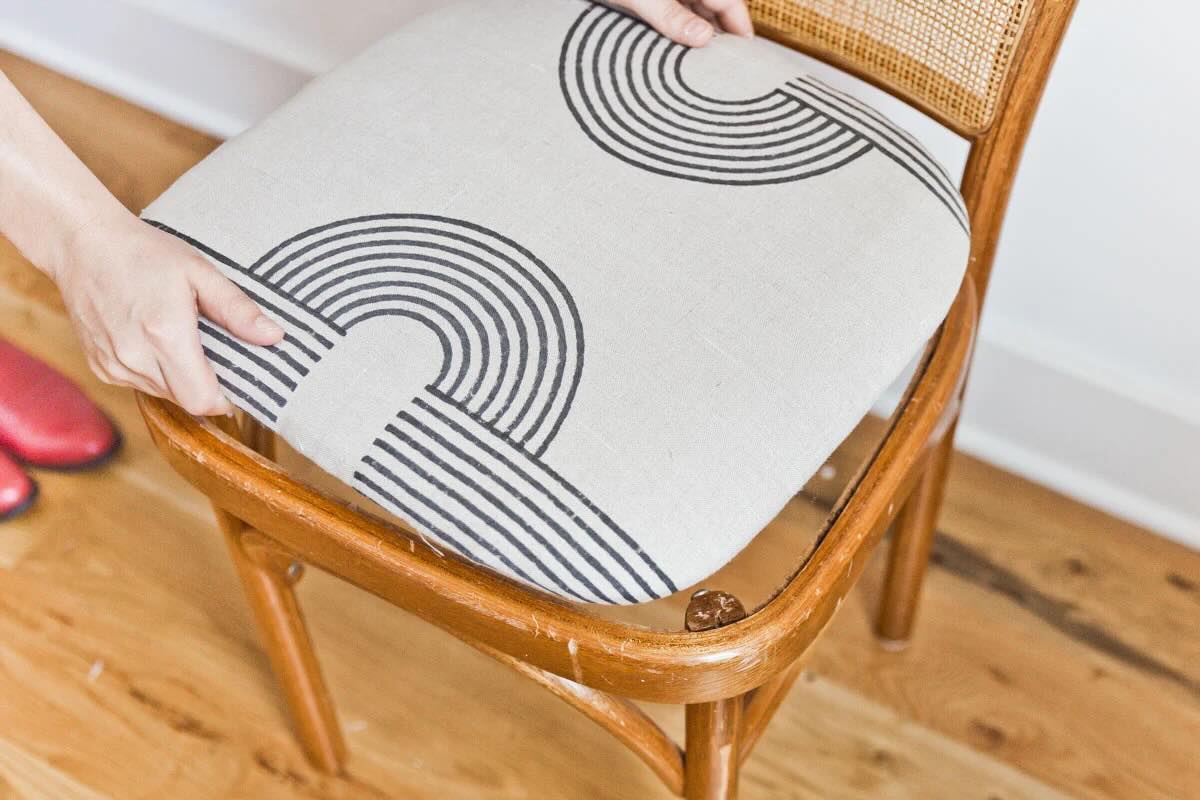
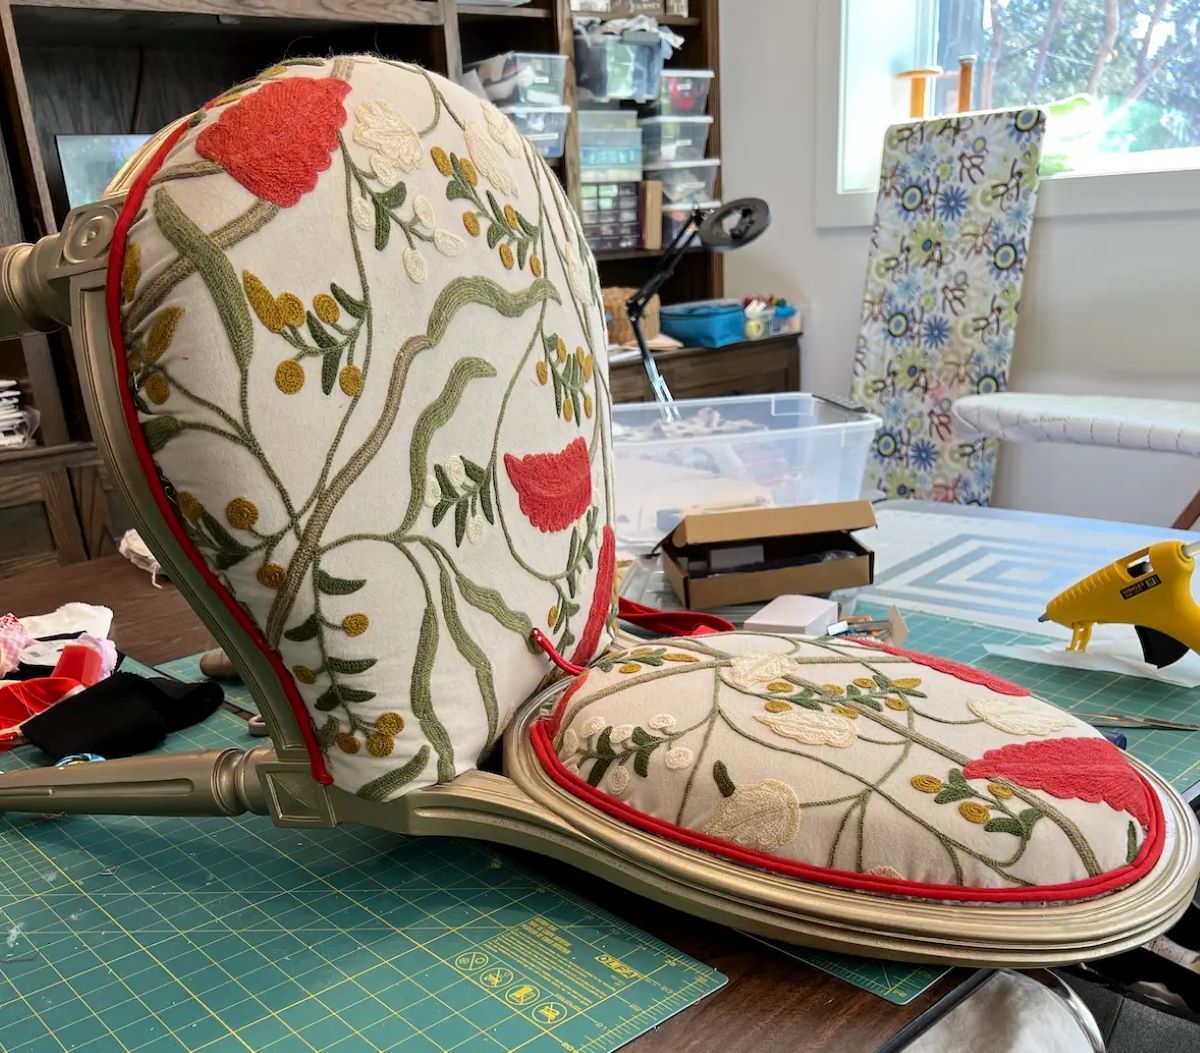
With the frame repaired and prepared, it’s time to breathe new life into your recliner by adorning it with fresh upholstery. This phase involves precision, creativity, and attention to detail as you tailor the fabric to fit the contours of the recliner.
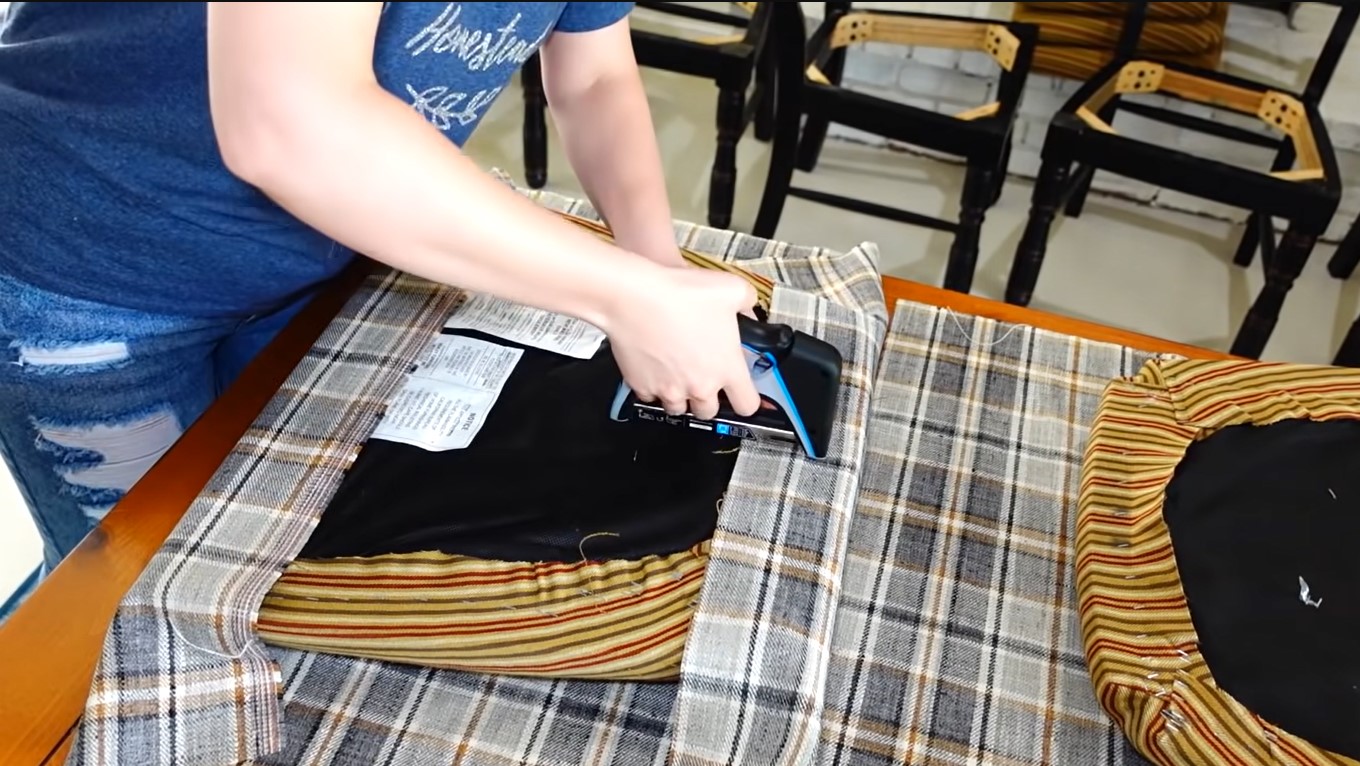
Begin by laying out the old upholstery on a flat surface, using it as a template to trace and cut the new fabric. Ensure that the fabric is positioned in alignment with the pattern or grain, especially if it features a specific design or texture that requires consistent orientation. Take care to leave ample allowance for seams and adjustments, as this will facilitate a snug and polished fit.
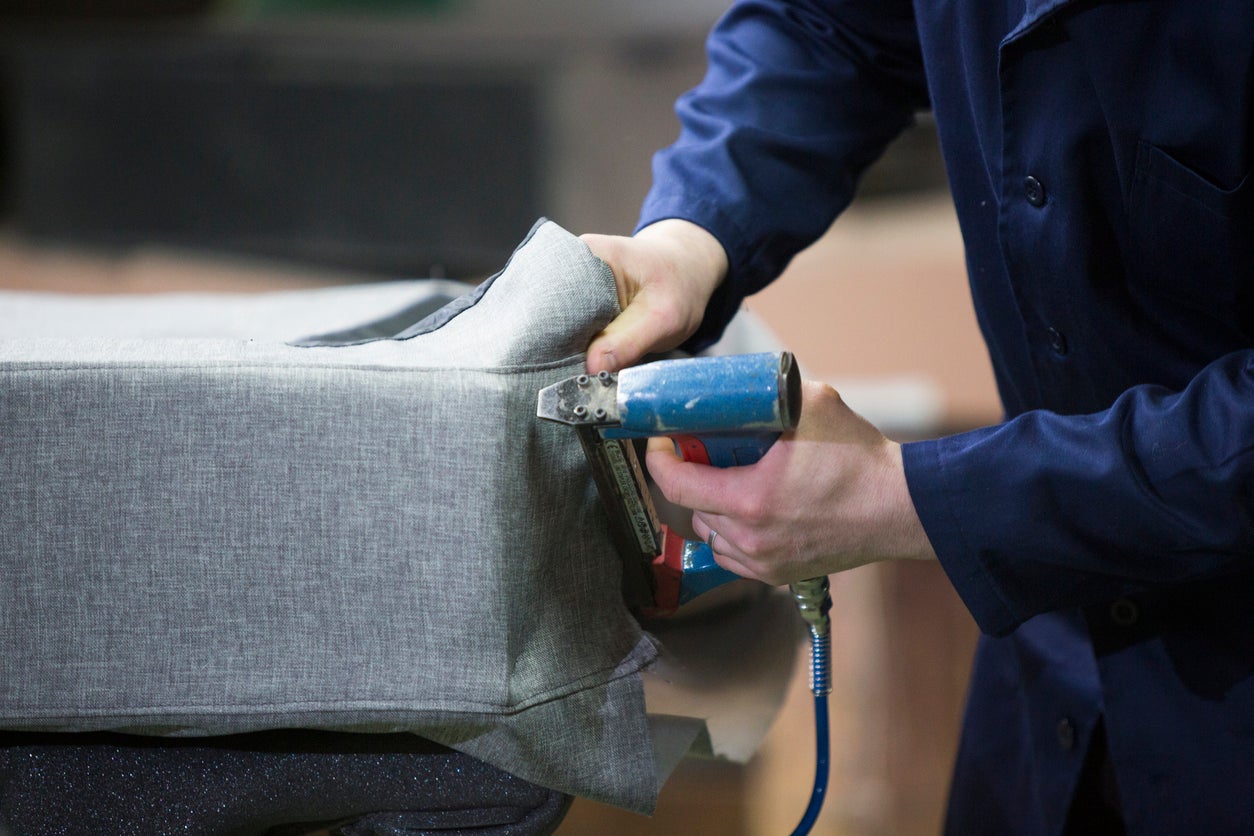
Once the fabric is cut to size, it’s time to affix it to the recliner. Starting with the main sections, carefully drape the fabric over the corresponding areas of the recliner, ensuring a smooth and wrinkle-free appearance. Secure the fabric in place using a staple gun, beginning in the middle of each section and working your way outward. This technique helps to maintain an even tension and prevents the fabric from bunching or shifting.
As you progress, periodically check the fabric’s alignment and tautness, making any necessary adjustments to achieve a seamless and professional finish. For curved or intricate sections, consider creating small pleats or folds in the fabric to accommodate the contours of the recliner, ensuring a tailored and custom look.
When attaching the fabric to the recliner’s frame, pay special attention to the corners and edges, ensuring that they are neatly folded and secured to maintain a clean and polished appearance. Additionally, if the recliner features decorative elements such as piping or tufting, take the time to meticulously integrate these details into the new upholstery, preserving the original charm and character of the piece.
By methodically cutting and attaching the new upholstery, you are infusing your recliner with a fresh identity while preserving its timeless appeal. With the fabric securely in place, you are now poised to move on to the final phase: reassembling the recliner.
**
Read more: How Much To Reupholster A Recliner
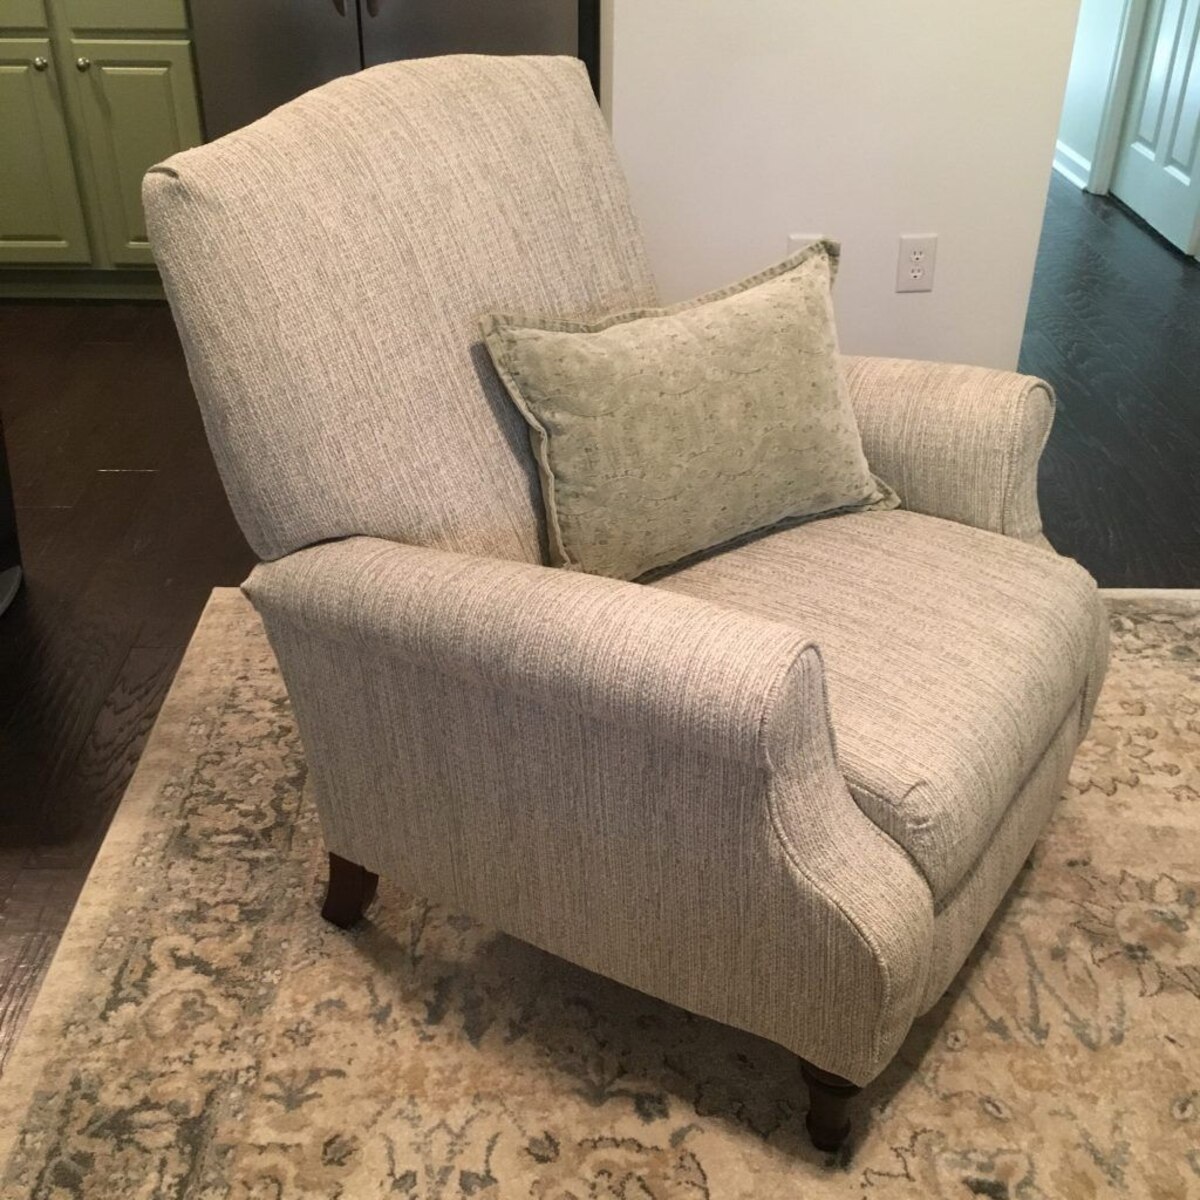
Reassembling the Recliner
**
As you approach the final stage of the reupholstering process, reassembling the recliner requires a meticulous approach to ensure that every component is reinstated with precision and care. This phase marks the culmination of your efforts, transforming a worn-out recliner into a revitalized centerpiece of comfort and style.
Begin by reattaching any components that were removed during the initial stages of the reupholstering process. This may include the reclining mechanism, armrests, and any additional features specific to your recliner model. Follow the manufacturer’s guidelines or reference the notes and photographs taken during disassembly to guide you through this reassembly phase.
As you reintegrate the components, pay close attention to the alignment and functionality of each element, ensuring that they operate smoothly and securely. Lubricate any moving parts as necessary to promote effortless motion and longevity.
Once the components are in place, take a moment to inspect the recliner from all angles, ensuring that the newly upholstered sections harmonize seamlessly and that the fabric is taut and free of imperfections. This visual assessment allows you to make any final adjustments before completing the reassembly process.
Finally, celebrate the culmination of your reupholstering journey by reveling in the transformation of your recliner. Take a moment to appreciate the personalized touches and the revitalized allure that now emanates from this cherished piece of furniture. Whether you’ve opted for a contemporary fabric or preserved a timeless aesthetic, your reupholstered recliner stands as a testament to your creativity and dedication.
With the recliner fully reassembled and restored to its former glory, take a well-deserved moment to relax and bask in the satisfaction of a job well done. Your reupholstered recliner not only serves as a comfortable sanctuary but also as a tangible representation of your craftsmanship and ingenuity.
As you admire the fruits of your labor, you can take pride in knowing that your reupholstered recliner is a reflection of your personal style and a testament to the transformative power of DIY endeavors. Congratulations on successfully reupholstering your recliner and infusing it with a renewed sense of charm and comfort.
**
Conclusion
**
Embarking on the journey of reupholstering a recliner is not merely a creative endeavor; it’s a transformative experience that breathes new life into a beloved piece of furniture. As you’ve navigated through the meticulous process of removing old upholstery, repairing the recliner frame, cutting and attaching new fabric, and reassembling the recliner, you’ve woven your unique touch into every step, infusing the project with personal flair and ingenuity.
Reupholstering a recliner transcends the realm of mere refurbishment; it’s a testament to your resourcefulness, creativity, and dedication to preserving cherished items. By reviving a worn-out recliner, you’ve not only extended its lifespan but also imbued it with a fresh identity that reflects your individual style and taste.
Throughout this journey, you’ve honed your craftsmanship, developing a deeper appreciation for the intricacies of furniture design and upholstery. Your meticulous attention to detail, from selecting the perfect fabric to ensuring a seamless fit, has culminated in a reupholstered recliner that stands as a testament to your skill and artistry.
As you revel in the comfort and beauty of your reupholstered recliner, you’ve also nurtured a sense of accomplishment and pride in your handiwork. The satisfaction of witnessing the transformation of a tired, dated recliner into a revitalized and inviting sanctuary is a testament to your unwavering dedication and perseverance.
Armed with newfound knowledge and experience, you’ve not only reinvigorated a piece of furniture but also cultivated a deeper connection to the art of upholstery and furniture restoration. Your reupholstered recliner is a tangible symbol of your ability to breathe new life into the old and infuse it with renewed charm and allure.
As you continue to enjoy the comfort and elegance of your reupholstered recliner, may it serve as a reminder of the boundless potential for creativity and transformation that resides within your hands. Your reupholstering journey has not only enriched your living space but has also enriched your own sense of capability and creativity.
Congratulations on successfully reupholstering your recliner and embracing the art of transformation with unwavering dedication and flair. Your reupholstered recliner stands as a testament to the power of creativity and the enduring allure of craftsmanship.
Frequently Asked Questions about How To Reupholster A Recliner
Was this page helpful?
At Storables.com, we guarantee accurate and reliable information. Our content, validated by Expert Board Contributors, is crafted following stringent Editorial Policies. We're committed to providing you with well-researched, expert-backed insights for all your informational needs.


0 thoughts on “How To Reupholster A Recliner”