Home>Furniture & Design>Living Room Furniture>How To Move A Dining Table

Living Room Furniture
How To Move A Dining Table
Published: January 5, 2024
Learn how to properly move a dining table without damaging it. Get expert tips and advice on moving living room furniture and design.
(Many of the links in this article redirect to a specific reviewed product. Your purchase of these products through affiliate links helps to generate commission for Storables.com, at no extra cost. Learn more)
Introduction
As the focal point of family gatherings and dinner parties, the dining table holds a special place in the heart of a home. However, when the need arises to relocate this beloved piece of furniture, proper care and attention are essential to ensure its safe and successful transport. Whether you are moving to a new house, rearranging your current living space, or simply giving your dining area a fresh look, knowing how to move a dining table without causing damage is crucial.
In this comprehensive guide, we will walk you through the step-by-step process of moving a dining table with ease and precision. From clearing the area and disassembling the table to protecting the tabletop and safely lifting and carrying the components, we will cover all the necessary precautions and techniques to make your dining table relocation a smooth and stress-free experience.
By following the expert tips and insights provided in this article, you can safeguard your dining table from scratches, dents, and other potential damages, ensuring that it continues to serve as a cherished centerpiece in your home for years to come.
Key Takeaways:
- Protect Your Dining Table
Safeguard your dining table by clearing the area, disassembling it, protecting the tabletop, and using proper lifting techniques. This ensures a smooth and damage-free relocation process. - Reassemble with Care
After moving, reassemble your dining table meticulously, ensuring all components are secure and the table is stable. This attention to detail preserves its integrity for future gatherings and cherished memories.
Read more: How To Stop A Dining Table From Moving
Step 1: Clearing the Area
Before you begin the process of moving your dining table, it is crucial to clear the surrounding area to create a safe and unobstructed path for transportation. Start by removing any chairs, rugs, or decorative items near the table to prevent tripping hazards and to provide ample space for maneuvering. If there are any fragile or valuable items in the vicinity, relocate them to a secure location to avoid accidental damage during the moving process.
Additionally, take note of any obstacles such as door frames, narrow hallways, or tight corners that may pose challenges when moving the table. Measure the dimensions of these spaces and compare them to the size of your dining table to anticipate any potential difficulties. Clearing the path and addressing these considerations beforehand can help streamline the moving process and minimize the risk of accidents or damage.
Furthermore, if the dining table is situated in a room with other furniture pieces, consider rearranging or temporarily relocating them to facilitate a smoother transition. By creating an open and uncluttered environment, you can navigate the table more effectively and reduce the likelihood of obstacles impeding your progress.
By taking the time to clear the area and assess the logistical aspects of the moving process, you can lay the groundwork for a successful and hassle-free dining table relocation.
Step 2: Disassembling the Table
Disassembling your dining table is a crucial step in ensuring its safe and efficient relocation. Before beginning the disassembly process, gather the necessary tools such as screwdrivers, wrenches, and any other implements required to remove bolts, screws, or fasteners holding the table together. It is advisable to place these tools within easy reach to expedite the disassembly process.
Start by removing any tableware, centerpieces, or other items from the tabletop. Clearing the surface will not only make the disassembly process easier but also prevent these items from getting damaged or causing obstructions during the relocation. Once the tabletop is clear, carefully inspect the table to identify any removable components such as detachable legs, extension leaves, or additional sections.
If your dining table has detachable legs, begin by unscrewing or unfastening them from the tabletop. Use the appropriate tools to ensure a secure grip and avoid damaging the legs or the table itself. As you remove each leg, set them aside in a safe and organized manner to prevent misplacement or confusion during reassembly.
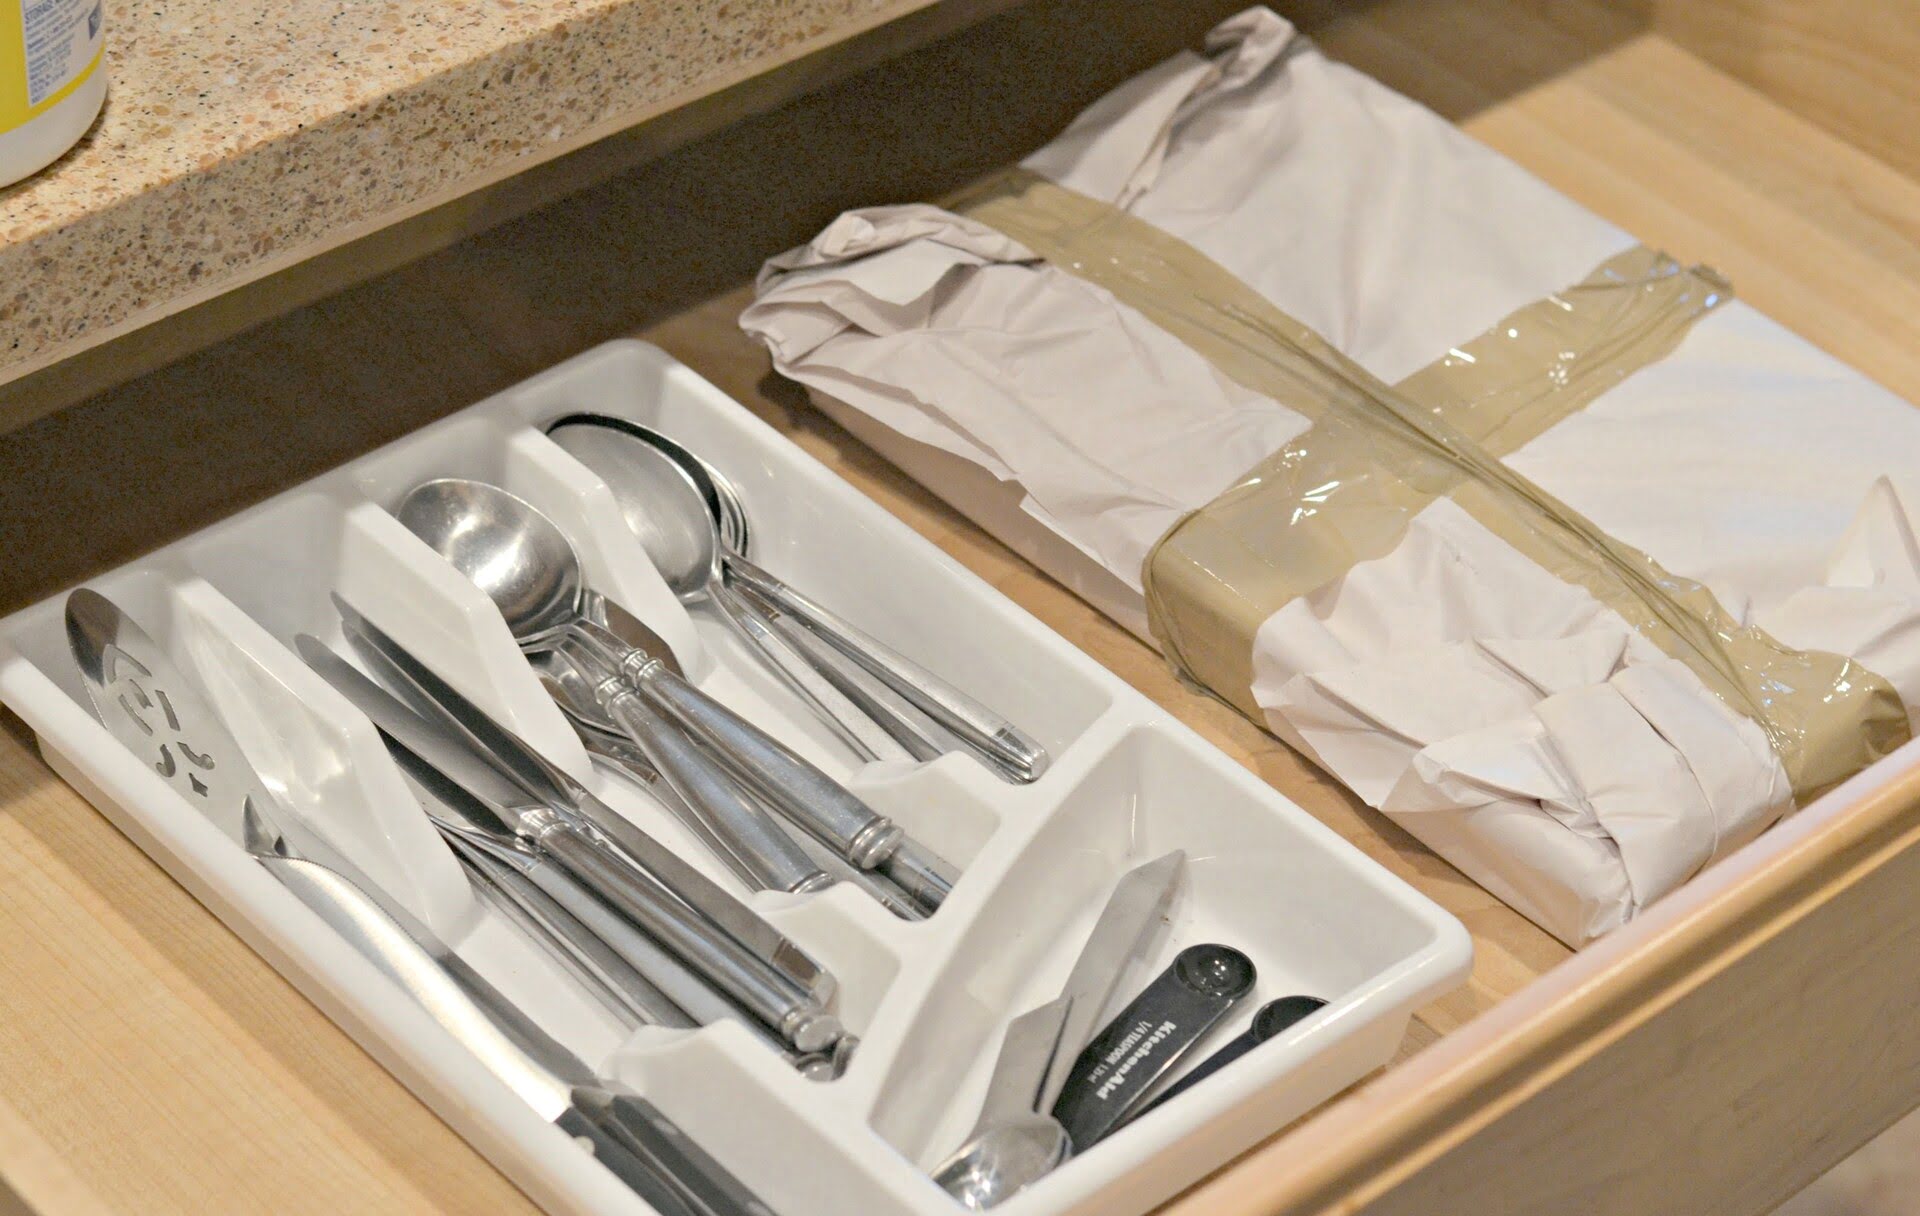
For tables with extension leaves or additional sections, carefully detach these components according to the manufacturer’s instructions. Take note of any mechanisms or locking devices that may be in place to secure the extensions and handle them with care to prevent any accidental damage. Once the table is fully disassembled, gather all the components and store any hardware or fasteners in a labeled container for safekeeping.
By methodically disassembling your dining table and keeping track of all its components, you can ensure a smooth and systematic relocation process, minimizing the risk of damage and simplifying the reassembly at your desired location.
Step 3: Protecting the Tabletop
Once the dining table is disassembled, it’s essential to safeguard the tabletop from potential scratches, dents, or other forms of damage during the moving process. Begin by thoroughly cleaning the tabletop to remove any dust, debris, or food particles that may have accumulated. Use a gentle, non-abrasive cleaner suitable for the table’s material, whether it’s wood, glass, or another surface, to ensure that it is free from any abrasive particles that could cause scratches.
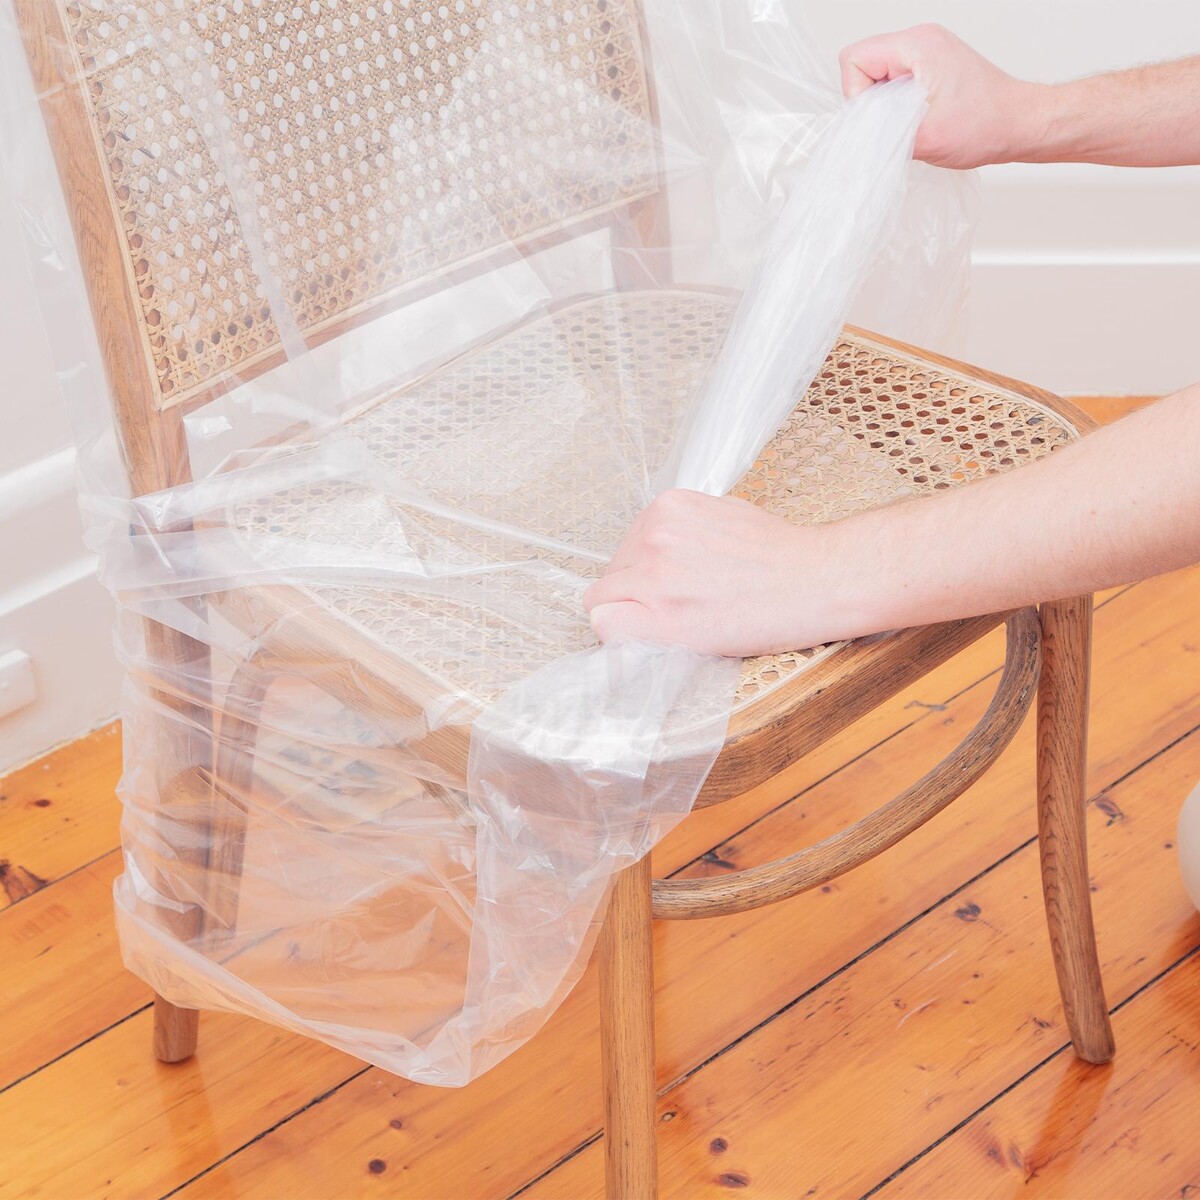
After cleaning the tabletop, protect it from scratches and impact by covering it with a soft, durable material such as moving blankets, furniture pads, or thick layers of bubble wrap. Secure the protective covering in place using strong, non-adhesive packing tape to prevent it from shifting or coming loose during transportation. Ensure that the entire tabletop is adequately covered, paying special attention to the edges and corners, which are particularly susceptible to damage.
For glass tabletops, consider using specifically designed glass protectors or custom-cut cardboard to shield the surface from impact and reduce the risk of breakage. These protective measures are especially important when moving the table through doorways, narrow passages, or when loading it into a moving vehicle, as these scenarios present heightened risks of accidental damage.
Additionally, if the tabletop is made of wood or another material prone to moisture damage, take precautions to protect it from exposure to rain, snow, or humidity during the moving process. Use waterproof covers or tarps to shield the tabletop from the elements, especially if the relocation involves outdoor transportation or storage.
By diligently safeguarding the tabletop from potential harm, you can preserve its pristine condition and ensure that it remains a beautiful and functional centerpiece in your home after the relocation.
When moving a dining table, always remove any detachable parts such as the legs or extension leaves to make it easier to transport. This will also help prevent any damage to the table during the move.
Step 4: Lifting and Carrying the Table
When it comes to moving a dining table, proper lifting and carrying techniques are essential to prevent injury and minimize the risk of damage to the table and its components. Before lifting the table, ensure that all individuals involved in the process are aware of the proper lifting techniques and are physically capable of handling the weight of the table. If the table is particularly heavy or bulky, consider enlisting the assistance of additional movers to distribute the weight and reduce the strain on each individual.
When lifting the table, bend at the knees and keep your back straight to avoid strain and potential injury. If the table is large or cumbersome, consider using moving straps or harnesses to provide additional support and leverage during the lifting process. These tools can help distribute the weight more evenly and allow for better control when navigating through tight spaces or around obstacles.
Once the table is lifted, communicate effectively with your fellow movers to ensure coordinated and synchronized movements. Use verbal cues and establish a clear path for transporting the table, taking into account any potential obstacles or hazards along the way. When navigating doorways or staircases, move slowly and carefully to prevent collisions or accidental impacts that could damage the table or surrounding structures.
When setting the table down, do so gently and with precision to avoid sudden jolts or impacts that could cause damage. If the table has detachable legs or other components, consider transporting them separately to reduce the overall weight and make the lifting and carrying process more manageable.
Throughout the lifting and carrying process, prioritize safety and coordination to ensure that the table reaches its destination unscathed, ready to be reassembled and enjoyed in its new location.
Read more: How To Wrap A Dining Room Table For Moving
Step 5: Reassembling the Table
After safely transporting the disassembled components to their new location, it’s time to reassemble the dining table to restore it to its original form. Begin by gathering all the necessary components, including the tabletop, legs, extension leaves, and any hardware or fasteners required for reassembly. Lay out these components in an organized manner to facilitate a systematic and efficient reassembly process.
If you have kept the hardware and fasteners in a labeled container during the move, retrieve them and ensure that all pieces are accounted for before commencing the reassembly. Inspect the components for any signs of damage or wear that may have occurred during the relocation, addressing any issues before proceeding with the reassembly.
When reattaching the legs to the tabletop, align them carefully and use the appropriate tools to secure them in place, ensuring a snug and stable connection. If your table includes extension leaves, follow the manufacturer’s instructions to insert and secure these components, taking care to verify that they fit seamlessly and securely into the table’s structure.
As you reassemble the table, take your time to ensure that each component is properly aligned and fastened, paying attention to any intricate mechanisms or locking devices that may be present. Avoid using excessive force when tightening fasteners or attaching components to prevent damage to the table’s structure or finish.
Once the table is fully reassembled, inspect it thoroughly to confirm that all components are securely in place and that the table is stable and level. Test any extension leaves to ensure that they function smoothly and lock securely into position, if applicable. Finally, give the tabletop a final wipe-down to remove any dust or debris that may have accumulated during the reassembly process.
By approaching the reassembly process with care and attention to detail, you can restore your dining table to its former glory, ready to once again serve as a centerpiece for shared meals, gatherings, and cherished memories in your home.
Conclusion
Successfully moving a dining table requires careful planning, attention to detail, and a focus on protecting the table from potential damage. By following the step-by-step process outlined in this guide, you can ensure that your dining table is relocated safely and efficiently, ready to take its place in your new living space.
From clearing the area and disassembling the table to protecting the tabletop, lifting and carrying the components, and reassembling the table at its destination, each step plays a vital role in safeguarding the table and preserving its integrity throughout the moving process.
Remember that safety should always be a top priority when moving heavy or bulky items such as a dining table. Enlist the help of friends or family members to assist with lifting and carrying, and use proper lifting techniques to minimize the risk of injury.
Throughout the relocation process, maintain open communication with your moving team and pay attention to the surroundings to avoid collisions or accidental damage. By taking the time to plan and execute each step with care, you can ensure that your dining table arrives at its new location unscathed and ready to be enjoyed.
Whether you are moving to a new home, rearranging your living space, or simply refreshing your dining area, the knowledge and techniques gained from this guide will empower you to move your dining table with confidence and precision.
By treating your dining table with the care it deserves, you can continue to create cherished memories and shared meals around this beloved piece of furniture for years to come.
Frequently Asked Questions about How To Move A Dining Table
Was this page helpful?
At Storables.com, we guarantee accurate and reliable information. Our content, validated by Expert Board Contributors, is crafted following stringent Editorial Policies. We're committed to providing you with well-researched, expert-backed insights for all your informational needs.


0 thoughts on “How To Move A Dining Table”