Home>Furniture & Design>Living Room Furniture>How To Paint A Dining Table Black
Living Room Furniture
How To Paint A Dining Table Black
Modified: January 9, 2024
Learn how to transform your dining table with a sleek black finish. Explore our guide for expert tips and ideas to elevate your living room furniture and design.
(Many of the links in this article redirect to a specific reviewed product. Your purchase of these products through affiliate links helps to generate commission for Storables.com, at no extra cost. Learn more)
Introduction
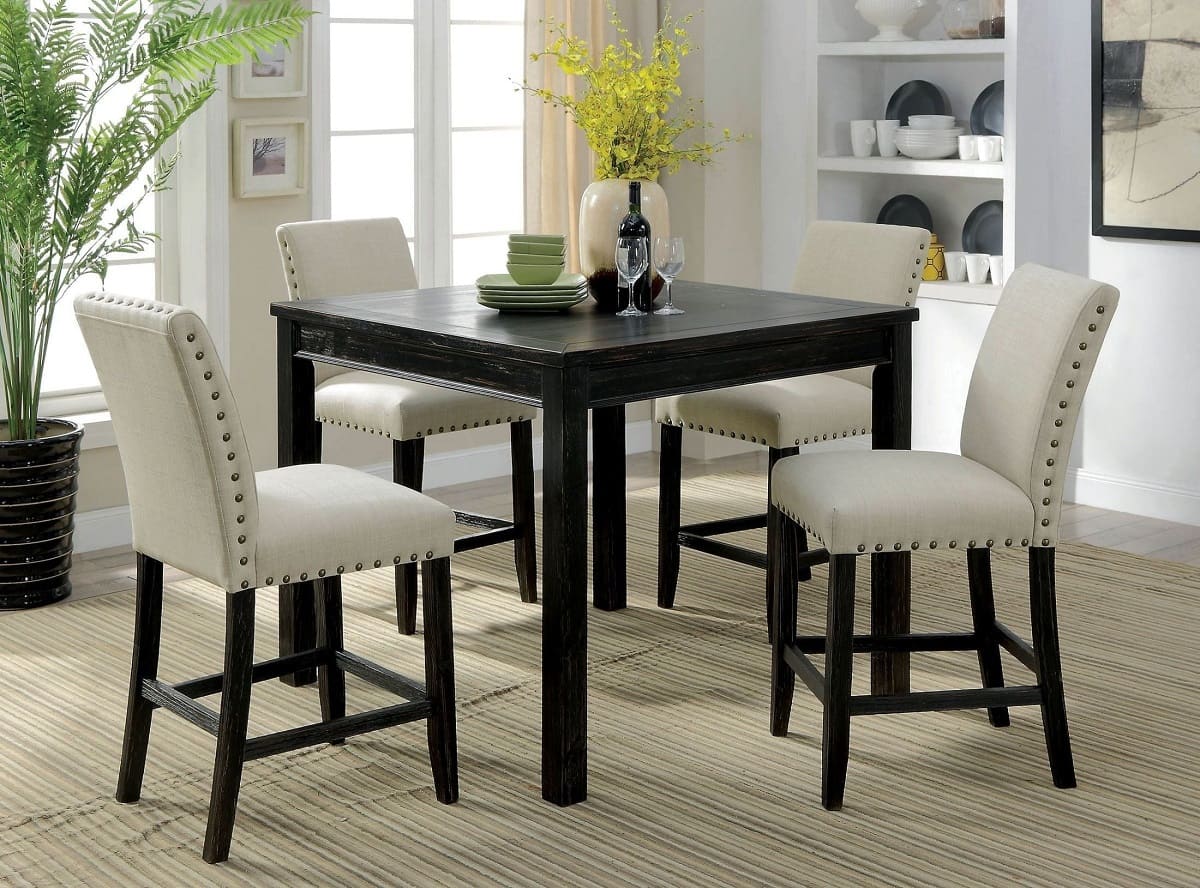
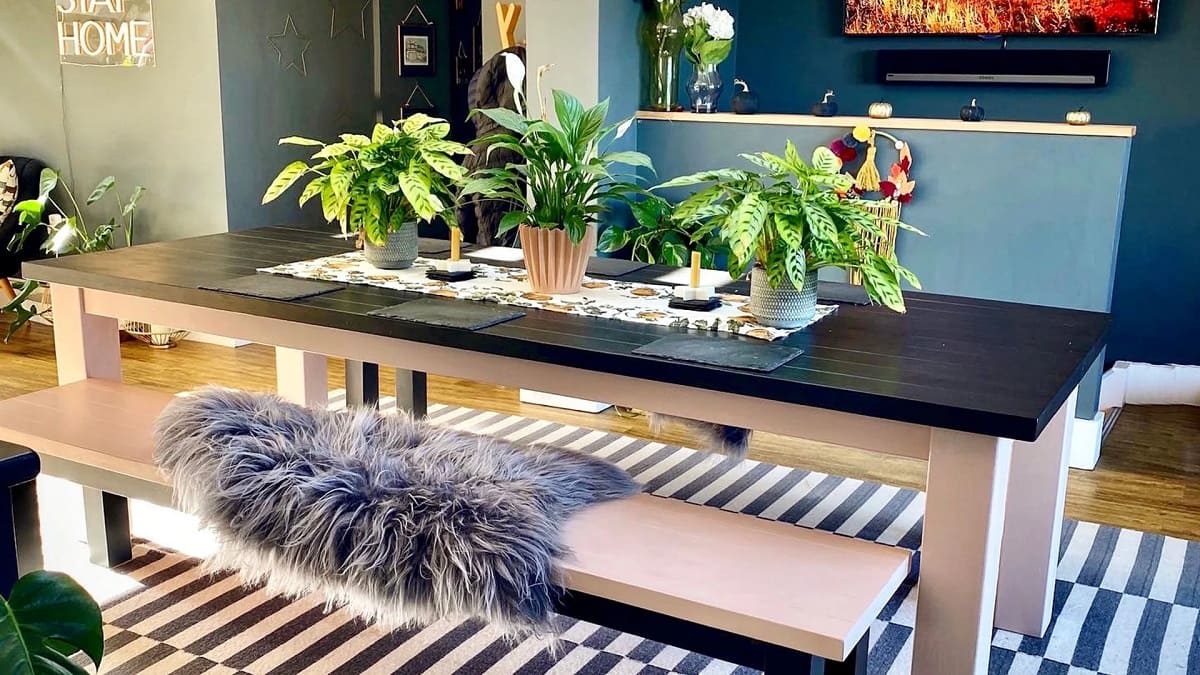
So, you've decided to give your dining table a stunning makeover by painting it black. This bold choice can instantly elevate the aesthetics of your dining space, adding a touch of sophistication and modernity. Whether your table is made of wood, metal, or any other material, a fresh coat of black paint can breathe new life into it, transforming it into a focal point of your dining area.
Before you embark on this creative journey, it's essential to familiarize yourself with the step-by-step process of painting a dining table black. From gathering the necessary materials to executing each stage with precision, this guide will walk you through the entire transformation process. By the end, you'll have the knowledge and confidence to revamp your dining table into a sleek, black statement piece that complements your interior design vision.
Let's delve into the materials you'll need to bring this project to life.
Key Takeaways:
- Transform your dining table into a sleek, black statement piece by following a step-by-step process. From preparation to finishing touches, create a bold and captivating addition to your dining space.
- Elevate your dining area with a modern and sophisticated black-painted table. Embrace the creativity and dedication involved in the transformation, and enjoy the timeless allure it brings to your home.
Read more: How To Paint A Dining Table
Materials Needed
Before you begin the transformation process, it’s crucial to gather all the essential materials. Here’s a comprehensive list of what you’ll need:
- Dining table: The piece you plan to paint black
- Sandpaper: Assorted grits (medium and fine)
- Tack cloth: For removing dust and debris
- Primer: High-quality, suitable for the table’s material
- Black paint: Choose a durable, high-gloss or satin finish
- Paintbrushes or paint sprayer: Depending on your preference
- Painter’s tape: For protecting areas you don’t want to paint
- Drop cloth or plastic sheeting: To protect the surrounding area
- Respirator mask and safety goggles: For personal protection
- Ventilation: Ensure a well-ventilated workspace
- Optional: Paint conditioner or extender for smoother application
- Optional: Clear topcoat for added protection and sheen
Having these materials on hand will streamline the painting process and contribute to a professional, long-lasting finish. Once you’ve gathered everything, it’s time to prepare the table for its stunning black makeover.
Preparation
Preparing the dining table for its black transformation is a crucial first step that sets the foundation for a successful paint job. Follow these preparatory measures to ensure a smooth and professional-looking finish:
1. Clean the Table: Start by thoroughly cleaning the table to remove any dust, dirt, or residue. Use a mild detergent solution and a clean cloth to wipe down the entire surface. Allow the table to dry completely before proceeding to the next step.
2. Remove Hardware: If your table has any hardware such as knobs or decorative elements, consider removing them to facilitate the painting process. This will also prevent the hardware from getting inadvertently painted.
3. Protect Surrounding Area: Cover the floor with a drop cloth or plastic sheeting to prevent accidental paint splatters. Additionally, use painter’s tape to protect any areas of the table that you don’t want to paint, such as metal accents or decorative edges.
4. Ensure Ventilation: Set up your workspace in a well-ventilated area, preferably outdoors or in a space with open windows. Adequate ventilation is essential for a safe and comfortable painting experience.
5. Personal Protection: Prioritize your safety by wearing a respirator mask and safety goggles to protect yourself from paint fumes and potential airborne particles.
With these preparatory steps completed, your dining table is now primed and ready for the next phase: sanding. This crucial step will create a smooth surface for the primer and paint to adhere to, ensuring a flawless black finish.
Sanding
Once the table is clean and prepared, the next step is sanding. This process is essential for achieving a flawless, long-lasting finish. Follow these steps to sand your dining table effectively:
1. Select the Right Sandpaper: Begin by choosing medium-grit sandpaper (around 120-150 grit) to remove any existing finish, imperfections, or rough spots on the table’s surface. Once the initial sanding is complete, switch to fine-grit sandpaper (220-300 grit) for a smoother finish.
2. Sand with the Grain: Always sand in the direction of the wood grain to avoid creating visible scratches or marks. This technique ensures a uniform and professional-looking result.
3. Even Pressure: Apply even pressure as you sand, focusing on areas with existing finish or rough patches. Take your time to achieve a consistent surface texture across the entire table.
4. Smooth Edges and Corners: Pay special attention to the table’s edges and corners, as these areas can be challenging to sand effectively. Use a sanding block or folded sandpaper to gently smooth these intricate areas.
5. Clean Thoroughly: After sanding, use a tack cloth to remove all sanding dust from the table’s surface. It’s crucial to eliminate any debris before moving on to the next step.
By meticulously sanding your dining table, you’ll create an ideal canvas for the primer and black paint. The smooth and evenly sanded surface will ensure optimal adhesion and a professional-quality finish. With the sanding complete, the next stage involves applying a high-quality primer to prepare the table for its striking black coat.
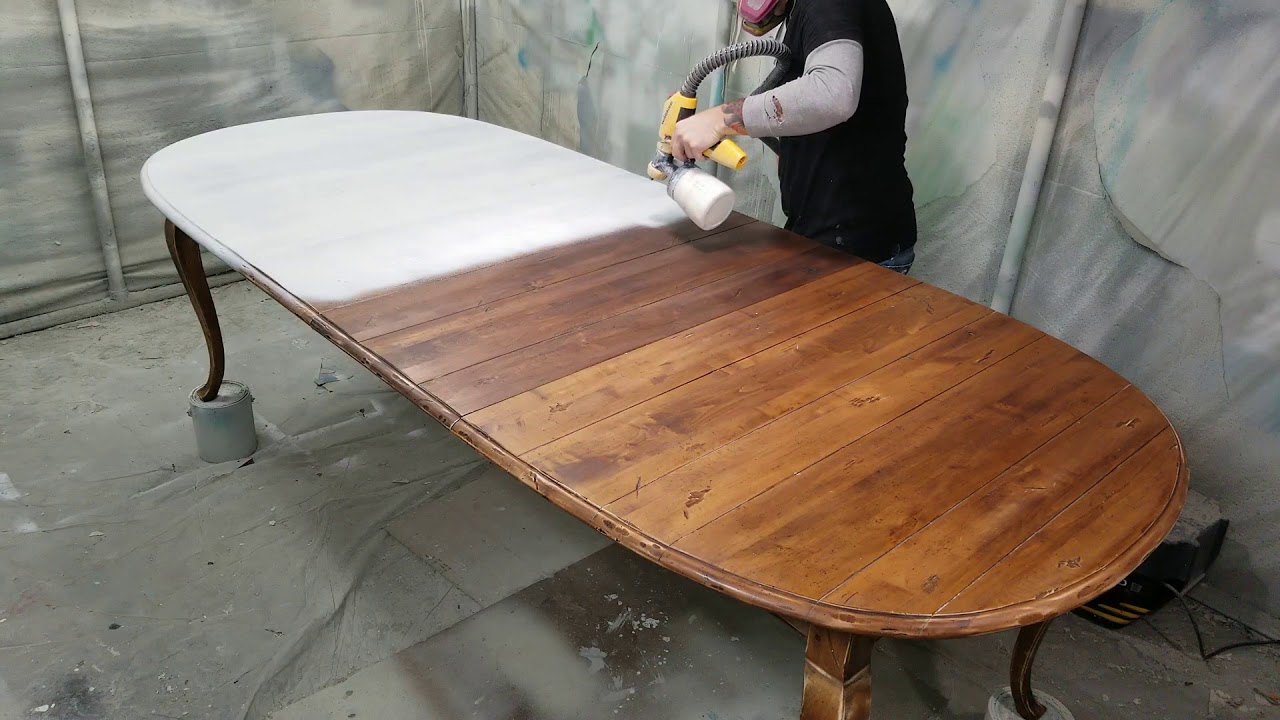
Before painting a dining table black, make sure to sand the surface to create a smooth base for the paint. Use a high-quality primer to ensure the black paint adheres well and lasts longer.
Priming
Priming your dining table is a pivotal step that sets the stage for the black paint to adhere seamlessly and provides a durable foundation for a long-lasting finish. Follow these essential guidelines to prime your table effectively:
1. Choose the Right Primer: Select a high-quality primer specifically designed for the material of your dining table. For wooden tables, a wood primer is ideal, while metal tables require a primer formulated for metal surfaces. Ensure the primer is compatible with the black paint you’ll be using.
2. Prepare the Primer: Stir the primer thoroughly to achieve a consistent texture. If the primer is too thick, you can add a small amount of paint conditioner or extender to improve its flow and application.
3. Apply the Primer: Use a high-quality paintbrush or paint sprayer to apply an even coat of primer to the entire table surface. Work in smooth, overlapping strokes to ensure comprehensive coverage. Pay attention to any intricate details or carvings, ensuring the primer reaches all crevices.
4. Allow for Drying Time: Follow the manufacturer’s instructions regarding the drying time for the primer. It’s essential to allow sufficient time for the primer to dry completely before proceeding to the next stage. This typically ranges from a few hours to overnight drying, depending on the specific primer used.
5. Inspect for Uniform Coverage: Once the primer is dry, inspect the table surface to ensure it has been uniformly covered. Look for any missed spots or uneven areas, and touch up as needed to achieve a consistent base for the black paint.
By priming your dining table meticulously, you’re creating an optimal surface for the black paint to adhere to, promoting enhanced durability and a professional-quality finish. With the primer applied and dried, the stage is set for the transformative step of painting your table black.
Read more: How To Decorate A Black Dining Table
Painting
The painting stage is where your dining table begins its stunning transformation into a sleek, black statement piece. Follow these steps to achieve a flawless black finish that enhances the visual appeal of your table:
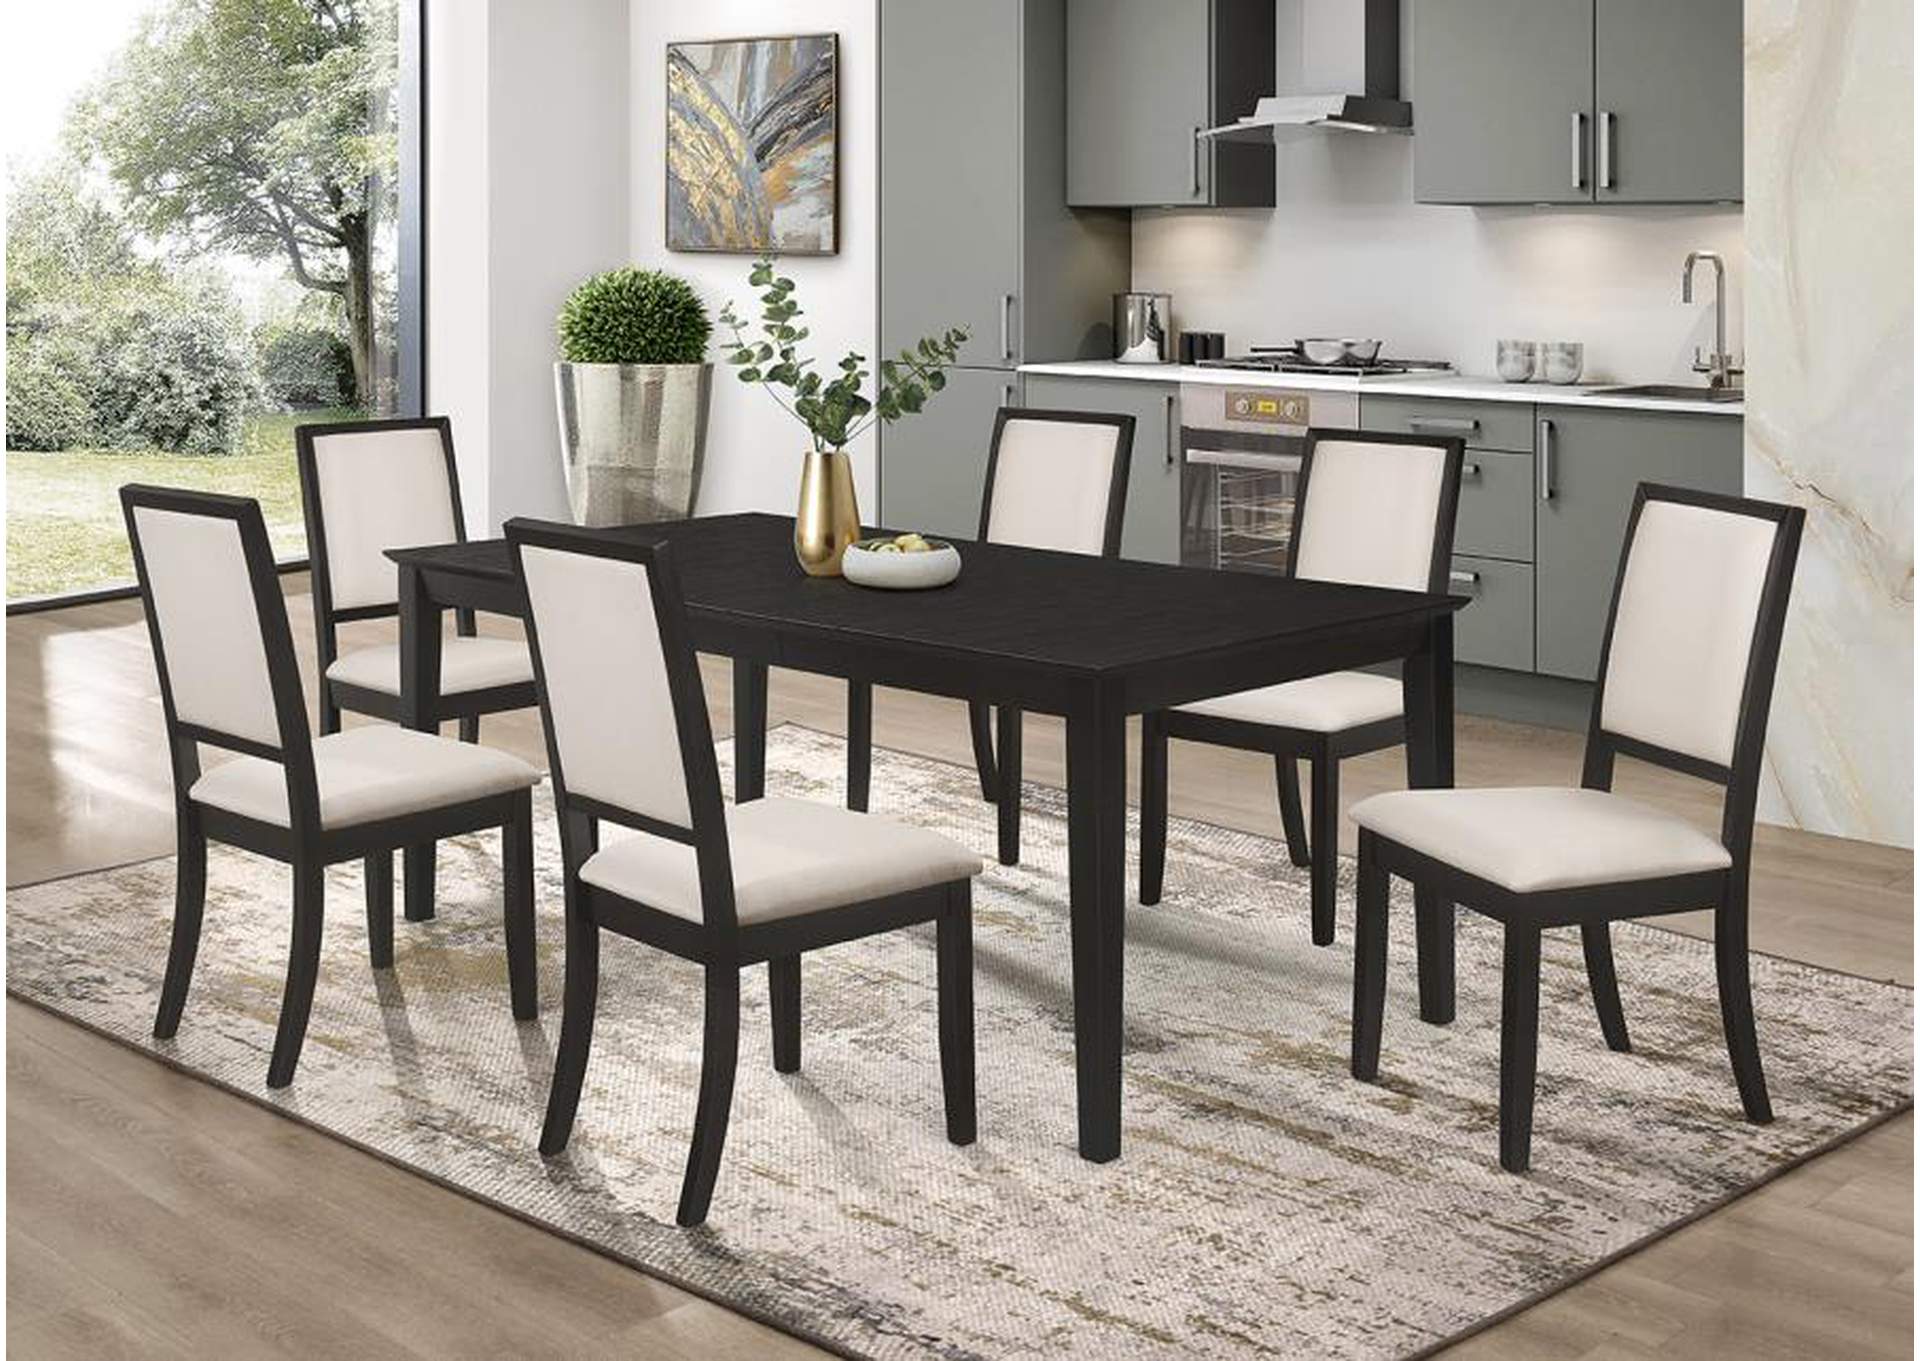
1. Choose High-Quality Black Paint: Select a durable, high-gloss or satin finish black paint that is specifically formulated for the material of your dining table. Ensure the paint is compatible with the primer you’ve applied for optimal adhesion and longevity.
2. Prepare the Workspace: Set up a well-ventilated area for painting, ideally outdoors or in a space with open windows. Protect the surrounding area with a drop cloth or plastic sheeting to prevent accidental paint splatters.
3. Apply the First Coat: Using a high-quality paintbrush or paint sprayer, apply the first coat of black paint to the table surface. Work methodically, using smooth and even strokes to achieve comprehensive coverage. Pay attention to any intricate details or carvings, ensuring the paint reaches all crevices.
4. Allow for Drying Time: Follow the manufacturer’s instructions regarding the drying time for the first coat of paint. It’s essential to allow sufficient time for the paint to dry completely before applying additional coats. This typically ranges from a few hours to overnight drying, depending on the specific paint used.
5. Apply Additional Coats: Depending on the coverage and depth of color you desire, apply additional coats of black paint as needed. Ensure each coat is dry before applying the next to avoid uneven or streaky results. Multiple thin coats are preferable to a single thick coat for a smooth and professional finish.
6. Inspect for Uniformity: Once the final coat of black paint has dried, carefully inspect the table surface for uniform coverage and a consistent black finish. Touch up any missed spots or uneven areas to ensure a flawless result.
By meticulously painting your dining table with precision and care, you’re imparting a bold and elegant black hue that revitalizes the entire piece. With the black paint applied and dried, the final stage involves adding the finishing touches to complete the transformation.
Finishing Touches
As your freshly painted dining table emerges in a striking black hue, the finishing touches will elevate its appearance and ensure long-lasting durability. Follow these essential steps to complete the transformation with finesse:
1. Optional Clear Topcoat: For added protection and sheen, consider applying a clear topcoat specifically formulated for the type of paint you’ve used. This extra layer can enhance the table’s durability and provide a lustrous finish. Follow the manufacturer’s instructions for application and drying time.
2. Reattach Hardware: If you removed any hardware such as knobs or decorative elements during the preparation phase, now is the time to reattach them. Ensure they complement the table’s new black aesthetic, adding a cohesive and polished look to the piece.
3. Inspect and Touch Up: Thoroughly inspect the table for any imperfections or areas that may require touch-ups. Address any blemishes or uneven spots with a small brush and matching black paint, ensuring a seamless and flawless finish.
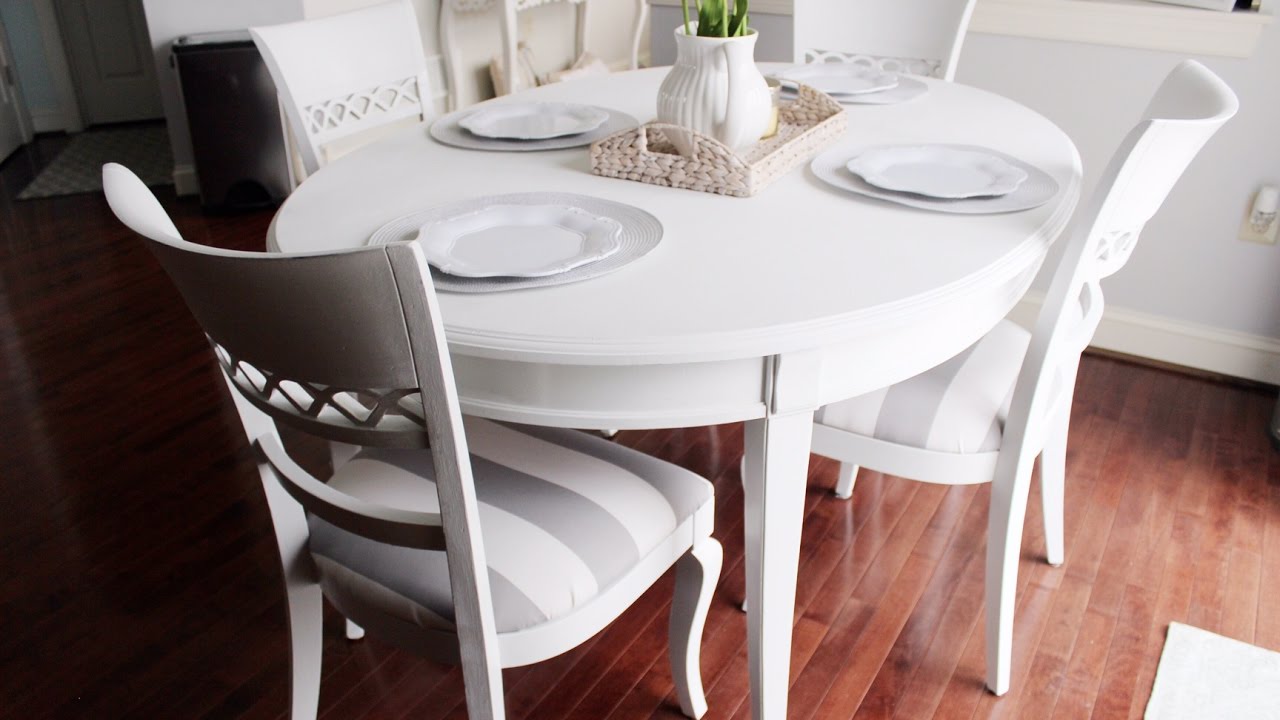
4. Clean and Protect: Once the table is fully transformed, clean the surface gently with a soft, damp cloth to remove any dust or particles. Consider using a suitable furniture polish or wax to protect the painted surface and enhance its luster.
5. Admire Your Handiwork: Take a step back and admire the stunning result of your efforts. Your dining table has undergone a remarkable metamorphosis, now exuding a contemporary and elegant allure that enhances your dining space.
By attending to these finishing touches, you’re ensuring that your black-painted dining table not only looks exquisite but also maintains its allure for years to come. With the transformation complete, your dining table stands as a testament to your creativity and dedication to enhancing your living space.
Conclusion
Congratulations on successfully transforming your dining table with a bold and captivating black finish. The journey from a conventional table to a modern statement piece has been a rewarding and creative endeavor, culminating in a stunning addition to your living space.
By meticulously following the step-by-step process, you’ve not only revitalized the aesthetic appeal of your dining table but also gained valuable insights into the art of furniture transformation. The careful preparation, precise sanding, thorough priming, and meticulous painting have collectively contributed to the creation of a durable and visually striking centerpiece for your dining area.
As you admire your handiwork, take pride in the attention to detail and dedication that have gone into this project. The black-painted dining table now stands as a testament to your flair for interior design and your ability to breathe new life into existing furniture.
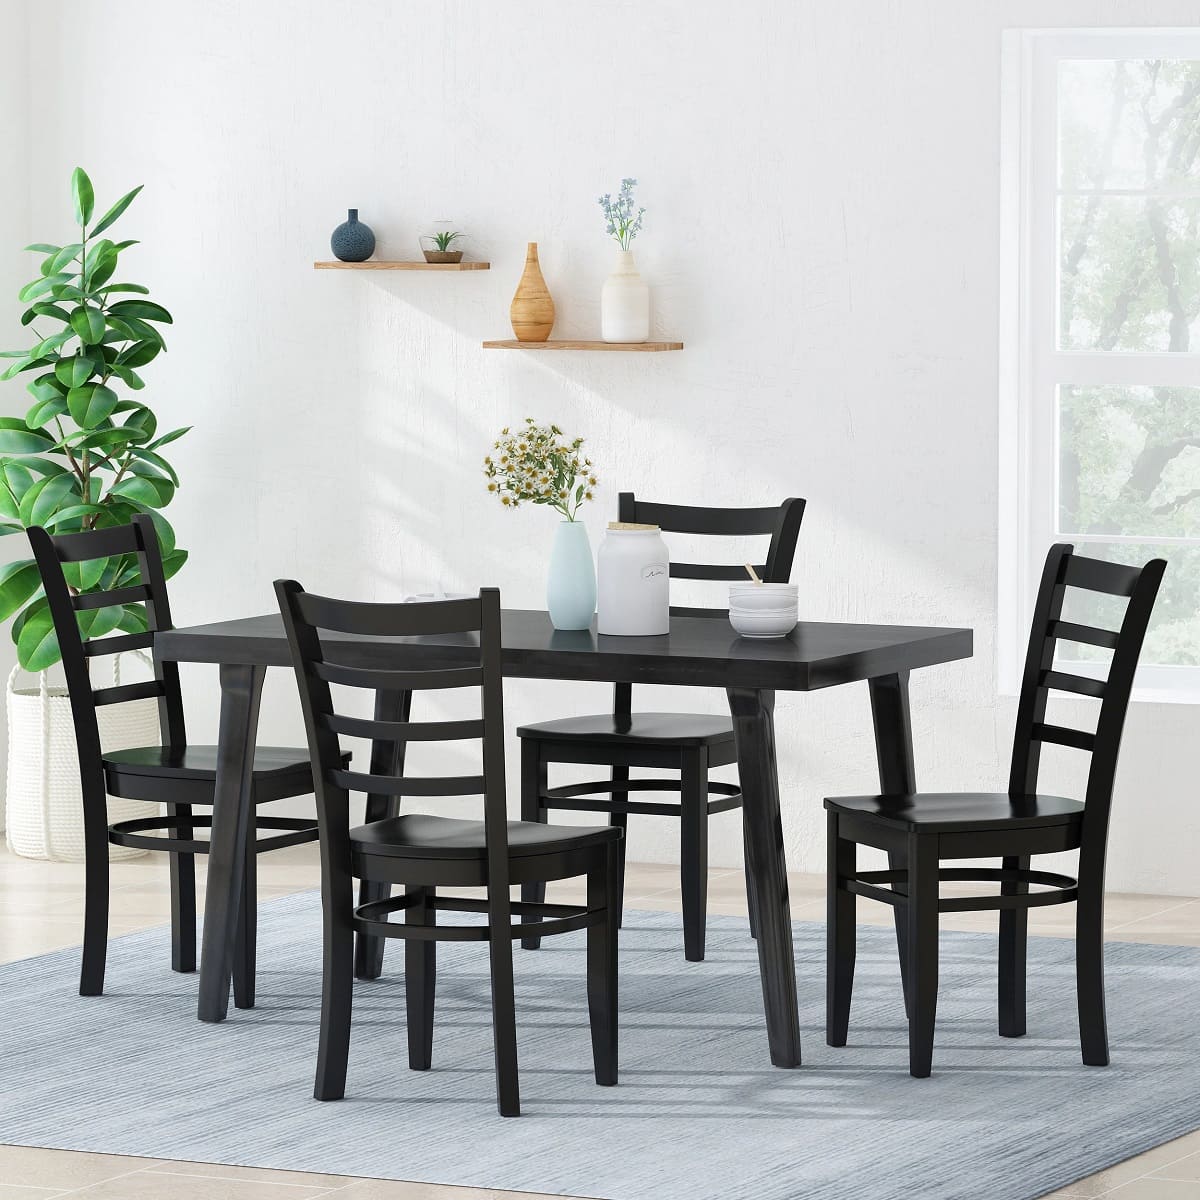
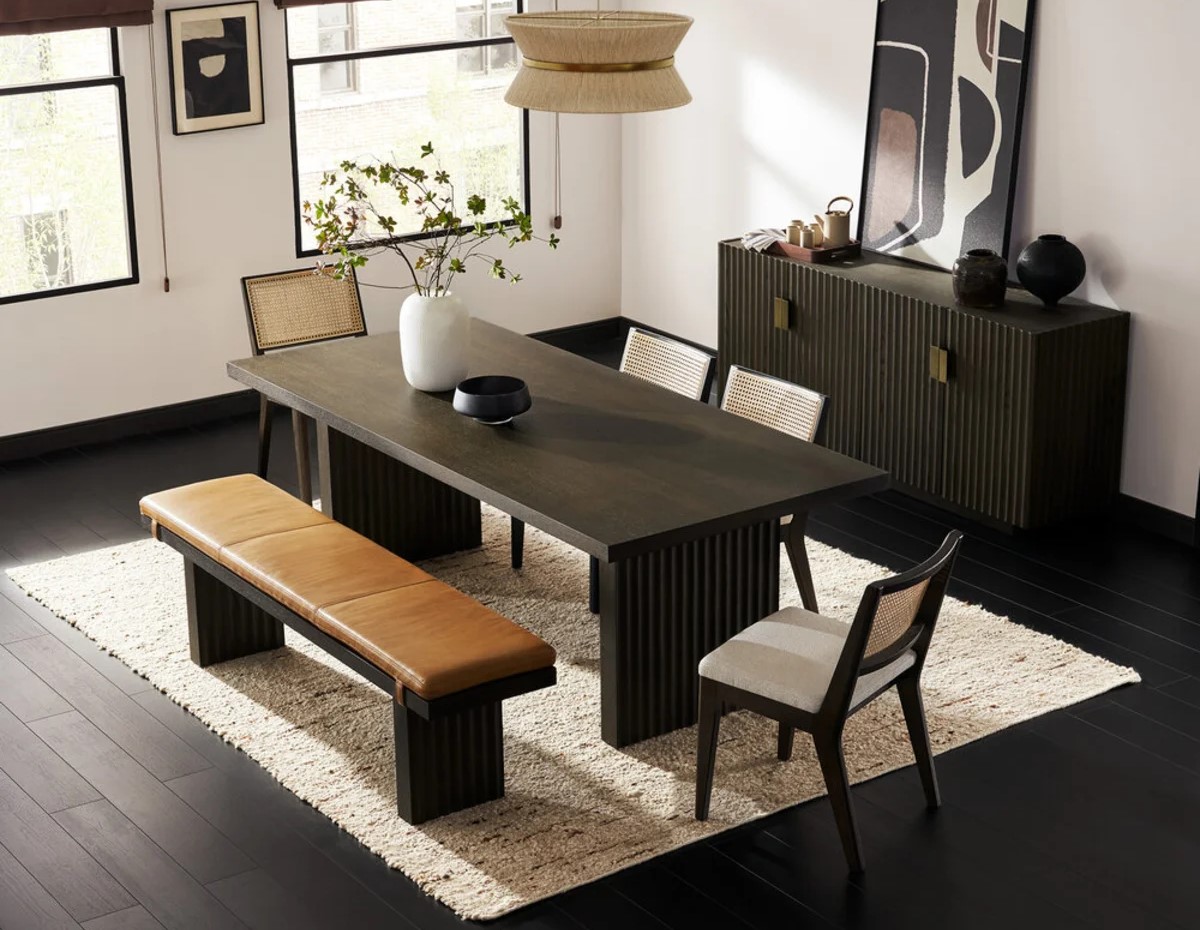
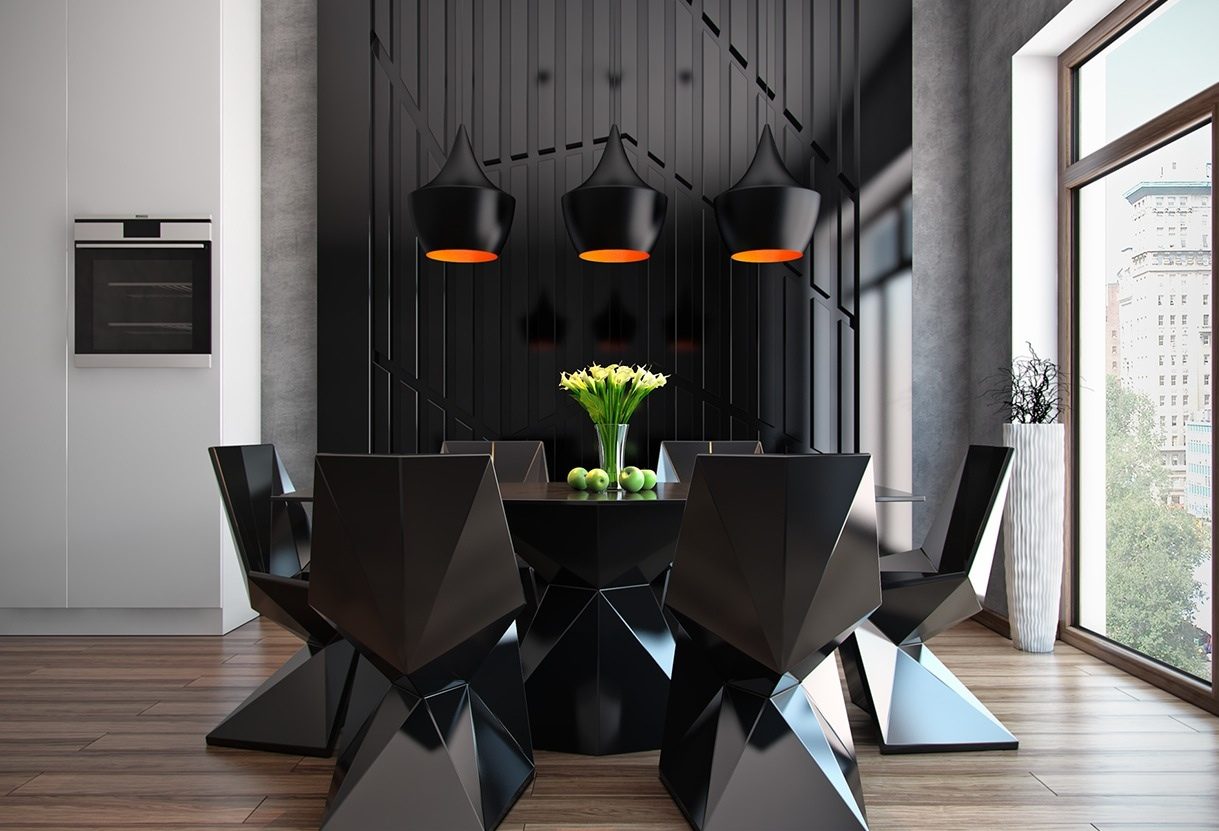
With its sleek black finish, the table serves as a versatile canvas for various dining décor styles, effortlessly complementing a range of color schemes and design motifs. Whether your space exudes contemporary elegance, industrial chic, or classic sophistication, the black table adds a touch of modernity and sophistication to the ambiance.
As you gather around the revamped table for meals, gatherings, and cherished moments, its renewed allure will undoubtedly become a focal point of conversation and admiration. Your guests will appreciate the bold yet timeless aesthetic that the black finish brings to the dining space.
Embrace the newfound charm and versatility of your black-painted dining table, and let it inspire further creative endeavors in your home. Your commitment to enhancing your living space through thoughtful and skillful transformations is a testament to your passion for design and your ability to infuse personality into every aspect of your home.
With the completion of this transformative project, your dining table now stands as a testament to your creativity, vision, and dedication to achieving a stylish and inviting living environment. Cheers to your successful black table makeover and the enduring elegance it brings to your home!
Frequently Asked Questions about How To Paint A Dining Table Black
Was this page helpful?
At Storables.com, we guarantee accurate and reliable information. Our content, validated by Expert Board Contributors, is crafted following stringent Editorial Policies. We're committed to providing you with well-researched, expert-backed insights for all your informational needs.

0 thoughts on “How To Paint A Dining Table Black”