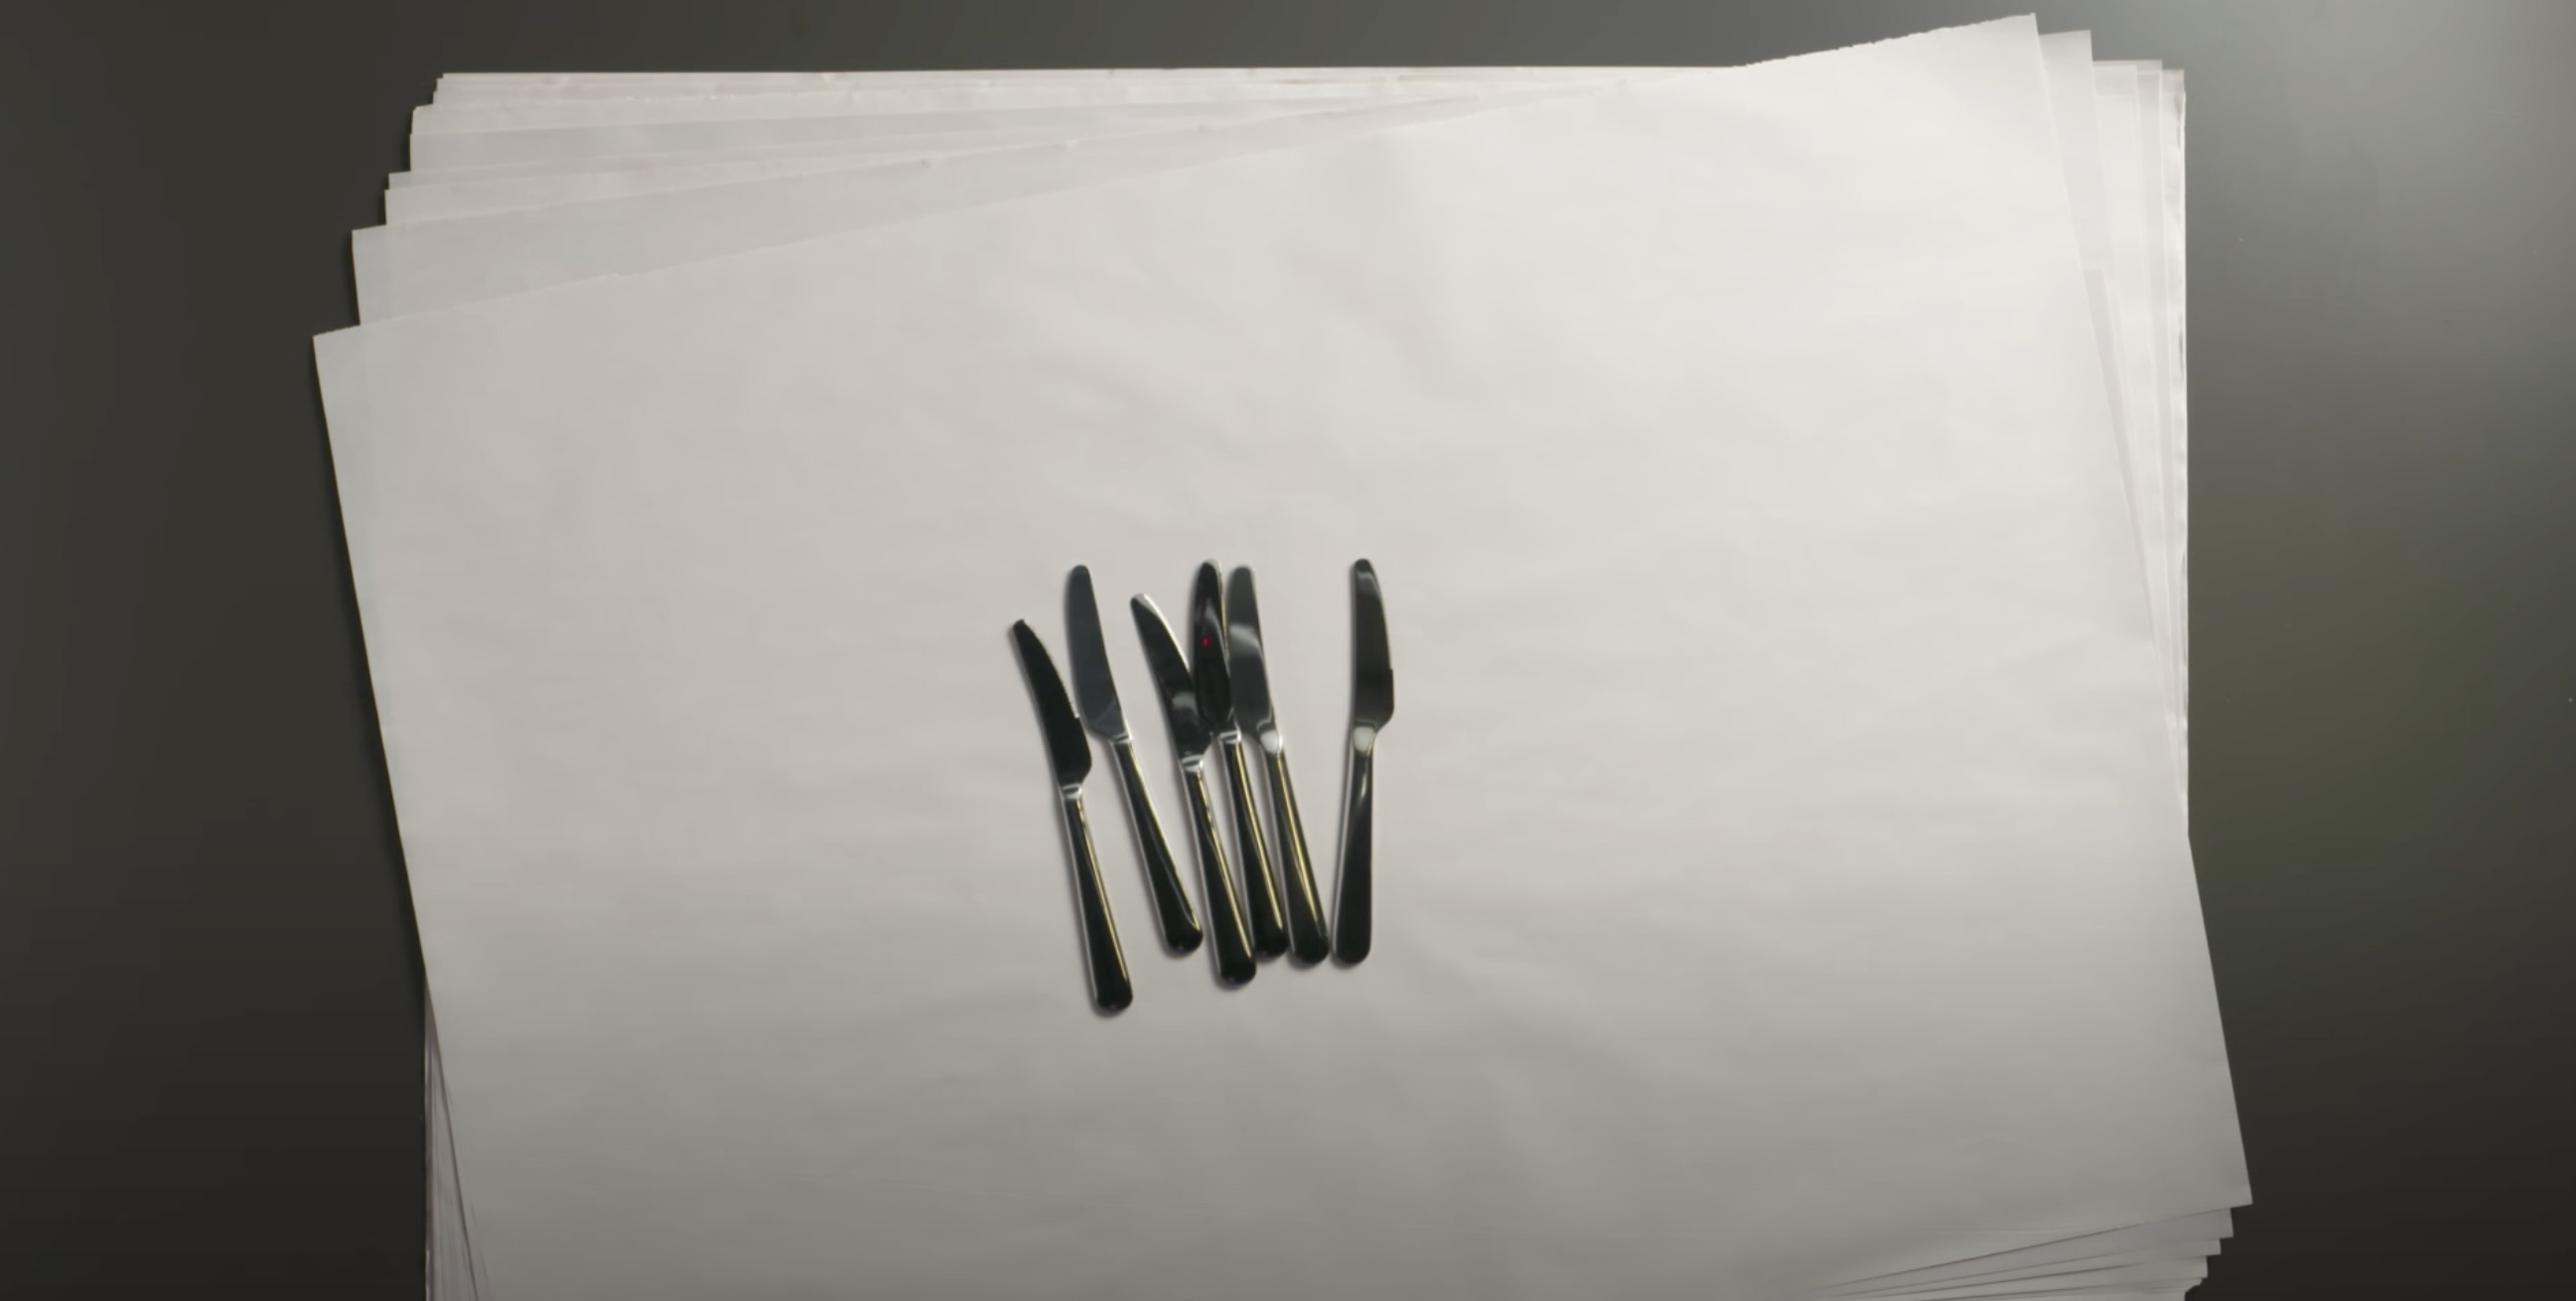
Tableware
How To Pack Silverware For Moving
Modified: December 7, 2023
Learn the best way to pack tableware, including silverware, for your upcoming move. Keep your valuable items safe and secure during the transit process with these expert tips.
(Many of the links in this article redirect to a specific reviewed product. Your purchase of these products through affiliate links helps to generate commission for Storables.com, at no extra cost. Learn more)
Introduction
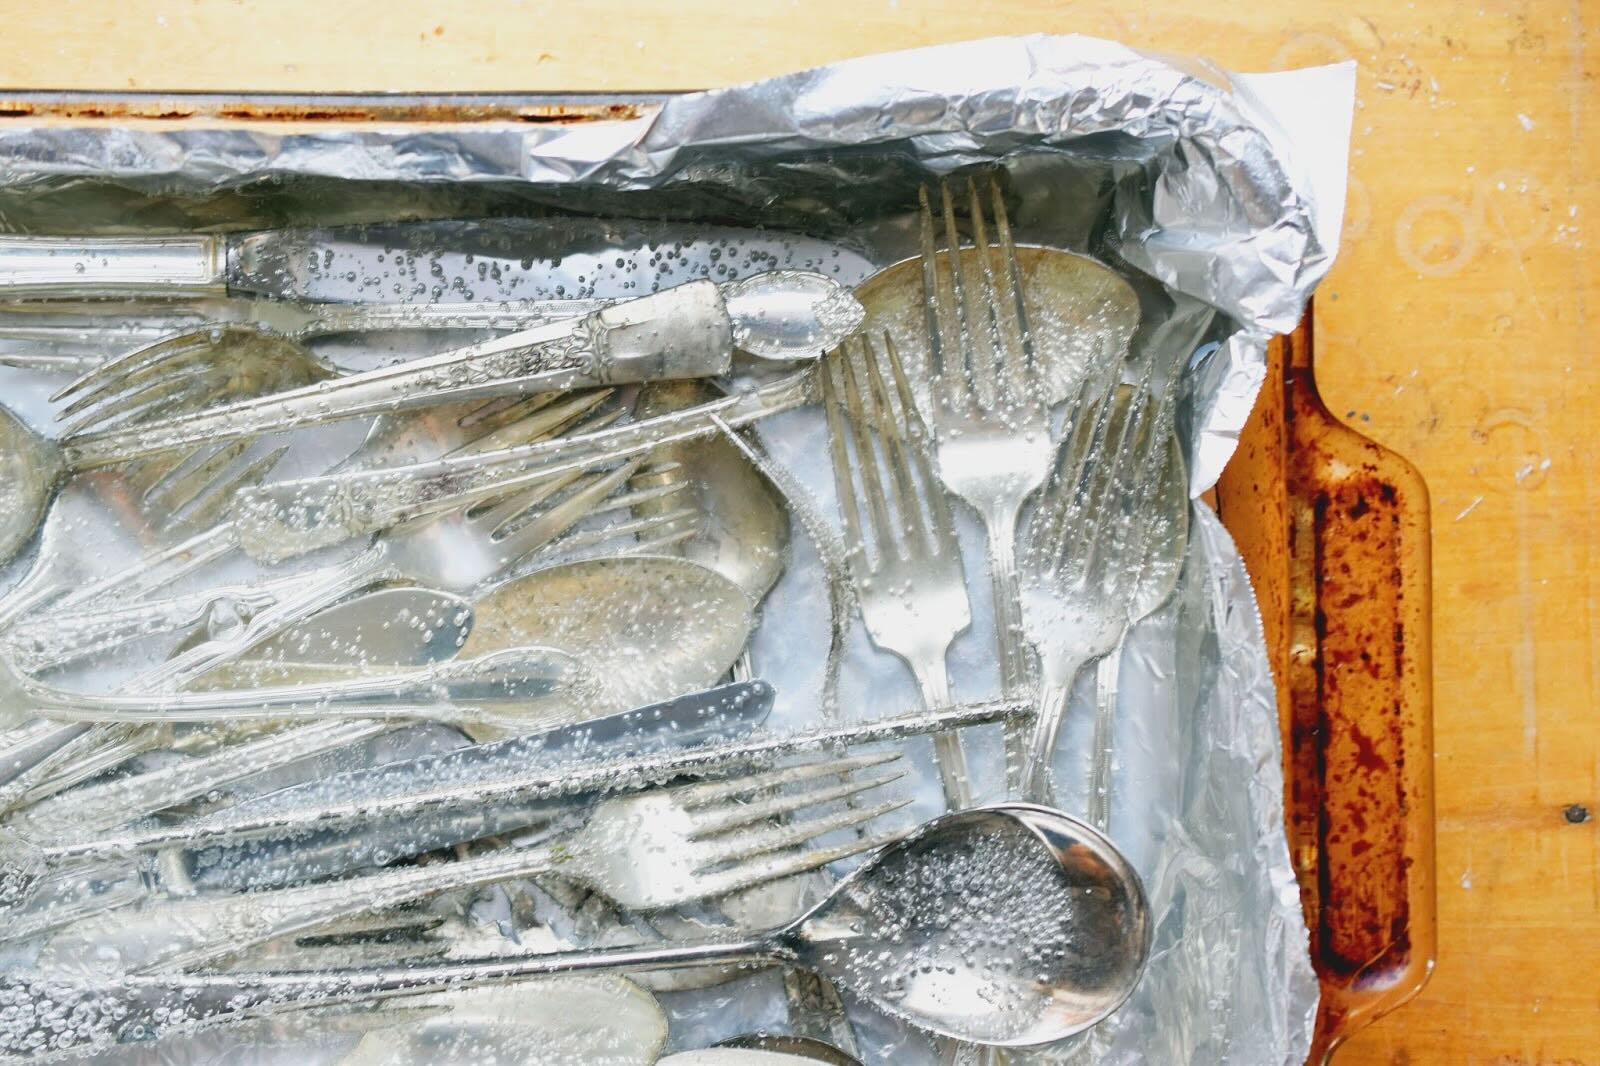
When it comes to moving, packing can be a daunting task. One important item that requires careful attention and packing is your silverware. Whether you have a collection of expensive sterling silver pieces or everyday stainless steel utensils, protecting them during the move is essential to prevent damage. This article will guide you on how to properly pack your silverware to ensure it arrives safely at your new home.
Packing silverware requires a few essential supplies and a systematic approach to ensure each piece is properly protected. By following these steps, you can streamline the packing process and have peace of mind knowing that your silverware will make the journey without any scratches or damage.
Before we get started, it’s important to gather the necessary packing supplies. You will need:
- Packing paper or bubble wrap
- Packing tape
- Boxes of varying sizes
- Marker for labeling
Now that you have all the supplies ready, let’s dive into the process of packing your silverware for the move.
Key Takeaways:
- Protect your silverware during a move by gathering essential supplies, sorting and organizing, wrapping each piece individually, securing bundles, and packing them in labeled boxes for a stress-free unpacking experience.
- Ensure the safety of your valuable silverware by carefully wrapping and bundling each piece, selecting appropriate box sizes, labeling and sealing boxes, and creating an inventory list for a smooth transition to your new home.
Read more: How To Pack A Mattress For Moving
Supplies Needed
Before you begin packing your silverware, make sure you have all the necessary supplies on hand. Here’s what you’ll need:
- Packing paper or bubble wrap: This will be used to wrap each individual piece of silverware, providing cushioning and protection during the move. Both packing paper and bubble wrap are excellent options, but bubble wrap offers an extra layer of protection for delicate or valuable silverware.
- Packing tape: You’ll need packing tape to secure your wrapped silverware bundles and seal the boxes.
- Boxes of varying sizes: Choose sturdy boxes that are appropriate for the amount of silverware you have. Opt for smaller boxes for heavier silverware and larger boxes for lightweight utensils.
- Marker for labeling: Having a marker on hand will allow you to properly label your boxes, making it easier to unpack and find your silverware at your new home.
Having these supplies ready before you start packing will ensure a smoother and more organized packing process.
Sorting and Organizing
Before you start wrapping and packing your silverware, it’s important to sort and organize them. This will help you keep track of your utensils and make unpacking more efficient. Here’s how to sort and organize your silverware:
- Categorize by type: Begin by separating your silverware into different categories, such as forks, spoons, knives, and serving utensils. This will make it easier to pack them later and keep them organized during the move.
- Remove any disposable or damaged items: Take a moment to check your silverware collection and remove any disposable or damaged items that you don’t want to pack. This could include plastic utensils or bent or tarnished silverware.
- Consider packing sets or individual pieces: Depending on your preference, you can either pack your silverware in sets (i.e., complete sets of forks, spoons, etc.) or individually wrap each piece. If you choose to wrap them individually, be prepared for more time and packing materials.
- Organize by size: If you’re packing individual pieces, consider organizing them by size within each category. This will make it easier to locate specific silverware items later.
- Keep valuable or delicate pieces separate: If you have any valuable or delicate silverware pieces, it’s a good idea to keep them separate for extra protection. Wrap them carefully and label them accordingly.
By sorting and organizing your silverware before packing, you ensure that each piece is accounted for and that unpacking will be a breeze at your new home. Now that you have your silverware categorized and ready to pack, let’s move on to the next step: wrapping each individual piece for protection.
Wrapping Silverware Individually
Now that your silverware is sorted and organized, it’s time to start wrapping each individual piece for added protection during the move. Follow these steps to ensure proper wrapping:
- Prepare your wrapping materials: Cut out squares of packing paper or bubble wrap large enough to wrap around each piece of silverware. If using packing paper, you can fold it diagonally to create a triangle shape.
- Start with one piece at a time: Take a piece of silverware, such as a fork or spoon, and lay it at the center of the packing paper or bubble wrap. Make sure the handle is aligned with one of the edges.
- Wrap the silverware: Carefully fold the paper or bubble wrap over the silverware, starting with the handle and working towards the utensil end. Tuck in any excess paper or bubble wrap to secure it in place.
- Twist the ends: Once the silverware is wrapped, twist the ends of the packing paper or bubble wrap to ensure a snug fit. This will provide extra protection against any movement or shifting during transit.
- Secure with tape: Use a small piece of packing tape to secure the twisted ends of the wrapping material. This will ensure that the silverware remains wrapped and protected.
- Repeat for each piece: Continue this process for each individual piece of silverware, wrapping them one by one. Take your time to ensure that each piece is properly wrapped and secured.
Remember that delicate or valuable silverware may require additional layers of wrapping or extra care. If you’re uncertain about the wrapping process for a particular piece, consult with a professional or take extra precautions to ensure its safety.
Once all your silverware is individually wrapped, you’re ready to move on to the next step: securing the silverware bundles for packing.
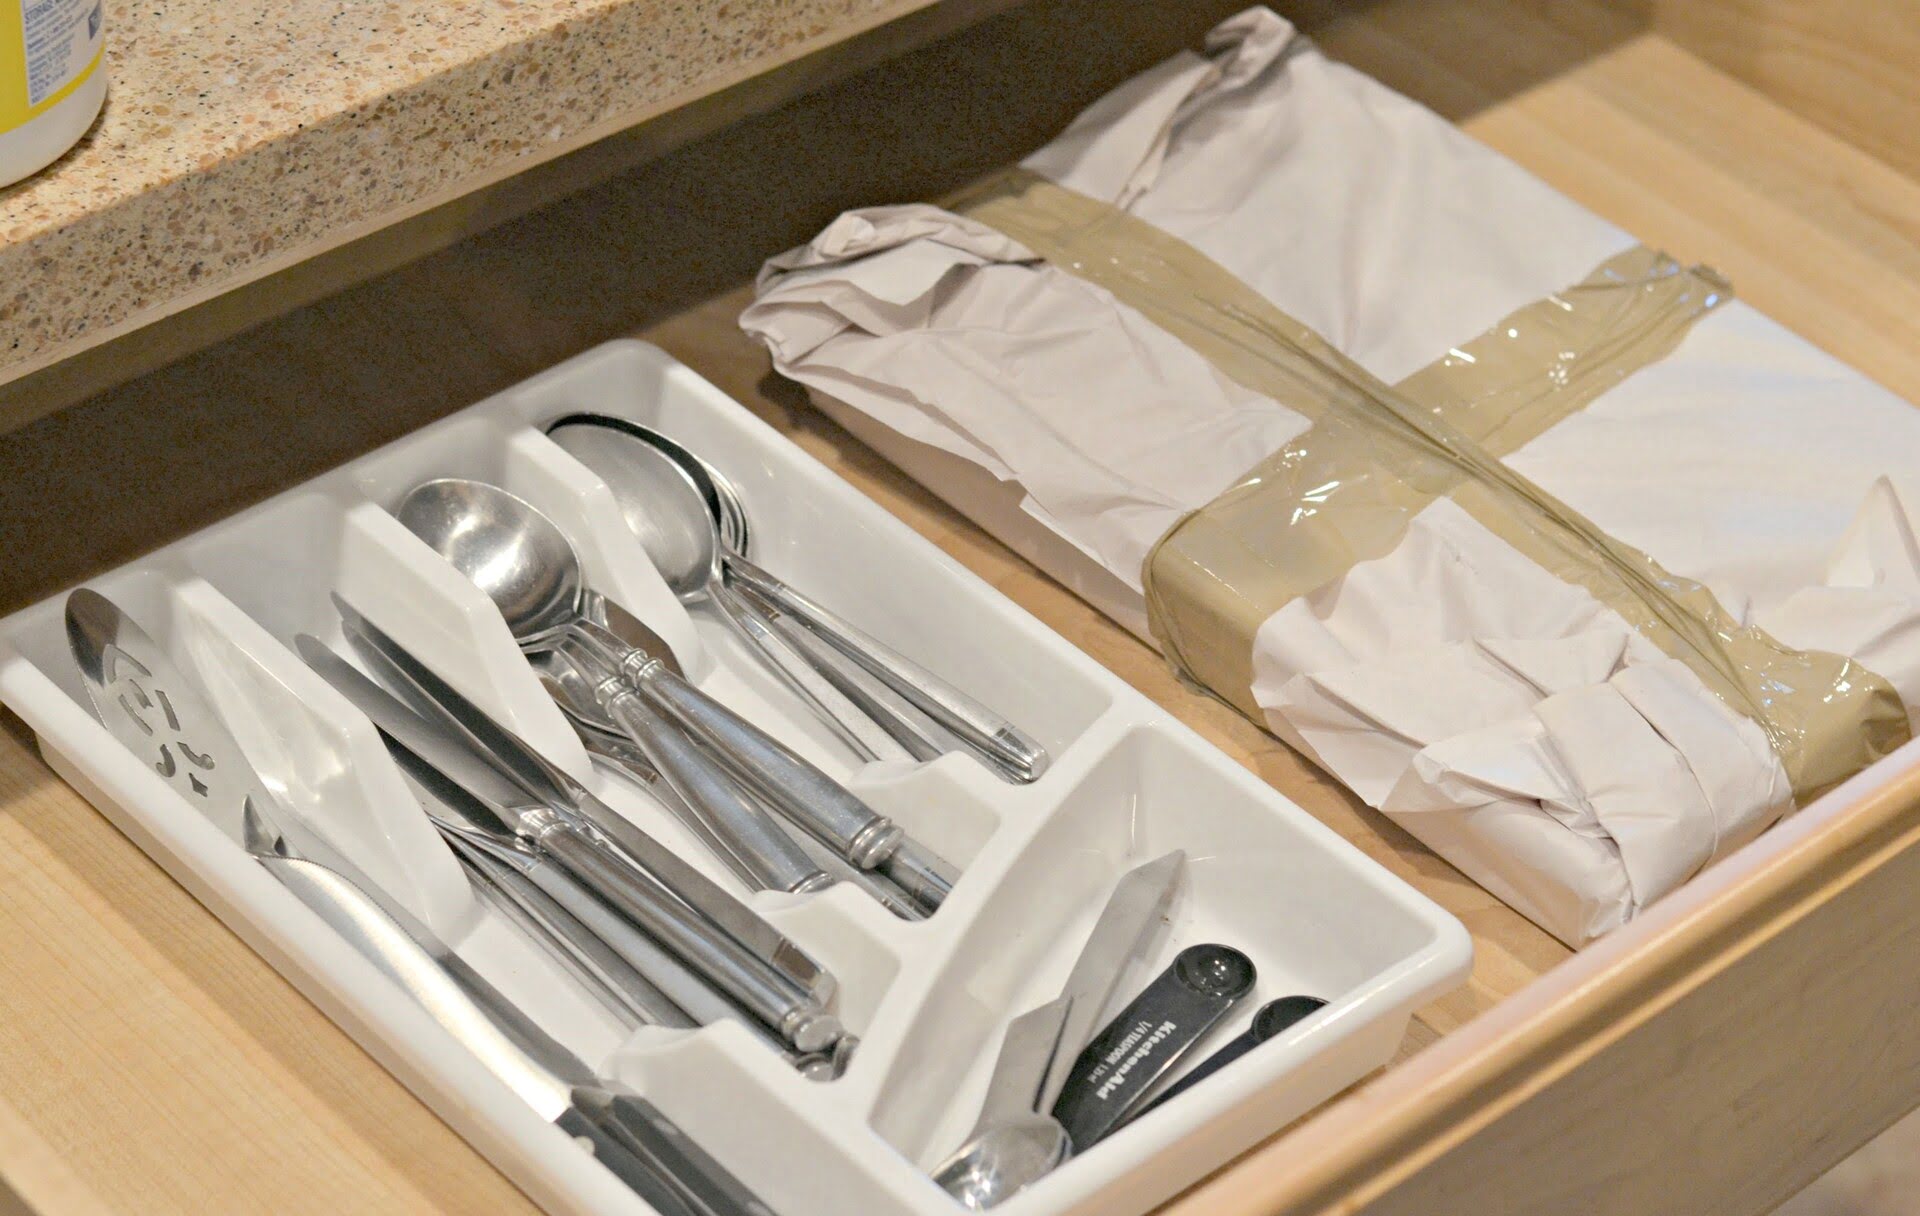
Wrap each piece of silverware in packing paper or bubble wrap to prevent scratching and tangling. Place them in a sturdy box with dividers to keep them organized and secure during the move.
Securing Silverware Bundles
After individually wrapping each piece of silverware, it’s time to secure them into bundles. This will help keep your silverware organized and prevent any loose items from shifting during the move. Follow these steps to properly secure your silverware bundles:
- Group silverware by type: Take the wrapped silverware pieces and group them together based on their type (forks, spoons, knives, etc.). This will make it easier to pack and unpack them in your new home.
- Bundle the silverware: Take a small handful of wrapped silverware pieces from the same category and carefully wrap them together with an additional layer of packing paper or bubble wrap. Make sure the bundle is secure but not overly tight.
- Secure the bundle with tape: Use packing tape to secure the wrapping paper or bubble wrap around the bundle. This will prevent the silverware from coming loose during the move.
- Label the bundles: Take a marker and label each bundle with its contents. This will make it easier to identify the silverware sets when unpacking.
- Repeat for each category: Continue this process for each category of silverware until all your silverware is bundled and secure.
By securing your silverware into bundles, you ensure that they remain intact and organized throughout the moving process. The bundles will also make it easier to unpack and set up your new kitchen. Now that your silverware is securely bundled, let’s move on to the next step: packing them into boxes.
Read more: How To Pack A Dresser For Moving
Packing Silverware in Boxes
Now that your silverware bundles are securely wrapped and labeled, it’s time to pack them into boxes. Follow these steps to ensure safe and organized packing:
- Select appropriate box sizes: Choose boxes of varying sizes that can accommodate your silverware bundles. Use smaller boxes for heavier silverware and larger boxes for lightweight utensils.
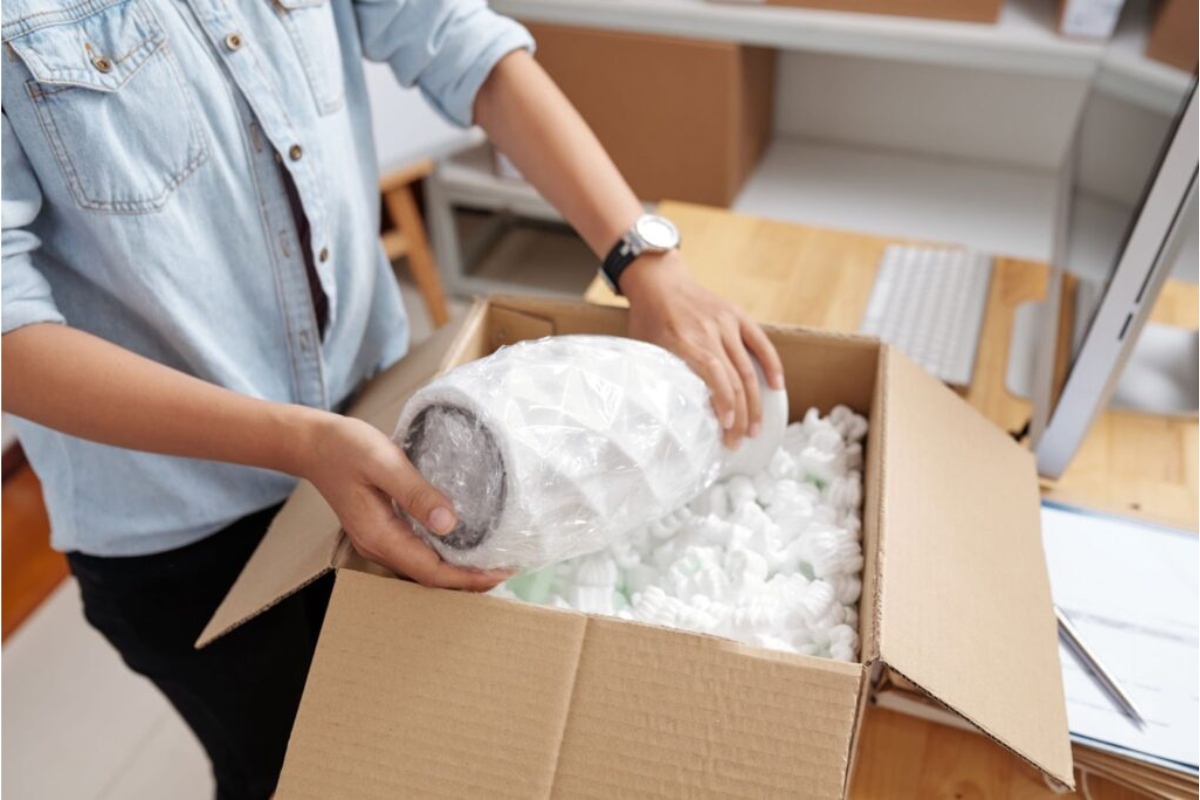
- Add cushioning: Before placing the silverware bundles into the boxes, create a layer of cushioning at the bottom using crumpled packing paper or bubble wrap. This will provide additional protection during transit.
- Place the silverware bundles: Carefully place the silverware bundles into the boxes, arranging them in a way that maximizes space while keeping them secure. Be mindful not to overcrowd the boxes, as this can lead to damage or breakage.
- Add more cushioning: Once the silverware bundles are in the box, fill any empty spaces with additional packing paper, bubble wrap, or foam peanuts. This will prevent the bundles from shifting and protect them from impact during the move.
- Close and seal the boxes: Close the boxes securely and seal them with packing tape. Make sure to reinforce the seams and corners to ensure that the boxes stay closed.
- Label the boxes: Use a marker to label the boxes with clear and visible labels indicating the contents (e.g., “Silverware – Forks and Spoons”). This will make it easier to locate and unpack your silverware at your new home.
- Consider fragile stickers: If you have any delicate or valuable silverware, it may be a good idea to use fragile stickers on the box to alert movers or yourself to handle the box with extra care.
By properly packing your silverware in boxes, you minimize the risk of damage or breakage during the move. The cushioning and secure packaging will ensure that your silverware arrives at your new home in excellent condition. Now that your silverware is packed and labeled, let’s move on to the final step: labeling and sealing the boxes.
Labeling and Sealing Boxes
As you finish packing your silverware into boxes, it’s important to label and seal them properly to streamline the moving process. Follow these steps to ensure your boxes are organized and easily accessible:
- Use clear and visible labels: Take a marker and label each box with a clear and descriptive label indicating its contents. Specifically mention that the box contains silverware to make it easy to identify during unpacking.
- Number the boxes: Consider numbering your boxes and keeping a corresponding inventory list. This will help keep track of your belongings and ensure that nothing is misplaced during the move.
- Label boxes with special handling instructions: If you have any boxes with fragile or valuable silverware, label them with “Fragile” or “Handle with Care.” This will alert movers and remind you to take extra precautions when handling those specific boxes.
- Tape the boxes securely: Use packing tape to seal all the seams and corners of the boxes. Make sure to reinforce them to prevent any accidental openings or damage during transit.
- Consider color-coding: If you’re looking for an additional organizational method, you can use colored labels or markers to create a color-coding system. Assign a specific color to your silverware boxes, making them easily distinguishable from other boxes.
- Create an inventory list: Keep an inventory list that clearly outlines the content of each box. This will help you keep track of your silverware and assist with unpacking and setting up your new kitchen.
By labeling and sealing your boxes appropriately, you ensure that your silverware is easily identified and that each box is handled with care during the move. Taking these extra steps will save you time and effort when unpacking and settling into your new home. With your silverware boxes properly labeled and sealed, you’re now ready to complete your move with peace of mind.
Conclusion
Packing your silverware for a move doesn’t have to be a daunting task. With proper organization, careful wrapping, secure bundling, and thoughtful packing, you can ensure that your silverware arrives at your new home in excellent condition. By following the steps outlined in this article, you’ll be able to streamline the packing process and protect your valuable utensils.
Remember to gather all the necessary supplies, including packing paper or bubble wrap, packing tape, boxes of various sizes, and a marker for labeling. Sort and organize your silverware by type, remove any disposable or damaged items, and consider individually wrapping each piece or packing them in sets.
Once your silverware is securely wrapped, bundle them together with additional layers of wrapping material to ensure their protection. Label each bundle, categorize them by type, and secure them with packing tape. Select appropriate box sizes, add cushioning at the bottom, carefully place the bundled silverware inside, and fill any empty spaces with more packing material to prevent shifting.
Label and seal each box with clear and visible labels, consider numbering them, and include special handling instructions for fragile or valuable silverware. Use packing tape to securely seal the boxes and reinforce the seams. For increased organization, you can use color-coding or create an inventory list to keep track of your silverware.
By taking the time to properly pack and label your silverware, you’ll have a smoother and more efficient unpacking process at your new home. Your silverware will be protected during the move, ensuring that you can enjoy your meals without any scratches or damage.
With these tips in mind, you’re now equipped with the knowledge to pack your silverware with care. Happy packing and best wishes for a successful and stress-free move!
Frequently Asked Questions about How To Pack Silverware For Moving
Was this page helpful?
At Storables.com, we guarantee accurate and reliable information. Our content, validated by Expert Board Contributors, is crafted following stringent Editorial Policies. We're committed to providing you with well-researched, expert-backed insights for all your informational needs.


0 thoughts on “How To Pack Silverware For Moving”