Home>Furniture & Design>Office Furniture>How To Remove The Wheels From An Office Chair
Office Furniture
How To Remove The Wheels From An Office Chair
Modified: January 14, 2024
Learn how to remove the wheels from your office chair with our step-by-step guide. Keep your office furniture moving smoothly and safely. Ideal for office furniture and design enthusiasts.
(Many of the links in this article redirect to a specific reviewed product. Your purchase of these products through affiliate links helps to generate commission for Storables.com, at no extra cost. Learn more)
Introduction
Have you ever found yourself in a situation where the wheels of your office chair are causing more frustration than convenience? Whether they're squeaky, damaged, or just in need of a thorough cleaning, knowing how to remove and maintain the wheels can significantly extend the lifespan of your beloved office chair. In this guide, we'll walk you through the process of removing the wheels from your office chair, providing you with the insights needed to keep your chair rolling smoothly.
From gathering the necessary tools to reassembling the chair after the wheels have been removed, we'll cover each step in detail. By following these instructions, you can ensure that your office chair remains in top-notch condition, allowing you to glide across the floor with ease. So, grab your toolkit, and let's delve into the process of liberating your office chair from its wheels!
Key Takeaways:
- Say goodbye to squeaky, stubborn wheels on your office chair! With just a few tools and some know-how, you can remove, clean, and reassemble the wheels for a smoother, more enjoyable work experience.
- By flipping, removing, cleaning, and reassembling the wheels of your office chair, you can ensure a comfortable and efficient workspace, free from the distractions of squeaky or malfunctioning chairs.
Read more: How To Put Wheels On An Office Chair
Tools Needed
Before embarking on the task of removing the wheels from your office chair, it’s essential to gather the appropriate tools. Here’s a list of items you’ll need to ensure a smooth and efficient process:
- Adjustable wrench
- Flathead screwdriver
- Cloth or paper towels
- Lubricant (such as WD-40)
These tools will enable you to tackle any challenges that may arise during the wheel removal process. The adjustable wrench will help loosen any stubborn bolts, while the flathead screwdriver can be used to pry off the wheel caps or assist in releasing the wheels from their base. Additionally, having a cloth or paper towels on hand will allow you to wipe down the wheels and chair base, ensuring a clean and smooth reassembly. Finally, a quality lubricant like WD-40 can be used to address any squeaks or stiffness in the wheels, enhancing their overall performance.
With these tools at your disposal, you’ll be well-equipped to carry out the task of removing and maintaining the wheels of your office chair effectively. Let’s move on to the step-by-step process of liberating your chair from its wheels!
Step 1: Flip the Chair
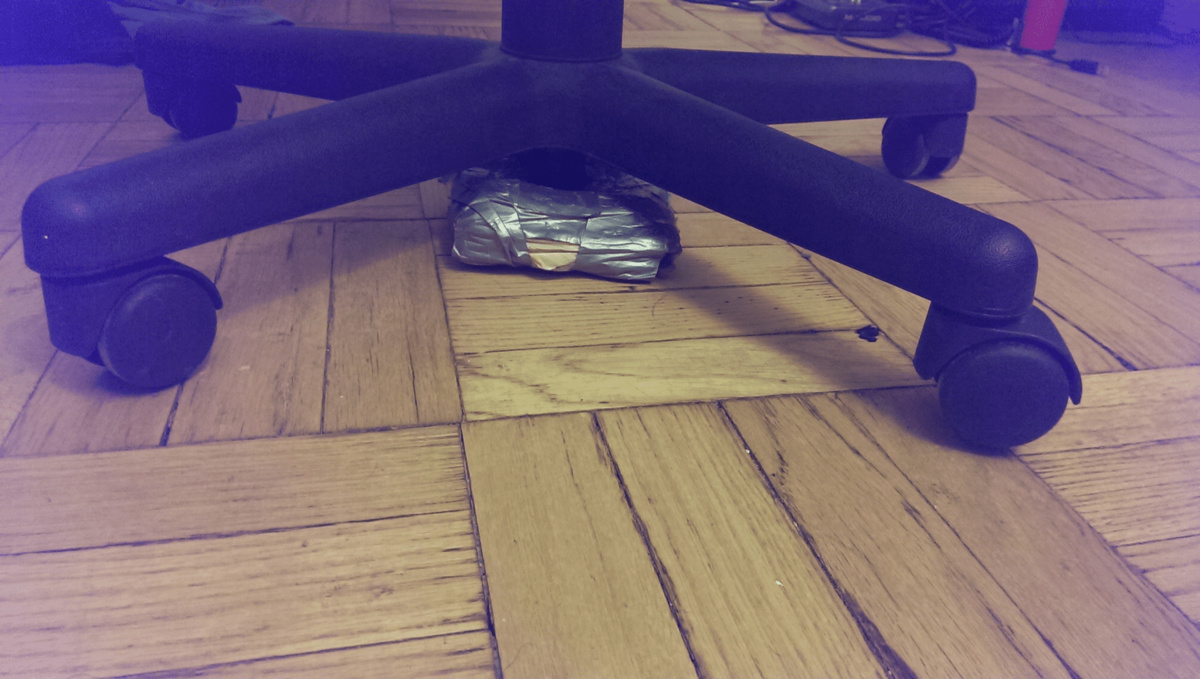
The first step in removing the wheels from your office chair is to flip the chair upside down, allowing easy access to the wheel base. Before flipping the chair, ensure that you are working in a clear and open space, free from any obstacles that may obstruct the process. It’s also advisable to place the chair on a soft surface, such as a rug or carpet, to prevent any damage to the chair or the floor.
Once the chair is securely positioned upside down, take a moment to inspect the wheel base. Depending on the chair’s design, you may find a variety of mechanisms holding the wheels in place. Some chairs feature wheels attached directly to the base, while others may have wheel casters that can be removed individually. Understanding the specific configuration of your chair will guide you in the subsequent steps of wheel removal.
By flipping the chair, you’ll have a clear view of the wheel attachments and be able to identify any screws, bolts, or other fasteners that need to be addressed. This vantage point will also make it easier to maneuver the necessary tools when it comes time to remove the wheels. With the chair flipped and the wheel base in sight, you’re ready to move on to the next step in the process of liberating your office chair from its wheels.
Step 2: Remove the Wheels
With the chair securely flipped upside down, it’s time to focus on removing the wheels. Depending on the type of wheels your office chair is equipped with, the removal process may vary. Here’s a general guide to help you navigate this step:
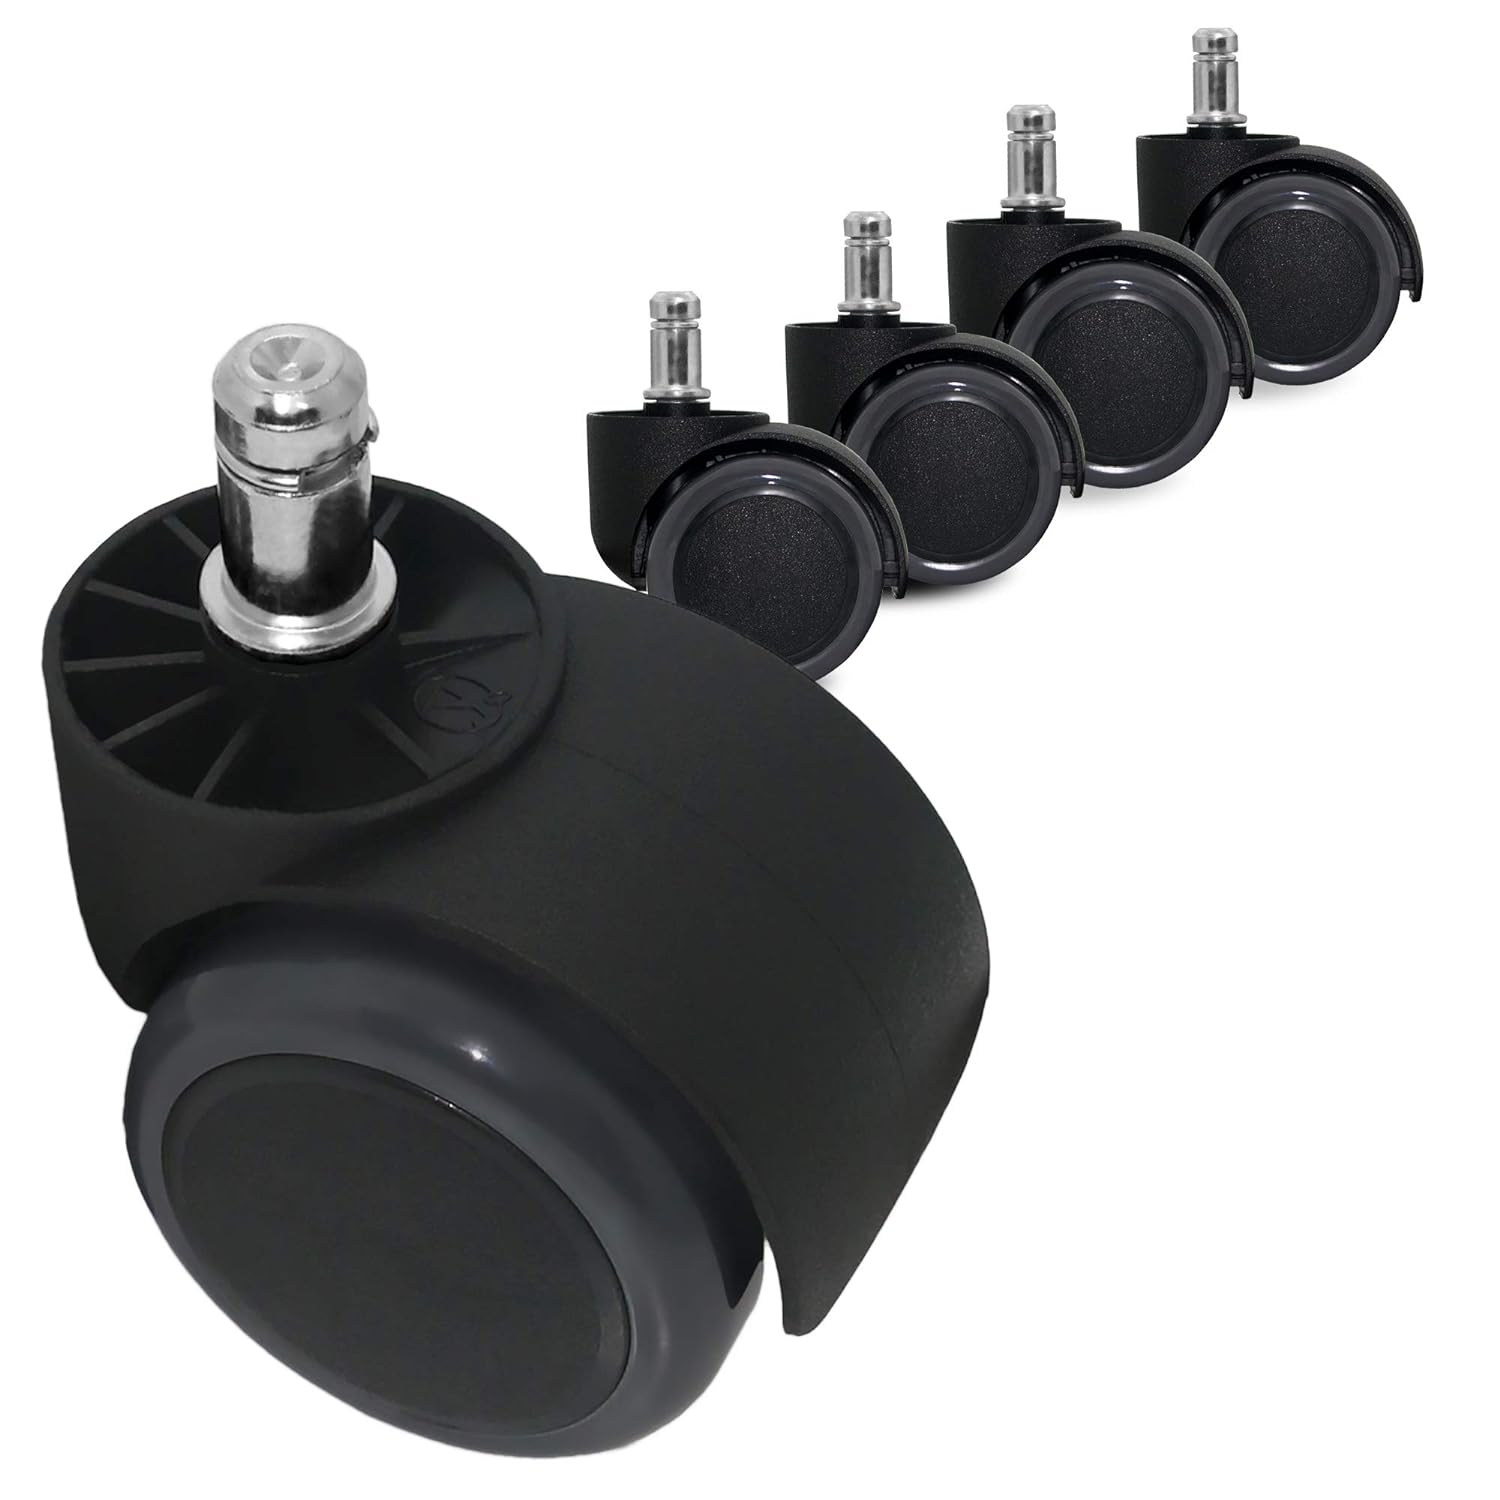
- Inspect the Wheel Attachments: Take a close look at how the wheels are attached to the chair base. You may find that they are secured with a screw, bolt, or a simple snap-in mechanism. Understanding the attachment method will guide your approach to removing the wheels.
- Utilize the Adjustable Wrench: If the wheels are fastened with a screw or bolt, use an adjustable wrench to loosen and remove them. Ensure that the wrench is adjusted to fit the size of the fastener, providing a secure grip for effective removal.
- Apply Lubricant if Necessary: In some cases, the wheels may be stubborn or difficult to remove due to accumulated debris or lack of maintenance. If you encounter resistance, applying a small amount of lubricant, such as WD-40, to the wheel’s attachment point can help loosen the wheels and facilitate their removal.
- Use a Flathead Screwdriver: For wheels secured with a snap-in mechanism, a flathead screwdriver can be utilized to carefully pry the wheels from their position. Gently insert the screwdriver between the wheel and the base, applying even pressure to release the wheel from its attachment point.
By following these steps, you’ll be able to remove the wheels from your office chair with precision and care. It’s essential to approach this process methodically, ensuring that each wheel is detached without causing damage to the chair base or the wheels themselves. Once the wheels have been successfully removed, you can proceed to the next step in the maintenance process.
To remove the wheels from an office chair, turn the chair upside down and use a screwdriver to unscrew the wheels from the base. If the wheels are stuck, try using a lubricant to loosen them before unscrewing.
Step 3: Clean the Wheels and Chair Base
After successfully removing the wheels from your office chair, it’s time to focus on cleaning both the wheels and the chair base. This step is crucial for maintaining the functionality and aesthetics of your chair. Here’s a comprehensive guide to cleaning these components:
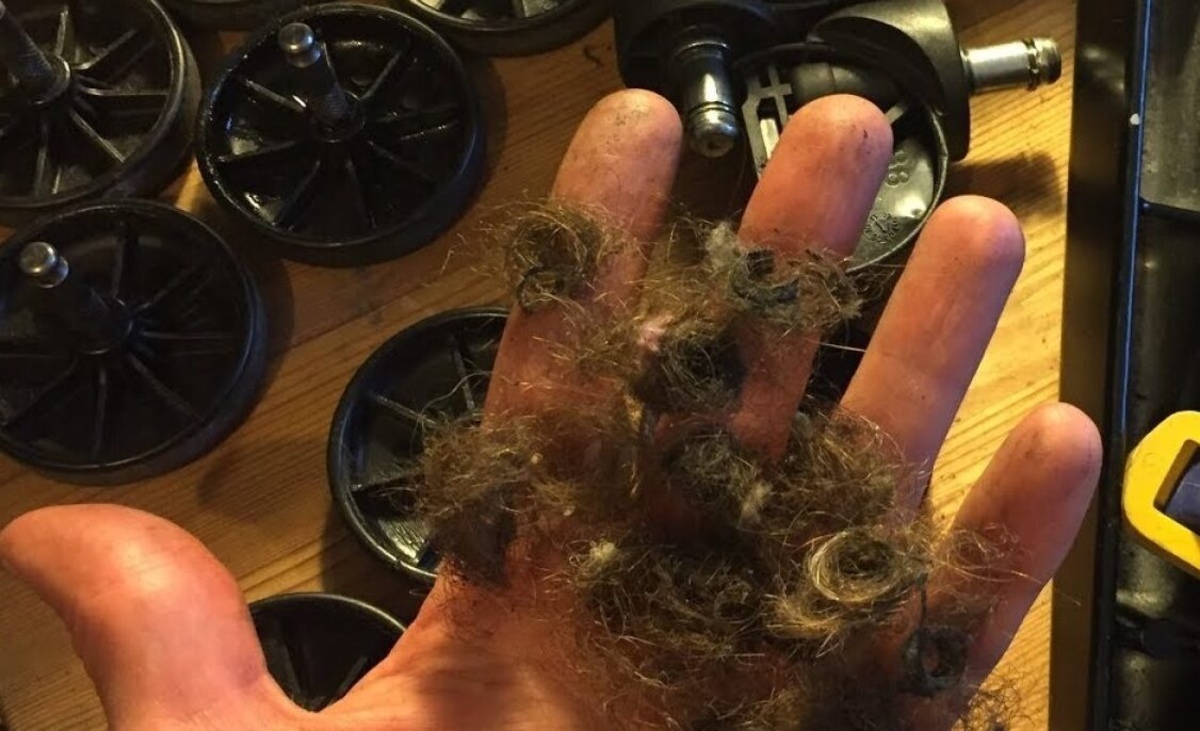
- Inspect the Wheels: Take a close look at each wheel to assess its condition. Remove any visible debris, such as dust, hair, or dirt, using a cloth or paper towels. Pay attention to the wheel’s axles and bearings, ensuring that they are free from obstructions that may hinder smooth rotation.
- Utilize a Cleaning Solution: Prepare a mild cleaning solution by mixing a small amount of dish soap with water. Dip a cloth or paper towels into the solution and thoroughly clean each wheel, addressing any stubborn stains or grime. For wheels with intricate designs or crevices, a soft-bristled brush can be used to ensure a thorough cleaning.
- Address the Chair Base: With the wheels removed, take the opportunity to clean the chair base. Wipe down the base using the same cleaning solution, removing any accumulated dust or debris. Pay special attention to the areas where the wheels were attached, as these areas may require extra care to ensure a clean and smooth reassembly.
- Dry the Components: After cleaning the wheels and chair base, use a dry cloth to thoroughly dry each component. Ensuring that the wheels and base are completely dry will prevent the accumulation of moisture, which can lead to rust or corrosion over time.
By following these cleaning steps, you’ll be able to maintain the functionality and appearance of both the wheels and the chair base. A clean and well-maintained chair will not only enhance your comfort but also contribute to a professional and polished workspace. With the cleaning process complete, you’re now ready to proceed to the final step of reassembling your office chair.
Read more: How To Remove Smell From An Office Chair
Step 4: Reassemble the Chair
As you approach the final step of the wheel maintenance process, it’s time to reassemble your office chair. This step involves carefully attaching the cleaned or replaced wheels back onto the chair base, ensuring a secure and functional fit. Here’s a detailed guide to help you navigate the reassembly process:
- Align the Wheels: Begin by aligning each wheel with its respective attachment point on the chair base. Ensure that the axles of the wheels are positioned correctly, ready to be secured in place.
- Secure the Wheels: If the wheels are fastened with screws or bolts, use an adjustable wrench to tighten them securely. Ensure that each wheel is firmly attached to the chair base, providing stability and smooth rotation.
- Replace Wheel Caps if Applicable: If your office chair features decorative wheel caps, carefully place them back onto the wheels, ensuring a snug fit. These caps not only enhance the chair’s aesthetics but also provide additional protection for the wheel attachments.
- Test the Chair’s Mobility: Once the wheels have been reattached, flip the chair back into its upright position and test its mobility. Roll the chair across the floor to ensure that the wheels move smoothly and quietly, indicating a successful reassembly.
By following these reassembly steps, you’ll be able to restore your office chair to its fully functional state, ready to provide you with the comfort and mobility you need for productive workdays. The reassembly process marks the completion of the wheel maintenance journey, ensuring that your chair is primed for seamless performance.
With the wheels securely reattached and the chair’s mobility restored, you can now enjoy the benefits of a well-maintained office chair, free from the inconveniences that prompted the maintenance process. Congratulations on successfully removing, cleaning, and reassembling the wheels of your office chair!
Conclusion
Congratulations on successfully navigating the process of removing, cleaning, and reassembling the wheels of your office chair! By following the step-by-step guide outlined in this article, you’ve not only addressed any maintenance issues but also gained valuable insights into the care and upkeep of essential office furniture.
Removing the wheels from your office chair provided an opportunity to inspect, clean, and maintain these crucial components, ensuring that your chair remains in optimal condition for extended use. By flipping the chair, removing the wheels, cleaning both the wheels and chair base, and reassembling the chair, you’ve demonstrated a proactive approach to chair maintenance, prolonging its lifespan and enhancing its performance.
Remember, regular maintenance is key to preserving the functionality and aesthetics of your office furniture. By incorporating these maintenance practices into your routine, you can ensure a comfortable and efficient workspace, free from the distractions of squeaky or malfunctioning chairs.
As you return to your workspace, take a moment to appreciate the smooth, effortless mobility of your freshly maintained office chair. Your proactive approach to maintenance has not only improved the chair’s performance but has also contributed to a more professional and inviting work environment.
Thank you for taking the time to learn about the process of removing the wheels from an office chair. Your dedication to maintaining a functional and comfortable workspace is a testament to your commitment to excellence. Here’s to many more productive and comfortable workdays in your newly revitalized office chair!
Frequently Asked Questions about How To Remove The Wheels From An Office Chair
Was this page helpful?
At Storables.com, we guarantee accurate and reliable information. Our content, validated by Expert Board Contributors, is crafted following stringent Editorial Policies. We're committed to providing you with well-researched, expert-backed insights for all your informational needs.


0 thoughts on “How To Remove The Wheels From An Office Chair”