Home>Furniture & Design>Office Furniture>How To Fix A Wheel On An Office Chair
Office Furniture
How To Fix A Wheel On An Office Chair
Modified: January 14, 2024
Learn how to easily fix a wheel on your office chair with our step-by-step guide. Keep your office furniture in top shape with our expert tips.
(Many of the links in this article redirect to a specific reviewed product. Your purchase of these products through affiliate links helps to generate commission for Storables.com, at no extra cost. Learn more)
Introduction
Office chairs are essential pieces of furniture in any workspace, providing comfort and mobility for long hours of work. However, a common issue that office chair users encounter is a malfunctioning wheel. A faulty wheel not only hinders the chair’s mobility but also poses potential safety hazards. Fortunately, fixing a wheel on an office chair is a manageable task that can be accomplished with the right tools and a systematic approach.
In this guide, we will walk through the step-by-step process of fixing a wheel on an office chair, empowering you to tackle this common issue with confidence. Whether you are a DIY enthusiast or simply looking to address a nagging problem with your office chair, this guide will equip you with the knowledge and skills to effectively resolve the issue. Let’s dive in and learn how to restore the functionality of your office chair by addressing the troublesome wheel.
Key Takeaways:
- Don’t let a squeaky wheel slow you down! With a few simple tools and steps, you can fix your office chair’s wheel and enjoy smooth, safe mobility once again.
- By following this guide, you’ll not only fix your chair but also gain valuable skills in maintaining and repairing office furniture, creating a more productive workspace.
Read more: How To Put Wheels On An Office Chair
Tools and Materials Needed
Before embarking on the task of fixing a wheel on an office chair, it is essential to gather the necessary tools and materials. Here’s what you’ll need:
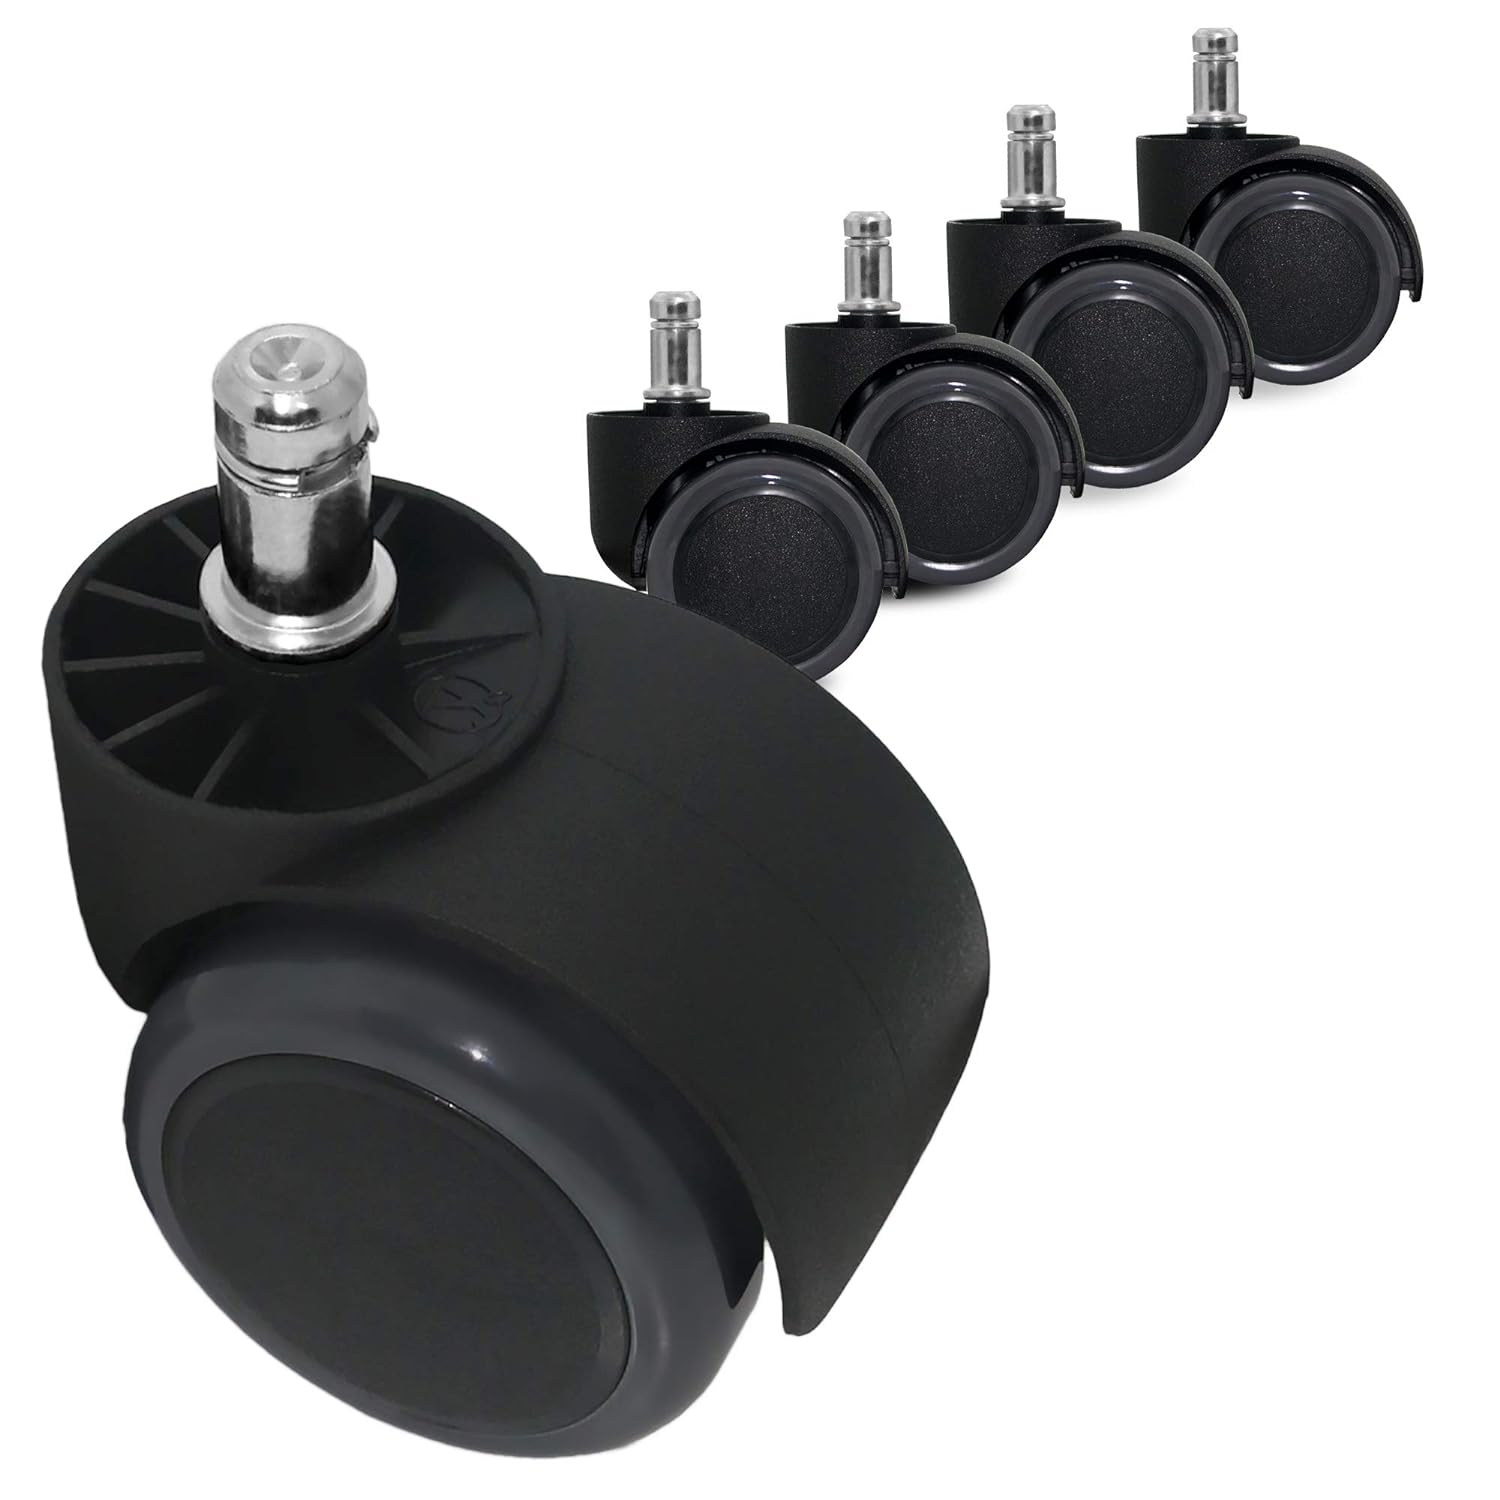
- Replacement wheel: Ensure that the new wheel is compatible with your office chair model. Most office chairs use standard-sized wheels, but it’s crucial to verify the compatibility to avoid any issues.
- Flathead screwdriver: This tool will be useful for prying off the old wheel from the chair’s base.
- Needle-nose pliers: Pliers will aid in removing stubborn or damaged wheels and help with the installation of the new wheel.
- Cloth or towel: Having a cloth or towel on hand will allow you to protect the floor or work surface while working on the chair.
- Optional lubricant: Depending on the condition of the chair’s wheel assembly, a lubricant such as silicone spray or WD-40 may be beneficial for smooth wheel operation.
By ensuring that you have these tools and materials ready, you can proceed with the repair process efficiently and minimize any potential delays or interruptions. With everything in place, you’re ready to take the first step in resolving the issue with your office chair’s wheel.
Step 1: Remove the Wheel
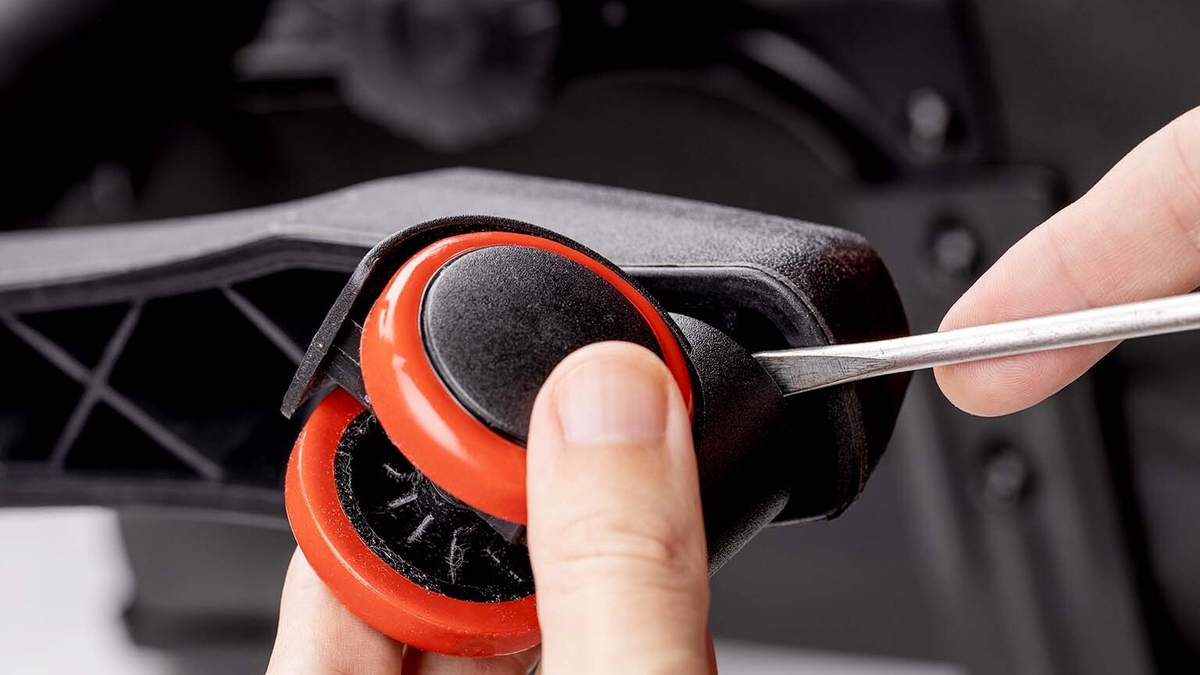
Before you can address the faulty wheel on your office chair, you’ll need to remove the problematic component. Follow these steps to safely and effectively remove the wheel:
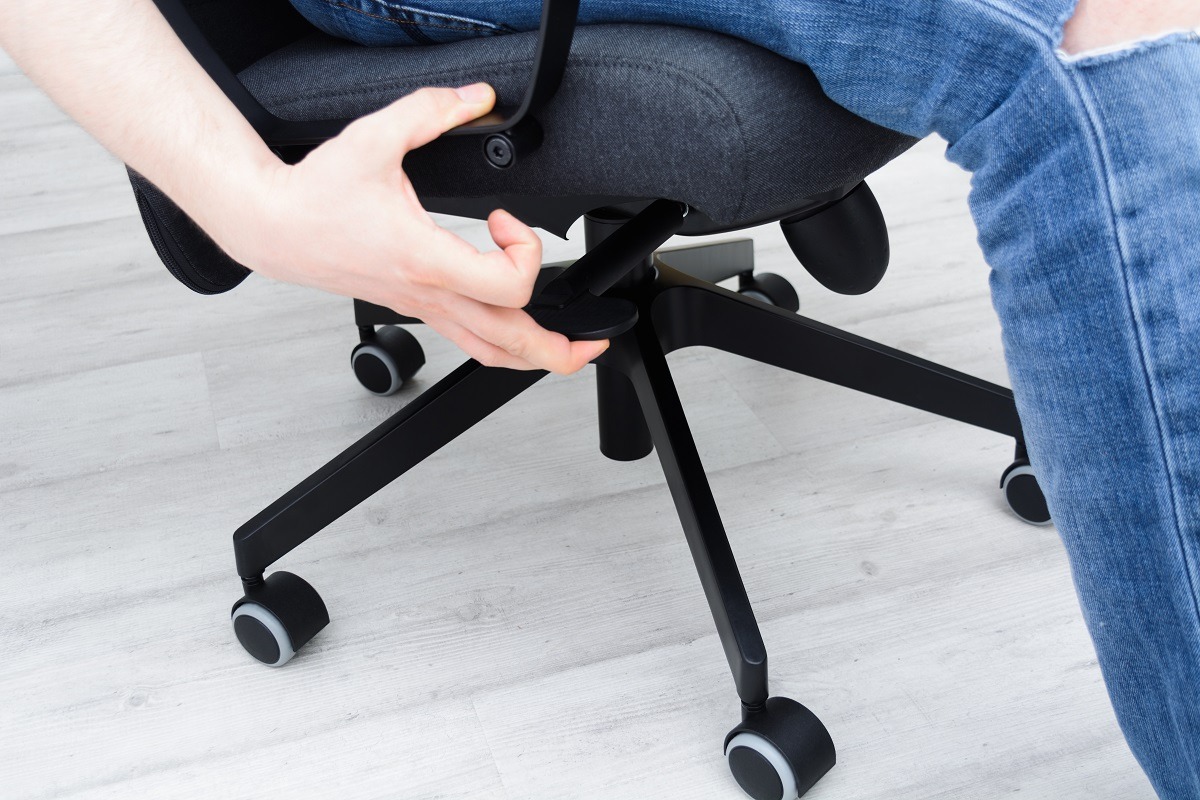
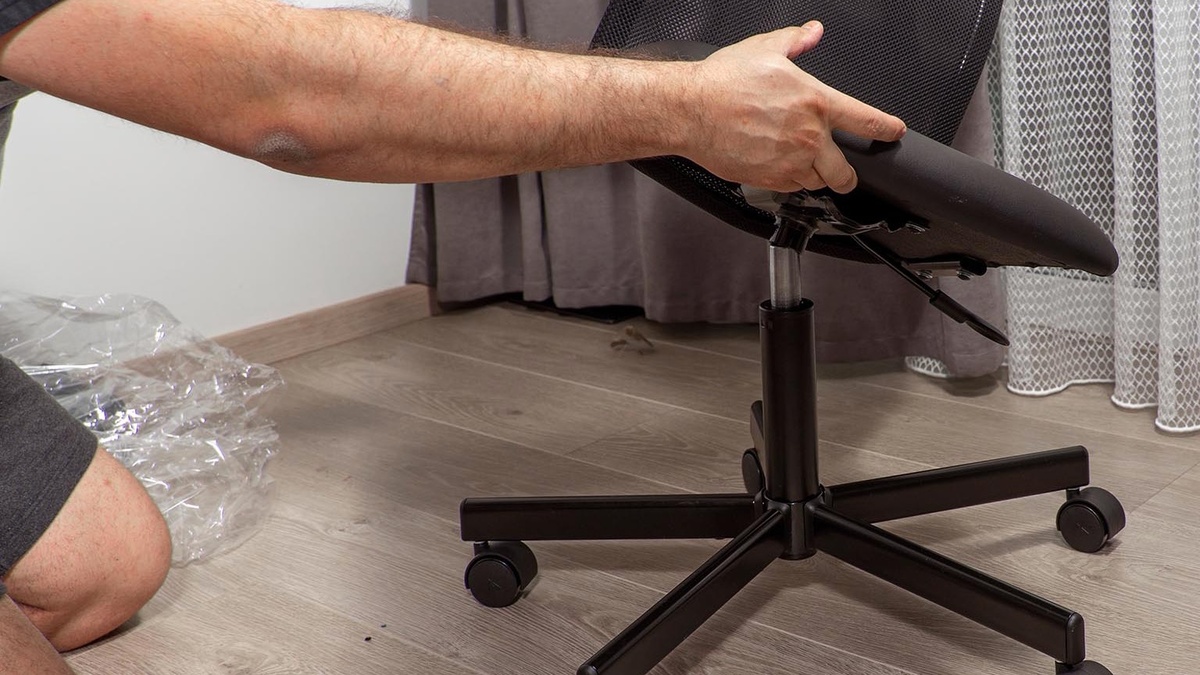
- Flip the chair: Carefully turn the office chair upside down, ensuring that it is stable and secure. Placing a soft cloth or towel beneath the chair can prevent any damage to the seat or floor during this process.
- Inspect the wheel assembly: Take a moment to assess the wheel assembly and identify the attachment mechanism. Most office chair wheels are attached via a grip ring or a similar fastening method.
- Use the flathead screwdriver: Insert the flathead screwdriver between the wheel and the chair’s base, leveraging it to pry the wheel off. Apply gentle and consistent pressure to release the grip ring or fastening mechanism securing the wheel in place.
- Remove the wheel: Once the grip ring or fastening mechanism is disengaged, carefully pull the wheel away from the chair’s base. If the wheel is stubborn or stuck due to debris or wear, gently wiggle it from side to side while pulling to facilitate its removal.
- Inspect the wheel socket: With the wheel removed, take a moment to inspect the wheel socket on the chair’s base. Ensure that it is free from any debris or obstructions that may have contributed to the wheel’s malfunction.
By following these steps, you can safely detach the problematic wheel from your office chair, setting the stage for the subsequent inspection and repair processes. With the wheel removed, you can proceed to evaluate its condition and initiate the necessary repairs or replacement.
Step 2: Inspect the Wheel and Base
With the wheel removed from the office chair, it’s time to closely examine both the wheel and the chair’s base to identify any issues contributing to the malfunction. Follow these steps to conduct a thorough inspection:
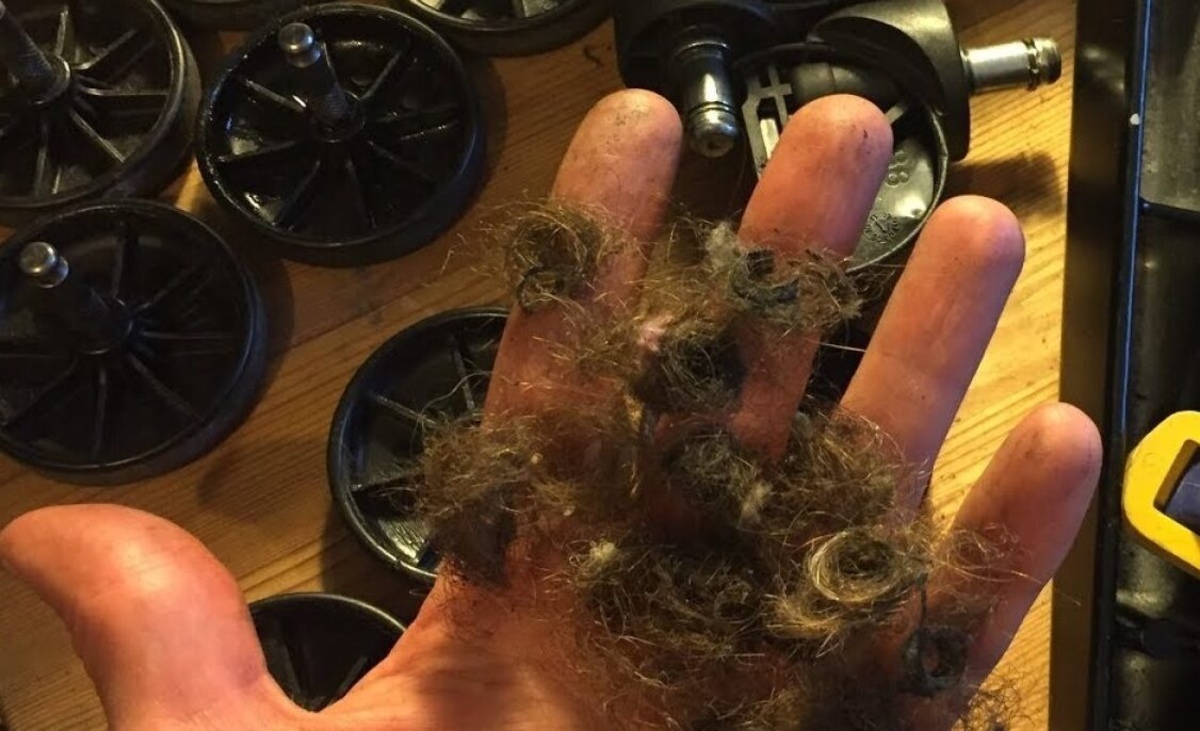
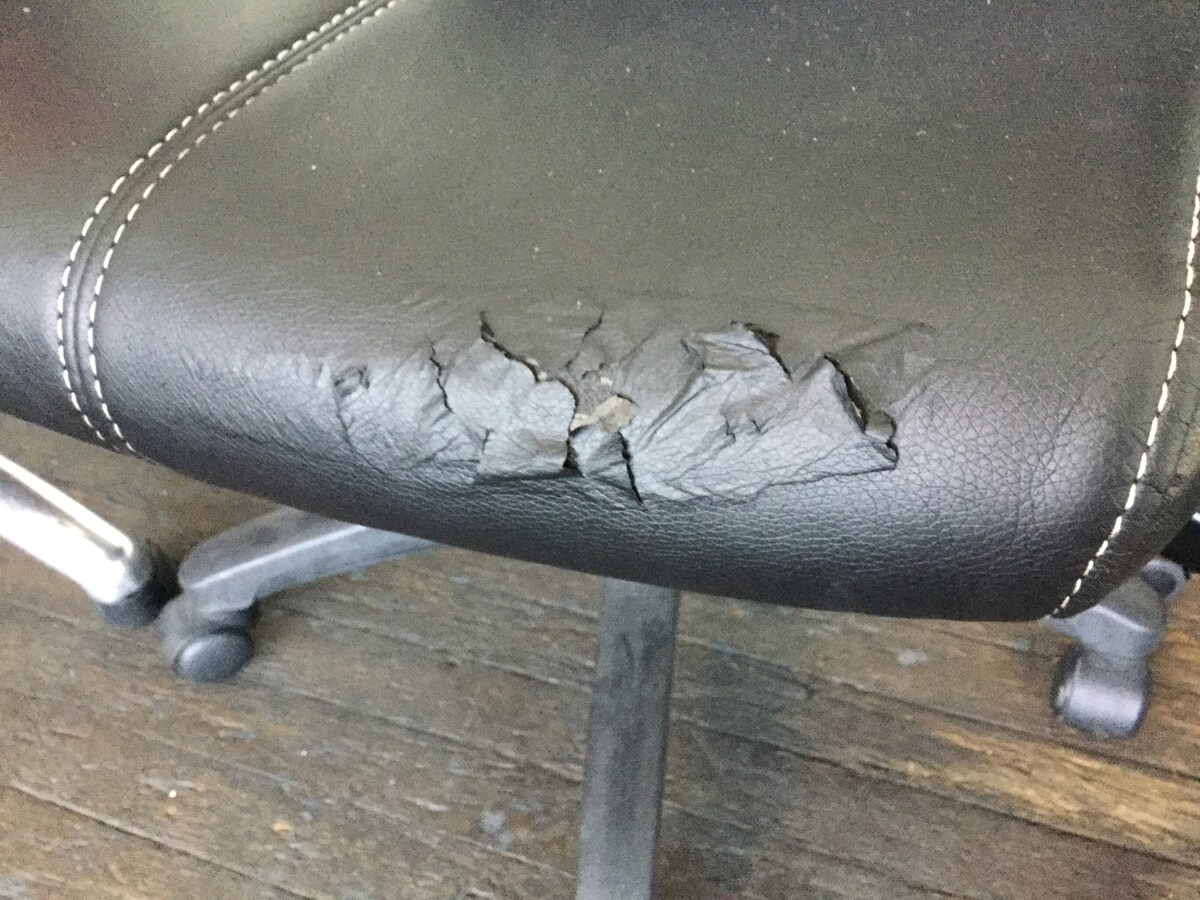
- Assess the wheel’s condition: Carefully examine the removed wheel, paying attention to any visible damage, wear, or deformities. Check for hair, debris, or any obstructions that may have impeded the wheel’s rotation or caused it to malfunction.
- Inspect the wheel socket: Examine the wheel socket on the chair’s base, ensuring that it is clean and free from any accumulated debris or blockages. Use a cloth or a small brush to remove any dirt or foreign objects that may hinder the smooth operation of the new wheel.
- Evaluate the wheel assembly: If the removed wheel was part of a caster assembly, inspect the remaining components, including the axle and bearings. Look for signs of damage, corrosion, or excessive wear that may necessitate the replacement of additional parts.
- Check the chair’s base: While inspecting the wheel socket, take a moment to assess the overall condition of the chair’s base. Look for any cracks, structural issues, or abnormalities that may impact the performance of the new wheel and compromise the chair’s stability.
By meticulously examining both the wheel and the chair’s base, you can pinpoint the root cause of the wheel’s malfunction and determine the appropriate course of action. Whether it involves cleaning and lubricating the components or procuring replacement parts, this inspection phase is crucial for ensuring a successful repair and restoring the functionality of your office chair.
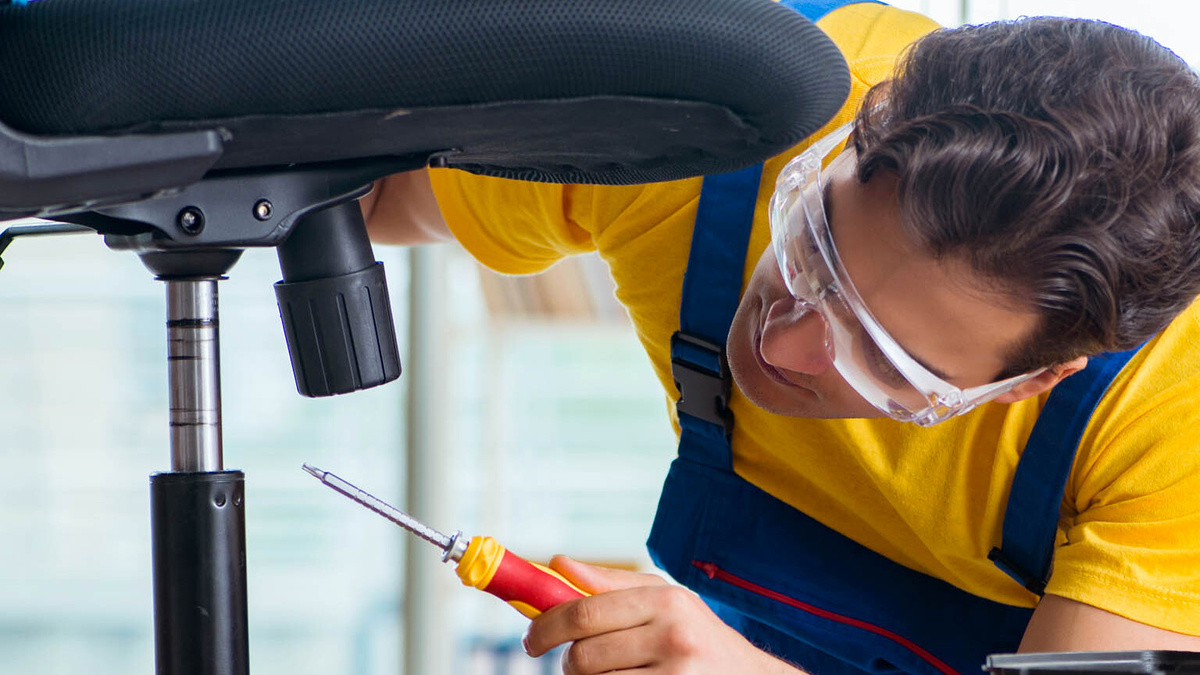
If the wheel on your office chair is loose or not rolling smoothly, try tightening the screw at the base of the wheel with a screwdriver. If that doesn’t work, you may need to replace the wheel altogether.
Step 3: Replace the Wheel
After inspecting the wheel and the chair’s base, you are ready to proceed with the replacement of the faulty wheel. Follow these steps to effectively install the new wheel and restore mobility to your office chair:
- Prepare the new wheel: Ensure that the replacement wheel is compatible with your office chair model and that it matches the remaining wheels in terms of size and design. If necessary, refer to the manufacturer’s guidelines or consult with a professional to confirm compatibility.
- Align the new wheel: Position the new wheel at the opening of the wheel socket on the chair’s base, ensuring that it is aligned and ready for installation. If the wheel features a grip ring or fastening mechanism, verify that it is properly engaged and ready to secure the new wheel in place.
- Apply gentle pressure: With the new wheel aligned and positioned at the wheel socket, apply gentle and even pressure to insert the wheel. Depending on the type of attachment mechanism, you may need to push or press the wheel firmly until it securely snaps into place.
- Confirm the secure fit: Once the new wheel is installed, give it a slight tug or twist to confirm that it is securely attached to the chair’s base. A properly installed wheel should be stable and free from any wobbling or loose movement.
- Test the wheel’s mobility: With the new wheel in place, flip the chair back to its upright position and test the mobility of the replaced wheel. Roll the chair on a smooth surface to ensure that the new wheel rotates smoothly and supports the chair’s movement without any issues.
By following these steps, you can successfully replace the faulty wheel with a new, functional component, effectively addressing the mobility issues that plagued your office chair. With the new wheel installed, your chair will be ready to support your daily work activities with enhanced maneuverability and comfort.
Read more: How To Lock Office Chair Wheels
Step 4: Test the Chair
After replacing the faulty wheel, it’s essential to conduct a comprehensive test to ensure that the repaired office chair functions optimally. Follow these steps to thoroughly assess the chair’s performance and confirm the successful resolution of the wheel-related issues:
- Position the chair on a smooth surface: Place the office chair on a clean, level surface, ensuring that there are no obstructions that may impede its movement during the testing process.
- Engage in mobility tests: Sit on the chair and test its maneuverability by rolling it in various directions. Pay attention to the replaced wheel and assess its smoothness of movement, stability, and responsiveness to your directional adjustments.
- Observe for wobbling or uneven movement: While testing the chair’s mobility, be attentive to any wobbling, tilting, or uneven movement that may indicate an issue with the replaced wheel or other components. A well-functioning wheel should support the chair’s movement without causing instability or discomfort.
- Listen for unusual sounds: As you test the chair, listen for any unusual squeaks, creaks, or grinding noises that may indicate potential issues with the replaced wheel or its assembly. A properly installed and functioning wheel should operate quietly and smoothly.
- Assess overall comfort and stability: Sit on the chair for an extended period, evaluating its overall comfort and stability. Confirm that the replaced wheel contributes to a seamless and enjoyable experience, allowing you to move effortlessly and comfortably within your workspace.
By conducting these thorough tests, you can verify the successful repair of your office chair’s wheel and confirm that it performs optimally in supporting your daily work activities. A well-functioning wheel is integral to the chair’s overall performance, and by following these testing steps, you can ensure that the repaired chair meets your expectations in terms of mobility, comfort, and stability.
Conclusion
Fixing a wheel on an office chair is a practical and rewarding endeavor that empowers you to address a common issue with a fundamental piece of furniture in your workspace. By following the step-by-step process outlined in this guide, you have gained the knowledge and skills to effectively resolve wheel-related problems and restore the functionality of your office chair. From removing the faulty wheel to conducting thorough inspections and installing a replacement, each step contributes to a comprehensive repair process that ensures the chair’s optimal performance.
Through this repair journey, you have not only resolved a specific issue but also gained valuable insights into the maintenance and care of office furniture. The ability to address a malfunctioning wheel demonstrates your resourcefulness and practical problem-solving capabilities, enhancing your confidence in handling similar tasks in the future.
As you test the repaired chair and experience the improved mobility and comfort it provides, take pride in the accomplishment of revitalizing an essential piece of your workspace. Your proactive approach to addressing the wheel issue has not only enhanced the chair’s functionality but also contributed to a more productive and enjoyable work environment.
Remember that regular maintenance, including periodic inspections and cleaning of the chair’s components, can prolong its lifespan and ensure continued performance. By staying attentive to the condition of your office chair and addressing any issues promptly, you can maximize its utility and comfort for years to come.
With the knowledge and skills acquired through this repair process, you are well-equipped to tackle future challenges related to office furniture maintenance and repairs. Whether it’s a chair, desk, or other essential pieces, your proactive approach and practical expertise will continue to serve you well in preserving a comfortable and efficient workspace.
Frequently Asked Questions about How To Fix A Wheel On An Office Chair
Was this page helpful?
At Storables.com, we guarantee accurate and reliable information. Our content, validated by Expert Board Contributors, is crafted following stringent Editorial Policies. We're committed to providing you with well-researched, expert-backed insights for all your informational needs.


0 thoughts on “How To Fix A Wheel On An Office Chair”