Home>Furniture & Design>Office Furniture>How To Remove A Cylinder From An Office Chair
Office Furniture
How To Remove A Cylinder From An Office Chair
Modified: February 18, 2024
Learn how to remove a cylinder from an office chair with our step-by-step guide. Keep your office furniture in top shape with our expert tips.
(Many of the links in this article redirect to a specific reviewed product. Your purchase of these products through affiliate links helps to generate commission for Storables.com, at no extra cost. Learn more)
Introduction
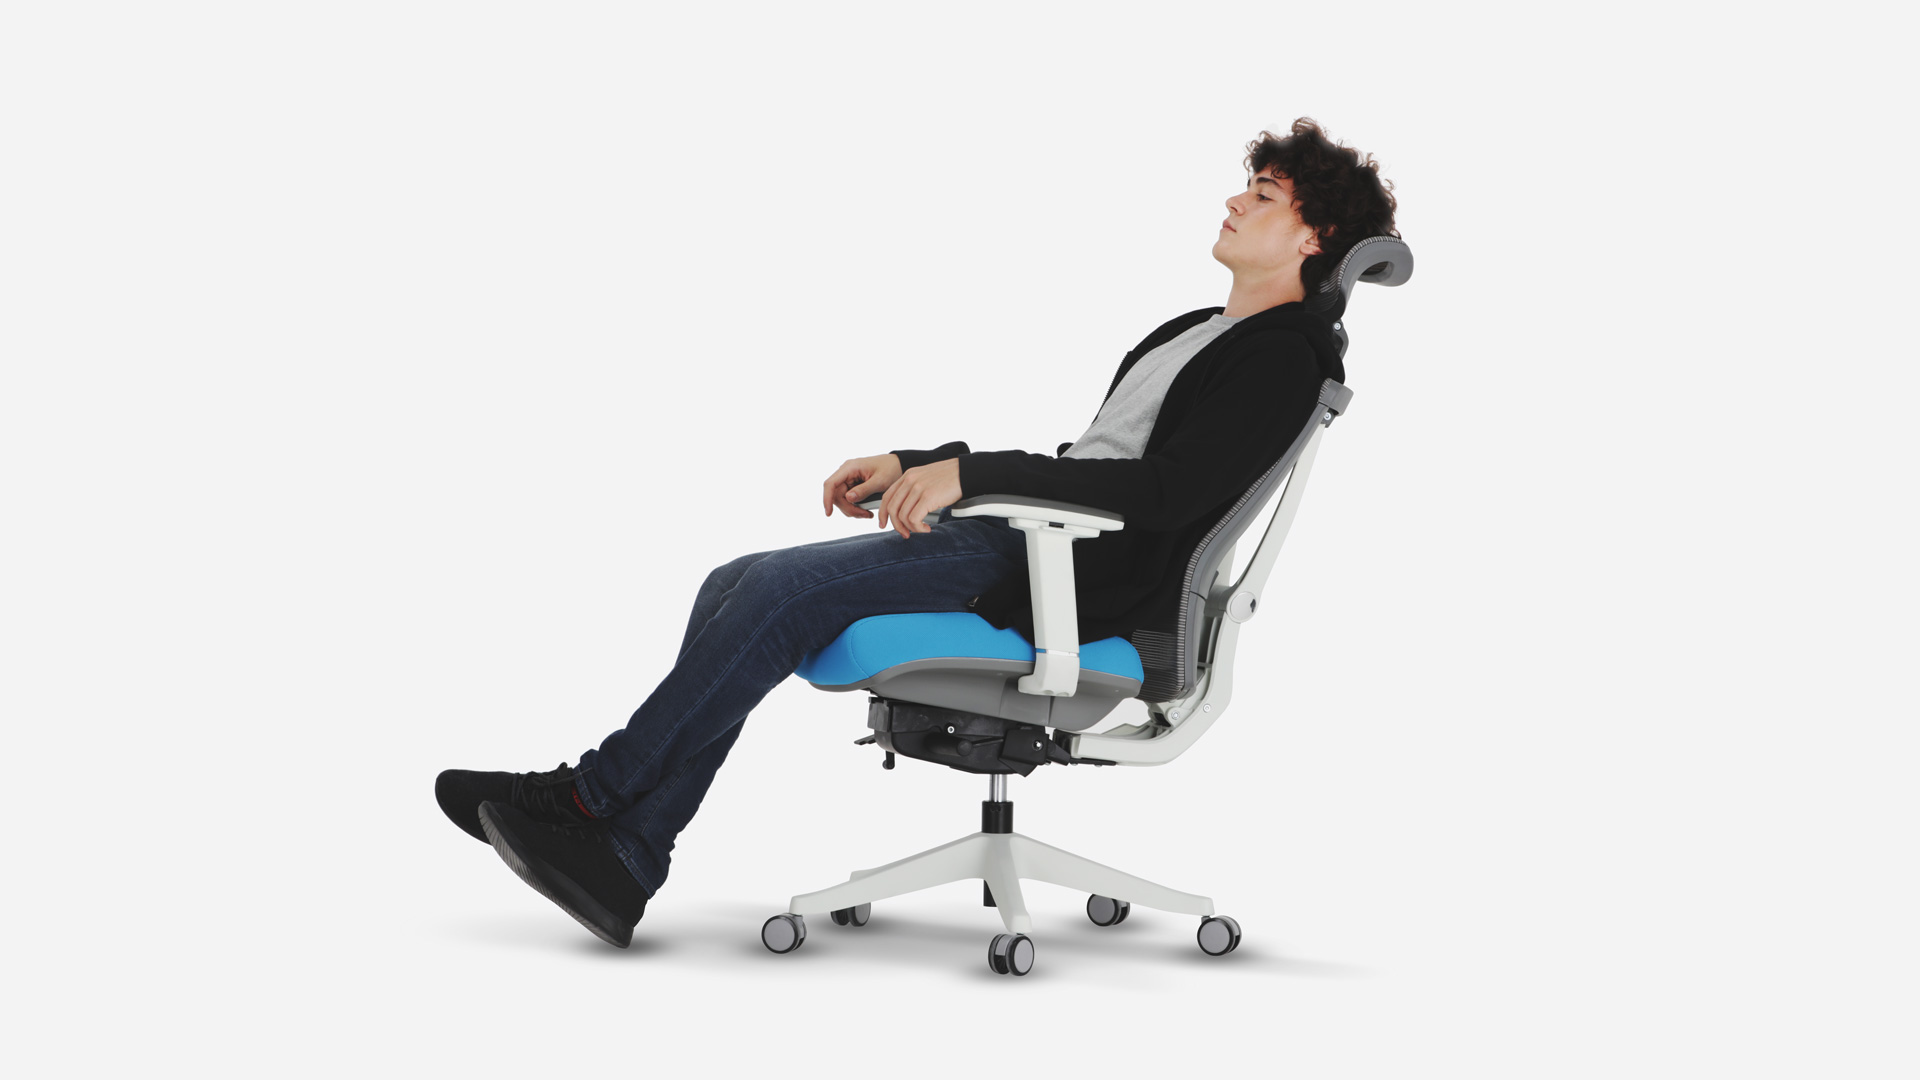
Office chairs are essential for maintaining a comfortable and productive workspace. However, over time, the pneumatic cylinder in an office chair may wear out, leading to issues such as sinking or failing to adjust to the desired height. In such cases, replacing the cylinder becomes necessary to restore the chair's functionality.
Understanding how to remove a cylinder from an office chair can save you the cost of purchasing a new chair and empower you to extend the lifespan of your current one. This guide will walk you through the process, providing step-by-step instructions and valuable insights into the tools and materials required. By following this tutorial, you can effectively replace the cylinder and breathe new life into your office chair, ensuring continued comfort and support during long hours of work.
Key Takeaways:
- Save money and extend the life of your office chair by learning how to remove and replace a worn-out cylinder. It’s a cost-effective way to maintain comfort and support during long work hours.
- Gather the right tools and follow the step-by-step process to detach and replace the cylinder in your office chair. It’s a practical DIY solution for a comfortable and productive workspace.
Read more: How Does An Office Chair Gas Cylinder Work
Tools and Materials Needed
Before embarking on the process of removing the cylinder from your office chair, it’s essential to gather the necessary tools and materials. Here’s what you’ll need:
- Adjustable Wrench: This versatile tool will allow you to loosen and remove various components of the chair with ease.
- Flathead Screwdriver: Useful for prying and removing certain parts during the disassembly process.
- Protective Gloves: It’s important to protect your hands during the removal process, especially when handling metal components.
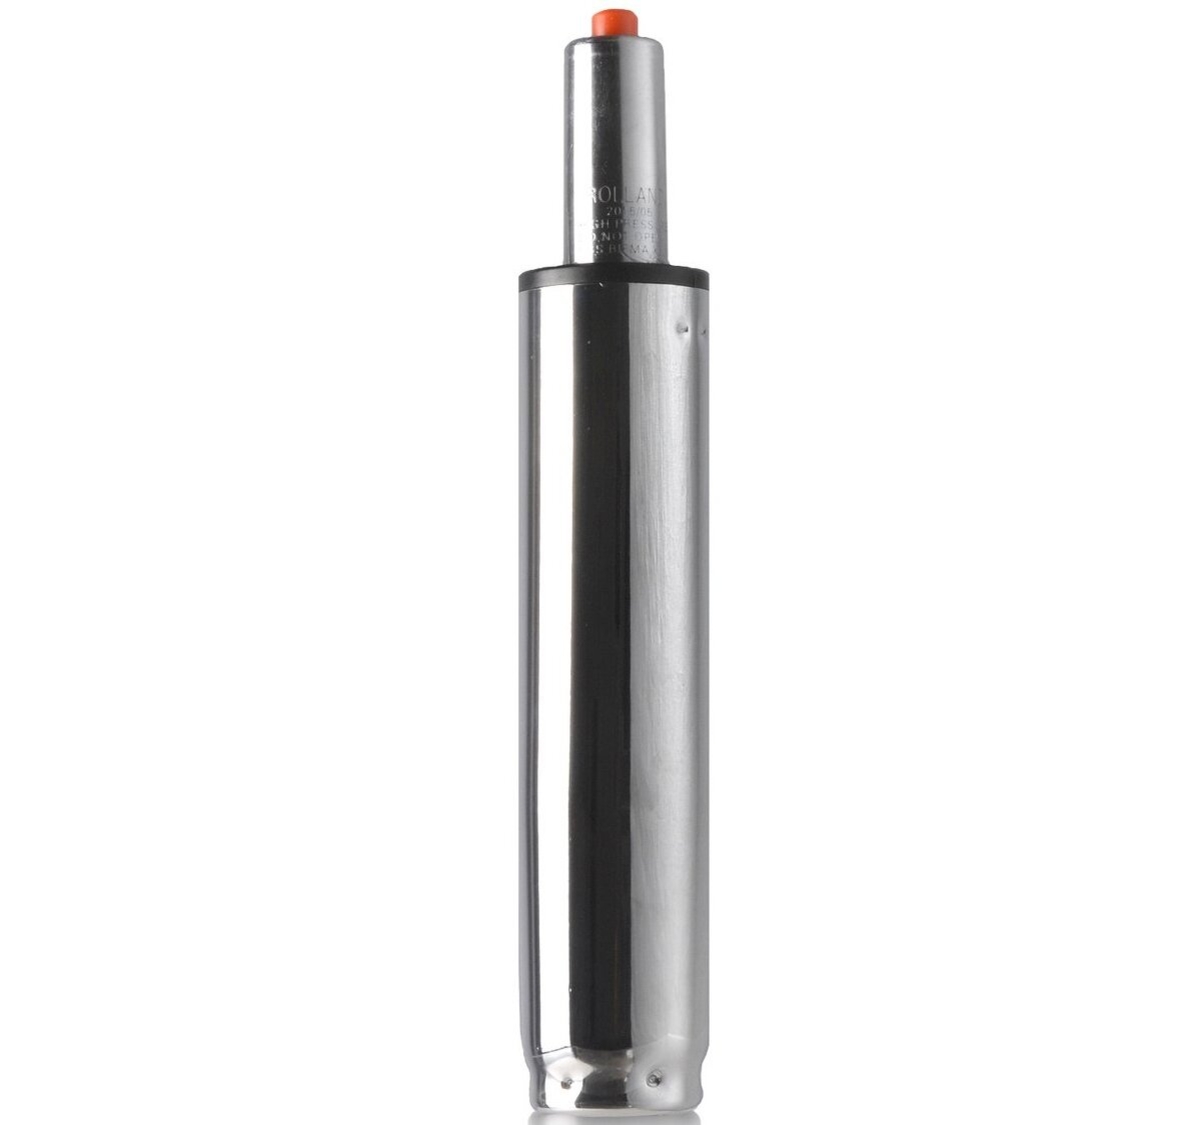
- Replacement Cylinder: Ensure you have the correct replacement part for your specific office chair model.
- Work Gloves: These will provide added protection and grip while working on the chair.
- Clean Cloth: Use a cloth to wipe down the components and remove any dust or debris.
- Lubricant: A lubricant such as WD-40 can help loosen stubborn connections and facilitate smooth disassembly.
- Replacement Parts: Depending on the condition of your chair, you may need additional replacement parts such as washers or bearings.
Having these tools and materials at your disposal will ensure a smooth and efficient process as you work to remove and replace the cylinder in your office chair.
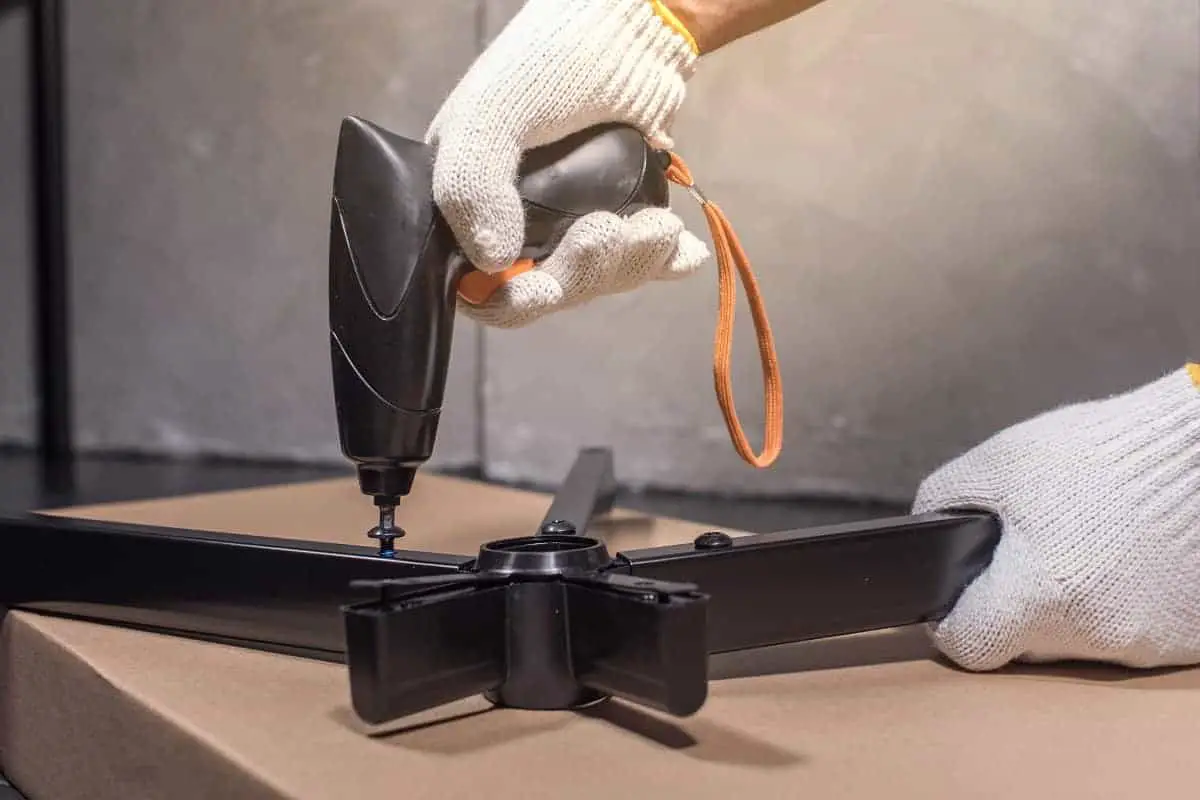
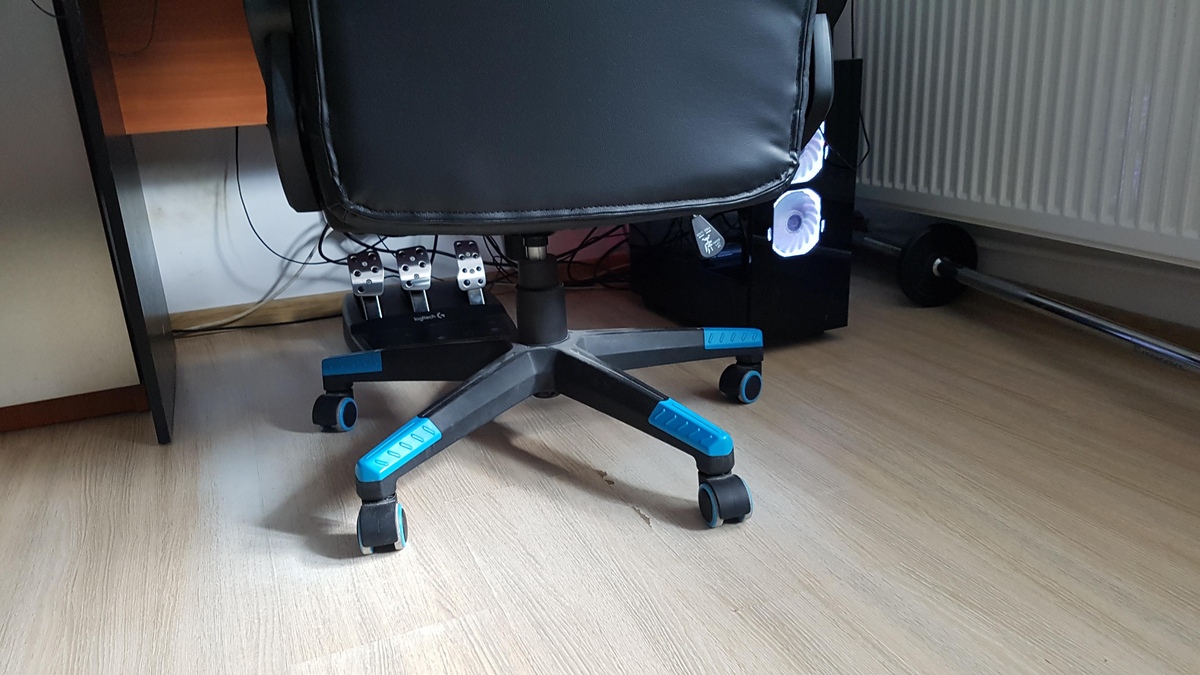
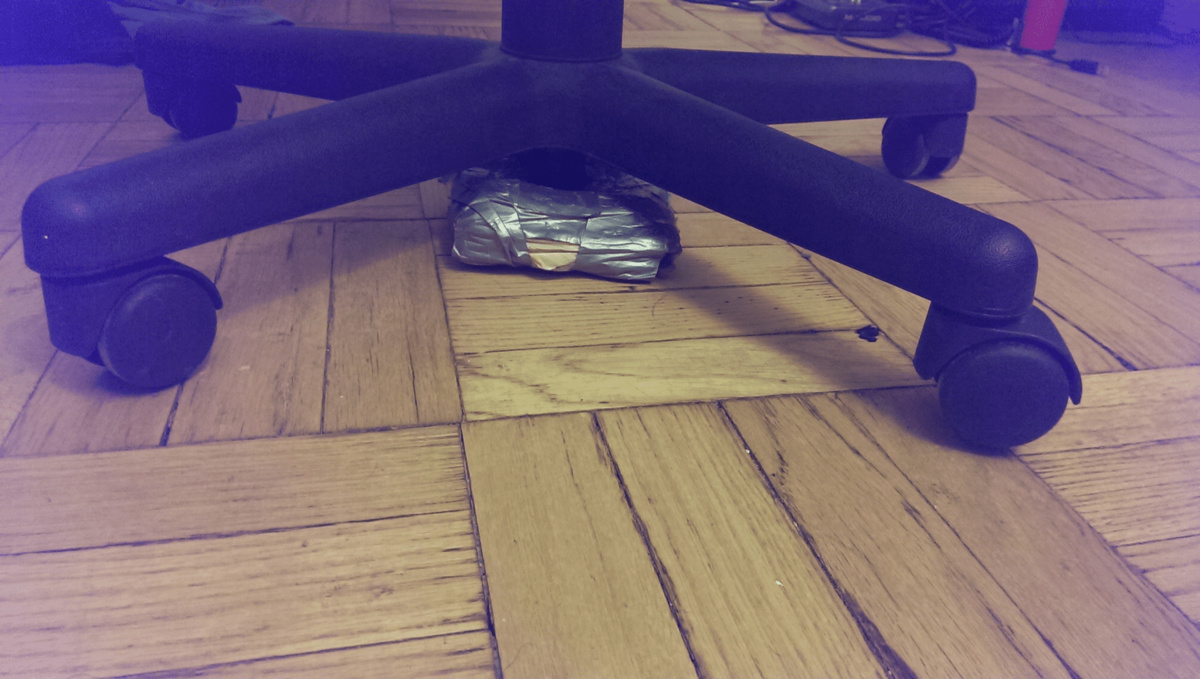
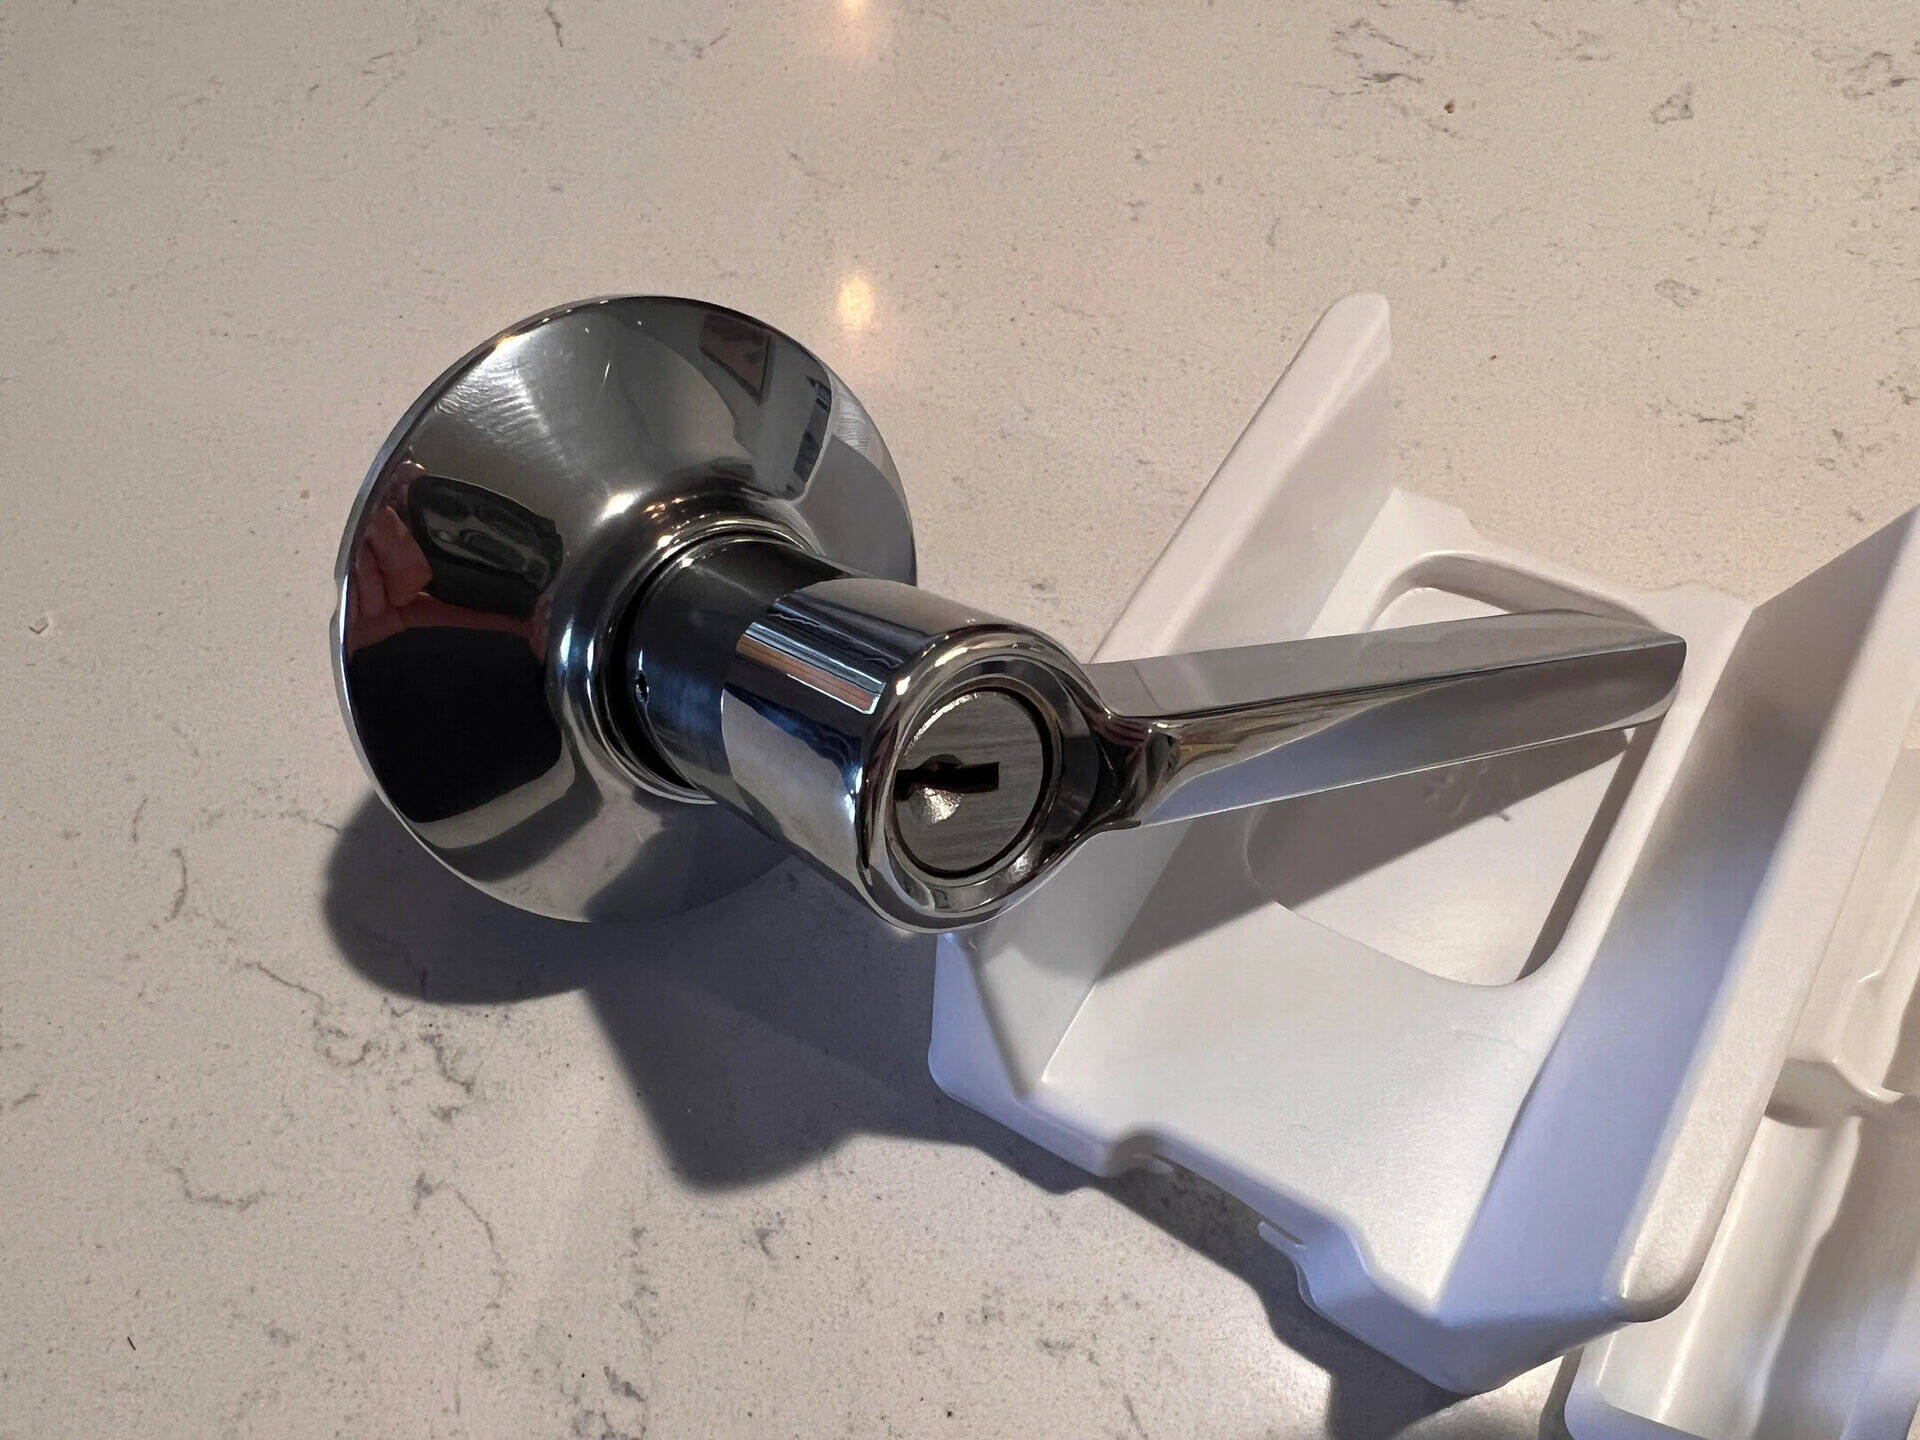
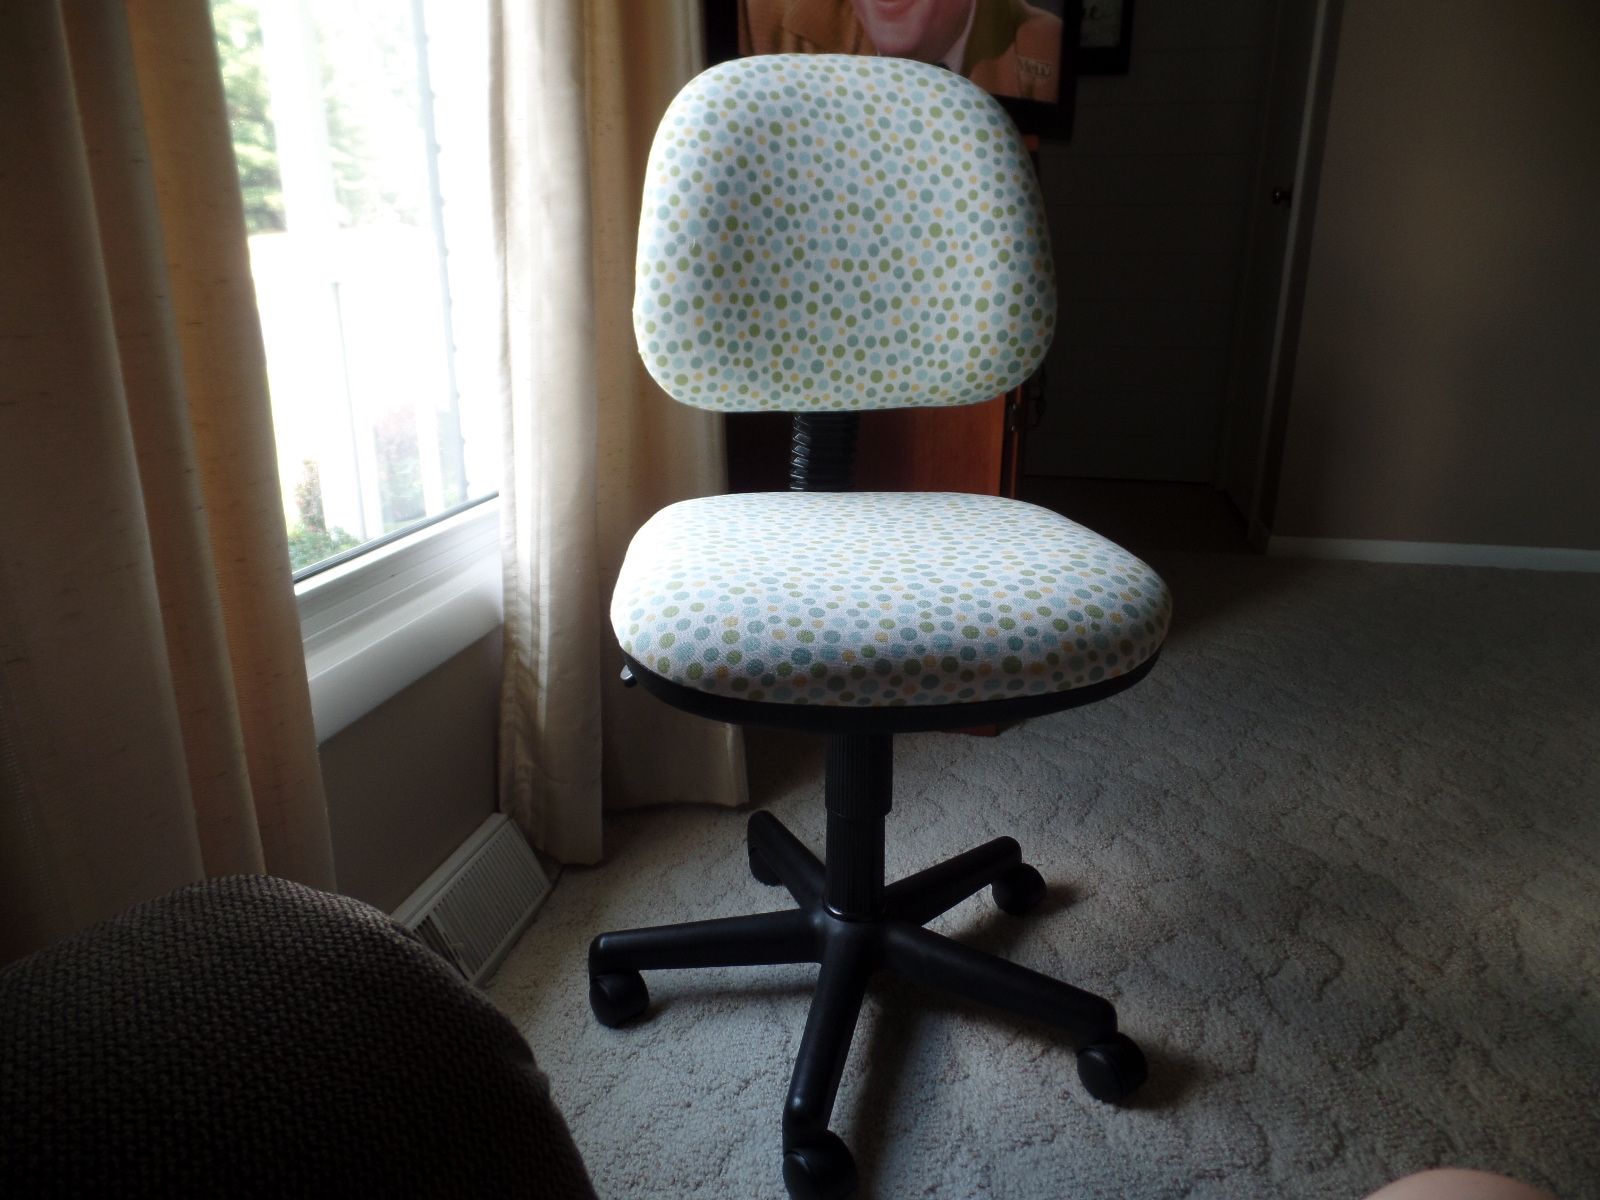
Step 1: Remove the Base
Before you can access the cylinder, you’ll need to remove the base of the office chair. This process typically involves the following steps:
- Flip the Chair: Begin by flipping the chair upside down, ensuring that it is stable and secure. This position will provide easy access to the base and cylinder.
- Inspect the Base: Take a moment to inspect the base of the chair and identify the attachment points between the base and the rest of the chair’s structure.
- Locate the Retaining Clip: Some office chairs feature a retaining clip that holds the base in place. Use a flathead screwdriver to carefully pry and remove the retaining clip, if applicable.
- Unscrew the Base: Using an adjustable wrench, carefully loosen and remove the screws or bolts that secure the base to the chair’s structure. Keep these fasteners in a safe place for reassembly later.
- Remove the Base: With the screws or bolts removed, gently lift the base away from the chair’s structure, taking care not to damage any components in the process.
Once the base has been successfully removed, you will have clear access to the cylinder, allowing you to proceed with the next steps of the removal process. Remember to keep track of all removed components and fasteners to ensure a smooth reassembly once the new cylinder is in place.
To remove a cylinder from an office chair, first, turn the chair upside down. Then, use a rubber mallet to gently tap the base of the cylinder to loosen it from the chair. Finally, pull the cylinder out of the chair.
Step 2: Detach the Cylinder
After removing the base, you can focus on detaching the cylinder from the chair. This step requires precision and attention to detail to ensure a seamless removal process. Here’s a comprehensive guide to detaching the cylinder:
- Assess the Attachment Mechanism: Take a moment to understand how the cylinder is attached to the chair. It may be secured with a retaining clip, screws, or other fasteners.
- Release the Cylinder: If the cylinder is held in place by a retaining clip, carefully pry it open using a flathead screwdriver to release the cylinder. For screws or bolts, use an appropriate tool to loosen and remove them from the chair’s structure.
- Apply Lubricant (if necessary): In some cases, the cylinder may be tightly secured due to prolonged use. Applying a small amount of lubricant, such as WD-40, to the attachment points can help loosen the connections, making it easier to detach the cylinder.
- Gently Remove the Cylinder: With the attachment points released, gently lift and wiggle the cylinder to detach it from the chair. Take care to avoid applying excessive force, as this may cause damage to the chair’s components.
- Inspect the Cylinder: Once detached, inspect the cylinder for any signs of wear, damage, or malfunction. This assessment will help determine if a replacement is necessary and ensure the continued functionality of the chair.
By following these steps, you can successfully detach the cylinder from your office chair, paving the way for the subsequent process of replacing it with a new and functional cylinder.
Step 3: Replacing the Cylinder
With the old cylinder detached, it’s time to proceed with the replacement process. Replacing the cylinder is a crucial step in restoring your office chair’s functionality and ensuring optimal comfort and support. Here’s a detailed guide to replacing the cylinder:
- Prepare the Replacement Cylinder: Ensure that the replacement cylinder is compatible with your office chair model and is in optimal condition for installation. Inspect the new cylinder for any defects or damage before proceeding.
- Align the New Cylinder: Position the replacement cylinder in the chair’s base, ensuring that it aligns with the attachment points and fits securely into place.
- Secure the Cylinder: If the new cylinder features a retaining clip, carefully engage it to secure the cylinder in place. For screw-in cylinders, use the appropriate fasteners to firmly attach the cylinder to the chair’s structure.
- Test the Adjustment Mechanism: Once the replacement cylinder is secured, test the chair’s height adjustment mechanism to ensure that the new cylinder functions as intended. Make any necessary adjustments to guarantee smooth and effortless height changes.
- Reattach the Base: Return the chair to an upright position and reattach the base by securing the screws or bolts. Ensure that the base fits snugly and securely to the chair’s structure.
- Test the Chair: Sit in the chair and test the adjustments to ensure that the new cylinder provides stable and reliable support. Make any final adjustments to the cylinder or chair components as needed.
By following these steps, you can successfully replace the cylinder in your office chair, revitalizing its functionality and ensuring prolonged comfort and usability during work hours.
Read more: How To Change An Office Chair Cylinder
Conclusion
Removing and replacing the cylinder in your office chair is a practical and cost-effective way to extend the lifespan of your seating while maintaining optimal comfort and support. By following the step-by-step process outlined in this guide, you can effectively address issues related to a worn-out or malfunctioning cylinder, restoring your chair’s functionality and enhancing your overall workspace experience.
Remember, proper maintenance and timely replacement of essential components such as the cylinder are key to ensuring the longevity of your office chair. Regular inspections and proactive measures can help identify potential issues early on, allowing you to address them promptly and prevent further damage to the chair.
Additionally, familiarizing yourself with the disassembly and replacement process empowers you to take charge of the maintenance and care of your office furniture, reducing the need for professional assistance and minimizing downtime caused by chair-related issues.
By investing a little time and effort into the maintenance of your office chair, you can enjoy a comfortable and supportive seating experience, promoting productivity and well-being in your workspace.
With the knowledge and guidance provided in this article, you are now equipped to tackle the removal and replacement of the cylinder in your office chair, ensuring that it continues to serve as a reliable and comfortable companion during your work hours.
Frequently Asked Questions about How To Remove A Cylinder From An Office Chair
Was this page helpful?
At Storables.com, we guarantee accurate and reliable information. Our content, validated by Expert Board Contributors, is crafted following stringent Editorial Policies. We're committed to providing you with well-researched, expert-backed insights for all your informational needs.


0 thoughts on “How To Remove A Cylinder From An Office Chair”