Home>Furniture & Design>Outdoor Furniture>How To Build Plastic Outdoor Rugs

Outdoor Furniture
How To Build Plastic Outdoor Rugs
Modified: August 28, 2024
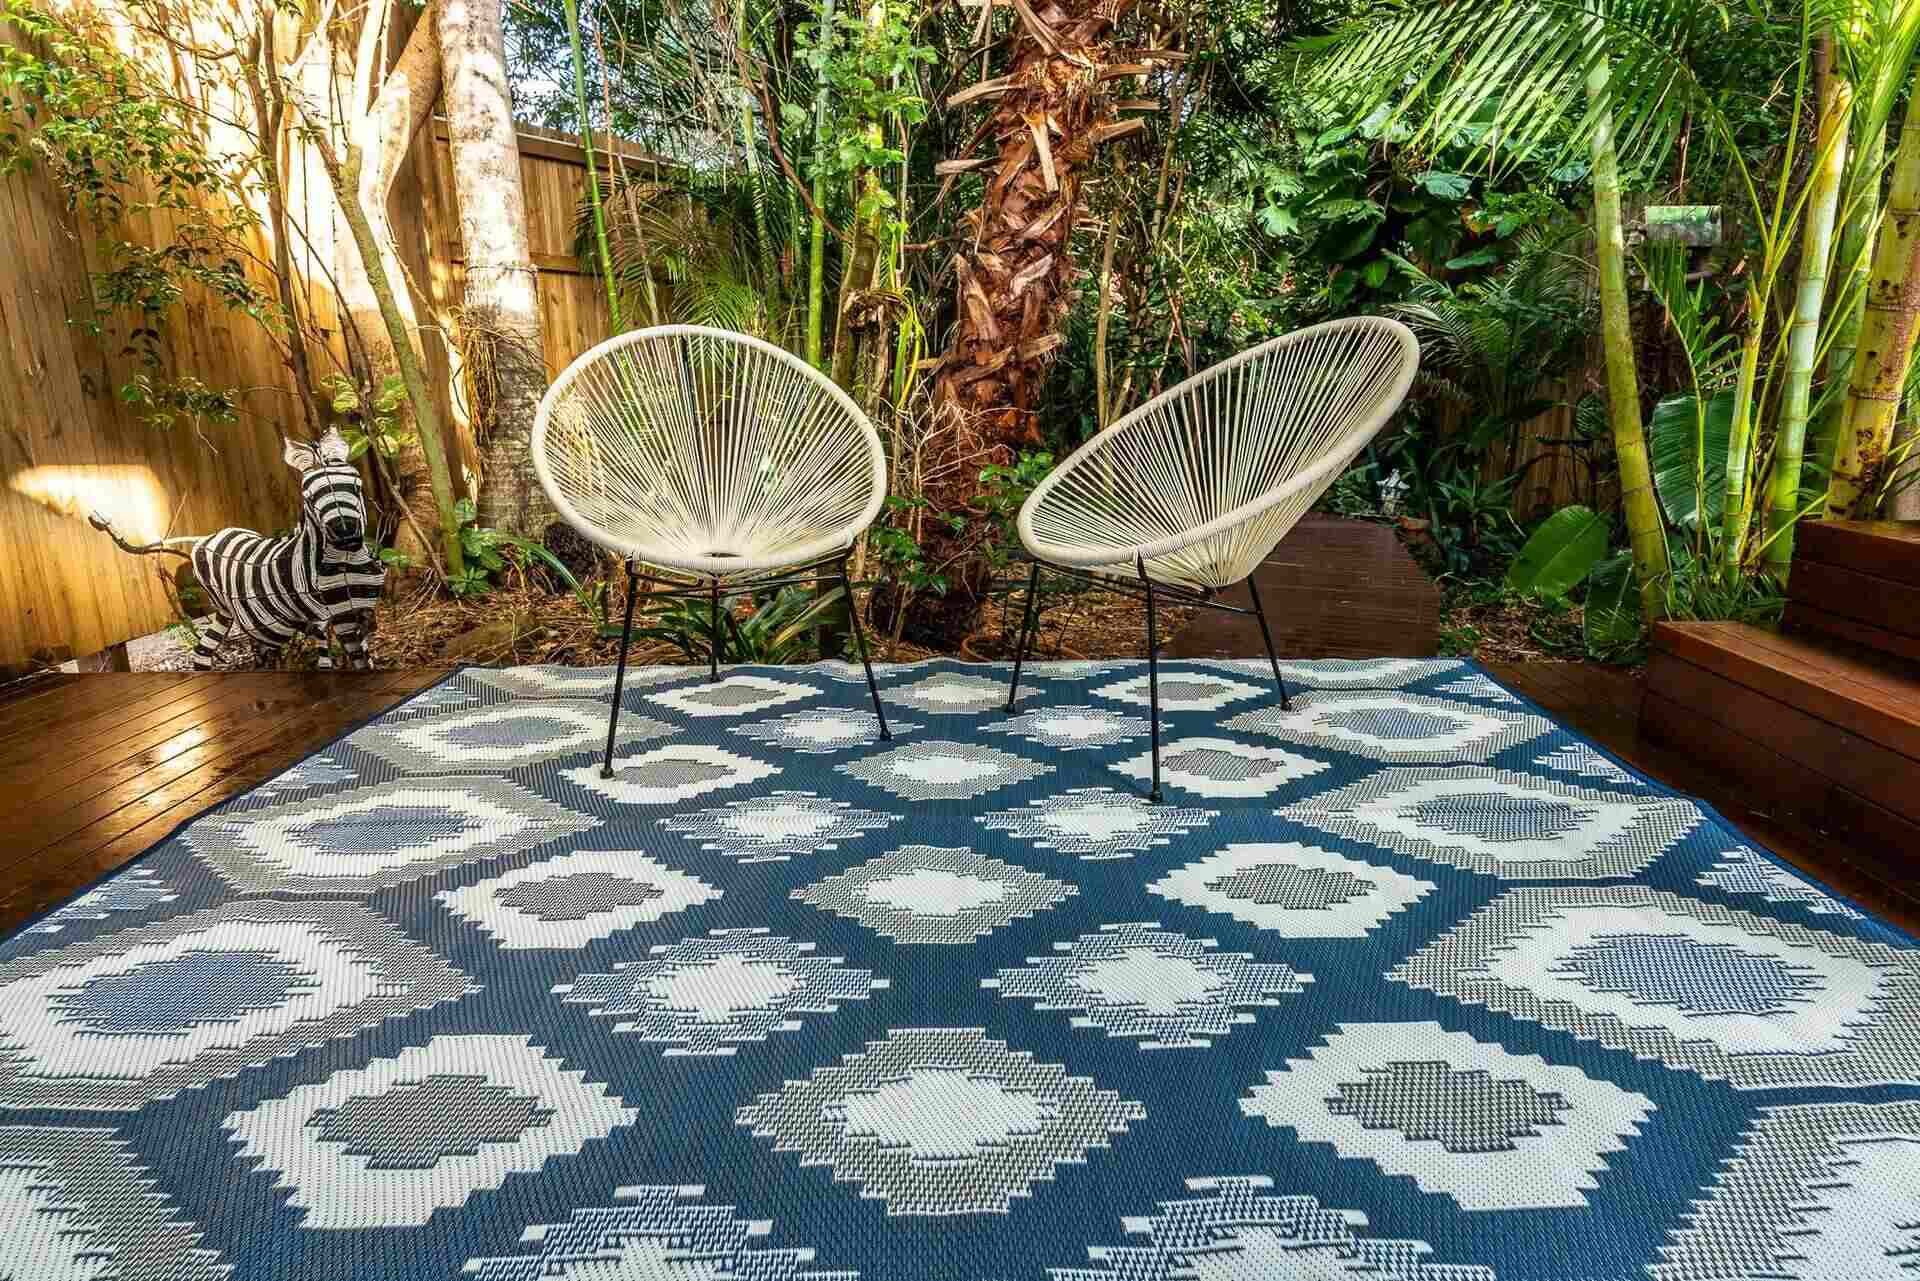
Discover the best tips for creating durable and stylish plastic outdoor rugs for your outdoor furniture. Learn how to design and build custom rugs for your outdoor space.
(Many of the links in this article redirect to a specific reviewed product. Your purchase of these products through affiliate links helps to generate commission for Storables.com, at no extra cost. Learn more)
Introduction
Creating your own plastic outdoor rug can be a fun and rewarding project that adds a personal touch to your outdoor space. Whether you're looking to add a pop of color, protect your patio surface, or simply enjoy a DIY challenge, building a plastic outdoor rug allows you to customize the design and size to perfectly fit your outdoor area.
In this guide, we'll explore the step-by-step process of crafting a plastic outdoor rug, from selecting the right materials to adding the finishing touches. By following these instructions, you can unleash your creativity and construct a durable and stylish rug that withstands outdoor elements while enhancing the aesthetic appeal of your patio, deck, or garden.
Let's dive into the materials needed and the first step of this exciting DIY project.
Key Takeaways:
- Create a personalized and durable plastic outdoor rug by choosing the right materials, designing a unique pattern, and skillfully assembling the pieces. Add finishing touches to enhance its visual appeal and functionality for your outdoor space.
- Crafting a plastic outdoor rug allows you to unleash your creativity, personalize your outdoor decor, and enjoy a fun DIY project. With careful material selection and thoughtful design, you can build a resilient and stylish rug that enhances your outdoor living space.
Read more: How To Build Patio Rugs
Materials Needed
Before embarking on your plastic outdoor rug project, it’s essential to gather the necessary materials and tools. Here’s a comprehensive list to ensure you’re well-equipped for the task:
- Plastic Material: Select a durable, weather-resistant plastic material such as polypropylene or recycled plastic fabric. This will serve as the foundation of your outdoor rug.
- Scissors or Utility Knife: A sharp pair of scissors or a utility knife will be indispensable for cutting the plastic material to your desired dimensions.
- Measuring Tape: Accurate measurements are crucial for creating a well-fitted and visually appealing rug, so a measuring tape is a must-have tool.
- Marker or Chalk: Use a marker or chalk to outline the design and cutting lines on the plastic material.
- Straight Edge: A straight edge, such as a ruler or a straight piece of wood, will facilitate precise cutting and ensure clean, straight lines.
- Adhesive or Binding Tape: Depending on your design and assembly method, you may need adhesive or binding tape to secure the edges of the plastic pieces together.
- Optional: Decorative Elements – If you desire embellishments, consider adding decorative elements such as outdoor fabric paint, stencils, or fabric trim to customize your rug.
By gathering these materials, you’ll be well-prepared to commence the creative process of building your very own plastic outdoor rug. The next step involves choosing the right plastic material to suit your outdoor space and withstand environmental factors.
Step 1: Choosing the Right Plastic Material
When it comes to crafting a durable and weather-resistant outdoor rug, selecting the appropriate plastic material is paramount. Polypropylene and recycled plastic fabric are popular choices due to their resilience and suitability for outdoor use. These materials are designed to withstand exposure to sunlight, moisture, and varying temperatures, making them ideal for outdoor rugs.
Polypropylene, also known as olefin, is a synthetic fiber renowned for its durability and resistance to stains, mildew, and fading. This makes it an excellent choice for outdoor applications, as it can endure the rigors of the elements without losing its visual appeal. Additionally, polypropylene rugs are relatively easy to clean, allowing for hassle-free maintenance.
Recycled plastic fabric, often derived from recycled plastic bottles or containers, offers an eco-friendly and sustainable option for crafting outdoor rugs. This material not only repurposes plastic waste but also provides exceptional durability and weather resistance. By utilizing recycled plastic fabric, you can contribute to environmental conservation while enjoying a long-lasting and low-maintenance outdoor rug.
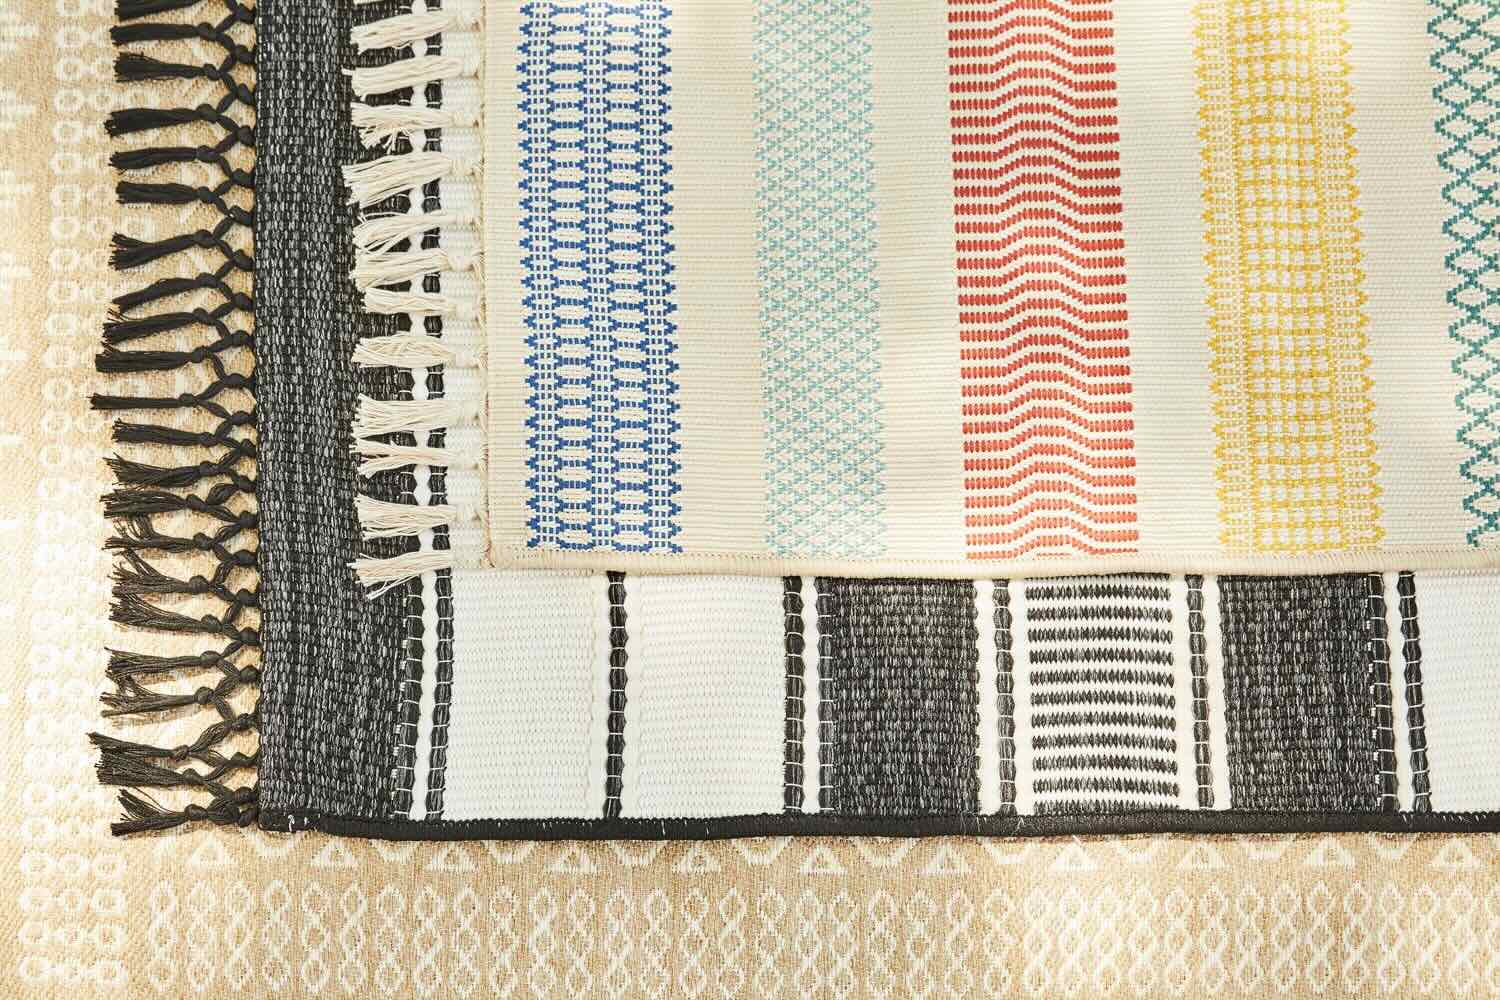
Consider the color, texture, and weave of the plastic material to align with your outdoor decor and personal preferences. Whether you opt for a solid hue, a vibrant pattern, or a textured weave, ensure that the chosen material complements the aesthetic of your outdoor space.
Furthermore, assess the thickness and weight of the plastic material, as these factors influence the rug’s sturdiness and resilience. A thicker, heavier material may be more suitable for high-traffic areas, while a lighter option could be preferable for portability and ease of maintenance.
By carefully evaluating these considerations and choosing a high-quality plastic material that aligns with your design vision and practical requirements, you can lay a solid foundation for constructing a resilient and visually appealing outdoor rug. Once you’ve selected the ideal material, you can move on to the next step: designing your unique outdoor rug.
Step 2: Designing Your Rug
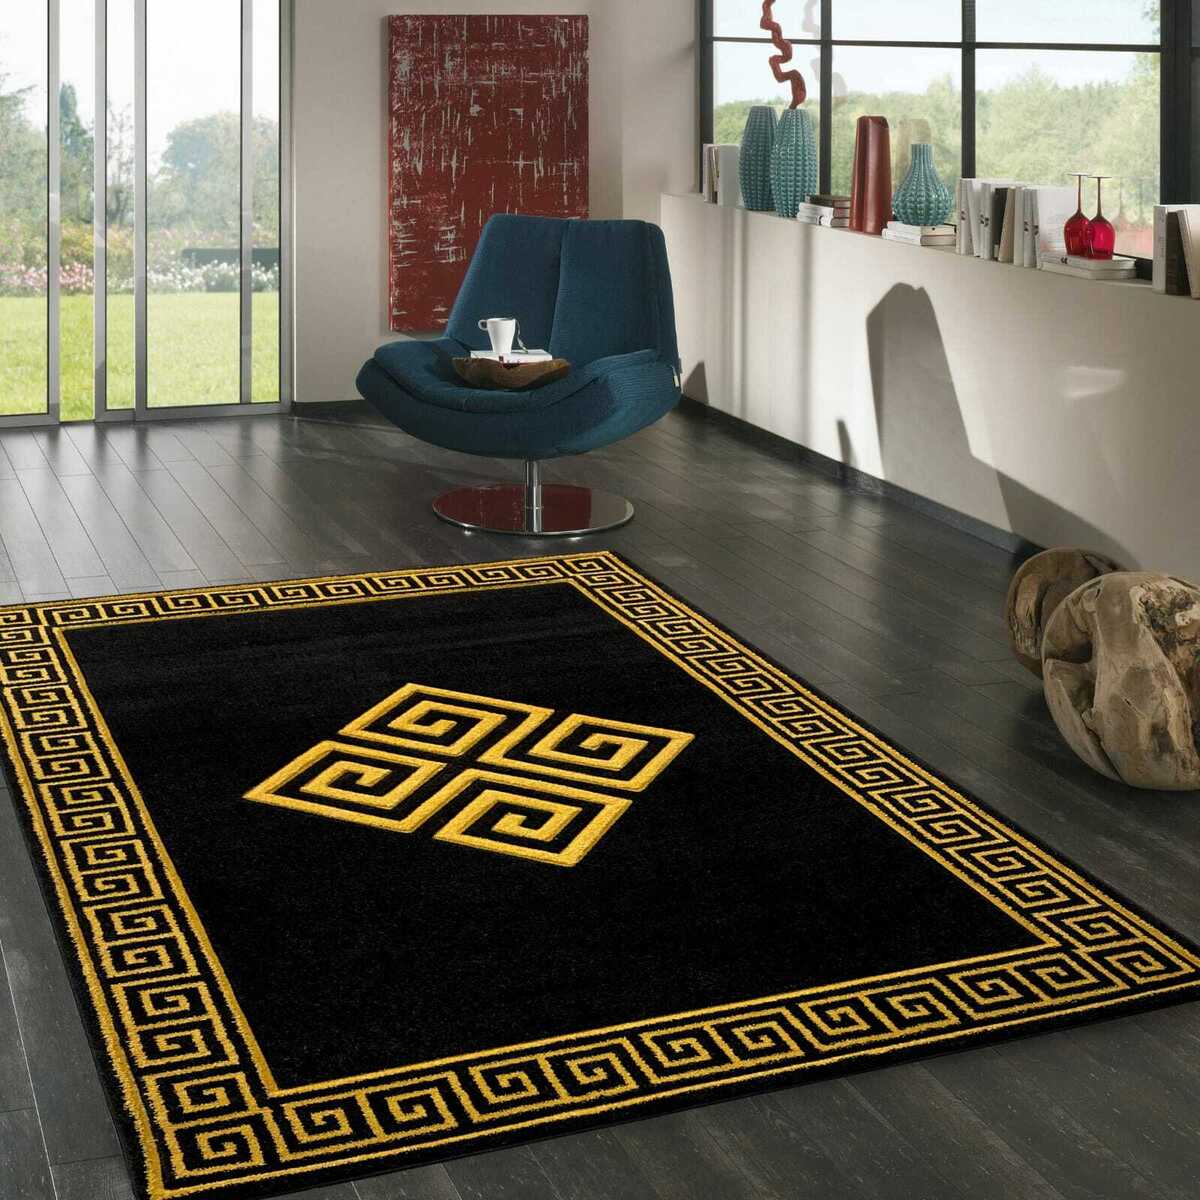
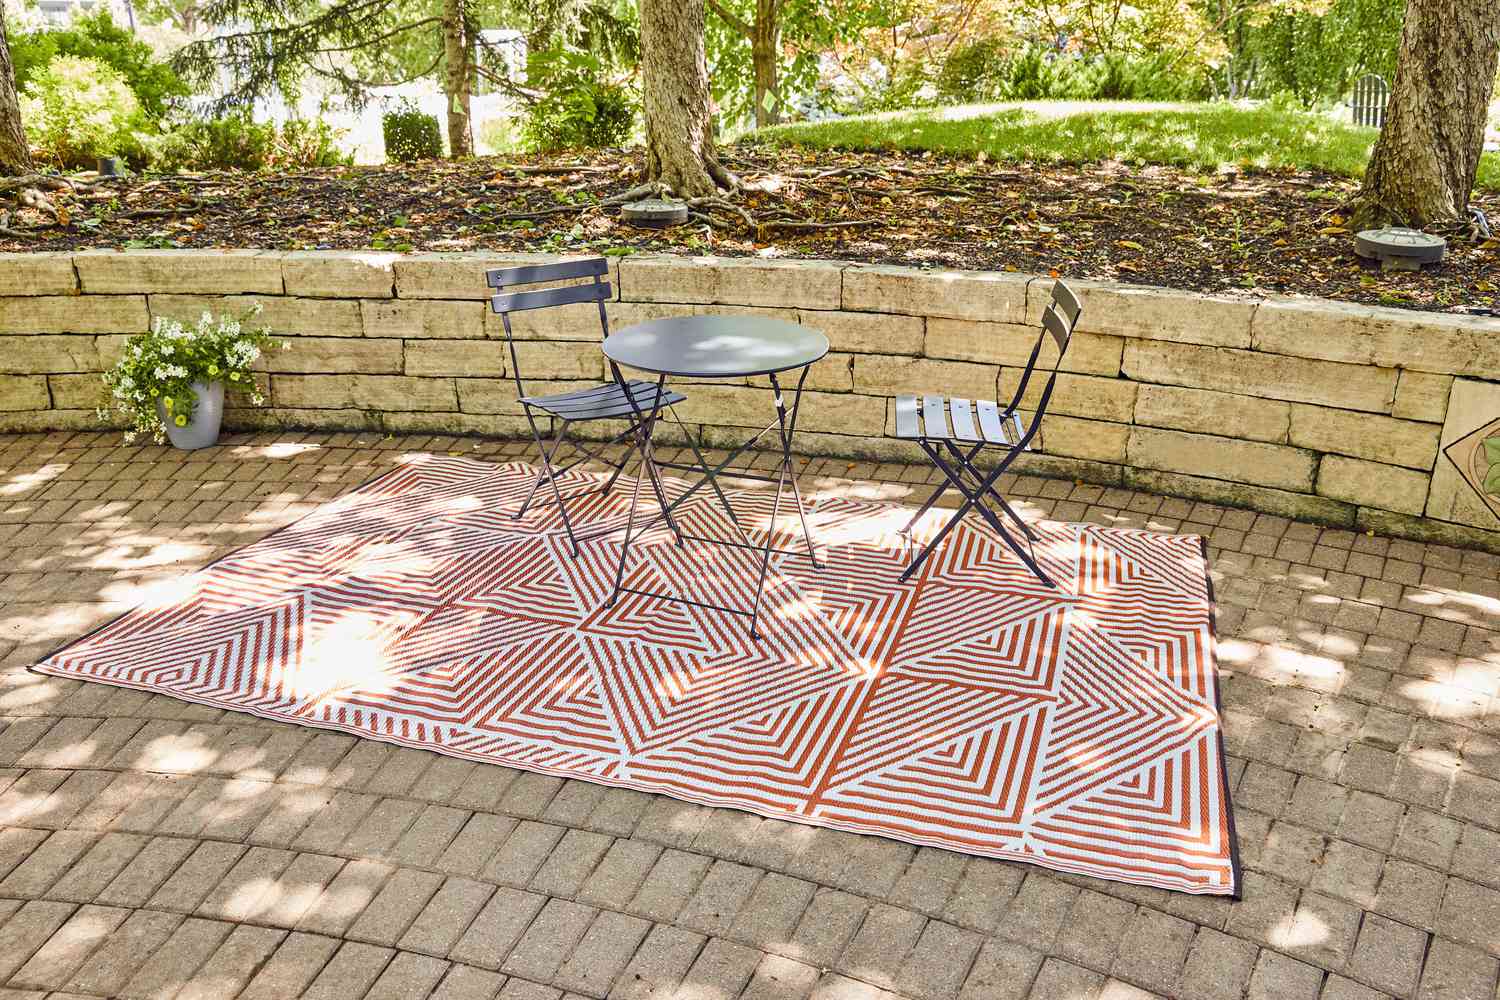
Designing your plastic outdoor rug offers an opportunity to unleash your creativity and tailor the rug to your outdoor space’s aesthetic and functional needs. Whether you prefer a bold geometric pattern, a classic striped design, or a custom motif, the design phase allows you to personalize every aspect of your outdoor rug.
Begin by envisioning the dimensions and shape of your rug. Consider the specific area in your outdoor space where the rug will be placed, whether it’s on a patio, deck, or garden terrace. Measure the space and determine the ideal size and shape for the rug, ensuring that it harmonizes with the surrounding furniture and landscaping.
Next, explore various design possibilities, such as color combinations, patterns, and borders. If you’re adept at graphic design, you can sketch your design concepts on paper or use digital design software to visualize different patterns and color schemes. Alternatively, gather inspiration from outdoor decor magazines, websites, and social media platforms to spark your creativity.
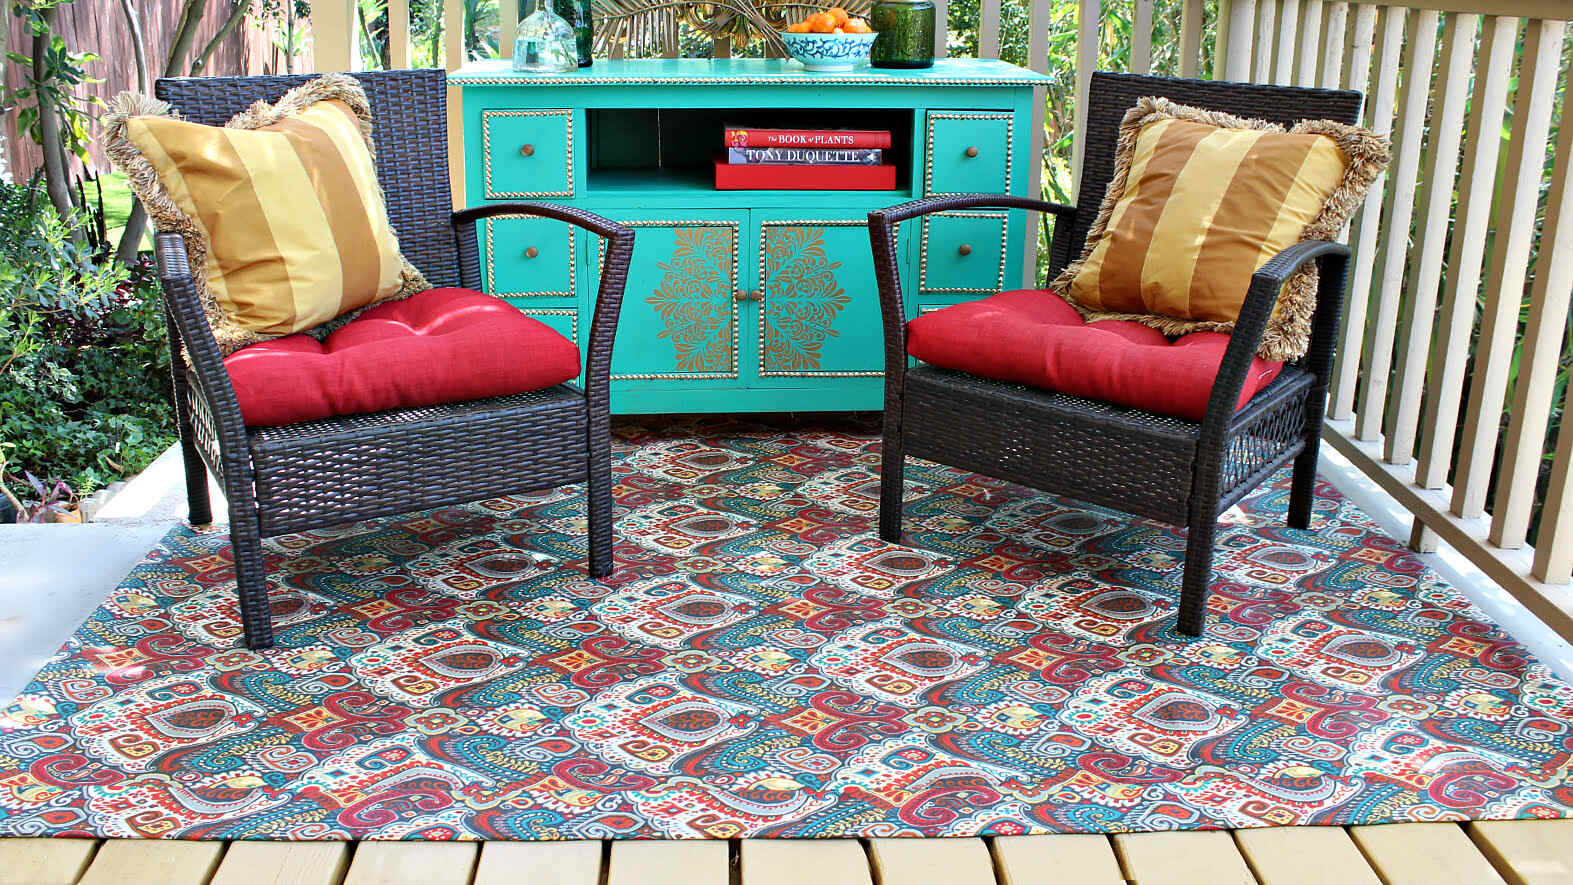
When selecting colors for your outdoor rug, consider the existing color palette of your outdoor space. Harmonize the rug’s hues with the surrounding elements, such as outdoor furniture, planters, and architectural features. Whether you opt for vibrant, eye-catching tones or subtle, earthy shades, ensure that the colors complement the outdoor ambiance and contribute to a cohesive visual ensemble.
Furthermore, contemplate the practical aspects of the design, such as maintenance and usability. For high-traffic areas, consider patterns and colors that can effectively conceal dirt and wear. Additionally, if you anticipate frequent exposure to sunlight, opt for colors that resist fading to maintain the rug’s vibrancy over time.
As you finalize your design, take into account any additional decorative elements you may wish to incorporate. Whether it’s adding a border, integrating a personalized monogram, or incorporating decorative trim, these embellishments can infuse your outdoor rug with individuality and charm.
By embracing the design phase as a canvas for your imagination and tailoring the rug to both aesthetic and practical considerations, you can lay the groundwork for a distinctive and purposeful plastic outdoor rug. Once your design vision is crystallized, you can proceed to the next step: cutting and assembling the pieces to bring your design to life.
When building plastic outdoor rugs, make sure to use weather-resistant materials such as polypropylene or recycled plastic. These materials are durable and easy to clean, making them perfect for outdoor use.
Step 3: Cutting and Assembling the Pieces
With your design concept in hand, it’s time to bring your plastic outdoor rug to fruition through precise cutting and skillful assembly. This step involves translating your design into tangible pieces and assembling them to form a cohesive and visually captivating rug for your outdoor space.
Begin by laying out the chosen plastic material on a flat, spacious surface, ensuring that it’s free from wrinkles or creases. Use a measuring tape and a marker or chalk to outline the dimensions and shape of the rug according to your design specifications. If you’re creating a patterned rug, mark the cutting lines for different colored or textured sections to guide your cutting process.
Next, using a sharp pair of scissors or a utility knife, carefully cut along the marked lines to shape the individual pieces of the rug. Exercise caution to maintain straight, clean cuts, as precision in cutting will contribute to the overall polished appearance of the rug.
Once all the pieces are cut to the desired dimensions, arrange them according to your design layout. If your design features intricate patterns or color blocks, take time to organize the pieces in the intended configuration to ensure a seamless assembly process. This step is crucial for visualizing the final look of the rug and making any necessary adjustments before the assembly begins.
Depending on your design and the chosen assembly method, you may utilize adhesive, binding tape, or a sewing technique to securely join the pieces together. For instance, if your rug comprises multiple segments, carefully align the edges and use binding tape to fuse them, ensuring a sturdy and durable bond. Alternatively, if your design incorporates a patchwork-style assembly, sewing the pieces together can provide a charming, handcrafted touch.
Throughout the cutting and assembly process, maintain attention to detail and precision to achieve a professional-quality result. Take the time to inspect the alignment of the pieces and the integrity of the connections to guarantee a well-crafted and visually striking plastic outdoor rug.
By meticulously cutting and skillfully assembling the pieces according to your design, you can transform the raw plastic material into a bespoke outdoor rug that reflects your creative vision and enhances the ambiance of your outdoor living space. As the pieces come together, you’ll be one step closer to completing your personalized plastic outdoor rug.
Read more: How To Build Southwestern Rugs
Step 4: Adding Finishing Touches
As your plastic outdoor rug takes shape, the final step involves adding thoughtful finishing touches to elevate its visual appeal and functionality. These enhancements can range from practical reinforcements to decorative accents, further enhancing the rug’s durability and aesthetic charm.
If your rug comprises multiple pieces or segments, consider reinforcing the edges with binding tape to fortify the seams and prevent fraying. This step not only contributes to the rug’s longevity but also imparts a neat and polished appearance, ensuring that the rug maintains its structural integrity over time.
For added stability and slip resistance, particularly on hard outdoor surfaces, consider applying a non-slip rug pad or adhesive backing to the underside of the rug. This simple addition can enhance safety and prevent the rug from shifting or bunching up, especially in high-traffic areas or during inclement weather.
Additionally, contemplate incorporating decorative elements to personalize and embellish your outdoor rug. If you desire a custom touch, consider using outdoor fabric paint to add artistic motifs, monograms, or intricate designs to the rug’s surface. Stencils can also be employed to create precise patterns and decorative accents, infusing the rug with individuality and charm.
Furthermore, if your design allows for it, consider integrating fabric trim or edging along the perimeter of the rug to impart a refined and tailored finish. This decorative trim can complement the color scheme of the rug, add visual interest, and provide a polished border that accentuates the rug’s overall design.
Before declaring your plastic outdoor rug complete, take a moment to inspect the rug from all angles and ensure that it aligns with your initial design vision. Address any final adjustments or additions to guarantee that the rug embodies your desired aesthetic and meets your practical requirements for outdoor use.
By adding these finishing touches, you’ll infuse your plastic outdoor rug with a blend of functionality and style, creating a resilient and visually captivating accent for your outdoor living space. As the last embellishments are integrated, your personalized outdoor rug will stand as a testament to your creativity and craftsmanship, ready to enhance and enliven your outdoor environment.
Conclusion
Congratulations on successfully crafting your very own plastic outdoor rug! Through careful material selection, thoughtful design, precise cutting, skillful assembly, and artful finishing touches, you’ve transformed raw plastic material into a bespoke and resilient accent for your outdoor living space. As you admire your completed outdoor rug, you can take pride in the creativity and craftsmanship invested in this DIY project.
Not only does your plastic outdoor rug add a personalized touch to your outdoor area, but it also serves as a functional and stylish element that enhances the ambiance of your patio, deck, or garden. Its durable construction and weather-resistant properties ensure that it can withstand the rigors of outdoor use while maintaining its visual allure.
By customizing the design, colors, and decorative elements, you’ve tailored the rug to harmonize with your outdoor decor and reflect your individual style. Whether you’ve opted for a vibrant, eye-catching pattern or a subtle, understated design, your outdoor rug stands as a testament to your creativity and attention to detail.
As you place your new outdoor rug in its designated space, take a moment to appreciate the transformative impact it has on the overall aesthetic of your outdoor environment. Whether it’s providing a cozy foundation for outdoor seating, defining a gathering area, or infusing a burst of color into your garden, your plastic outdoor rug has become an integral part of your outdoor oasis.
As you enjoy the fruits of your DIY labor, remember that the process of creating your outdoor rug was not only a fulfilling endeavor but also an opportunity to unleash your imagination and bring a unique vision to life. Your personalized outdoor rug is a reflection of your ingenuity and resourcefulness, showcasing your ability to repurpose materials into a functional and visually captivating addition to your outdoor space.
With your newly crafted plastic outdoor rug in place, you can relish the satisfaction of a DIY project well-executed. Whether you’re hosting outdoor gatherings, savoring quiet moments in the sun, or simply admiring your outdoor sanctuary, your custom outdoor rug will continue to enrich your outdoor living experience for years to come.
So, bask in the pride of your handiwork, and revel in the beauty and practicality of your personalized plastic outdoor rug. Your creativity has truly made an impact on your outdoor space, and your DIY spirit has left an enduring mark on your home’s outdoor decor.
Frequently Asked Questions about How To Build Plastic Outdoor Rugs
Was this page helpful?
At Storables.com, we guarantee accurate and reliable information. Our content, validated by Expert Board Contributors, is crafted following stringent Editorial Policies. We're committed to providing you with well-researched, expert-backed insights for all your informational needs.




0 thoughts on “How To Build Plastic Outdoor Rugs”