Home>Furniture & Design>Outdoor Furniture>How To Build An Outdoor Shelter
Outdoor Furniture
How To Build An Outdoor Shelter
Published: January 15, 2024
Learn how to build your own outdoor shelter with our comprehensive guide. Find inspiration and design ideas for outdoor furniture to create a cozy and inviting space. Discover expert tips for creating the perfect outdoor retreat.
(Many of the links in this article redirect to a specific reviewed product. Your purchase of these products through affiliate links helps to generate commission for Storables.com, at no extra cost. Learn more)
Introduction
Welcome to the world of outdoor living! Whether you want to create a cozy retreat in your backyard or enhance your camping experience, building an outdoor shelter can be a rewarding and practical endeavor. From simple tarp setups to more elaborate structures, there are countless options to suit your needs and style.
In this guide, we will explore the essential steps to construct a sturdy and functional outdoor shelter. Whether you are a seasoned DIY enthusiast or a beginner looking to embark on a new project, this comprehensive overview will provide valuable insights into the process of creating a shelter that not only offers protection from the elements but also adds a touch of charm to your outdoor space.
So, grab your tools, unleash your creativity, and let’s dive into the exciting world of outdoor shelter construction. Whether you're envisioning a rustic pergola for your garden or a portable canopy for your next outdoor event, this guide will equip you with the knowledge and inspiration to bring your vision to life. Let's get started!
Key Takeaways:
- Building an outdoor shelter involves choosing the right location, gathering materials, constructing the framework, adding the roof and walls, and finishing touches to create a functional and inviting space for various outdoor activities.
- By carefully considering factors like accessibility, orientation, and scenic views, and adding personal touches like seating, privacy features, and decorative accents, you can transform your outdoor space into a versatile and enjoyable retreat.
Read more: How To Build Outdoor Furniture
Choosing a Location
Before you start gathering materials and hammering nails, it’s crucial to carefully select the location for your outdoor shelter. The ideal spot will not only accommodate the size and style of your shelter but also enhance its functionality and aesthetic appeal.
Consider the following factors when choosing a location:
- Accessibility: Ensure that the location is easily accessible and convenient for its intended use. Whether it’s a spot for outdoor dining, relaxation, or protection from the sun, easy access will enhance the shelter’s practicality.
- Orientation: Take note of the sun’s path throughout the day and the prevailing wind direction. Orienting your shelter to provide shade during the hottest hours and protection from the wind will significantly improve its comfort and usability.
- Ground Stability: If you’re building a permanent structure, assess the stability of the ground. Avoid areas prone to flooding or erosion, and ensure that the ground is level and suitable for supporting the weight of the shelter.
- Scenic Views: Capitalize on any scenic views or natural features in your outdoor space. Positioning the shelter to frame a beautiful landscape or create a sense of privacy can elevate the overall ambiance of the area.
Once you’ve evaluated these considerations, mark the chosen location and take measurements to guide the construction process. By carefully selecting the location, you can lay a solid foundation for a well-integrated and functional outdoor shelter that complements its surroundings.
Gathering Materials
With the location chosen, it’s time to gather the materials needed to bring your outdoor shelter to life. The specific materials required will depend on the type of shelter you plan to build, whether it’s a simple sun shade, a pergola, a gazebo, or a more elaborate structure. Here are some general guidelines for gathering materials:
- Support Posts: Depending on the design, you may need sturdy wooden or metal posts to serve as the foundation of your shelter. These posts will provide the structural support for the roof and walls, if applicable.
- Roofing Materials: For overhead protection, consider materials such as waterproof canvas, thatch, metal roofing, or outdoor fabric. The choice of roofing material will depend on your climate, desired aesthetic, and budget.
- Fasteners and Hardware: Stock up on screws, nails, brackets, and other hardware necessary for securing the structural elements of your shelter. It’s essential to choose weather-resistant fasteners to ensure the longevity of your outdoor structure.
- Decorative Elements: If you aim to enhance the visual appeal of your shelter, consider incorporating decorative elements such as lattice panels, trim pieces, or ornamental brackets. These details can add character and charm to your outdoor space.
- Anchoring Materials: Depending on the shelter’s design and location, you may need anchoring materials such as concrete footings, ground anchors, or heavy-duty stakes to secure the structure in place.
- Optional Features: If you plan to include amenities like lighting, curtains, or seating within your shelter, factor in the materials needed to incorporate these features seamlessly into the design.
Before purchasing materials, it’s advisable to create a detailed list based on your shelter design and dimensions. This will help you estimate the quantities needed and streamline the procurement process. Additionally, consider the durability and maintenance requirements of the materials to ensure that your outdoor shelter stands the test of time.
Once you have all the necessary materials on hand, you’ll be ready to move on to the next phase: constructing the framework of your outdoor shelter.
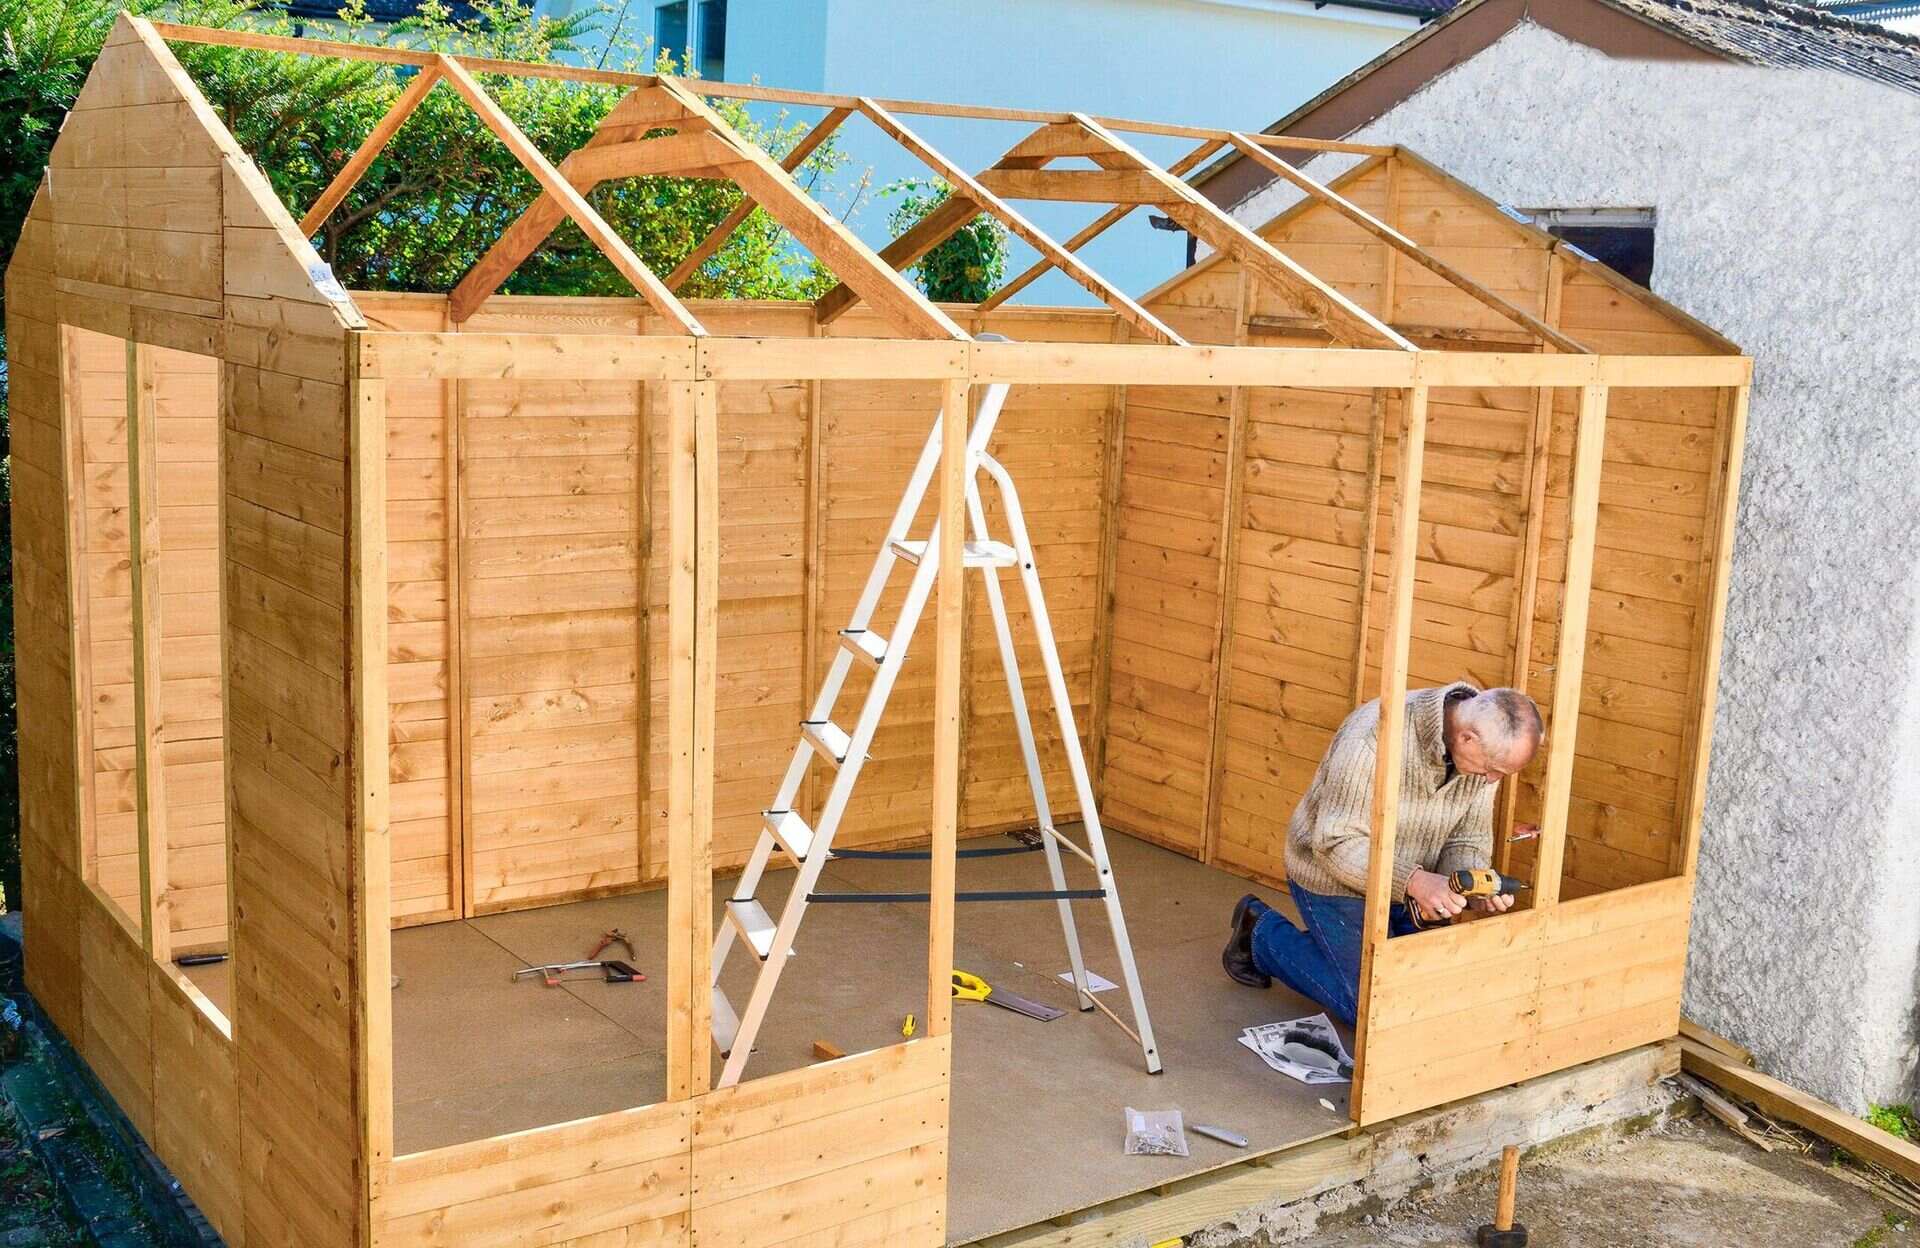
Constructing the Framework
With the materials gathered, it’s time to embark on the exciting phase of constructing the framework for your outdoor shelter. The framework serves as the backbone of the structure, providing stability and support for the roof and any additional features. Depending on the design of your shelter, the construction process may involve the following steps:
- Setting the Posts: If your shelter design includes support posts, begin by positioning and securing them in the chosen location. Use a level to ensure that the posts are plumb and evenly spaced, and consider bracing them temporarily to maintain their position during construction.
- Attaching Beams and Rafters: Once the posts are in place, attach horizontal beams or rafters to create the framework for the roof. Secure these structural elements using appropriate fasteners, ensuring that they are level and well-aligned.
- Adding Cross Supports: For added stability and to support the roofing material, consider adding cross supports between the beams or rafters. These supports can enhance the structural integrity of the framework and contribute to the overall strength of the shelter.
- Customizing the Design: Depending on your design preferences, you may choose to incorporate decorative elements or custom features into the framework. This could include intricate lattice work, decorative trim, or unique architectural details that personalize the shelter to your taste.
Throughout the construction process, it’s important to prioritize safety and precision. Double-check measurements, use appropriate safety gear, and enlist the help of others when handling heavy or cumbersome materials. By meticulously constructing the framework, you’ll lay the groundwork for a durable and visually appealing outdoor shelter.
Once the framework is in place, you’re ready to move on to the next steps: adding the roof and walls to complete the shelter’s structure.
When building an outdoor shelter, make sure to choose a location with good drainage and natural windbreaks to protect from the elements.
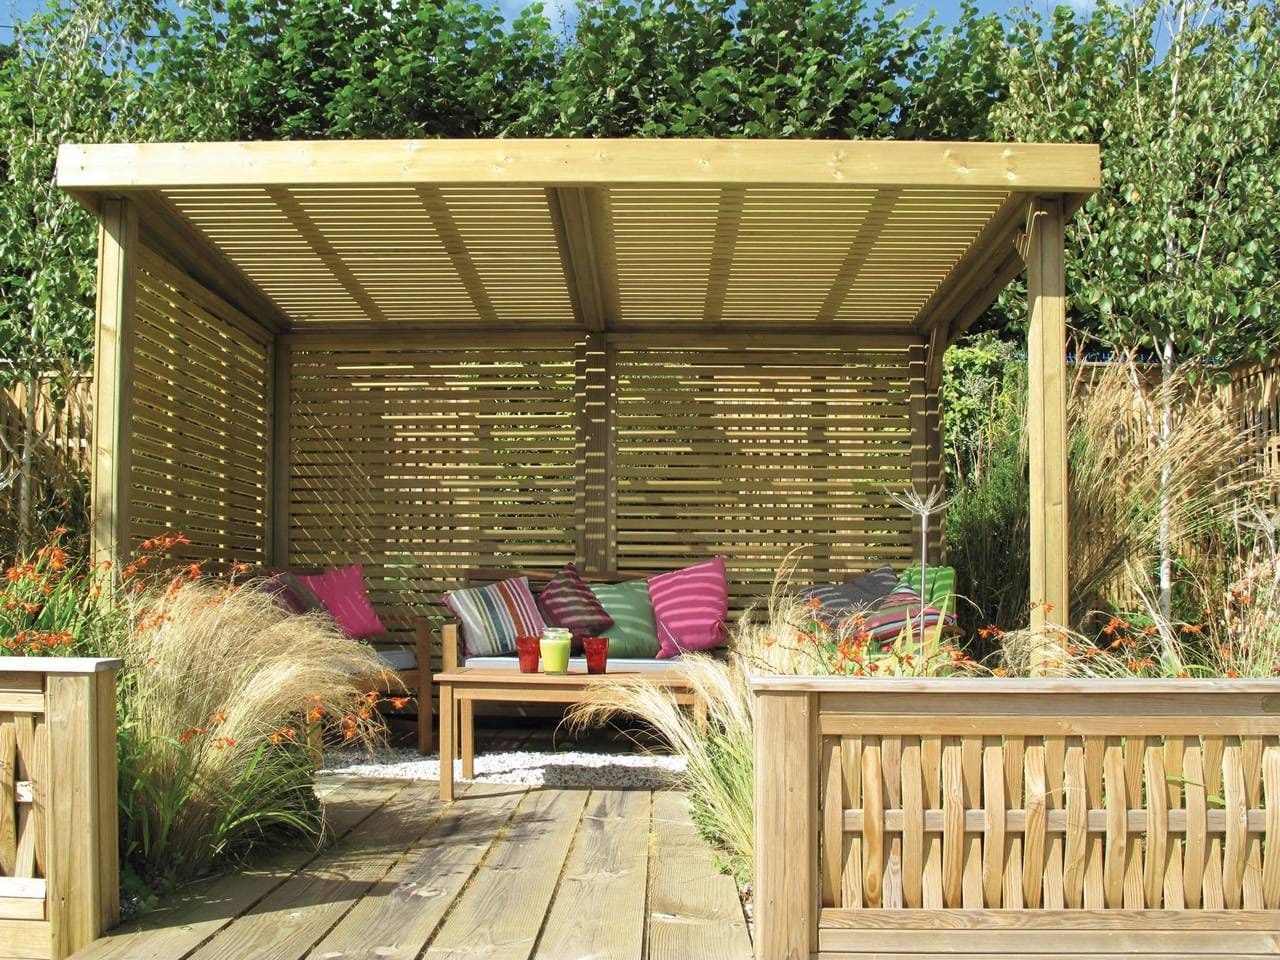
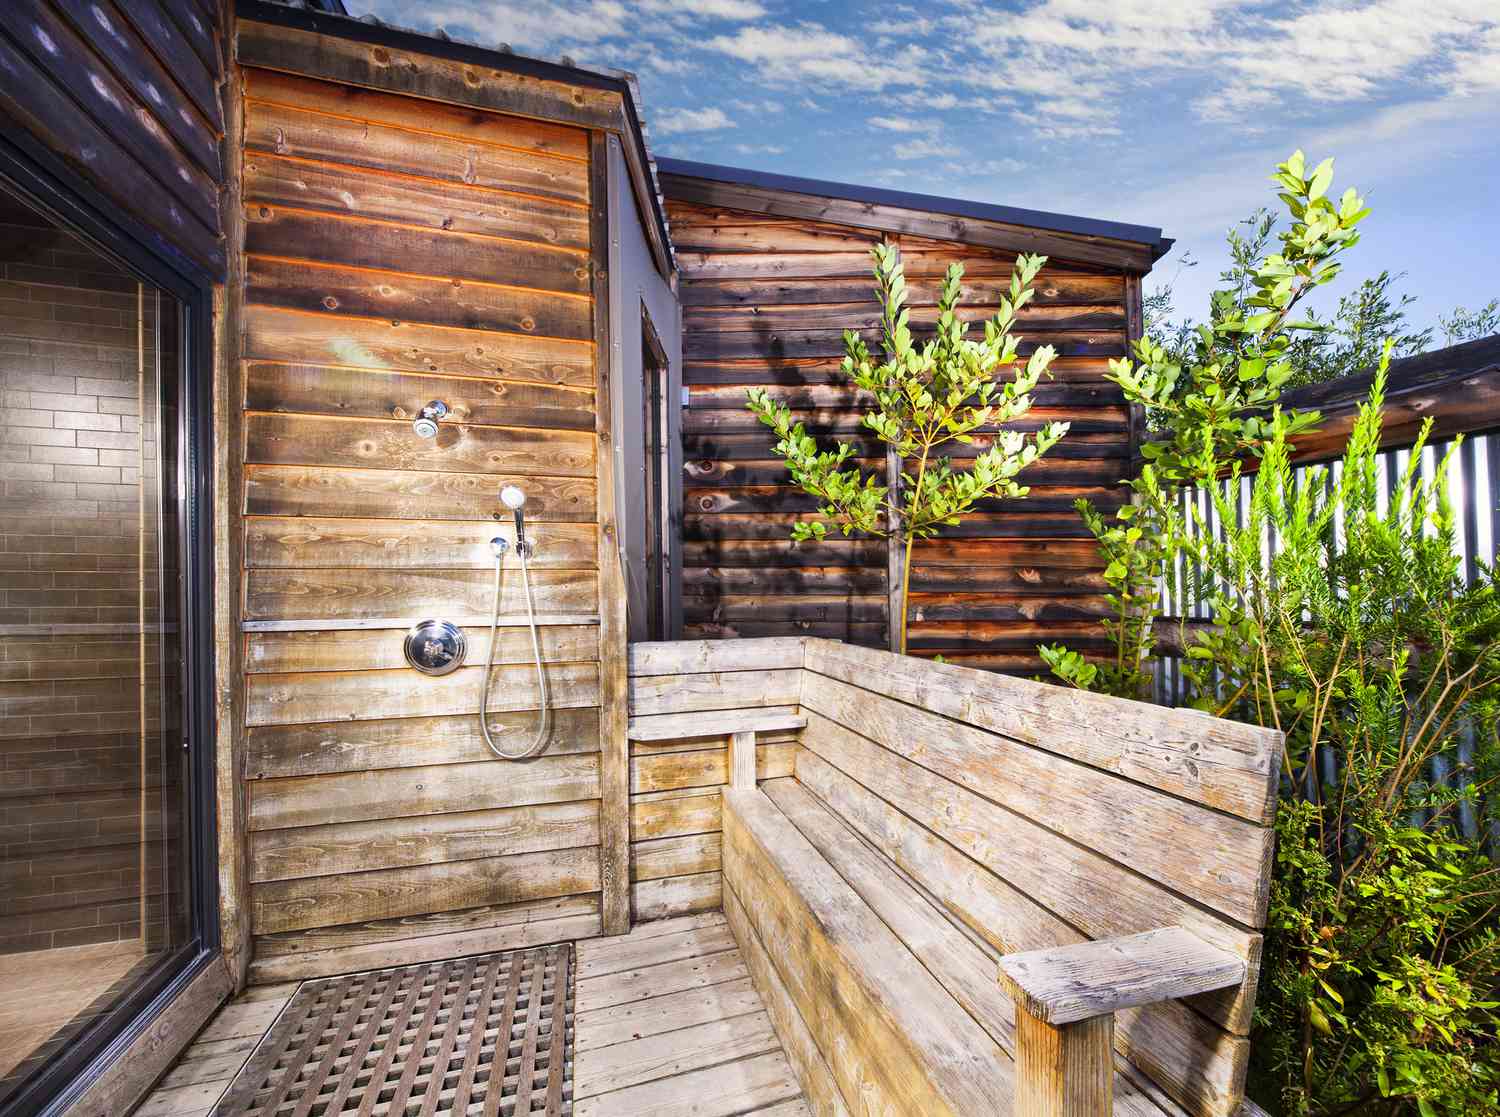
Adding Roof and Walls
With the framework solidly in place, it’s time to focus on adding the roof and walls to your outdoor shelter. These elements not only provide protection from the elements but also contribute to the shelter’s overall aesthetic and functionality. Depending on your design and preferences, consider the following steps for adding the roof and walls:
- Installing Roofing Material: Carefully install the chosen roofing material, ensuring that it provides adequate coverage and protection from the sun, rain, and other weather conditions. Whether you opt for a solid roof, a canopy, or a thatched covering, secure the material firmly to the framework to prevent shifting or damage.
- Adding Wall Panels: If your shelter design includes walls or partial enclosures, attach wall panels or screening to create a defined space. This step can enhance privacy, provide additional protection from wind or insects, and contribute to the shelter’s visual appeal.
- Sealing Joints and Edges: To ensure that the shelter is weather-resistant, pay attention to sealing joints, edges, and seams where the roofing material and wall panels meet. This will help prevent water infiltration and maintain the integrity of the shelter’s interior.
- Incorporating Ventilation and Lighting: Consider incorporating ventilation features such as vents or open sections to promote air circulation within the shelter. Additionally, if you plan to use the shelter during evening hours, explore options for integrating lighting fixtures that enhance both functionality and ambiance.
As you add the roof and walls, take the time to assess the structural integrity and overall appearance of the shelter. Ensure that the materials are securely fastened, and make any necessary adjustments to achieve a cohesive and visually appealing result. By attending to these details, you’ll transform the framework into a fully functional and inviting outdoor shelter.
With the roof and walls in place, the next phase involves adding the finishing touches to elevate the shelter’s comfort and style.
Read more: How To Build An Outdoor Toilet
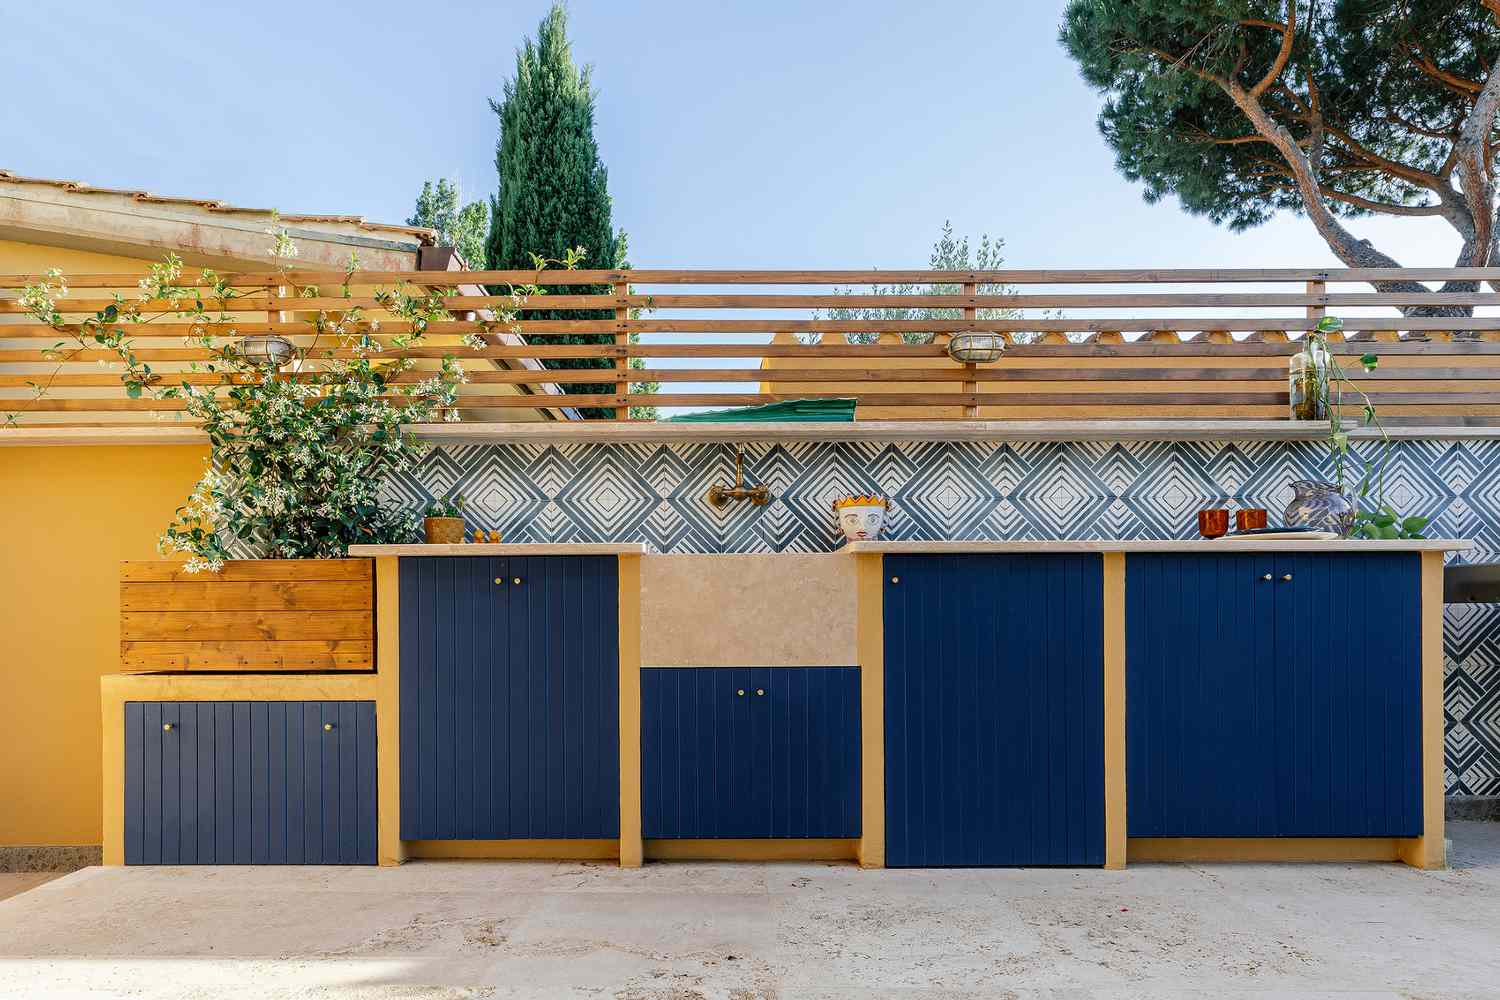
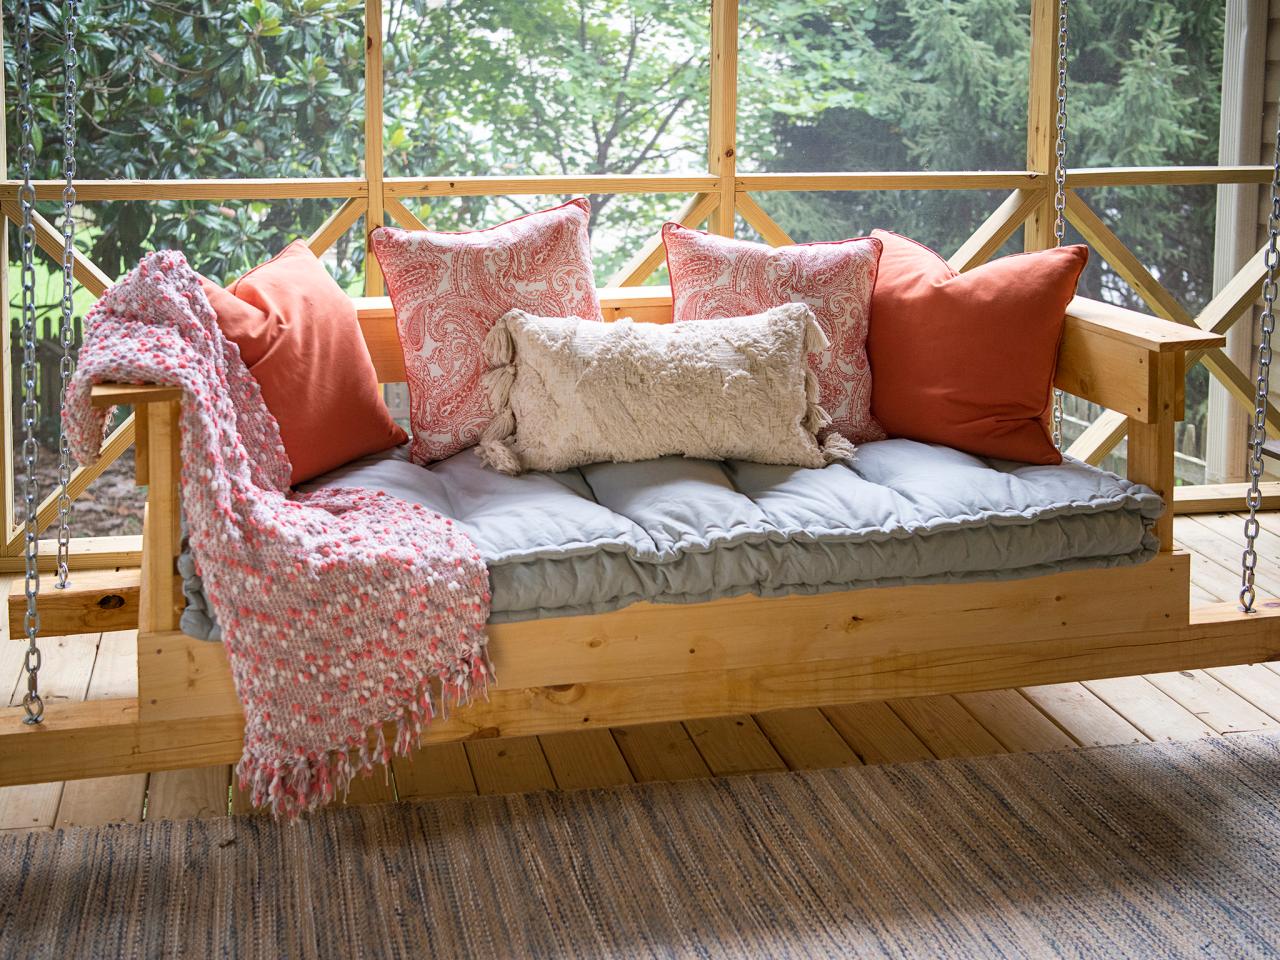
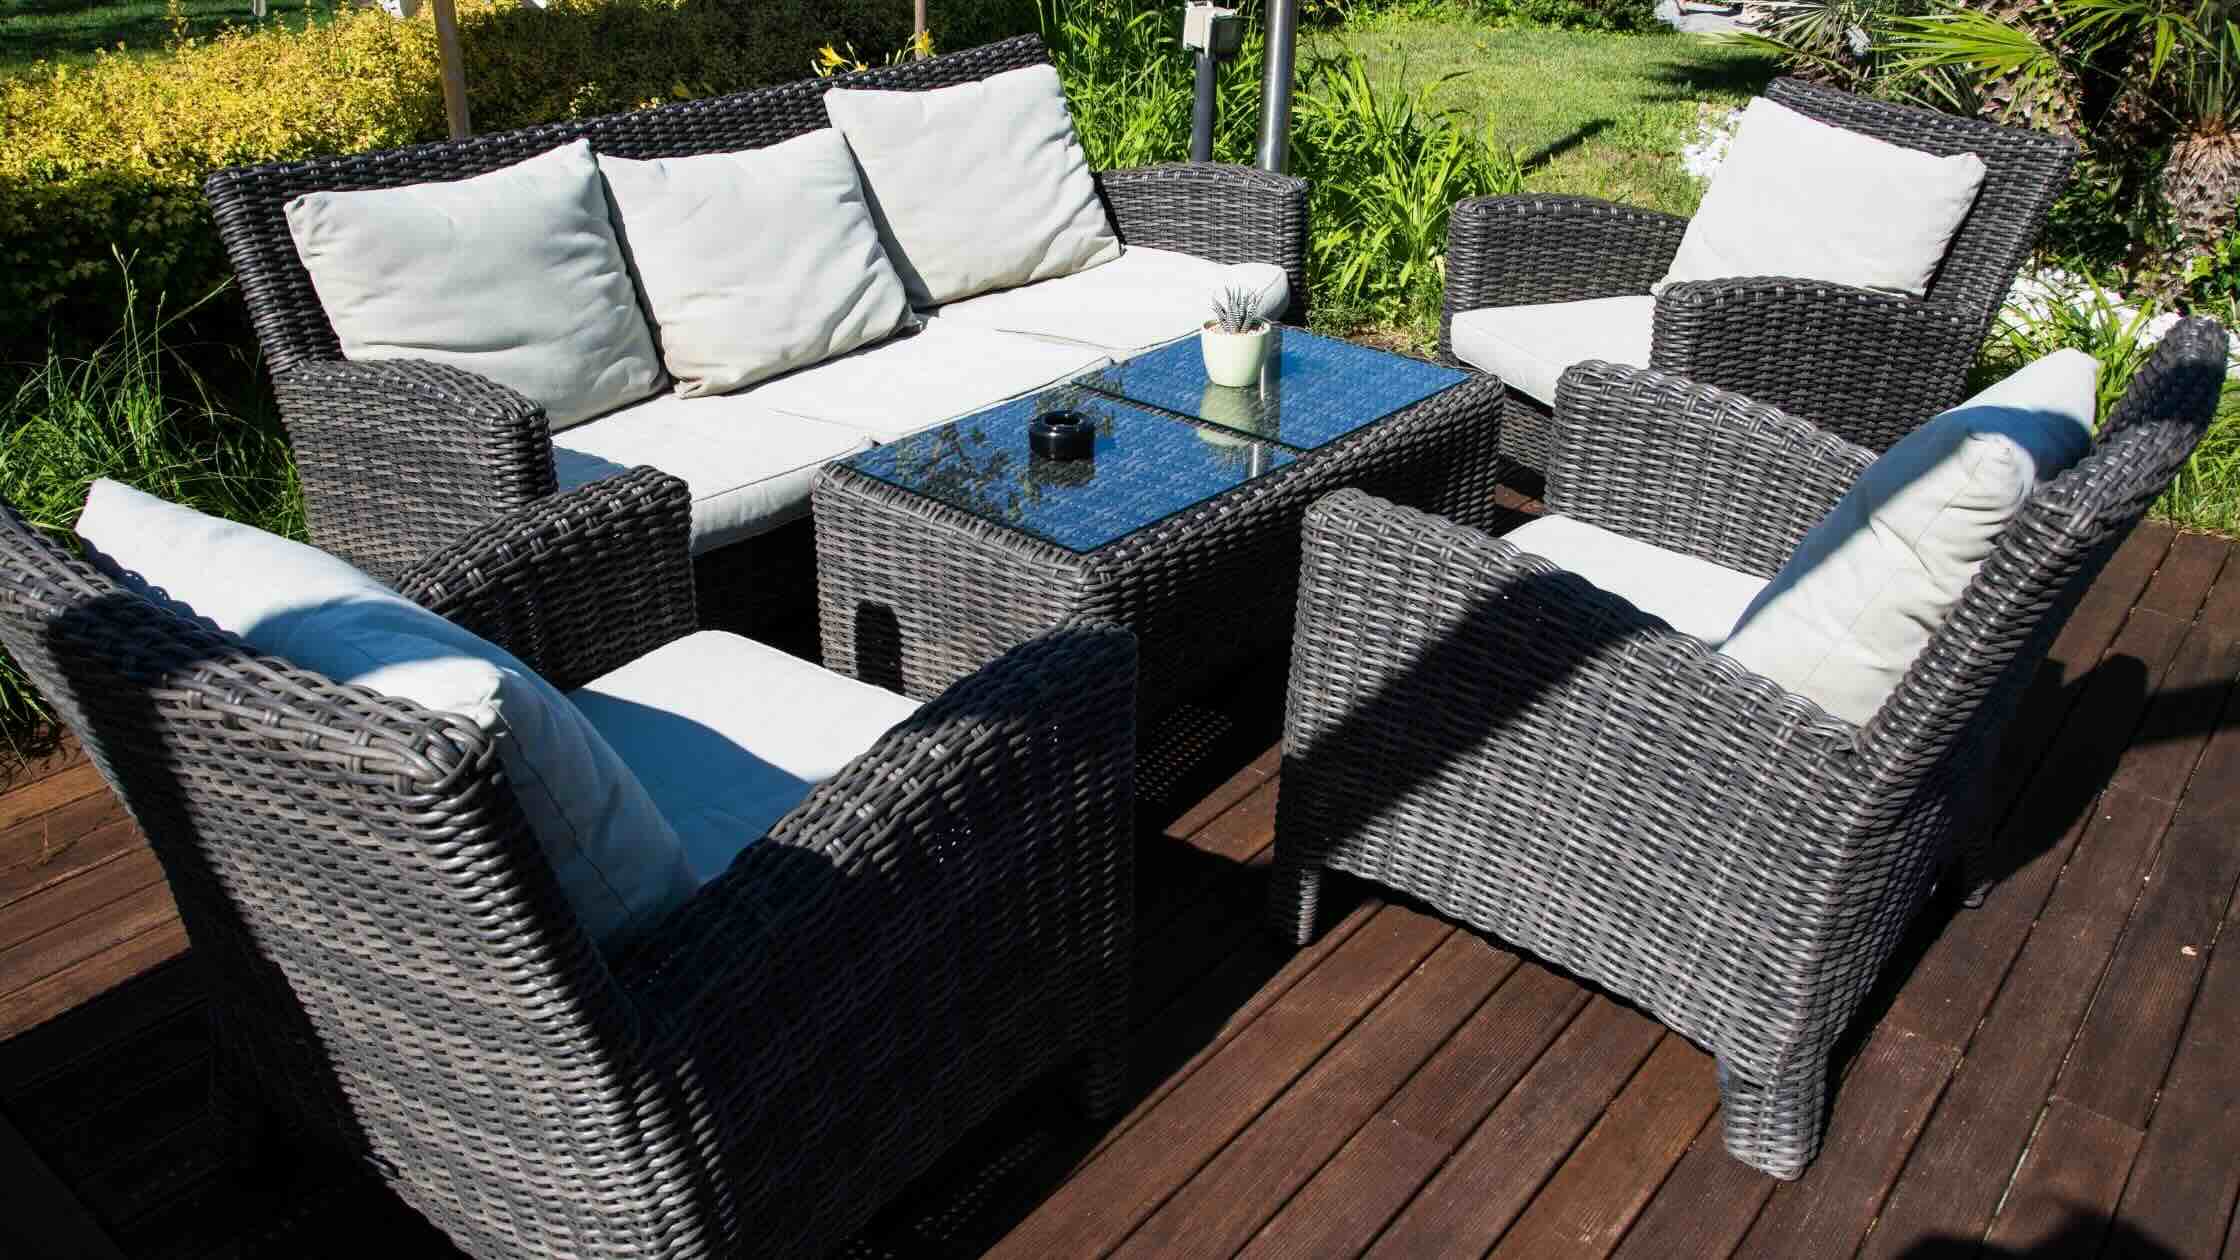
Finishing Touches
As you near the completion of your outdoor shelter, it’s time to add the finishing touches that will enhance its comfort, visual appeal, and functionality. These details can elevate the shelter from a simple structure to a welcoming and versatile outdoor space. Consider the following elements when adding the finishing touches:
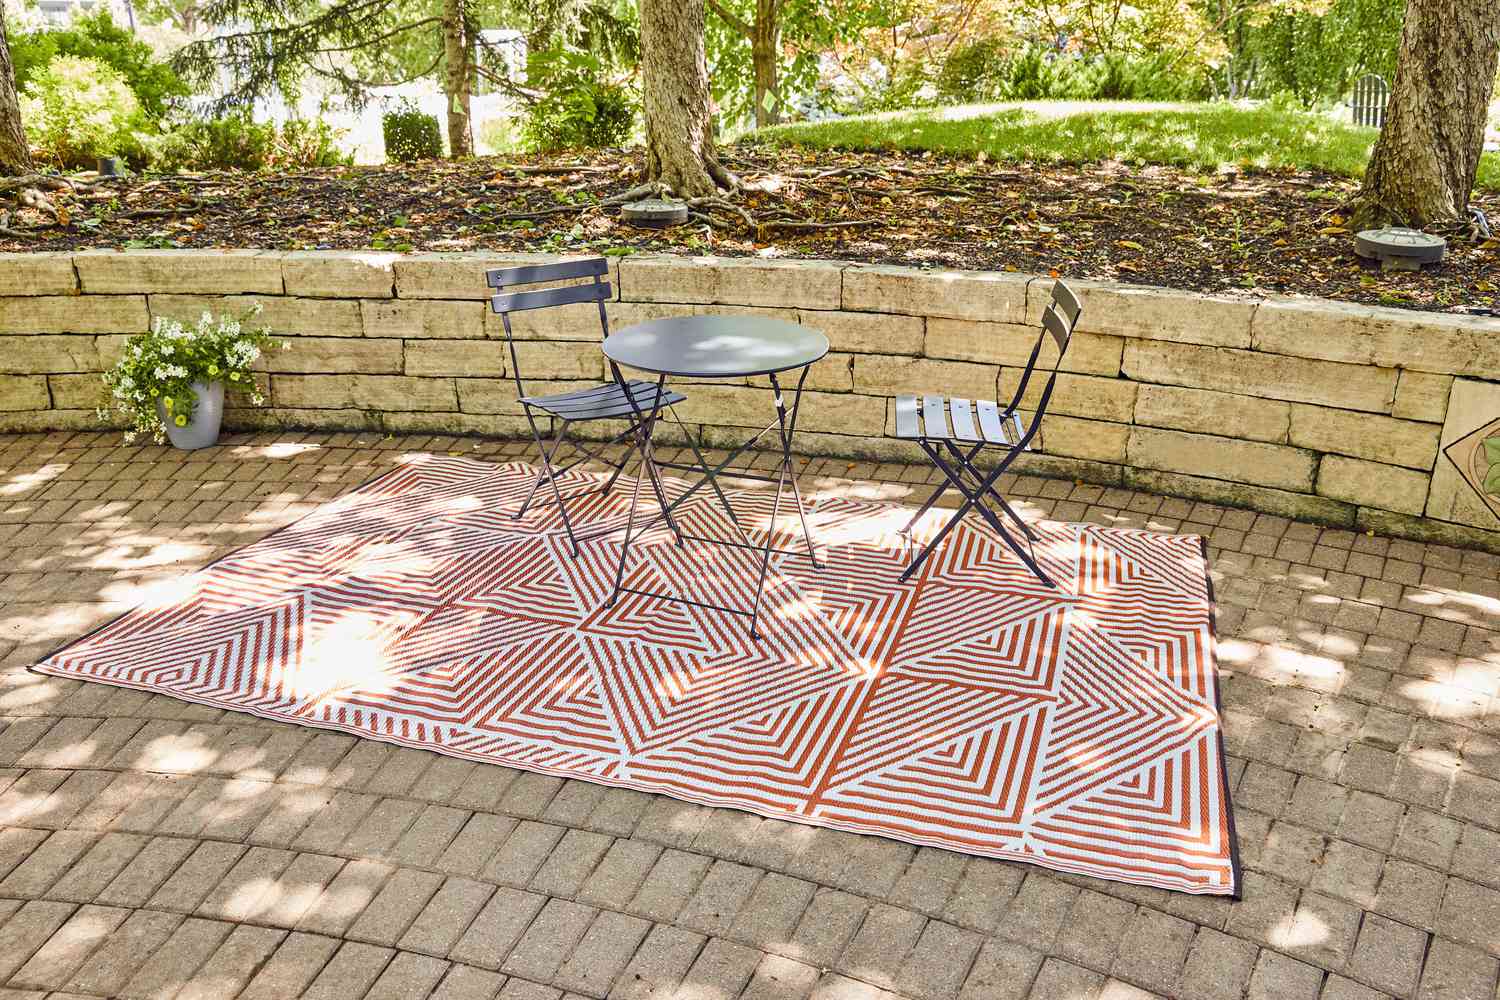
- Seating and Furnishings: If the shelter will serve as a relaxation or dining area, incorporate comfortable seating and appropriate furnishings to create a cozy and inviting atmosphere. Whether it’s rustic benches, cushioned chairs, or a dining table, the right furniture can transform the shelter into a functional and enjoyable space.
- Shade and Privacy Features: Depending on your needs, consider adding features such as curtains, shades, or privacy screens to tailor the level of shade and seclusion within the shelter. These additions can enhance comfort and adapt the space to different purposes and times of day.
- Decorative Accents: Infuse personality and style into the shelter by incorporating decorative accents such as potted plants, hanging lanterns, or outdoor artwork. These details can add character and charm, creating a welcoming and visually appealing environment.
- Functional Additions: Evaluate the practicality of the shelter by adding functional elements such as storage solutions, hooks for hanging items, or built-in amenities like a small bar or food preparation area. Tailoring the shelter to accommodate your specific needs will maximize its utility.
- Maintenance Considerations: Anticipate the maintenance requirements of the shelter by selecting materials and features that are easy to clean and maintain. This foresight will ensure that the shelter remains a well-kept and enjoyable space for years to come.
By thoughtfully adding these finishing touches, you’ll transform the outdoor shelter into a multifaceted and inviting extension of your living space. Whether it’s a tranquil retreat in your garden, a shaded oasis for outdoor dining, or a versatile gathering spot, the shelter will be primed for a variety of uses and occasions.
With the finishing touches in place, you’ve successfully brought your vision of an outdoor shelter to fruition. Now, it’s time to step back and admire your handiwork, knowing that you’ve created a space where cherished memories and enjoyable moments await.
Conclusion
Congratulations on completing the journey of building your outdoor shelter! From the initial selection of the perfect location to the final placement of decorative accents, you’ve embarked on a creative and rewarding endeavor that has transformed an outdoor space into a functional and inviting retreat.
Throughout the process, you’ve harnessed your creativity and practical skills to construct a shelter that not only provides protection from the elements but also reflects your personal style and enhances the usability of your outdoor environment. Whether it’s a serene spot for relaxation, a shaded area for entertaining, or a versatile space for various activities, your outdoor shelter stands as a testament to your vision and dedication.
As you enjoy the fruits of your labor, take pride in the craftsmanship and attention to detail that have gone into creating a shelter that seamlessly integrates with its surroundings. Whether it’s the gentle sway of a canopy in the breeze, the dappled light filtering through a pergola, or the cozy ambiance of a fully enclosed structure, your outdoor shelter is poised to enrich your outdoor experiences and create lasting memories.
Remember, the journey doesn’t end with completion; it evolves as you continue to personalize and adapt the shelter to your evolving needs and preferences. Whether it’s adding seasonal decorations, incorporating new features, or simply basking in the tranquility of the space, your outdoor shelter is a canvas for ongoing creativity and enjoyment.
Thank you for joining us on this journey of outdoor shelter construction. We hope this guide has inspired and empowered you to embark on your own outdoor shelter project, whether it’s a small-scale addition to your backyard or a grand structure in a natural setting. Embrace the possibilities, unleash your imagination, and continue to craft spaces that enrich your outdoor lifestyle.
With your outdoor shelter standing as a testament to your ingenuity and passion, may it serve as a cherished haven for relaxation, connection, and the simple joys of outdoor living.
Frequently Asked Questions about How To Build An Outdoor Shelter
Was this page helpful?
At Storables.com, we guarantee accurate and reliable information. Our content, validated by Expert Board Contributors, is crafted following stringent Editorial Policies. We're committed to providing you with well-researched, expert-backed insights for all your informational needs.


0 thoughts on “How To Build An Outdoor Shelter”