Home>Furniture & Design>Outdoor Furniture>How To Make An Outdoor Rug
Outdoor Furniture
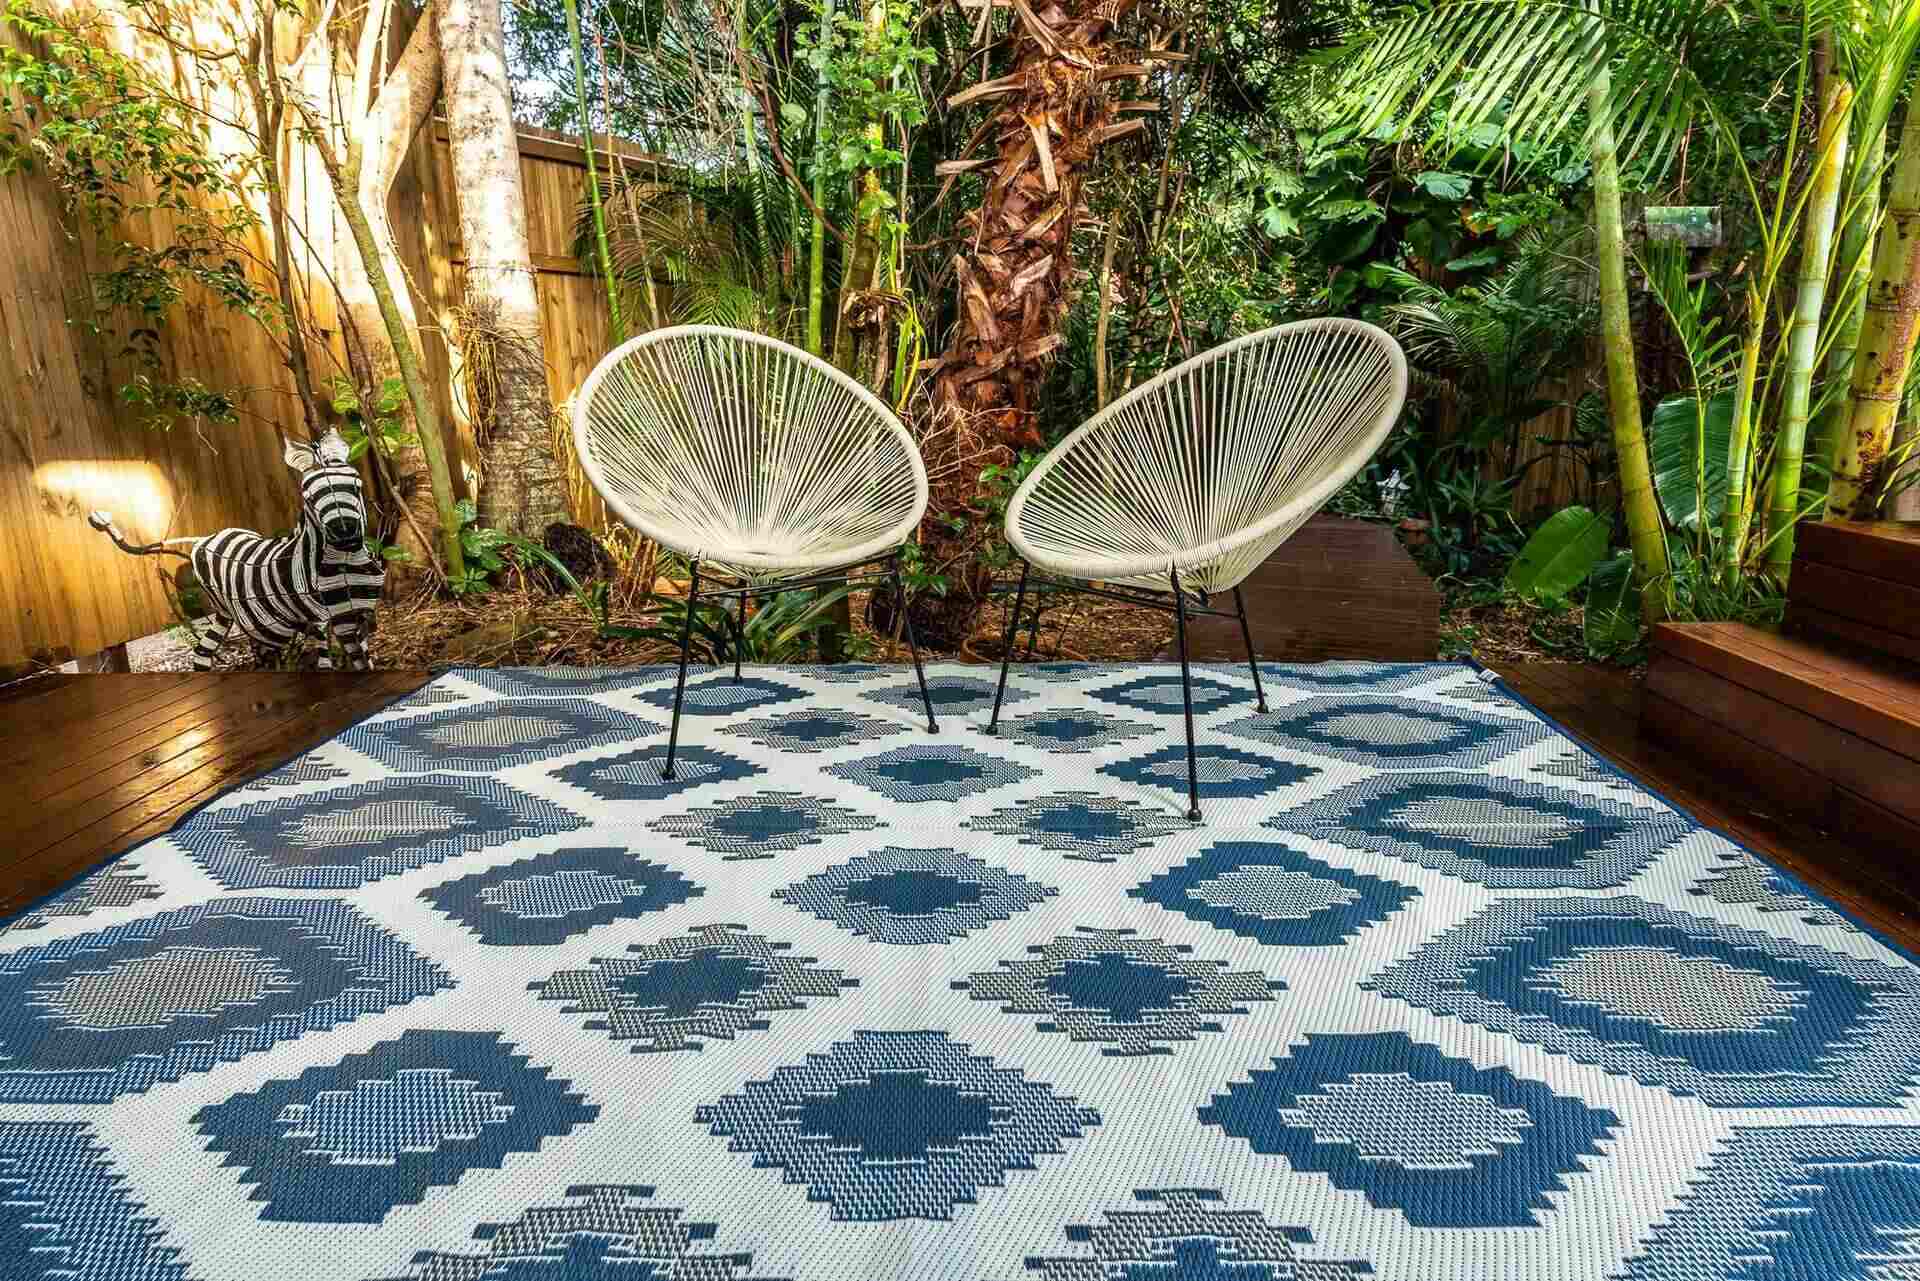
How To Make An Outdoor Rug
Modified: August 27, 2024
Learn how to create a stylish and durable outdoor rug to complement your outdoor furniture and design. Discover tips and ideas for making the perfect outdoor rug.
(Many of the links in this article redirect to a specific reviewed product. Your purchase of these products through affiliate links helps to generate commission for Storables.com, at no extra cost. Learn more)
Introduction
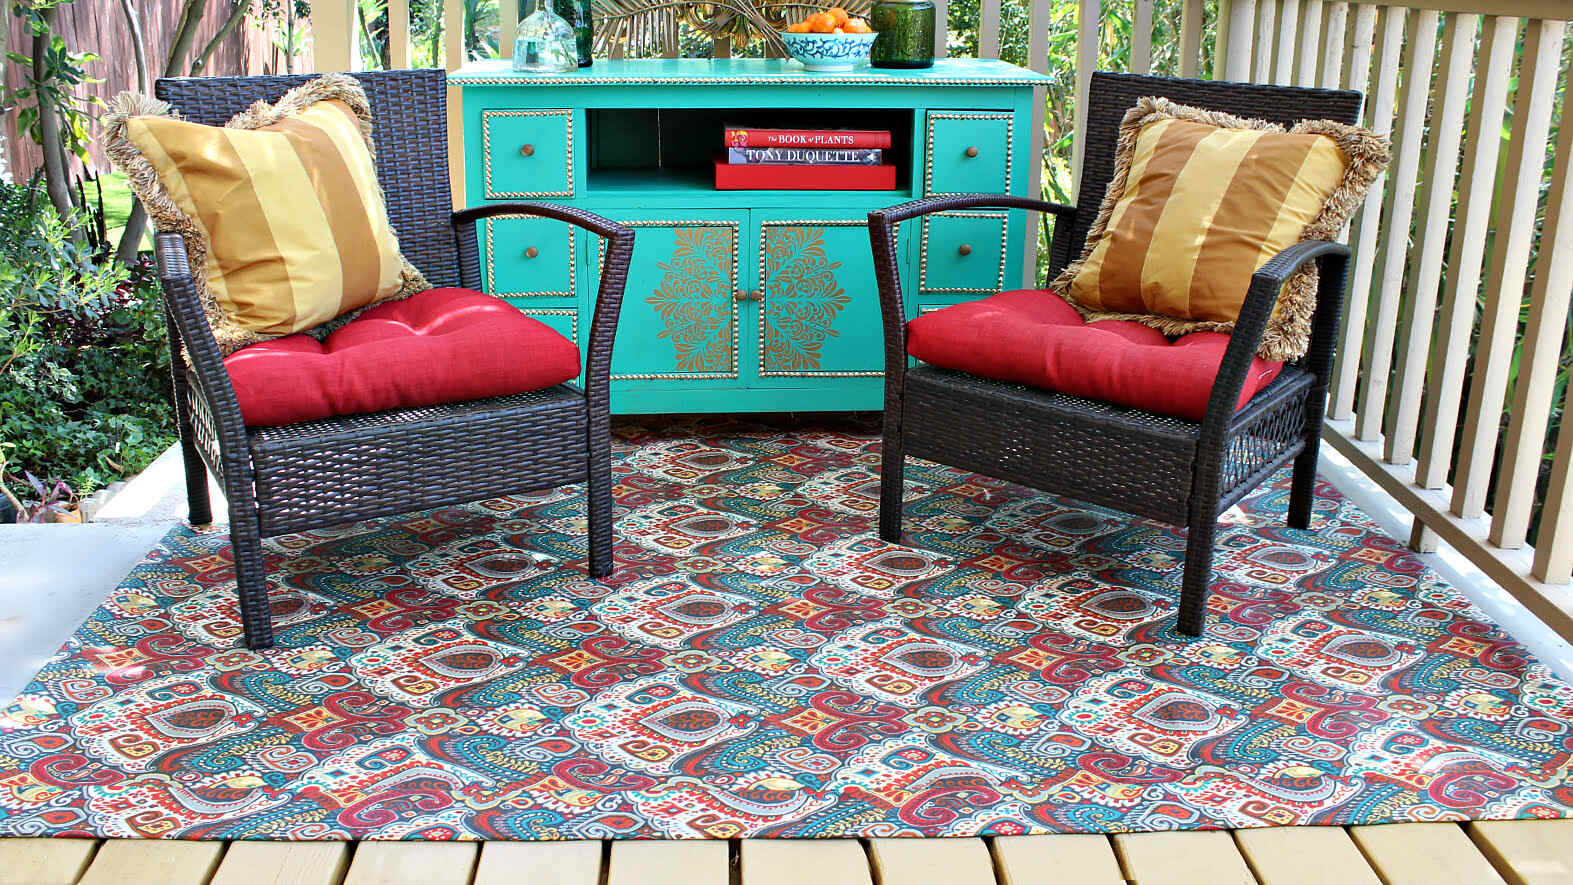
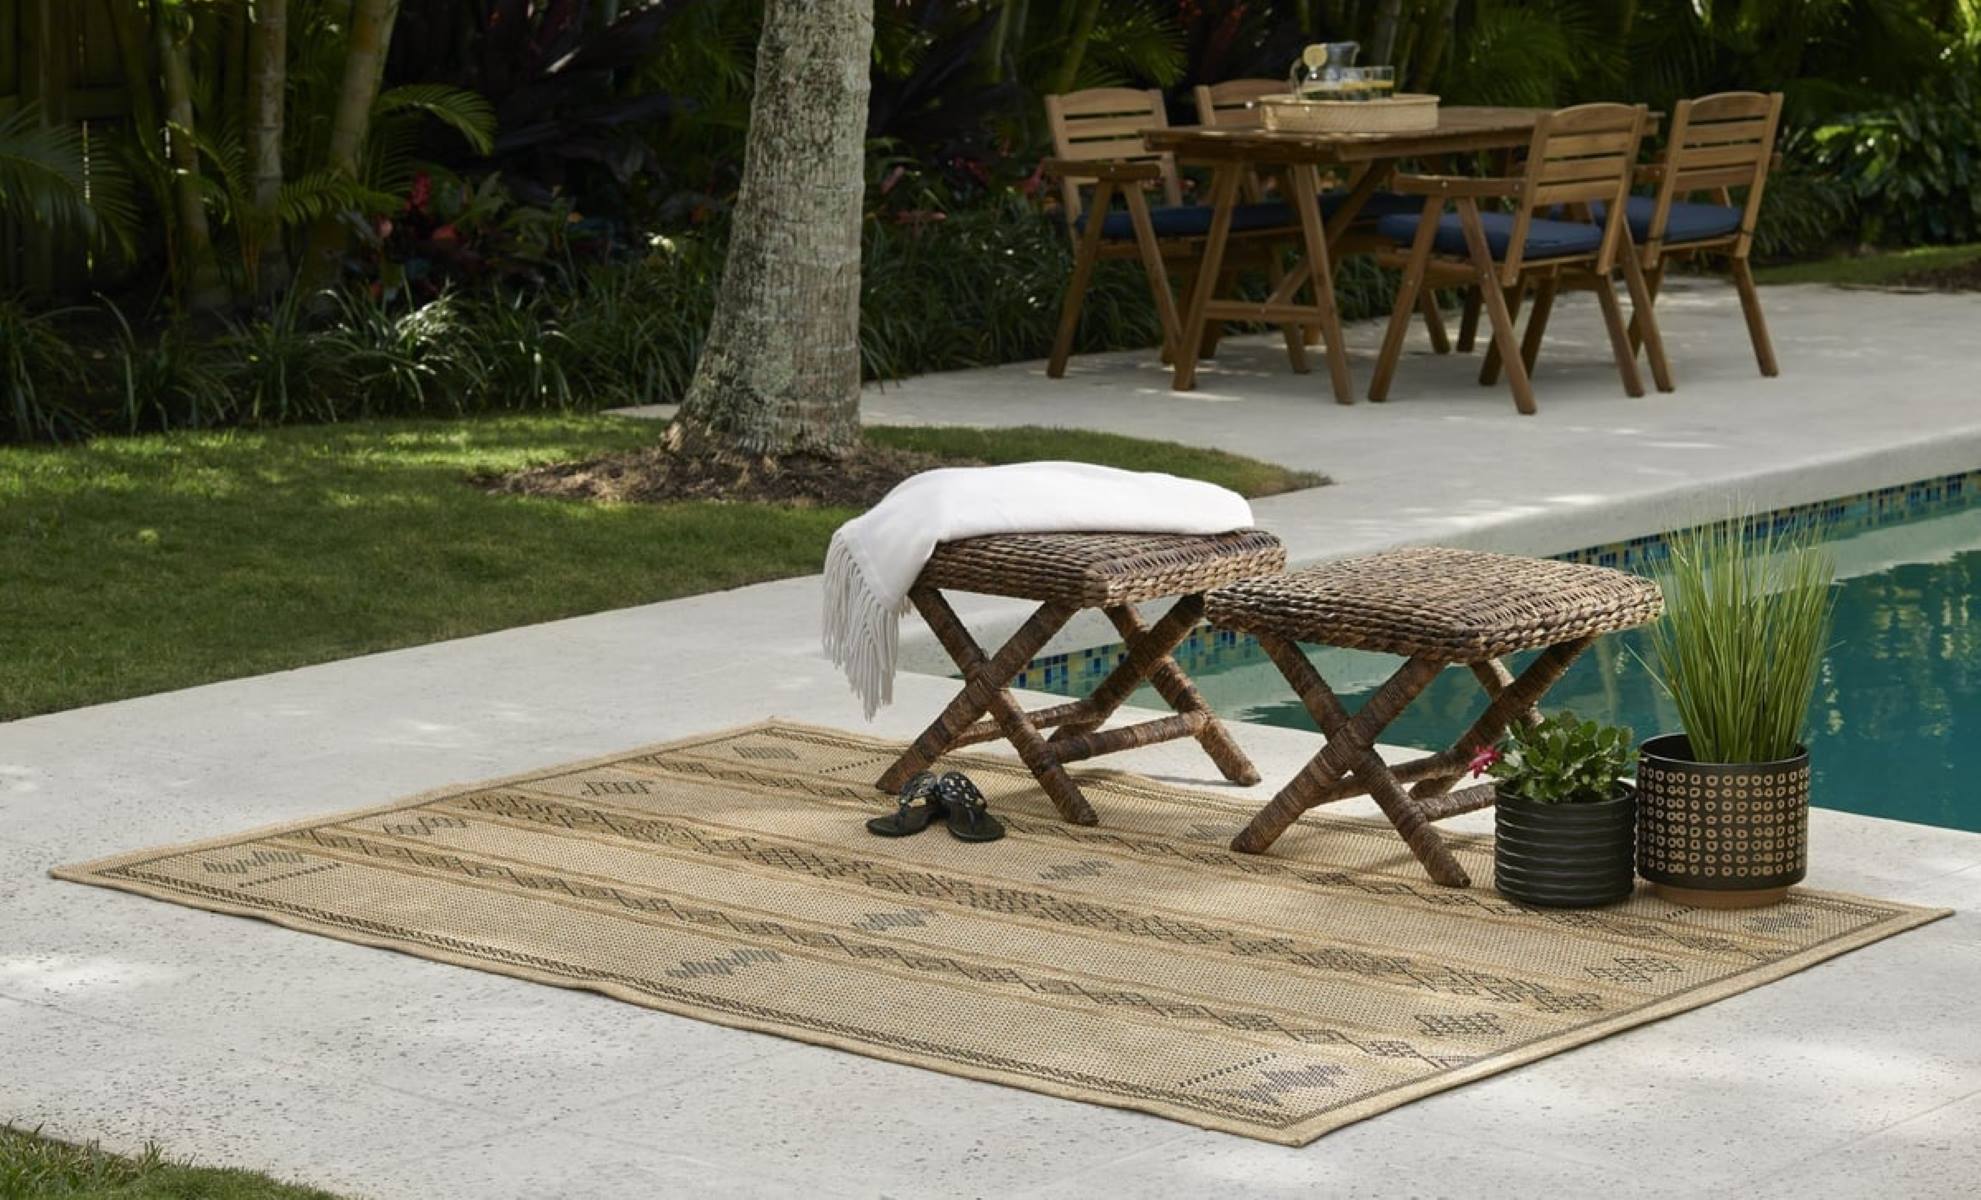
Welcome to the world of outdoor design, where creativity and functionality intertwine to elevate your outdoor living space. One of the simplest yet impactful ways to enhance your patio or deck is by adding an outdoor rug. Not only does it provide a cozy and inviting atmosphere, but it also adds a touch of personality to your outdoor oasis. Creating your own outdoor rug can be a rewarding and budget-friendly DIY project that allows you to customize the size, shape, and design to perfectly complement your outdoor furniture and decor.
In this guide, we will walk you through the step-by-step process of crafting your very own outdoor rug, from selecting the right materials to adding the finishing touches. Whether you're a seasoned DIY enthusiast or a novice crafter, this project is achievable and promises to add a unique, personal touch to your outdoor space. So, roll up your sleeves, gather your materials, and let's embark on this creative journey to make an outdoor rug that will be the envy of your neighborhood.
Key Takeaways:
- Create a personalized outdoor rug using durable fabric, precise cutting, and skillful sewing to add a unique touch to your outdoor space. Add finishing touches like non-slip backing and decorative elements for a stylish and functional DIY project.
- Transform basic materials into a standout decor piece by crafting your own outdoor rug. With creativity and resourcefulness, you can elevate your outdoor living space with a durable, weather-resistant rug that reflects your unique style.
Read more: How To Clean Outdoor Rugs
Materials Needed
Before diving into the DIY project of making an outdoor rug, it’s essential to gather all the necessary materials. Here’s a comprehensive list of what you’ll need:
- Outdoor fabric: Choose a durable, weather-resistant fabric that can withstand exposure to the elements. Options include waterproof canvas, marine-grade fabric, or outdoor upholstery fabric.
- Measuring tape: This will be essential for accurately determining the dimensions of your rug.
- Straight edge or ruler: Ensures precise cutting of the fabric.
- Fabric scissors: Invest in a quality pair of fabric scissors to easily cut through the outdoor fabric.
- Thread: Opt for a heavy-duty thread designed for outdoor use to ensure the rug’s durability.
- Sewing machine: While it’s possible to hand-sew the rug, a sewing machine will expedite the process and provide sturdy seams.
- Non-slip rug backing: To prevent the rug from slipping and sliding on outdoor surfaces, a non-slip rug backing is essential for safety.
- Painter’s tape or masking tape: These will come in handy for creating clean, straight lines if you plan to add any patterns or designs to your rug.
- Fabric marker or chalk: Use this to mark the fabric for precise cutting and sewing.
- Outdoor fabric sealant (optional): If your chosen fabric isn’t inherently waterproof, consider using a fabric sealant to add an extra layer of protection against moisture.
By ensuring you have all these materials at your disposal, you’ll be well-prepared to embark on the rug-making process without interruptions. With the materials gathered, you’re now ready to move on to the next step: choosing the right fabric for your outdoor rug.
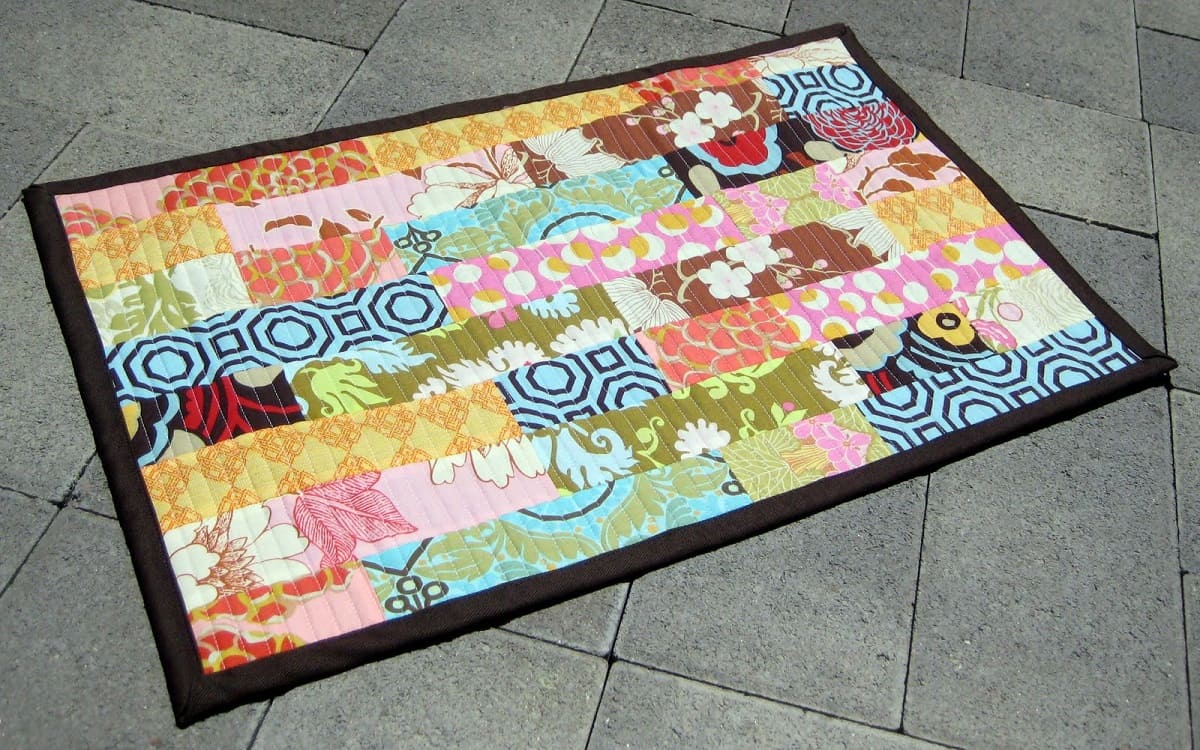
Choosing the Right Fabric
When it comes to creating an outdoor rug, selecting the right fabric is crucial for ensuring longevity and performance in an outdoor environment. The ideal outdoor fabric should be both durable and weather-resistant, capable of withstanding exposure to sunlight, moisture, and general wear and tear. Here are some key factors to consider when choosing the fabric for your outdoor rug:
- Weather Resistance: Opt for fabrics specifically designed for outdoor use, such as waterproof canvas, marine-grade fabric, or outdoor upholstery fabric. These materials are engineered to resist fading, mold, and mildew, making them well-suited for outdoor applications.
- Durability: Look for fabrics with high abrasion resistance to ensure they can withstand heavy foot traffic and outdoor elements without deteriorating quickly.
- Easy Maintenance: Consider fabrics that are easy to clean and maintain, as outdoor rugs are more likely to accumulate dirt, debris, and spills. Stain-resistant and easy-to-clean fabrics will simplify the upkeep of your rug.
- Color and Design: Choose a fabric that complements your outdoor furniture and overall design aesthetic. Whether you prefer bold patterns or solid colors, the fabric should seamlessly integrate with your outdoor decor.
- Size and Shape: Keep in mind the dimensions and shape of the rug you intend to create. Ensure that the selected fabric is available in the size you require and can be easily customized to your desired shape.
Once you’ve identified the fabric that meets these criteria, it’s time to move on to the next steps: cutting the fabric and sewing it together to bring your outdoor rug to life. With the right fabric in hand, you’re one step closer to enjoying a personalized and stylish addition to your outdoor living space.
Cutting the Fabric
After carefully selecting the ideal outdoor fabric for your rug, the next step in the DIY process is cutting the fabric to your desired dimensions and shape. This stage requires precision and attention to detail to ensure the rug fits seamlessly into your outdoor space. Here’s a step-by-step guide to cutting the fabric for your outdoor rug:
- Measure and Mark: Begin by measuring the area where you intend to place the rug. Use a measuring tape to determine the length and width, ensuring accuracy in your measurements. Mark the dimensions on the fabric using a fabric marker or chalk, creating clear guidelines for cutting.
- Cut with Precision: Using sharp fabric scissors, carefully cut along the marked lines to create the base of your outdoor rug. A straight edge or ruler can be employed to ensure straight, even cuts, especially for rectangular or square-shaped rugs. If you plan to create a non-traditional shape, such as a circle or oval, consider using a template to guide your cutting.
- Trim Excess Material: If you’re adding any decorative borders or trims to the rug, now is the time to trim the fabric to the desired size for these embellishments. This step allows you to customize the rug further and add personalized details to enhance its visual appeal.
By meticulously executing the cutting process, you’ll lay the foundation for a well-proportioned and visually appealing outdoor rug that perfectly suits your outdoor space. With the fabric cut to size, you’re ready to progress to the next stage: sewing the fabric together to bring your rug to completion. The cutting phase marks a significant milestone in the DIY journey, setting the stage for the transformation of your chosen outdoor fabric into a functional and stylish rug.
When making an outdoor rug, use weather-resistant materials like polypropylene or bamboo to ensure it can withstand the elements and last longer.
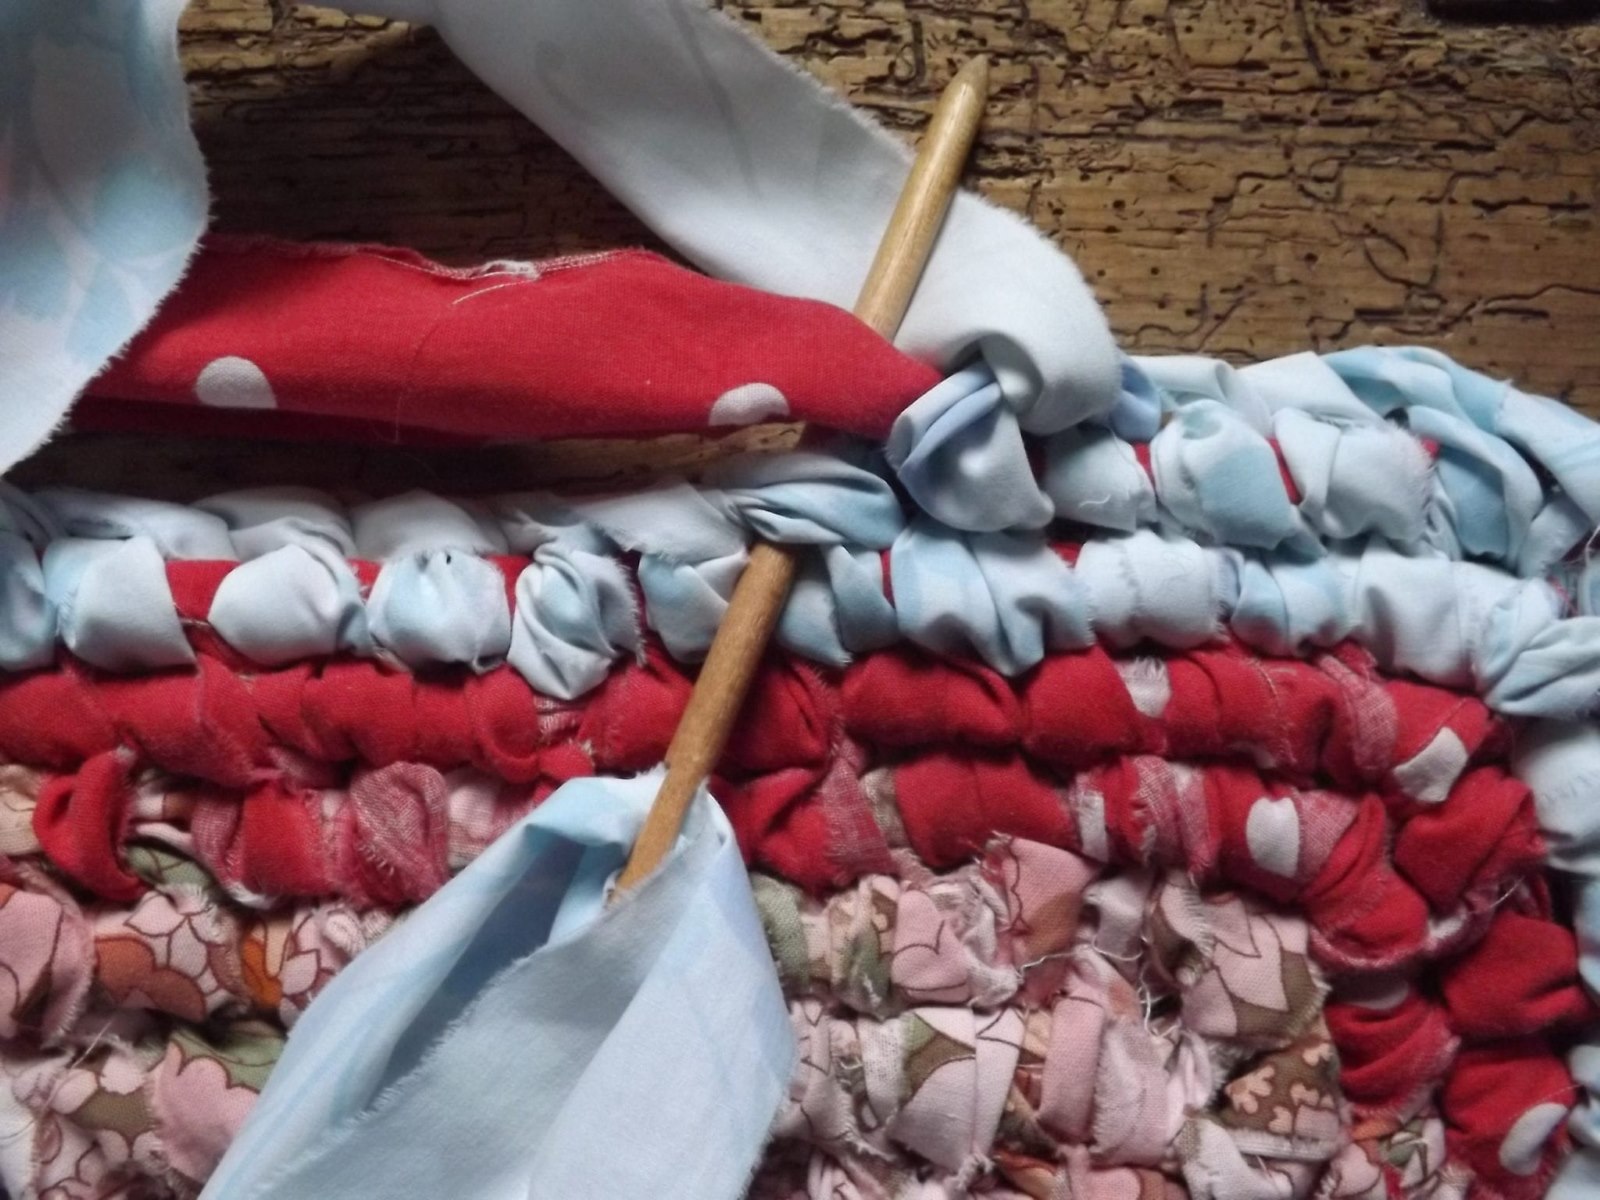
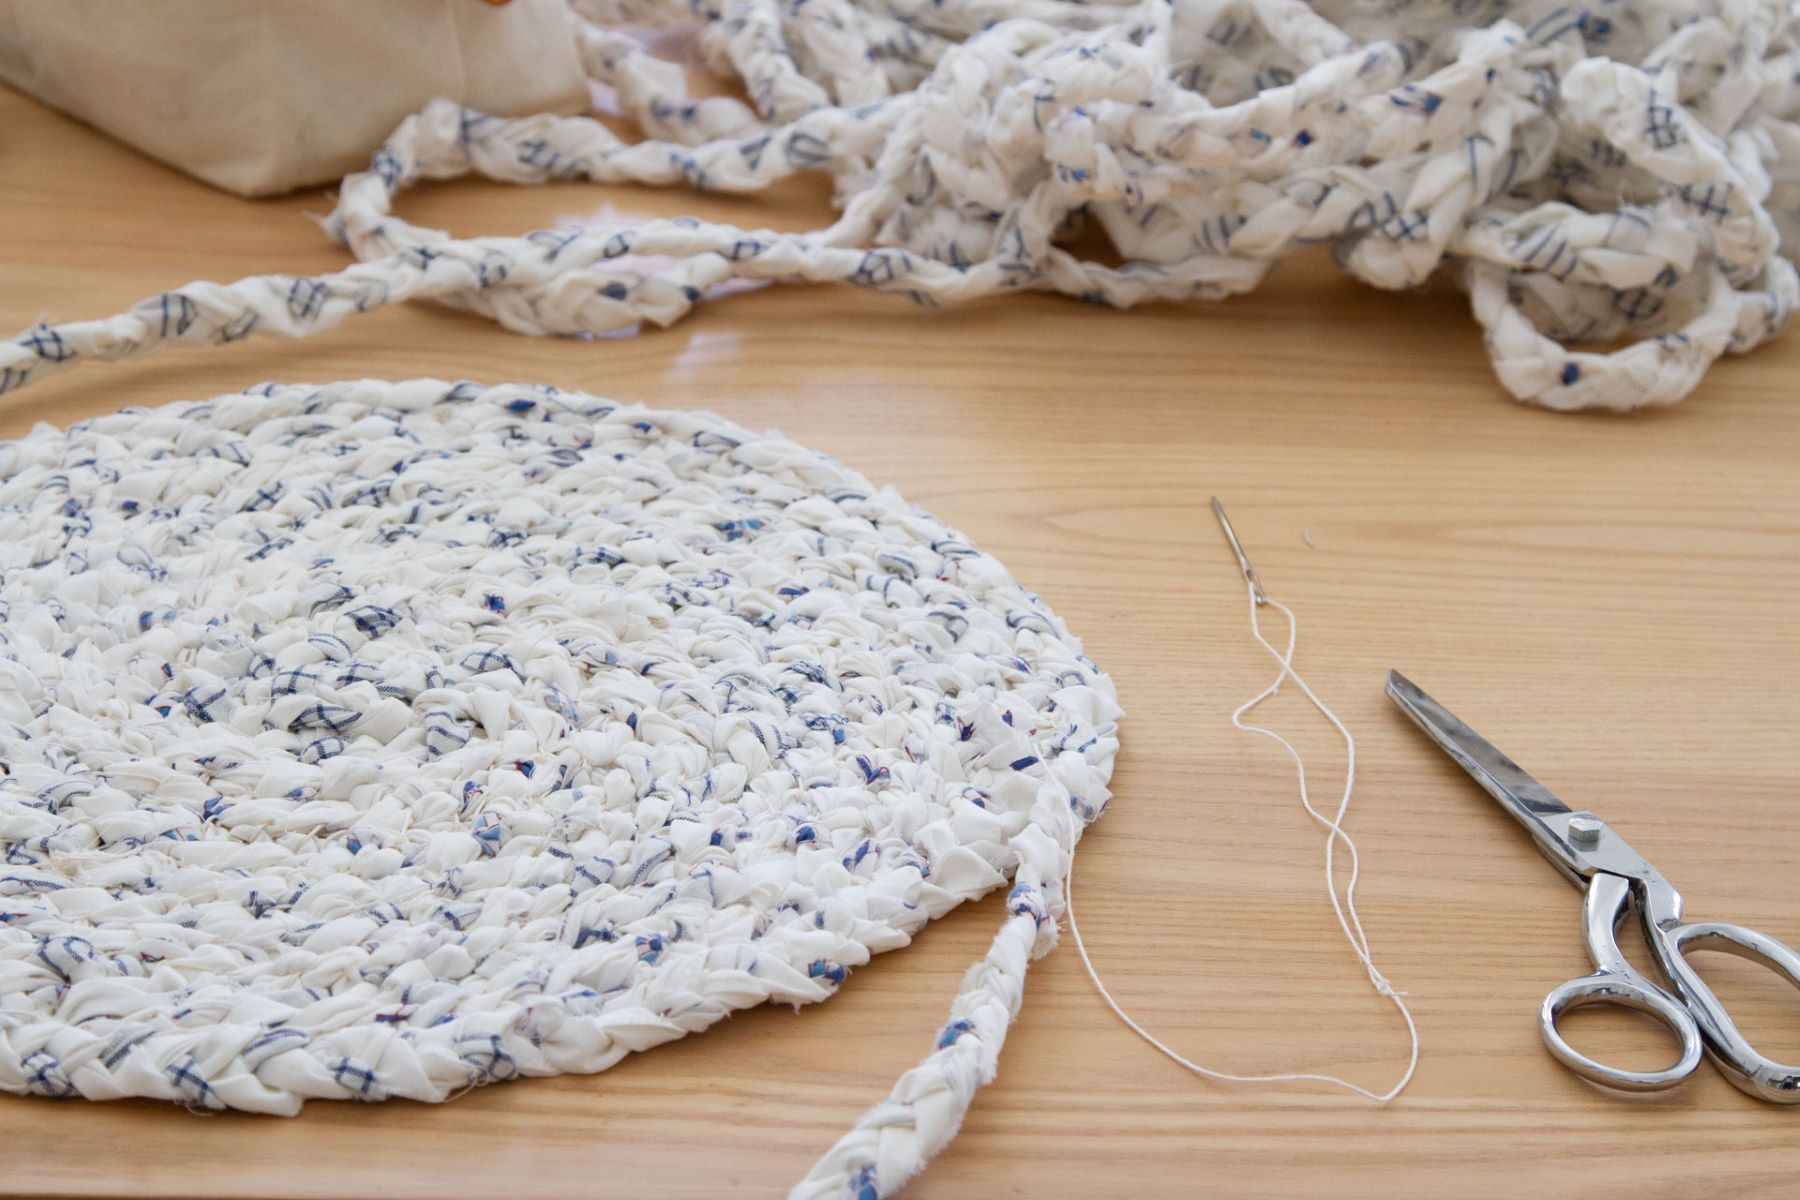
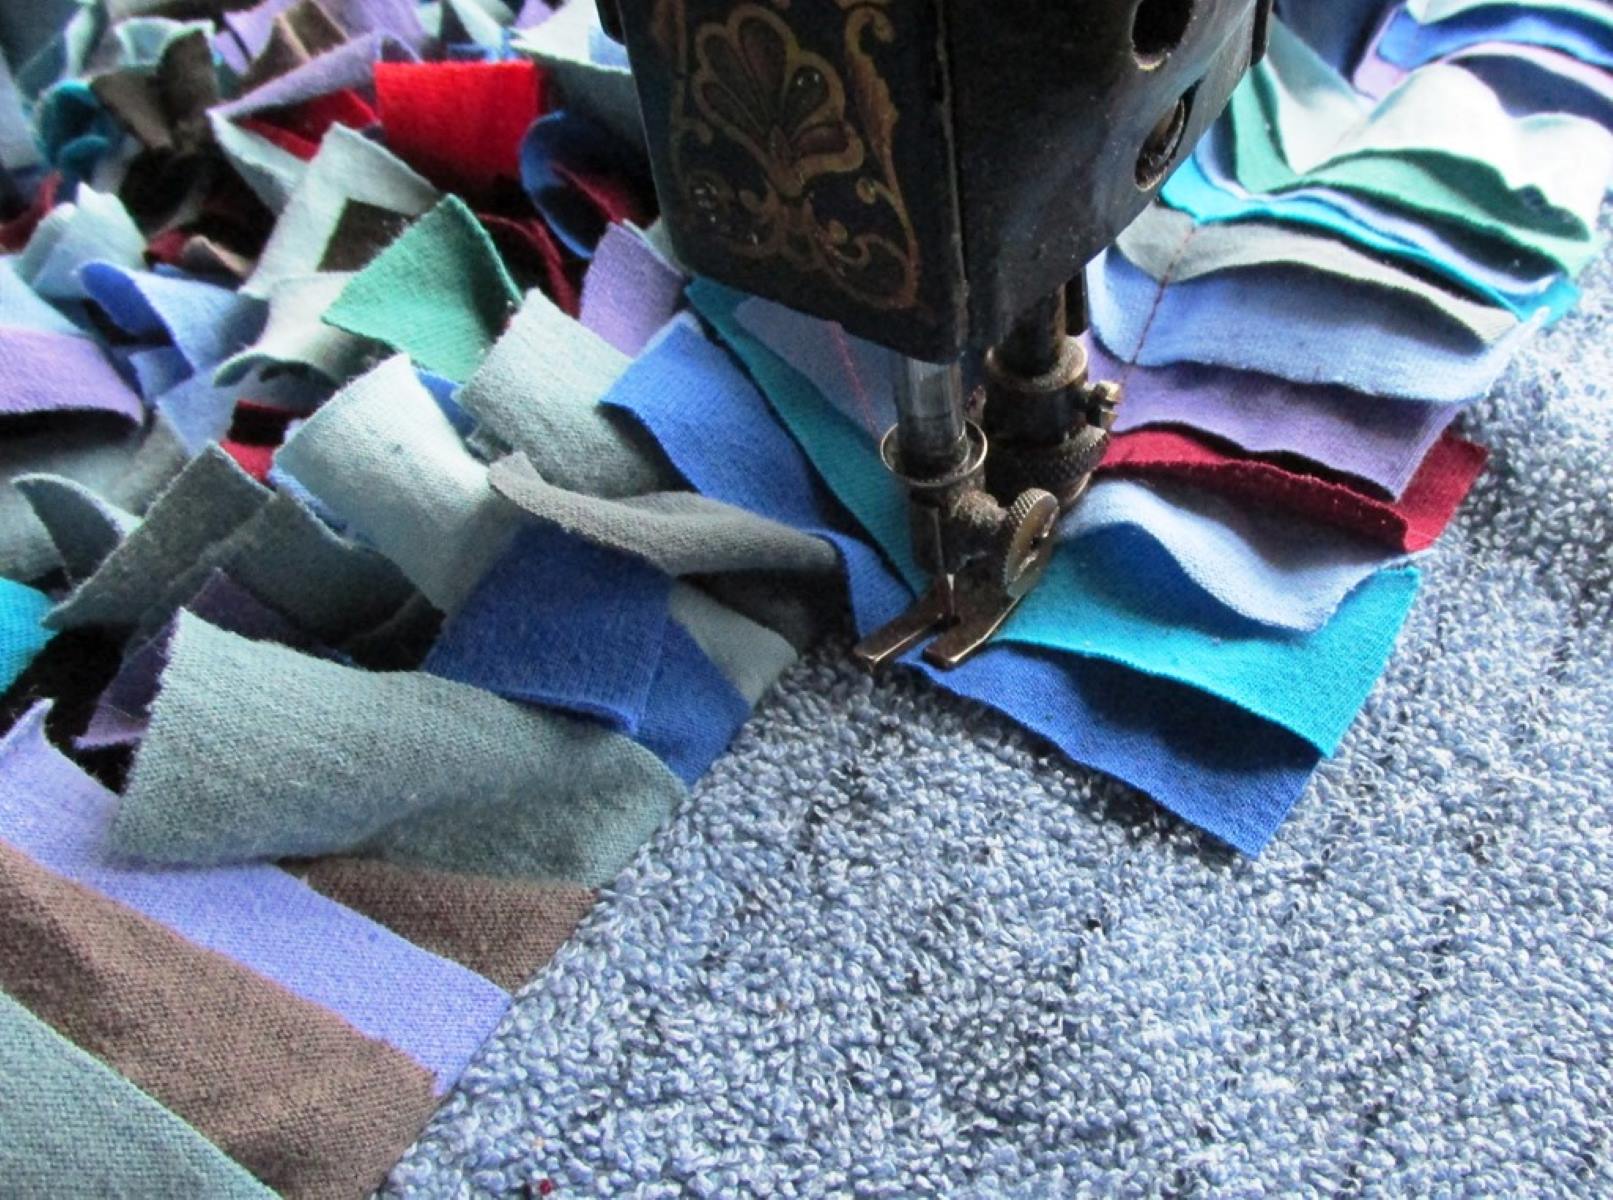
Sewing the Fabric Together
With the fabric cut to your desired dimensions, the next crucial step in creating your outdoor rug is sewing the fabric pieces together. This process involves joining the sections of fabric to form a cohesive and durable rug that can withstand outdoor conditions. Whether you’re a seasoned seamstress or a novice with a sewing machine, the following steps will guide you through the sewing process:
- Prepare the Sewing Machine: Set up your sewing machine in a well-lit and spacious area, ensuring that it’s threaded with a heavy-duty thread suitable for outdoor use. Adjust the machine settings as needed, such as stitch length and tension, to accommodate the thickness of the outdoor fabric.
- Create Seams: Place the fabric pieces with their right sides together, aligning the edges evenly. Using a straight stitch or a zigzag stitch for added durability, sew along the edges to join the pieces together. Reinforce the seams at the corners and intersections to prevent unraveling and ensure the rug’s longevity.
- Finish the Edges: Once the main sections of the rug are sewn together, consider finishing the edges with a serger or a zigzag stitch to prevent fraying and provide a clean, polished look to the rug. This step adds a professional touch to your DIY creation.
- Add Decorative Elements (Optional): If you’re incorporating decorative trims, borders, or patterns into your rug, this is the stage to attach these embellishments. Use your sewing machine to securely affix these elements to the rug, enhancing its visual appeal and personalizing the design.
By skillfully sewing the fabric pieces together, you’ll witness the transformation of individual fabric sections into a unified and sturdy outdoor rug. The sewing phase is a pivotal stage in the DIY process, as it brings your vision to fruition and sets the stage for the final touches that will elevate your outdoor rug to a functional and stylish outdoor accessory.
Read more: How To Make Yarn Rugs
Adding a Non-Slip Backing
As you near the completion of your DIY outdoor rug, it’s essential to incorporate a non-slip backing to ensure safety and stability when the rug is placed on outdoor surfaces. The non-slip backing serves as a protective barrier, preventing the rug from shifting or sliding, especially in high-traffic areas. Here’s how to effectively add a non-slip backing to your outdoor rug:
- Select the Non-Slip Material: Choose a non-slip rug pad or backing material designed for outdoor use. These materials are typically made of rubber or latex and feature a textured surface that grips the ground, preventing the rug from moving.
- Cut to Size: Measure and cut the non-slip backing material to match the dimensions of your outdoor rug. It’s crucial to ensure that the backing fits snugly beneath the rug without extending beyond the edges.
- Secure the Backing: Lay the outdoor rug on a flat surface with the fabric side facing up. Place the cut non-slip backing on top of the rug, aligning it carefully. Using a heavy-duty adhesive or specialized rug tape, secure the edges of the non-slip backing to the underside of the rug, ensuring a firm and even attachment.
- Trim Excess Material (if necessary): If the non-slip backing extends beyond the edges of the rug, trim any excess material to maintain a clean and uniform appearance.
By incorporating a non-slip backing, you not only enhance the safety and functionality of your outdoor rug but also prolong its lifespan by minimizing movement and friction on outdoor surfaces. With the non-slip backing in place, your DIY outdoor rug is now ready for the finishing touches that will elevate its aesthetic appeal and ensure its seamless integration into your outdoor living space.
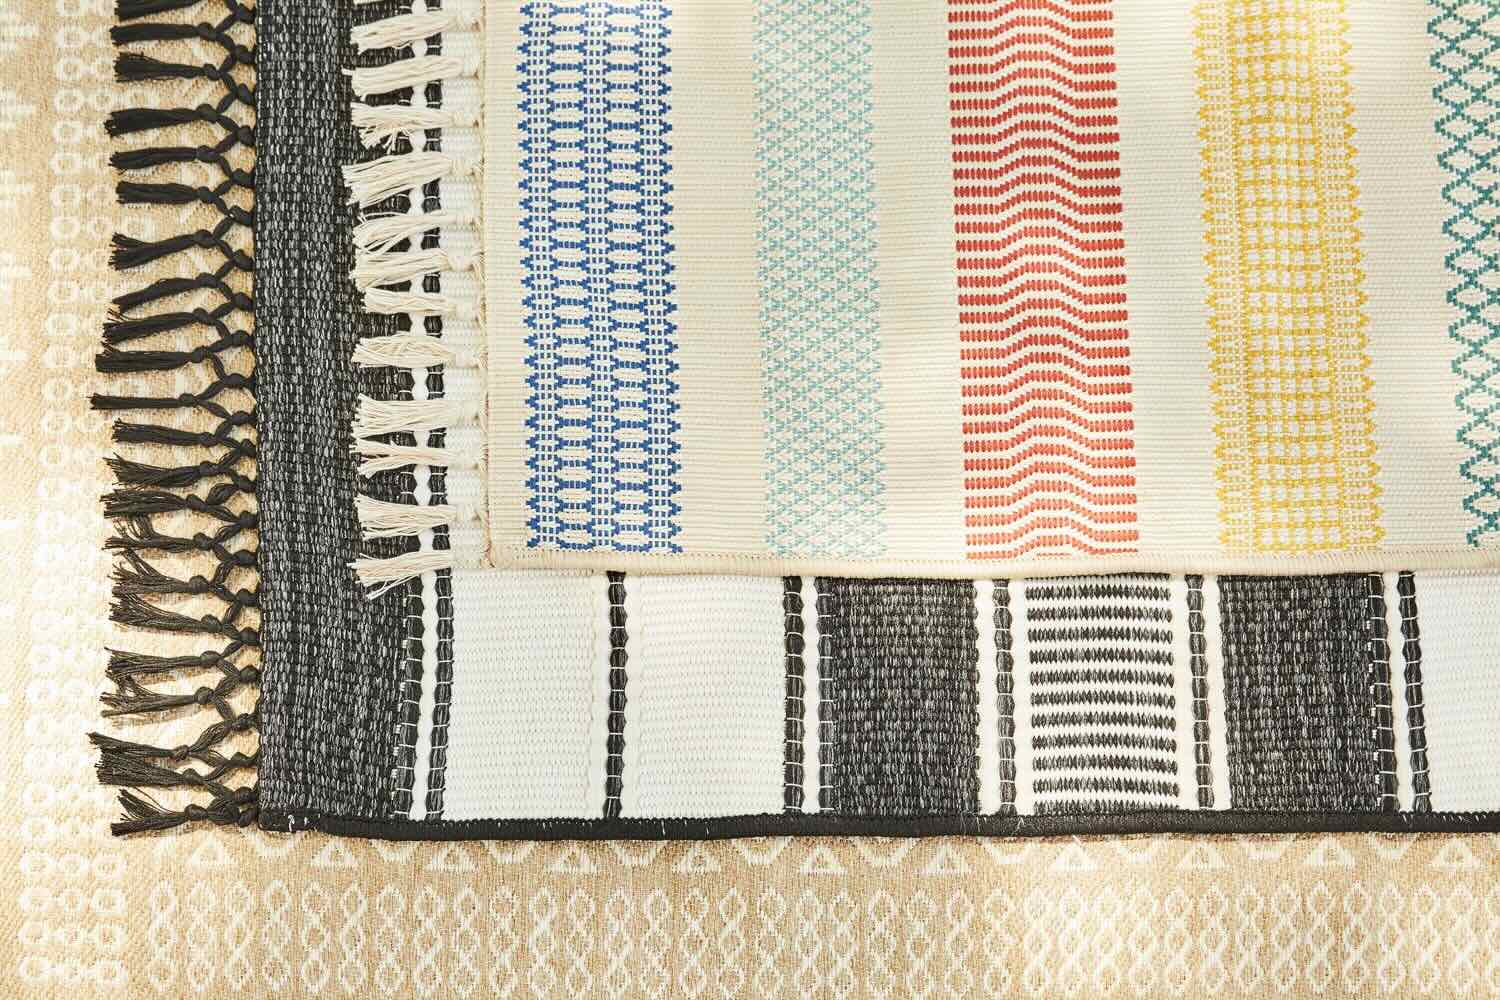
Finishing Touches
As you approach the final stages of creating your DIY outdoor rug, it’s time to add the finishing touches that will elevate its visual appeal and ensure its seamless integration into your outdoor living space. Whether you’re aiming for a clean and minimalist design or a vibrant and eye-catching statement piece, these finishing touches will add a touch of personalization and refinement to your outdoor rug. Here are some key elements to consider:
- Trimming and Binding: If your outdoor rug features raw edges, consider applying a binding or trim to create a polished and professional-looking border. This not only enhances the durability of the rug but also adds a tailored finish to the edges.
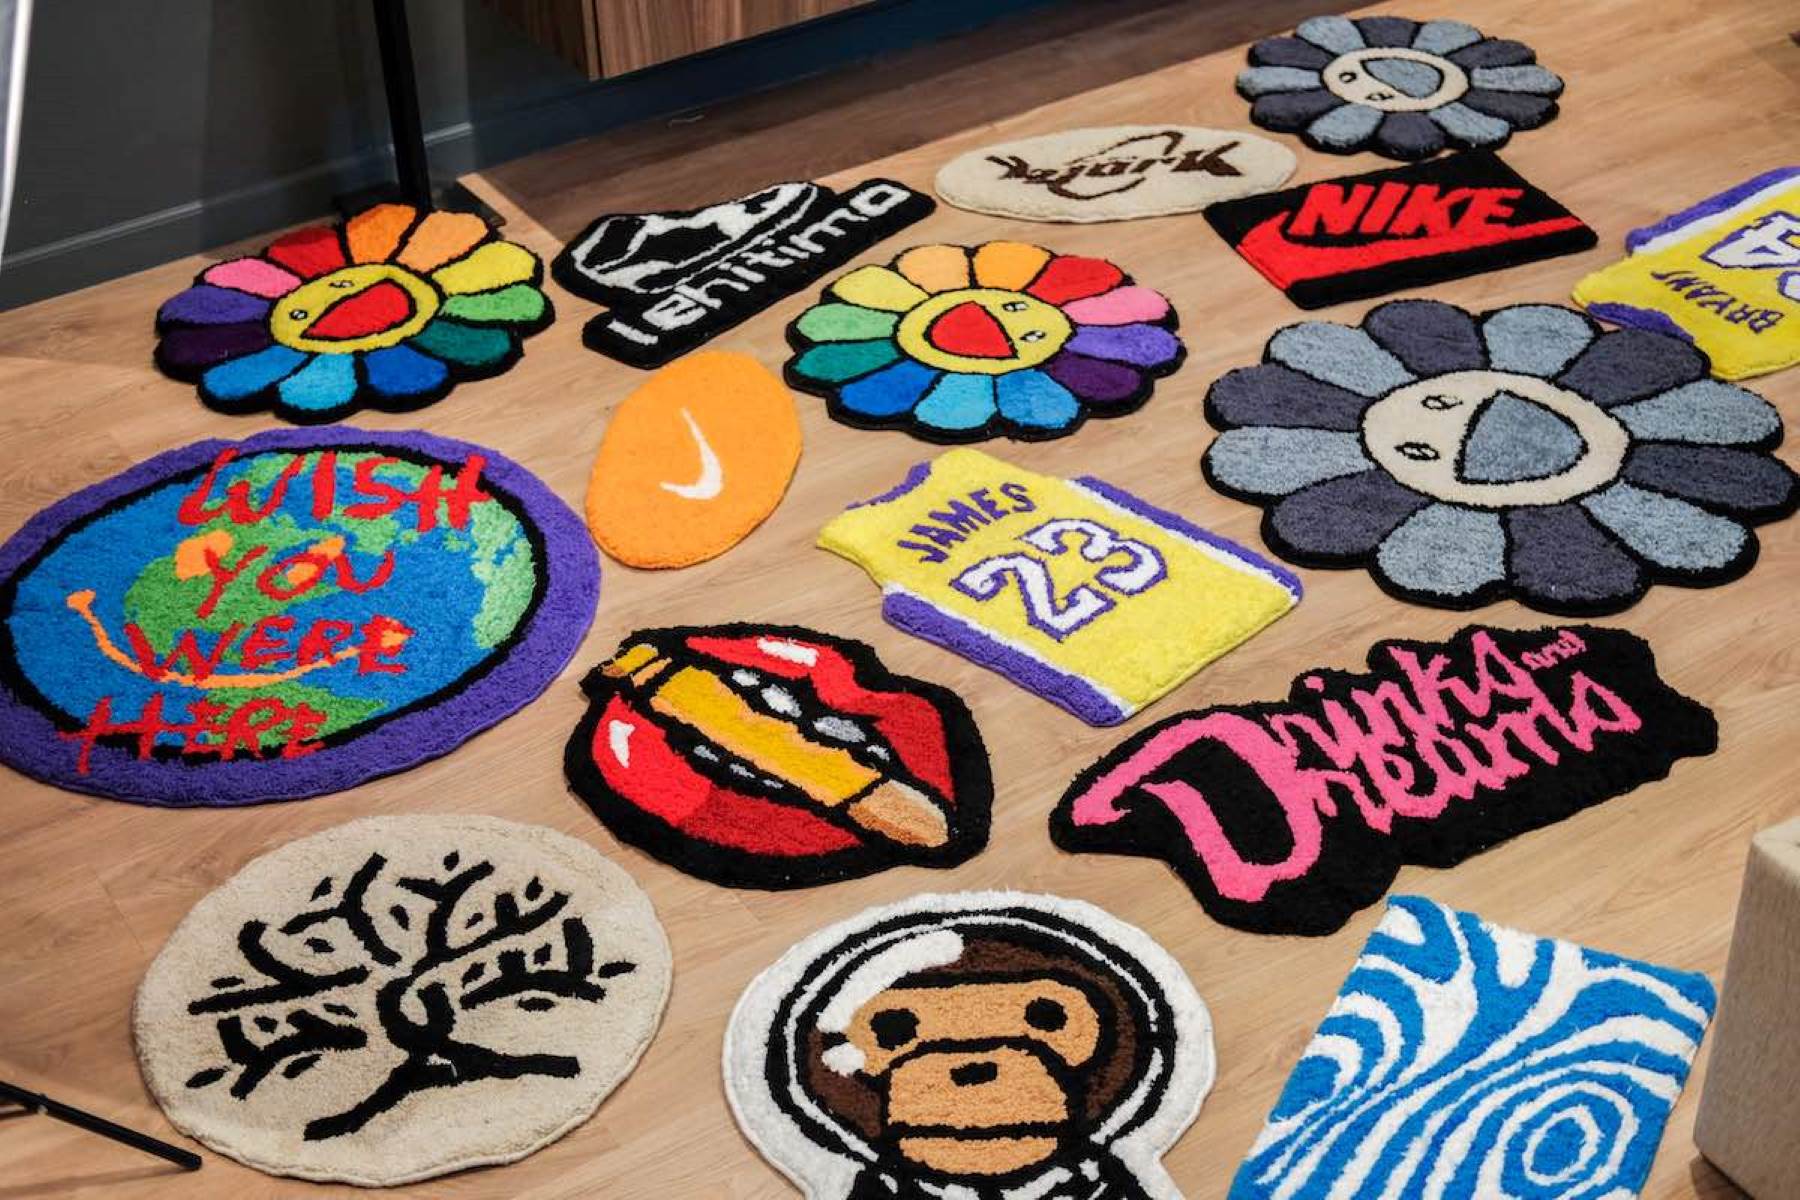
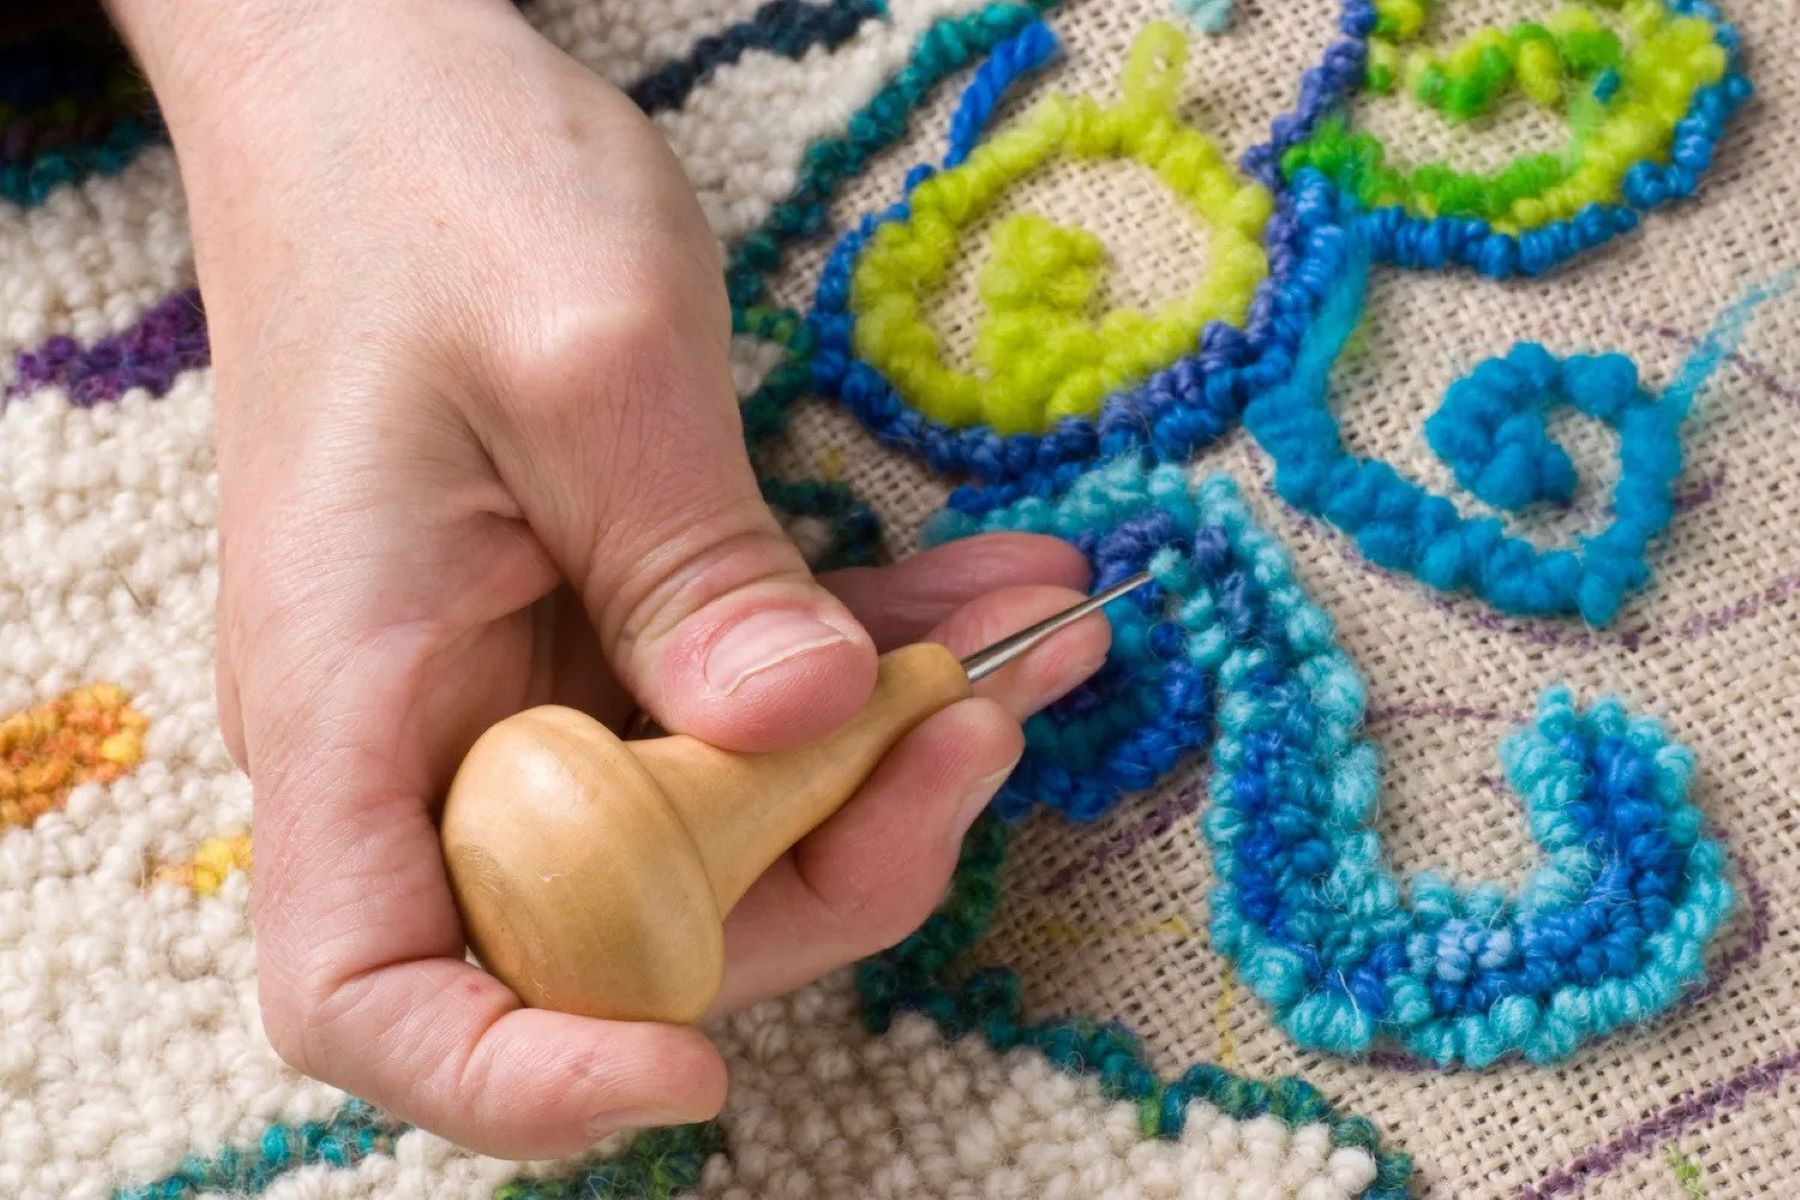
- Customization with Paint or Stencils: For those seeking a creative flair, consider embellishing your outdoor rug with stenciled designs or patterns using outdoor fabric paint. This allows you to infuse your personal style into the rug, adding visual interest and personality.
- Weatherproofing Treatment (Optional): Depending on the fabric used, you may opt to apply a weatherproofing treatment to enhance the rug’s resistance to moisture and UV exposure. This step can further protect the fabric and extend the longevity of your outdoor rug.
- Spot Cleaning and Maintenance: Before placing the rug in its designated outdoor space, perform a thorough spot cleaning to ensure it’s free from any dust or debris. Additionally, familiarize yourself with the specific maintenance requirements of the fabric used in your rug to preserve its appearance and functionality over time.
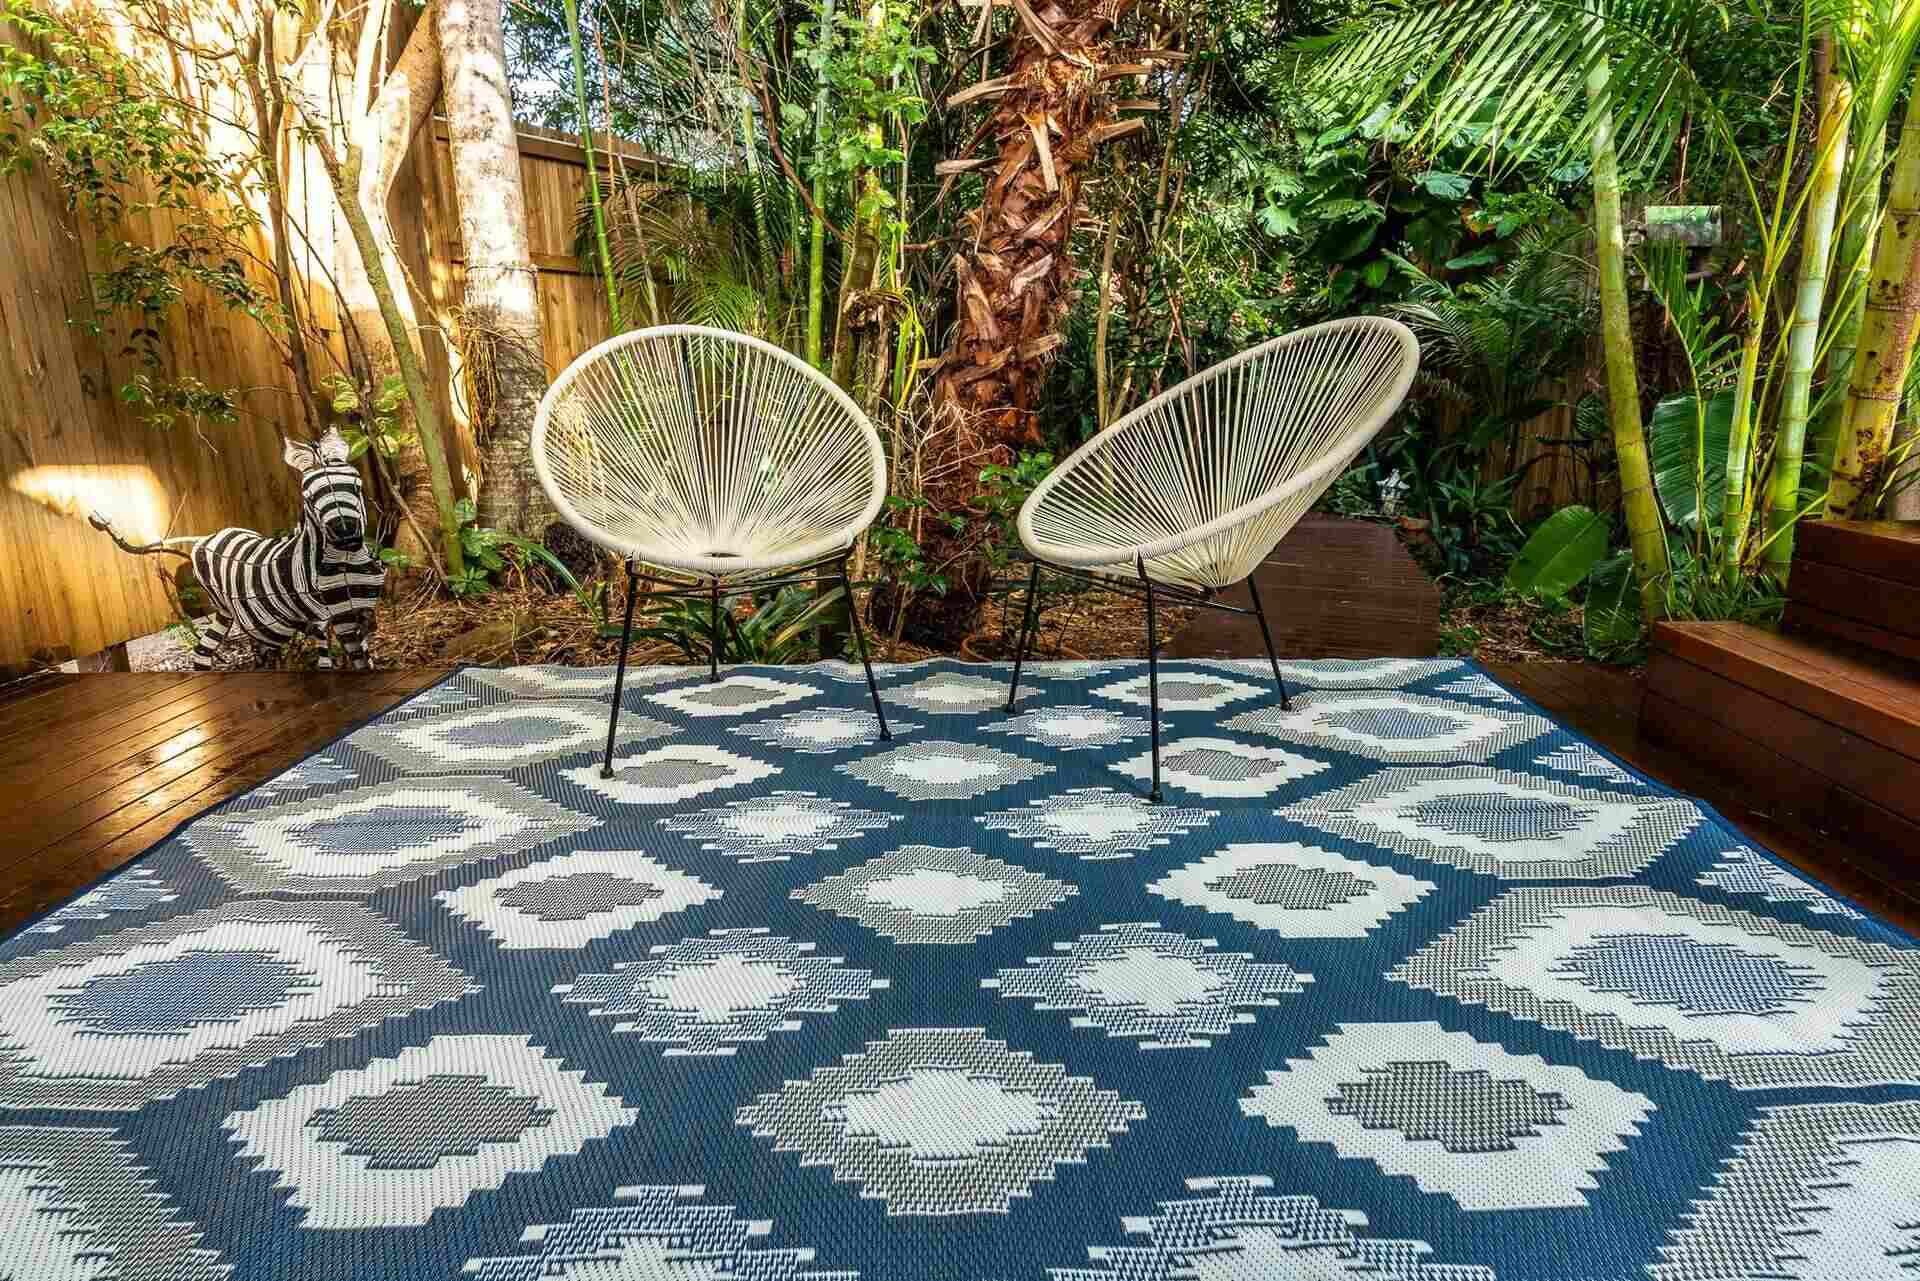
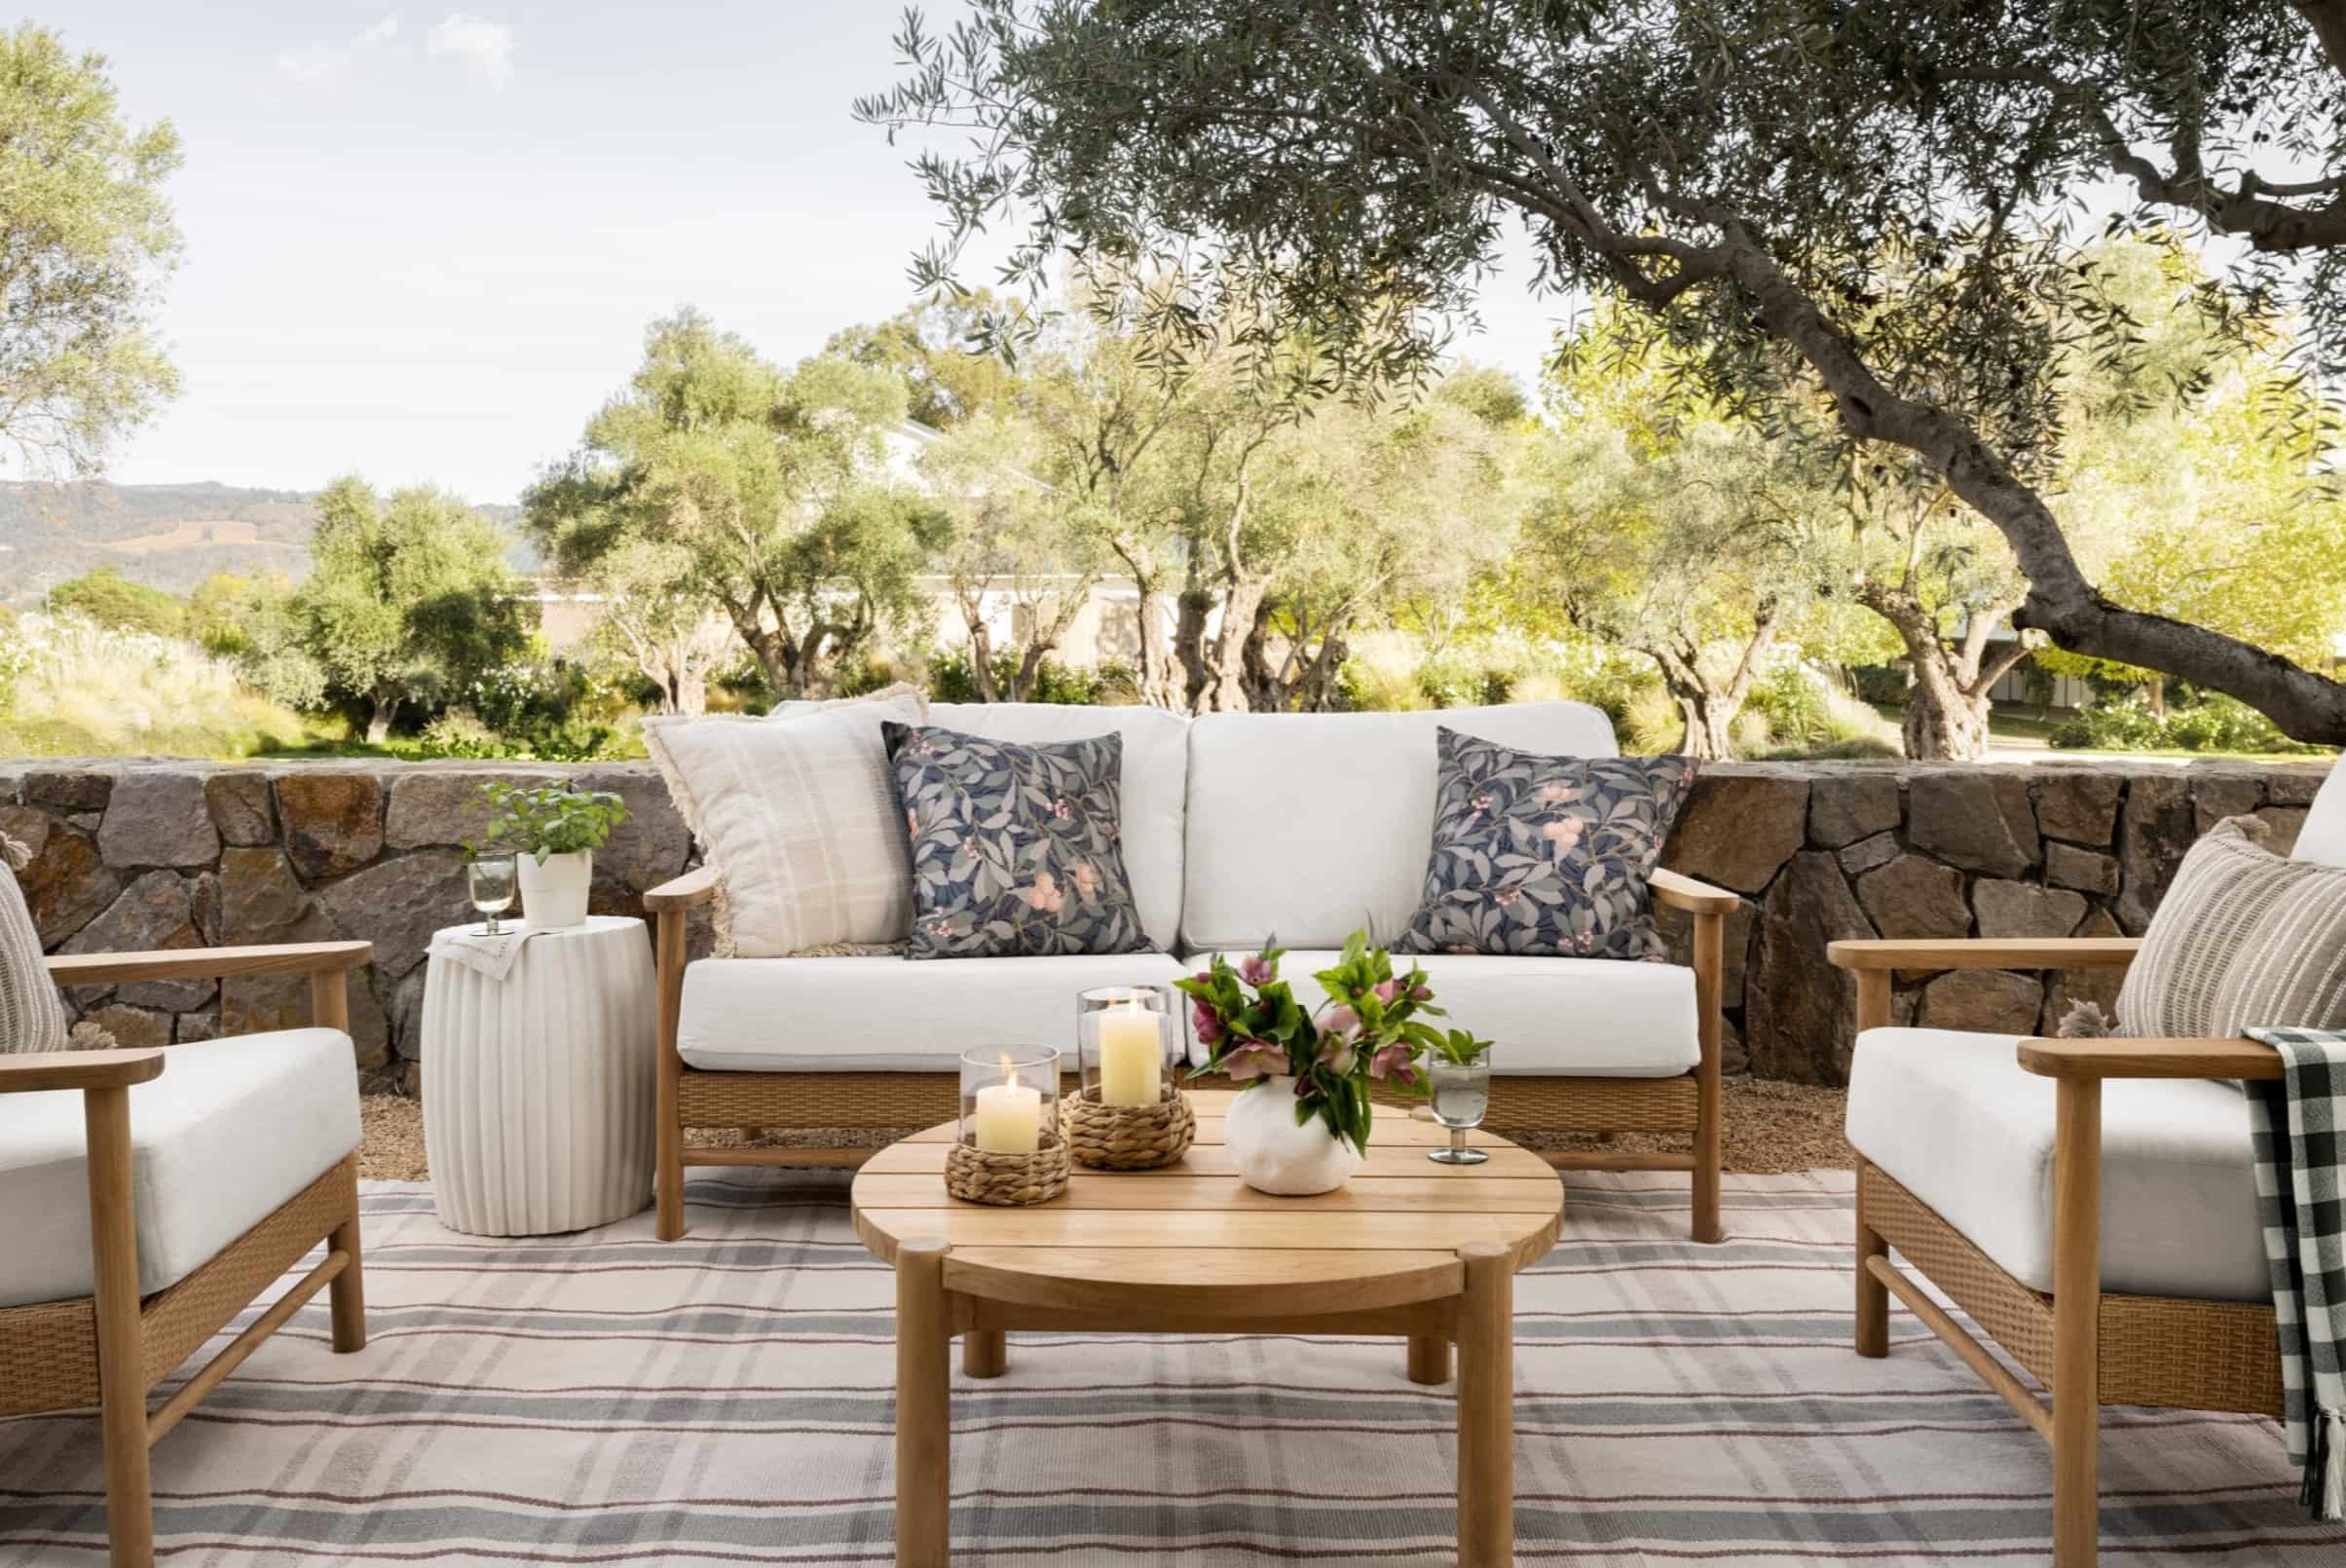
By attending to these finishing touches, you’ll transform your DIY outdoor rug into a personalized and stylish accent that harmonizes with your outdoor furniture and design aesthetic. Whether you opt for a sleek and modern finish or inject vibrant colors and patterns, these final details will bring your outdoor rug to life and make it a standout feature in your outdoor oasis.
Conclusion
Congratulations on successfully crafting your very own outdoor rug! By embarking on this DIY journey, you’ve not only added a personalized and stylish accent to your outdoor living space but also demonstrated your creativity and resourcefulness in enhancing your home’s exterior. As you admire your handiwork, it’s evident that your outdoor rug is more than just a functional accessory—it’s a reflection of your unique style and a testament to your ability to transform basic materials into a standout decor piece.
Through the careful selection of weather-resistant fabric, precise cutting, skillful sewing, and the addition of a non-slip backing, you’ve created a durable and visually appealing rug that will withstand the elements and enliven your outdoor environment. The finishing touches, whether it’s a decorative border, personalized stenciling, or a weatherproofing treatment, have further elevated the rug’s aesthetics and tailored it to your preferences.
As you place your DIY outdoor rug in its designated spot, envision the countless moments it will enhance—whether it’s providing a cozy foundation for outdoor gatherings, adding a pop of color to your patio, or simply inviting you to kick off your shoes and relax in style. Your creation is not just a rug; it’s a testament to your ingenuity and your commitment to curating a welcoming and stylish outdoor retreat.
With your newly acquired skills and the satisfaction of completing a rewarding DIY project, the possibilities for further creativity and customization in your outdoor space are endless. Whether you’re inspired to tackle more DIY endeavors or simply bask in the enjoyment of your handcrafted outdoor rug, this experience serves as a reminder of the transformative power of creativity and craftsmanship.
As you revel in the beauty of your outdoor rug, take pride in the fact that you’ve brought your vision to life and made your outdoor space truly your own. Cheers to the countless memories and moments of relaxation that await in the company of your exceptional DIY creation!
Frequently Asked Questions about How To Make An Outdoor Rug
Was this page helpful?
At Storables.com, we guarantee accurate and reliable information. Our content, validated by Expert Board Contributors, is crafted following stringent Editorial Policies. We're committed to providing you with well-researched, expert-backed insights for all your informational needs.


0 thoughts on “How To Make An Outdoor Rug”