Home>Furniture & Design>Outdoor Furniture>How To Clean An Outdoor Garbage Can
Outdoor Furniture
How To Clean An Outdoor Garbage Can
Published: January 12, 2024
Learn how to effectively clean your outdoor garbage can and keep it smelling fresh. Discover expert tips for maintaining outdoor furniture and design.
(Many of the links in this article redirect to a specific reviewed product. Your purchase of these products through affiliate links helps to generate commission for Storables.com, at no extra cost. Learn more)
Introduction
Outdoor garbage cans are essential for keeping our homes and neighborhoods clean and tidy. However, over time, these cans can become dirty, smelly, and even attract pests if not properly maintained. Regularly cleaning your outdoor garbage can not only helps to control odors and prevent the spread of germs but also extends the life of the container. In this guide, we’ll walk you through the step-by-step process of cleaning your outdoor garbage can, ensuring that it remains fresh, hygienic, and free from unpleasant odors.
By following these simple cleaning tips, you can maintain a clean and odor-free outdoor garbage can, contributing to a healthier and more pleasant living environment for you and your neighbors. Let’s dive into the supplies needed and the step-by-step cleaning process to keep your outdoor garbage can in top condition.
Key Takeaways:
- Keep your outdoor garbage can clean to prevent odors, germs, and pests. Regular cleaning extends its lifespan and contributes to a healthier living environment for you and your neighbors.
- Gather supplies like mild soap, brush, and deodorizers. Empty, scrub, rinse, and dry the can thoroughly. Spot-treat stains and deodorize to maintain a fresh and pleasant scent.
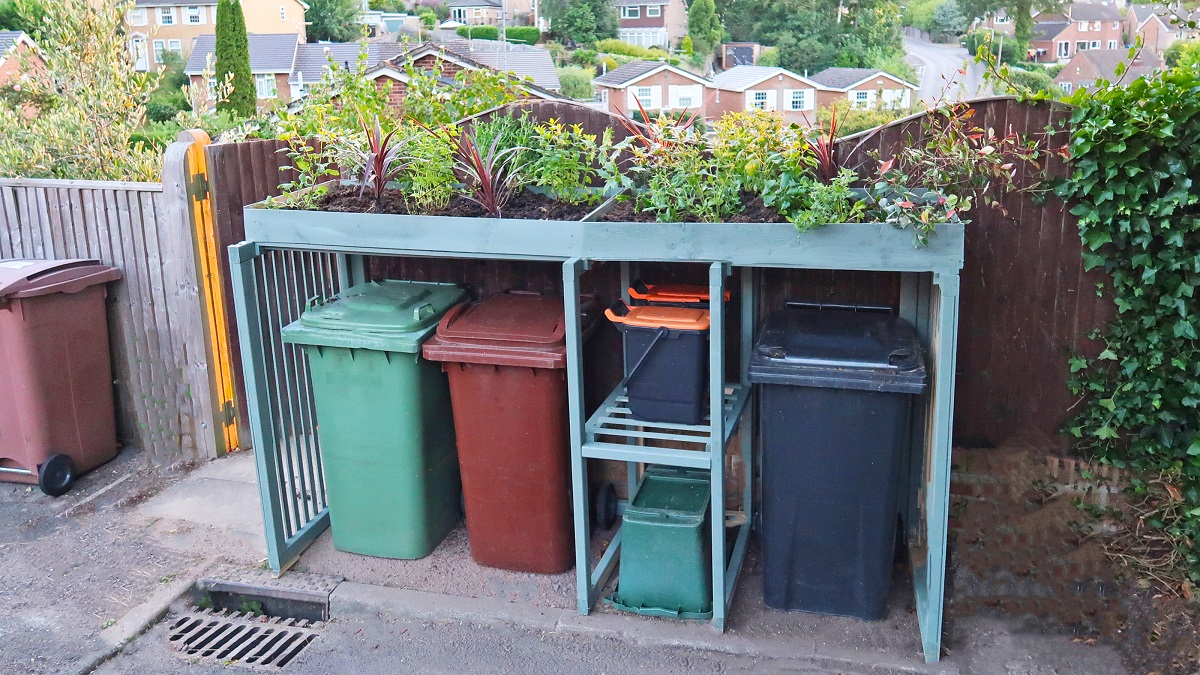
Read more: How To Hide Outdoor Garbage Cans
Supplies Needed
Before you begin the cleaning process, gather the following supplies:
- Water source, such as a hose or bucket
- Mild dish soap or specialized garbage can cleaner
- Long-handled brush or scrubbing sponge
- Bleach or white vinegar (optional for disinfecting)
- Garden hose with a spray nozzle or access to a power washer (if available)
- Old towels or rags for drying
- Baking soda or specialized garbage can deodorizer
- Gloves and protective eyewear (optional, but recommended when using cleaning agents)
Having these supplies on hand will ensure that you’re fully equipped to tackle the task of cleaning your outdoor garbage can effectively and efficiently. Now that you have all the necessary supplies, let’s move on to the step-by-step cleaning process.
Step 1: Empty the Garbage Can
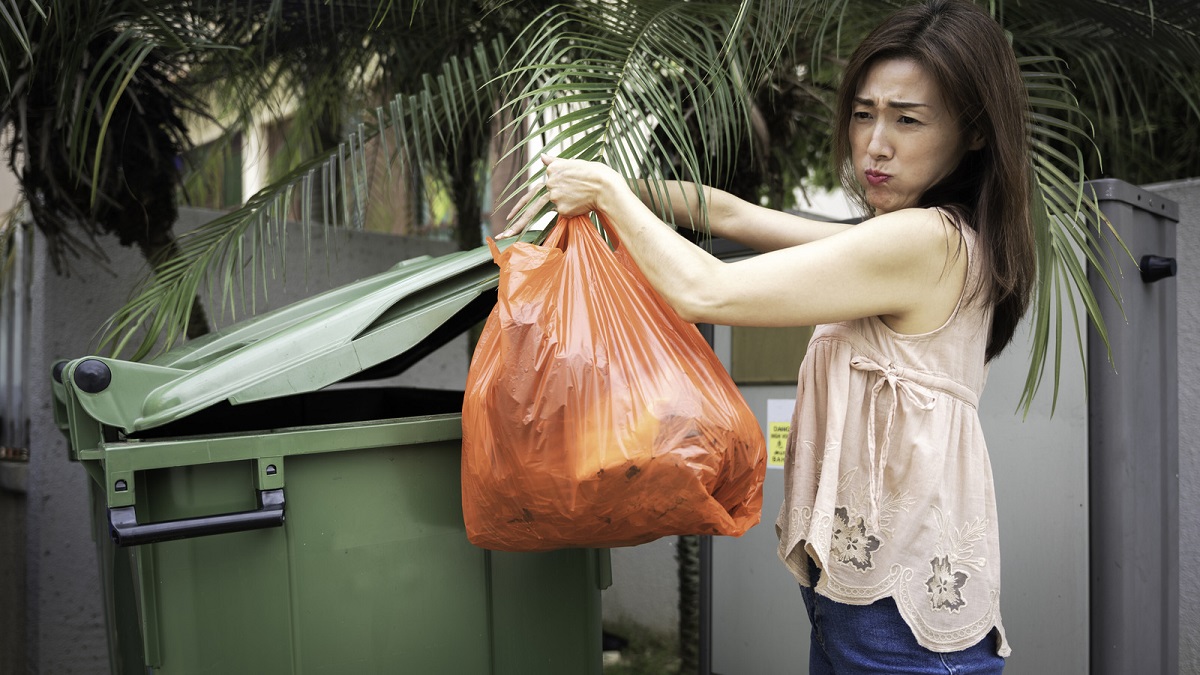
Before you begin the cleaning process, it’s essential to empty the garbage can completely. Remove any remaining trash and debris, and dispose of it in your regular waste collection bin. If there are any stubborn residues stuck to the bottom or sides of the can, use a trash bag or scraper to loosen and remove them.
After emptying the can, take a moment to inspect the interior for any signs of mold, mildew, or pest infestation. If you notice any of these issues, it’s crucial to address them before proceeding with the cleaning process. For mold and mildew, a solution of water and white vinegar can be used to kill spores and disinfect the surface. If pests are present, consider using a specialized pest control product or seeking professional assistance to ensure the area is safe for cleaning.
Once the garbage can is empty and any potential issues have been addressed, you’re ready to move on to the next step: scrubbing the inside of the can to remove dirt, grime, and odors.
Step 2: Scrub the Inside of the Can
With the garbage can empty, it’s time to focus on cleaning the interior. Start by rinsing the inside of the can with a strong stream of water from a hose or bucket. This will help to dislodge any loose debris and prepare the surface for scrubbing.
Next, apply a small amount of mild dish soap or a specialized garbage can cleaner to the interior surfaces. Using a long-handled brush or scrubbing sponge, scrub the inside of the can thoroughly, paying particular attention to any areas with visible dirt, stains, or lingering odors. For stubborn stains or odors, consider adding a small amount of baking soda to the soapy water to enhance the cleaning power.
If you’re dealing with particularly tough grime or persistent odors, a solution of water and white vinegar can be used to help break down and neutralize the offending substances. Simply apply the solution to the affected areas, allow it to sit for a few minutes, and then scrub the surfaces as usual.
After scrubbing, rinse the interior of the can thoroughly with clean water to remove any soap or cleaning solution residue. If available, using a power washer or a garden hose with a spray nozzle can help ensure a thorough rinse and remove any remaining debris.
Once the interior is clean and free from residue, use old towels or rags to dry the surfaces thoroughly. Ensuring that the interior is completely dry will help prevent the growth of mold and mildew and maintain a fresh, clean environment inside the garbage can.
With the interior of the garbage can clean and dry, it’s time to move on to the next step: rinsing and drying the exterior of the can to complete the cleaning process.
Regularly rinse out your outdoor garbage can with a mixture of water and vinegar to remove odors and kill bacteria. Let it dry in the sun to prevent mold and mildew.
Step 3: Rinse and Dry the Can
After completing the interior cleaning, it’s important to give attention to the exterior of the garbage can. Start by rinsing the outside of the can with a hose or bucket of clean water. This will help remove any loose debris, soap residue, or remaining dirt from the surface.
If you notice stubborn stains or areas of heavy soiling on the exterior, you may choose to use a mild detergent or specialized cleaner to spot-treat these areas before rinsing. Ensure that you thoroughly rinse the entire exterior surface to leave it clean and free from cleaning product residue.
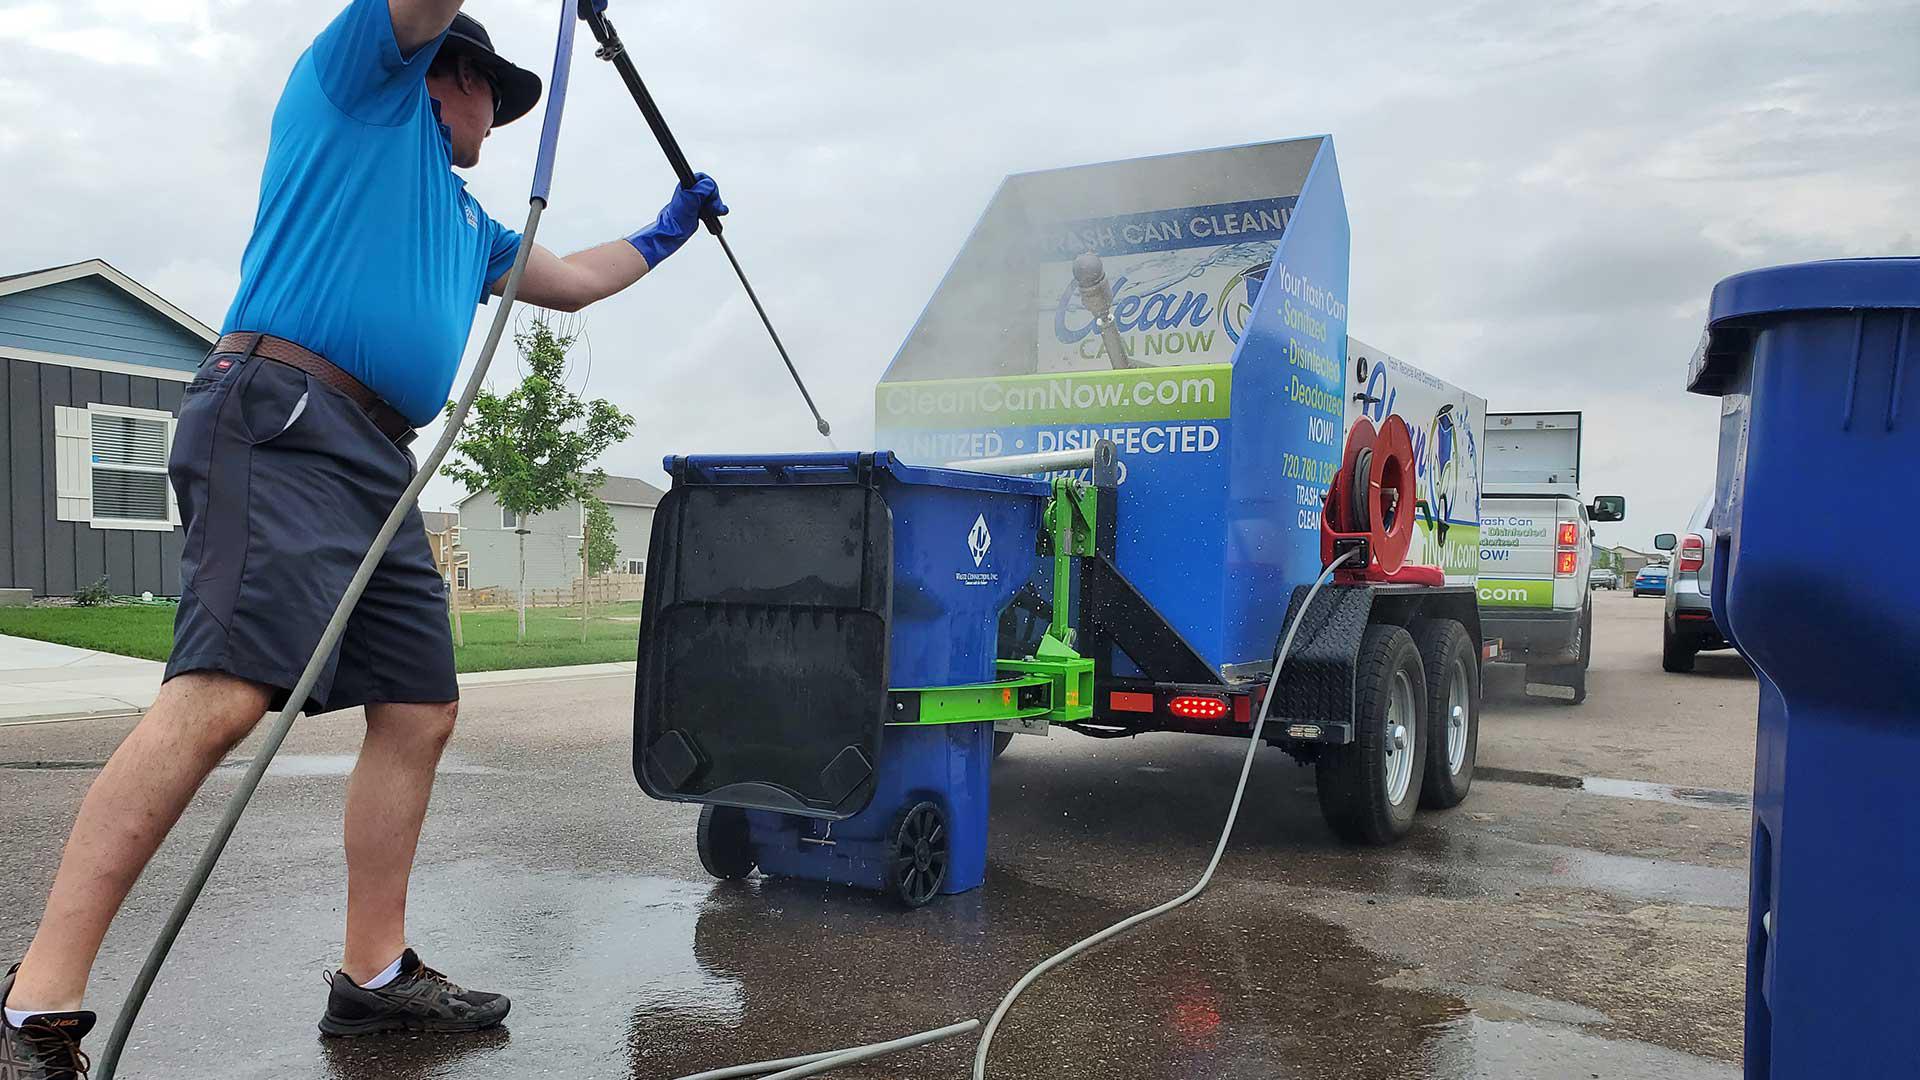
If you have access to a power washer, this can be an efficient tool for cleaning the exterior of the garbage can, especially for removing stubborn grime and buildup. The high-pressure water stream can effectively dislodge and wash away dirt and debris, leaving the can looking fresh and clean.
Once the exterior of the garbage can is thoroughly rinsed, use old towels or rags to dry the surface. Pay particular attention to seams, handles, and any textured areas where water may collect. Drying the exterior of the can helps prevent water spots, mineral deposits, and streaks, leaving the can looking clean and well-maintained.
With the exterior of the garbage can now clean and dry, the next step involves addressing any lingering dirt, stains, or odors that may be present on the outside of the can.
Step 4: Clean the Outside of the Can
Once the exterior of the garbage can is rinsed and dried, it’s time to focus on cleaning the outside surfaces to ensure that the entire can is spotless. Begin by inspecting the exterior for any remaining stains, dirt, or grime that may require additional attention.
If you encounter stubborn stains or persistent dirt, a mild detergent or specialized cleaner can be used to spot-treat these areas. Apply the cleaner to the affected areas and use a brush or sponge to gently scrub the surfaces, paying attention to any textured or recessed areas where dirt may accumulate.
For particularly challenging stains or areas with built-up grime, consider using a solution of water and bleach to help break down and remove the offending substances. Ensure that you follow safety guidelines and manufacturer recommendations when using bleach and take precautions to protect surrounding surfaces and vegetation from potential discoloration.
If you prefer to use a natural alternative to bleach, white vinegar can be an effective and eco-friendly option for tackling tough stains and odors on the exterior of the garbage can. Apply the vinegar to the affected areas, allow it to sit for a few minutes, and then scrub the surfaces as needed before rinsing thoroughly with clean water.
After spot-treating and cleaning the exterior surfaces, rinse the entire outside of the garbage can with clean water to remove any cleaning product residue and ensure a thorough clean. If using a power washer, maintain a safe distance to avoid damage to the can’s surface while effectively removing dirt and grime.
Once the exterior is clean and rinsed, use old towels or rags to dry the surfaces thoroughly. Pay attention to details such as handles, lids, and any decorative elements to ensure that the entire exterior of the garbage can is clean, dry, and free from water spots.
With the outside of the garbage can now clean and dry, the next step involves deodorizing the can to eliminate any lingering odors and maintain a fresh, pleasant scent.
Step 5: Deodorize the Can
After thoroughly cleaning the inside and outside of the garbage can, it’s important to address any lingering odors to ensure a fresh and pleasant-smelling container. There are several effective methods for deodorizing outdoor garbage cans, helping to neutralize odors and maintain a clean and inviting environment.
One simple and natural deodorizing method involves using baking soda, a versatile and effective odor absorber. Sprinkle a generous amount of baking soda into the bottom of the garbage can and distribute it evenly across the interior surfaces. Allow the baking soda to sit for several hours or overnight to absorb and neutralize odors before disposing of it in the trash and rinsing the can.
If you prefer a ready-made solution, specialized garbage can deodorizers are available in various forms, including sprays, granules, and pouches. These products are designed to target and neutralize odors, leaving the garbage can smelling fresh and clean. Follow the manufacturer’s instructions for the specific deodorizer you choose, ensuring proper application and effectiveness.
In addition to using baking soda and commercial deodorizers, natural odor-fighting agents such as white vinegar and citrus peels can be effective in neutralizing unpleasant smells. Simply place a small bowl of white vinegar or a handful of citrus peels inside the garbage can and allow them to work their deodorizing magic for a few hours before removing and disposing of them.
For persistent odors or particularly challenging situations, consider using a specialized garbage can deodorizing spray to target and neutralize specific areas. These sprays are formulated to combat tough odors and provide a long-lasting fresh scent, helping to maintain a pleasant environment around the garbage can.
By incorporating these deodorizing methods into your regular cleaning routine, you can effectively neutralize odors and maintain a fresh-smelling outdoor garbage can. With the can now clean, dry, and deodorized, you have successfully completed the comprehensive cleaning process, ensuring that your outdoor garbage can remains hygienic and inviting.
Conclusion
Regularly cleaning your outdoor garbage can is an essential part of maintaining a clean, hygienic, and pleasant living environment. By following the step-by-step cleaning process outlined in this guide, you can effectively remove dirt, grime, and odors from both the interior and exterior of the garbage can, ensuring that it remains fresh and inviting.
Remember to gather the necessary supplies, including mild dish soap, a long-handled brush, and deodorizing agents such as baking soda or specialized garbage can deodorizers, before beginning the cleaning process. Emptying the garbage can, scrubbing the interior, and rinsing and drying both the inside and outside are crucial steps in achieving a thorough clean. Additionally, spot-treating stubborn stains and deodorizing the can help maintain a fresh and pleasant scent.
By incorporating these cleaning practices into your regular maintenance routine, you can effectively control odors, prevent the spread of germs, and extend the life of your outdoor garbage can. A clean and well-maintained garbage can not only contributes to a healthier living environment but also enhances the overall cleanliness and appearance of your home and neighborhood.
So, the next time you notice your outdoor garbage can could use a little TLC, don’t hesitate to embark on the cleaning process outlined in this guide. With the right supplies and a bit of elbow grease, you can keep your garbage can fresh, clean, and free from unpleasant odors, making a positive impact on your surroundings and the community as a whole.
Now that you have the knowledge and tools to maintain a clean outdoor garbage can, you can enjoy a more pleasant and hygienic living space while contributing to a cleaner and more inviting neighborhood environment.
Frequently Asked Questions about How To Clean An Outdoor Garbage Can
Was this page helpful?
At Storables.com, we guarantee accurate and reliable information. Our content, validated by Expert Board Contributors, is crafted following stringent Editorial Policies. We're committed to providing you with well-researched, expert-backed insights for all your informational needs.


0 thoughts on “How To Clean An Outdoor Garbage Can”