Home>Furniture & Design>Outdoor Furniture>How To Clean An Outdoor Grill
Outdoor Furniture
How To Clean An Outdoor Grill
Modified: October 20, 2024
Learn how to effectively clean and maintain your outdoor grill for optimal performance and longevity. Discover expert tips for preserving your outdoor furniture and design.
(Many of the links in this article redirect to a specific reviewed product. Your purchase of these products through affiliate links helps to generate commission for Storables.com, at no extra cost. Learn more)
Introduction
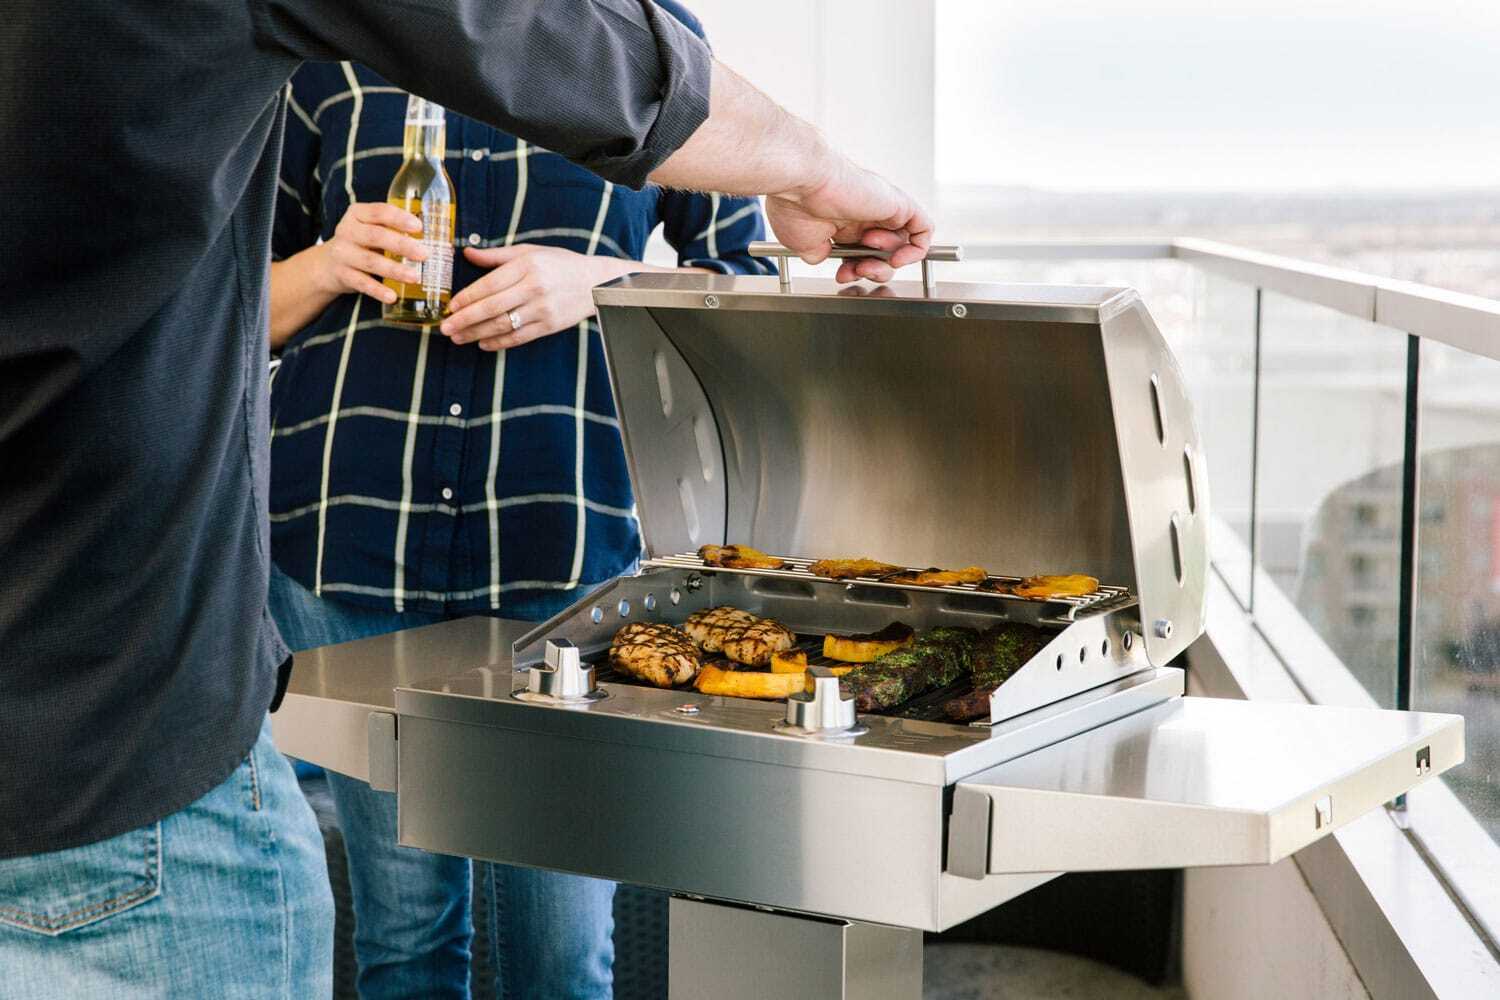
Welcome to the wonderful world of outdoor grilling! Whether you’re a seasoned grill master or a novice just getting started, one thing is certain: a clean grill is essential for delicious and safe outdoor cooking. Over time, grills accumulate grease, food particles, and residue, which can not only affect the flavor of your food but also pose a potential health hazard. In this guide, we’ll walk you through the step-by-step process of cleaning your outdoor grill, ensuring that it remains in top condition for many more memorable cookouts.
From preparing the grill for cleaning to tackling the grates, burners, and exterior, we’ll cover everything you need to know to keep your outdoor cooking station sparkling. By following these simple yet effective cleaning techniques, you’ll not only maintain the functionality of your grill but also prolong its lifespan. So, roll up your sleeves, grab your cleaning supplies, and let’s dive into the art of cleaning an outdoor grill!
Key Takeaways:
- Keep your outdoor grill clean for safe and delicious cooking. Regular maintenance ensures a hygienic cooking surface and prolongs the life of your grill, creating a welcoming space for family and friends.
- A clean grill is essential for exceptional grilling results. By following simple cleaning practices, you’ll enjoy flavorful meals and create cherished memories in the great outdoors.
Read more: How To Clean Stainless Steel Outdoor Grill
Step 1: Preparing the Grill
Before diving into the cleaning process, it’s crucial to prepare the grill properly. Start by ensuring that the grill is completely cool to the touch. Attempting to clean a hot grill not only poses a safety risk but also makes it more challenging to remove built-up residue. Once the grill has cooled down, disconnect the propane tank or turn off the gas supply for gas grills to prevent any accidental ignition during the cleaning process.
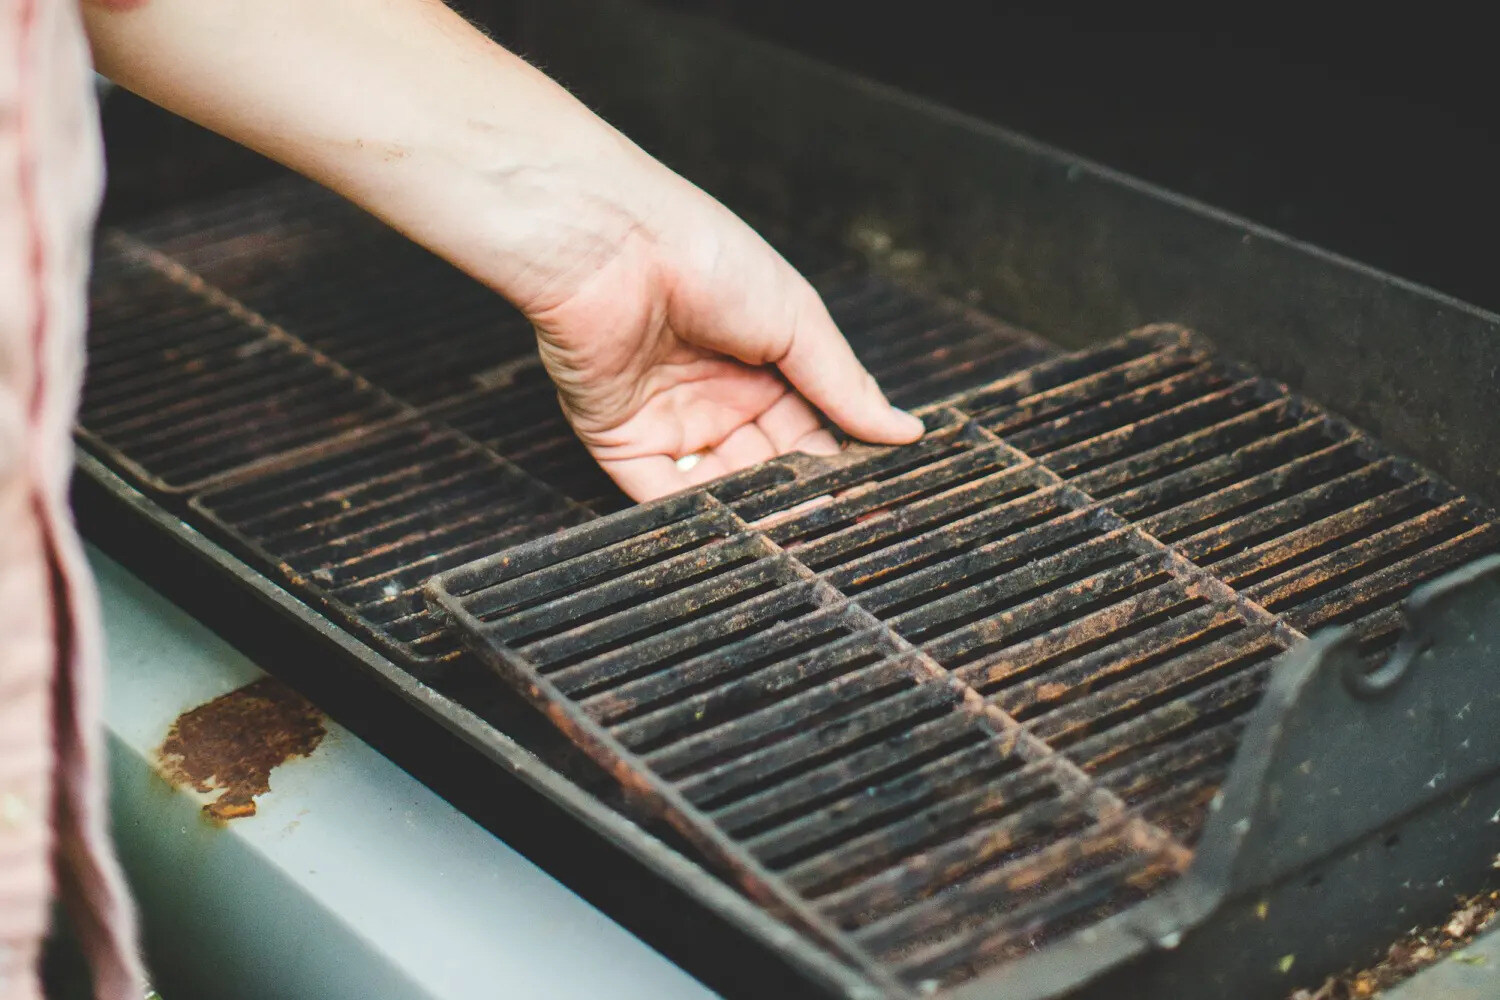
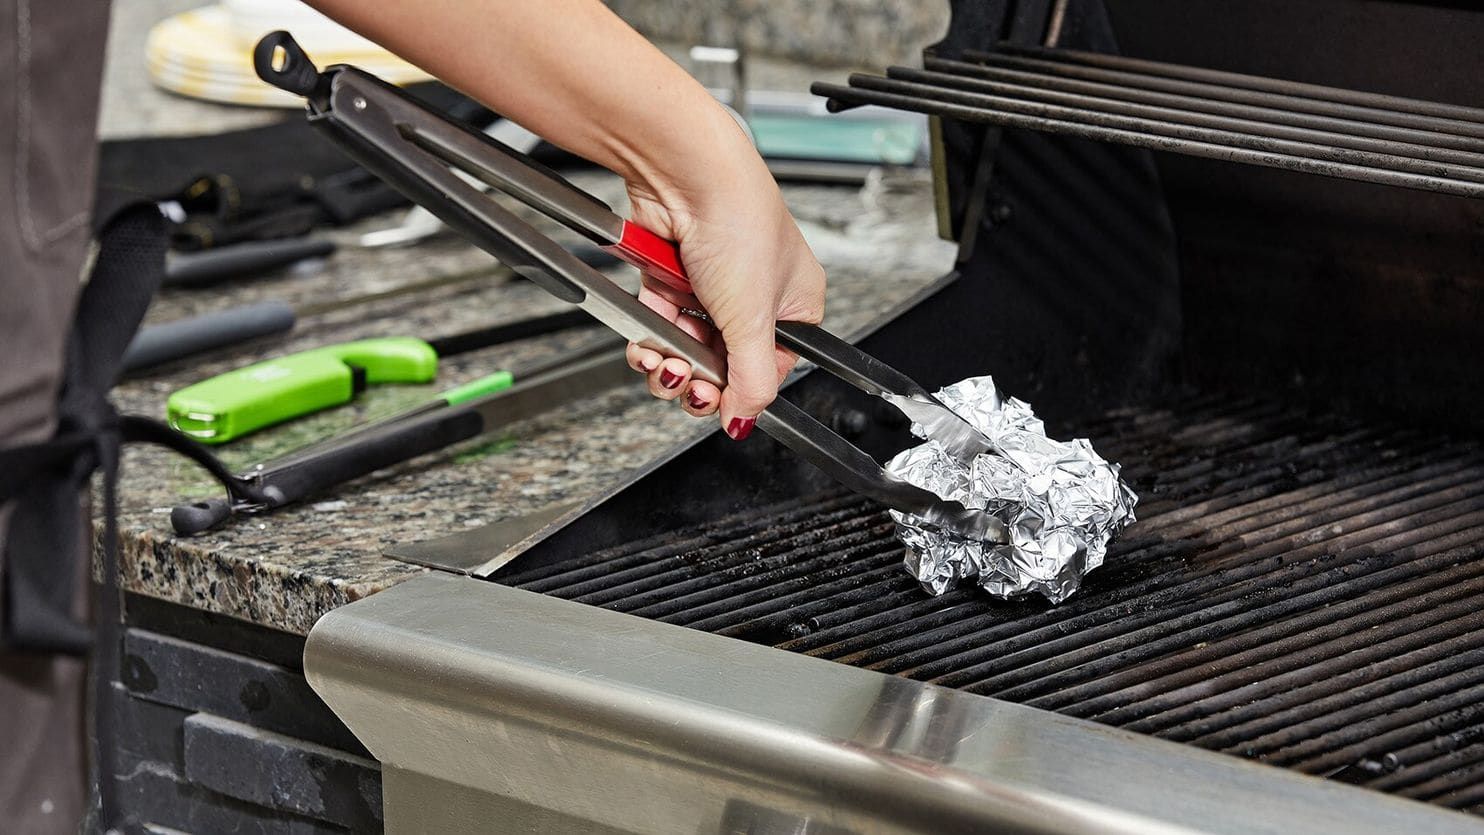
Next, remove the grates and any other removable components from the grill. This step allows for easier access to the interior and ensures a more thorough cleaning. Take this opportunity to inspect the grates for any signs of wear and tear, rust, or debris accumulation. If necessary, the grates can be soaked in warm, soapy water to help loosen stubborn residue.
With the grates removed, take a moment to inspect the burners and interior surfaces for any visible buildup of grease, food particles, or carbon deposits. Using a grill brush or scraper, gently dislodge any loose debris from the interior surfaces and burners. This preparatory step sets the stage for a more effective and efficient cleaning process, allowing you to address both the visible and hidden areas of the grill.
By properly preparing the grill for cleaning, you’ll streamline the entire process and ensure that no area is overlooked. This proactive approach not only facilitates a more thorough cleaning but also contributes to the overall safety and functionality of your outdoor grill.
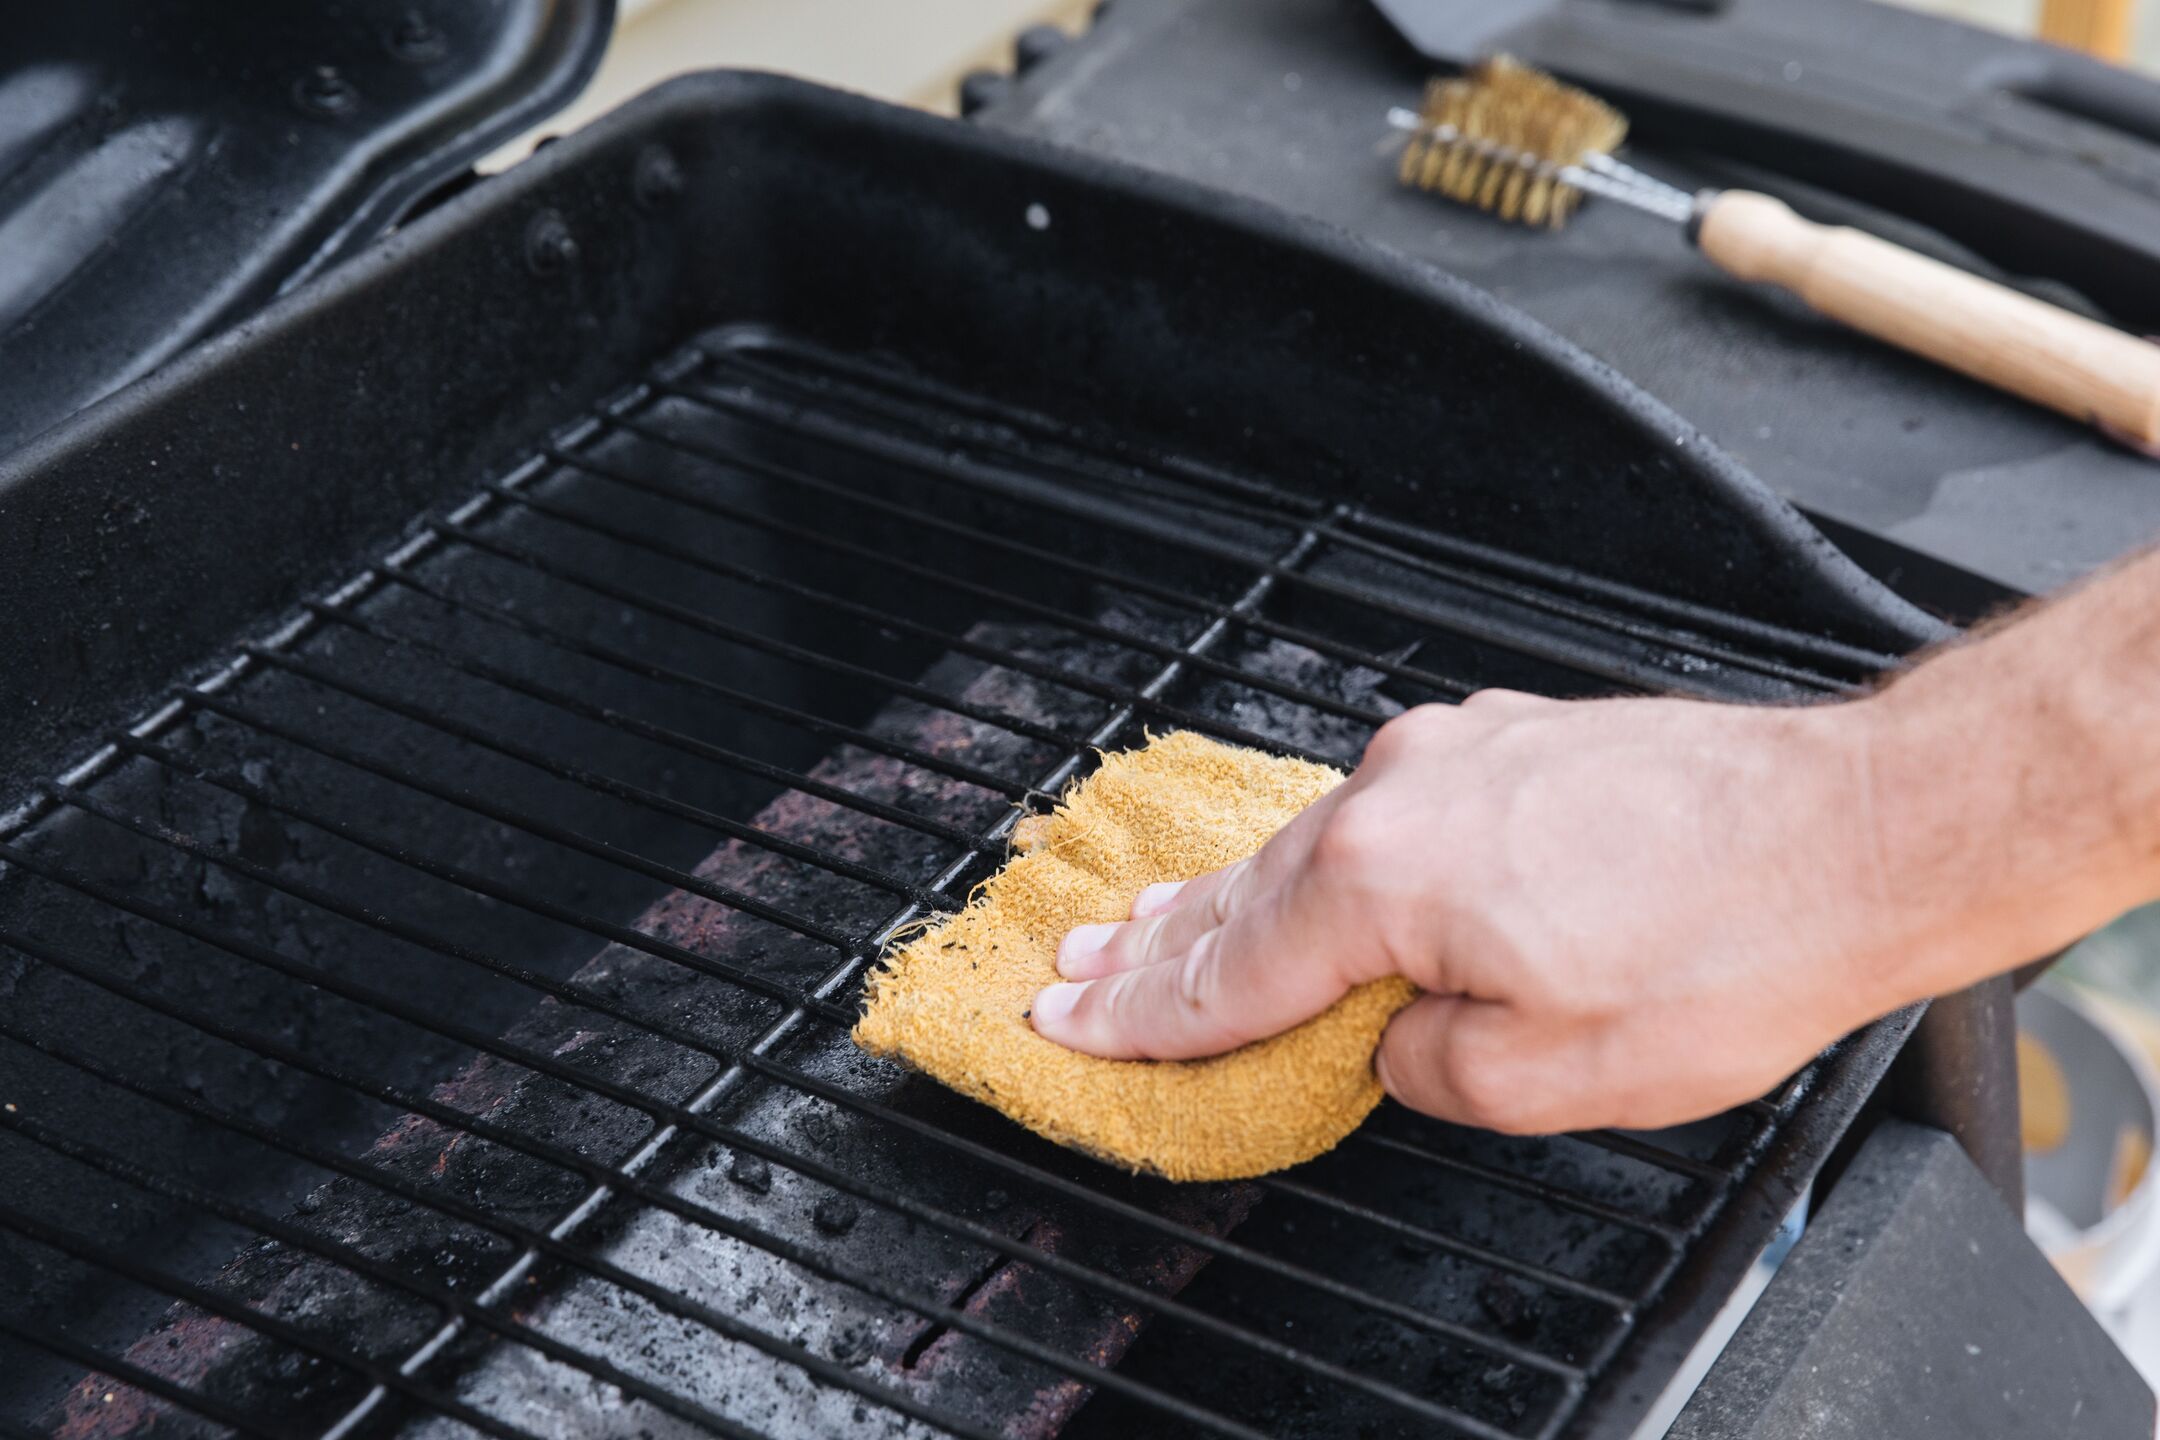
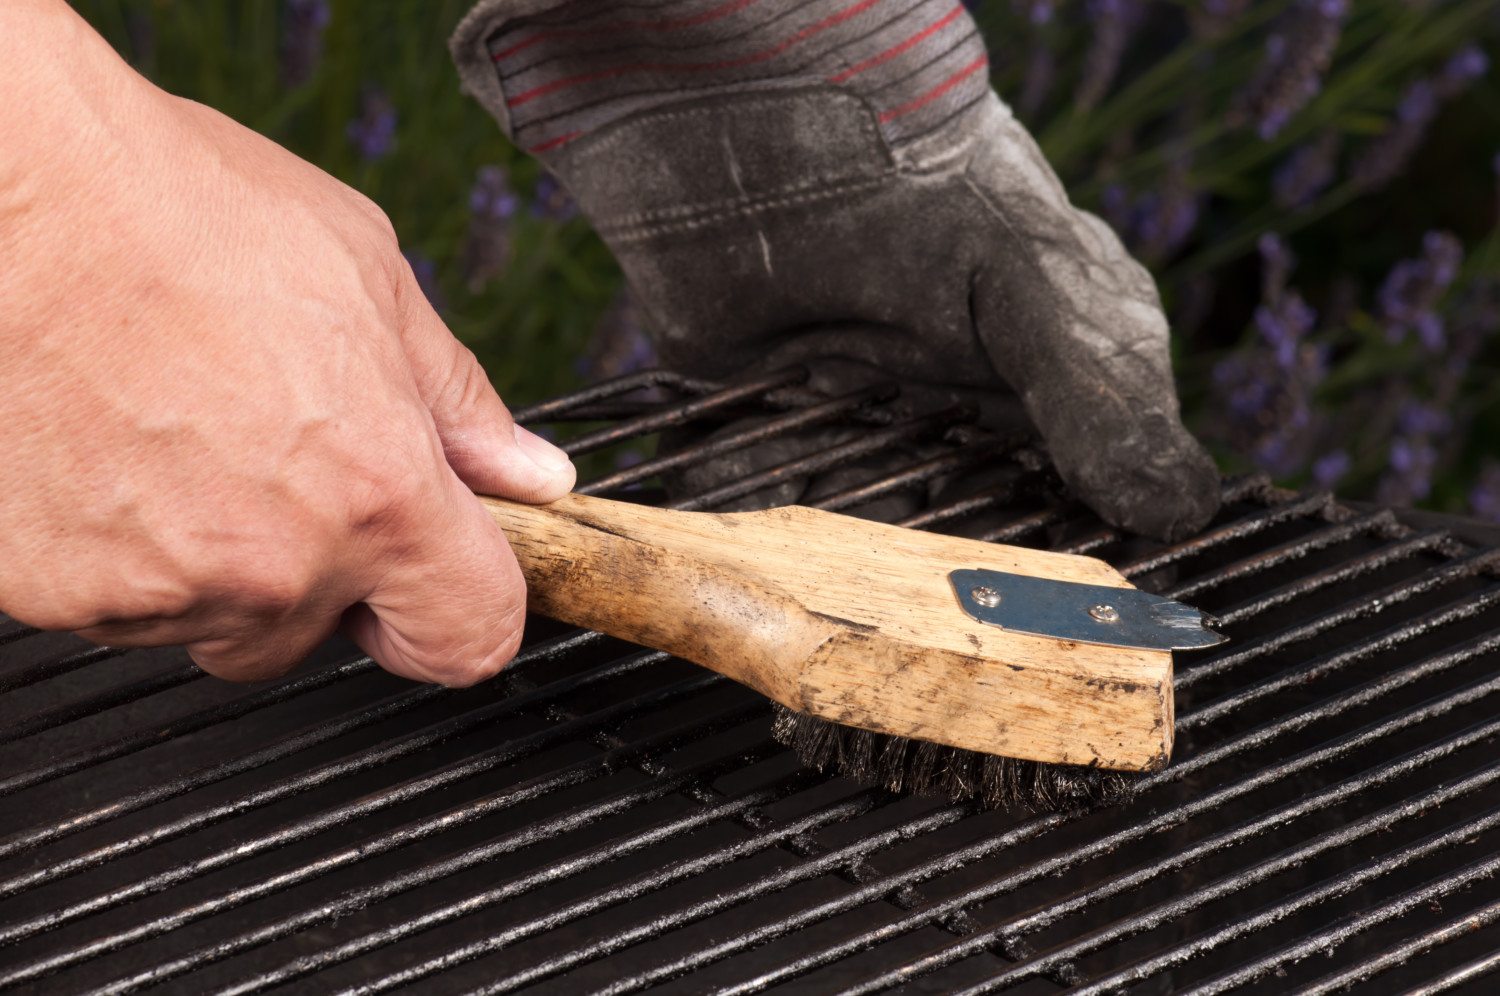
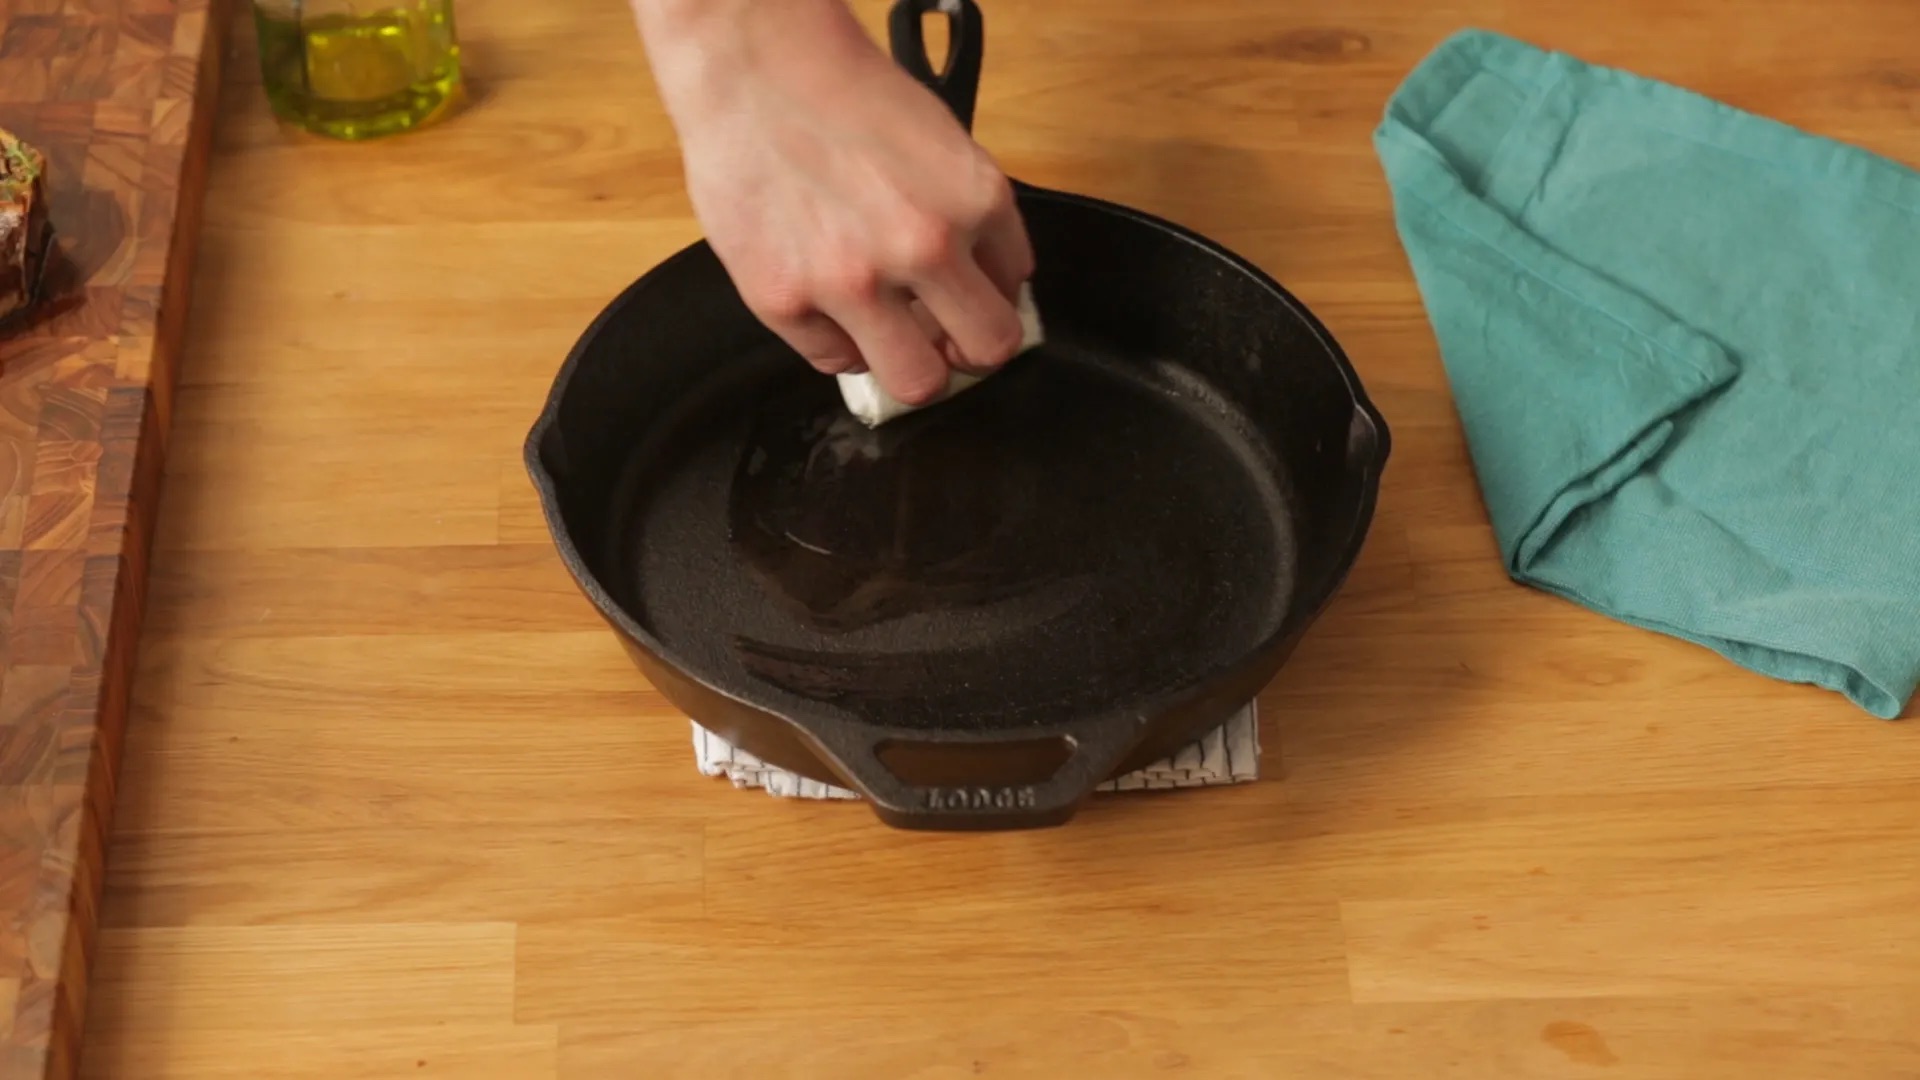
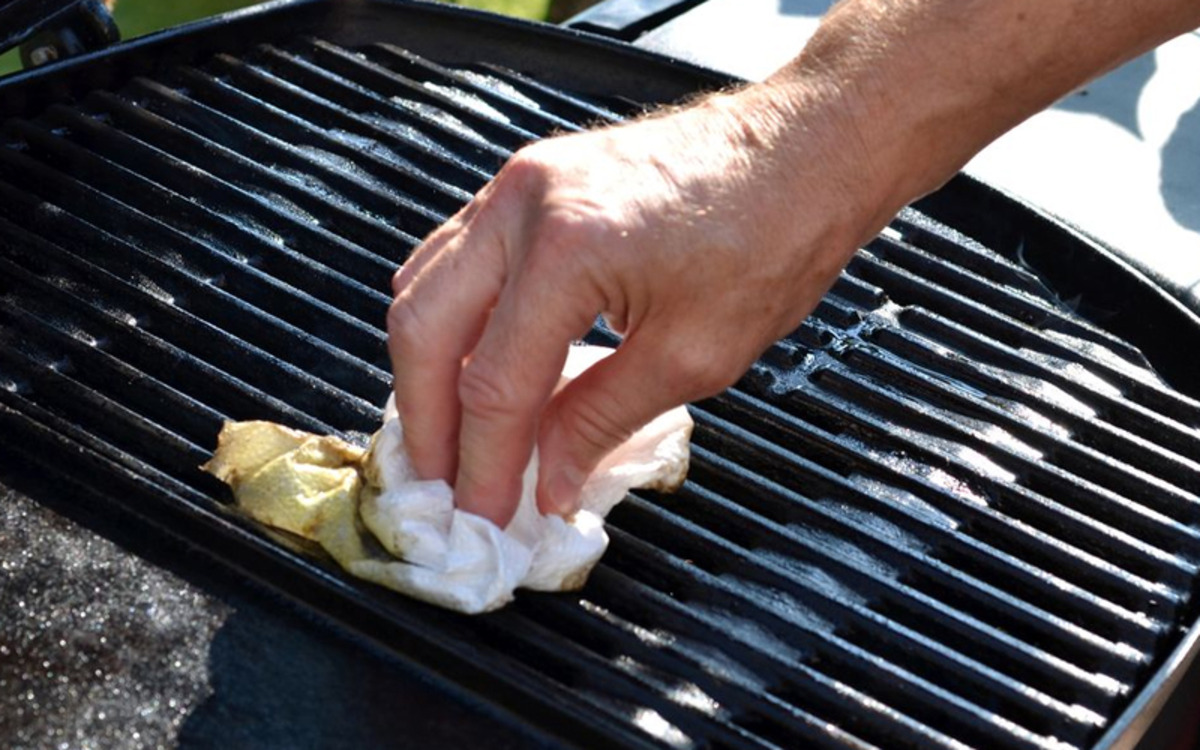
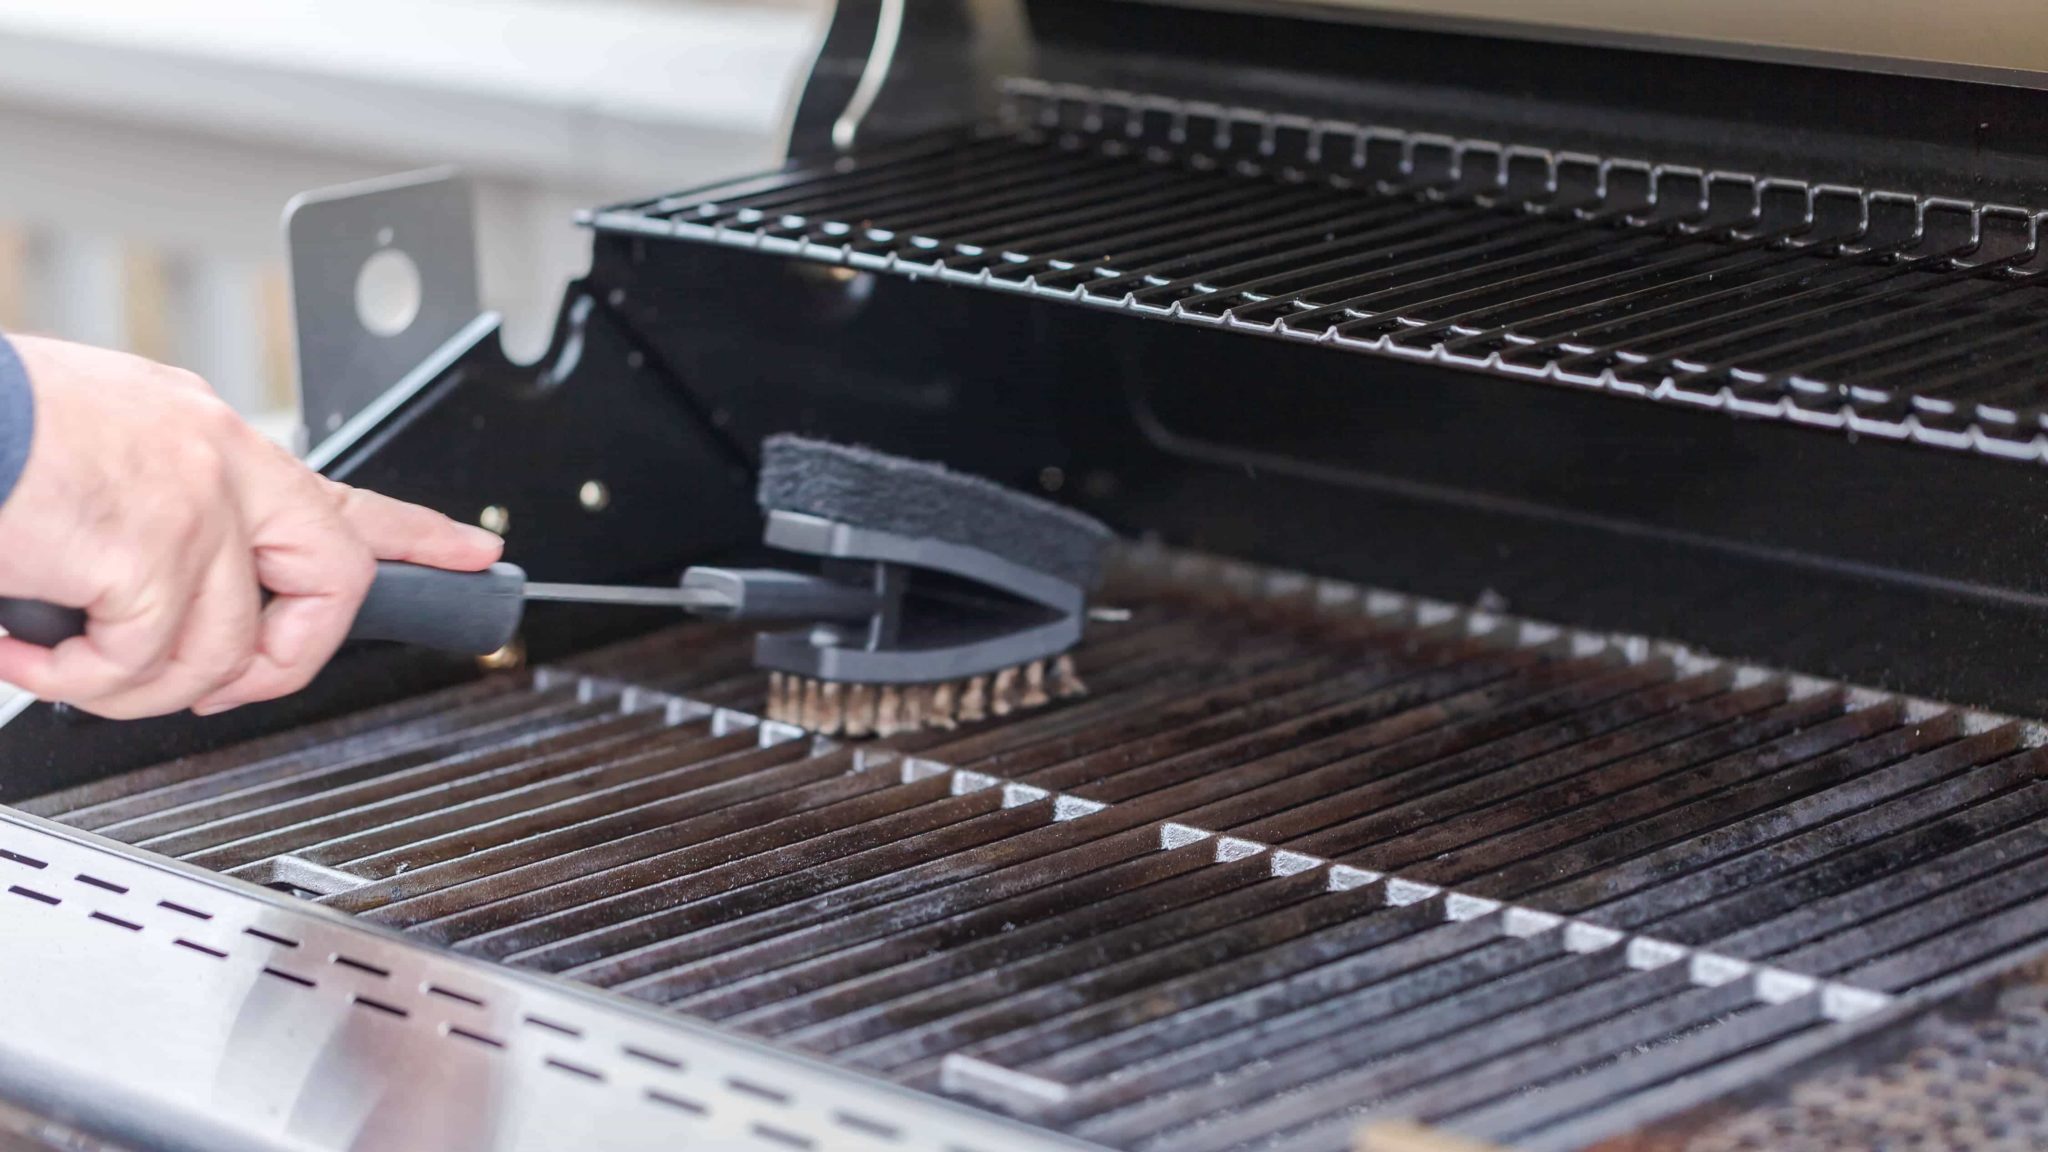
Step 2: Cleaning the Grates
The grill grates, being in direct contact with the food, are often subjected to the most stubborn residue and buildup. To start the cleaning process, use a wire grill brush to scrub the grates thoroughly. This will help dislodge any charred food particles, grease, and carbon deposits that have accumulated over time. For particularly stubborn residue, consider soaking the grates in a solution of warm water and mild dish soap to help loosen the buildup before scrubbing.
For porcelain-coated grates, it’s essential to use a gentle touch to avoid damaging the coating. Abrasive materials or harsh chemicals should be avoided, as they can compromise the integrity of the coating and lead to premature wear. Instead, opt for a non-abrasive sponge or cloth to clean porcelain-coated grates, ensuring that they remain in optimal condition for safe and efficient grilling.
After scrubbing the grates, rinse them thoroughly with water to remove any soapy residue or loosened debris. Once rinsed, allow the grates to air dry completely before reassembling them into the grill. This step is crucial in preventing moisture-related issues and maintaining the cleanliness of the grates for future use.
Regular maintenance of the grates, including post-cooking brushing and periodic deep cleaning, not only ensures a hygienic cooking surface but also contributes to the longevity of the grates. By incorporating these cleaning practices into your grilling routine, you’ll enjoy consistently delicious and safe outdoor cooking experiences.
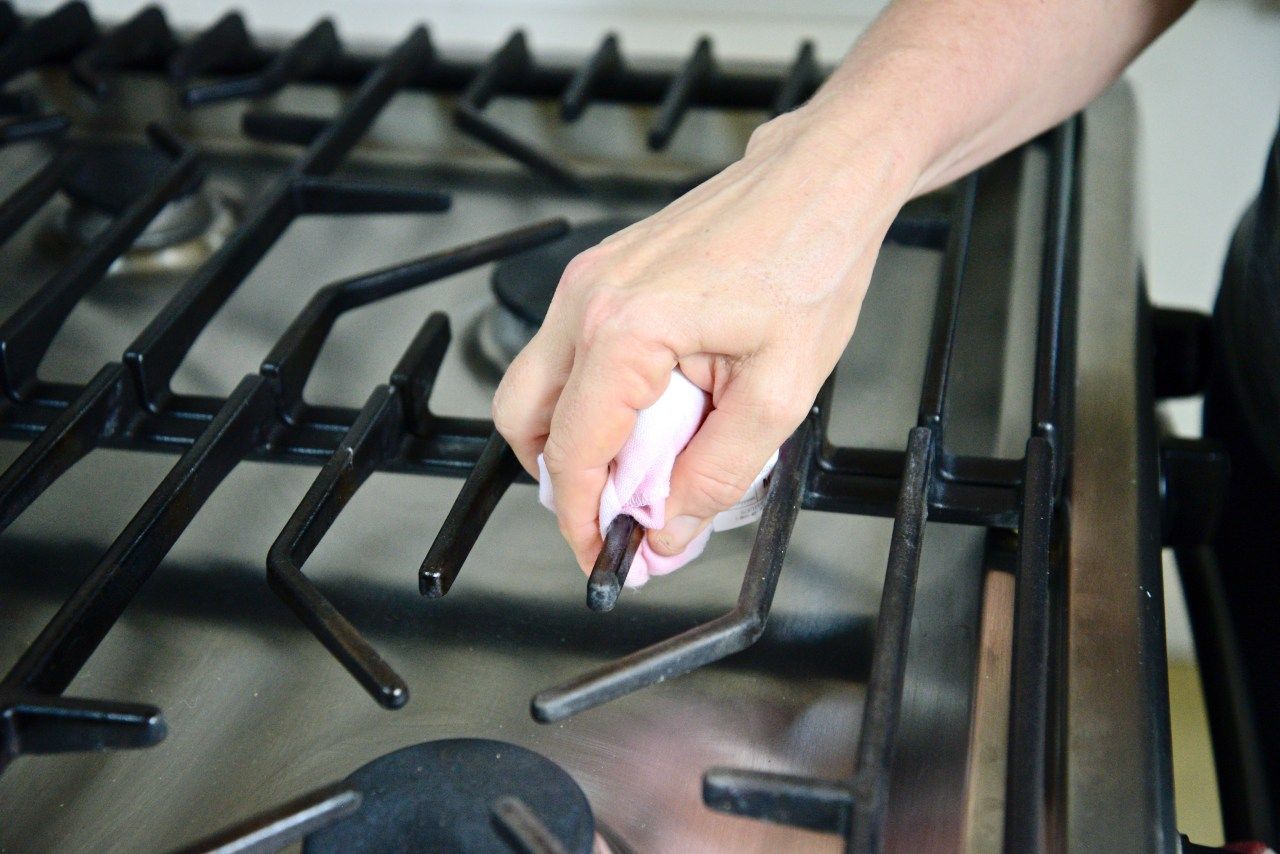
Step 3: Cleaning the Burners
As the heart of your grill’s cooking system, the burners play a crucial role in delivering consistent heat for perfectly grilled meals. Over time, burners can become clogged or coated with debris, affecting their performance and efficiency. To maintain optimal functionality, it’s important to clean the burners regularly.
Start by visually inspecting the burners for any visible blockages, such as accumulated grease, food particles, or corrosion. Using a soft-bristled brush or a non-abrasive sponge, gently remove any debris from the burner surfaces. Take care to avoid using sharp or abrasive tools that could damage the burners.
If the burners are particularly dirty or clogged, they can be removed from the grill for a more thorough cleaning. Once removed, use a mixture of warm, soapy water and a brush to clean the burners, ensuring that all openings and surfaces are free from obstructions. After cleaning, rinse the burners with water and allow them to dry completely before re-installing them in the grill.
For gas grills, it’s essential to inspect the burner’s gas ports to ensure they are free from blockages. A small, non-metallic object, such as a pipe cleaner or wooden skewer, can be used to gently clear the gas ports of any debris or buildup. This simple yet important step helps maintain proper gas flow and ignition, ensuring that your grill operates safely and efficiently.
By incorporating regular burner maintenance into your grill care routine, you’ll not only prolong the life of the burners but also enhance the overall performance of your grill. Clean burners contribute to even heat distribution, reduced flare-ups, and a more enjoyable grilling experience, allowing you to create culinary masterpieces with confidence.
After each use, turn the grill on high for 10-15 minutes to burn off any residue. Then, use a wire brush to scrub the grates clean. Finally, wipe down the exterior with a damp cloth.
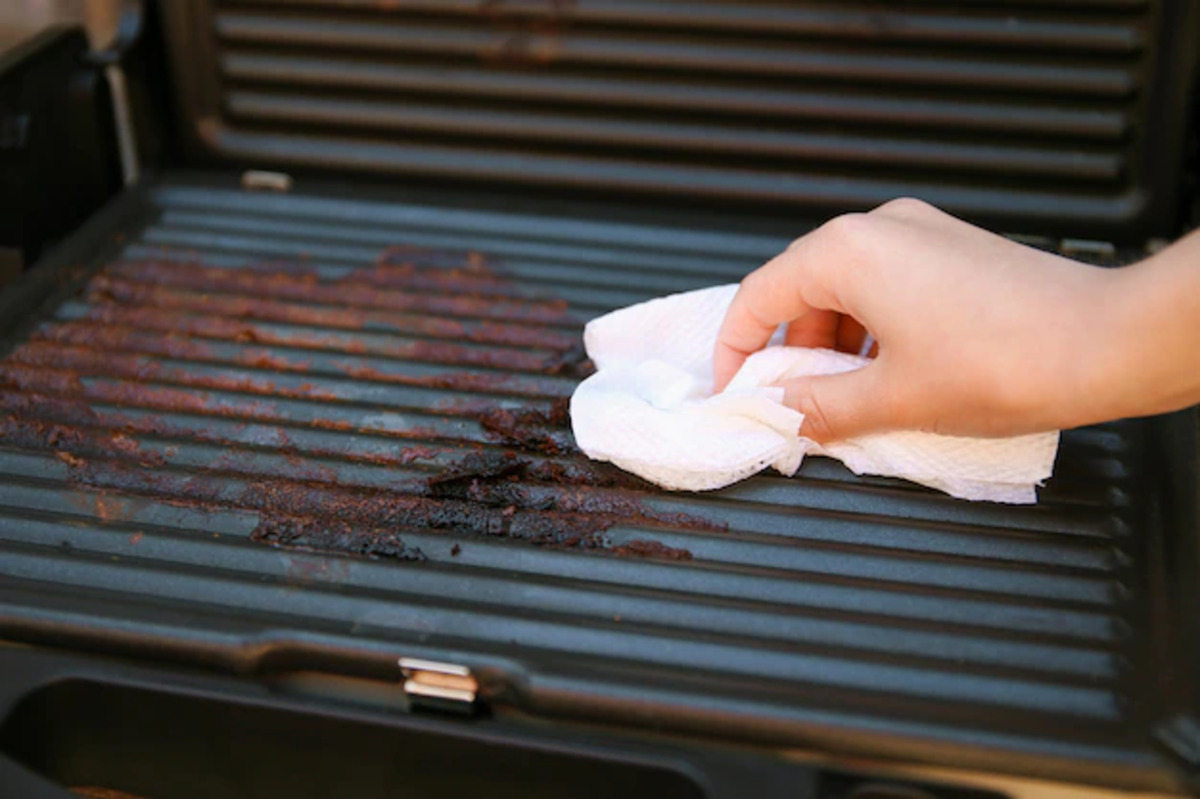
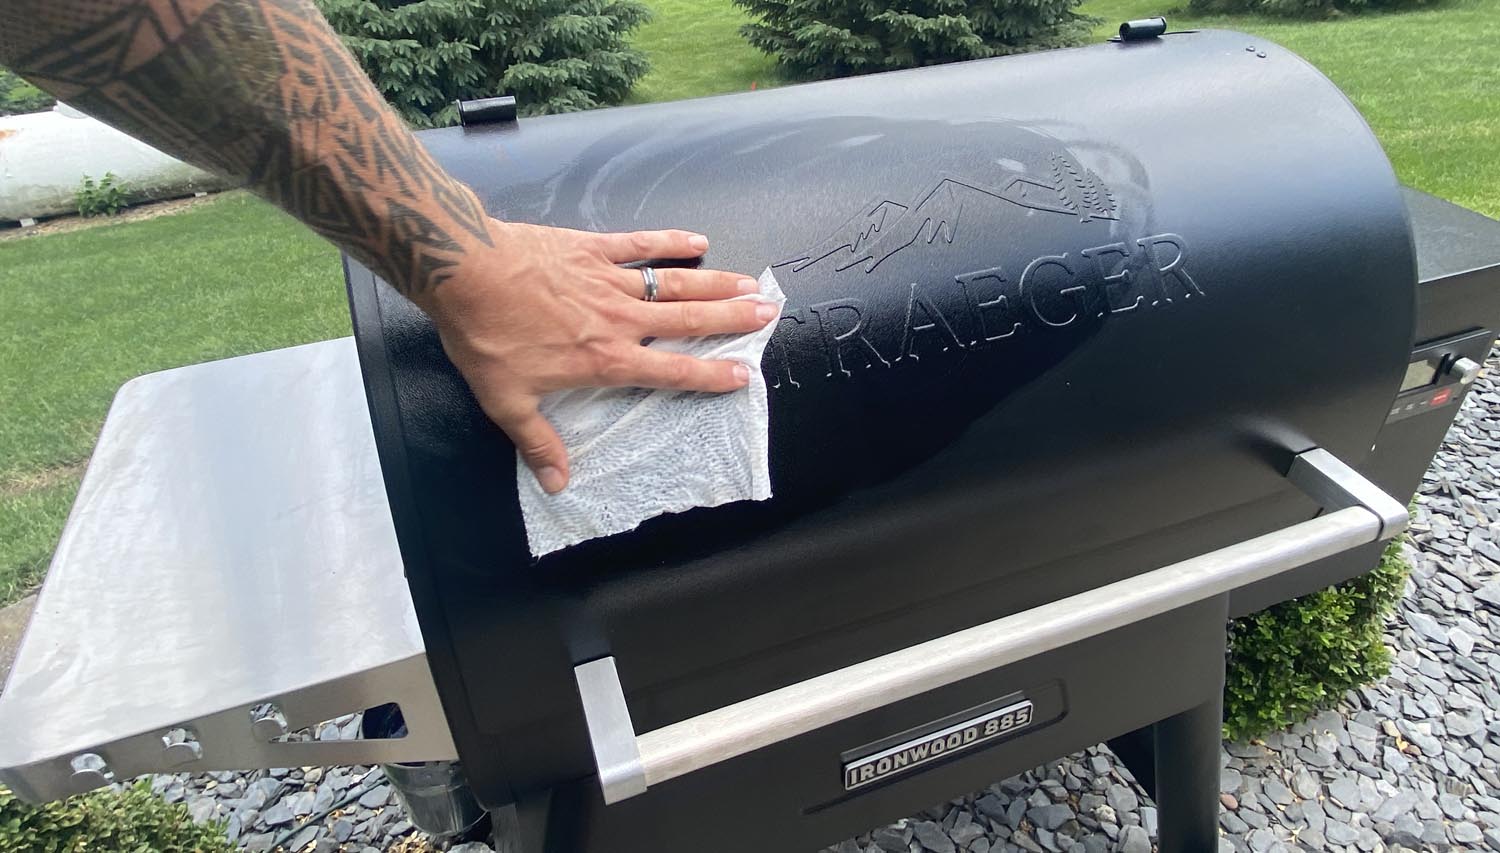
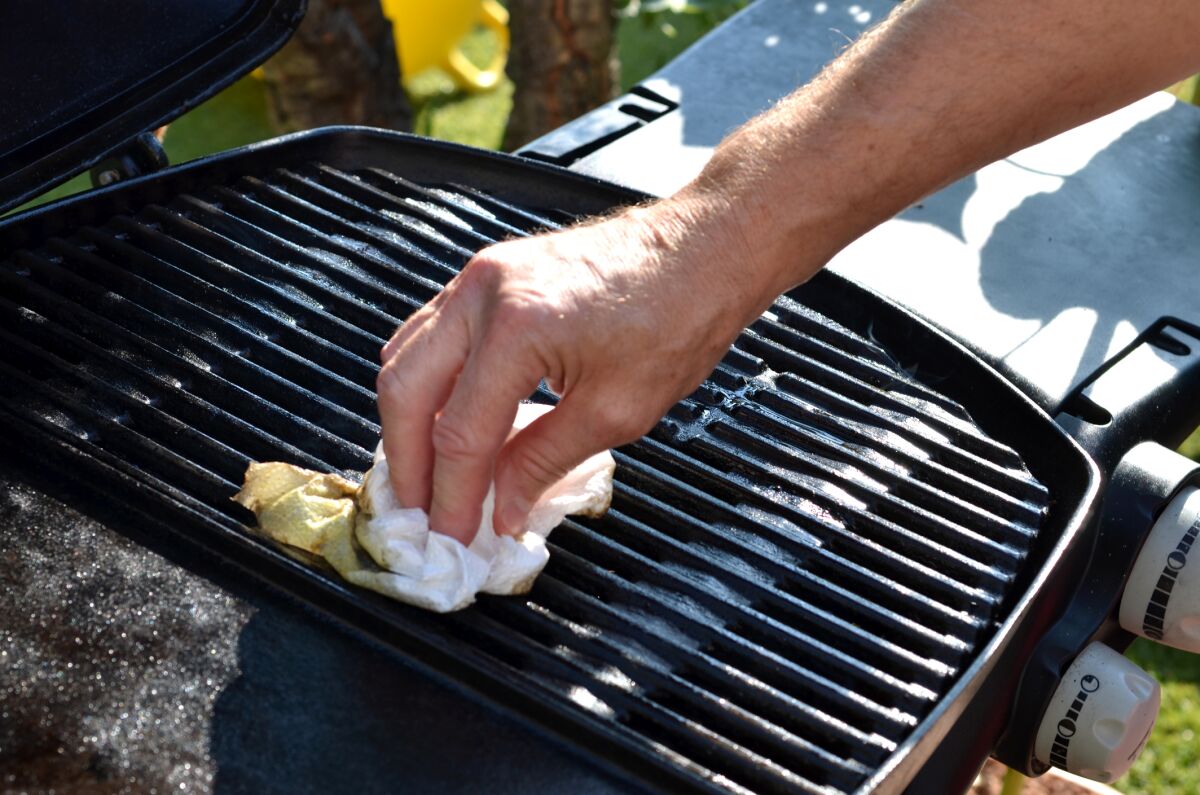
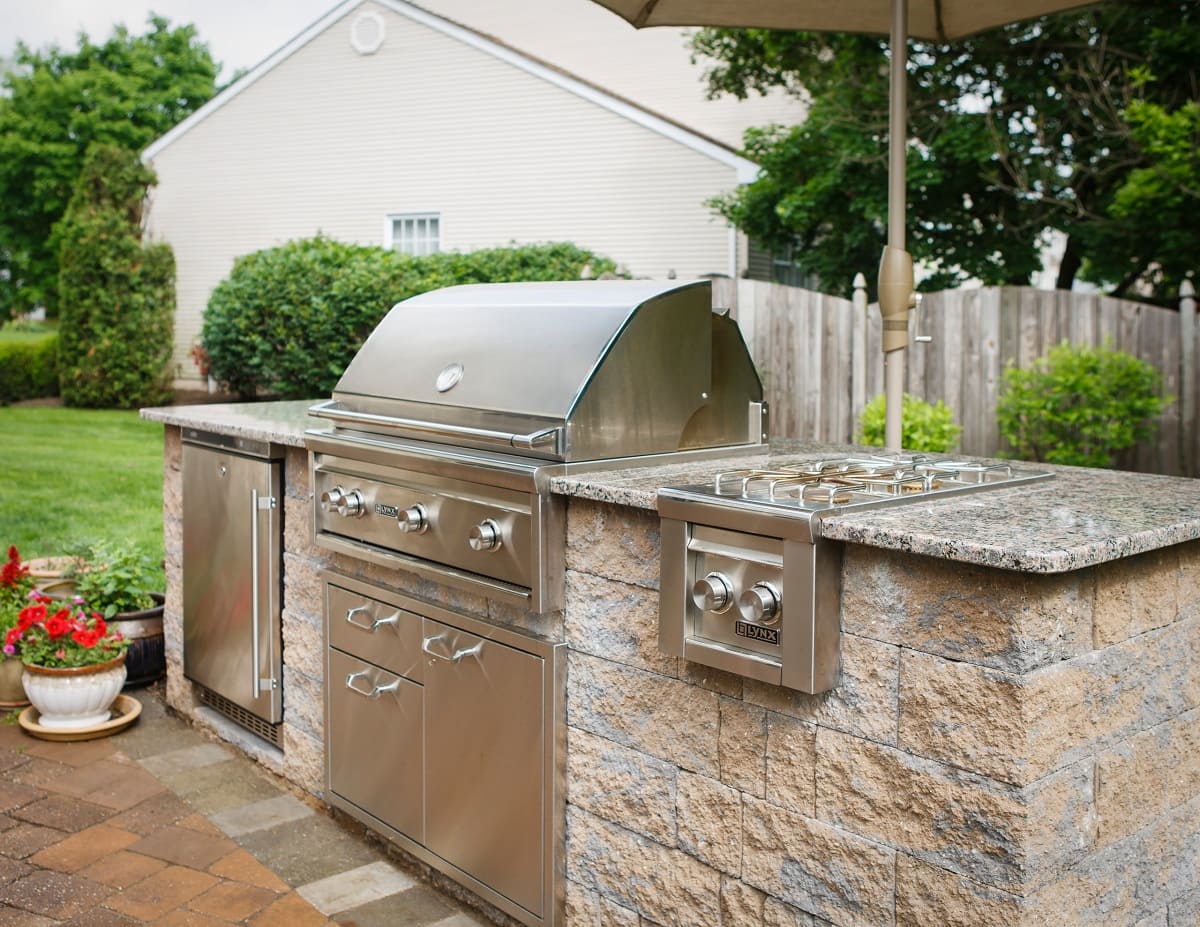
Step 4: Cleaning the Exterior
While the interior components of the grill are essential for its functionality, the exterior also requires attention to maintain its appearance and structural integrity. Over time, the exterior surfaces of the grill can accumulate dirt, grease, and environmental residue, detracting from its visual appeal and potentially leading to corrosion or deterioration.
To clean the exterior, start by wiping down the surfaces with a damp cloth or sponge to remove any surface-level dirt or grime. For stainless steel exteriors, a mild stainless steel cleaner can be used to restore the shine and luster of the metal. It’s important to follow the grain of the stainless steel when cleaning to avoid scratching or damaging the surface.
For painted or coated exteriors, a solution of warm water and mild dish soap can be used to gently clean the surfaces. Avoid abrasive cleaners or rough materials that could scratch or compromise the integrity of the paint or coating. After cleaning, rinse the exterior surfaces with clean water and dry them thoroughly with a soft cloth to prevent water spots or streaks.
Inspect the exterior for any signs of rust, corrosion, or peeling paint, as addressing these issues promptly can prevent further damage. For minor rust spots, a gentle abrasive pad or steel wool can be used to remove the rust, followed by the application of a rust-resistant primer and touch-up paint to protect the affected areas.
By maintaining a clean and well-kept exterior, you not only preserve the aesthetic appeal of your grill but also safeguard it against environmental damage and deterioration. A well-maintained exterior not only enhances the overall visual impression of your outdoor cooking space but also reflects your commitment to caring for your grill.
Step 5: Reassembling the Grill
With the individual components of the grill thoroughly cleaned, it’s time to reassemble the grill, ensuring that everything is properly put back together for seamless functionality and optimal performance during future grilling sessions.
Start by placing the clean grates back into their designated positions within the grill. Take care to align them properly and ensure that they sit securely in place. For grills with multiple grates, verify that they are arranged in the correct order and orientation to accommodate your grilling needs.
Next, if the burners were removed for cleaning, carefully re-install them in their respective positions, ensuring a snug and secure fit. Double-check that all connections and gas lines are properly reattached, and that there are no visible signs of damage or wear that could compromise the integrity of the burners.
For gas grills, reconnect the propane tank or turn on the gas supply, verifying that all connections are secure and leak-free. Conduct a brief inspection of the grill to ensure that all components are in place and that no tools or cleaning supplies have been inadvertently left inside the grill.
Before firing up the grill for your next culinary adventure, take a moment to perform a brief functional check. Test the ignition system, ensuring that the burners light properly and that the flame is consistent and even across all burners. This final step confirms that the grill is ready for use and that all components have been reassembled correctly.
By methodically reassembling the grill and conducting a functional check, you ensure that it is not only clean but also safe and ready for your next outdoor cooking endeavor. This attention to detail and thoroughness in reassembly sets the stage for successful and enjoyable grilling experiences, allowing you to focus on creating delicious meals without any unexpected hiccups.
Conclusion
Congratulations! You’ve successfully completed the comprehensive cleaning process for your outdoor grill, ensuring that it remains in top condition for countless future grilling adventures. By following the step-by-step guide outlined in this article, you’ve not only maintained the cleanliness and functionality of your grill but also contributed to its longevity and performance.
Regular cleaning and maintenance are essential for preserving the quality of your outdoor grill, allowing you to enjoy safe, flavorful, and hassle-free grilling experiences. By incorporating these cleaning practices into your routine, you’ll not only enhance the taste of your grilled creations but also create a welcoming and inviting outdoor cooking space for family and friends.
Remember, a clean grill is not only a reflection of your dedication to outdoor cooking but also a key factor in achieving exceptional results. Whether you’re savoring the simplicity of classic burgers and hot dogs or experimenting with gourmet grilling recipes, a well-maintained grill sets the stage for culinary success.
As you bask in the satisfaction of a sparkling clean grill, take a moment to appreciate the investment you’ve made in caring for your outdoor cooking equipment. Your attention to detail and commitment to maintenance will undoubtedly pay off in the form of delicious meals, cherished memories, and the enduring joy of outdoor grilling.
So, with your grill gleaming and ready for action, it’s time to gather your favorite ingredients, fire up the burners, and embark on a new culinary journey in the great outdoors. Here’s to many more memorable grilling experiences and the countless delectable dishes that await!
Frequently Asked Questions about How To Clean An Outdoor Grill
Was this page helpful?
At Storables.com, we guarantee accurate and reliable information. Our content, validated by Expert Board Contributors, is crafted following stringent Editorial Policies. We're committed to providing you with well-researched, expert-backed insights for all your informational needs.

0 thoughts on “How To Clean An Outdoor Grill”