Home>Furniture & Design>Outdoor Furniture>How To Clean Outdoor Chair Covers

Outdoor Furniture
How To Clean Outdoor Chair Covers
Modified: October 20, 2024
Learn how to effectively clean and maintain your outdoor chair covers to keep your outdoor furniture looking fresh and inviting. Discover expert tips and techniques for maintaining outdoor furniture and design.
(Many of the links in this article redirect to a specific reviewed product. Your purchase of these products through affiliate links helps to generate commission for Storables.com, at no extra cost. Learn more)
Introduction
Outdoor chair covers are essential for protecting your outdoor furniture from the elements, prolonging their lifespan, and keeping them looking great. However, regular use and exposure to the sun, rain, and wind can cause these covers to become dirty and stained over time. Cleaning your outdoor chair covers not only helps maintain their appearance but also ensures that they continue to effectively shield your furniture from the elements.
In this guide, we will walk you through the step-by-step process of cleaning your outdoor chair covers effectively. Whether your chair covers are made of canvas, polyester, or another material, these methods will help you restore them to their former glory, keeping your outdoor furniture looking fresh and inviting.
So, roll up your sleeves, gather your cleaning supplies, and let's dive into the process of revitalizing your outdoor chair covers!
Key Takeaways:
- Keep your outdoor chair covers looking fresh and inviting by following these simple steps: remove, shake, brush, spot clean, wash, air dry, and reassemble. Your outdoor furniture will thank you!
- Regular cleaning and maintenance of your outdoor chair covers not only enhances their appearance but also prolongs their lifespan, ensuring a welcoming and well-maintained outdoor space for years to come.
Read more: How To Clean Outdoor Resin Chairs
Step 1: Remove the Chair Covers
The first step in cleaning your outdoor chair covers is to carefully remove them from the chairs. Depending on the design of the covers, this may involve unfastening ties, unzipping closures, or simply lifting them off the chairs.
It’s important to handle the covers gently to avoid causing any damage, especially if they have become brittle or weakened due to prolonged exposure to the elements. Take your time and pay attention to how the covers are attached to the chairs to ensure that you can easily put them back on after cleaning.
If the covers are particularly dirty or stained, you may want to consider giving them a quick shake or brush to remove any loose debris before taking them off the chairs. This can help prevent additional dirt or grime from falling onto the chairs or the ground during the removal process.
Once the covers are removed, you can proceed to the next step of the cleaning process, knowing that you have taken the necessary precautions to handle them with care.
Step 2: Shake Off Loose Debris
After removing the chair covers, the next step is to shake them gently to dislodge any loose debris such as dirt, leaves, or twigs. This initial step helps to prevent the transfer of dirt and debris to other surfaces during the cleaning process. Find a suitable outdoor area, such as a patio or a spot in the yard, where you can safely shake the covers without causing a mess indoors.
If the covers are heavily soiled, you may want to consider using a soft-bristled brush to gently loosen and remove stubborn debris before shaking them. This can be particularly effective for removing ingrained dirt or debris from textured or woven fabrics.
By taking the time to shake off loose debris, you can minimize the amount of dirt and grime that needs to be addressed in the subsequent cleaning steps. This simple yet effective technique sets the stage for a more thorough and successful cleaning process, ensuring that your outdoor chair covers receive the attention they need to look their best.
Step 3: Brush or Vacuum
Once you’ve shaken off the loose debris from the chair covers, the next step is to further remove any remaining dirt, dust, or pet hair. Depending on the material and condition of the covers, you can choose to either brush or vacuum them to achieve a deeper level of cleanliness.
If the covers are made of a sturdy, non-delicate fabric, using a handheld vacuum with a soft brush attachment can be an efficient way to remove surface dirt and debris. Gently run the vacuum over the covers, paying close attention to seams, creases, and any areas where dirt may have accumulated. This method is particularly effective for covers with a smooth or low-pile texture.
For covers made of more delicate or textured materials, using a soft-bristled brush or upholstery brush can be a suitable alternative. Lightly brush the covers in a sweeping motion to dislodge and lift away any remaining dirt or dust. This approach is gentler and less invasive, making it ideal for fabrics that require a more delicate touch.
By taking the time to brush or vacuum the chair covers, you can significantly improve their overall cleanliness and appearance before proceeding to the next stage of the cleaning process. This step sets the foundation for a more thorough and effective cleaning, ensuring that your outdoor chair covers receive the care they need to look their best.
Step 4: Spot Clean Stains
After removing loose debris and giving the chair covers a thorough brushing or vacuuming, it’s time to address any visible stains or soiled areas. Spot cleaning is a targeted approach that allows you to focus on specific areas of the covers that require extra attention.
Start by identifying any stains or soiled spots on the chair covers. Common culprits may include food or beverage spills, dirt marks, or mildew stains. It’s essential to approach each type of stain with an appropriate cleaning solution to ensure effective removal without damaging the fabric.
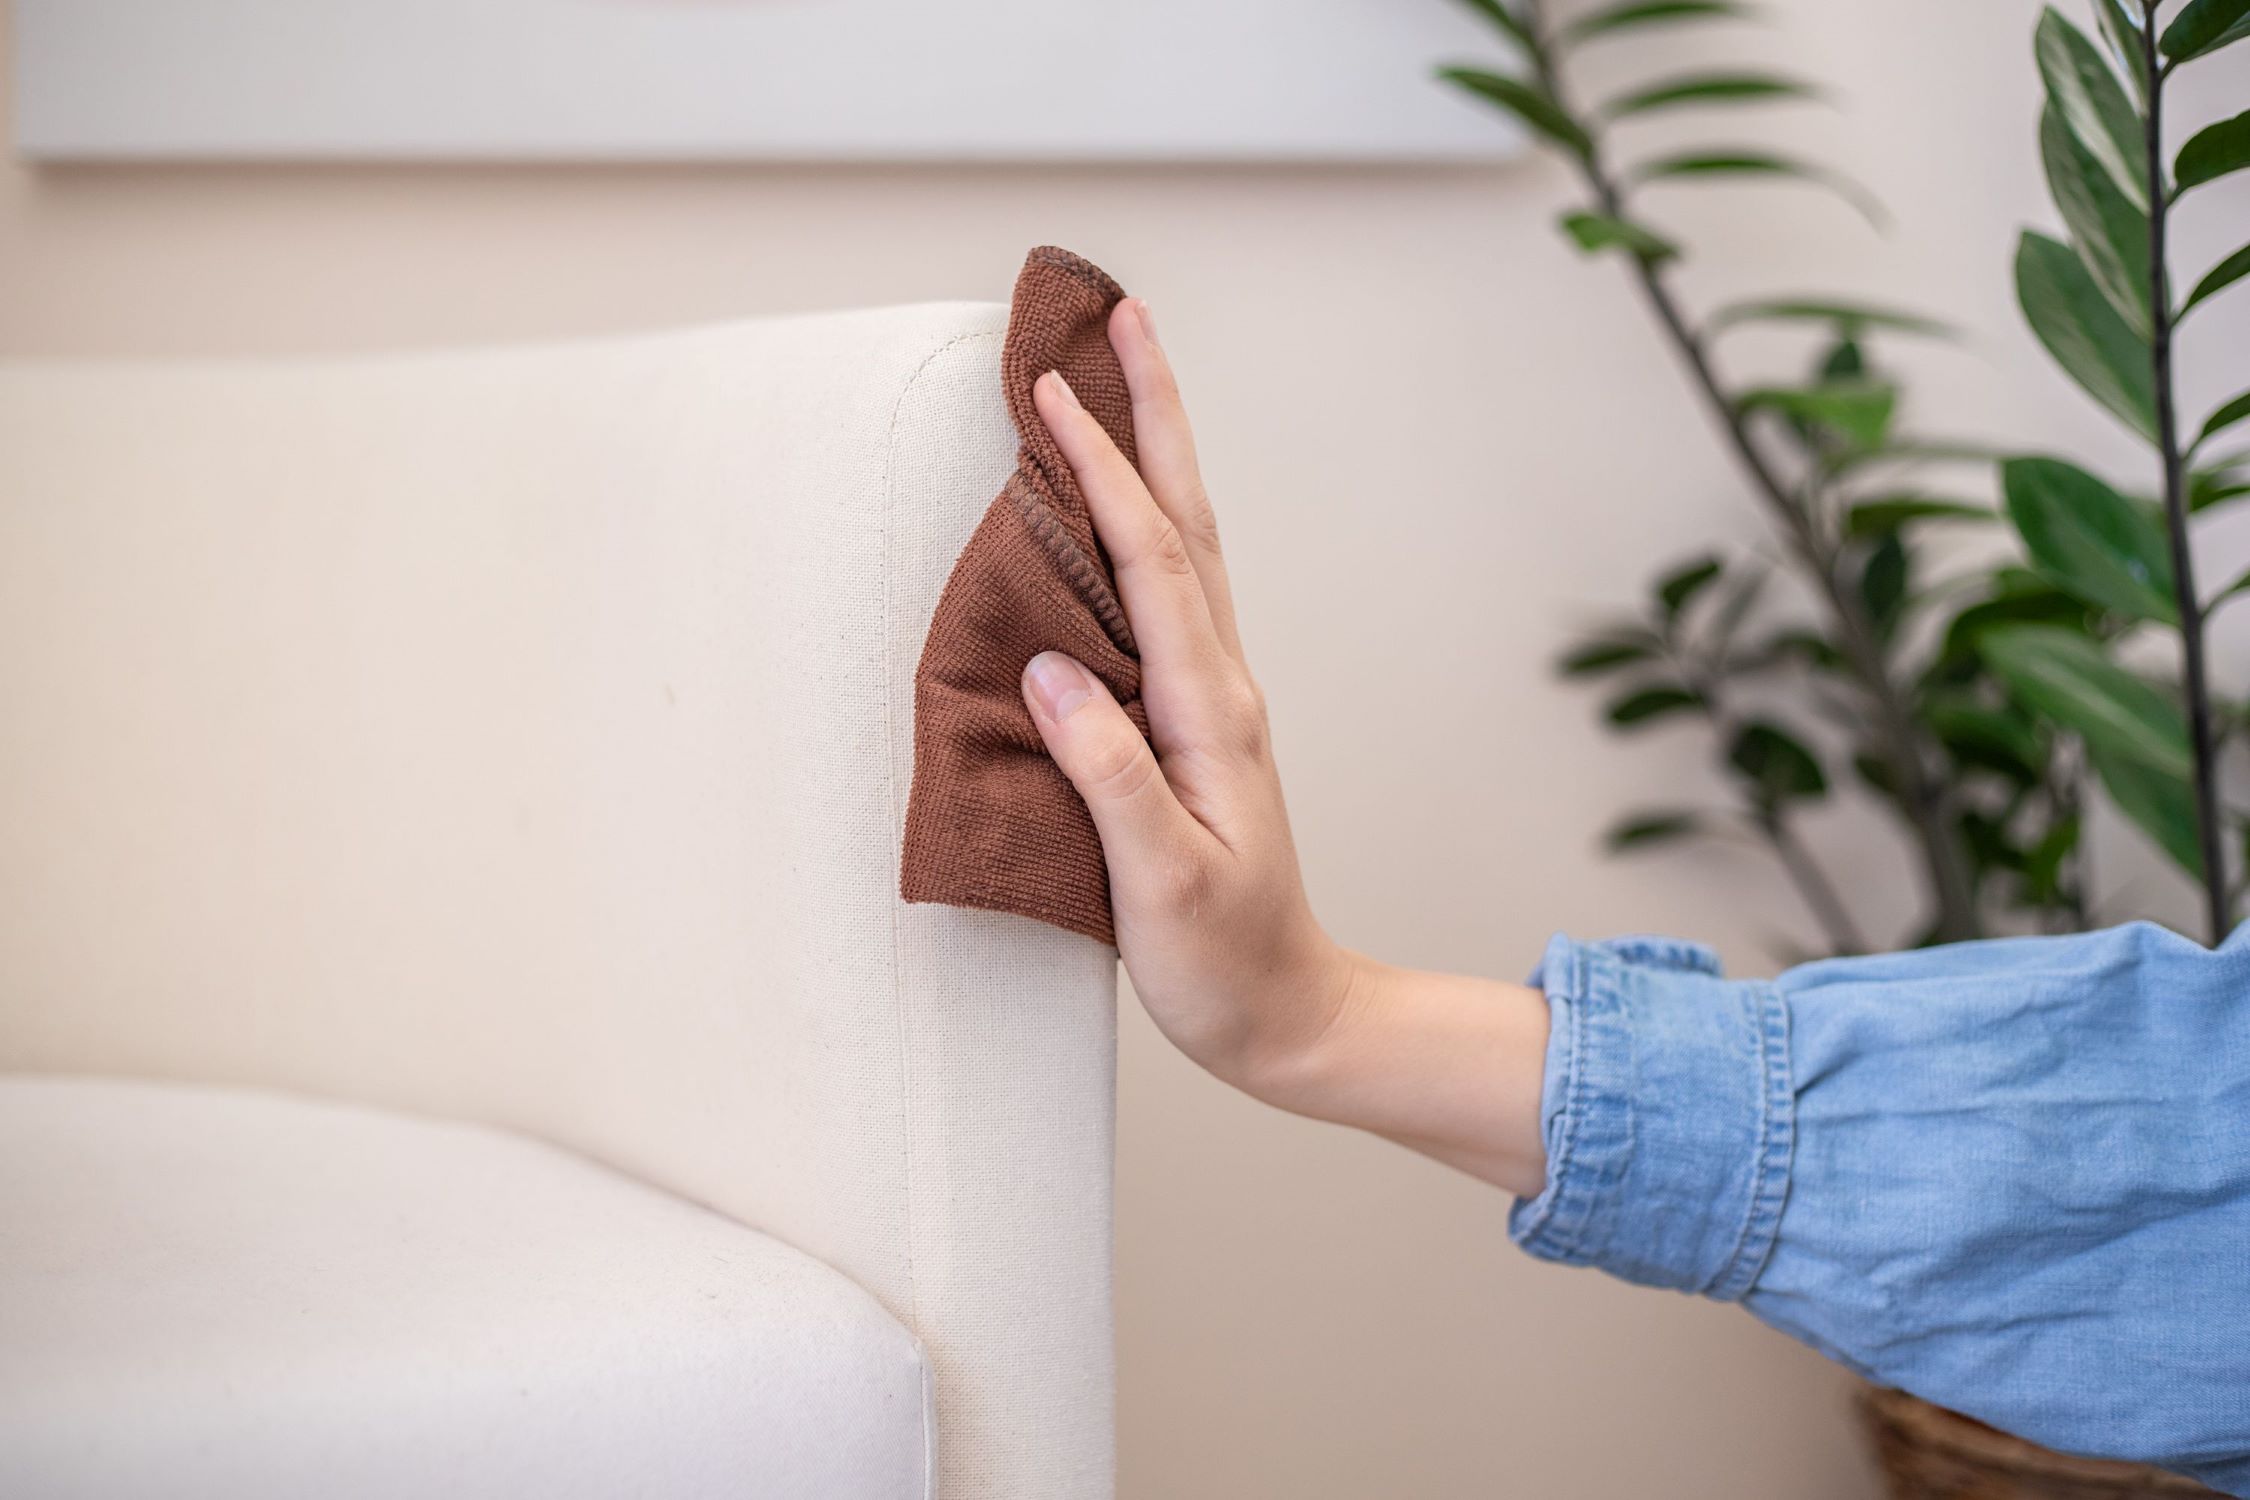
For general stains, a mild solution of gentle detergent or dish soap mixed with water can be used to spot clean the affected areas. Apply the solution to a clean cloth or sponge and gently dab at the stain, working from the outer edges towards the center to prevent spreading. Avoid rubbing vigorously, as this can cause the stain to set further into the fabric.
If you’re dealing with more stubborn or specific stains, such as mildew or bird droppings, a targeted stain remover designed for outdoor fabrics may be necessary. Always test the stain remover on a small, inconspicuous area of the cover first to ensure that it does not cause discoloration or damage.
After treating the stains, allow the cleaning solution to sit for a few minutes to penetrate the fabric before gently blotting the area with a clean, damp cloth to remove the residue. This process may need to be repeated for particularly stubborn stains until the desired results are achieved.
Spot cleaning stains is an essential step in restoring the appearance of your outdoor chair covers, ensuring that they look fresh and inviting once cleaned. By addressing stains directly, you can target problem areas and achieve a more thorough overall cleaning result.
To clean outdoor chair covers, remove any debris and then spot clean with a mixture of mild soap and water. Rinse thoroughly and allow to air dry completely before using again.
Read more: How To Clean Outdoor Mesh Chairs
Step 5: Machine Wash or Hand Wash
Once you’ve addressed any stains and soiled areas on the chair covers, it’s time to proceed with the washing process. The method you choose will depend on the care instructions provided by the manufacturer and the specific material of the covers.
If the care label indicates that the chair covers are machine washable, it’s important to follow the recommended washing instructions. Start by fastening any zippers, buttons, or closures to prevent them from snagging during the wash cycle. Place the covers in the washing machine, ensuring that they have ample space to move freely. Use a gentle cycle and a mild detergent formulated for delicate fabrics to avoid damaging the covers during the wash.
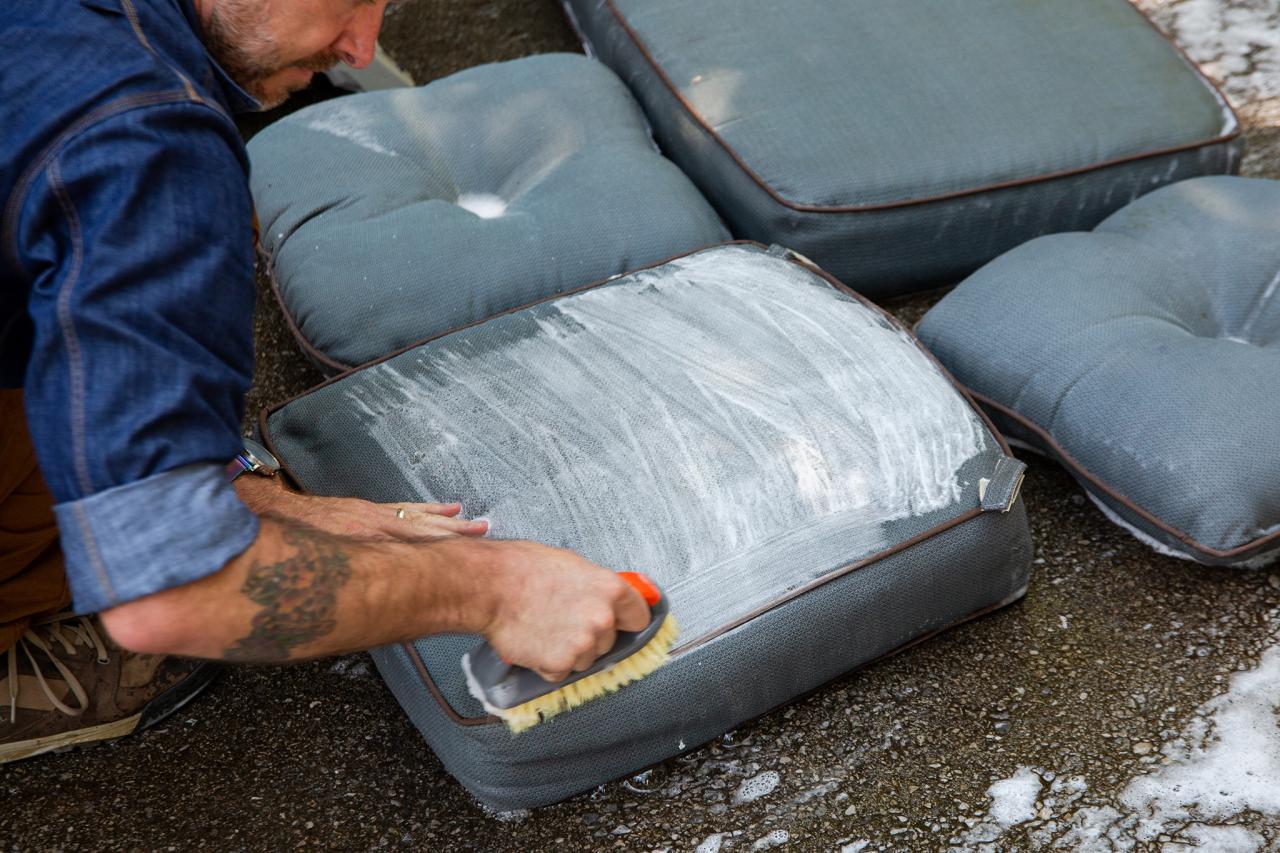
For covers that require hand washing, fill a large basin or tub with lukewarm water and add a small amount of gentle detergent. Gently agitate the water to create suds, then submerge the covers, allowing them to soak for a few minutes. Gently swish the covers in the water, focusing on any areas that require extra attention. Avoid excessive wringing or twisting, as this can distort the fabric.
Regardless of the washing method, it’s crucial to avoid using bleach or harsh chemicals, as these can damage the fabric and affect the color and texture of the covers. Additionally, be mindful of the water temperature, as hot water can cause certain fabrics to shrink or lose their shape.
After the washing cycle or hand washing is complete, thoroughly rinse the chair covers to remove any residual detergent. If hand washing, gently press the covers to remove excess water without wringing them. For machine-washed covers, consider using an extra spin cycle to extract as much water as possible before air drying.
Choosing the appropriate washing method and handling the covers with care during this step is essential for ensuring that they are thoroughly cleaned without compromising their integrity. Following the manufacturer’s guidelines and using gentle cleaning products will help preserve the quality and appearance of the chair covers.
Step 6: Air Dry
After washing the chair covers, it’s crucial to allow them to air dry thoroughly. Whether you’ve opted for machine washing or hand washing, air drying is the gentlest and most effective method for drying outdoor chair covers without risking damage from heat or agitation.
Find a well-ventilated outdoor area, such as a clothesline, patio railing, or sturdy hangers, where you can hang the covers to dry. It’s essential to avoid direct sunlight, as prolonged exposure can cause colors to fade and certain fabrics to deteriorate. Instead, choose a shaded or partially shaded spot that allows for adequate airflow.
If you’re using a clothesline, gently shake out the covers to help reshape them and remove any excess water before hanging them. Use rust-resistant clothespins to secure the covers in place, ensuring that they are evenly distributed to prevent stretching or distortion as they dry.
Alternatively, if you’re using hangers, drape the covers over the hangers, taking care to support the entire width of the covers to prevent them from stretching or developing creases. Avoid overcrowding the covers on the drying line or hangers, as this can impede airflow and prolong the drying process.
Throughout the drying period, periodically check the covers for any remaining dampness, particularly in thick or layered areas. Gently pat or smooth out any damp spots to aid in the evaporation process and promote even drying. Depending on the material and weather conditions, the drying process may take several hours to complete.
By allowing the chair covers to air dry, you can preserve their shape, texture, and color while ensuring that they are thoroughly dried before being placed back on the chairs. This gentle approach minimizes the risk of damage and allows the covers to regain their freshness and cleanliness naturally.
Step 7: Reassemble the Chair Covers
With the chair covers thoroughly cleaned and dried, it’s time to reassemble them and return them to their rightful place on the outdoor chairs. This final step completes the cleaning process, allowing you to admire the refreshed appearance of your outdoor furniture and enjoy the benefits of well-maintained chair covers.
Begin by carefully inspecting the chair covers to ensure that they are completely dry and free from any residual moisture. This is particularly important for covers with multiple layers or thick padding, as trapped moisture can lead to mildew or musty odors over time.
If the covers have zippers, ties, or closures, take care to fasten them securely before placing the covers back on the chairs. Gently ease the covers over the chairs, ensuring a proper fit and smooth placement without tugging or stretching the fabric excessively. Pay attention to any seams or edges to ensure that they are aligned correctly as you reassemble the covers.
Once the covers are in position, take a moment to smooth out any wrinkles or creases, gently tucking and adjusting the fabric to achieve a neat and tailored appearance. This attention to detail contributes to the overall aesthetic appeal of the outdoor furniture ensemble and enhances the visual impact of the freshly cleaned chair covers.
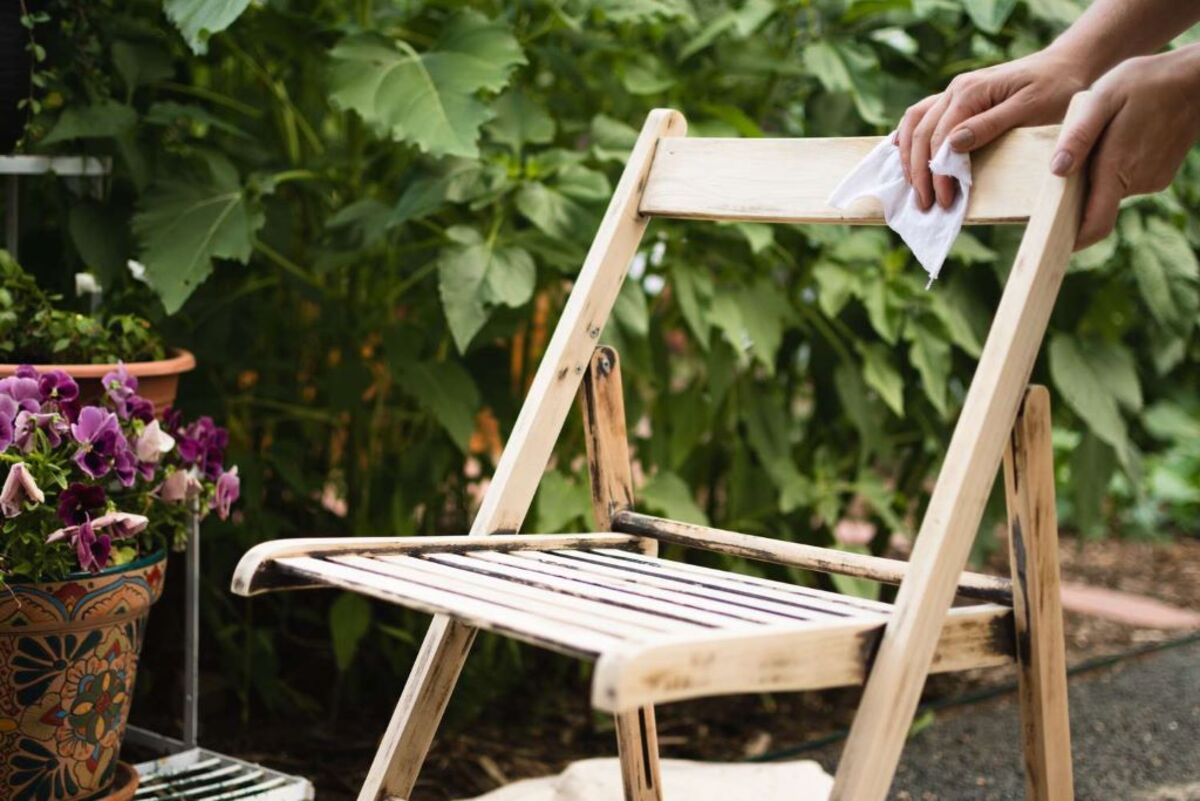
As you reassemble the chair covers, take the opportunity to assess the condition of the chairs themselves. Wipe down the chair frames, inspect for any signs of wear or damage, and consider any additional maintenance or protection measures that may be necessary to prolong the lifespan of both the chairs and the covers.
With the chair covers back in place, step back and admire the transformation. Not only have you effectively cleaned and revitalized the covers, but you have also contributed to the overall upkeep and attractiveness of your outdoor living space. Now, it’s time to relax and enjoy the inviting ambiance of your clean and well-maintained outdoor furniture.
Conclusion
Cleaning your outdoor chair covers is a rewarding endeavor that not only enhances the appearance of your outdoor furniture but also contributes to its longevity and functionality. By following the comprehensive steps outlined in this guide, you have taken proactive measures to maintain the cleanliness and appeal of your chair covers, ensuring that they continue to protect your outdoor furniture from the elements while looking fresh and inviting.
From the initial removal of the chair covers to the meticulous spot cleaning of stains and the gentle washing and air-drying process, each step has been carefully designed to help you achieve optimal results without compromising the integrity of the covers. By incorporating these cleaning practices into your regular maintenance routine, you can preserve the quality and appearance of your outdoor chair covers for years to come.
As you reassemble the freshly cleaned chair covers and admire the transformation they bring to your outdoor space, take pride in knowing that your efforts have made a tangible difference. Not only have you restored the cleanliness and aesthetic appeal of the covers, but you have also contributed to the overall upkeep and enjoyment of your outdoor living area.
Remember to refer to the manufacturer’s care instructions for specific guidance on cleaning and maintaining your chair covers, as different materials may require unique considerations. Additionally, periodic cleaning and maintenance, along with proper storage during inclement weather, can further extend the lifespan of your chair covers and ensure that they continue to serve their protective and decorative functions effectively.
By incorporating these cleaning practices into your outdoor furniture care routine, you can create an inviting and well-maintained outdoor space that is ready to be enjoyed by family and friends. Embracing the process of cleaning and caring for your outdoor chair covers not only enhances the aesthetics of your outdoor area but also reflects your commitment to preserving and enjoying your outdoor furniture for years to come.
Frequently Asked Questions about How To Clean Outdoor Chair Covers
Was this page helpful?
At Storables.com, we guarantee accurate and reliable information. Our content, validated by Expert Board Contributors, is crafted following stringent Editorial Policies. We're committed to providing you with well-researched, expert-backed insights for all your informational needs.





0 thoughts on “How To Clean Outdoor Chair Covers”