

Tableware
How To Make Dining Room Chair Covers
Modified: December 7, 2023
Learn how to make dining room chair covers with our step-by-step guide. Transform your tableware with beautiful and customizable covers that add a touch of elegance to your dining experience.
(Many of the links in this article redirect to a specific reviewed product. Your purchase of these products through affiliate links helps to generate commission for Storables.com, at no extra cost. Learn more)
Introduction
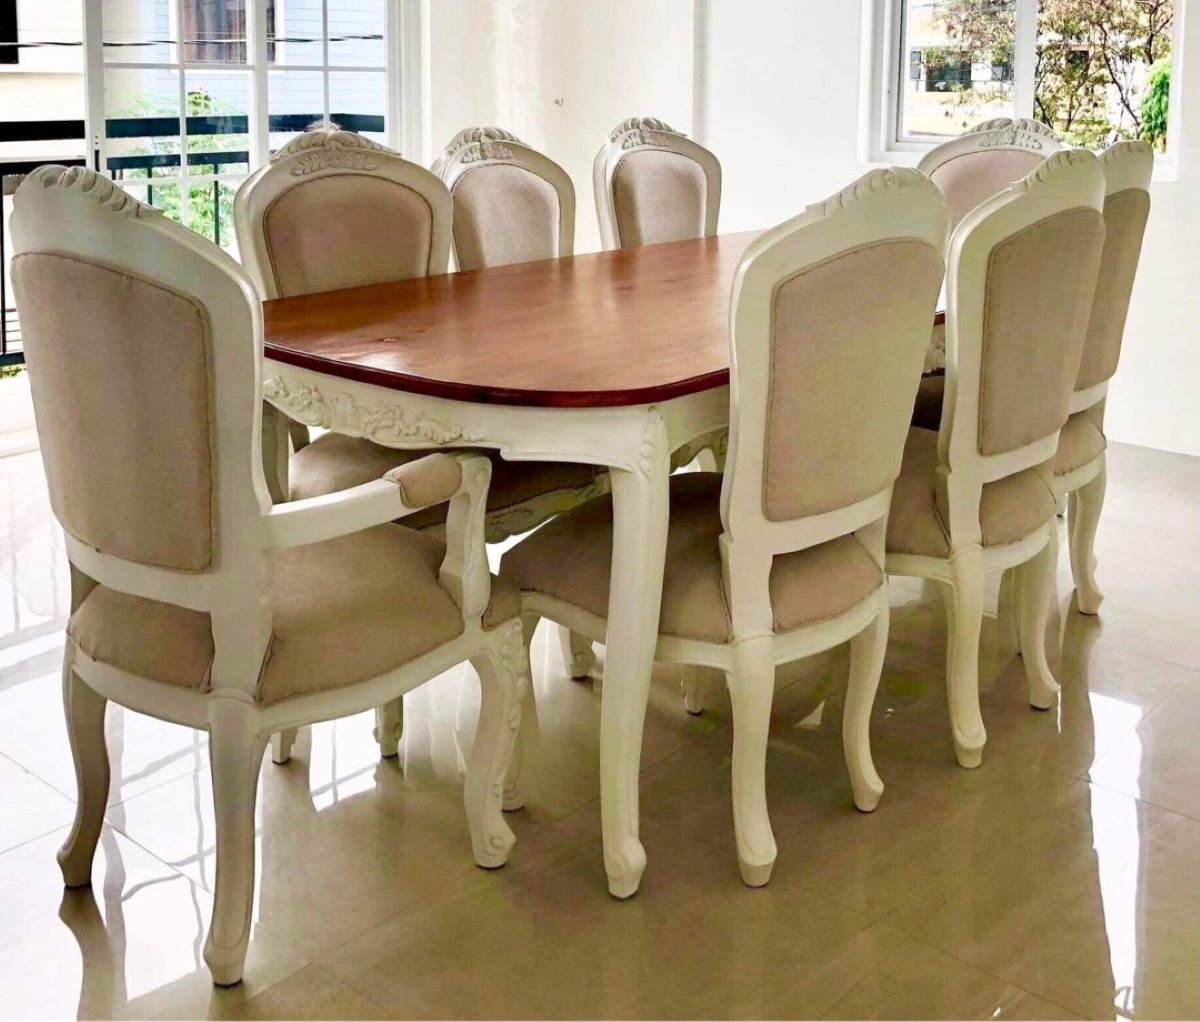
Welcome to the wonderful world of dining room chair covers! If you’re looking to give your dining room a fresh new look or protect your chairs from spills and stains, chair covers are a fantastic solution. Not only do they add a touch of elegance and style to your dining space, but they also offer practicality and versatility.
Whether you have old chairs that need a makeover or want to protect your brand-new chairs from wear and tear, making your own dining room chair covers can be a fun and creative project. With just a few materials and some basic sewing skills, you can transform the look of your dining area in no time.
In this guide, we will walk you through the step-by-step process of making your own dining room chair covers. We’ll cover everything from measuring your chairs and choosing the right fabric to sewing the covers and adding finishing touches. So let’s get started and unleash your inner designer!
Materials Needed:
- Fabric – Choose a durable and high-quality fabric that complements your dining room decor. Consider factors like color, pattern, and texture.
- Measuring tape – You’ll need this to measure the dimensions of your chairs accurately.
- Scissors – A good pair of fabric scissors will make cutting the fabric easier.
- Sewing machine – If you have one, a sewing machine will speed up the sewing process. However, you can also sew the covers by hand if you prefer.
- Thread – Choose a thread that matches the color of your fabric.
- Sewing pins – These will help secure the fabric in place while you sew.
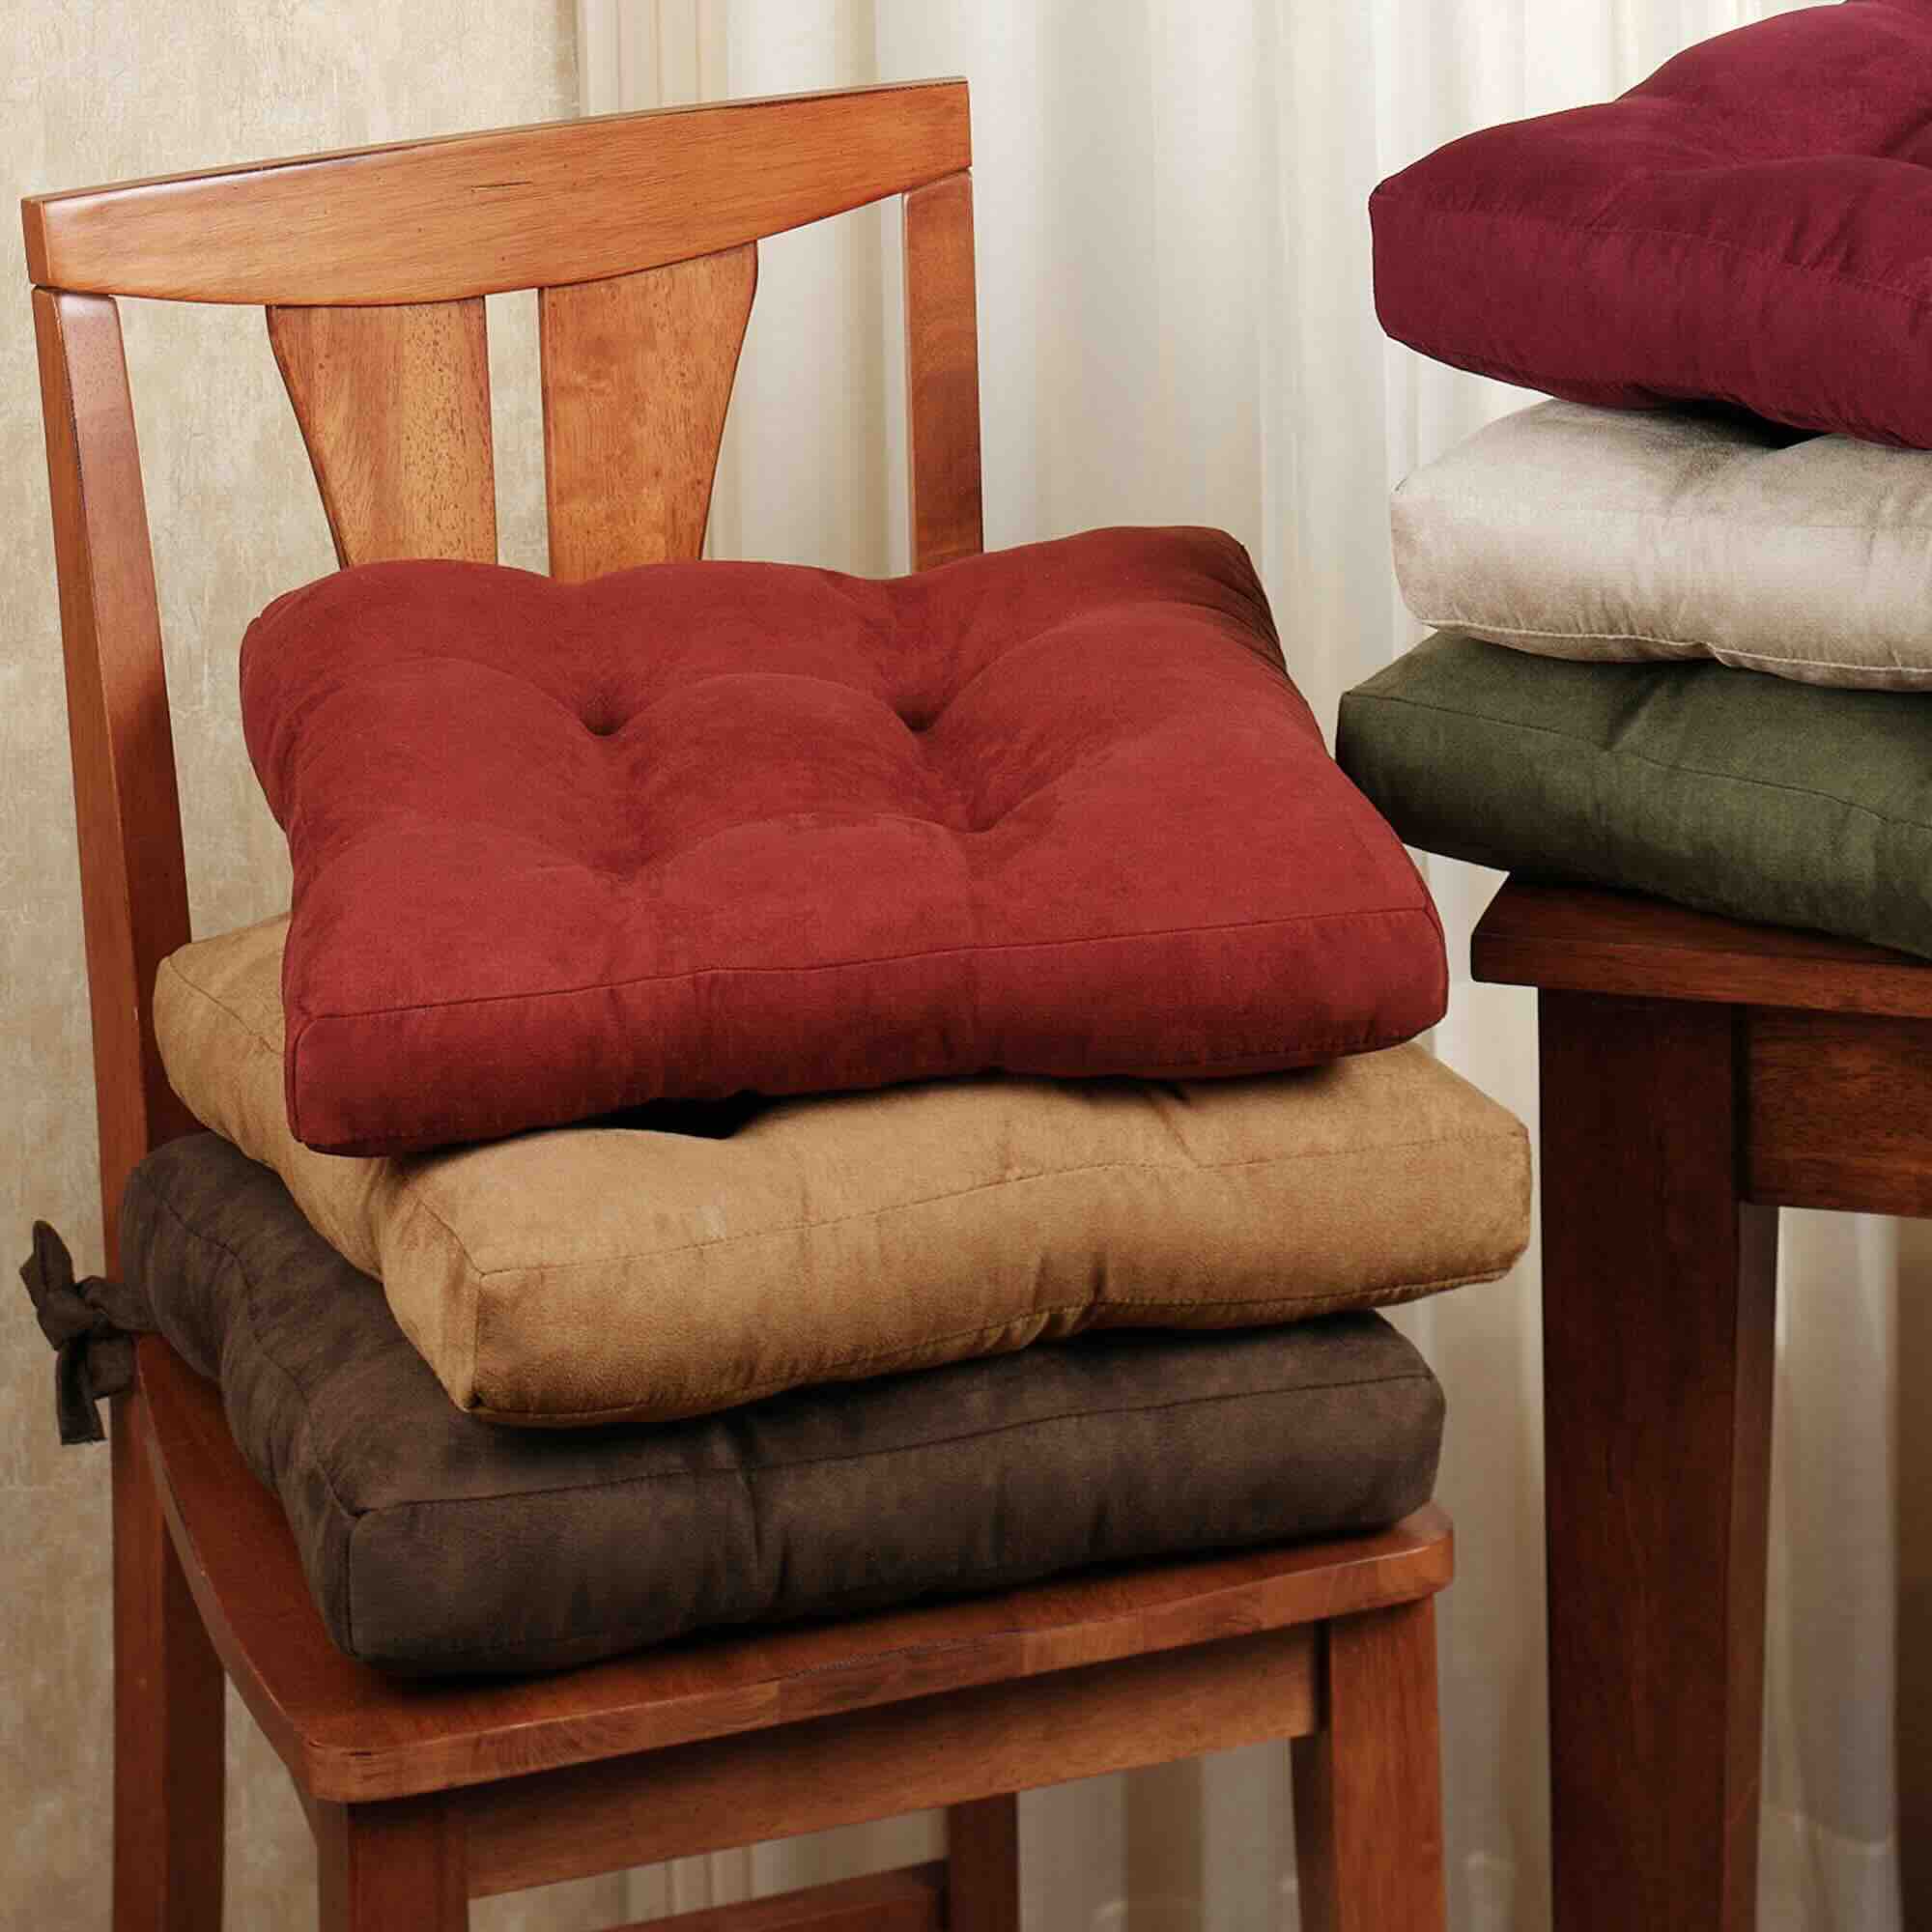
- Velcro or ties – Depending on your preference, you can use either Velcro or ties to fasten the covers onto the chairs.
Key Takeaways:
- Transform your dining room with custom chair covers by choosing durable, stylish fabric, measuring accurately, and adding personal touches like decorative elements and fasteners for a polished, practical look.
- Enjoy the flexibility and creativity of making your own chair covers, allowing you to refresh your dining space, protect your chairs, and showcase your unique style while providing easy maintenance and versatility.
Materials Needed
Before you embark on your dining room chair cover project, it’s important to gather all the necessary materials. Here are the items you’ll need:
- Fabric: Choose a fabric that suits your style and matches your dining room decor. Consider the durability of the fabric as well, as dining chairs are prone to spills and stains. Opt for fabrics like cotton, linen, or polyester blends that are easy to clean. Make sure to measure the dimensions of your chairs beforehand to determine the amount of fabric you’ll need.
- Measuring tape: Accurate measurements are crucial for creating well-fitted chair covers. Use a measuring tape to measure the height, width, and depth of your chairs. These measurements will guide you in cutting the fabric to the correct sizes.
- Scissors: Invest in a good pair of fabric scissors for a clean and precise cut. This will make the sewing process much easier and allow for smoother edges on your chair covers.
- Sewing machine: If you have access to a sewing machine, it will make the sewing process quicker and more efficient. However, if you don’t have one, don’t worry! You can still sew the covers by hand using a needle and thread.
- Thread: Choose a thread color that matches or complements the fabric you’ve chosen for your chair covers. Make sure to have enough thread to complete the sewing process without running out.
- Sewing pins: Sewing pins will be essential for holding the fabric in place while you sew. They will ensure that the fabric stays aligned and doesn’t shift during the sewing process. Use them to secure the fabric in position before sewing.
- Velcro or ties: Depending on your preference, you can choose to fasten the chair covers with either Velcro or ties. Velcro offers a secure and adjustable option, while ties add a decorative touch. Consider the aesthetics and functionality when deciding which fastening method to use.
Gather all these materials before you begin your chair cover project. Having everything on hand will make the process smoother and more enjoyable. Now that you’re equipped with the necessary materials, let’s move on to the next step: measuring the chair dimensions!
Step 1: Measuring the Chair
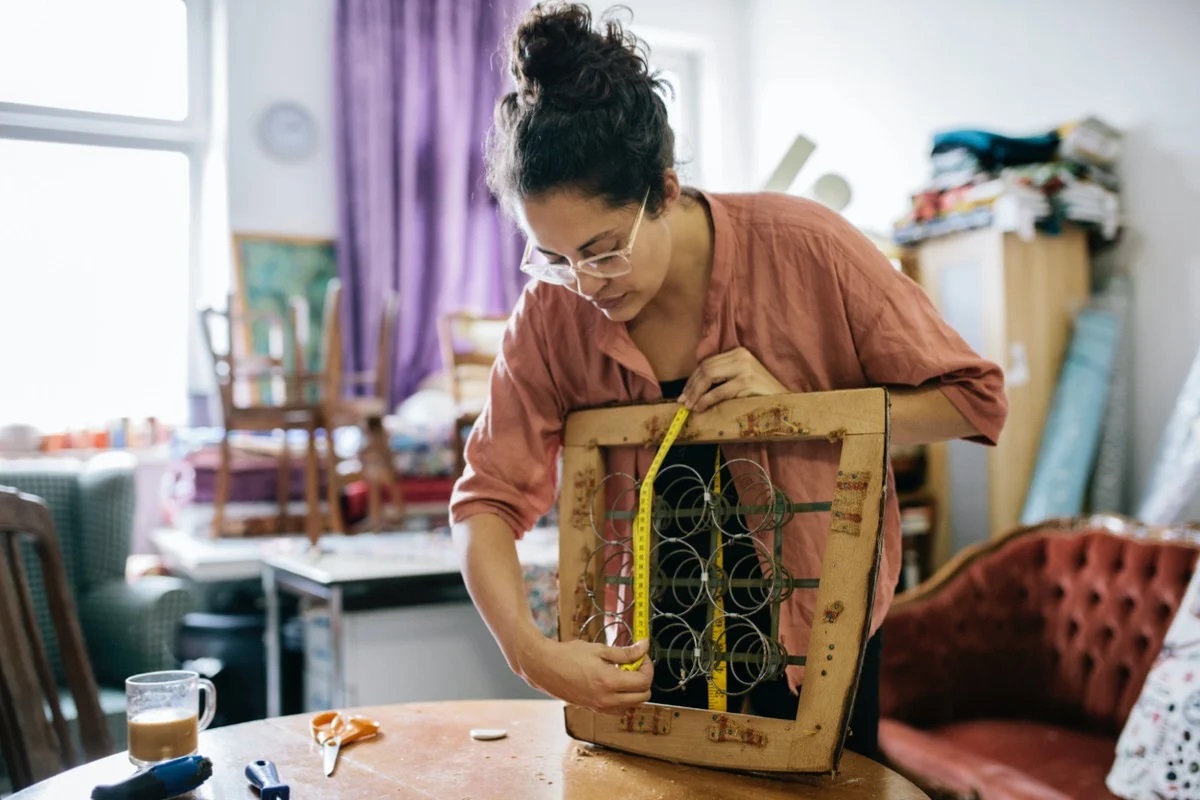
Before you can start creating your dining room chair covers, you’ll need to take accurate measurements of your chairs. This step is crucial to ensure that the covers fit snugly and look tailored. Here’s how to measure your chairs:
- Start by measuring the height of the chair back. Place the tape measure at the bottom of the chair seat and extend it all the way up to the top of the chair back. Note down this measurement.
- Next, measure the width of the chair back. Position the tape measure across the widest part of the backrest and record the measurement.
- Measure the depth of the chair seat. Place the tape measure from the front edge of the seat to the backrest. This measurement will determine how much fabric you’ll need to cover the seat.
- If your chairs have armrests, measure the width and length of each armrest separately. This will ensure that the covers fit properly and don’t interfere with the armrests.
It’s important to remember that when cutting the fabric, you’ll need to add extra measurements for seam allowances. Adding around 1 inch (2.5 cm) to each measurement is generally sufficient. This will give you enough fabric to sew the seams together securely.
Once you’ve finished measuring your chairs, double-check the measurements to ensure accuracy. It’s better to be precise now to save yourself time and frustration later on. With your measurements in hand, you’re ready to move on to the next step: choosing the fabric for your chair covers!
Step 2: Choosing the Fabric
Now that you’ve measured your chairs, it’s time to choose the fabric for your dining room chair covers. The fabric you select will not only contribute to the overall aesthetic of your dining space but also determine the durability and ease of maintenance of your covers. Here are a few factors to consider when choosing the fabric:
- Durability: Dining chairs are exposed to frequent use, spills, and stains. It’s important to choose a fabric that is durable and can withstand regular washing or spot cleaning. Fabrics like cotton, linen, polyester blends, or microfiber are good options as they are sturdy and can resist wear and tear.
- Color and Pattern: Consider the color scheme and style of your dining room when selecting the fabric. Do you want a bold, vibrant color to make a statement, or do you prefer a subtle, neutral shade to blend seamlessly with your decor? Similarly, think about patterns that will complement your dining table and other furnishings.
- Texture: The texture of the fabric can add depth and visual interest to your dining chairs. Smooth fabrics like cotton or linen provide a crisp look, while fabrics with a raised texture like velvet or chenille can add a touch of luxury.
- Ease of Cleaning: As mentioned earlier, dining chairs are prone to spills and stains. Opt for a fabric that is easy to clean. Look for fabrics that are machine washable or can be spot cleaned with ease.
- Comfort: If comfort is a priority for you, consider fabrics that have a bit of stretch or padding. This will make sitting on the chairs more comfortable, especially for longer periods.
When you find the perfect fabric, it’s a good idea to purchase a little extra to account for any mistakes or future replacements. It’s always better to have a little extra fabric on hand than run out in the middle of your project.
Once you’ve chosen your fabric, it’s time to move on to the next step: cutting the fabric and preparing it for sewing the chair covers!
Step 3: Cutting the Fabric
Now that you have your chosen fabric, it’s time to cut it to the appropriate size for your dining room chair covers. Cutting the fabric accurately is crucial to ensure a proper fit and a polished end result. Follow these steps to cut the fabric:
- Spread out your fabric on a flat surface, ensuring that it is free from wrinkles or creases. You may want to use an iron to smooth out any wrinkles before cutting.
- Refer back to the measurements you took in Step 1. Using a fabric marker or chalk, mark the measurements directly onto the fabric. Be sure to add the necessary seam allowances to each measurement.
- Start by cutting the pieces for the chair back. Using your marked measurements, carefully cut out the fabric for the chair back. Remember to cut two pieces if your chair back is not against a wall, so that you have a front and back piece.
- Once the chair back pieces are cut, move on to cutting the fabric for the seat. Again, refer to your measurements and cut out the pieces accordingly. You’ll need two pieces for the seat if you’re not making one continuous cover.
- If your chairs have armrests, cut out pieces for the armrest covers as well. Use the measurements you took specifically for the armrests to ensure a proper fit.
It’s important to cut the fabric carefully and precisely along the marked lines. Take your time and use sharp fabric scissors to ensure clean and accurate cuts. Double-check that you have cut all the necessary pieces before moving on to the next step.
With your fabric pieces cut out, you’re ready to move on to the sewing step. So grab your sewing machine (or needle and thread if you’re hand-sewing) and let’s start bringing your dining room chair covers to life!
When making dining room chair covers, be sure to measure your chairs carefully to ensure a proper fit. Use durable, washable fabric for easy maintenance. Consider adding Velcro or ties for a secure fit.
Read more: How To Make A Dining Room Chair
Step 4: Sewing the Cover
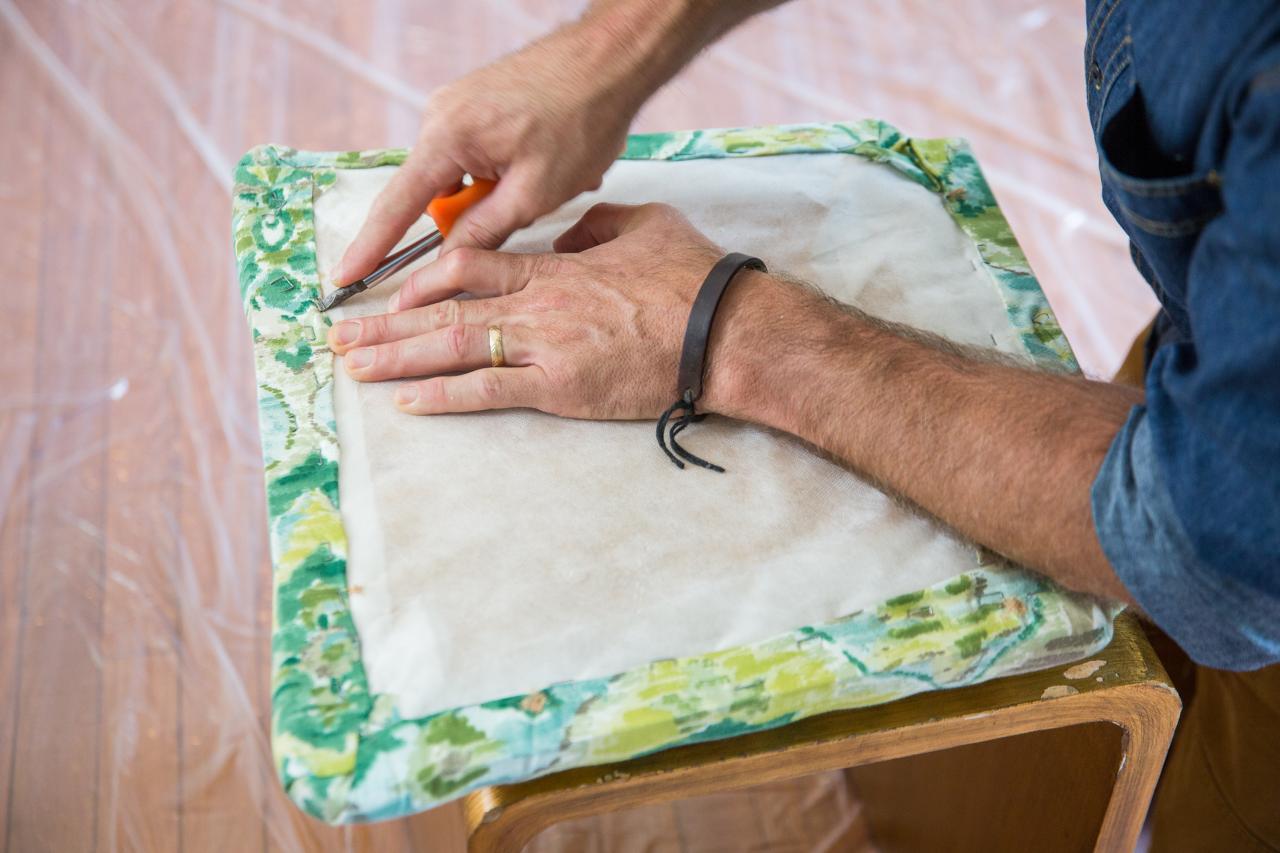
Now that you have all the fabric pieces cut out, it’s time to sew them together to create your dining room chair covers. Whether you’re using a sewing machine or sewing by hand, this step requires precision and attention to detail. Follow these steps to sew your chair covers:
- Take the fabric pieces for the chair back and place them right sides together, aligning the edges. Pin them in place to secure the fabric for sewing.
- If you’re using a sewing machine, thread it with a thread color that matches or complements your fabric. Set the machine to a straight stitch and sew along the pinned edges, leaving one side open for the insertion of the chair back. If you’re sewing by hand, use a backstitch or a running stitch to sew the edges together.
- Trim any excess fabric and remove the pins. Turn the sewn fabric right side out, revealing the chair back cover. Use a blunt object, such as a pencil, to gently push out the corners for a neat finish.
- Repeat the above steps for the fabric pieces that make up the seat cover or covers.
If you’re making individual covers for each chair, repeat the sewing process for each chair cover. If you’re creating one continuous cover for multiple chairs, sew the pieces together to form a seamless cover.
It’s important to sew with steady and even stitches to ensure a strong and durable finish. Take your time and go at a pace that allows for accuracy and precision. Remember, practice makes perfect, so don’t worry if it takes a few attempts to get the hang of it.
With the chair back and seat covers sewn, you’re one step closer to completing your dining room chair covers. The next step is to add fasteners, such as Velcro or ties, to keep the covers securely in place on your chairs.
Step 5: Adding Velcro or Ties
Adding fasteners to your dining room chair covers is an essential step to ensure that they stay securely in place and maintain a neat appearance. There are two common options for fastening the covers: Velcro and ties. Choose the option that best suits your preference and style. Here’s how to add Velcro or ties to your chair covers:
Option 1: Velcro
- Measure the length of the back and seat of your chair cover. Cut the Velcro into appropriate lengths, ensuring they match the measurements.
- Attach one side of the Velcro to the inside edge of the chair back cover and the corresponding side to the back of the chair. You can sew or use fabric adhesive to secure the Velcro in place.
- Repeat the process for the seat cover, attaching the other side of the Velcro to the seat cover and the chair seat.
Option 2: Ties
- Measure and cut strips of fabric that are long enough to tie around the chair back and chair seat securely.
- Fold each fabric strip in half lengthwise, with the right sides facing each other. Sew along the long edge, leaving one end open.
- Turn the fabric strips right side out, using a turning tool or a safety pin to ensure nice and neat edges.
- Attach one end of each fabric strip to the inside edge of the chair cover along the back and seat areas. Sew or use fabric adhesive to secure the ties in place.
Whichever fastening method you choose, make sure to attach the Velcro or ties securely so that the chair covers stay in place during use but are also easy to remove for cleaning or switching out for a different style.
Once you’ve added the fasteners, your dining room chair covers are almost complete! The next step is applying the covers to the chairs and adding the finishing touches.
Step 6: Applying the Cover to the Chair
Now that you’ve sewn the chair covers and added the fasteners, it’s time to apply them to your dining room chairs. This step will ensure that the covers fit snugly and look polished. Follow these steps to apply the covers to the chairs:
- Start by placing the chair back cover over the chair back, aligning it properly. If you’re using Velcro fasteners, secure the Velcro pieces together on the back of the chair. If you’re using tie fasteners, tie the fabric strips around the chair back tightly and in a secure knot.
- Next, position the seat cover on the chair seat, making sure it is centered and fits properly. If you’re using Velcro fasteners, attach the Velcro pieces together under the seat. If you’re using tie fasteners, tie the fabric strips securely under the seat.
- Smooth out any wrinkles or creases in the fabric to ensure a clean and polished appearance.
Make any necessary adjustments to ensure that the cover fits snugly and doesn’t slip or shift during use. Take a step back and assess the overall look and fit of the chair cover. If needed, tighten the ties or reposition the Velcro for a better fit.
Now that you’ve successfully applied the chair covers, it’s time to add the finishing touches to complete the transformation of your dining room chairs.
Step 7: Finishing Touches
Congratulations! You’re in the final step of creating your dining room chair covers. This step involves adding some finishing touches to enhance the overall appearance and functionality of the covers. Follow these steps to give your chair covers those final details:
- Inspect the chair covers and make any necessary adjustments to ensure they fit properly and look neat. Smooth out any wrinkles or creases in the fabric.
- If the chair covers are a bit loose or have excess fabric, consider adding pleats or gathers to create a tailored look. Pin the fabric in place, and then sew or hand-stitch the pleats for a polished finish.
- Consider adding decorative elements, such as contrasting trim or piping, to give your chair covers a pop of color or a touch of elegance. Sew the trim or piping along the edges of the covers to enhance their visual appeal.
- For added comfort, you may choose to add a layer of padding between the fabric and the chair. Cut the padding to fit the dimensions of the chair back and seat, and then attach it securely to the inside of the cover using adhesive or stitching.
- Take a moment to inspect the chair covers from different angles to ensure they are aligned and symmetrical. Make any necessary adjustments to achieve a balanced and cohesive look.
With these finishing touches, your dining room chair covers are now complete. Step back and admire your handiwork – you’ve successfully transformed your dining chairs into beautiful and functional pieces.
Remember, these chair covers can be easily removed for cleaning or swapped out to suit different occasions or seasons. Feel free to experiment with different fabrics, patterns, and styles to refresh the look of your dining room whenever you desire.
Now, gather your family and friends, and enjoy your revamped dining space with your newly customized chair covers!
Read more: How To Make Seat Covers For Dining Chairs
Conclusion
Congratulations on completing your journey to create beautiful and functional dining room chair covers! By following the steps outlined in this guide, you’ve learned how to measure your chairs, choose the perfect fabric, cut and sew the covers, and add the finishing touches. Whether you’re looking to refresh the look of your dining room or protect your chairs from spills and stains, these chair covers provide an easy and stylish solution.
Throughout the process, you’ve let your creativity shine by selecting the fabric that suits your style and personalizing the covers with fasteners, decorative elements, and other customizations. The end result is a set of chair covers that not only enhances the aesthetic appeal of your dining space but also adds a practical touch to everyday life.
Remember to maintain the chair covers and give them proper care to ensure their longevity. Follow the instructions for cleaning the fabric, whether it’s machine washing or spot cleaning, to keep them looking fresh and vibrant.
Feel free to mix and match fabrics, experiment with different colors, patterns, and trims, and update your chair covers to suit your evolving style and seasonal decor. Let your creativity run wild, and enjoy the flexibility and versatility that these covers provide.
Now, sit back, relax, and enjoy your transformed dining room with your newly adorned chairs. Your efforts will surely be noticed and appreciated by your family, friends, and guests.
Thank you for joining us on this DIY adventure. We hope you’ve found this guide informative and inspiring. May your dining room be filled with joy, laughter, and beautiful tableware for countless memorable meals to come!
Frequently Asked Questions about How To Make Dining Room Chair Covers
Was this page helpful?
At Storables.com, we guarantee accurate and reliable information. Our content, validated by Expert Board Contributors, is crafted following stringent Editorial Policies. We're committed to providing you with well-researched, expert-backed insights for all your informational needs.



0 thoughts on “How To Make Dining Room Chair Covers”