Home>Maintenance & Safety>Child & Elderly Safety at Home>How To Make A High Chair Cover
Child & Elderly Safety at Home
How To Make A High Chair Cover
Modified: February 18, 2024
Ensure child and elderly safety at home with our step-by-step guide on making a high chair cover. Protect your loved ones with this DIY project.
(Many of the links in this article redirect to a specific reviewed product. Your purchase of these products through affiliate links helps to generate commission for Storables.com, at no extra cost. Learn more)
Introduction
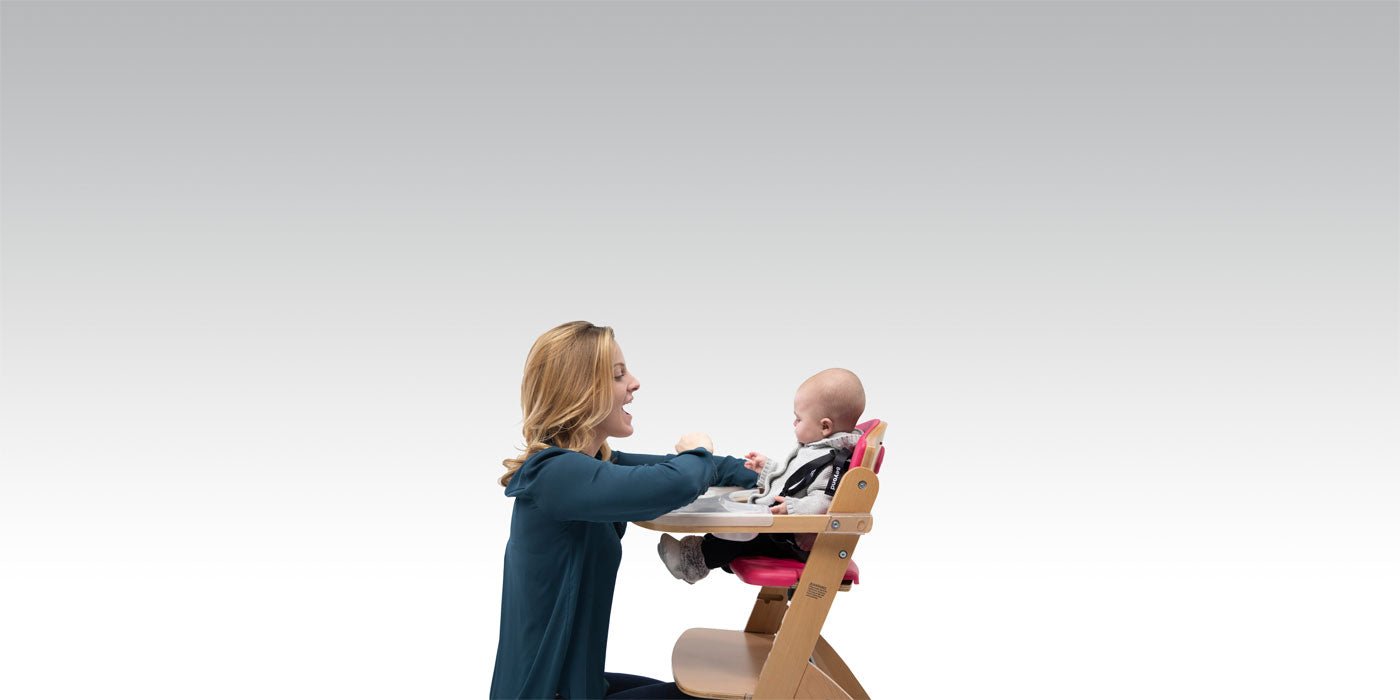
Creating a high chair cover is a fantastic way to ensure your little one's comfort and safety during meal times. Whether you're a parent, grandparent, or caregiver, a homemade high chair cover provides a personalized touch while offering practical benefits. By crafting a custom cover, you can protect the high chair from spills and stains, maintain a hygienic dining environment, and add a delightful aesthetic to the space. Additionally, a well-crafted cover can serve as a cushioning barrier, enhancing the child's seating experience and promoting a sense of coziness during meals.
In this comprehensive guide, we will walk you through the step-by-step process of making a high chair cover. From gathering the necessary materials to measuring, cutting, sewing, and attaching the cover, each stage is designed to be approachable and rewarding. Whether you're a seasoned crafter or a novice with a passion for DIY projects, this endeavor offers an opportunity to showcase your creativity and sewing skills while prioritizing the safety and comfort of your little one.
As you embark on this crafting journey, envision the joy and satisfaction that comes with creating a practical and visually appealing high chair cover. With the right materials, a touch of creativity, and a willingness to engage in a fulfilling DIY project, you can transform a simple piece of fabric into a valuable addition to your child's dining space. So, gather your supplies, clear a workspace, and let's dive into the process of making a high chair cover that combines functionality, style, and a personal touch.
Key Takeaways:
- Making a high chair cover is a fun and creative way to protect the chair from spills, add a personal touch, and make meal times cozy and safe for your little one.
- By measuring, cutting, sewing, and adding elastic or ties, you can create a custom high chair cover that showcases your creativity and prioritizes your child’s comfort and safety.
Read more: How To Remove Cosco High Chair Cover
Materials Needed
To embark on the journey of creating a high chair cover, you will need a selection of materials that are not only practical but also conducive to expressing your creativity. Here's a comprehensive list of the essential items required for this DIY project:
-
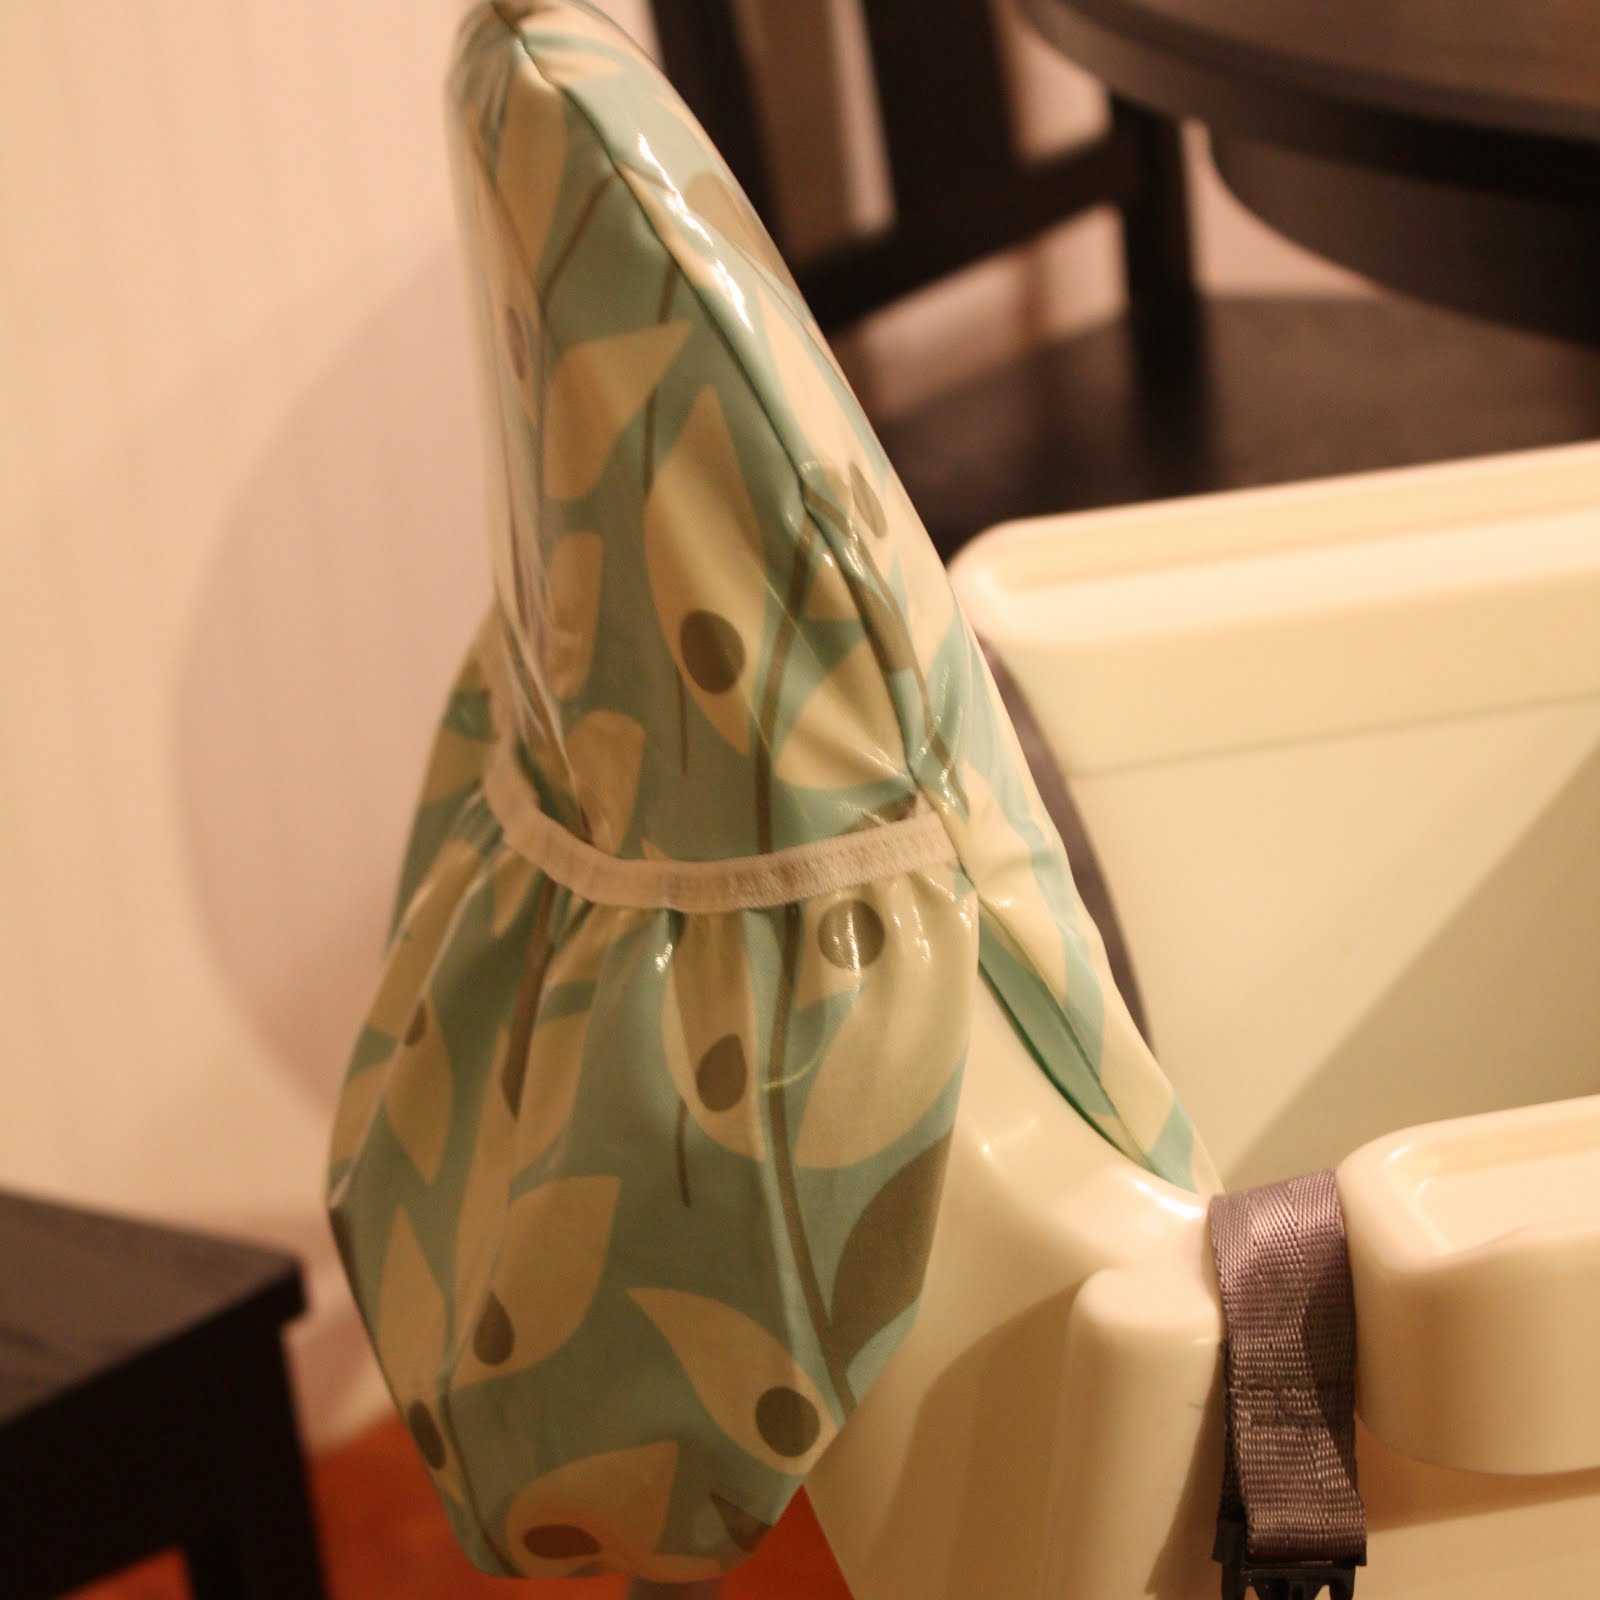
Fabric: Choose a durable, easy-to-clean fabric that complements your personal style and the existing decor of the dining area. Consider materials such as cotton, vinyl, or oilcloth, which are resilient against spills and can be effortlessly wiped clean. The fabric should also be gentle on your child's skin, ensuring a comfortable dining experience.
-
Measuring Tape: A reliable measuring tape is indispensable for accurately determining the dimensions of the high chair seat and backrest. This ensures that the cover fits snugly and provides optimal protection.
-
Scissors: High-quality fabric scissors are essential for precise cutting, allowing you to tailor the fabric to the exact size required for the high chair cover.
-
Sewing Machine or Needle and Thread: Depending on your preference and sewing expertise, you can opt for a sewing machine or hand-sew the cover using a needle and thread. Both methods yield excellent results, so choose the option that aligns with your skills and resources.
-
Elastic or Ties: To secure the cover to the high chair, you will need either elastic bands or ties. Elastic bands provide a stretchable and snug fit, while ties offer a charming, customizable touch to the cover's design.
-
Pins: Straight pins are indispensable for holding the fabric in place during the sewing process, ensuring that the pieces align seamlessly and the cover takes shape as intended.
-
Iron and Ironing Board: A well-pressed fabric contributes to a polished and professional-looking high chair cover. An iron and ironing board are essential for smoothing out wrinkles and creases before cutting and sewing the fabric.
-
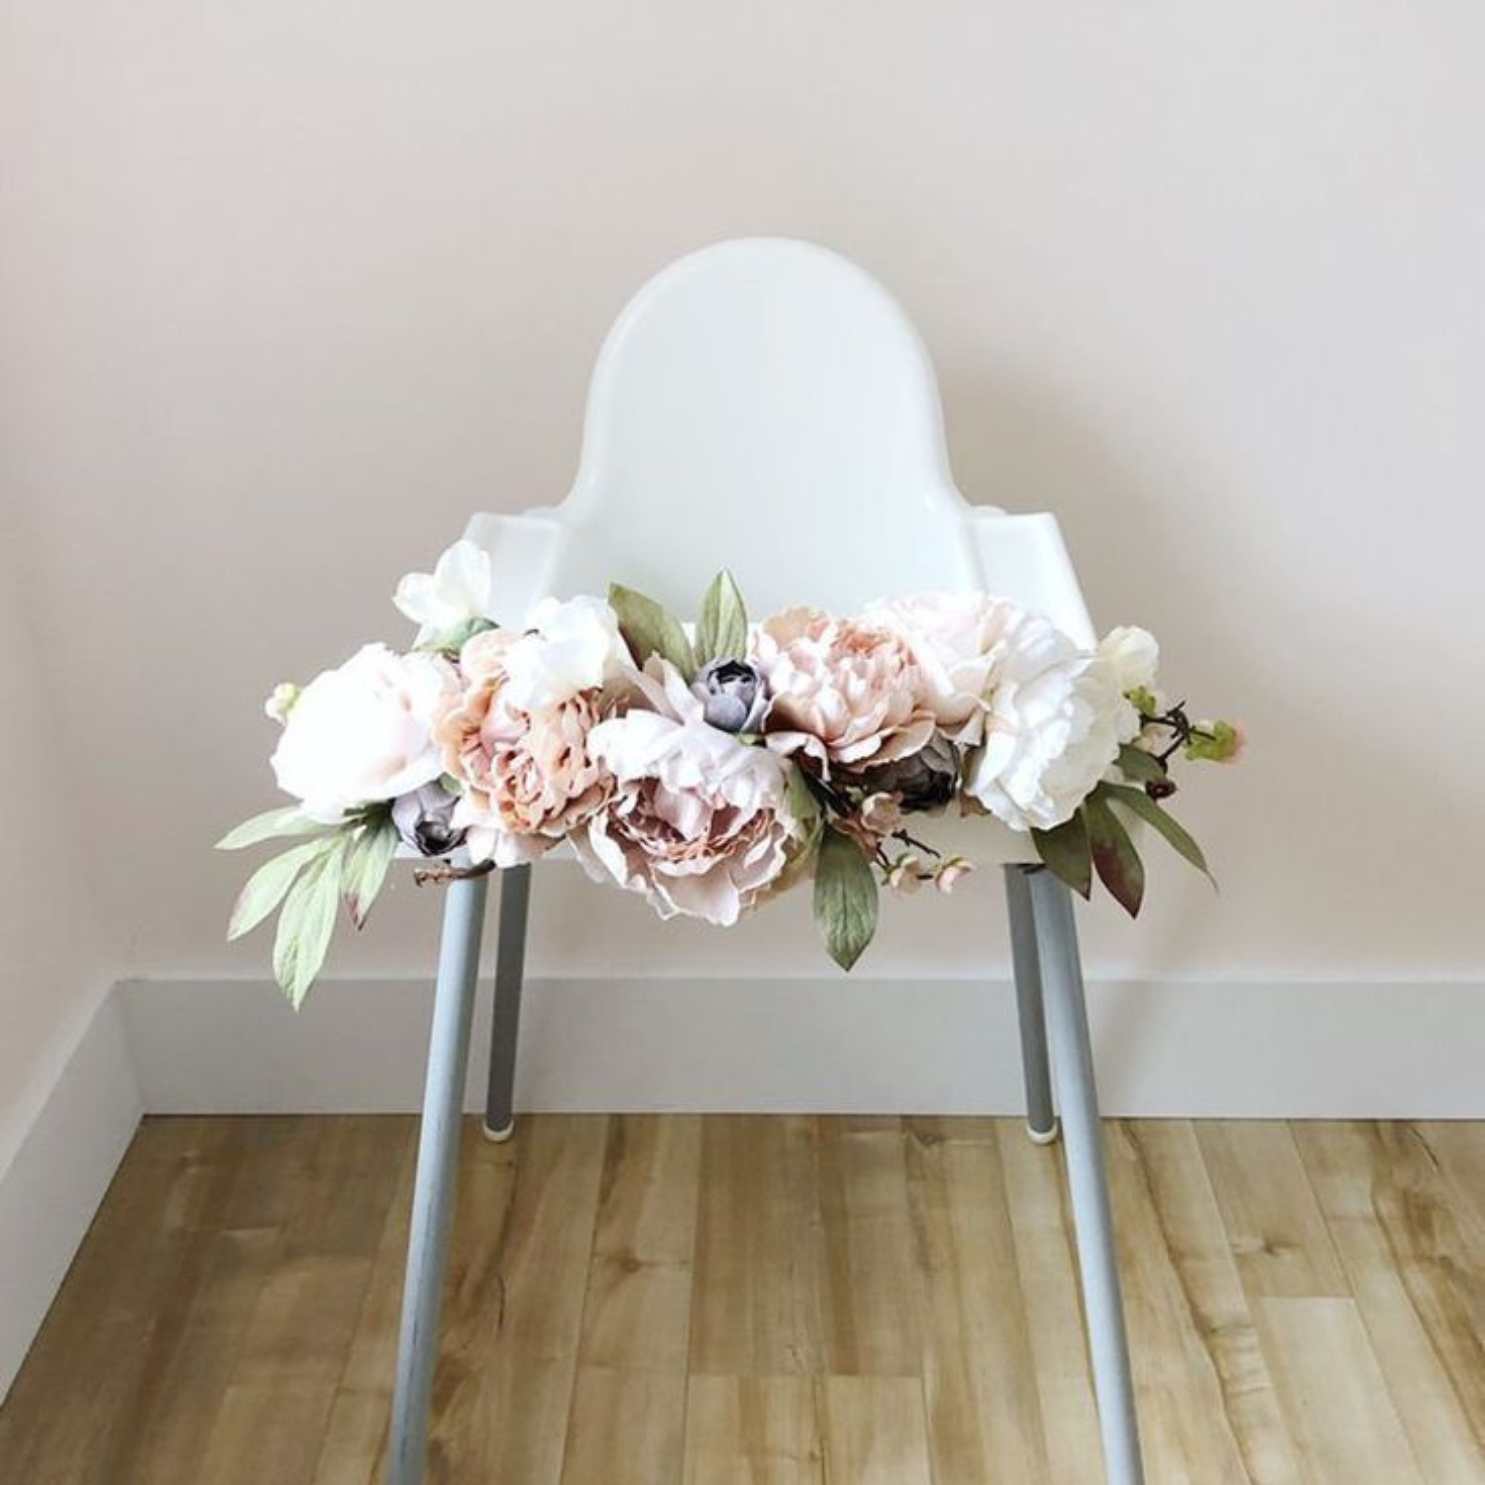
Optional Embellishments: If you wish to add decorative elements to the cover, consider embellishments such as ruffles, piping, or appliques. These details can infuse personality and charm into the cover, elevating its visual appeal.
By gathering these materials, you are equipped to embark on the fulfilling journey of creating a high chair cover that combines functionality, style, and a personal touch. With these essentials at your disposal, you are ready to proceed to the next step: measuring the high chair for the cover.
Step 1: Measure the High Chair
Before diving into the creative process of crafting a high chair cover, it's crucial to start with precise measurements. This initial step lays the foundation for a well-fitting cover that not only enhances the aesthetic appeal of the high chair but also ensures a secure and comfortable seating experience for your little one.
Begin by identifying the high chair's dimensions, focusing on the seat and backrest areas. Use a measuring tape to accurately determine the length, width, and height of both the seat and the backrest. Take note of any protruding elements, such as armrests or harness attachments, as these will influence the cover's design and fit.
When measuring the seat, start by determining the length from the backrest to the front edge, ensuring that the measurement encompasses the entire seating area. Next, measure the width from one side of the seat to the other, capturing the full breadth of the seating surface. For added accuracy, consider measuring the seat at multiple points to accommodate any irregularities in its shape.
Moving on to the backrest, measure the height from the seat's surface to the top of the backrest, capturing the full vertical extent. Additionally, measure the width of the backrest to ensure that the cover will envelop this area securely.
As you record these measurements, it's beneficial to document them for easy reference during the subsequent stages of the crafting process. Consider creating a simple diagram or jotting down the dimensions to facilitate seamless progress as you move on to cutting and sewing the fabric.
By meticulously measuring the high chair, you set the stage for a tailored and snug-fitting cover that not only safeguards the chair from spills and stains but also adds a touch of personalized charm to the dining space. With these measurements in hand, you are now prepared to proceed to the next step: cutting the fabric for the high chair cover.
This meticulous approach to measuring ensures that the subsequent steps, such as cutting and sewing the fabric, proceed smoothly and result in a high chair cover that fits perfectly and enhances the safety and comfort of your child during meal times.
Step 2: Cut the Fabric
With the precise measurements of the high chair in hand, it's time to translate these dimensions into carefully cut fabric pieces that will form the cover. This step is pivotal in ensuring that the cover fits the high chair snugly, providing both safety and comfort for your little one.
Lay out the chosen fabric on a clean, flat surface, ensuring that it is free from wrinkles or creases. Using the measurements obtained earlier, mark the dimensions of the seat and backrest onto the fabric using a fabric marker or chalk. Take care to transfer the measurements accurately, accounting for any additional allowances for seam allowances or adjustments.
Once the outlines of the seat and backrest are marked, use high-quality fabric scissors to cut along the traced lines. Precision is key during this process, as accurately cut fabric pieces will contribute to a well-fitting and visually appealing cover.
In addition to the main pieces for the seat and backrest, consider any additional components required for the cover, such as straps, ties, or elastic bands. Cut these elements from the fabric, ensuring that they align with the dimensions and design specifications of the cover.
As you cut the fabric, maintain a focus on accuracy and attention to detail, as these qualities will directly impact the quality and functionality of the final product. Take your time to ensure that each piece is cut to the exact measurements, allowing for a seamless assembly during the subsequent sewing stage.
By the end of this step, you should have a set of precisely cut fabric pieces that are ready to be transformed into a high chair cover. The meticulous approach to cutting the fabric sets the stage for a successful and rewarding sewing process, bringing you one step closer to completing a custom cover that prioritizes safety, comfort, and style for your child's dining space.
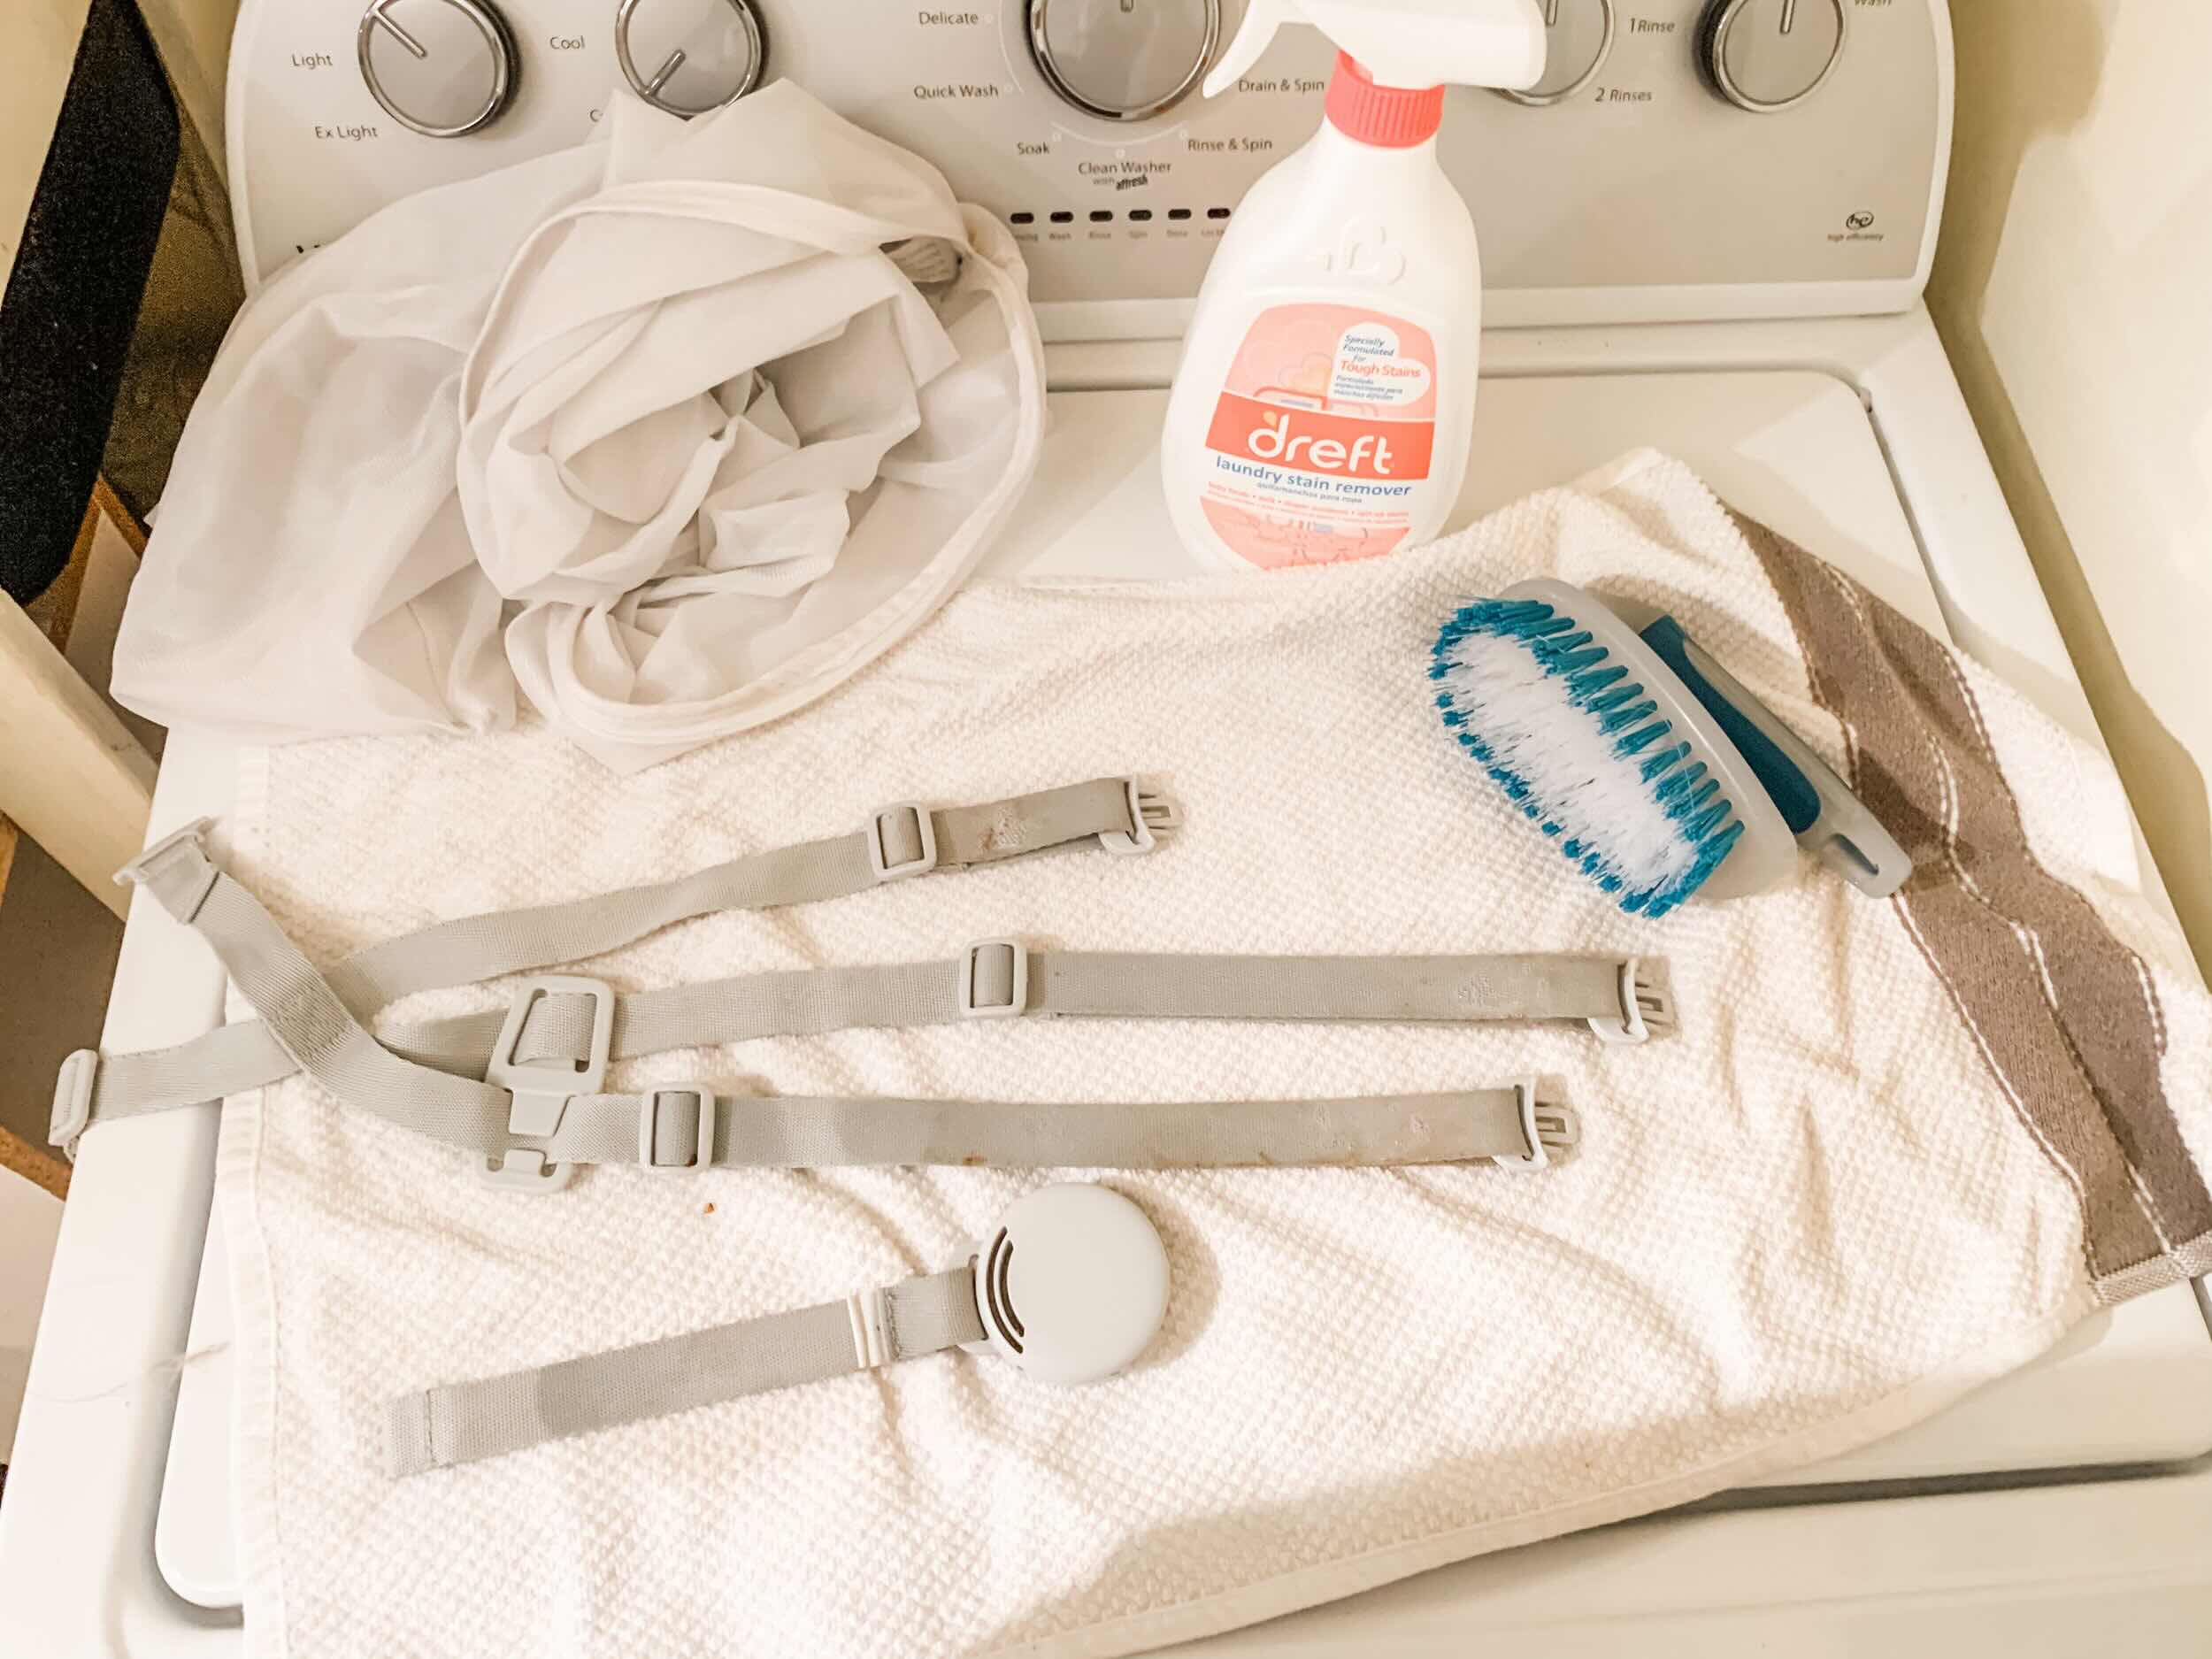
When making a high chair cover, be sure to use a durable, machine washable fabric to make cleaning easy. Additionally, consider adding Velcro or ties to secure the cover in place and make it easy to remove for washing.
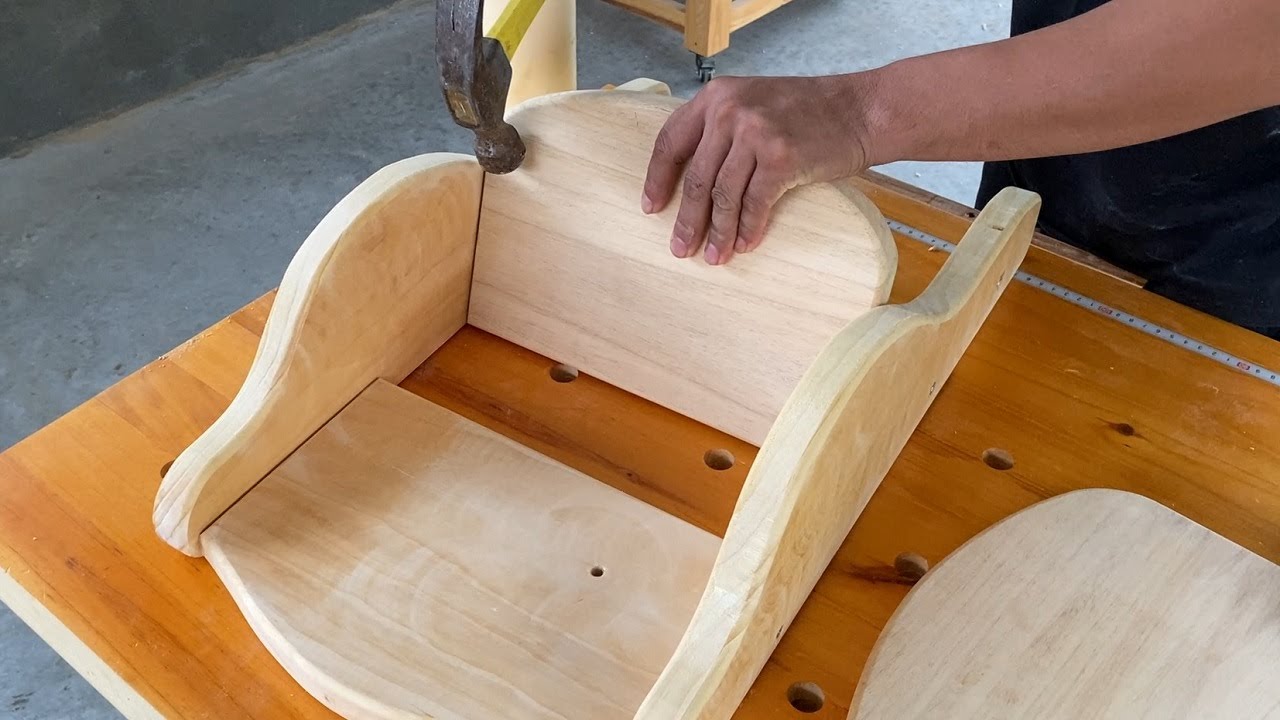
Step 3: Sew the Pieces Together
With the precisely cut fabric pieces at your disposal, it's time to embark on the transformative process of sewing the components together to create a cohesive and functional high chair cover. This stage represents a pivotal moment in the crafting journey, where individual fabric pieces are skillfully united to form a protective and visually appealing cover for your little one's dining space.
Begin by aligning the fabric pieces for the seat and backrest, ensuring that they fit seamlessly together. Using straight pins, secure the edges of the fabric, creating a stable foundation for the sewing process. This step is crucial in maintaining the accuracy of the measurements and preventing any shifting of the fabric during sewing.
Next, select a suitable thread that complements the fabric and aligns with your desired aesthetic. Thread the sewing machine or needle, preparing it for the meticulous stitching that will bring the cover to life. If using a sewing machine, adjust the settings to accommodate the fabric type and thickness, ensuring smooth and consistent stitching.
Commence sewing along the edges of the fabric, following the outlines of the seat and backrest. Employ a straight stitch or a suitable decorative stitch pattern, depending on your preference and the overall design of the cover. As you guide the fabric through the sewing machine or hand-sew with precision, maintain a steady pace to achieve even and secure seams.
Pay special attention to the corners and curves of the fabric, ensuring that the stitching captures the contours of the high chair's seat and backrest. This meticulous approach contributes to a well-structured cover that conforms to the chair's shape, providing a snug and secure fit.
As the seat and backrest pieces are seamlessly joined through expert stitching, the cover begins to take shape, reflecting your craftsmanship and attention to detail. The act of sewing the pieces together not only enhances the cover's structural integrity but also infuses it with a personalized touch, showcasing your dedication to creating a practical and visually appealing accessory for your child's dining area.
Upon completing this step, you will witness the fabric pieces transform into a unified high chair cover, ready to provide protection, comfort, and style during meal times. The seamless integration of the fabric components through skillful sewing sets the stage for the final stages of the crafting process, bringing you closer to the gratifying moment of attaching the cover to the high chair.
Read more: How To Make A High Chair Tutu
Step 4: Add Elastic or Ties
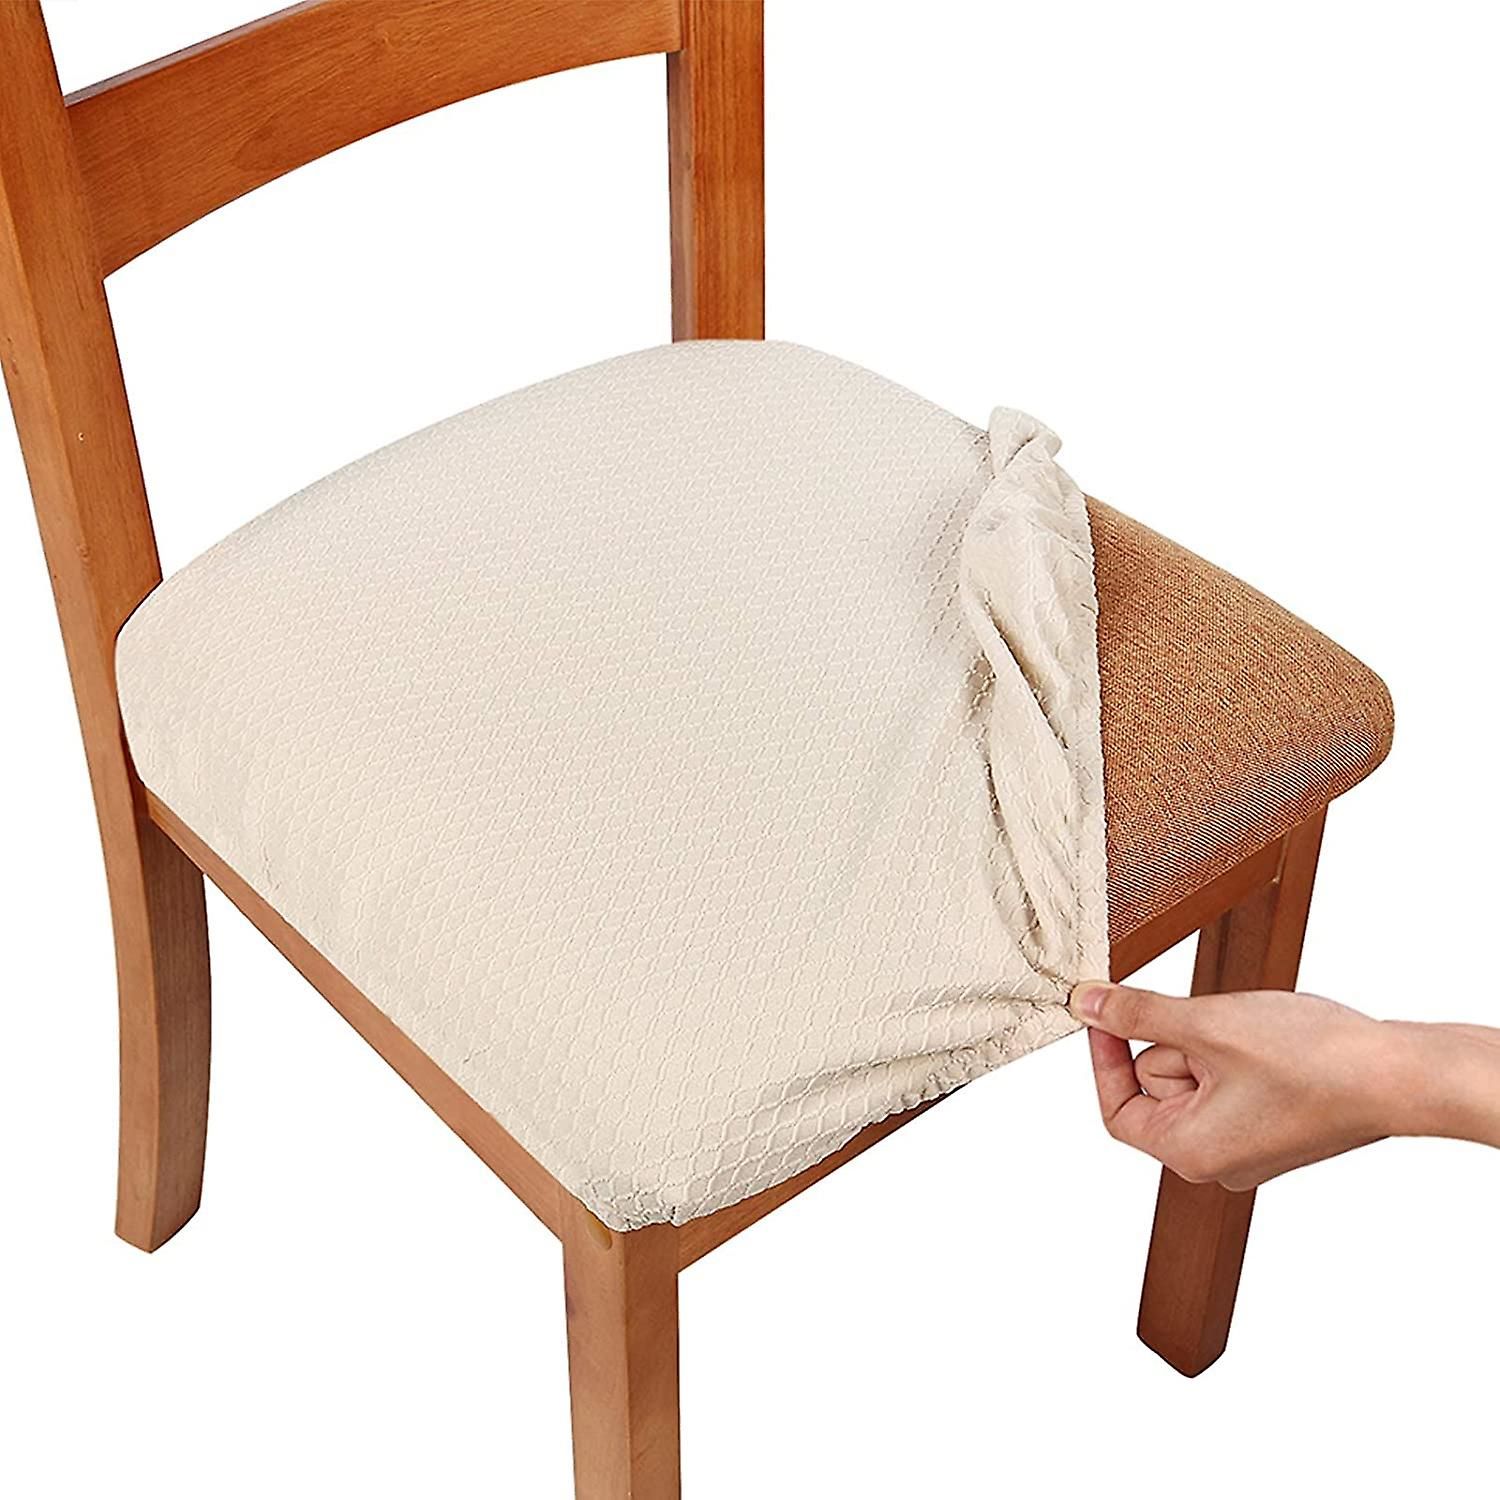
After skillfully sewing the fabric pieces together to form the main body of the high chair cover, the next crucial step involves adding the securing elements, such as elastic bands or ties, to ensure a snug and reliable fit onto the high chair. This stage not only contributes to the cover's functionality but also presents an opportunity to infuse a personalized and decorative touch to the final product.
If you opt for elastic bands, measure and cut the elastic to the appropriate length, ensuring that it corresponds to the dimensions of the cover and can be stretched comfortably around the high chair. Position the elastic along the edges of the cover, securing it in place with pins to maintain alignment during the sewing process. Employ a stretch stitch on the sewing machine or hand-sew with a durable, elastic-friendly thread to affix the elastic securely to the cover. This method allows the cover to stretch over the high chair, providing a snug and taut fit that remains in place during use.
Alternatively, if you prefer ties to secure the cover, cut fabric strips to the desired length, considering the ease of tying and untying them around the high chair. Position the ties at strategic points on the cover, such as the corners or along the edges, and secure them in place with pins. Proceed to sew the ties onto the cover, reinforcing the stitching to withstand the tension applied during fastening. Ties offer a charming and customizable element to the cover, allowing for creative variations in design and a delightful visual accent.
As you add the elastic bands or ties to the cover, take care to ensure that they are evenly distributed and securely attached, contributing to a balanced and reliable fit when placed on the high chair. This stage represents the final touch that elevates the cover from a well-crafted fabric piece to a functional and aesthetically pleasing accessory for your child's dining space.
By completing this step with precision and attention to detail, you finalize the construction of the high chair cover, readying it for the culminating stage of attaching it to the high chair. The addition of elastic bands or ties not only enhances the cover's practicality but also reflects your dedication to creating a tailored and secure seating solution for your little one.
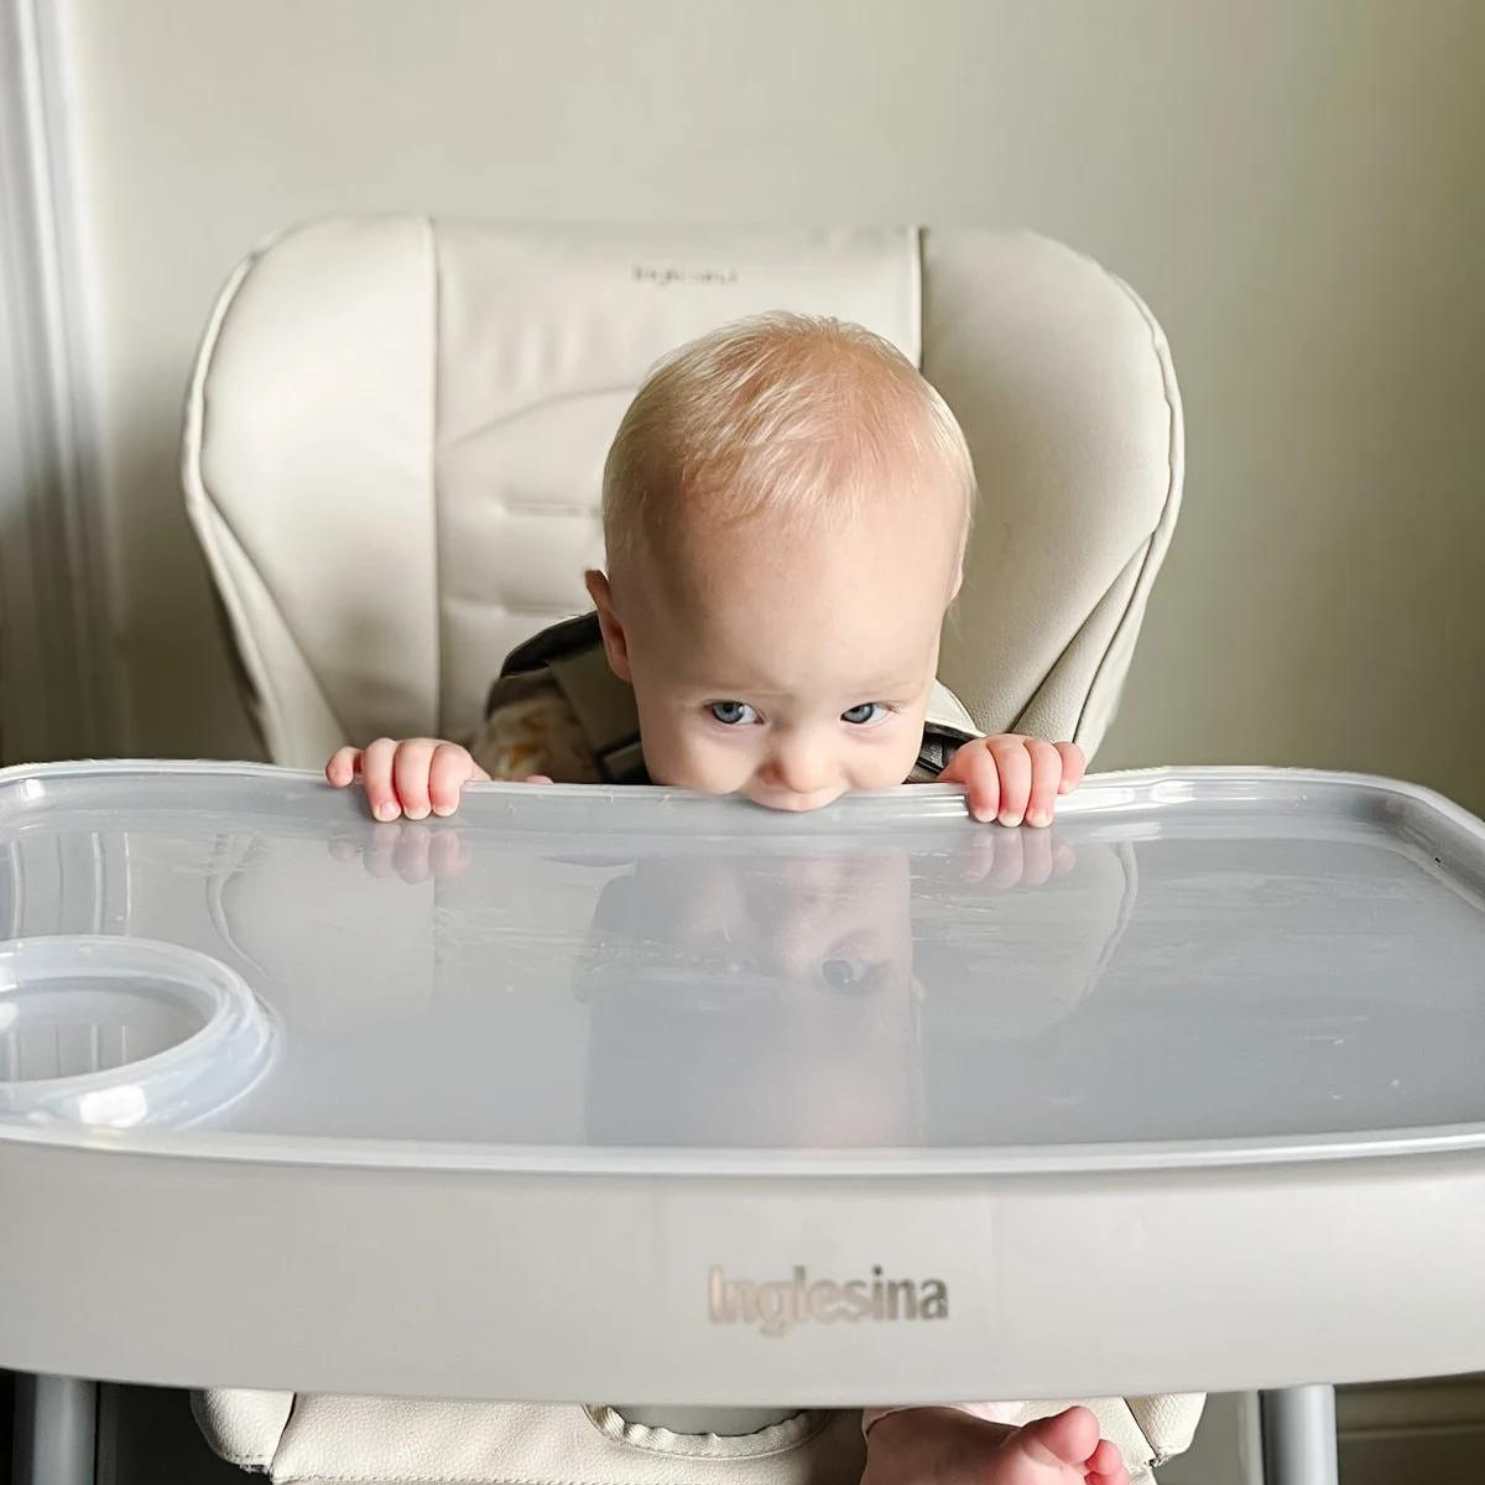
Step 5: Attach the Cover to the High Chair
With the meticulously crafted high chair cover in hand, the final step involves the gratifying process of attaching it to the high chair, transforming the dining space into a cozy and inviting environment for your little one. This pivotal stage not only showcases the culmination of your crafting efforts but also marks the beginning of a practical and visually appealing addition to the child's dining area.
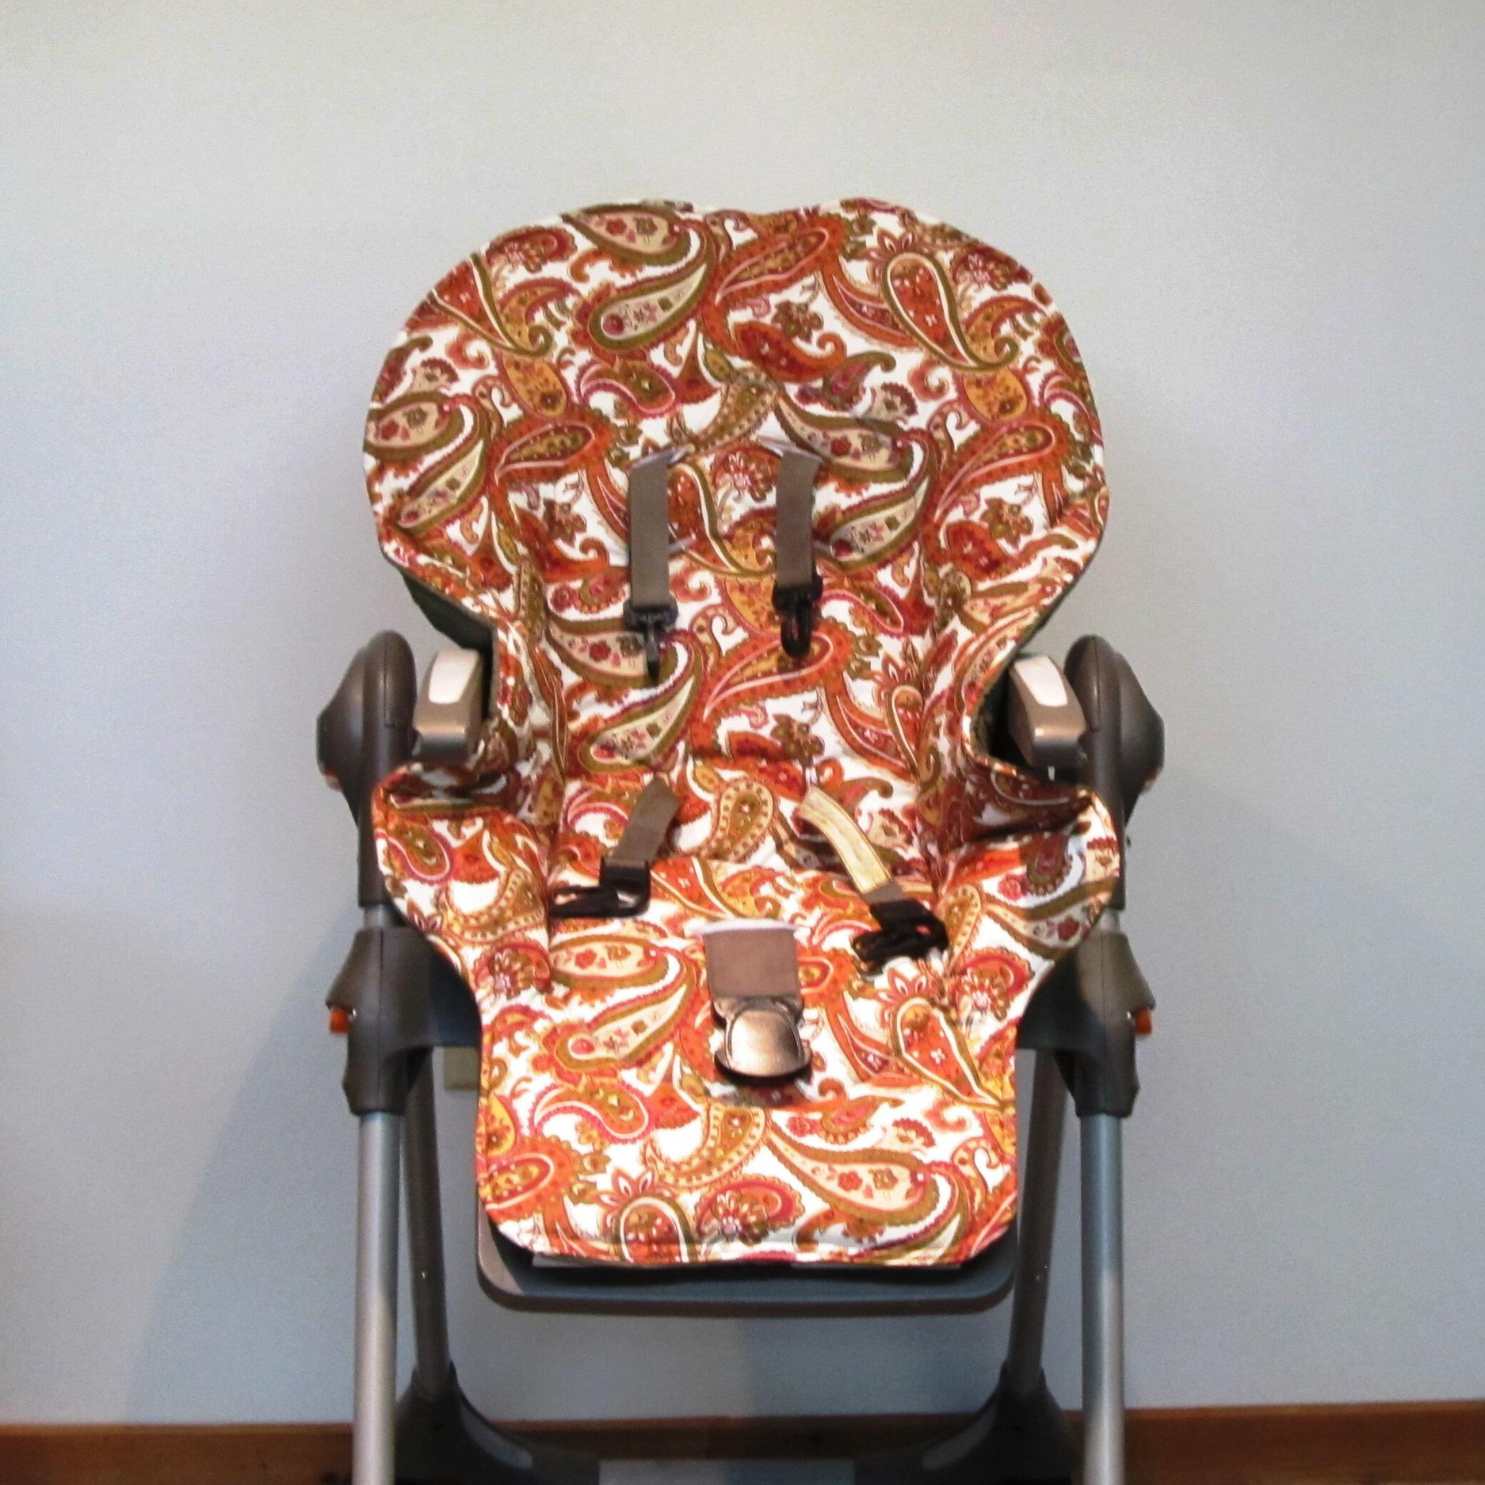
Commence by carefully positioning the cover over the high chair, ensuring that it aligns with the seat and backrest dimensions. If the cover features elastic bands, gently stretch them over the edges of the high chair, allowing the fabric to snugly envelop the seating surface. Alternatively, if ties are incorporated, fasten them securely around the chair, adjusting the fit to achieve a tailored and secure placement.
As the cover settles onto the high chair, take a moment to appreciate the seamless integration of your craftsmanship with the functional and aesthetic aspects of the dining space. The cover not only safeguards the chair from spills and stains but also provides a soft and comfortable seating surface for your little one, enhancing their dining experience.
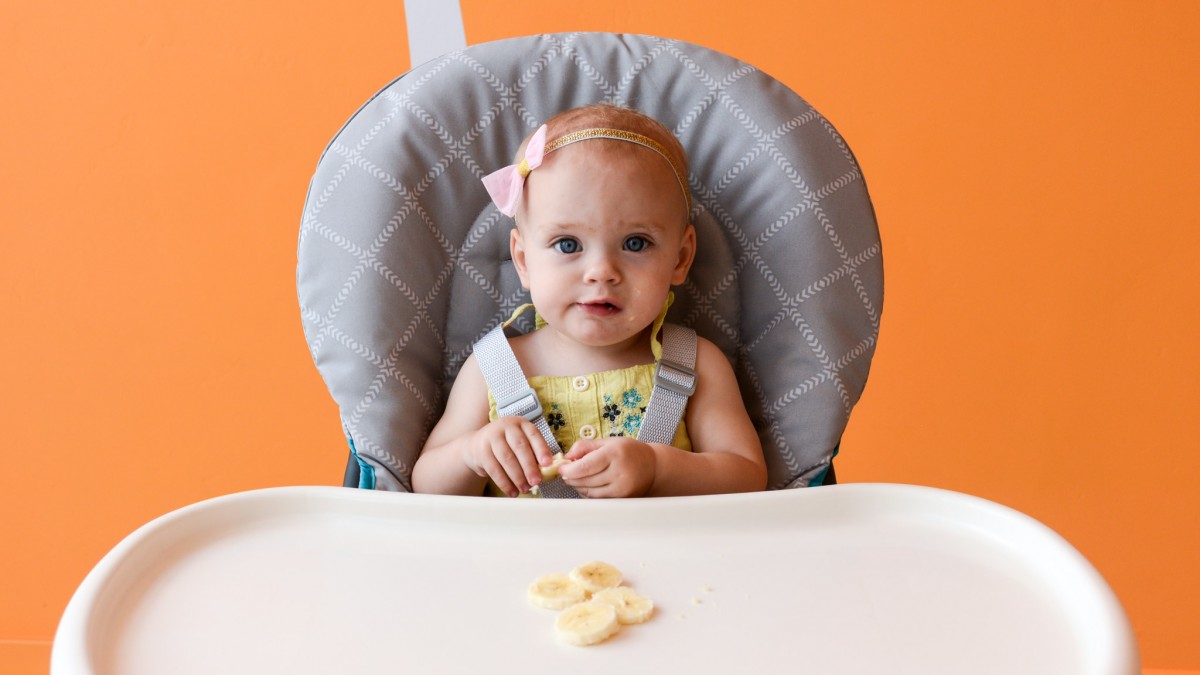
Inspect the cover to ensure that it fits securely and does not impede any safety features of the high chair, such as harness attachments or adjustable components. The cover should complement the chair's design while offering an additional layer of protection and comfort, reflecting your dedication to prioritizing the child's well-being during meal times.
Once the cover is securely in place, take a step back to admire the transformation it brings to the high chair and the surrounding dining area. The personalized touch and practical benefits of the cover contribute to a welcoming and child-friendly space, fostering a sense of warmth and care during meal times.
By completing this final step, you have not only attached the cover to the high chair but have also woven a touch of creativity and functionality into the child's dining environment. The cover stands as a testament to your dedication to crafting a practical and visually appealing accessory that prioritizes safety, comfort, and style for your little one.
As the cover adorns the high chair, it serves as a reminder of the fulfilling journey of creating a custom accessory that enhances the child's dining experience while showcasing your creativity and sewing skills. With the cover in place, the dining space is now adorned with a charming and practical addition, reflecting your commitment to providing a safe, comfortable, and inviting environment for your little one.
Conclusion
In conclusion, the process of creating a high chair cover is not only a fulfilling DIY endeavor but also a testament to the dedication and care invested in ensuring the safety and comfort of your little one during meal times. From the initial measurements to the final attachment of the cover to the high chair, each step represents a thoughtful and creative approach to crafting a practical and visually appealing accessory for the child's dining space.
As the cover adorns the high chair, it serves as a reminder of the fulfilling journey of creating a custom accessory that enhances the child's dining experience while showcasing your creativity and sewing skills. With the cover in place, the dining space is now adorned with a charming and practical addition, reflecting your commitment to providing a safe, comfortable, and inviting environment for your little one.
The personalized touch and practical benefits of the cover contribute to a welcoming and child-friendly space, fostering a sense of warmth and care during meal times. The cover not only safeguards the chair from spills and stains but also provides a soft and comfortable seating surface for your little one, enhancing their dining experience.
By completing this final step, you have not only attached the cover to the high chair but have also woven a touch of creativity and functionality into the child's dining environment. The cover stands as a testament to your dedication to crafting a practical and visually appealing accessory that prioritizes safety, comfort, and style for your little one.
In essence, the process of making a high chair cover is a labor of love, culminating in a tangible and valuable addition to the child's dining space. It represents a harmonious blend of practicality and creativity, where the functional aspects of protection and comfort are seamlessly integrated with personalized touches and aesthetic appeal.
As you witness the cover settling onto the high chair, take a moment to appreciate the seamless integration of your craftsmanship with the functional and aesthetic aspects of the dining space. The cover not only safeguards the chair from spills and stains but also provides a soft and comfortable seating surface for your little one, enhancing their dining experience.
In the end, the high chair cover serves as a testament to the power of DIY crafting, where practicality meets creativity to elevate the safety, comfort, and visual charm of the child's dining area. With the cover in place, you have not only created a functional accessory but have also woven a touch of warmth and care into the fabric of everyday meal times, enriching the child's dining experience and nurturing a sense of coziness and security.
Frequently Asked Questions about How To Make A High Chair Cover
Was this page helpful?
At Storables.com, we guarantee accurate and reliable information. Our content, validated by Expert Board Contributors, is crafted following stringent Editorial Policies. We're committed to providing you with well-researched, expert-backed insights for all your informational needs.
0 thoughts on “How To Make A High Chair Cover”