Articles
How To Build A Electric Motor
Modified: October 20, 2024
Learn how to build an electric motor with these informative articles. Step-by-step guides and expert tips to help you get started.
(Many of the links in this article redirect to a specific reviewed product. Your purchase of these products through affiliate links helps to generate commission for Storables.com, at no extra cost. Learn more)
Introduction
Welcome to the world of electric motors! Electric motors are incredible machines that can convert electrical energy into mechanical energy, enabling a wide range of applications across various industries. Whether it’s powering household appliances, running industrial machinery, or propelling electric vehicles, electric motors have become an integral part of our modern society.
In this article, we will explore the fascinating process of building an electric motor from scratch. It’s a hands-on project that not only allows you to gain a deeper understanding of how electric motors work but also gives you the satisfaction of creating something functional with your own two hands.
Before we delve into the step-by-step process of building an electric motor, let’s first take a moment to understand the basic principles behind this ingenious invention.
Key Takeaways:
- Building an electric motor from scratch is a hands-on and rewarding project that provides a deeper understanding of electromagnetism and mechanical engineering. It opens up possibilities for experimentation and sparks creativity in the world of electric machinery.
- Prioritizing safety, attention to detail, and patience are crucial when building and testing an electric motor. By following the step-by-step process and troubleshooting any issues, you can successfully create and enjoy the marvel of electromagnetic motion.
Read more: How To Cool An Electric Motor
Overview of Electric Motors
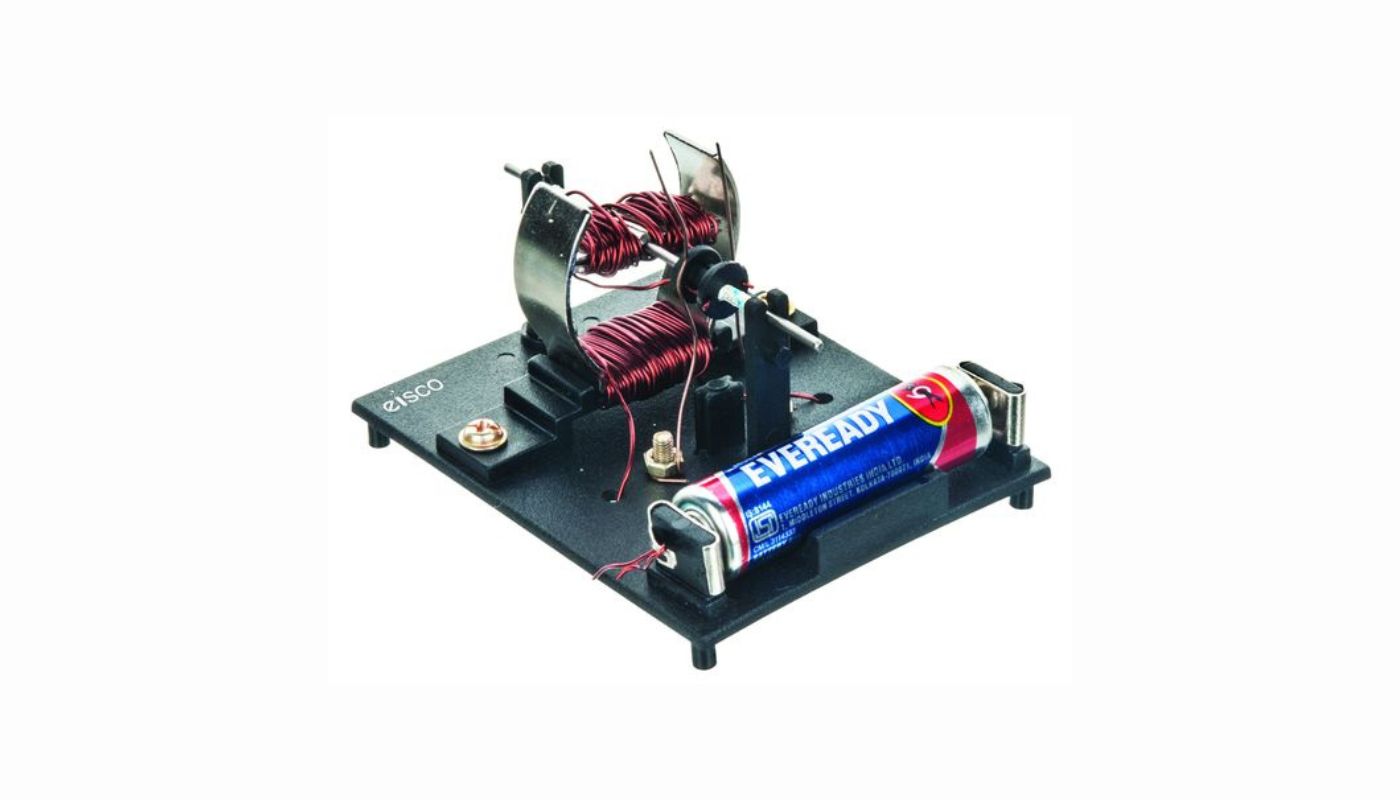
Electric motors are devices that use electromagnetism to create motion. They work based on the principle of magnetic fields and electric currents interacting with each other.
There are various types of electric motors, but the most common and widely used is the DC (Direct Current) motor. DC motors operate using a constant voltage source, such as batteries or power supplies, and are known for their simplicity and reliability.
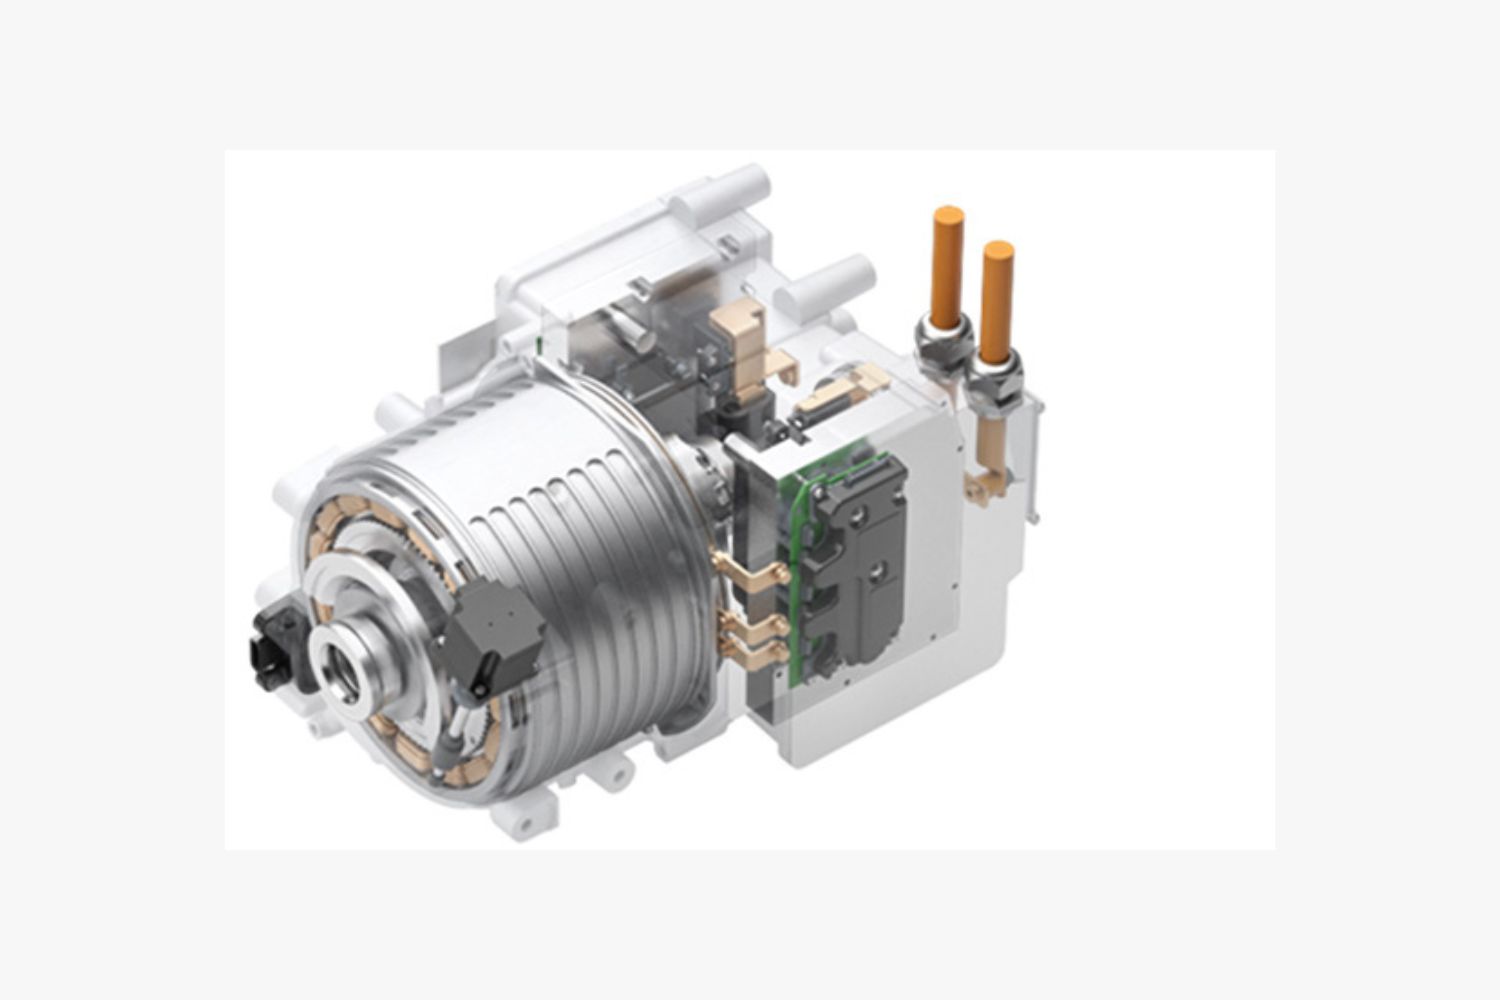
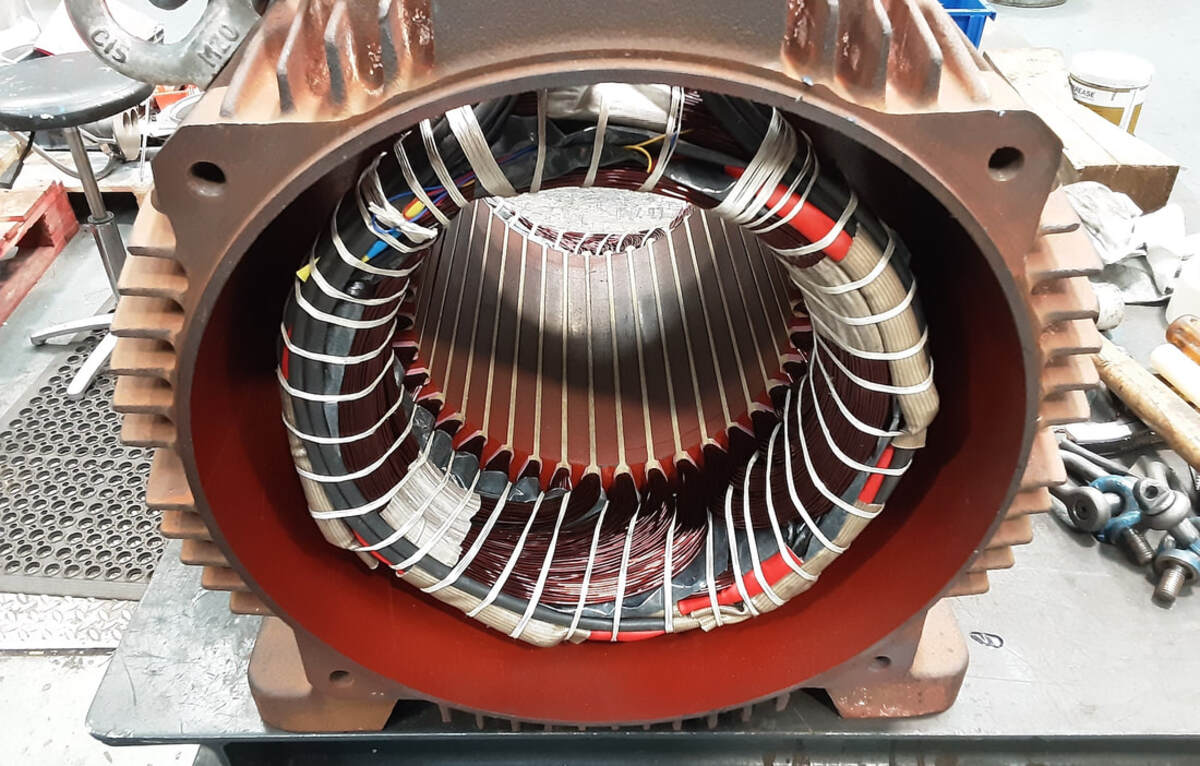
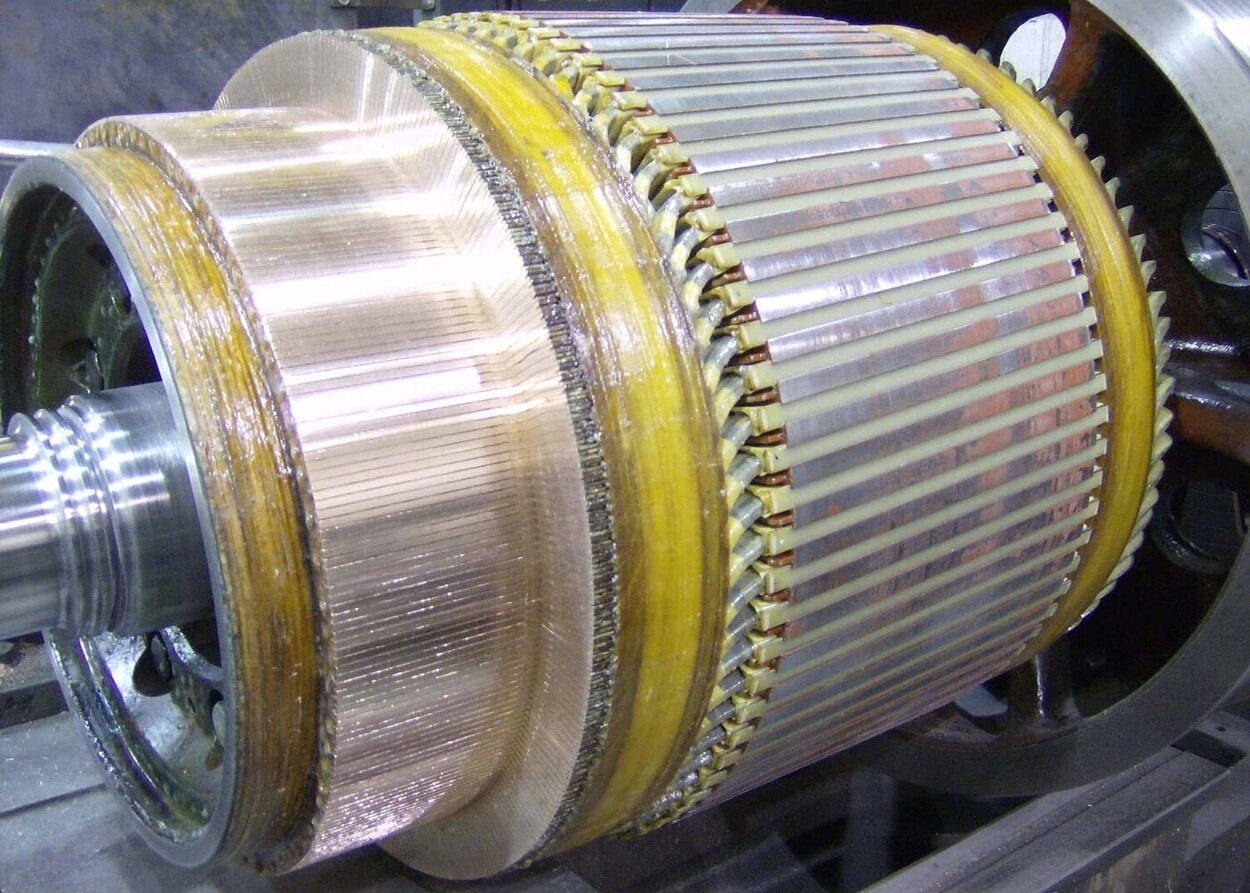
The key components of an electric motor include the stator, rotor, and commutator. The stator is the stationary part of the motor and consists of a series of electromagnets. The rotor, on the other hand, is the rotating part of the motor, which is connected to the shaft and holds the armature. The commutator is a device that ensures the flow of current in the correct direction to generate rotational motion.
Electric motors work on the basis of the interaction between these components. When an electric current is passed through the stator, it creates a magnetic field that interacts with the magnetic field of the rotor. This interaction induces a force on the rotor, causing it to rotate.
The speed and torque of an electric motor can be controlled by adjusting the voltage and current supplied to it. This makes electric motors highly versatile and applicable to a wide range of tasks.
Now that we have a basic understanding of how electric motors function, let’s move on to the step-by-step process of building our own electric motor.
Understanding the Basic Components
Before we start building an electric motor, it’s important to have a clear understanding of the basic components that make up this fascinating machine.
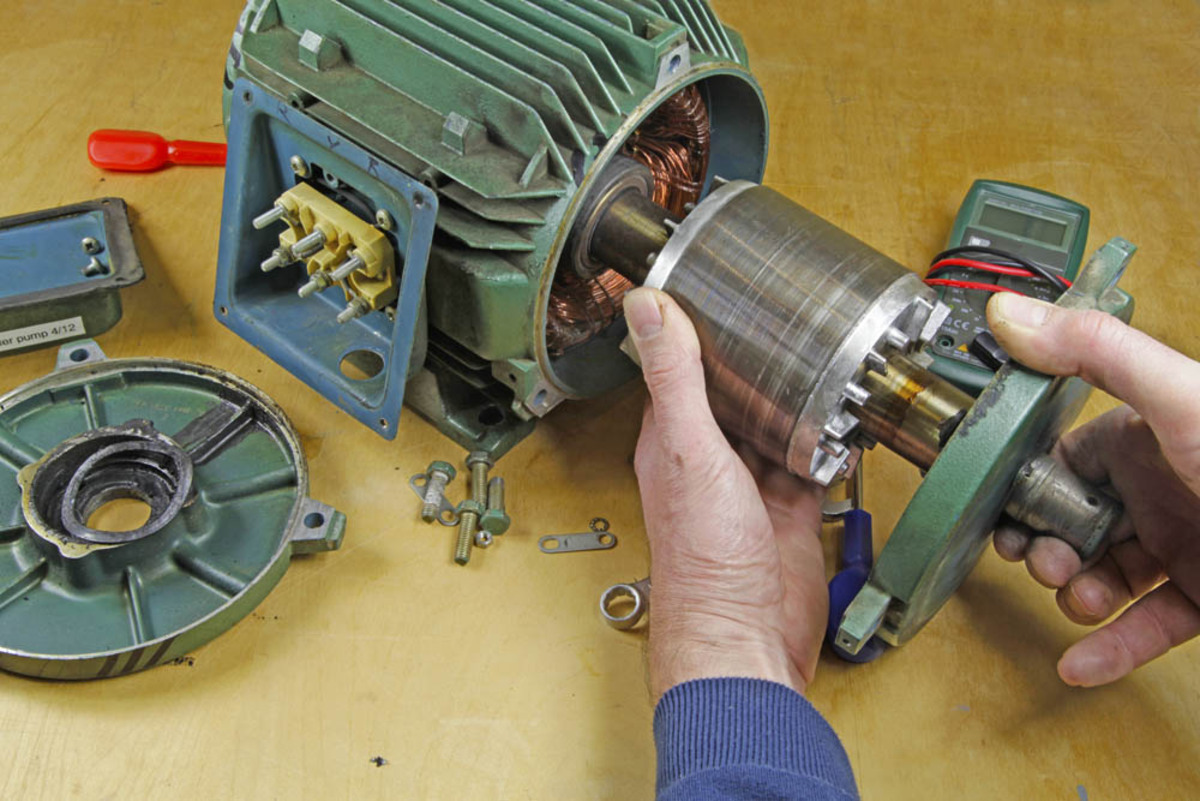
The stator is the stationary part of the motor and consists of a series of coils or electromagnets. These coils are evenly spaced around the inner circumference of the motor and are connected to a power source. When an electric current flows through the coils, it creates a magnetic field.
The rotor is the rotating part of the motor. It is connected to the shaft and holds the armature. The armature is a core made of iron or other magnetic materials, and it is wound with wire to create electromagnetic coils. The rotor, along with the armature, moves due to the interaction between the magnetic field created by the stator and the magnetic field created by the armature.
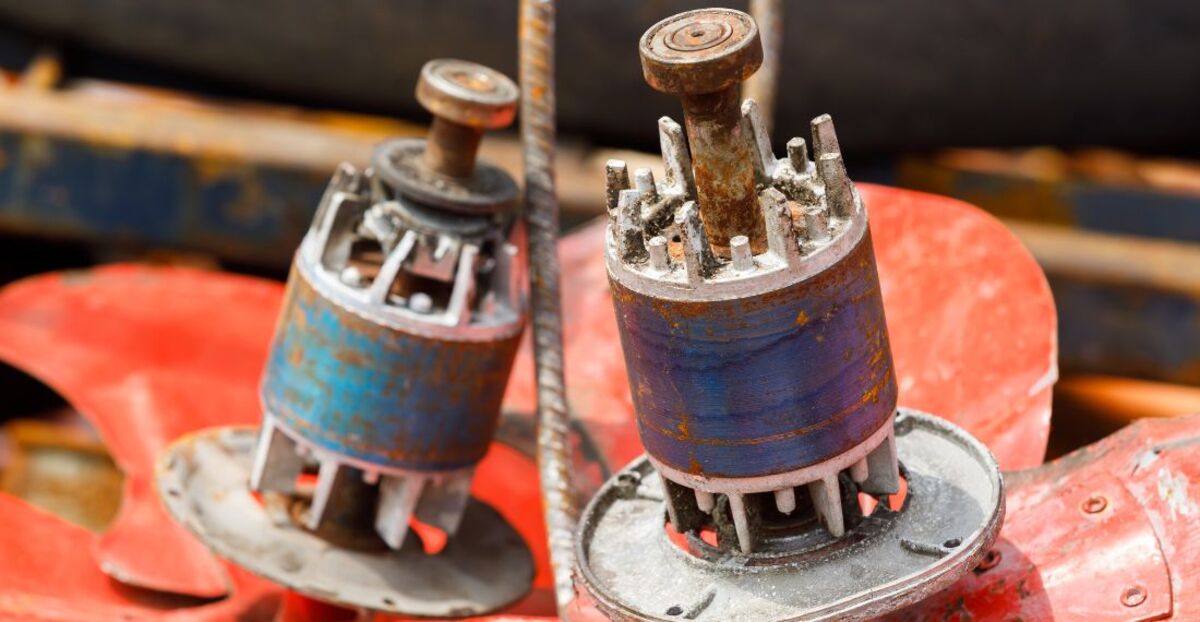
The commutator is a vital component that ensures the flow of current in the correct direction to generate rotational motion. It consists of a series of metal segments, usually copper, arranged in a circular pattern. The armature coils are connected to these segments. As the rotor moves, the contacts of the commutator switch the direction of current flow, which in turn maintains the motion of the rotor in a continuous circular pattern.
Other essential parts include the brushes and the bearings. The brushes are conductive carbon blocks or spring-loaded metal contacts that maintain contact with the commutator segments, ensuring the flow of current. The bearings, on the other hand, provide support and reduce friction between the rotating components of the motor.
By understanding these basic components and their functions, we can now proceed to build our own electric motor. In the next steps, we will gather the necessary tools and materials required for the project.
Step 1: Gathering Necessary Tools and Materials
Before we dive into the exciting process of building an electric motor, it’s important to gather all the necessary tools and materials. Having everything prepared will ensure a smooth and efficient construction process. Here’s a list of the items you’ll need:
Tools:
- Screwdriver set
- Wire cutters
- Wire strippers
- Soldering iron and solder
- Drill with small drill bits
- Needle-nose pliers
- Hot glue gun
- Multimeter (for testing purposes)
- Protective gloves and safety goggles
Read more: How Efficient Is An Electric Motor
Materials:
- DC power source (e.g., batteries or power supply)
- Permanent magnets
- Copper wire
- Iron or soft magnetic material
- Circular metal disc (for the armature)
- Cardboard or plastic sheet (for the rotor and stator)
- Insulating tape or electrical tape
- Mounting brackets or base (optional, for stability)
Make sure you have all the necessary tools and materials readily available before starting the construction process. It’s always a good idea to double-check and ensure that you have everything you need to avoid any delays during the project.
Now that we have our tools and materials prepared, let’s move on to the next step: building the stator.
Step 2: Building the Stator
The stator is the stationary part of the electric motor and plays a crucial role in creating the magnetic field that interacts with the rotor. Building the stator involves constructing the coils or electromagnets that will generate this magnetic field. Here’s a step-by-step guide on building the stator:
- Start by preparing the base of the stator. Cut a circular piece of cardboard or plastic sheet that is slightly larger than the desired diameter of the stator.
- Using a drill, create evenly spaced holes around the circumference of the circular base. The number of holes will depend on the number of coils you plan to use. Typically, an odd number of coils is preferred for better performance.
- Prepare the copper wire by cutting it into lengths that are long enough to wrap around the circular base and reach the commutator. Make sure to strip the insulation from both ends of the wire.
- Insert one end of the wire into one of the holes on the base, leaving a small length protruding. Secure it in place with a small amount of hot glue or insulating tape.
- Wrap the wire tightly around the base, making sure that each loop is close to the previous one. Continue until you reach the last hole, then secure the wire in place as you did with the first end.
- Repeat this process for the remaining holes, ensuring that there is an equal number of turns for each coil. This will ensure a balanced magnetic field.
- Once all the coils are in place, use hot glue or insulating tape to secure the loose ends of the wires and prevent them from unraveling.
- Attach the stator to a stable base or mounting brackets, if desired, using screws or adhesive.
With the stator built, we have completed a fundamental component of our electric motor. In the next step, we will focus on building the rotor, which is responsible for moving the motor. Let’s move on to step 3: building the rotor.
Step 3: Building the Rotor
The rotor is the rotating part of the electric motor and plays a crucial role in generating motion. Building the rotor involves constructing the armature, which consists of a core and wire coils. Here’s a step-by-step guide on building the rotor:
- Start by preparing the core of the armature. This can be made of iron or a soft magnetic material. Cut a circular piece with a diameter slightly smaller than the stator’s diameter.
- Using a drill, create a small hole in the center of the circular core. This hole will be used to mount the rotor onto the motor’s shaft.
- Prepare the copper wire by cutting it into a length that is long enough to wrap around the core several times.
- Starting from one edge of the core, wind the copper wire tightly around the core, making multiple turns. Ensure that the wire is evenly distributed around the core.
- Continue wrapping the wire until you reach the other edge of the core. Leave a small length of wire protruding at both ends for connecting to the commutator.
- Secure the wire in place by using a small amount of hot glue or insulating tape at the ends of the core.
- If desired, you can add multiple layers of wire coils on top of each other to increase the strength of the magnetic field.
- Attach the rotor onto the motor’s shaft, ensuring a tight fit. The hole in the center of the core should align with the shaft.
With the rotor complete, we have now assembled the key components of the electric motor. In the next step, we will proceed to assemble the motor by combining the stator and rotor. Let’s move on to step 4: assembling the motor.
When building an electric motor, make sure to use insulated wire to wind the coils and a strong magnet for the rotor. This will ensure efficient operation and longevity of the motor.
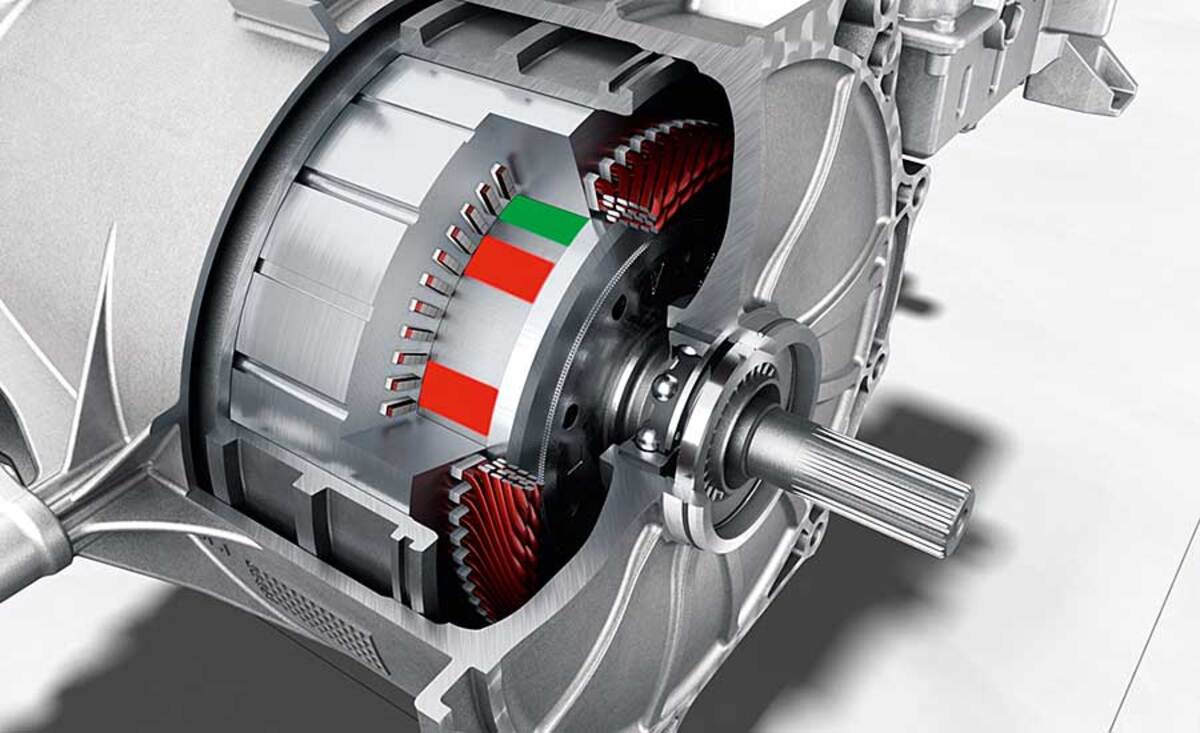
Step 4: Assembling the Motor
Now that we have built the stator and rotor, it’s time to bring them together and assemble the motor. Follow these step-by-step instructions to complete the assembly:
- Place the stator and the rotor side by side, ensuring that the rotor is positioned within the opening of the stator.
- Align the holes of the stator base with the holes of the rotor core, if present, and secure them together using screws or adhesive.
- Ensure that the rotor can freely rotate within the stator without any obstructions or friction.
- Connect the loose ends of the wire coils from the stator to the corresponding segments on the commutator. Use soldering iron and solder to create secure connections.
- Double-check the connections and ensure that the wires are not touching each other or the sides of the motor.
- If needed, add insulation, such as electrical tape or insulating varnish, to prevent any short circuits.
- Attach the brushes to the motor. The brushes should be in direct contact with the commutator segments and have enough flexibility to maintain contact while allowing rotation.
- Secure the brushes in place using screws or brackets, ensuring that they make good electrical contact with the commutator.
Once all the components are securely assembled, you have successfully built your electric motor! However, before we move on to testing the motor, we need to wire it correctly. Let’s proceed to step 5: wiring the motor.
Read more: How To Clean An Electric Motor
Step 5: Wiring the Motor
Wiring the motor is a crucial step in ensuring proper functionality and electrical connections. Follow these step-by-step instructions to wire your motor:
- Start by connecting the positive terminal of your DC power source (battery or power supply) to one of the brushes.
- Connect the other brush to the negative terminal of your power source.
- Next, connect one end of a wire to the other brush and the other end to one of the commutator segments.
- Take another wire and connect it from the remaining brush to the adjacent commutator segment.
- Ensure that the wires are securely connected and insulated to prevent any short circuits.
- Double-check all the connections, ensuring that nothing is loose or touching other conductive parts of the motor.
- If necessary, use insulating tape or heat shrink tubing to cover exposed wires and provide additional insulation.
Now that the motor is wired correctly, we can move on to testing its functionality to ensure everything is working as expected. Proceed to step 6: testing and troubleshooting your motor.
Step 6: Testing and Troubleshooting
Testing your electric motor is an essential step to verify its functionality and identify any potential issues. Follow these steps to test and troubleshoot your motor:
- Ensure that all the connections are secure and the wires are properly insulated.
- Turn on your DC power source and observe the motor. It should start spinning due to the interaction between the stator’s magnetic field and the rotor’s magnetic field.
- If the motor doesn’t start or experiences issues, there are a few things you can check:
- Check the connections: Ensure that all the wires are connected properly and make good electrical contact.
- Inspect the brushes: Make sure that the brushes are in good condition and in proper contact with the commutator. Clean or replace them if necessary.
- Test the power source: Ensure that the batteries or power supply are providing the correct voltage and are in good working condition.
- Check for short circuits: Inspect the wiring and connections for any signs of short circuits or unintended contact between wires.
- Verify the rotor alignment: Ensure that the rotor is centrally positioned within the stator and is able to rotate freely without any obstructions.
- Use a multimeter to measure the voltage across the motor terminals. This will help determine if the power source is delivering the correct voltage.
- If you encounter any issues during the testing process, try troubleshooting the problem by examining each component and connection carefully. Make any necessary adjustments or repairs.
- It’s important to be patient and meticulous during this process, as troubleshooting can sometimes involve trial and error.
- Once the motor is functioning properly, you can proceed to use it for your desired applications.
Congratulations! You have successfully built and tested your own electric motor. Remember to always be cautious when working with electrical components and follow safety guidelines. Enjoy experimenting with your new creation and exploring the world of electric motors!
Before we conclude, let’s summarize the steps we’ve covered so far.
Conclusion
Building an electric motor from scratch is an exciting and rewarding project that allows you to explore the fascinating world of electromagnetism and mechanical engineering. By understanding the basic components and following the step-by-step process, you can create your own functioning electric motor.
Throughout this article, we’ve covered the key steps involved in building an electric motor, starting from gathering the necessary tools and materials to testing and troubleshooting the motor. By following these steps and paying attention to details, you can bring your electric motor to life and witness the marvel of electromagnetic motion.
Remember to prioritize safety throughout the construction process, wearing protective gear and taking precautions when working with electrical components.
Building an electric motor not only provides a practical understanding of how they work, but it also sparks curiosity and creativity. It opens up possibilities for further experimentation and exploration, whether it’s modifying the motor design, understanding the effects of different coil configurations, or even building larger-scale motors for specific applications.
So go ahead and embrace the challenge of building your own electric motor. Enjoy the process, and let your imagination and learning take you to new heights in the world of electric machinery.
Happy experimenting!
Frequently Asked Questions about How To Build A Electric Motor
Was this page helpful?
At Storables.com, we guarantee accurate and reliable information. Our content, validated by Expert Board Contributors, is crafted following stringent Editorial Policies. We're committed to providing you with well-researched, expert-backed insights for all your informational needs.
0 thoughts on “How To Build A Electric Motor”