Home>Furniture & Design>Outdoor Furniture>How To Make An Outdoor Chair
Outdoor Furniture
How To Make An Outdoor Chair
Published: January 11, 2024
Learn how to make your own outdoor chair with our step-by-step guide. Create stylish and durable outdoor furniture with our expert tips and designs. Perfect for your outdoor space.
(Many of the links in this article redirect to a specific reviewed product. Your purchase of these products through affiliate links helps to generate commission for Storables.com, at no extra cost. Learn more)
Introduction
Welcome to the world of outdoor furniture crafting! There's something undeniably satisfying about creating a piece of furniture with your own hands, especially when it's an outdoor chair. Imagine basking in the warm sunshine on a chair that you meticulously crafted, knowing that it's not just any chair, but your chair.
Building an outdoor chair is a fulfilling project that allows you to unleash your creativity while enhancing your outdoor living space. Whether you're a seasoned woodworker or a novice DIY enthusiast, this guide will walk you through the process of creating a sturdy and stylish outdoor chair that will be the envy of your neighbors.
In this comprehensive guide, we'll delve into the materials and tools needed, as well as the step-by-step process of cutting, sanding, and assembling the chair. We'll explore the intricacies of attaching the seat and backrest, and we'll add the finishing touches that will elevate your outdoor chair from functional to fabulous.
So, roll up your sleeves, grab your tools, and let's embark on this rewarding journey of creating the perfect outdoor chair for your relaxation and enjoyment.
Key Takeaways:
- Crafting an outdoor chair involves precise wood cutting, thorough sanding, and meticulous assembly. The finishing touches add protection and personalization, resulting in a stunning and enduring piece of furniture.
- By selecting the right materials, using the appropriate tools, and following the step-by-step process, you can create a sturdy and stylish outdoor chair that reflects your creativity and craftsmanship.
Read more: How To Recover Outdoor Chairs
Materials Needed
Before diving into the construction process, it’s essential to gather all the necessary materials. The following items will form the foundation of your outdoor chair:
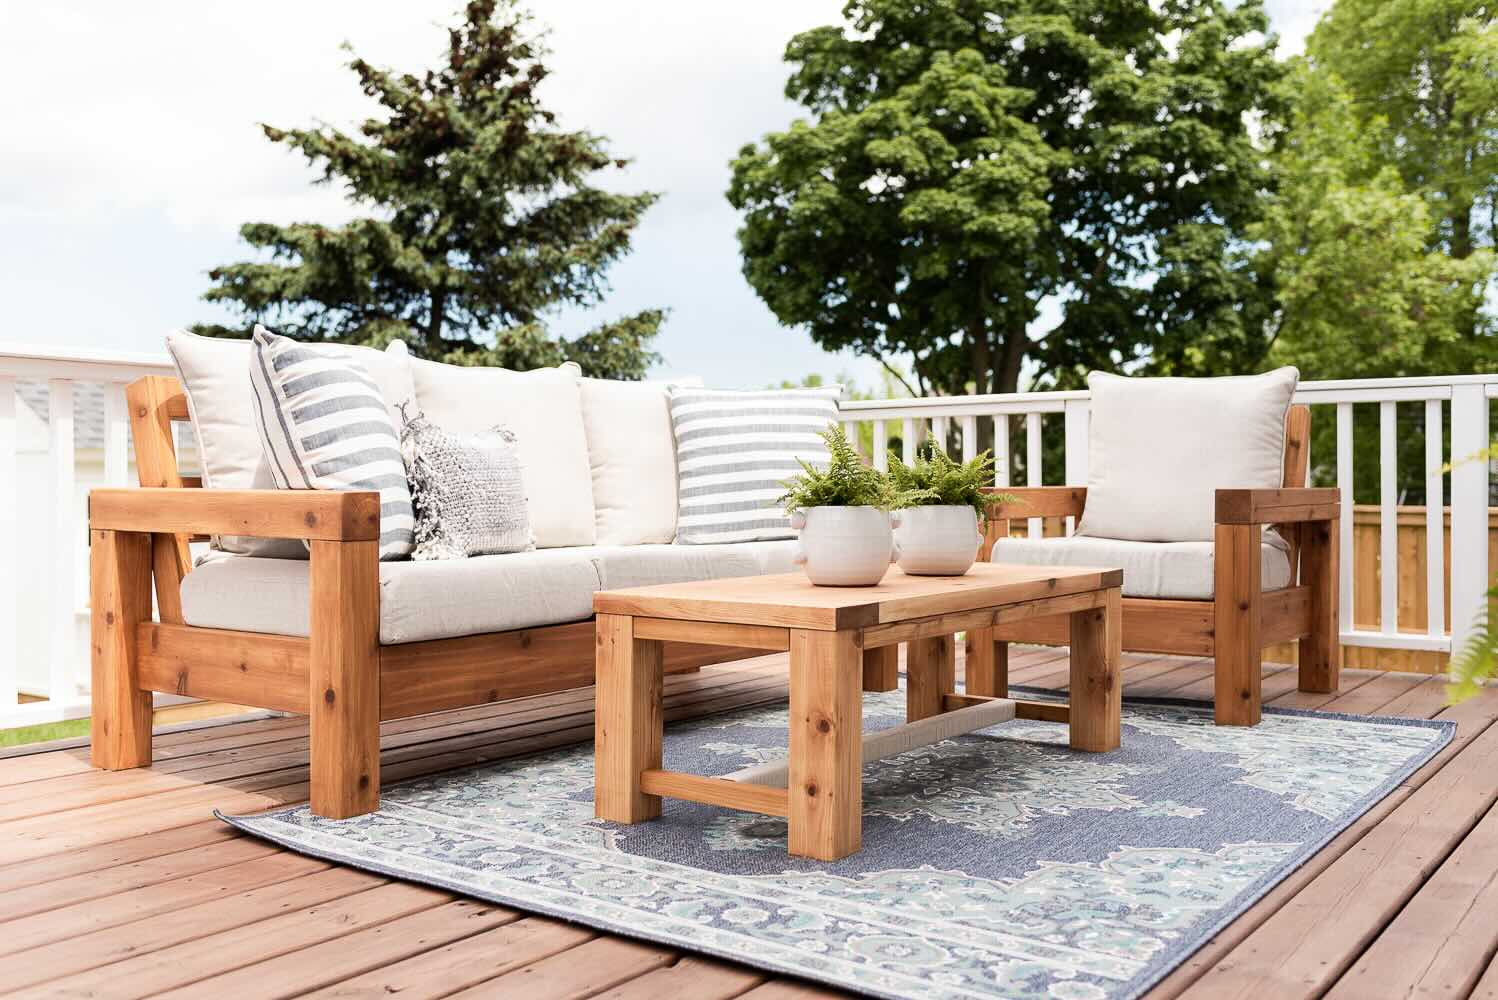
- Pressure-treated lumber: Opt for weather-resistant wood species such as cedar, teak, or redwood to ensure the longevity of your outdoor chair.
- Wood screws: Select corrosion-resistant screws designed for outdoor use to secure the chair’s components firmly.
- Wood glue: A high-quality, weatherproof wood glue will reinforce the joints and enhance the chair’s structural integrity.
- Sandpaper: Various grits of sandpaper, including coarse and fine grades, are essential for smoothing the wood surfaces and achieving a professional finish.
- Wood sealant or outdoor wood finish: Protect your outdoor chair from the elements by applying a durable sealant or finish that is specifically formulated for exterior wood furniture.
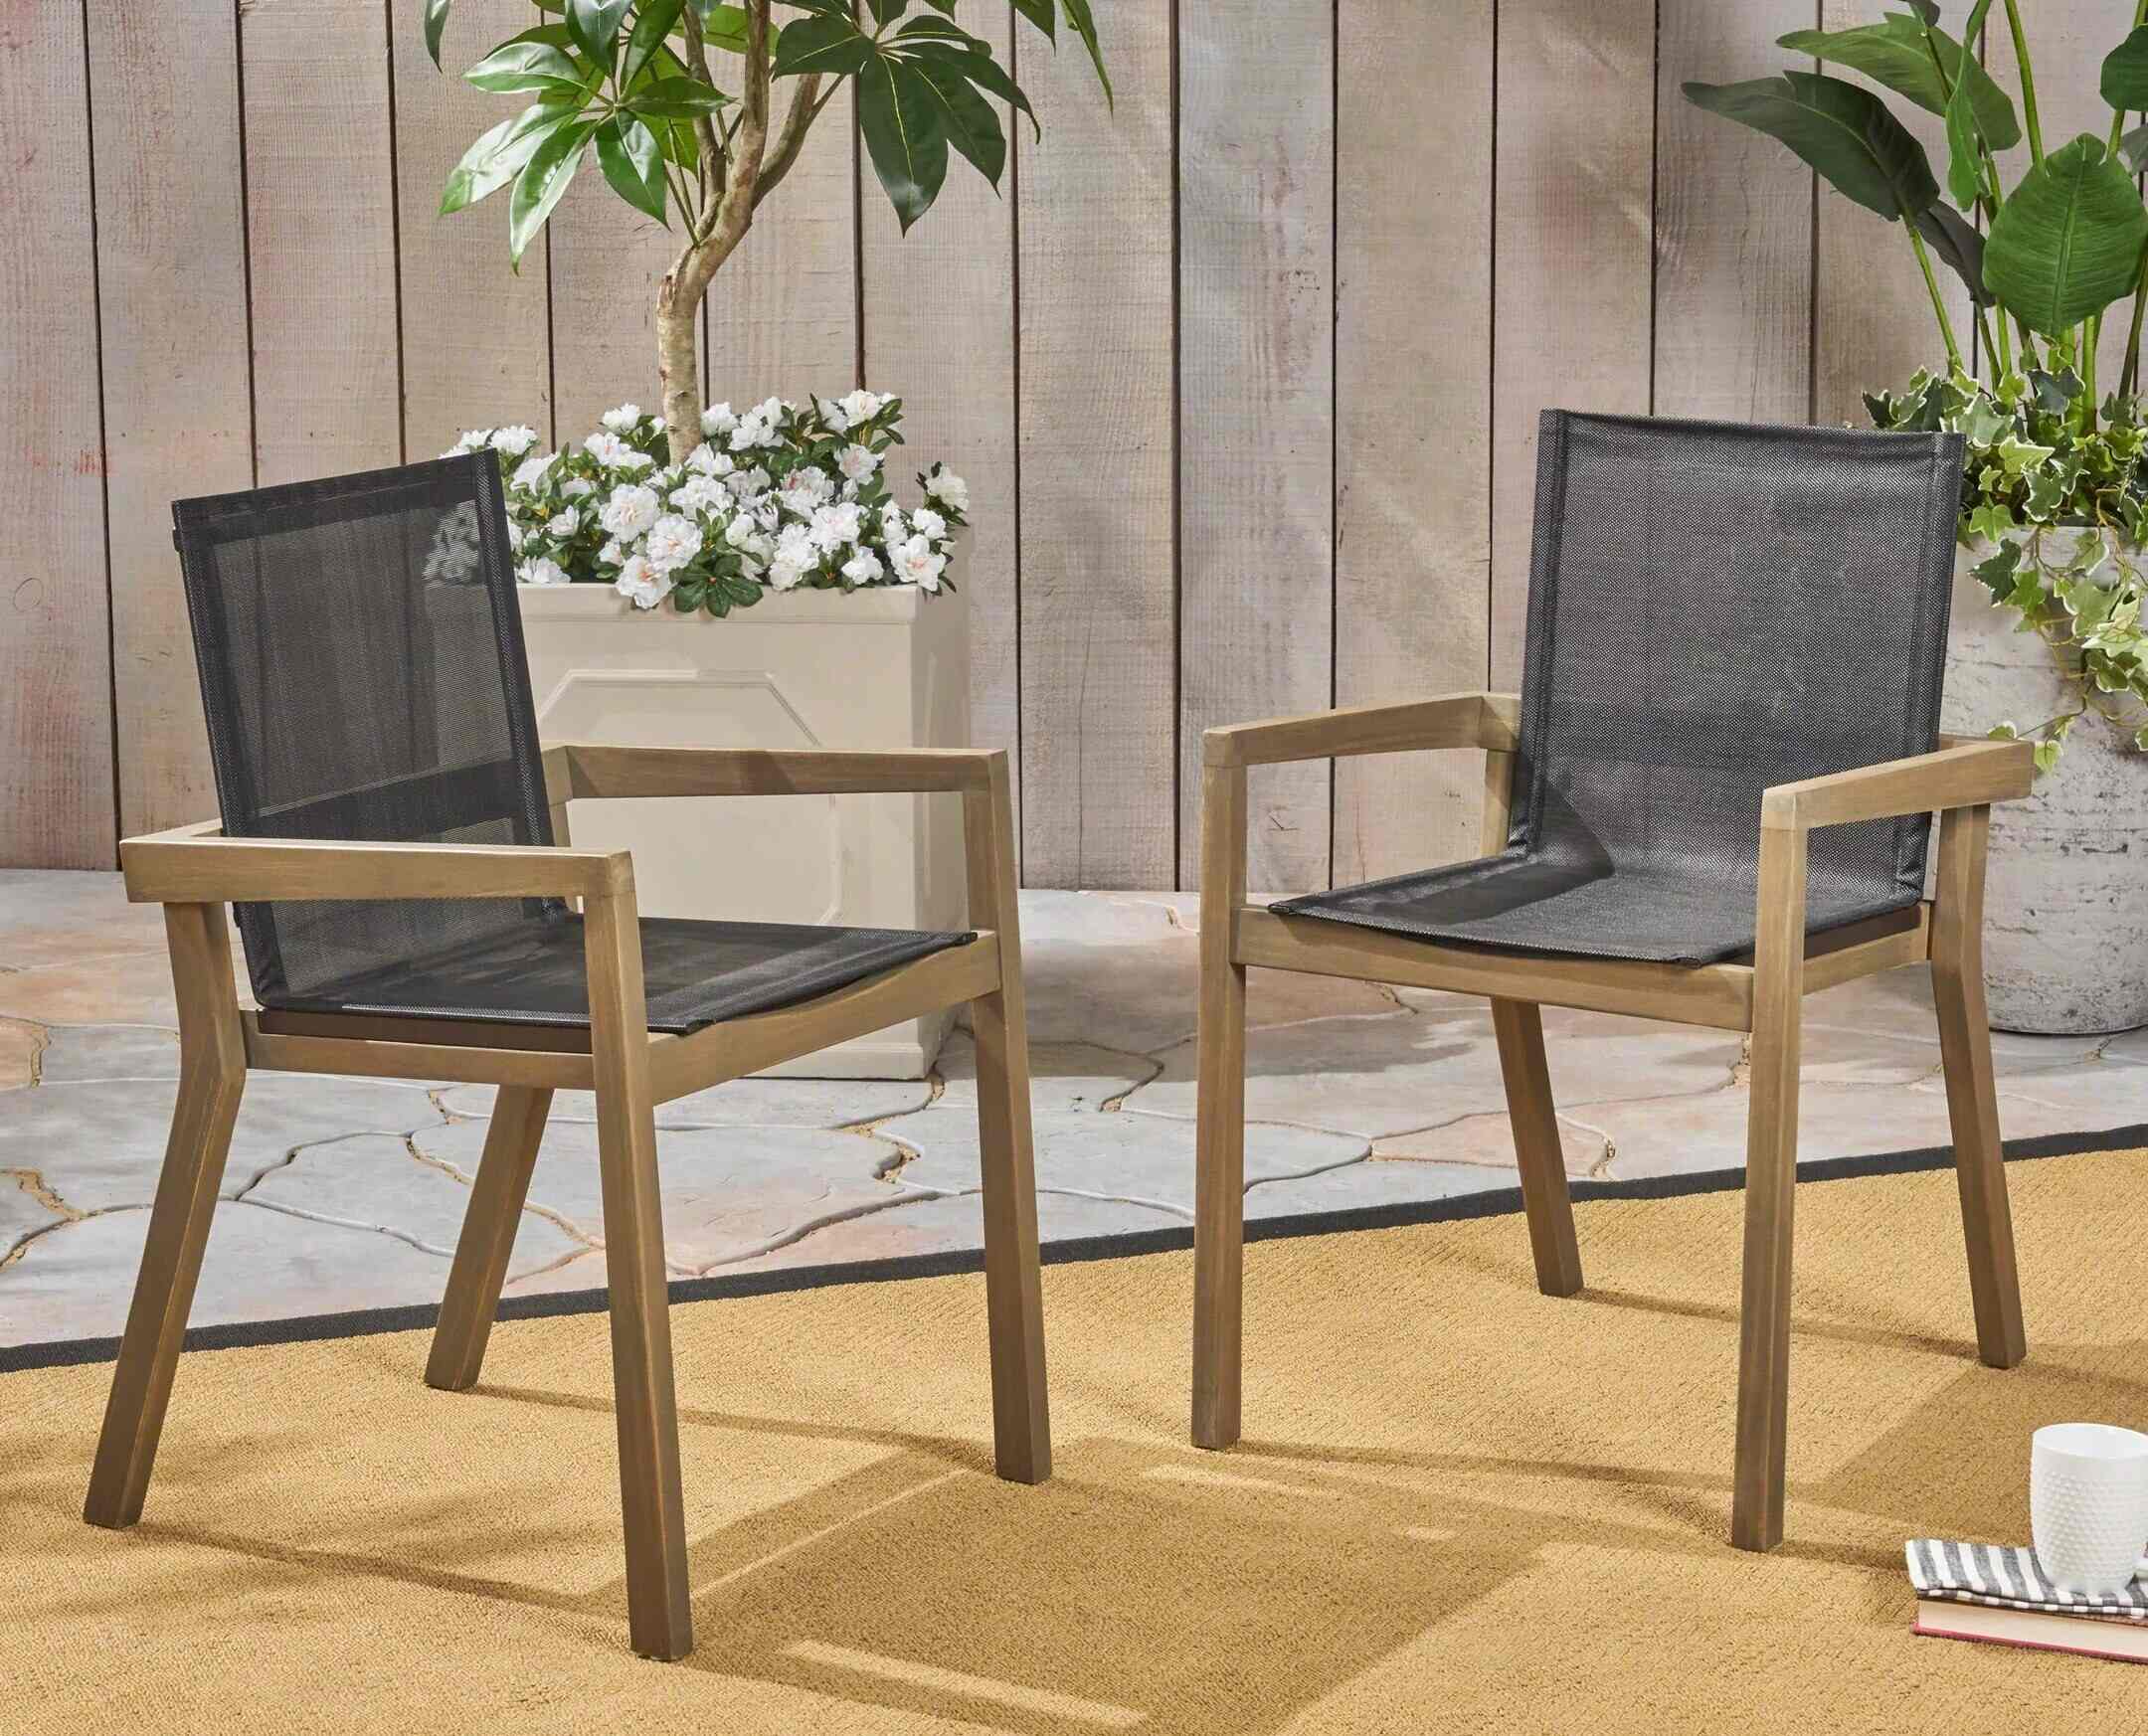
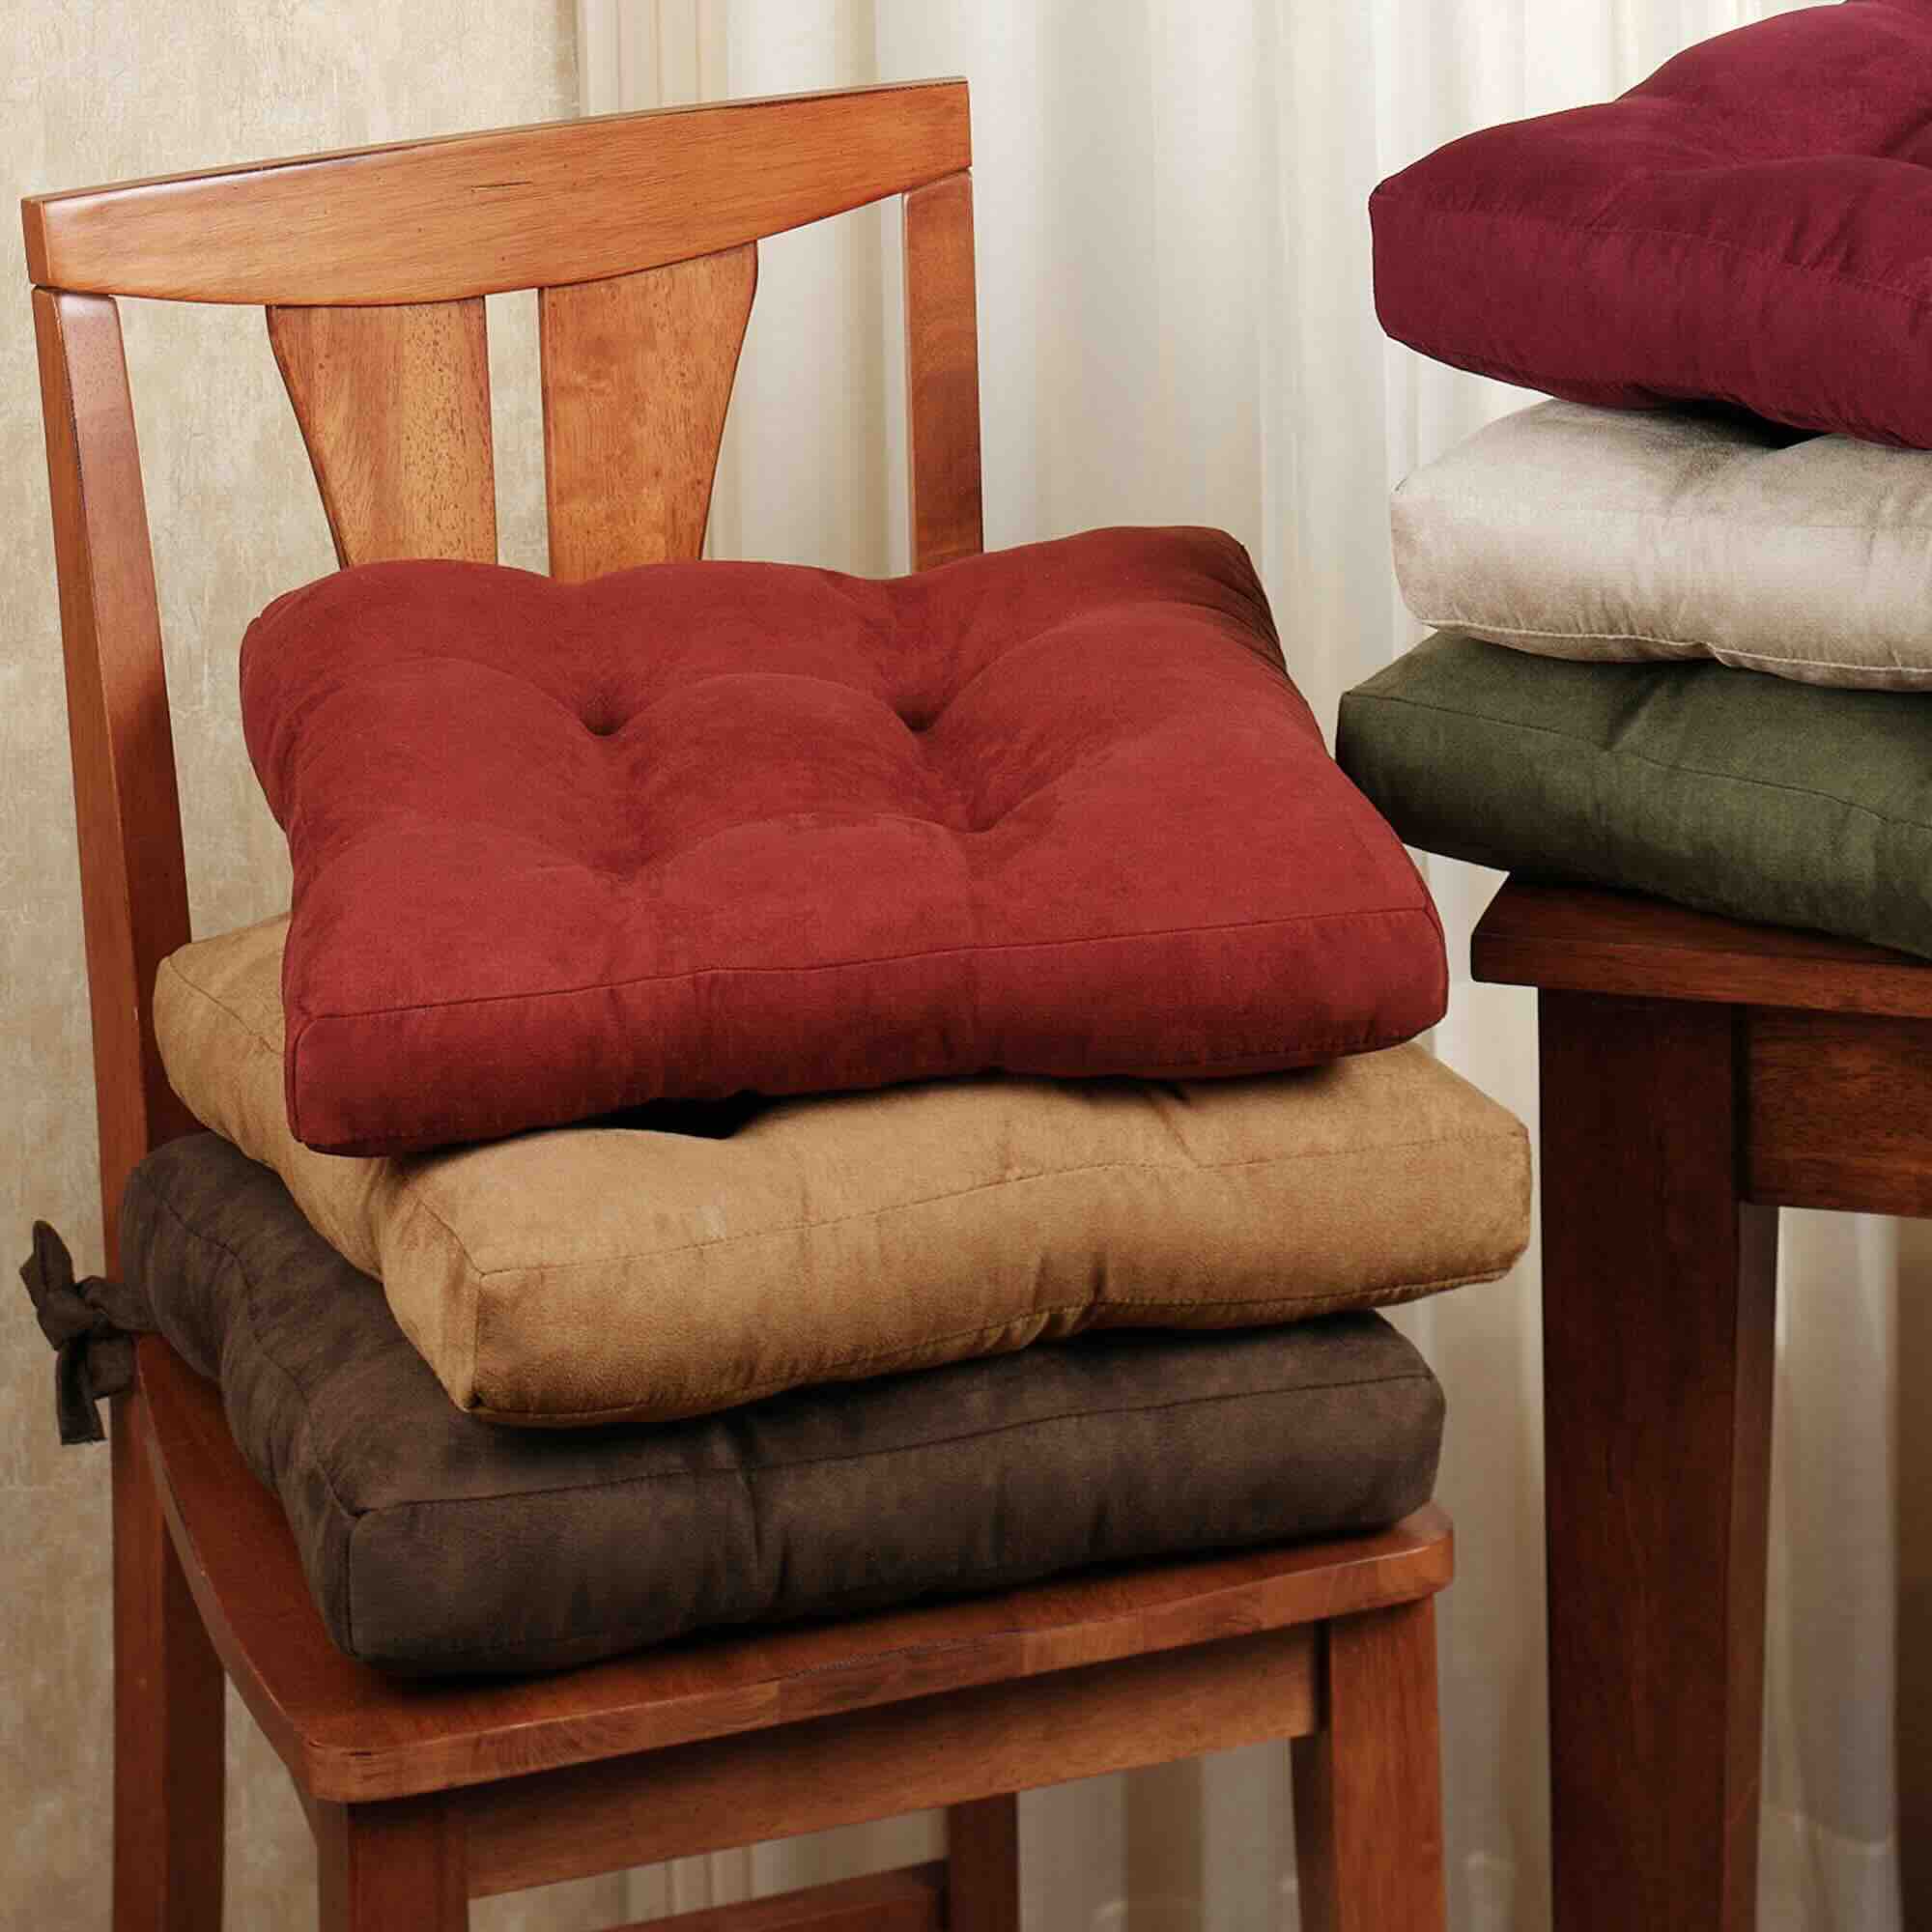
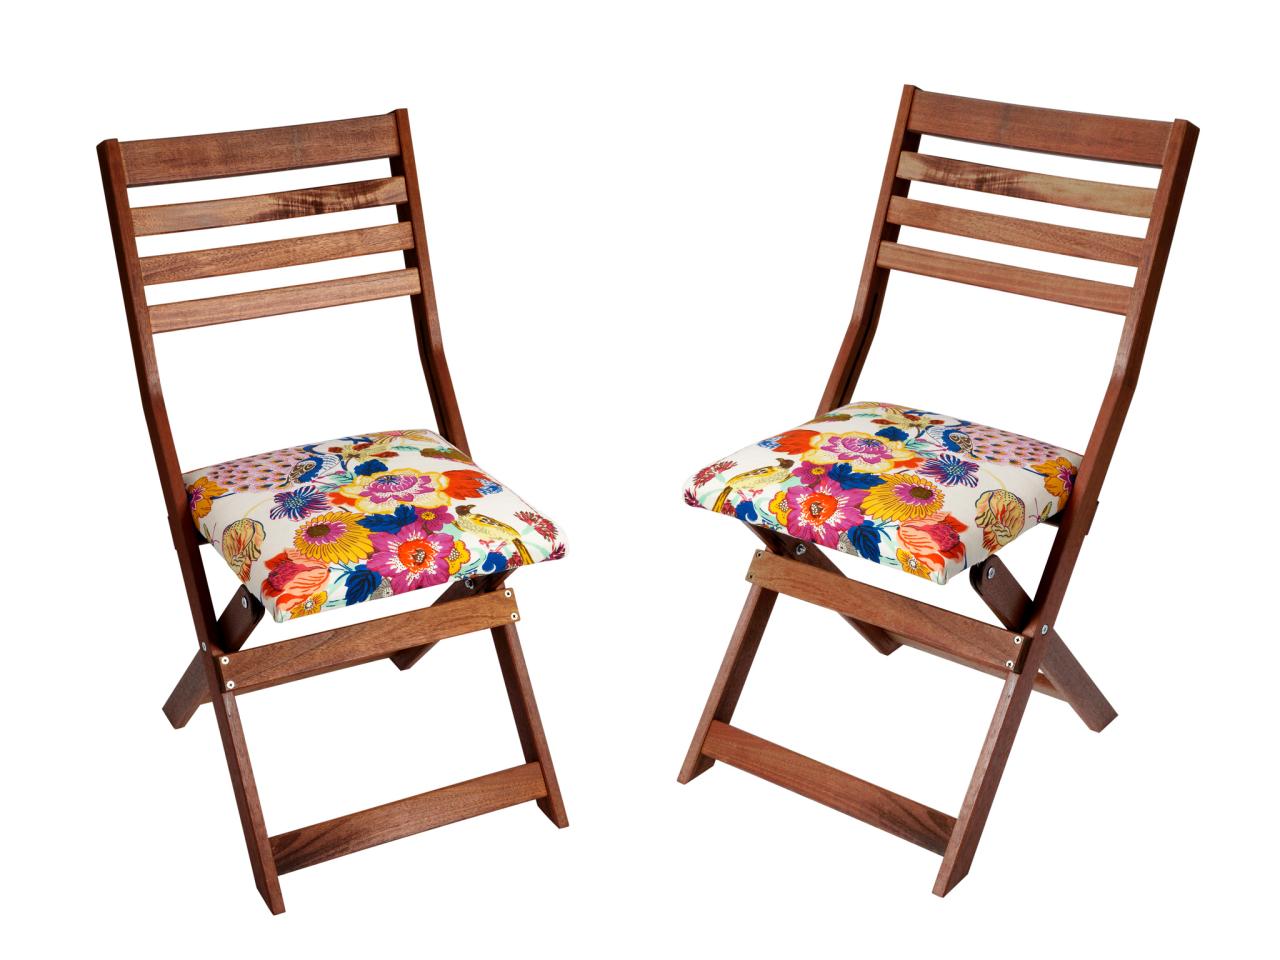
- Cushions or outdoor fabric: If desired, cushions or outdoor fabric can provide comfort and a personalized aesthetic touch to your chair.
By ensuring that you have these materials on hand, you’ll be well-prepared to commence the construction of your outdoor chair. With the right materials, your chair will not only be visually appealing but also resilient against outdoor elements, ensuring years of enjoyment.
Tools Needed
Equipping yourself with the appropriate tools is crucial for a successful outdoor chair construction project. The following tools will enable you to work efficiently and precisely:
- Measuring tape: Accurate measurements are essential for ensuring the structural integrity and visual balance of your outdoor chair.
- Saw: A reliable handsaw or power saw will be used for cutting the lumber to the required dimensions. A miter saw is particularly useful for achieving precise angled cuts.
- Drill and drill bits: A power drill, accompanied by a selection of drill bits, is indispensable for creating pilot holes and driving screws into the wood.
- Screwdriver: Both manual and electric screwdrivers will be necessary for assembling the chair components securely.
- Sandpaper or sander: To achieve a smooth and splinter-free finish, you’ll need sandpaper or a power sander for refining the wood surfaces.
- Clamps: Sturdy clamps are essential for holding the chair’s components in place during assembly, ensuring precise alignment and secure attachment.
- Paintbrushes: If you plan to apply a wood finish or sealant, high-quality paintbrushes will facilitate an even and thorough application.
- Safety equipment: Prioritize safety by using protective gear such as safety goggles, a dust mask, and ear protection when operating power tools and handling wood materials.
By having these tools at your disposal, you’ll be well-equipped to tackle the construction process with confidence and precision. With the right tools in hand, you can navigate each step of the project efficiently, resulting in a professionally crafted outdoor chair that you can take pride in.
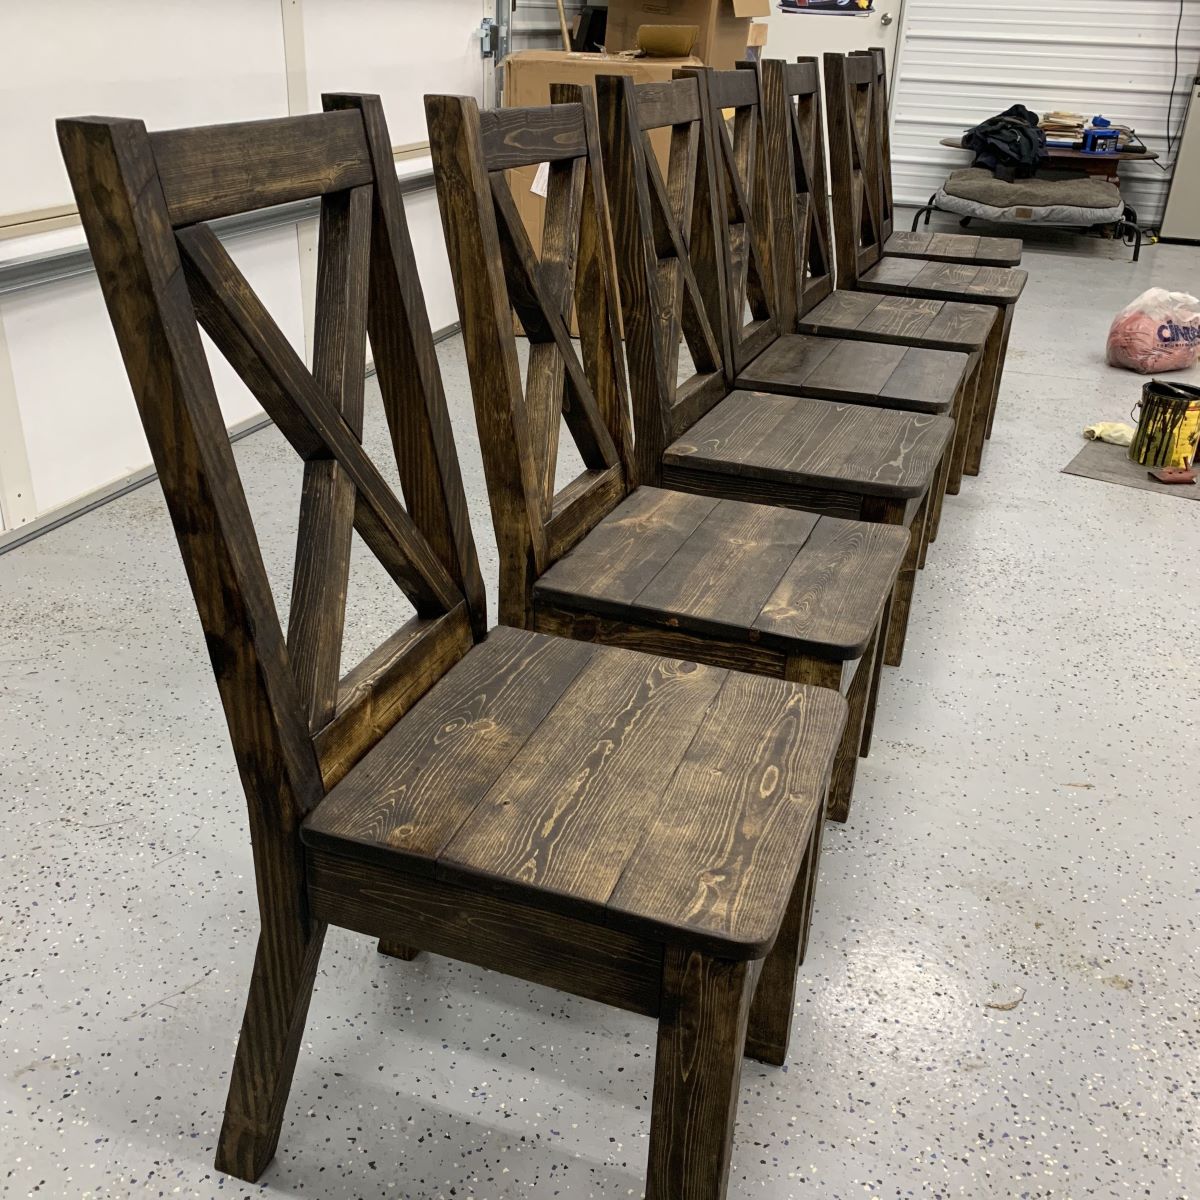
Step 1: Cutting the Wood
The initial phase of crafting an outdoor chair involves precise and strategic wood cutting to create the foundational components. Follow these key steps to ensure accurate and seamless wood preparation:
- Measure and mark: Using a measuring tape and a pencil, meticulously measure and mark the dimensions of each chair component on the lumber. This includes the chair legs, seat slats, backrest slats, and armrests.
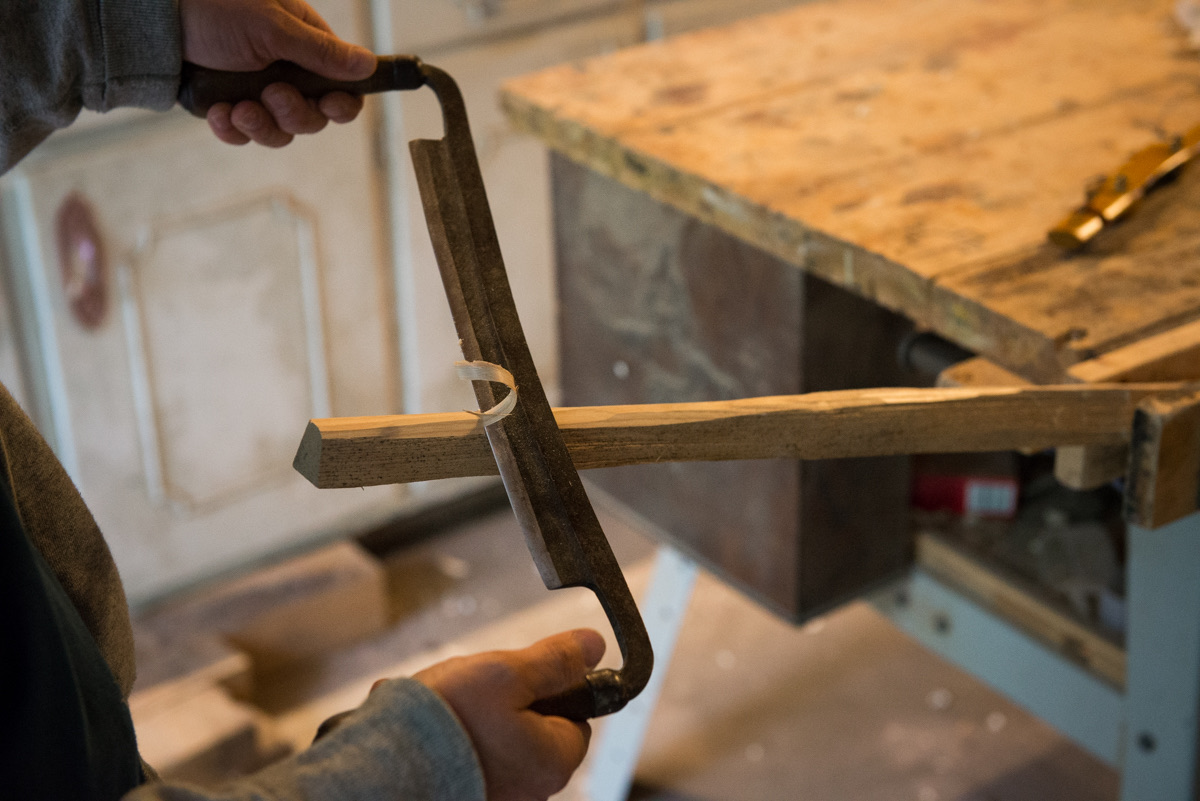
- Cut the components: Employ a saw, whether a handsaw or a power saw, to carefully cut the marked lumber pieces according to the specified measurements. Pay close attention to achieving straight and precise cuts, as they will directly impact the chair’s stability and visual appeal.
- Create angled cuts (if applicable): If your design incorporates angled cuts for aesthetic or functional purposes, utilize a miter saw to achieve accurate and uniform angles on the designated components, such as the chair legs and backrest.
By meticulously executing the wood cutting phase, you’ll lay the groundwork for a well-structured and visually appealing outdoor chair. Attention to detail during this stage will contribute to the overall stability and aesthetic coherence of the final product.
Step 2: Sanding the Wood
Once the wood components have been cut to the required dimensions, the next crucial step is to refine the surfaces through thorough sanding. This process is essential for achieving a smooth, splinter-free finish and preparing the wood for assembly and finishing treatments. Follow these steps to effectively sand the wood:
- Select the appropriate sandpaper: Begin by choosing the right grit of sandpaper for the initial sanding. Coarse-grit sandpaper, such as 80 or 100 grit, is ideal for removing rough edges and irregularities, while finer grits, such as 150 or 180, can be used for subsequent smoothing.
- Sand with the grain: Always sand in the direction of the wood grain to avoid creating scratches or blemishes that may detract from the chair’s appearance. Consistent, parallel sanding motions will yield a uniform and professional result.
- Smooth the edges and corners: Pay particular attention to smoothing the edges and corners of each component, as these areas are prone to splintering and can compromise the chair’s comfort and visual appeal.
- Progress to finer grits: After the initial sanding, transition to finer grits of sandpaper to achieve a velvety-smooth surface. This process will refine the wood further and prepare it for the application of a finish or sealant.
By meticulously sanding the wood components, you’ll ensure that the surfaces are not only visually appealing but also safe and comfortable to the touch. This preparatory step sets the stage for the subsequent assembly and finishing stages, contributing to the overall quality and longevity of your outdoor chair.
When making an outdoor chair, use weather-resistant materials like cedar or teak to ensure durability and longevity. Properly seal and protect the wood to prevent damage from the elements.
Read more: How To Reupholster Outdoor Chairs
Step 3: Assembling the Chair
With the wood components cut and sanded to perfection, it’s time to bring your outdoor chair to life through meticulous assembly. This phase requires precision and attention to detail to ensure the structural integrity and stability of the chair. Follow these essential steps to effectively assemble the chair:
- Organize the components: Lay out all the chair components in an organized manner, ensuring that you have the necessary hardware, such as wood screws and wood glue, readily available.
- Align and secure the legs: Begin by aligning the chair legs according to the design specifications, using clamps to hold them in place. Subsequently, secure the legs to the seat frame using wood screws and wood glue, ensuring a robust and stable connection.
- Attach the backrest and armrests: Carefully attach the backrest and armrests to the assembled seat frame, verifying the alignment and using clamps to maintain stability during the attachment process. Secure these components with wood screws and wood glue to fortify the chair’s structure.
- Reinforce the joints: Apply wood glue to the joints before driving in the wood screws, enhancing the bond and stability of the chair’s components. Wipe off any excess glue to maintain a clean and professional finish.
By methodically assembling the chair components, you’ll witness your outdoor chair taking shape, embodying the vision you set out to achieve. The careful execution of this phase is pivotal in ensuring that your chair not only looks stunning but also stands the test of time, providing enduring comfort and support.
Step 4: Attaching the Seat and Backrest
As your outdoor chair nears completion, the attachment of the seat and backrest represents a critical stage that contributes to the chair’s comfort and overall aesthetic appeal. This step requires meticulous attention to detail and precision to ensure a secure and visually pleasing integration of these essential components. Follow these key steps to effectively attach the seat and backrest:
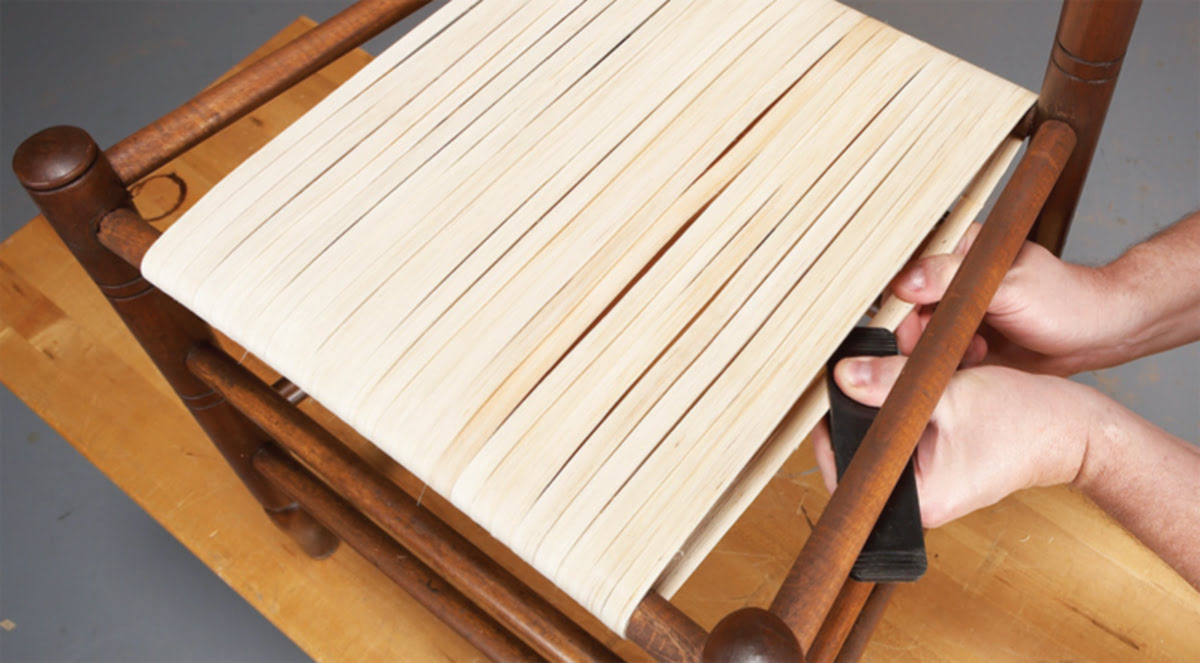
- Position the seat: Carefully position the prepared seat onto the assembled chair frame, ensuring precise alignment and overhang as per the design specifications. Use clamps to secure the seat in place, preventing any movement during the attachment process.
- Secure the seat: Utilize wood screws to securely attach the seat to the chair frame, driving the screws through the underside of the frame into the seat slats. This step reinforces the connection, enhancing the chair’s stability and weight-bearing capacity.
- Attach the backrest: Align the backrest with the designated portion of the chair frame, ensuring a seamless and uniform fit. Secure the backrest to the frame using wood screws, employing clamps as needed to maintain stability during the attachment process.
- Verify the integrity of the attachment: Once the seat and backrest are securely attached, inspect the connections to ensure that they are flush and free from gaps. This verification step is crucial for confirming the structural soundness and visual coherence of the chair.
By skillfully executing the attachment of the seat and backrest, you bring your outdoor chair one step closer to its final form, where comfort and style converge seamlessly. The successful completion of this phase sets the stage for the finishing touches that will elevate your outdoor chair to a stunning and inviting focal point of your outdoor space.
Step 5: Finishing Touches
As your outdoor chair takes shape, the application of finishing touches serves as the crowning moment, transforming your creation into a visually captivating and enduring piece of outdoor furniture. This phase involves the application of protective treatments and, if desired, the addition of personalized elements that impart character and comfort to the chair. Follow these essential steps to add the finishing touches to your outdoor chair:
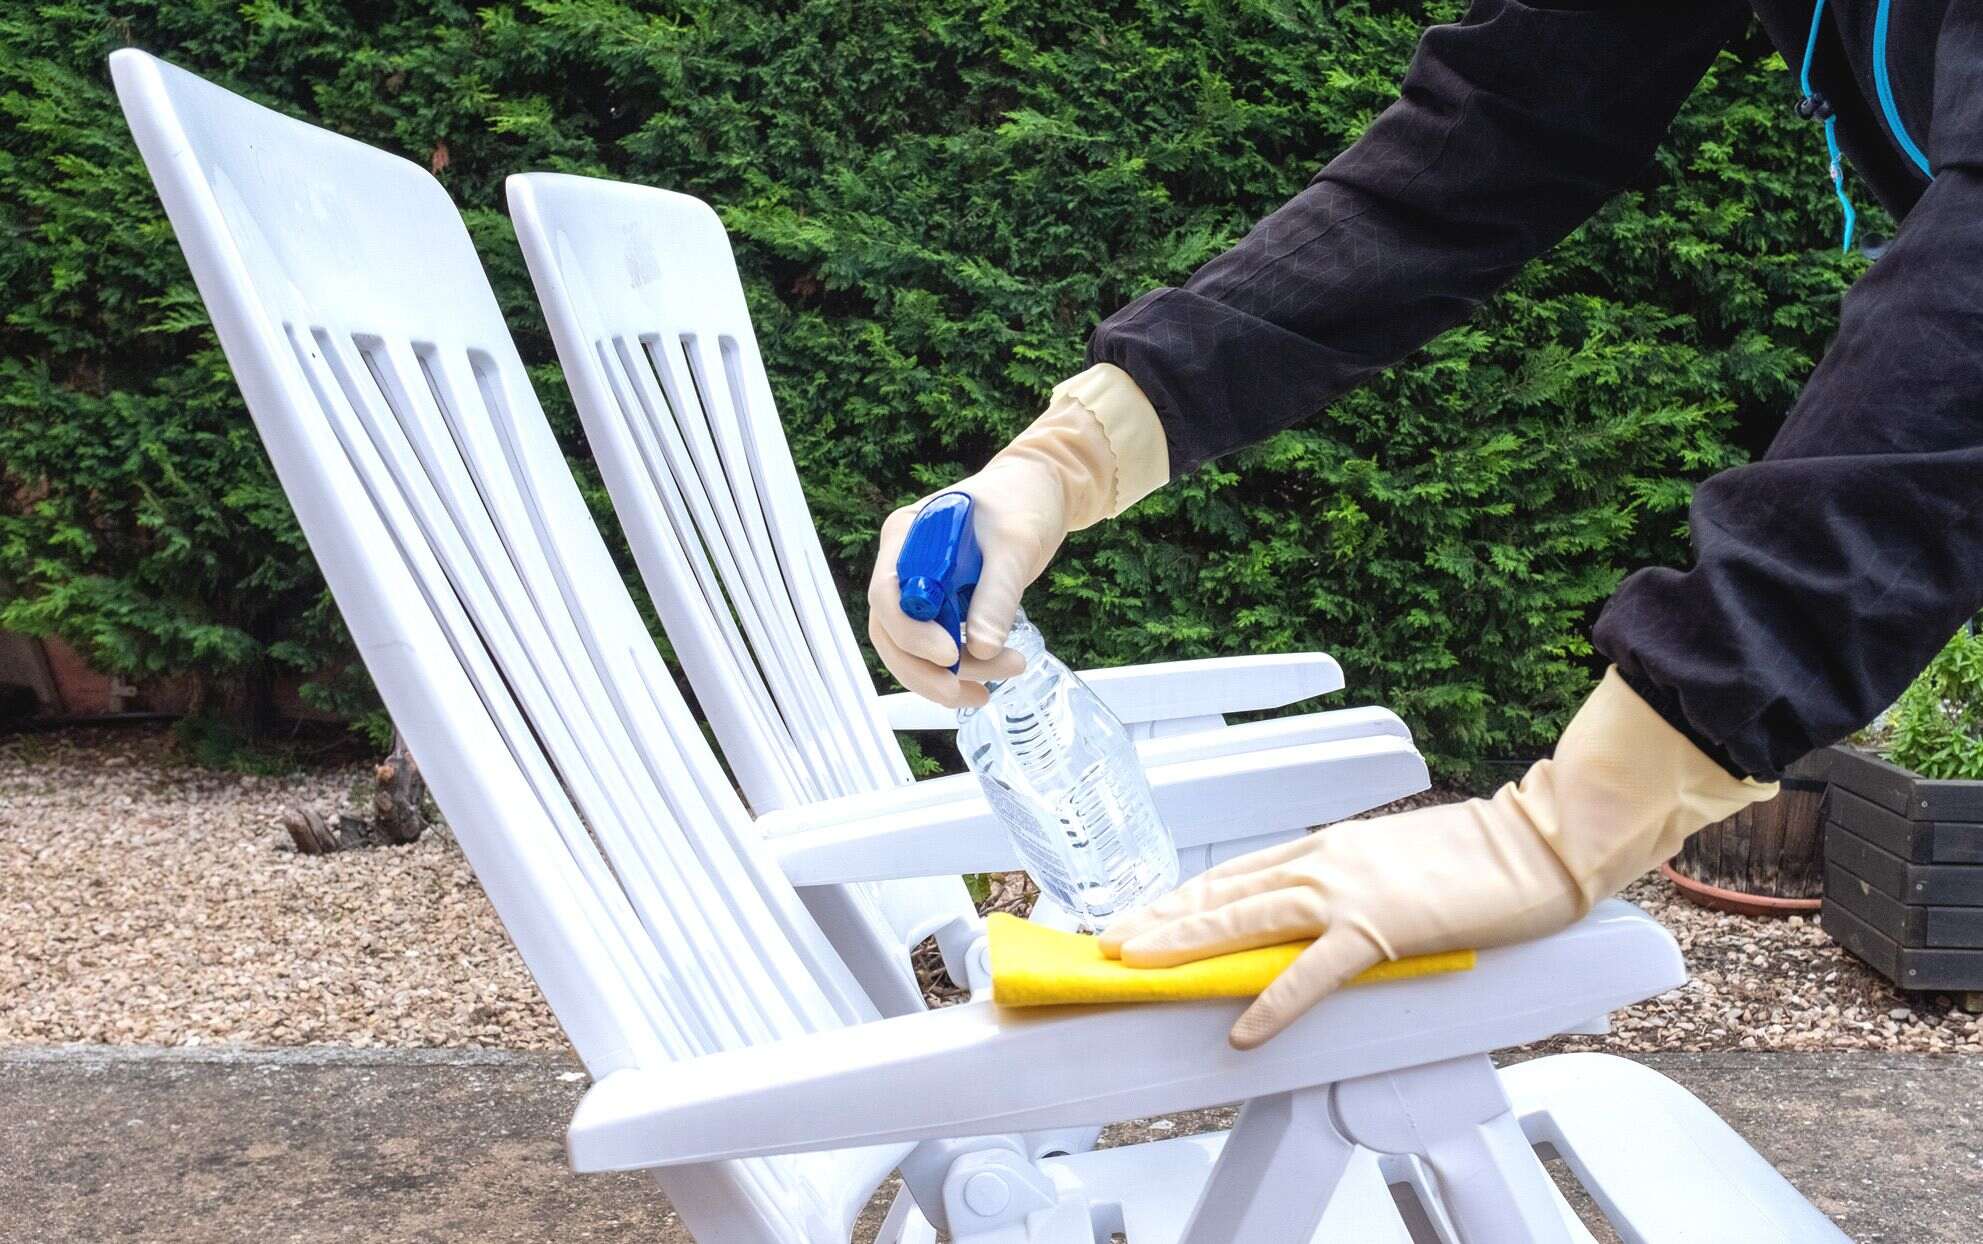
- Apply a protective finish: Protect the wood from outdoor elements by applying a high-quality outdoor wood finish or sealant. Ensure thorough coverage of all surfaces, including the undersides, to shield the chair from moisture, UV exposure, and general wear and tear.
- Smooth any remaining imperfections: Prior to applying the finish, perform a final round of sanding to address any remaining imperfections and achieve a flawlessly smooth surface. This step contributes to the professional and inviting appearance of the chair.
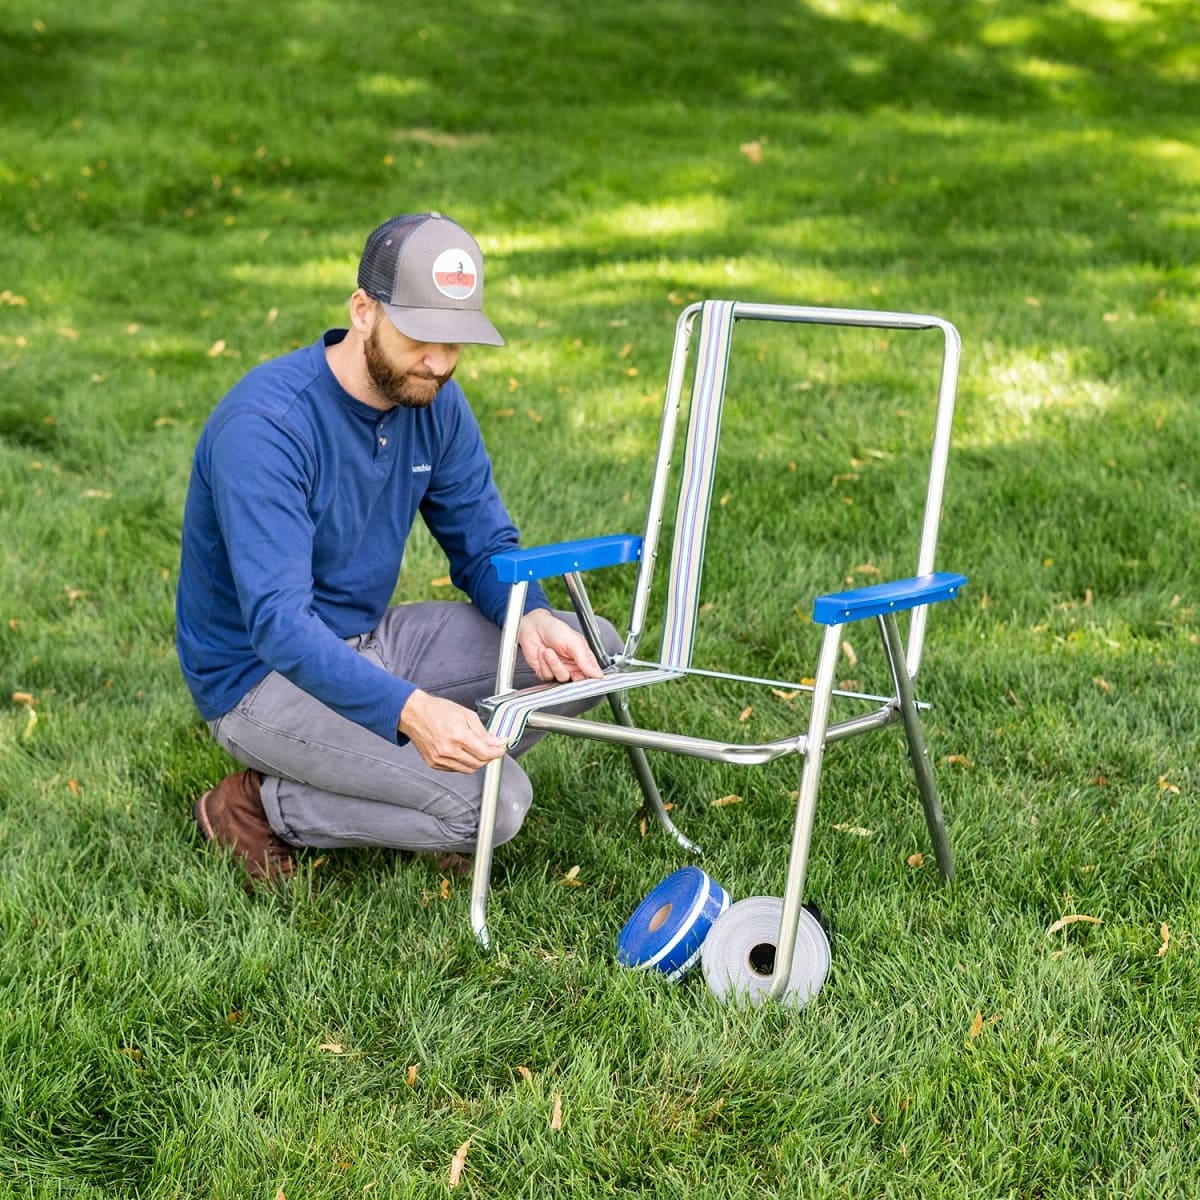
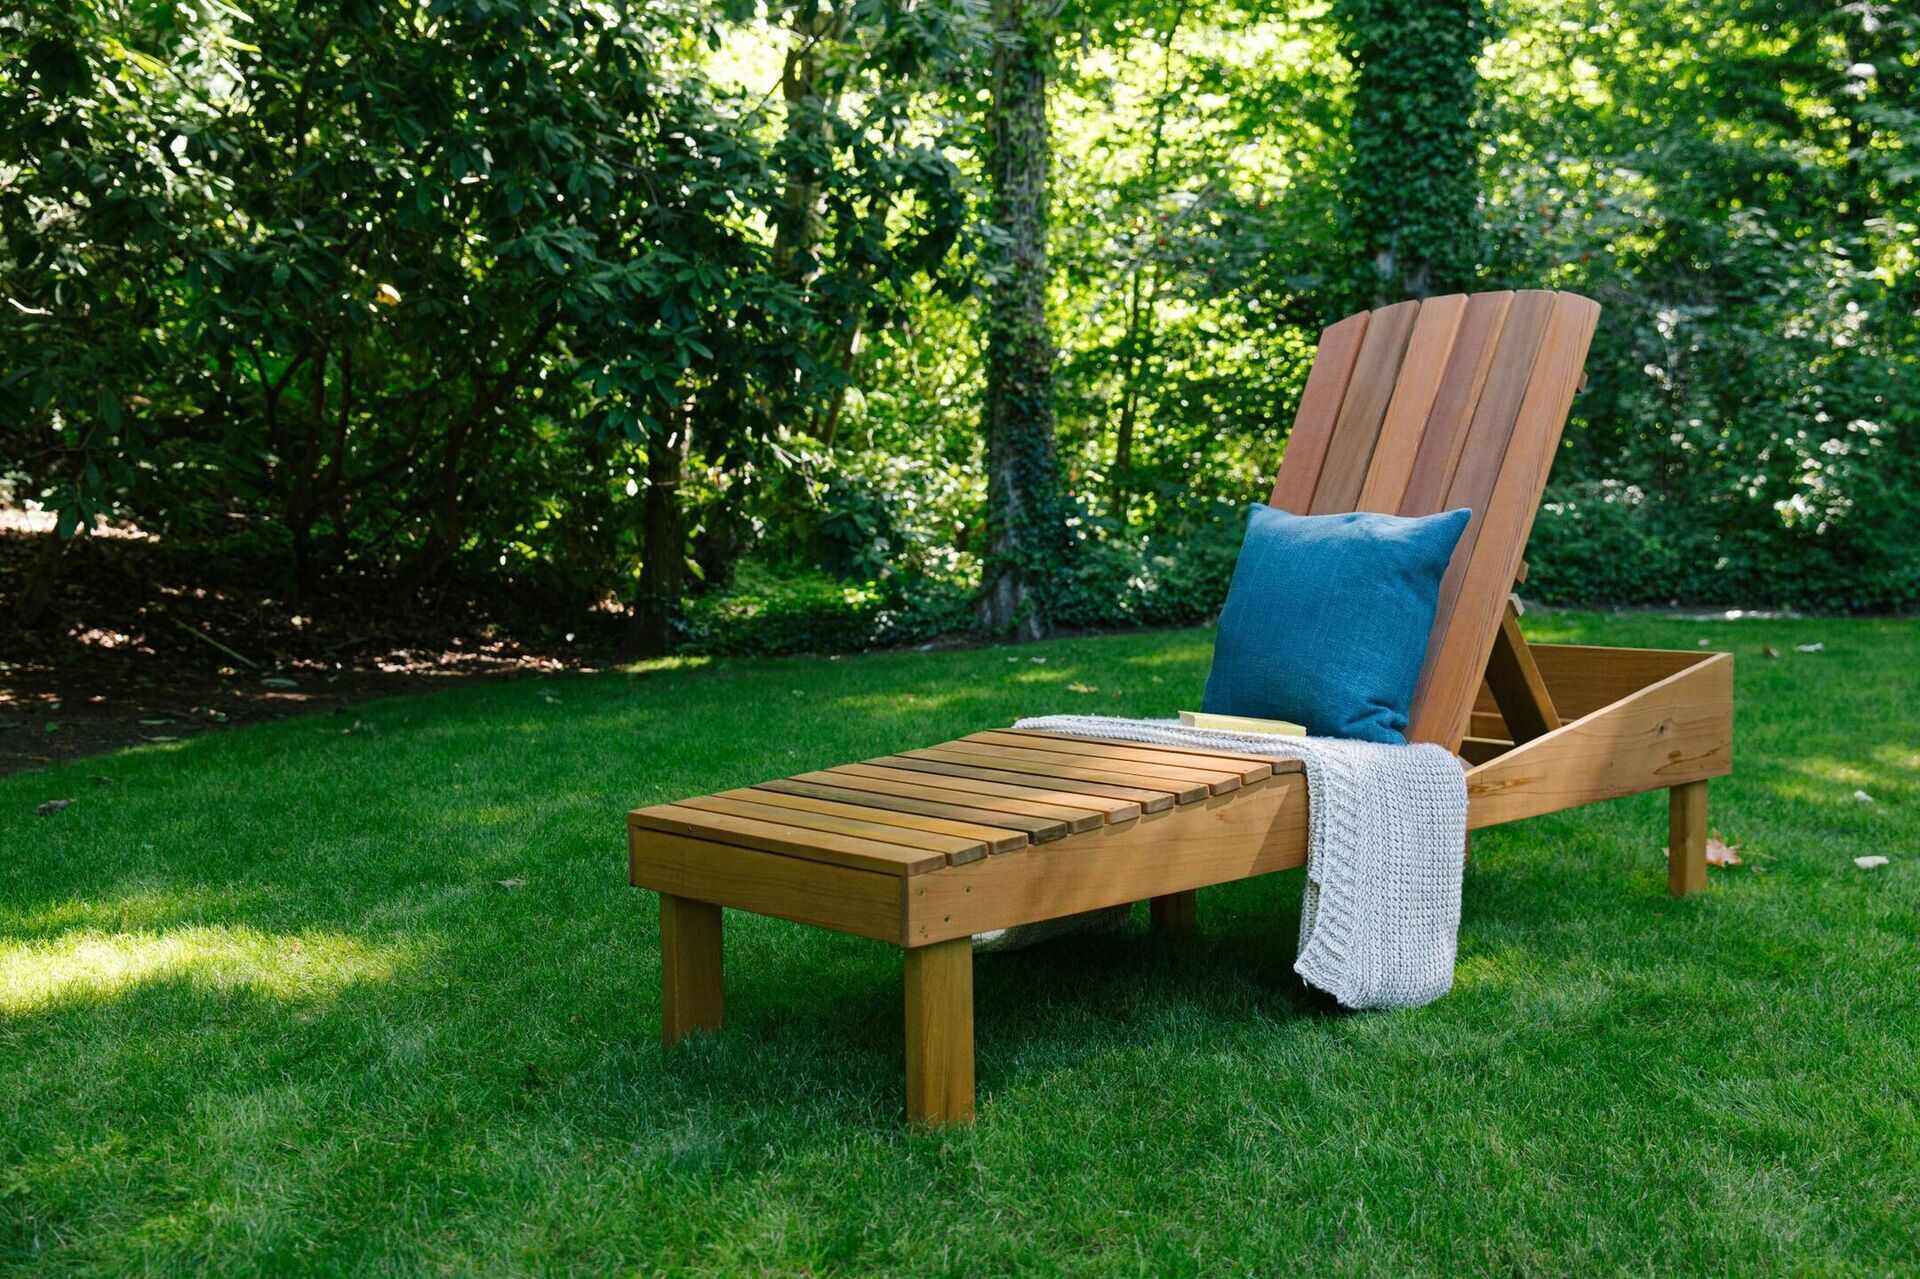
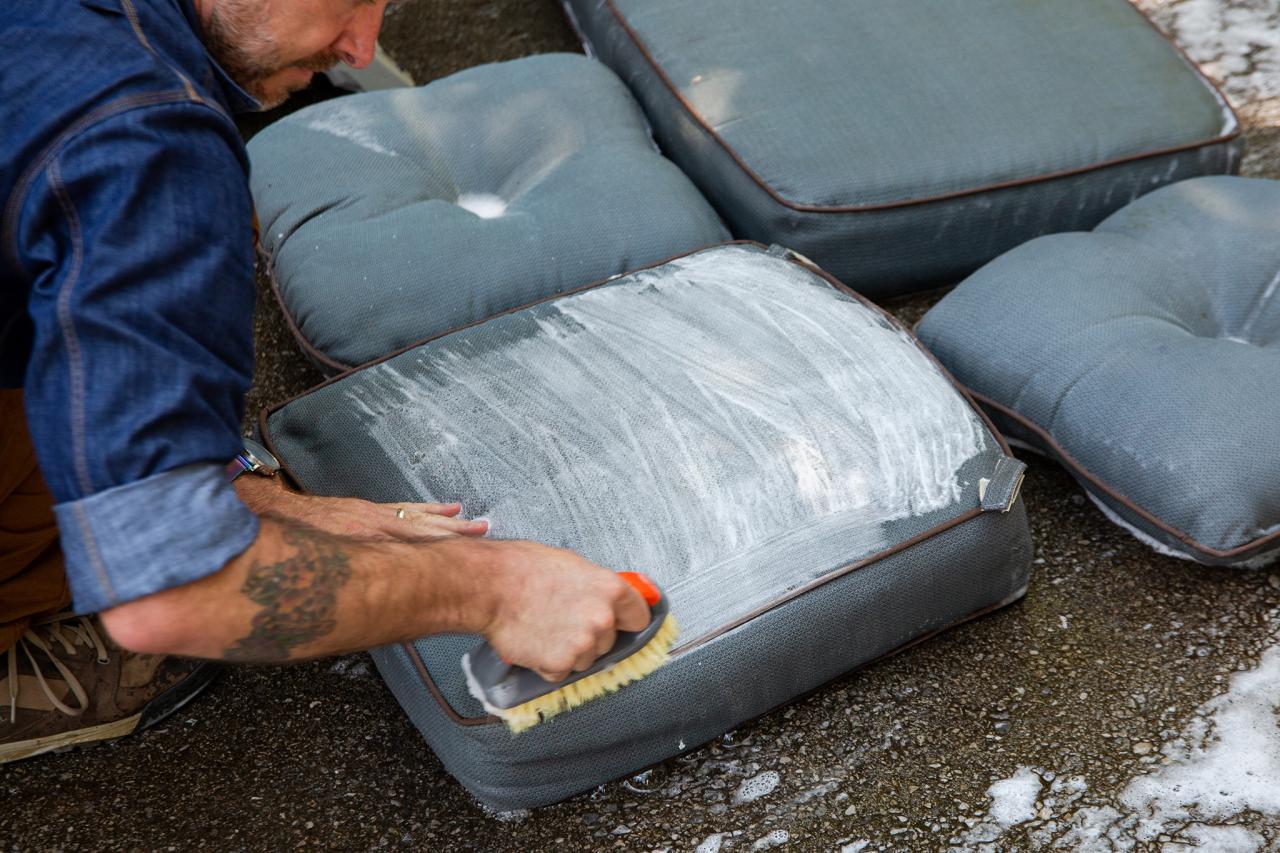
- Add cushions or fabric (optional): If desired, enhance the comfort and visual appeal of the chair by adding cushions or outdoor fabric that complements your outdoor aesthetic. Secure the cushions or fabric to the chair to prevent shifting or displacement during use.
- Personalize with decorative elements: Consider adding decorative elements, such as engraved details or ornamental hardware, to infuse the chair with a personalized touch that reflects your unique style and creativity.
By meticulously attending to the finishing touches, you elevate your outdoor chair from a functional creation to a captivating and enduring centerpiece of your outdoor living space. The careful application of protective treatments and the addition of personalized elements culminate in a chair that not only beckons relaxation but also serves as a testament to your craftsmanship and attention to detail.
Conclusion
Congratulations on successfully crafting your very own outdoor chair! Through meticulous wood cutting, precise assembly, and thoughtful finishing touches, you’ve brought to life a stunning piece of furniture that embodies both functionality and style. As you reflect on the journey from raw materials to the completed chair, consider the pride and satisfaction that accompany the creation of a tangible and enduring work of art.
Not only does your outdoor chair provide a comfortable and inviting seating option, but it also stands as a testament to your craftsmanship and dedication. The careful selection of materials, the artful execution of assembly, and the personalized finishing touches have resulted in a chair that seamlessly integrates into your outdoor space, beckoning relaxation and enjoyment.
As you bask in the satisfaction of your completed project, take a moment to appreciate the skills you’ve honed and the creativity you’ve unleashed. Your outdoor chair is more than just a piece of furniture; it’s a tangible representation of your passion for craftsmanship and design.
Whether you’re admiring the chair nestled amidst your garden or enjoying its comfort during outdoor gatherings, may it serve as a constant reminder of the joy and fulfillment that stem from bringing your creative visions to life. Embrace the moments of relaxation and camaraderie that your outdoor chair will facilitate, knowing that it’s a product of your dedication and artistry.
As you embark on future woodworking endeavors, may the experience of crafting this outdoor chair continue to inspire and motivate you, fueling your passion for creating functional and aesthetically pleasing pieces that enrich your living spaces.
Now, go ahead, take a seat, and revel in the fruits of your labor. Your outdoor chair is not just a piece of furniture; it’s a testament to your ingenuity and craftsmanship, a tangible embodiment of your creativity and dedication.
Frequently Asked Questions about How To Make An Outdoor Chair
Was this page helpful?
At Storables.com, we guarantee accurate and reliable information. Our content, validated by Expert Board Contributors, is crafted following stringent Editorial Policies. We're committed to providing you with well-researched, expert-backed insights for all your informational needs.


0 thoughts on “How To Make An Outdoor Chair”