Home>Furniture & Design>Outdoor Furniture>How To Bring Outdoor Plants Inside

Outdoor Furniture
How To Bring Outdoor Plants Inside
Modified: August 17, 2024
Learn how to successfully transition your outdoor plants inside with our expert tips and advice. Keep your outdoor-furniture-furniture-and-design thriving all year round!
(Many of the links in this article redirect to a specific reviewed product. Your purchase of these products through affiliate links helps to generate commission for Storables.com, at no extra cost. Learn more)
Introduction
Bringing the vibrant beauty of outdoor plants inside can breathe new life into your home, creating a refreshing and rejuvenating atmosphere. As the seasons change, transitioning your beloved outdoor plants to an indoor environment allows you to continue enjoying their splendor while safeguarding them from harsh weather conditions. This process requires thoughtful consideration and careful preparation to ensure the well-being of your plants in their new indoor habitat.
In this comprehensive guide, we will explore the essential steps for successfully bringing outdoor plants inside, from assessing their adaptability to selecting the ideal indoor location and providing the necessary care to support their growth. Whether you are a seasoned plant enthusiast or a novice green thumb, this guide will equip you with the knowledge and confidence to embark on this rewarding journey.
Embark on this horticultural adventure with an open heart and a willingness to learn, and you will soon witness the seamless integration of nature's wonders into your indoor space. Let's delve into the intricacies of transitioning your outdoor plants to a cozy indoor haven, where their beauty can continue to flourish.
Key Takeaways:
- Bring outdoor plants inside to refresh your home and protect them from harsh weather. Assess, prepare, and provide the right conditions for a successful transition.
- Carefully select and monitor indoor plant locations to ensure they receive the light, air, and space needed to thrive. Regular inspection and attentive care are essential for sustaining their health and vitality.
Assessing Your Outdoor Plants
Before bringing your outdoor plants inside, it’s crucial to assess their suitability for indoor living. Not all plants thrive in the confined environment of a home, so evaluating their adaptability is the first step in this process.
Consider the following factors when assessing your outdoor plants:
- Plant Variety: Certain plants, such as tropical species, are better suited for indoor environments due to their natural habitat. Assess the specific needs of each plant variety to determine if it can thrive indoors.
- Size and Growth Patterns: Take into account the size and growth patterns of your plants. Some may outgrow indoor spaces or have aggressive root systems that make them unsuitable for indoor cultivation.
- Light Requirements: Evaluate the light conditions in your home and compare them to the sunlight needs of your outdoor plants. Some plants require ample sunlight, which may be challenging to replicate indoors.
- Temperature Tolerance: Consider the temperature variations between your outdoor and indoor environments. Some plants are sensitive to temperature changes and may struggle to adapt to the controlled climate indoors.
- Pest and Disease Resistance: Assess the health of your outdoor plants and their susceptibility to pests and diseases. Bringing infested plants indoors can lead to widespread issues in your home environment.
By carefully evaluating these factors, you can determine which outdoor plants are best suited for indoor relocation. It’s essential to prioritize the well-being of your plants and select those that are most likely to thrive in an indoor setting. Once you’ve identified the candidates for indoor living, it’s time to prepare them for the transition.
Preparing Your Outdoor Plants for Indoor Living
Transitioning outdoor plants to an indoor environment requires thoughtful preparation to minimize stress and ensure a smooth adjustment. By following these essential steps, you can set the stage for a successful relocation:
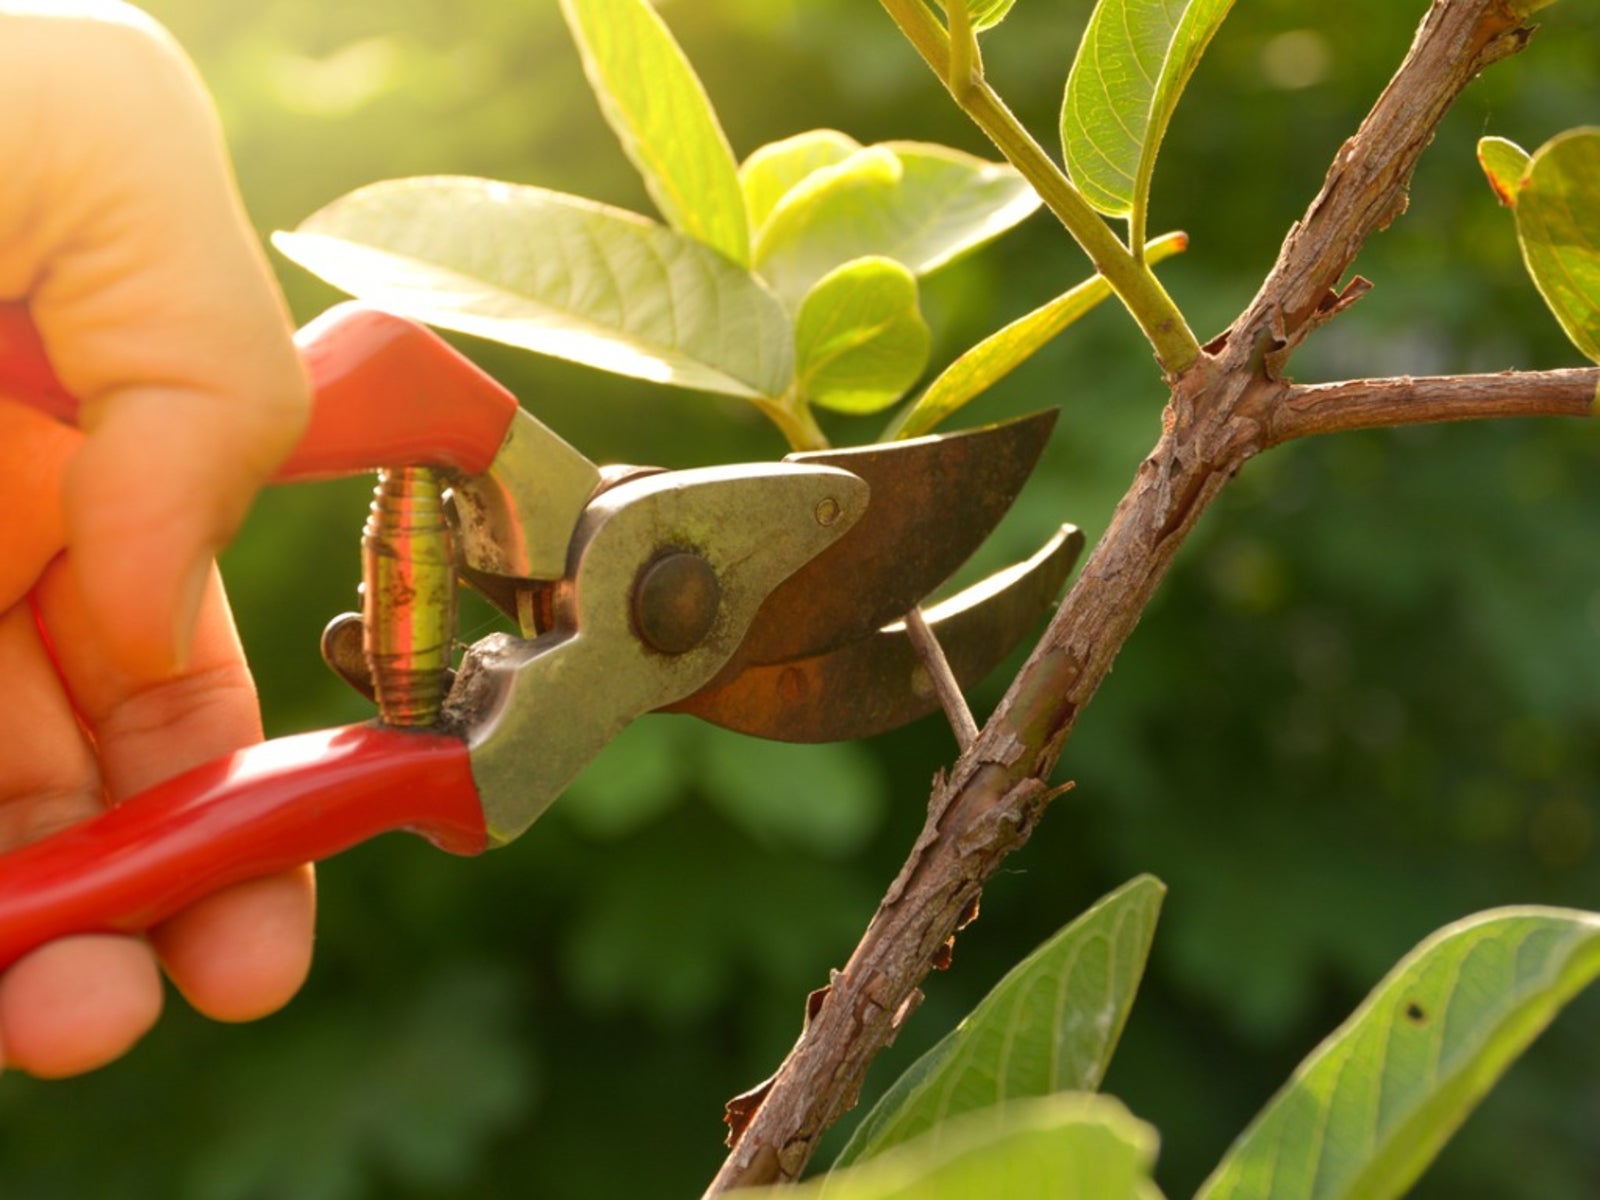
- Pruning and Grooming: Before bringing your outdoor plants inside, trim any overgrown or damaged foliage. This not only enhances the appearance of the plants but also reduces the demand for resources during the transition.
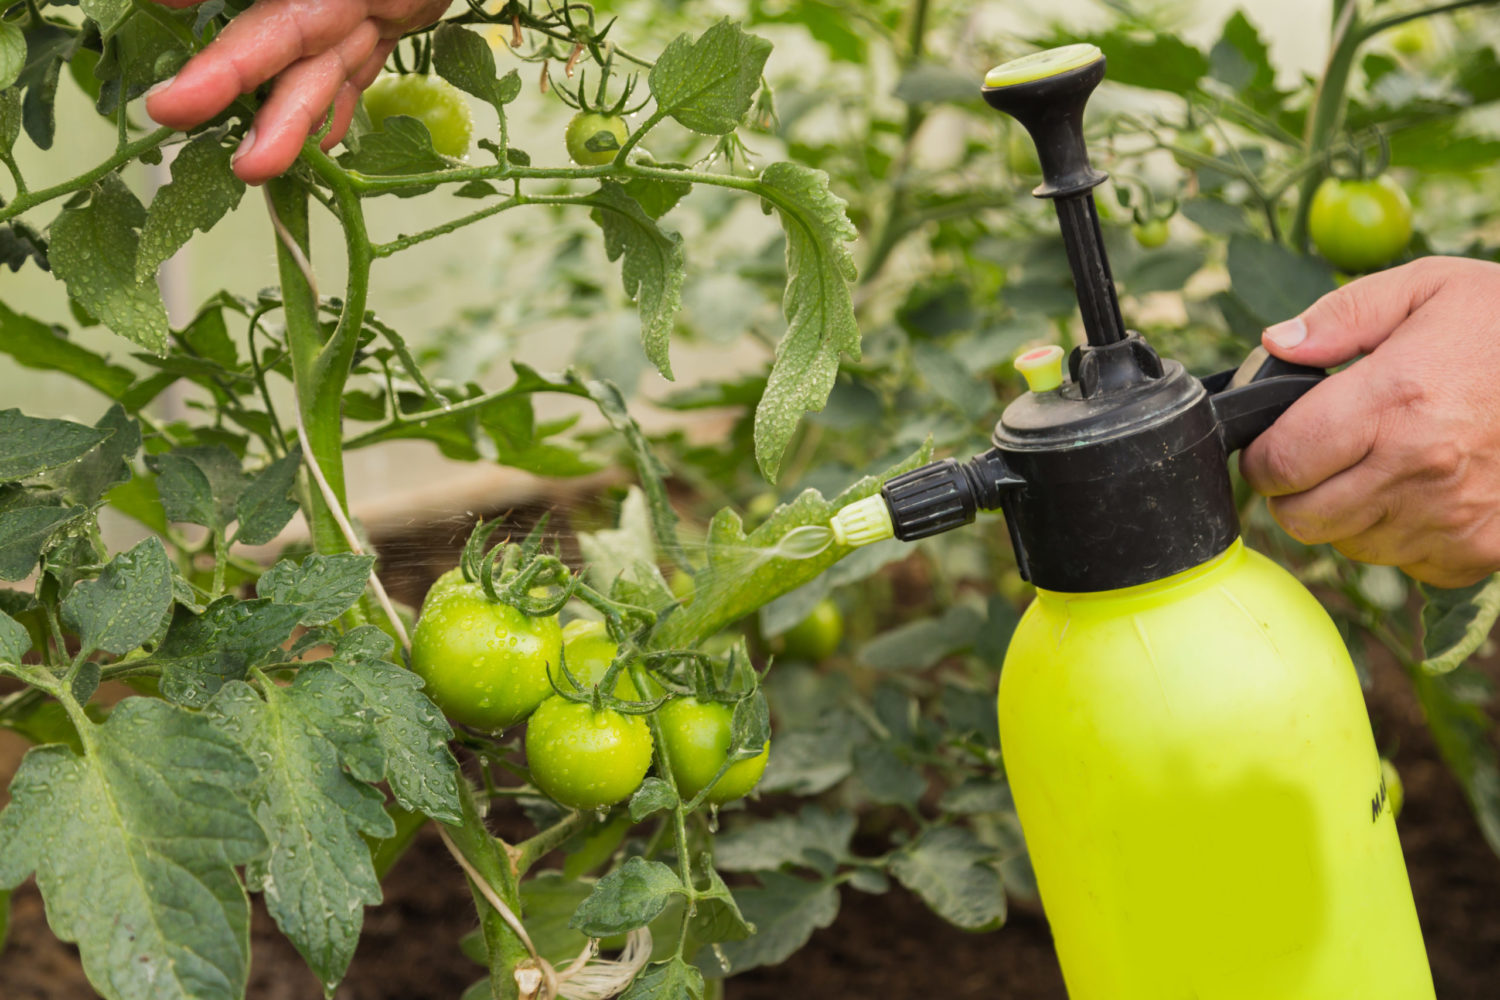
- Pest and Disease Inspection: Thoroughly inspect your plants for signs of pests or diseases. Address any issues proactively to prevent the spread of infestations in your indoor space.
- Repotting and Soil Assessment: Consider repotting your outdoor plants using high-quality indoor potting mix. Assess the soil moisture levels and drainage to ensure optimal growing conditions for your plants indoors.
- Gradual Acclimatization: Help your plants acclimate to indoor conditions by gradually exposing them to reduced sunlight and controlled temperatures. This gradual transition minimizes shock and encourages healthy growth.
- Hydration and Nutrition: Ensure that your plants are adequately hydrated and nourished before the relocation. Proper watering and, if necessary, fertilization will fortify them for the move.
By meticulously preparing your outdoor plants for indoor living, you can mitigate the challenges associated with the transition and pave the way for their successful adaptation to a new environment. This preparatory phase sets the foundation for the well-being of your plants as they embark on their indoor journey.
Choosing the Right Indoor Location for Your Plants
Once your outdoor plants are primed for indoor living, selecting the optimal location within your home is crucial for their continued growth and vitality. Consider the following factors when determining the ideal placement for your plants:
- Light Availability: Assess the natural light conditions in different areas of your home. Some plants thrive in bright, direct sunlight, while others prefer moderate or low-light environments. Match each plant’s light requirements with the available indoor light sources.
- Air Circulation: Choose locations with adequate air circulation to prevent stagnant, humid conditions that can promote fungal growth and pest infestations. Avoid placing plants near drafts or vents that may cause temperature fluctuations.
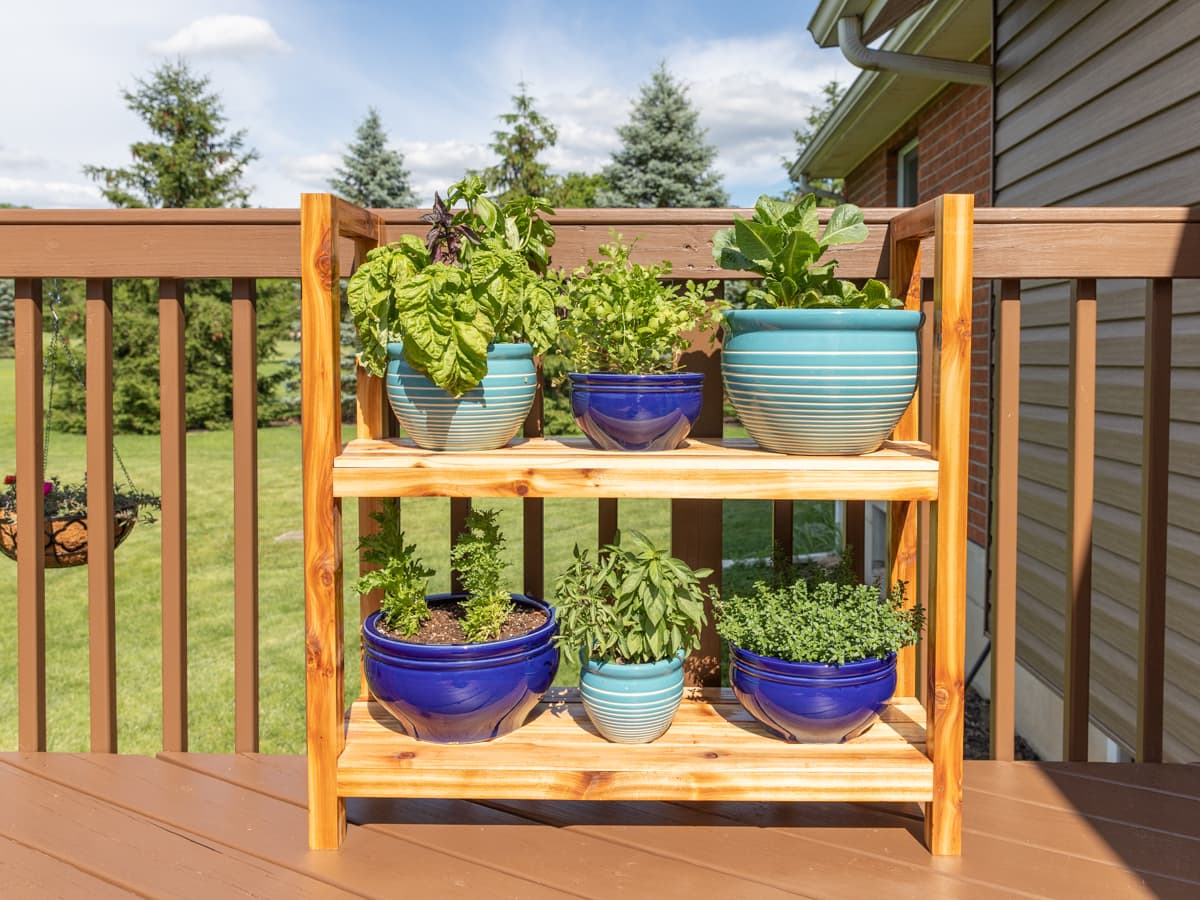
- Space Considerations: Take into account the space constraints in your home and the mature size of your plants. Ensure that each plant has sufficient room to grow and spread its foliage without overcrowding other indoor elements.
- Temperature Stability: Identify areas with consistent temperature levels to provide a stable climate for your plants. Avoid placing them near heat sources or cold drafts that can disrupt their growth patterns.
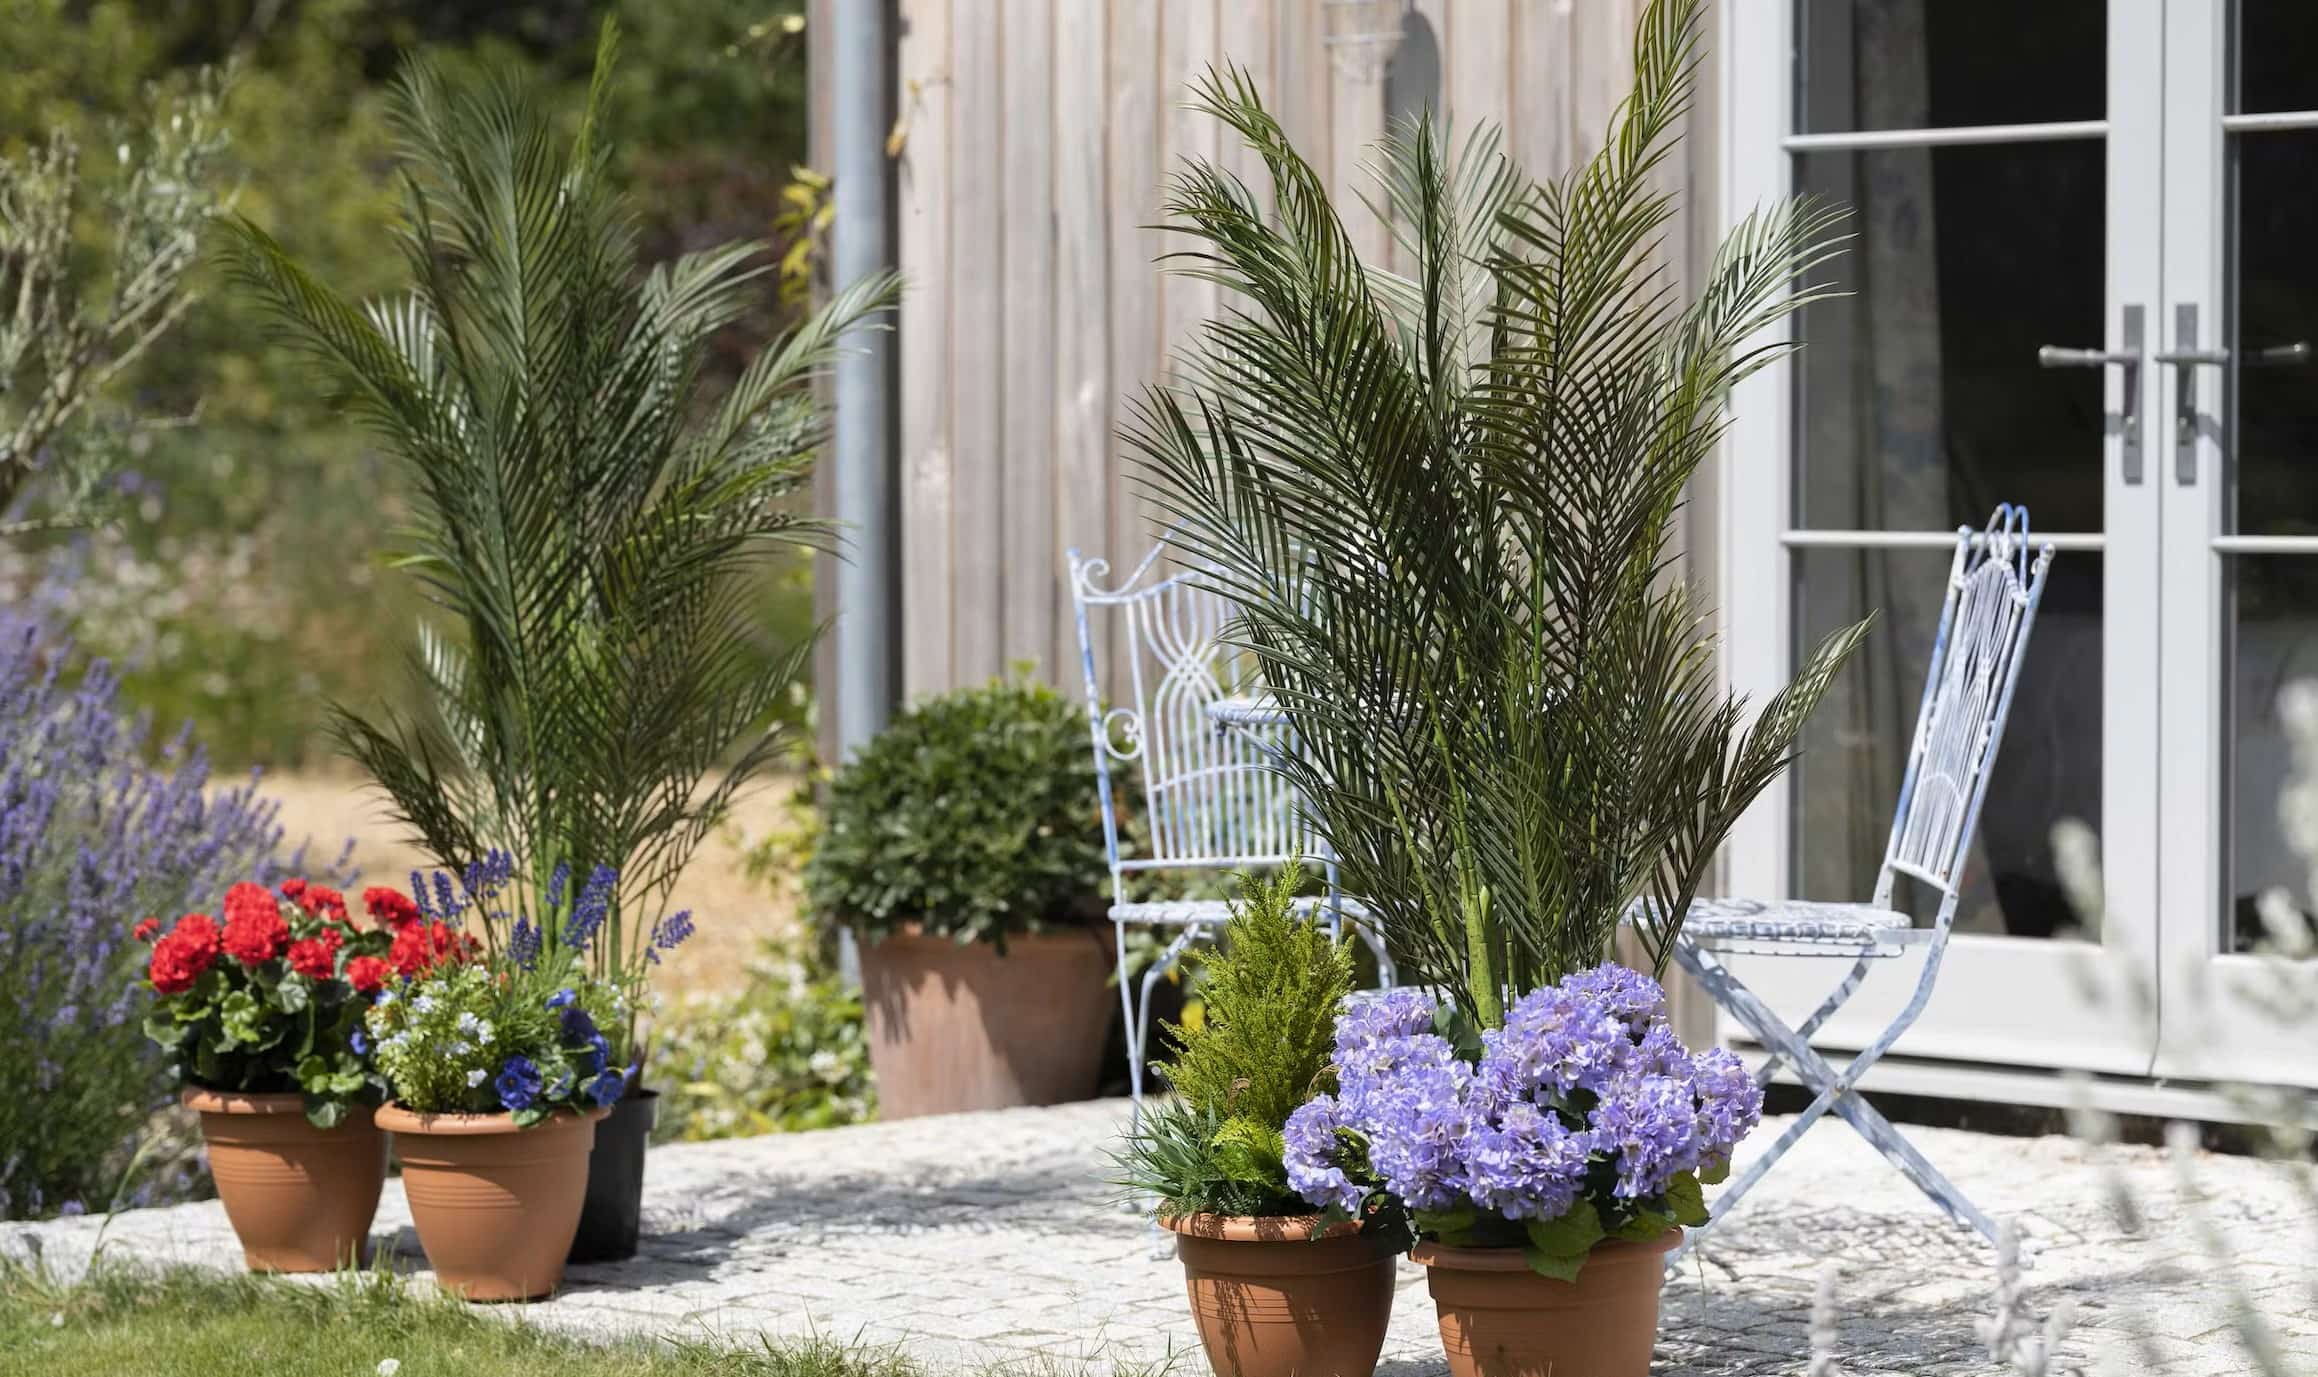
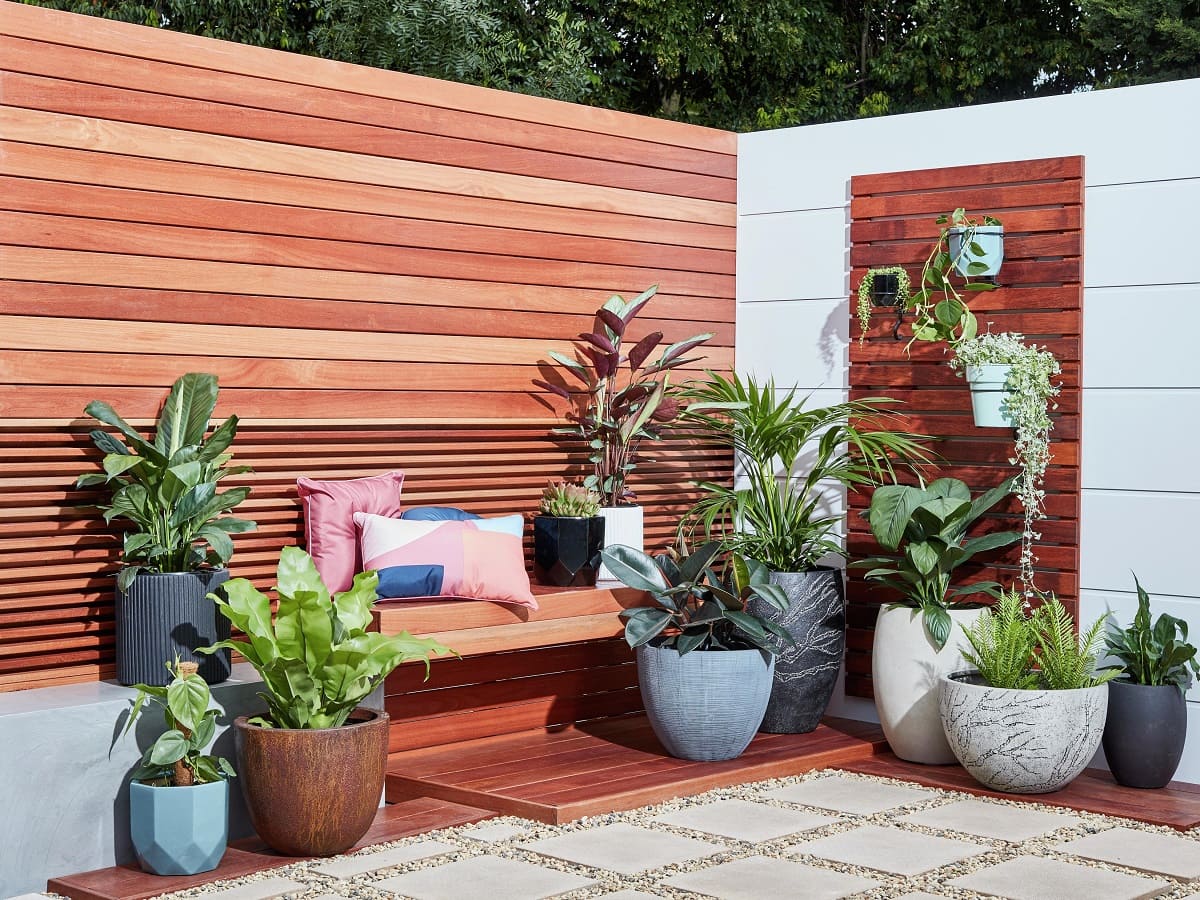
- Aesthetic Harmony: Integrate your plants into your home’s aesthetic by selecting locations that complement their visual appeal. Consider how each plant’s form, color, and texture can enhance the overall ambiance of your living space.
By carefully assessing these factors, you can identify the most suitable indoor locations for your outdoor plants, ensuring that they receive the necessary light, air, and space to thrive. Once you’ve established their new homes within your living space, it’s essential to create the right conditions to support their growth and well-being.
Before bringing outdoor plants inside, make sure to inspect them for pests and diseases. Trim any dead or damaged leaves, and gradually acclimate them to lower light levels to prevent shock.
Providing the Right Conditions for Your Plants
Creating a nurturing environment for your outdoor plants within your home involves replicating the essential elements they need to flourish. By focusing on the following key aspects, you can provide the right conditions for your plants’ indoor success:
- Light: Match each plant’s light requirements with its designated indoor location. Consider using supplemental grow lights to ensure that light-sensitive plants receive adequate illumination, especially in areas with limited natural light.
- Humidity: Monitor the humidity levels in your home, especially during the winter months when indoor air tends to be drier. Consider using a humidifier or misting your plants to maintain optimal humidity levels, particularly for tropical species.
- Temperature: Maintain consistent temperatures within the preferred range for each plant variety. Avoid exposing plants to extreme temperature fluctuations and protect them from drafts or direct exposure to heating or cooling sources.
- Watering and Drainage: Establish a regular watering schedule based on each plant’s moisture requirements. Ensure that the pots have adequate drainage to prevent waterlogging, which can lead to root rot and other moisture-related issues.
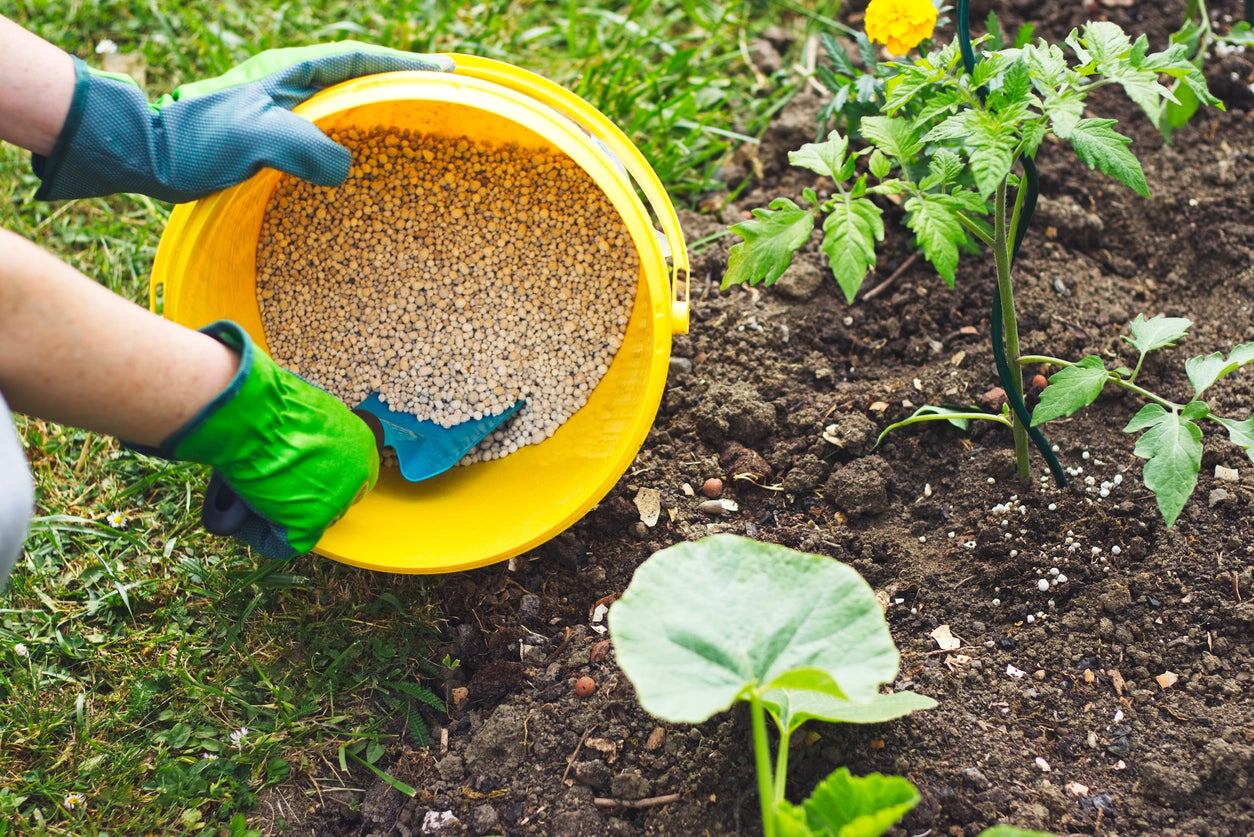
- Fertilization: Provide balanced fertilization based on the specific needs of your plants. Select a suitable indoor plant fertilizer and follow the recommended application rates to support healthy growth and blooming.
By addressing these critical factors, you can cultivate an indoor environment that mirrors the natural conditions your outdoor plants require for optimal growth. Consistent attention to these elements will foster a thriving indoor garden that enriches your home with its greenery and botanical charm.
Monitoring and Caring for Your Indoor Plants
Once your outdoor plants have acclimated to their new indoor environment, ongoing monitoring and attentive care are essential to sustain their health and vitality. By incorporating the following practices into your routine, you can ensure the well-being of your indoor plants:
- Regular Inspection: Routinely examine your plants for signs of stress, pests, or diseases. Promptly address any issues to prevent them from escalating and affecting the overall health of your indoor garden.
- Watering Schedule: Establish a consistent watering schedule based on the moisture needs of each plant. Adjust the frequency and volume of watering according to seasonal changes and the specific requirements of individual plant varieties.
- Pruning and Maintenance: Trim and groom your plants as needed to remove dead or yellowing foliage and encourage healthy growth. Pruning also helps maintain the desired shape and size of your indoor plants.
- Supportive Measures: Provide stakes or trellises for climbing plants that require support to maintain their upright growth. This ensures that they can thrive and display their natural form within your indoor space.
- Seasonal Considerations: Adjust your care routines in response to seasonal changes, such as increased watering during warmer months and reduced fertilization during periods of dormancy.
By remaining attentive to the needs of your indoor plants and implementing proactive care measures, you can foster a flourishing indoor garden that enriches your home environment. The bond between caretaker and plant deepens as you observe the resilience and growth of your indoor botanical companions.
With dedicated care and a nurturing touch, your indoor plants will continue to thrive, gracing your home with their natural beauty and contributing to a serene and inviting atmosphere.
Conclusion
Bringing the allure of outdoor plants inside your home is a transformative endeavor that infuses your living space with nature’s boundless charm. By carefully assessing the adaptability of your outdoor plants, preparing them for indoor living, selecting suitable indoor locations, and providing the right conditions, you pave the way for a seamless transition. This journey is enriched by the ongoing monitoring and attentive care that sustains the health and vibrancy of your indoor garden.
As you witness the lush foliage, delicate blooms, and verdant growth within your home, you become a steward of nature, nurturing the well-being of your indoor plants with unwavering dedication. The symbiotic relationship between you and your botanical companions deepens as you observe their resilience and respond to their evolving needs.
Amidst the ebb and flow of seasons, your indoor garden becomes a sanctuary of tranquility and natural splendor, offering respite from the demands of daily life. The vibrant hues and refreshing fragrances of your plants infuse your home with a sense of vitality and serenity, creating an oasis of beauty and calm.
Embrace this journey with an open heart and a spirit of curiosity, for it is a testament to the enduring connection between humanity and the natural world. Through your attentive care and nurturing touch, your indoor plants thrive, weaving a tapestry of greenery and life within the fabric of your home.
As you embark on this horticultural odyssey, may the flourishing beauty of your indoor garden serve as a testament to the enduring cycle of growth, renewal, and harmony that enriches our lives and homes.
Frequently Asked Questions about How To Bring Outdoor Plants Inside
Was this page helpful?
At Storables.com, we guarantee accurate and reliable information. Our content, validated by Expert Board Contributors, is crafted following stringent Editorial Policies. We're committed to providing you with well-researched, expert-backed insights for all your informational needs.


0 thoughts on “How To Bring Outdoor Plants Inside”