Home>Furniture & Design>Outdoor Furniture>How To Open Plastic Cover On Outdoor Outlet
Outdoor Furniture
How To Open Plastic Cover On Outdoor Outlet
Modified: August 25, 2024
Learn how to safely open the plastic cover on your outdoor outlet with our expert tips. Protect your outdoor furniture and design with proper maintenance.
(Many of the links in this article redirect to a specific reviewed product. Your purchase of these products through affiliate links helps to generate commission for Storables.com, at no extra cost. Learn more)
Introduction
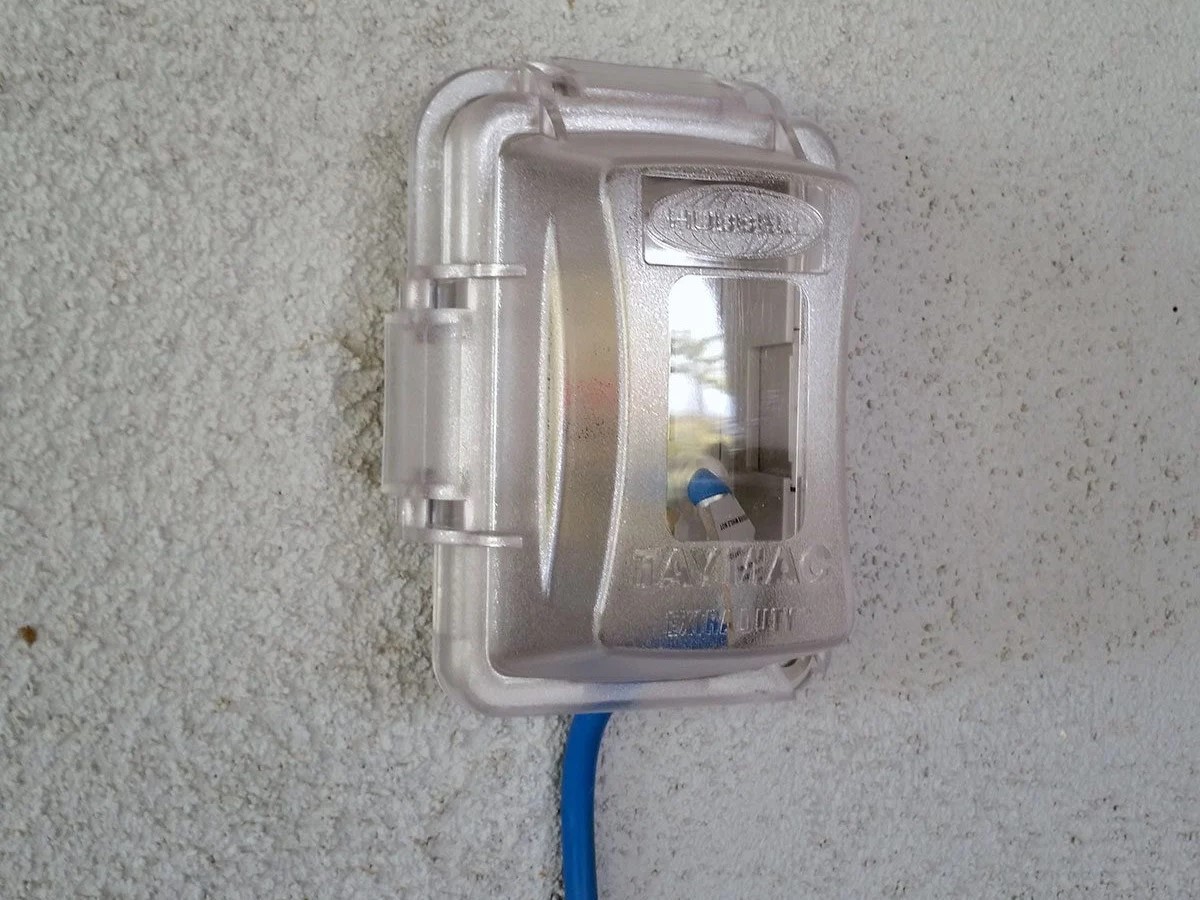
Welcome to the comprehensive guide on opening a plastic cover on an outdoor outlet. Outdoor outlets are essential for powering various devices and appliances, from garden tools to decorative lighting. However, over time, the plastic covers on these outlets may become difficult to open due to exposure to the elements. In this guide, you will learn how to safely and effectively open the plastic cover on your outdoor outlet, allowing you to access the electrical receptacles when needed.
Whether you are a seasoned DIY enthusiast or a homeowner looking to tackle a simple maintenance task, this step-by-step guide will equip you with the knowledge and skills required to successfully open the plastic cover on your outdoor outlet. By following these instructions, you can ensure the safety of the electrical components and prolong the lifespan of your outdoor outlet.
So, gather your tools and let's get started on this practical and empowering home maintenance endeavor. With a few simple steps, you'll be able to access your outdoor outlet with ease, ensuring that your outdoor space remains functional and ready for all your power needs.
Key Takeaways:
- Safely open outdoor outlet covers by turning off power, removing screws, and prying open the cover. Regular maintenance ensures longevity and reliable power supply for outdoor activities.
- Use essential tools and caution to open outdoor outlet covers, ensuring safety and functionality. Regular cleaning and maintenance prolong the outlet’s lifespan and performance.
Read more: How To Reset An Outdoor Outlet
Tools and Materials Needed
Before embarking on the task of opening the plastic cover on your outdoor outlet, it’s important to gather the necessary tools and materials. Here’s what you’ll need:
- Screwdriver: A flathead or Phillips screwdriver, depending on the type of screws securing the cover.
- Protective Gloves: To safeguard your hands while handling the outlet and to protect against any potential electrical hazards.
- Cleaning Cloth: A soft cloth or rag for wiping away any debris or dirt that may have accumulated around the outlet.
- Lubricant (Optional): A silicone-based lubricant can be useful for easing the opening mechanism of the cover, especially if it has become stiff or difficult to pry open.
Ensuring that you have the appropriate tools and protective gear will not only make the process smoother but also contribute to your safety and the longevity of the outlet. With these items at hand, you’ll be well-prepared to proceed with confidence and efficiency.
Step 1: Turn Off Power
Prior to attempting to open the plastic cover on your outdoor outlet, it is crucial to ensure the safety of the electrical circuit. Here’s how to proceed:
Begin by locating the circuit breaker or fuse that controls the power supply to the outdoor outlet. It’s essential to identify the correct breaker or fuse to prevent any accidental electrical shocks or damage to the outlet. Once you’ve located the corresponding circuit breaker or fuse, switch it off to cut off the power supply to the outlet.
After turning off the power, it’s advisable to use a voltage tester to confirm that the outlet is indeed inactive. This additional step provides an extra layer of safety, ensuring that there is no residual electrical current flowing to the outlet that could pose a hazard during the cover removal process.
Remember, safety should always be the top priority when working with electrical components. By taking the time to turn off the power and verify its deactivation, you can proceed with the subsequent steps confidently, knowing that you’ve minimized the risk of electrical accidents.
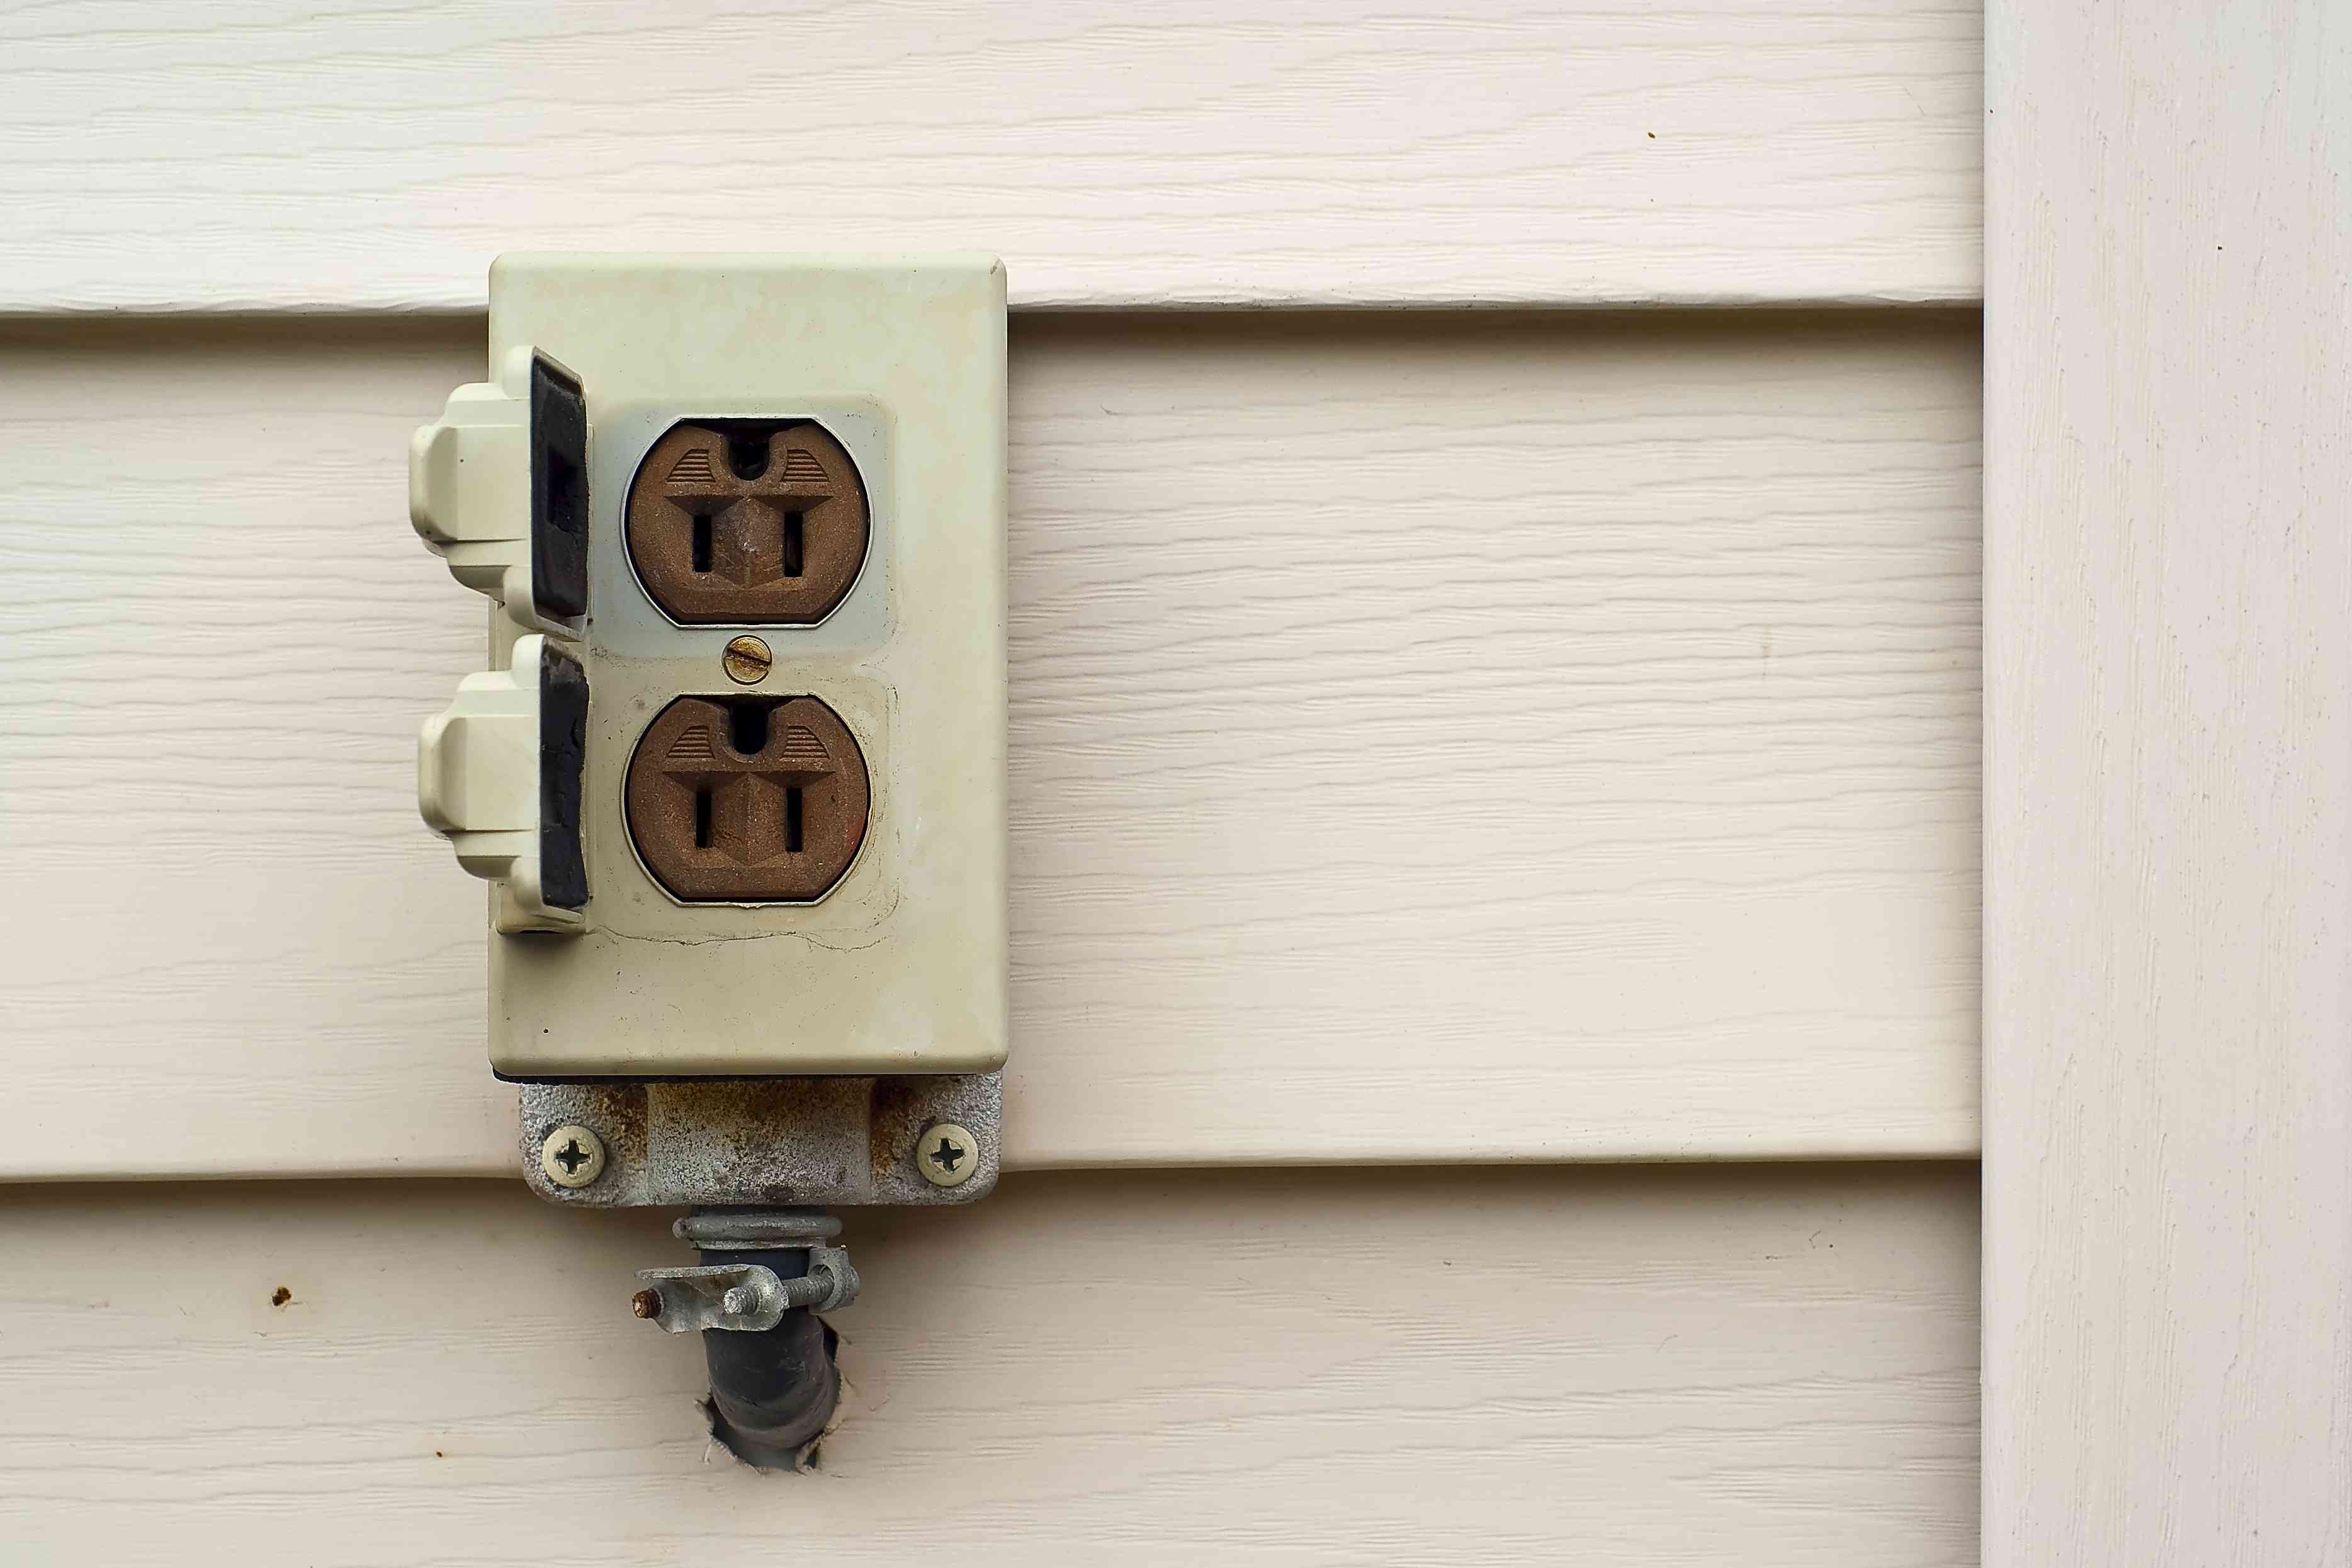
Step 2: Remove Screws
With the power supply to the outdoor outlet safely turned off, you can now proceed to remove the screws securing the plastic cover. Depending on the design of the outlet, there may be one or more screws holding the cover in place. Here’s how to remove them:
Using a suitable screwdriver, carefully loosen and remove the screws that are fastening the plastic cover to the outlet. It’s important to keep track of the screws and place them in a secure location to prevent misplacement. Additionally, be mindful of any potential debris or dirt around the screw heads that may hinder their removal.
As you work on removing the screws, take care to avoid applying excessive force, as this could potentially damage the cover or the outlet itself. If you encounter resistance when attempting to loosen the screws, consider applying a gentle amount of pressure while maintaining a firm grip on the screwdriver to prevent slipping.
Once all the screws have been successfully removed, set them aside and prepare to proceed to the next step in opening the plastic cover on your outdoor outlet. With the screws out of the way, you’re one step closer to accessing the inner components of the outlet for maintenance or usage.
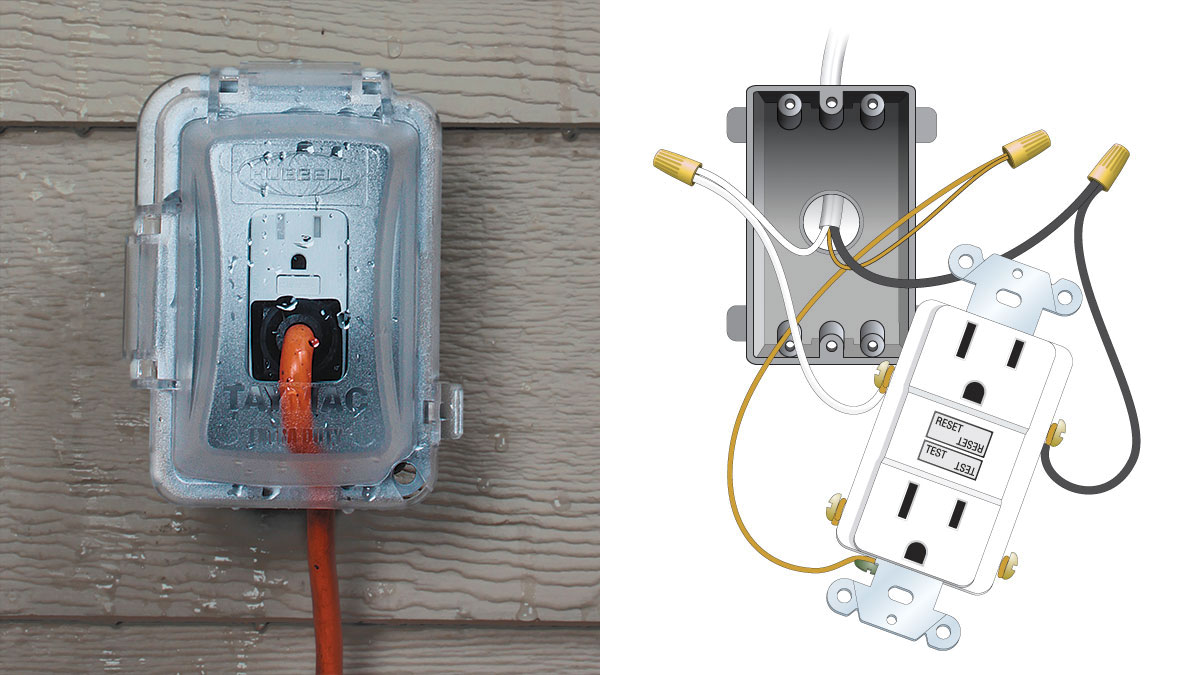
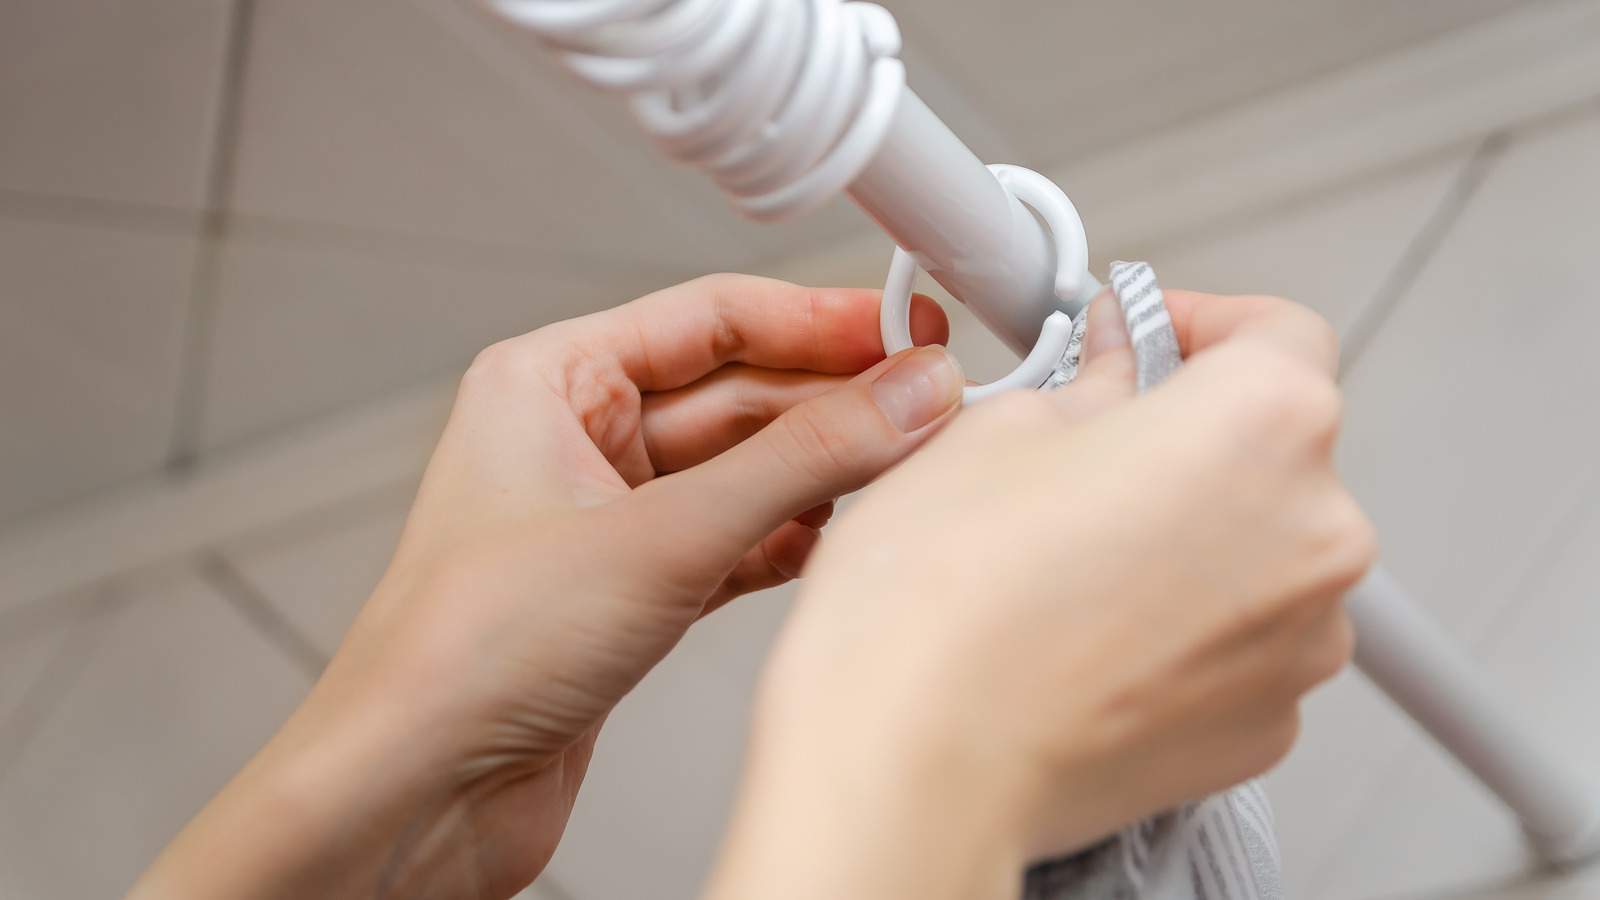
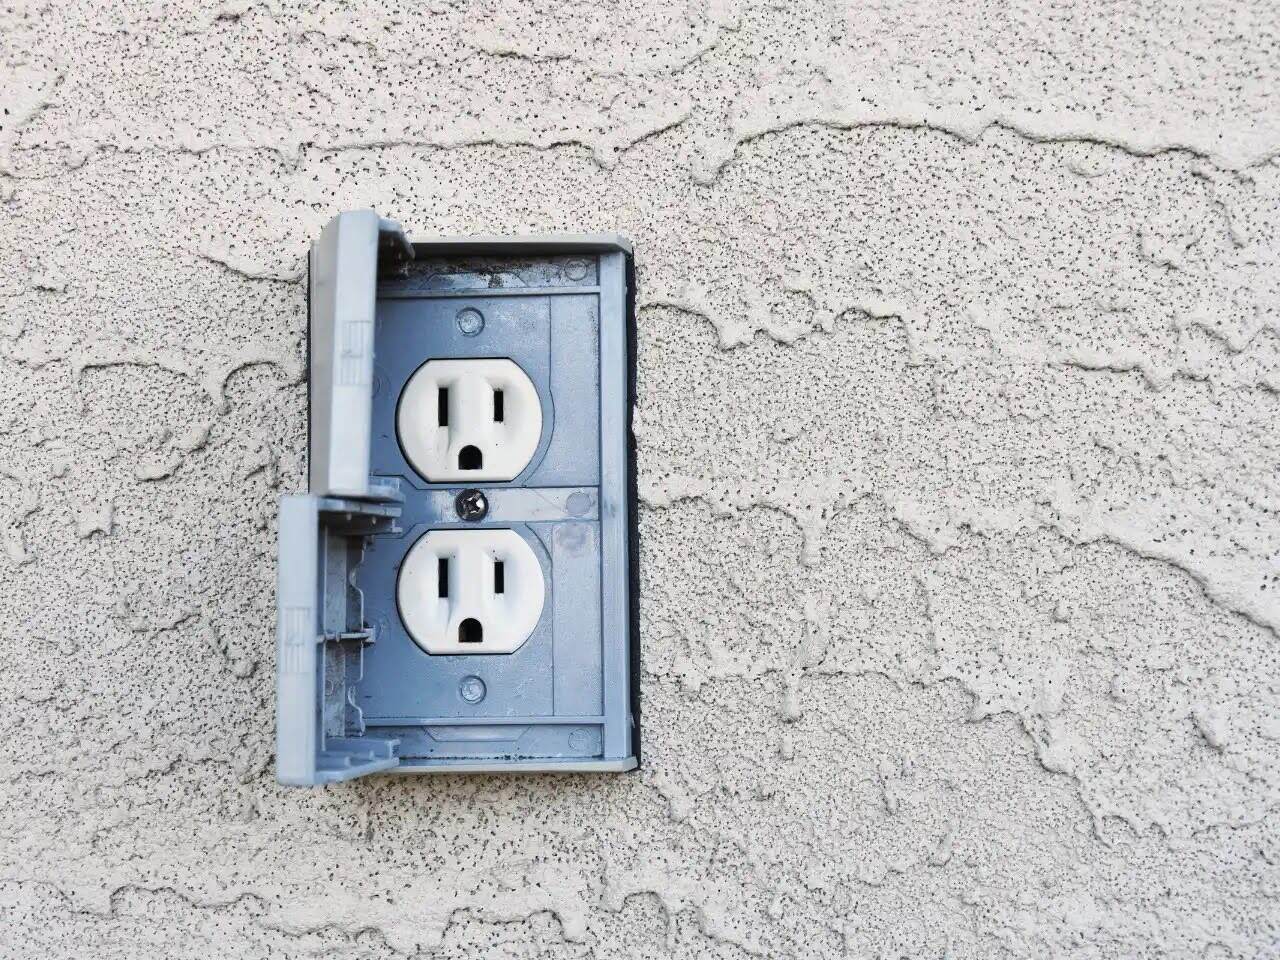
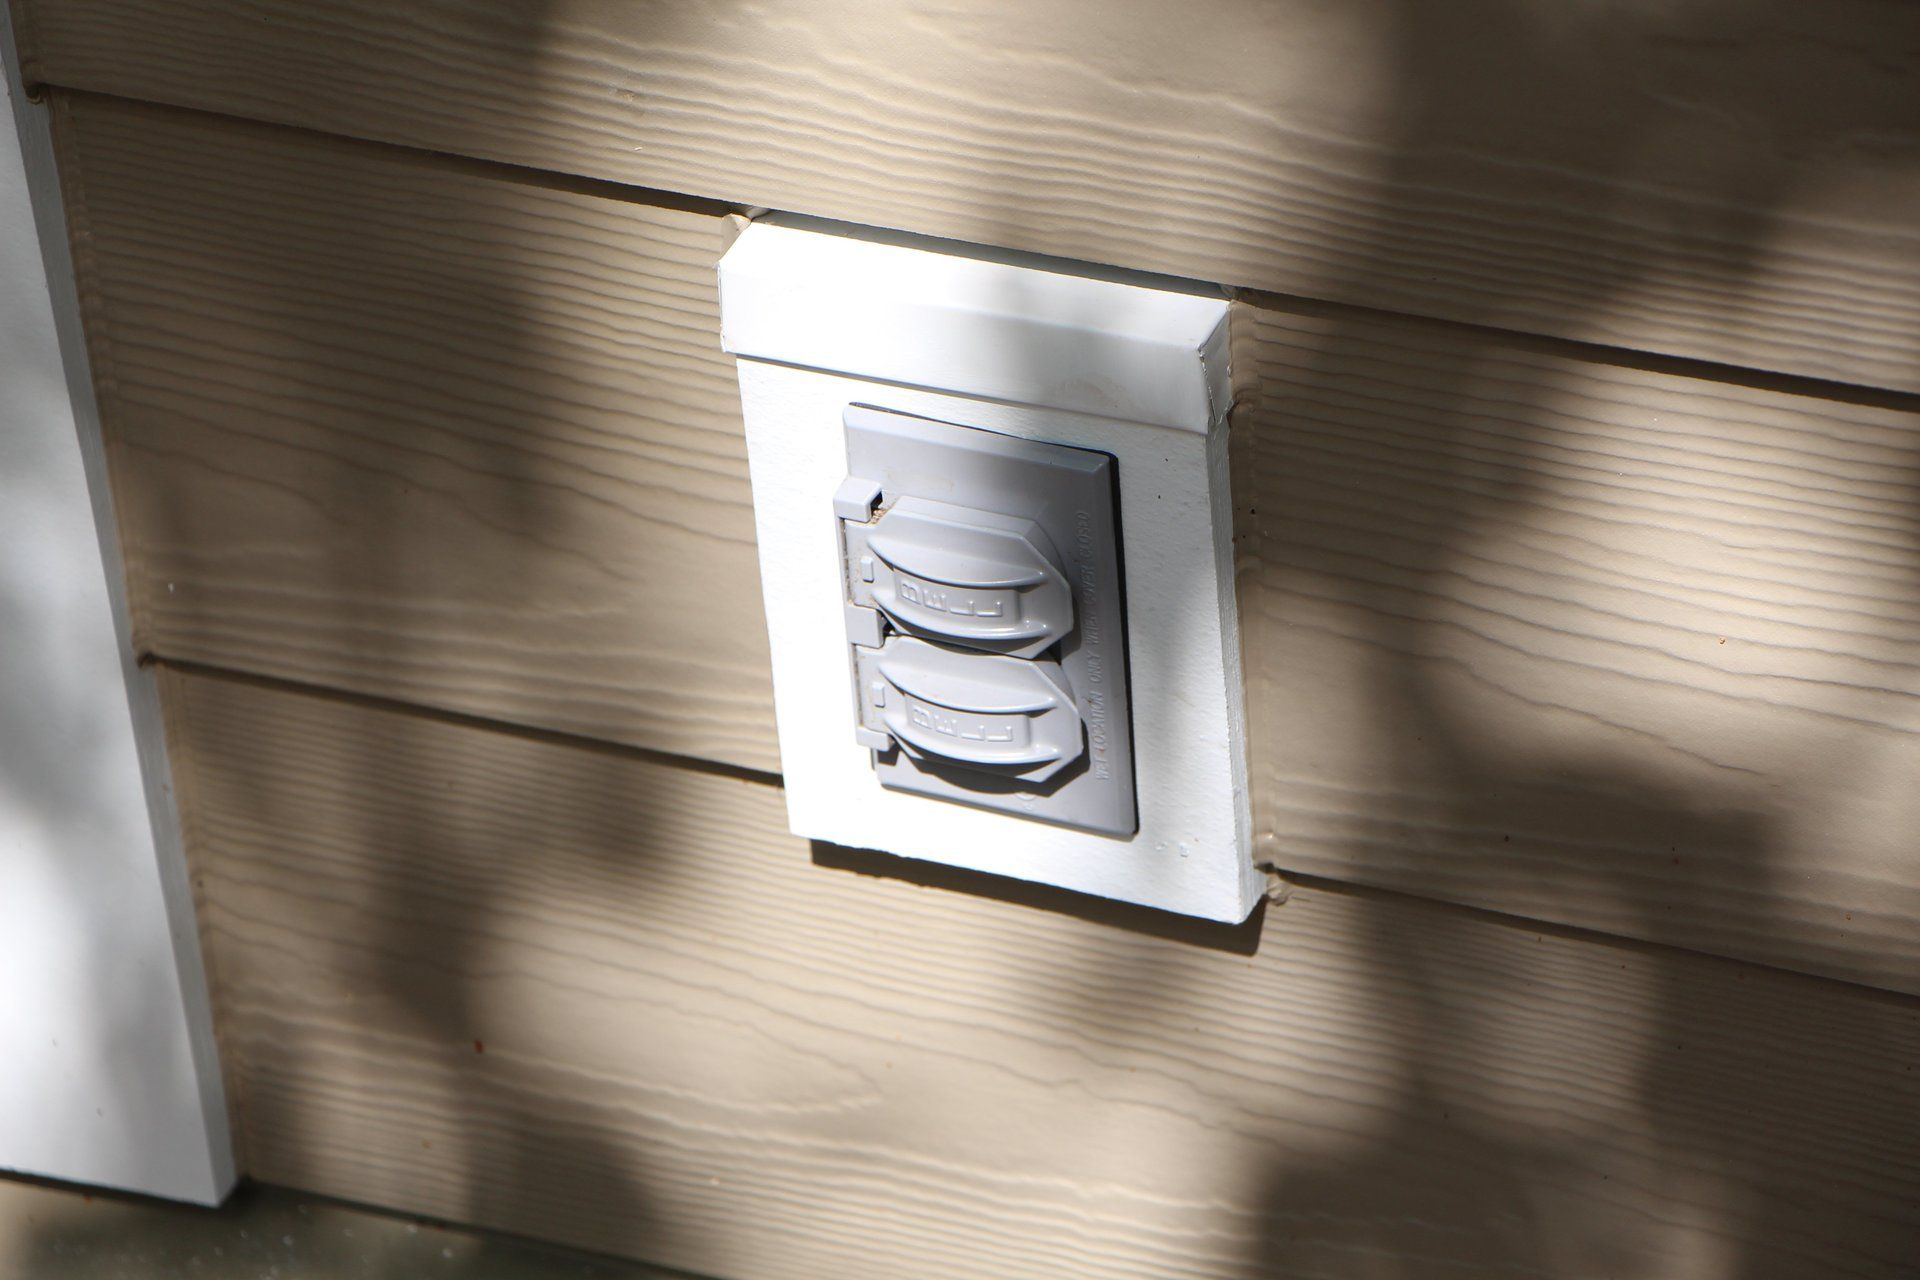
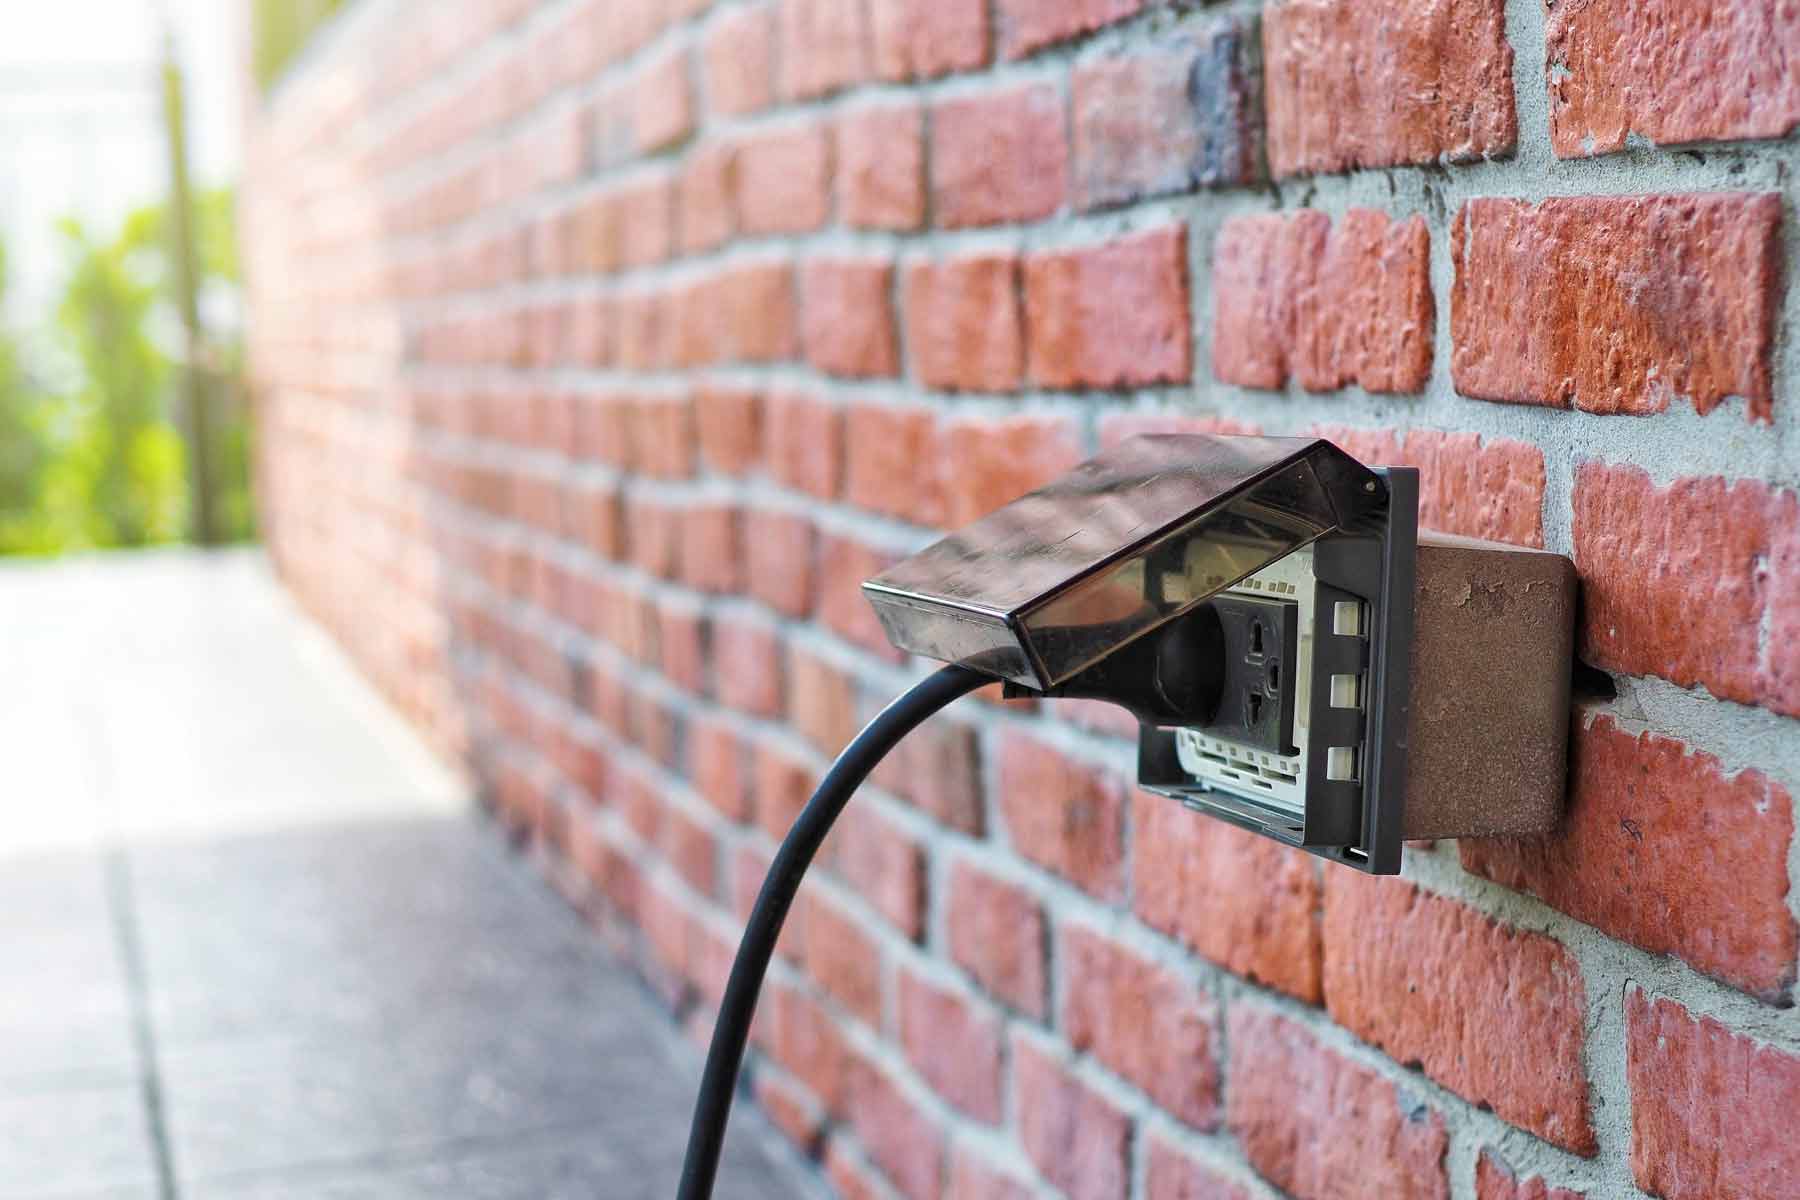
Use a flathead screwdriver to gently pry open the plastic cover on the outdoor outlet. Be careful not to apply too much pressure to avoid damaging the cover or the outlet.
Step 3: Pry Open Cover
After removing the screws that secure the plastic cover, the next step involves carefully prying open the cover to access the outlet’s interior. Here’s how to proceed:
Using your fingers or a flathead screwdriver, gently apply pressure to the edges of the cover to begin prying it open. It’s important to exercise caution and patience during this step to avoid damaging the cover or the outlet housing. If the cover has not been opened for an extended period, it may require a bit of extra effort to loosen it from its sealed position.
As you work on prying open the cover, be mindful of any resistance or sticking points. If you encounter significant resistance, it may be helpful to apply a small amount of silicone-based lubricant to the hinges or opening mechanism to facilitate smoother movement. This can be particularly beneficial if the cover has become stiff or difficult to open due to exposure to the elements.
Once the cover begins to separate from the outlet, continue to apply gentle and even pressure to gradually release it from the housing. Take care to avoid using excessive force, as this could lead to damage or breakage. With patience and steady effort, the cover should open, allowing you to access the outlet’s receptacles and internal components.
By following these steps, you can safely and effectively pry open the plastic cover on your outdoor outlet, ensuring that it remains accessible for future use and maintenance.
Read more: How To Replace An Outdoor Gfci Outlet
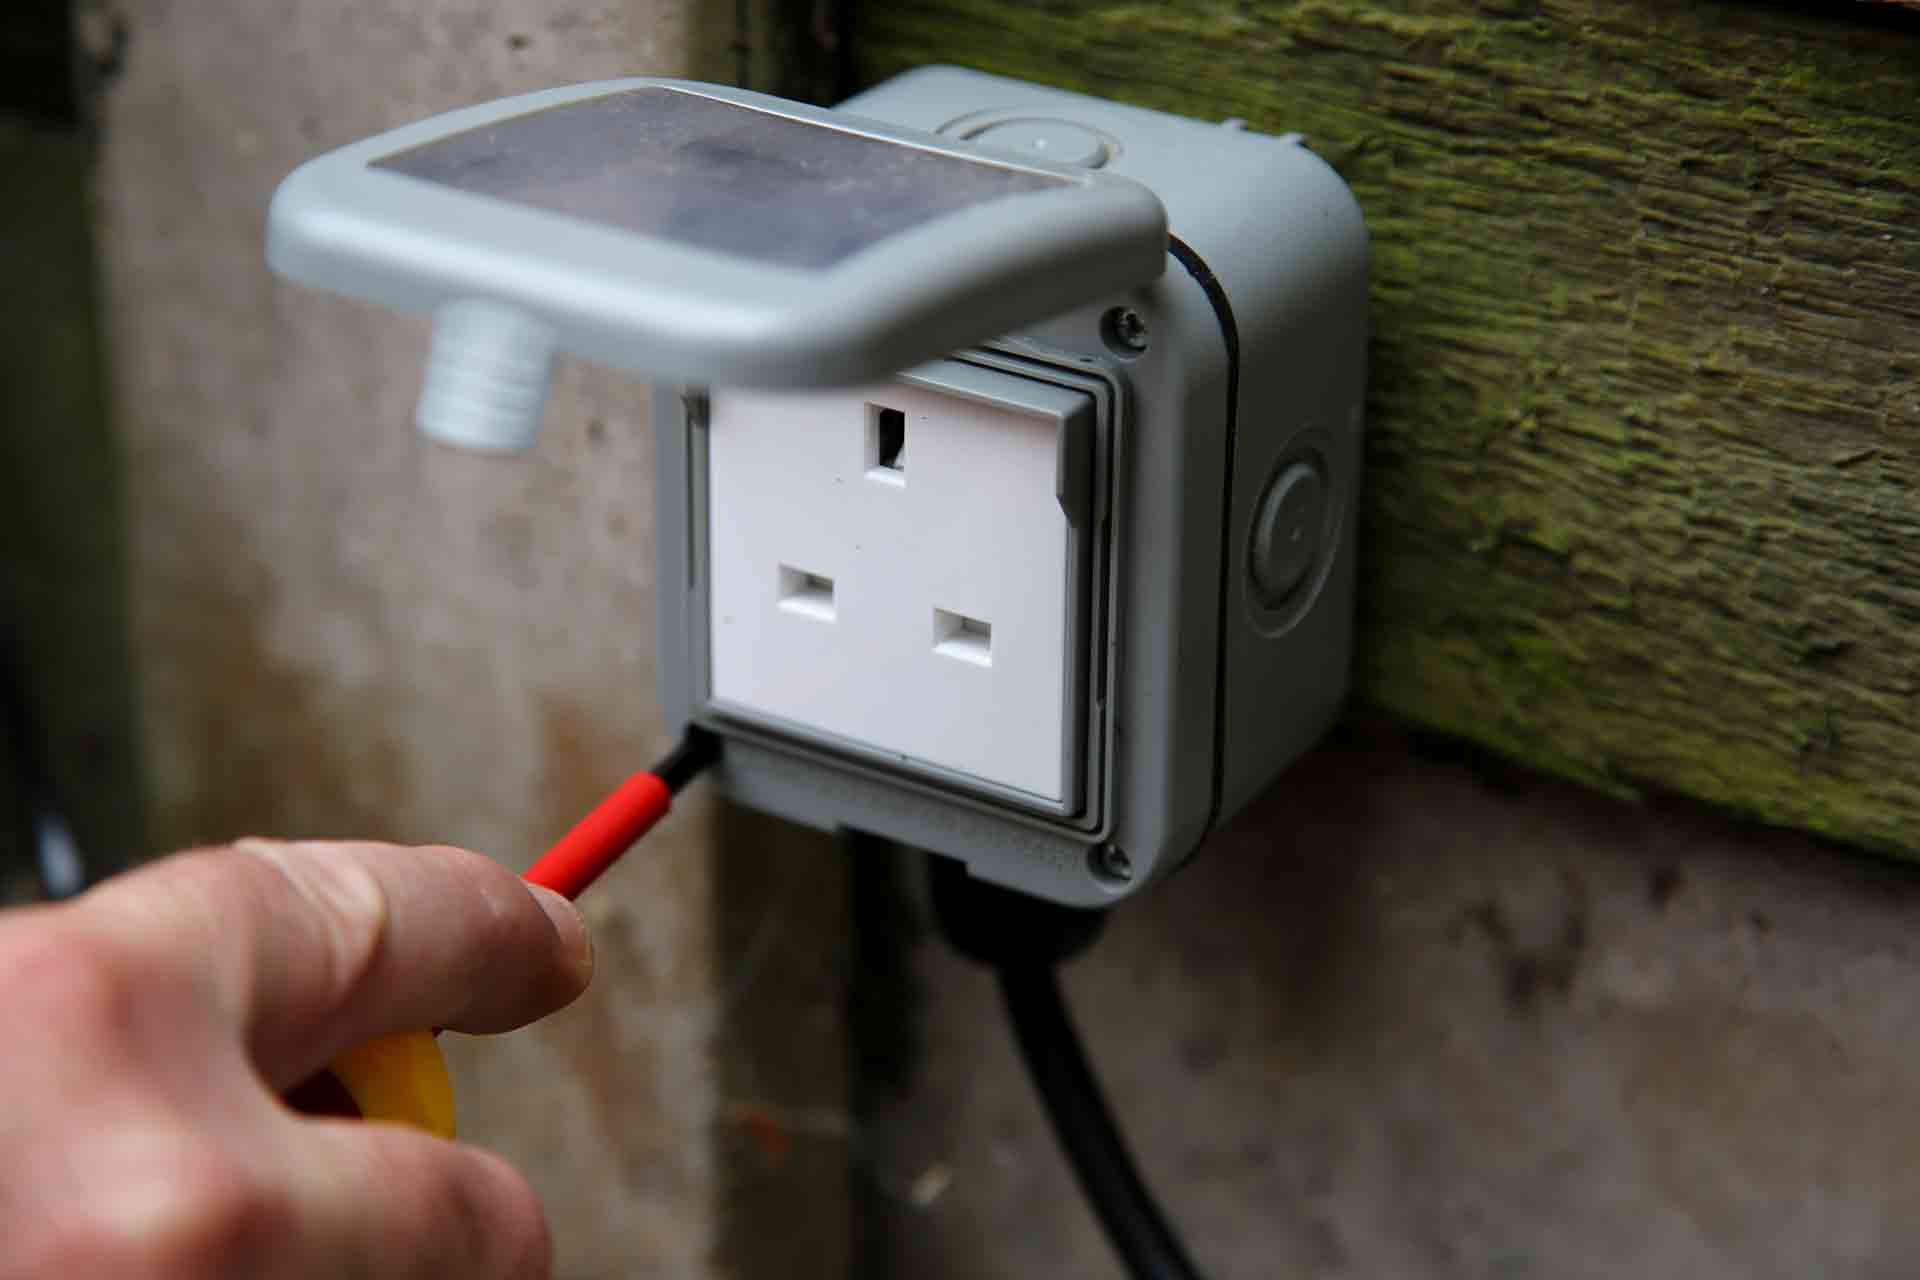
Step 4: Clean and Maintain
Once the plastic cover has been successfully opened and you have accessed the interior of the outdoor outlet, it’s an opportune time to perform some essential cleaning and maintenance tasks. Here’s how to proceed:
Begin by inspecting the interior of the outlet for any accumulated debris, dirt, or moisture. Using a soft cleaning cloth, carefully wipe away any foreign particles or residue that may have gathered inside the outlet housing. This step is crucial for maintaining optimal functionality and preventing potential electrical issues caused by debris buildup.
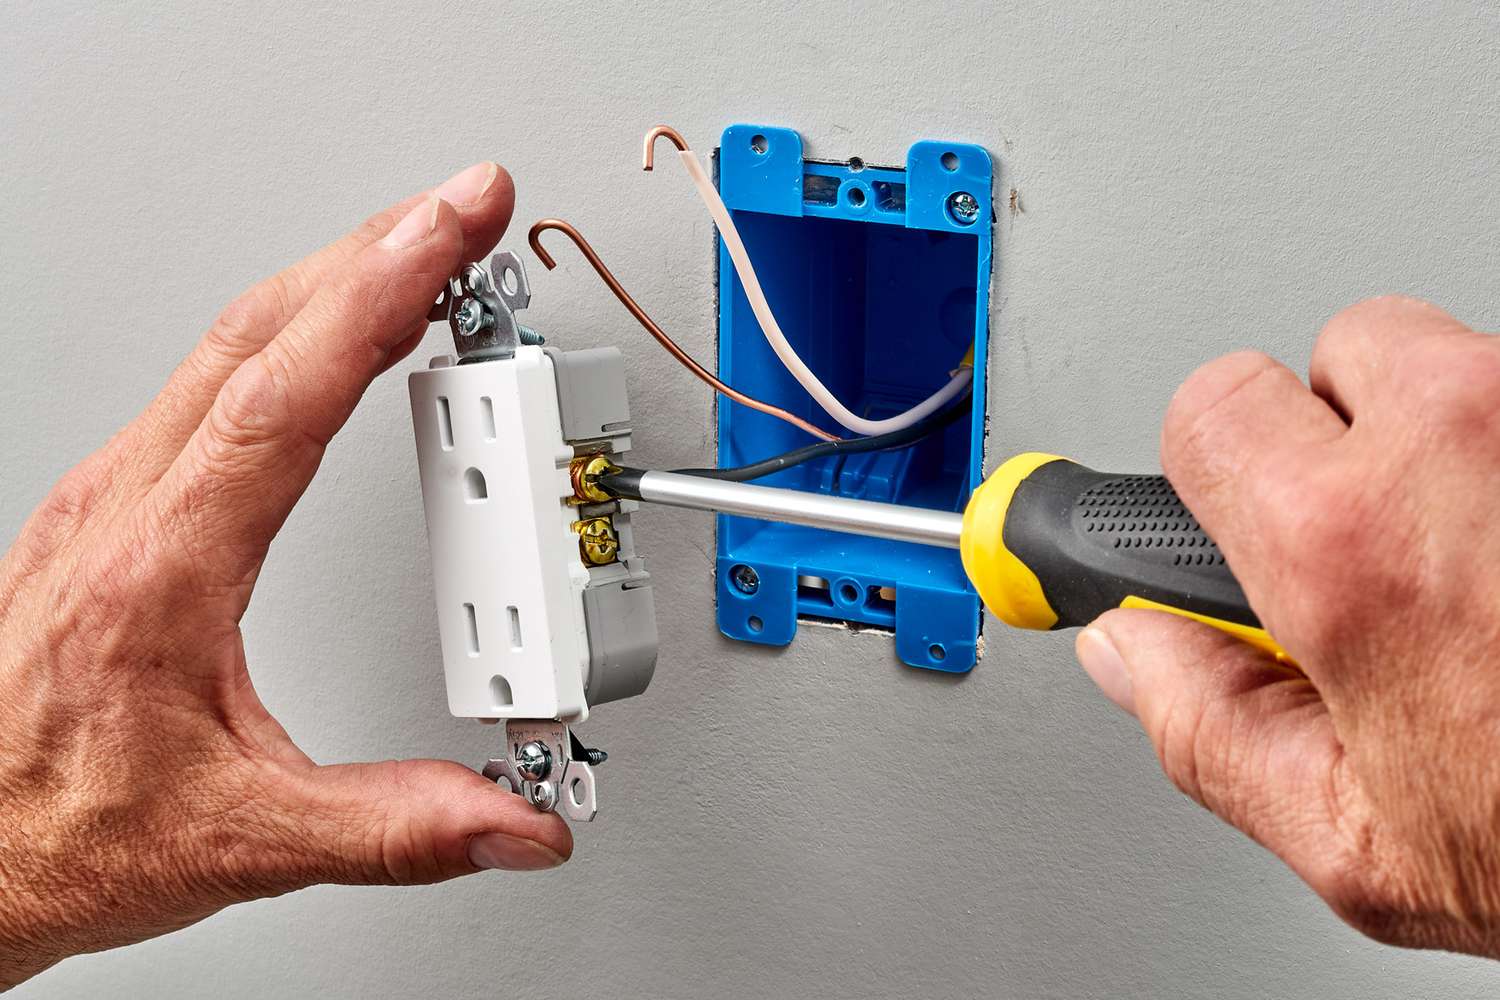
Additionally, take a moment to examine the electrical receptacles and connections within the outlet. Ensure that there are no signs of corrosion, damage, or loose wiring. If any issues are detected, it’s advisable to address them promptly to maintain the outlet’s performance and safety standards.
As part of the maintenance process, consider applying a small amount of dielectric grease to the electrical connections within the outlet. This specialized grease can help protect the connections from moisture and corrosion, extending the lifespan of the outlet and ensuring reliable electrical conductivity.
After cleaning and inspecting the outlet’s interior, carefully close the plastic cover and secure it in place by reinserting and tightening the screws. Be mindful of the cover’s alignment and ensure that it sits flush and securely on the outlet housing.
By incorporating these cleaning and maintenance practices into your routine, you can prolong the longevity of your outdoor outlet and maintain its functionality for years to come. Regular upkeep and attention to detail contribute to the safety and efficiency of the outlet, ensuring that it continues to meet your power supply needs in outdoor settings.
Conclusion
Congratulations! By following the steps outlined in this guide, you have successfully learned how to open the plastic cover on your outdoor outlet. This practical skill empowers you to access the outlet’s receptacles and interior components, ensuring that your outdoor power supply remains readily available for various applications.
As you’ve discovered, the process begins with ensuring the safety of the electrical circuit by turning off the power supply and verifying its deactivation. With the power off, you proceeded to remove the screws securing the plastic cover, followed by carefully prying open the cover to access the outlet’s interior. Once the cover was open, you took the opportunity to clean the interior and perform essential maintenance, enhancing the outlet’s functionality and longevity.
By incorporating regular maintenance practices, such as cleaning and inspecting the outlet, you contribute to its optimal performance and safety. Additionally, the application of dielectric grease to the electrical connections helps safeguard the outlet against moisture and corrosion, further extending its lifespan.
Equipped with the knowledge and skills gained from this guide, you can confidently maintain and utilize your outdoor outlet, ensuring that it remains a reliable power source for your outdoor activities and electrical devices. Remember to exercise caution and prioritize safety when working with electrical components, and always consult a professional if you encounter any complex issues or uncertainties.
With your outdoor outlet accessible and well-maintained, you can enjoy the convenience of a functional power supply in your outdoor space, whether for lighting, tools, or other electrical needs. This newfound proficiency adds to your repertoire of home maintenance skills, empowering you to take charge of your outdoor environment with confidence and capability.
Thank you for engaging with this guide, and may your outdoor outlet continue to serve you reliably for years to come!
Frequently Asked Questions about How To Open Plastic Cover On Outdoor Outlet
Was this page helpful?
At Storables.com, we guarantee accurate and reliable information. Our content, validated by Expert Board Contributors, is crafted following stringent Editorial Policies. We're committed to providing you with well-researched, expert-backed insights for all your informational needs.


0 thoughts on “How To Open Plastic Cover On Outdoor Outlet”