Home>Dining>Tableware>How To Cover Garage Walls With Plastic Tablecloths
Tableware
How To Cover Garage Walls With Plastic Tablecloths
Modified: May 6, 2024
Discover an easy and affordable solution for covering your garage walls with plastic tablecloths. Transform your space with stylish tableware and protect your walls from dirt and stains.
(Many of the links in this article redirect to a specific reviewed product. Your purchase of these products through affiliate links helps to generate commission for Storables.com, at no extra cost. Learn more)
Introduction
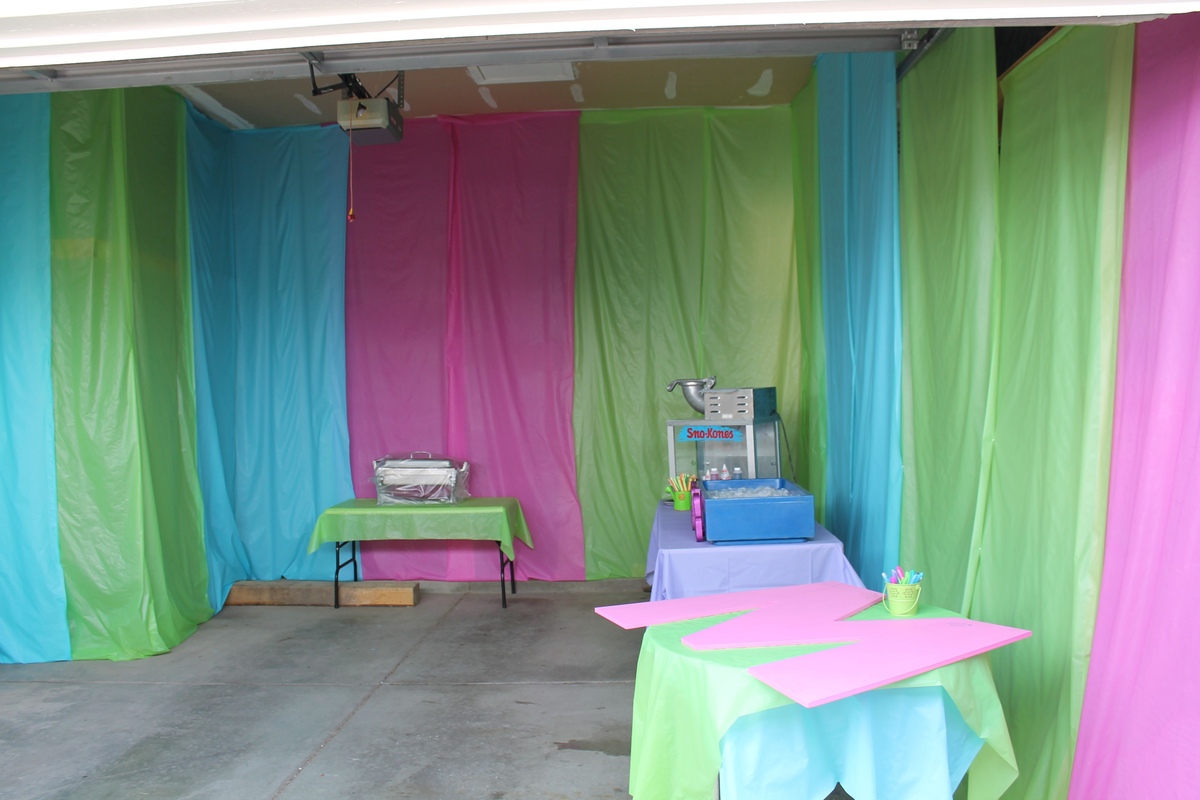
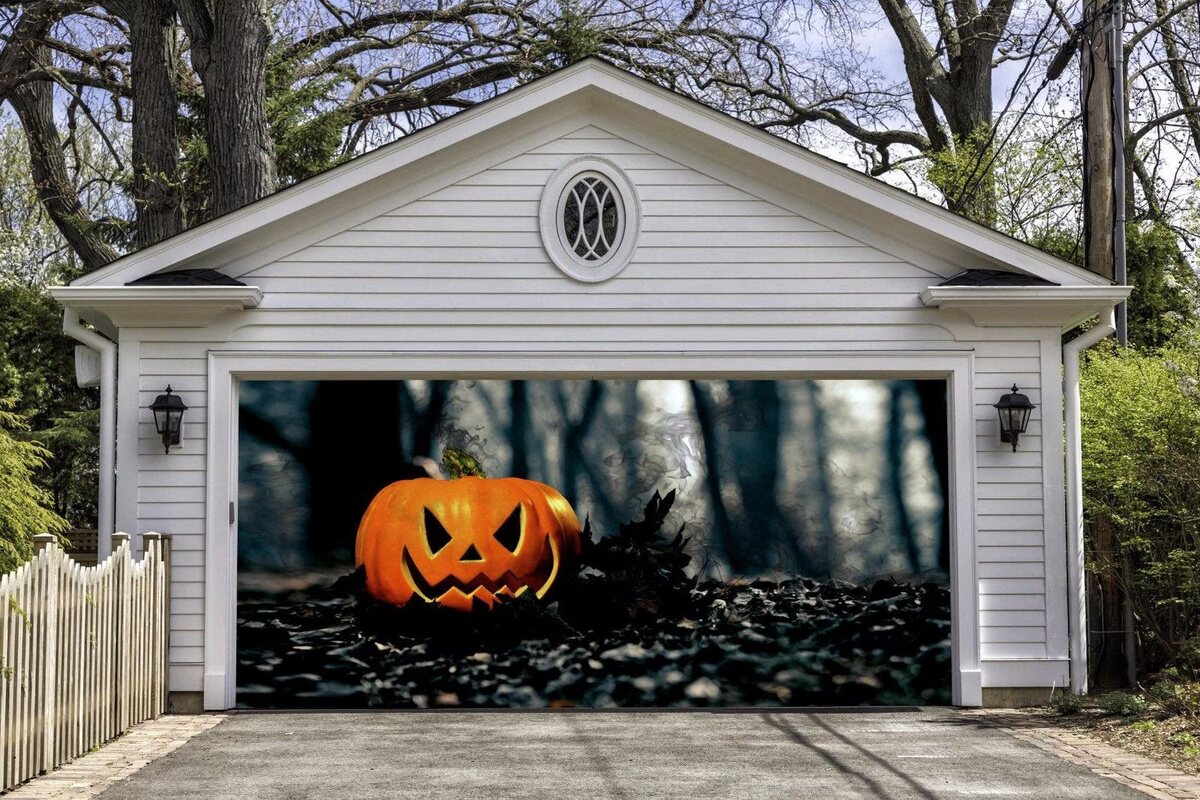
Welcome to the ultimate guide on how to cover your garage walls with plastic tablecloths. If you’re looking for a quick and cost-effective way to transform the appearance of your garage, this is the perfect solution for you. By using plastic tablecloths, you can easily add color and style to the walls while protecting them from dirt and damage.
Covering your garage walls with plastic tablecloths is a popular DIY project that can be completed in just a few simple steps. Whether you want to create a fun and vibrant space for your kids to play in, or a clean and organized environment for storage, this method is both practical and stylish.
In this guide, we will walk you through the materials you’ll need and the step-by-step process to achieve a professional-looking result. So grab your plastic tablecloths and let’s get started!
Key Takeaways:
- Transform your garage with plastic tablecloths for a cost-effective and stylish DIY project. Follow the step-by-step guide to achieve a professional look while adding color and personality to your space.
- Personalize your garage with creative patterns and colors, and don’t forget to maintain and clean the tablecloths for a fresh and vibrant appearance. Enjoy the process and admire your newly refreshed garage!
Read more: How To Clean A Plastic Tablecloth
Materials Needed
Before you embark on covering your garage walls with plastic tablecloths, it’s important to gather all the necessary materials. Here’s a list of what you’ll need:
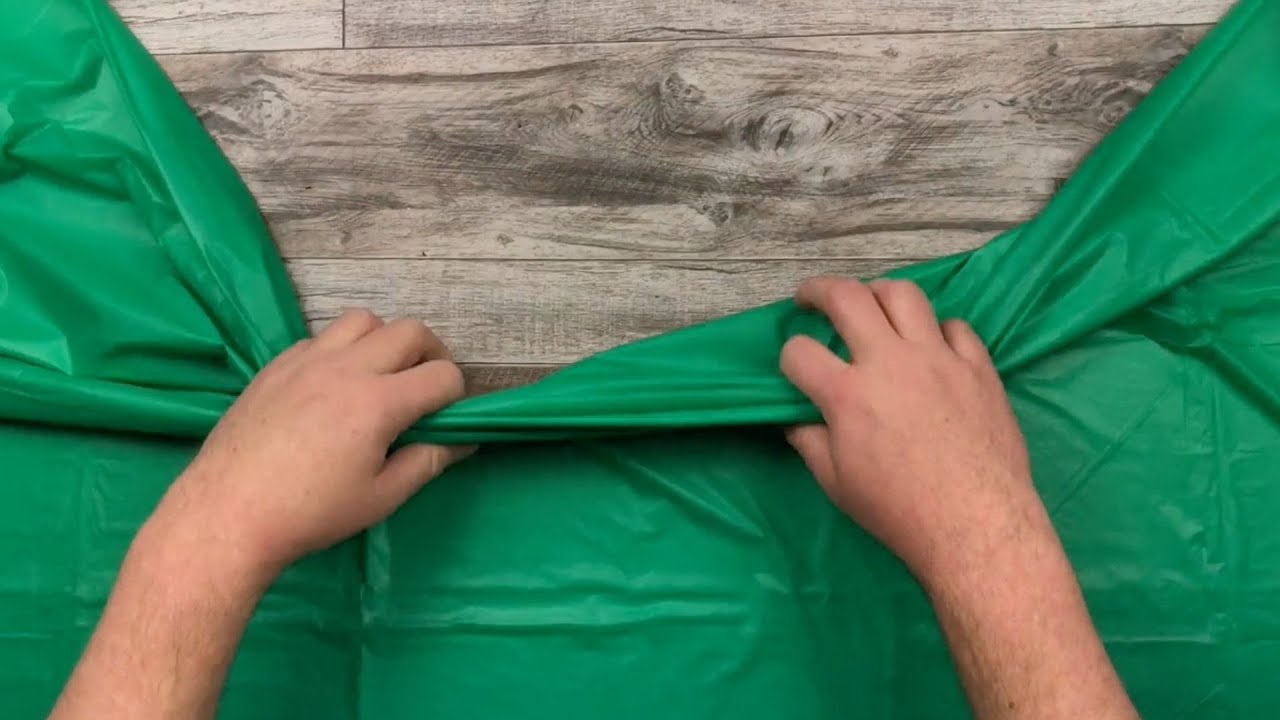
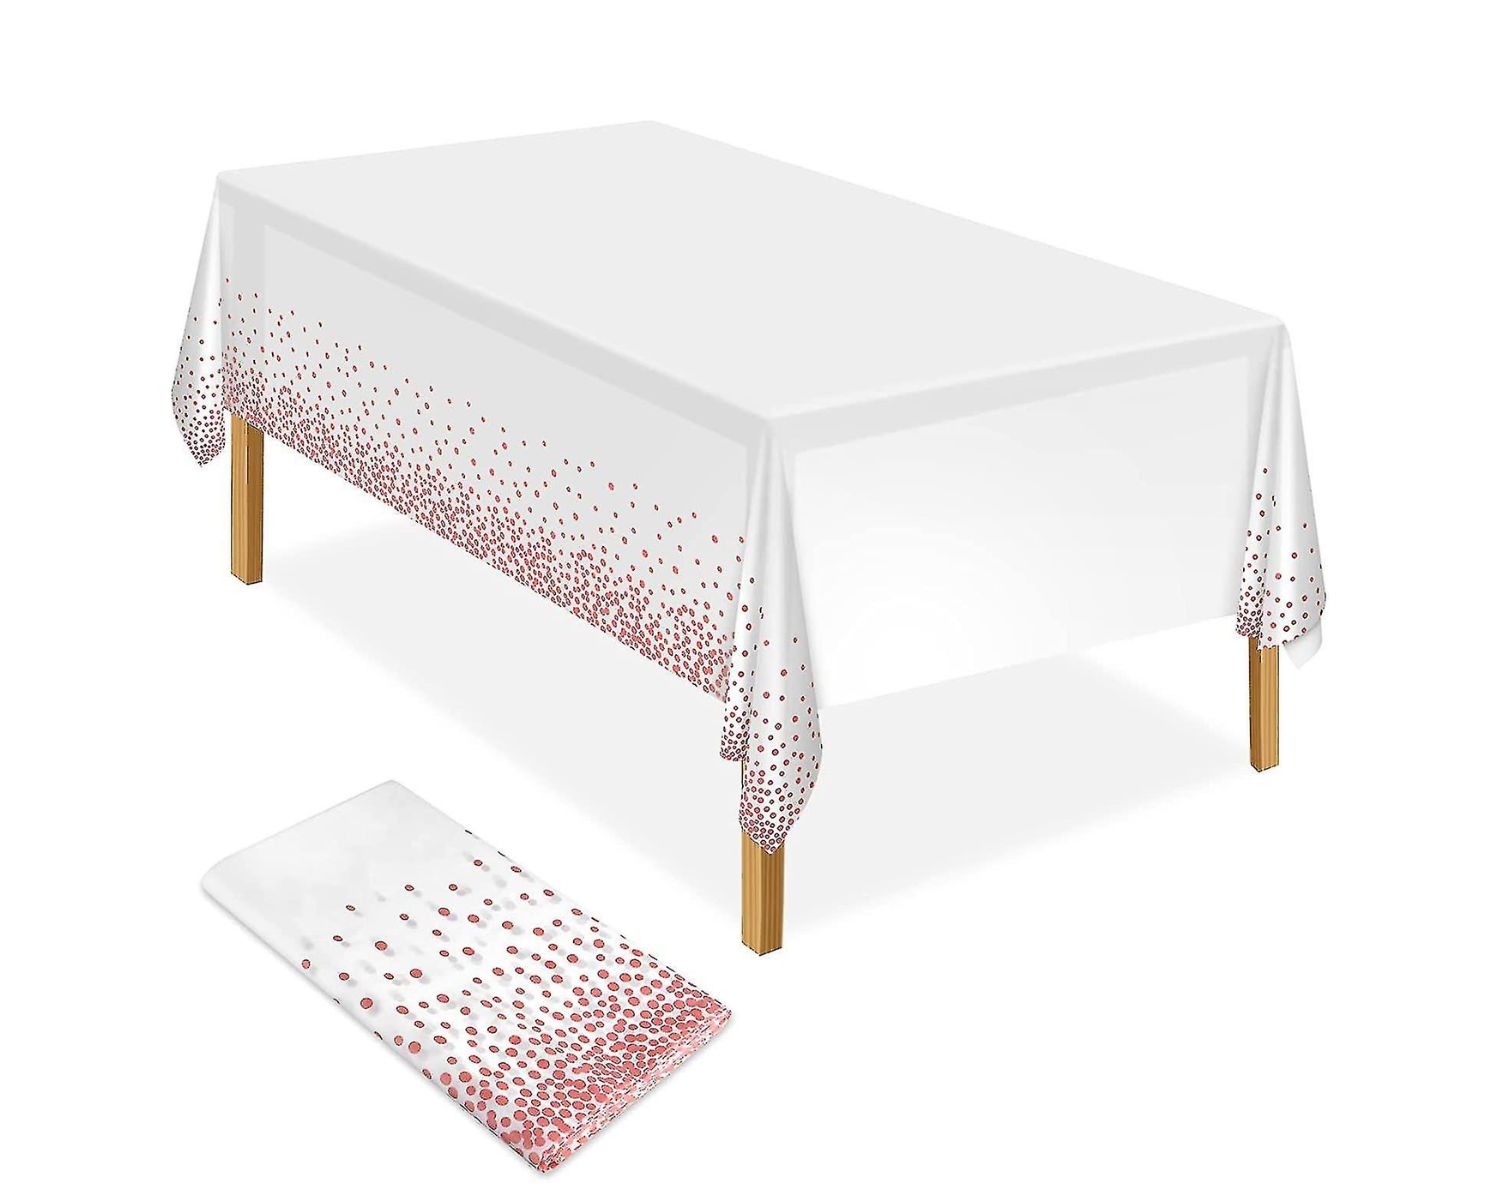
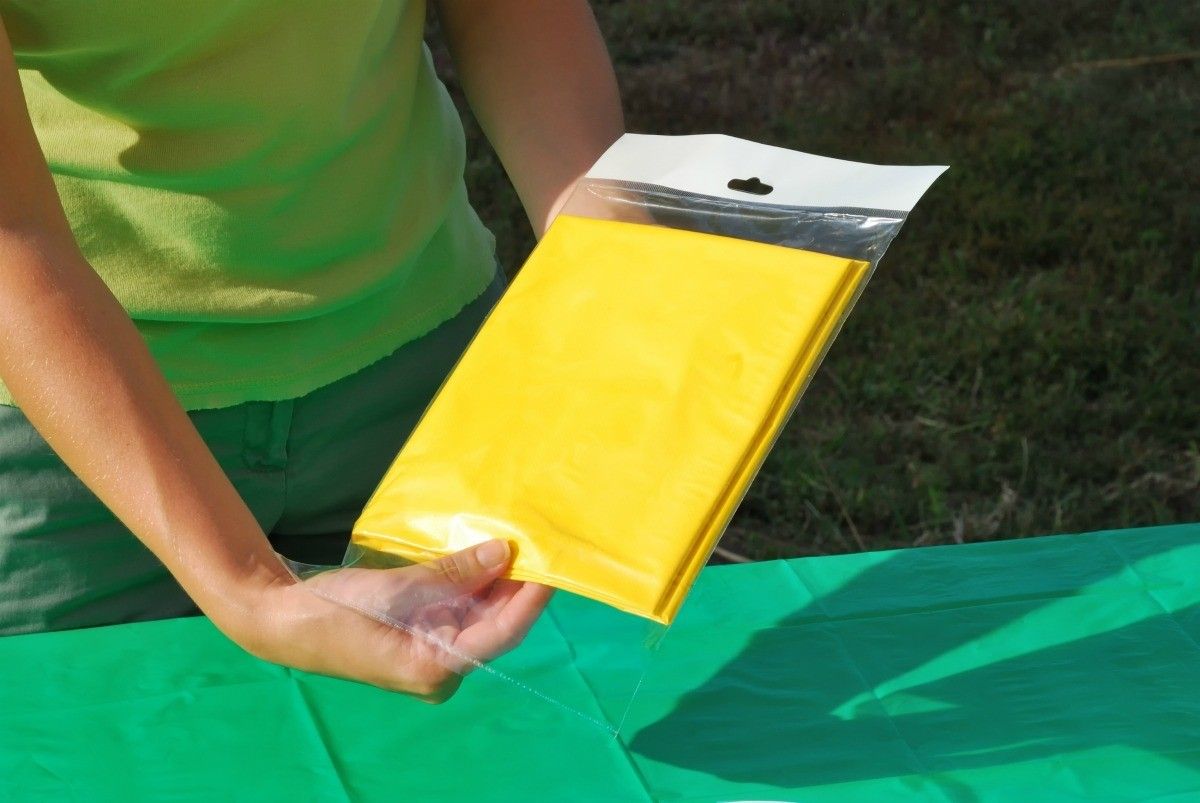
- Plastic tablecloths: Choose tablecloths that are thick and durable to withstand the rigors of a garage environment. Consider selecting tablecloths in colors or patterns that match your desired aesthetic.
- Double-sided tape: This will be used to secure the tablecloths to the walls. Opt for a strong adhesive tape to ensure a secure hold.
- Scissors: You’ll need a pair of sharp scissors to cut the plastic tablecloths to the correct measurements.
- Measuring tape or ruler: To ensure accuracy, have a measuring tape or ruler handy to measure the dimensions of your garage walls.
- Utility knife: A utility knife can come in handy for trimming excess tablecloth or making precise cuts if needed.
- Step ladder: Depending on the height of your garage walls, a step ladder may be necessary to reach higher areas.
- Optional: Decorative elements such as adhesive hooks, posters, or other wall decorations to personalize your garage space.
Once you have gathered all of these materials, you’re ready to begin the process of covering your garage walls with plastic tablecloths.
Step 1: Prepare the Garage Walls
Before you can start covering your garage walls with plastic tablecloths, it’s important to prepare the surface to ensure a clean and smooth application. Follow these steps to properly prepare your garage walls:
- Clear the garage: Remove any items or obstacles that might hinder your access to the walls. This will make it easier to work and ensure that the tablecloths have a flat surface to adhere to.
- Clean the walls: Use a broom or vacuum cleaner to remove any dust, dirt, or cobwebs from the walls. If there are stubborn stains or grease marks, you may need to wash the walls with a mild detergent solution and allow them to dry thoroughly.
- Repair any damage: Inspect the walls for any cracks, holes, or imperfections. Fill these in with spackle or wall filler, and use sandpaper to smooth out the surface once it’s dry. This will create a seamless finish when the tablecloths are applied.
By taking the time to properly prepare your garage walls, you’ll ensure that the tablecloths adhere securely and create a professional-looking result. Once you’ve completed these steps, you’re ready to move on to the next stage of the process.
Step 2: Measure and Cut Plastic Tablecloths
Now that your garage walls are prepared, it’s time to measure and cut the plastic tablecloths to fit the dimensions of your walls. Follow these steps to ensure accurate measurements:
- Measure the height of the wall: Use a measuring tape or ruler to determine the height of the wall you’ll be covering. Start from the floor and measure all the way up to the ceiling.
- Measure the width of the wall: Next, measure the width of the wall from one end to the other. If you’re planning to cover the entire wall, measure the full width. If you’re only covering a specific section, measure that specific area.
- Add extra length: To ensure that the tablecloth reaches the top of the wall and has enough excess to be secured properly, add an additional 6 to 12 inches to the measured height.
- Mark and cut the tablecloth: Lay the plastic tablecloth flat on a clean surface and use a marker or pencil to mark the height and width measurements. Using a pair of sharp scissors or a utility knife, carefully cut along the marked lines.
- Repeat for each wall: Repeat the measuring and cutting process for each wall you plan to cover. Make sure to measure and cut each tablecloth individually to ensure a precise fit.
Remember to double-check your measurements before cutting the tablecloths to avoid any mistakes. It’s always better to have a slightly longer tablecloth that can be trimmed later than to have one that is too short. With the tablecloths cut to the correct size, you’re ready to move on to the next step – attaching them to the walls.
Step 3: Attach Plastic Tablecloths to the Walls
Now that you have your plastic tablecloths cut to size, it’s time to start attaching them to the walls of your garage. Follow these steps to securely fasten the tablecloths:
- Start from one corner: Begin at one corner of the wall and have a helper hold the top edge of the tablecloth in place. Alternatively, you can use a small piece of double-sided tape to temporarily secure the tablecloth in position.
- Apply double-sided tape: Along the top edge of the tablecloth, apply a strip of double-sided tape. Make sure the tape runs the entire length of the tablecloth to ensure a secure hold.
- Press the tablecloth against the wall: With the tape in place, press the top edge of the tablecloth firmly against the wall, ensuring it is straight and aligned with the edge of the wall.
- Continue applying tape and pressing: Working your way down the wall, apply strips of double-sided tape about 12 inches apart. After applying each strip, press the tablecloth against the wall, smoothing out any wrinkles or air bubbles as you go.
- Repeat for each wall: Repeat the above steps for each wall you are covering. Take your time to ensure the tablecloths are applied smoothly and evenly.
By using double-sided tape, you can easily attach the plastic tablecloths to the walls without causing any damage to the surface. The tape provides a secure hold, ensuring that the tablecloths stay in place for an extended period.
Once you have attached all the tablecloths to the walls, you can move on to the next step – smoothing out and securing the plastic tablecloths.
When covering garage walls with plastic tablecloths, make sure to clean the walls thoroughly before applying the tablecloths to ensure they adhere properly. Use a strong adhesive or double-sided tape to secure the tablecloths in place.
Read more: How To Decorate With Plastic Tablecloths
Step 4: Smooth Out and Secure the Plastic Tablecloths
After attaching the plastic tablecloths to the walls, it’s important to smooth them out and ensure a secure hold. Follow these steps to achieve a seamless and professional-looking finish:
- Smooth out any wrinkles or air bubbles: Starting from the top edge of the tablecloth, use your hand or a soft cloth to gently smooth out any wrinkles or air bubbles. Work your way down the wall, smoothing out the tablecloth as you go.
- Secure the edges: Along the sides and bottom of the tablecloth, use double-sided tape to secure the edges to the walls. This will prevent the tablecloth from lifting or coming loose over time.
- Overlap tablecloths (optional): If you are covering a large wall or multiple walls, you may need to overlap the tablecloths. To do this, simply align the edges of two tablecloths and use double-sided tape to secure them together. Ensure that the overlap is smooth and seamless.
- Smooth out corners and edges: Pay special attention to the corners and edges of the tablecloths. Use extra tape or adhesive to secure them in place and ensure a neat and tidy appearance.
Take your time during this step to ensure that the tablecloths are smooth and free from any imperfections. By securing the edges and taking care of the corners and edges, you’ll create a polished finish that will enhance the overall appearance of your garage.
With the tablecloths smoothed out and securely in place, it’s time to move on to the next step – trimming any excess material.
Step 5: Trim Excess Plastic Tablecloth
Now that your plastic tablecloths are securely attached to the walls of your garage, it’s time to trim any excess material. This step will help create a neat and tidy appearance. Follow these steps to trim the excess plastic tablecloth:
- Inspect the edges: Take a close look at the edges of the tablecloth where it meets the walls. Look for any areas where there is excess material hanging beyond the edge.
- Measure and mark: Use a ruler or measuring tape to measure the desired length of the tablecloth. Mark this measurement with a pencil or marker.
- Cut the excess material: Carefully use a pair of scissors or a utility knife to trim the excess plastic tablecloth along the marked line. Take your time and make precise cuts to ensure a clean finish.
- Smooth out the trimmed edge: After trimming, use your hand or a soft cloth to smooth out the trimmed edge, ensuring that it blends seamlessly into the rest of the tablecloth.
Repeat this process for any areas where there is excess material. Pay close attention to corners and edges to ensure a crisp and professional appearance.
By trimming the excess plastic tablecloth, you’ll achieve a more polished look for your garage walls while maintaining a clean and organized space.
Now that you’ve completed this step, we’re almost done! Let’s move on to the final touches and some additional tips to make your plastic tablecloth wall covering even better.
Step 6: Final Touches and Tips
Congratulations! You’ve successfully covered your garage walls with plastic tablecloths. Now, let’s add some final touches and go over a few additional tips to enhance your project:
- Decorate the walls (optional): If you want to further personalize your garage, consider adding some decorative elements. Use adhesive hooks to hang tools or decorations, or display posters or artwork to add personality to the space.
- Maintain and clean the tablecloths: Over time, your plastic tablecloths may accumulate dirt or stains. To keep them looking fresh, clean them periodically with a mild detergent and a soft cloth or sponge. Avoid using abrasive cleaners that can damage the tablecloth material.
- Consider using tablecloth clips: If you find that the tablecloths are not staying in place as securely as you would like, consider using tablecloth clips or clamps at the edges and corners. This will provide extra reinforcement and prevent any potential movement.
- Experiment with different patterns and colors: Don’t be afraid to get creative and have fun with your choice of plastic tablecloths. Experiment with different patterns, colors, or even mix and match them to create a unique and vibrant look in your garage.
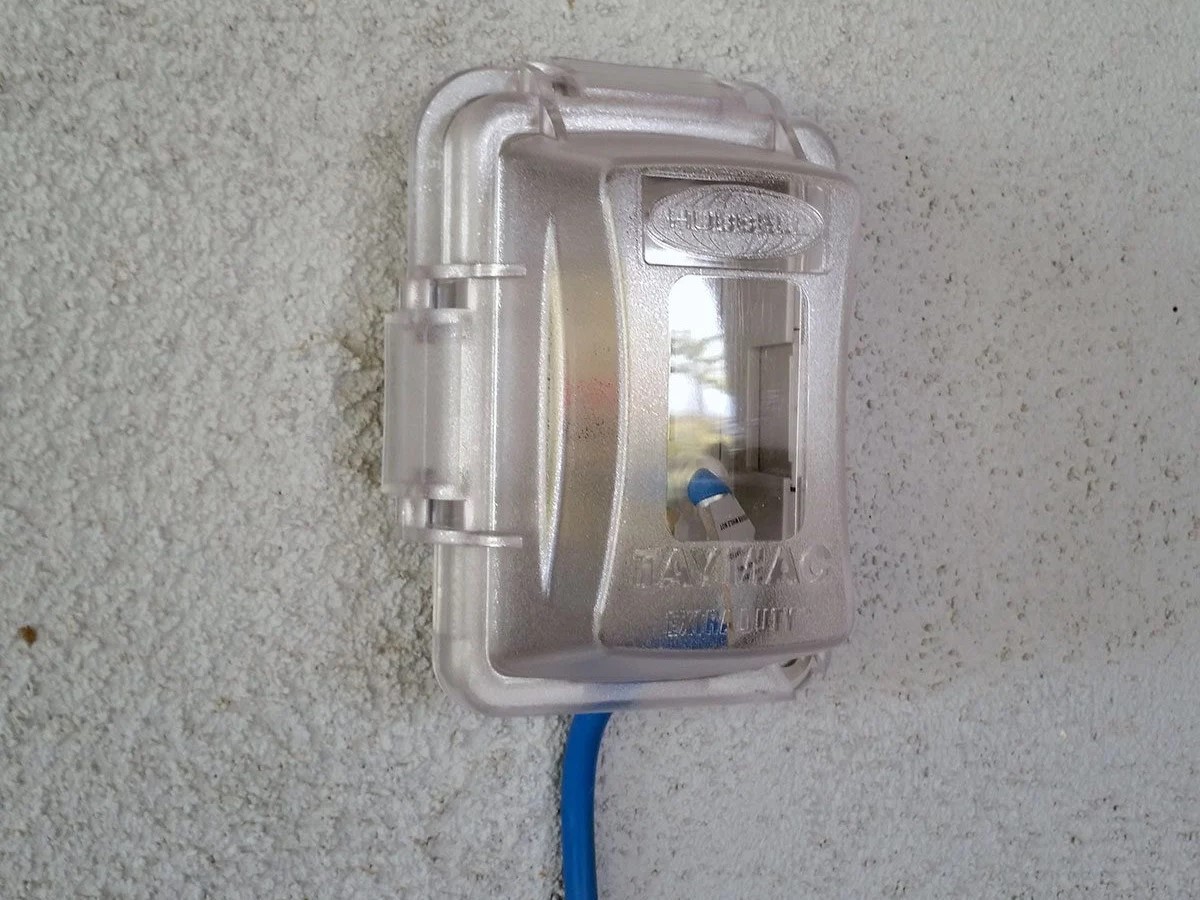
- Take safety precautions: Ensure that the plastic tablecloths do not cover any potentially hazardous areas, such as electrical outlets or switches. Keep in mind that the tablecloths are for decorative purposes and should not interfere with the functionality and safety of your garage.
With these final touches and tips, you’ve completed the process of covering your garage walls with plastic tablecloths. Step back and admire your transformed space, as now you have a garage that is not only functional but also visually appealing.
Remember, this DIY project offers a cost-effective and versatile solution to spruce up your garage. Enjoy the process and let your creativity shine!
Thank you for following this guide, and we hope you enjoy your newly refreshed garage!
Conclusion
Covering your garage walls with plastic tablecloths is a fantastic way to revitalize the space and add a touch of personality. By following the steps outlined in this guide, you can achieve a professional-looking result without breaking the bank.
The process of preparing the walls, measuring and cutting the tablecloths, attaching and securing them, and trimming any excess material may seem daunting at first. However, with a little patience and attention to detail, you’ll be able to transform your garage into a functional and visually appealing area.
Additionally, don’t be afraid to get creative and experiment with different patterns and colors. The tablecloths allow you to personalize your garage and make it a space that reflects your unique style and interests.
Remember to take the necessary safety precautions and ensure that the tablecloths do not obstruct any critical areas of your garage, such as electrical outlets.
With proper maintenance and periodic cleaning, your plastic tablecloth wall covering can maintain its fresh and vibrant appearance for years to come.
So go ahead, gather your materials, unleash your creativity, and give your garage a stunning makeover with plastic tablecloths. Enjoy the process, admire the results, and make the most of your newly transformed space!
Now that you've mastered covering garage walls with plastic tablecloths, why not dive deeper into transforming your garage space? Check out our detailed guide on turning a cluttered garage into a sleek, functional family area. This makeover isn't just about aesthetics; it's about creating a space that works for everyone. From storage solutions to cozy nooks, see how a simple garage can evolve into an inviting part of your home.
Frequently Asked Questions about How To Cover Garage Walls With Plastic Tablecloths
Was this page helpful?
At Storables.com, we guarantee accurate and reliable information. Our content, validated by Expert Board Contributors, is crafted following stringent Editorial Policies. We're committed to providing you with well-researched, expert-backed insights for all your informational needs.


0 thoughts on “How To Cover Garage Walls With Plastic Tablecloths”