Articles
How To Install Outdoor Outlet On Vinyl Siding
Modified: August 20, 2024
Learn how to install an outdoor outlet on vinyl siding with our helpful articles. Install your own outlet and enhance your outdoor space today!
(Many of the links in this article redirect to a specific reviewed product. Your purchase of these products through affiliate links helps to generate commission for Storables.com, at no extra cost. Learn more)
Introduction
Welcome to this informative guide on how to install an outdoor outlet on vinyl siding. Outdoor outlets are incredibly useful for a variety of purposes, whether you need to power your outdoor entertainment system, install outdoor lighting, or simply ensure that you have access to electricity for your outdoor activities. Installing an outdoor outlet on vinyl siding may seem like a daunting task, but with the right tools and techniques, it can be a straightforward and rewarding project.
Before we delve into the step-by-step process, let’s briefly discuss the benefits of having an outdoor outlet on vinyl siding. Vinyl siding is a popular choice for homeowners due to its durability, low maintenance requirements, and aesthetic appeal. By installing an outdoor outlet on your vinyl siding, you can conveniently access electricity for various outdoor activities without compromising the integrity or appearance of your siding. Additionally, having an outdoor outlet can enhance the overall functionality and usability of your outdoor space.
Throughout this guide, we will provide you with detailed instructions on how to successfully install an outdoor outlet on vinyl siding. We will cover everything from choosing the location and gathering the necessary tools and materials to connecting the wiring and properly sealing and securing the outlet. So, let’s get started with the first step—choosing the location.
Key Takeaways:
- Choosing the right location, gathering the necessary tools, and preparing the vinyl siding are crucial steps in successfully installing an outdoor outlet on vinyl siding. Proper planning and preparation are key to a smooth and efficient installation process.
- Safety is paramount when working with electricity. If you’re unsure about any step in the installation process, it’s best to consult a licensed electrician to ensure proper wiring connections and adherence to safety measures.
Step 1: Choose the Location
The first step in installing an outdoor outlet on vinyl siding is to carefully choose the location. The location you select should be both convenient for your needs and comply with local electrical codes. Here are a few important considerations:
- Accessibility: Choose a location that is easily accessible and within reach. You don’t want to have to stretch or struggle to plug in or unplug your devices.
- Protection: Consider the protection of the outlet from the elements. Avoid placing it near areas that are prone to moisture, such as downspouts or under eaves where rainwater can easily collect.
- Distance from the Ground: In most cases, electrical outlets should be installed at least 12 inches above the ground. This helps protect the outlet from being damaged by water, debris, or accidental contact.
- Proximity to Electrical Source: Ideally, the location you choose should be close to an existing electrical source. This will make the installation process easier and more efficient.
- Consider Aesthetics: Take into account the visual impact of the outlet on your vinyl siding. Try to choose a location that is inconspicuous and blends well with the overall look of your home.
Once you have carefully considered these factors, you can proceed to the next step of the installation process. But before that, make sure to consult local building codes and regulations to ensure compliance with any specific requirements or restrictions related to outdoor electrical installations.
Step 2: Gather the Necessary Tools and Materials
Before you begin the installation process, it’s essential to gather all the necessary tools and materials to ensure a smooth and efficient installation. Here’s a list of the items you will need:
- Power Drill: A power drill will be needed to make the necessary holes in the vinyl siding and to secure the outlet.
- Drill Bits: You’ll need drill bits suitable for drilling through vinyl siding. Make sure to choose the appropriate size for the outlet box and any conduit or wiring you’ll be using.
- Circular Saw or Utility Knife: A circular saw or utility knife will be needed to cut the vinyl siding to create a space for the outlet box.
- Measuring Tape: A measuring tape will help you accurately determine the placement and dimensions for the outlet box.
- Siding Removal Tool: This tool will assist in removing and replacing the vinyl siding without causing damage.
- Electrical Box: You’ll need an electrical box specifically designed for outdoor use. Ensure that it is rated for the level of moisture exposure in your area and meets local building codes.
- Outdoor Outlet: Choose a weather-resistant outdoor outlet that is suitable for the intended use and meets all safety requirements.
- Electrical Wiring: Depending on the distance from the electrical source, you may need to have electrical wiring and appropriate connectors on hand.
- Screws and Mounting Hardware: You’ll need screws and mounting hardware to secure the outlet box and the outlet itself.
- Wire Strippers and Wire Connectors: These tools are necessary for properly connecting and securing the electrical wiring.
- Electrical Tape: Electrical tape is essential for insulating and protecting wire connections.
- Caulk or Silicone Sealant: To ensure a watertight seal, you’ll need caulk or silicone sealant to seal around the outlet box.
Make sure to gather all the items mentioned above before you begin the installation. Having everything ready will help streamline the process and avoid unnecessary delays.
Step 3: Prepare the Vinyl Siding
Before you proceed with the installation of the outdoor outlet, it is essential to prepare the vinyl siding properly. Here are the steps to follow:
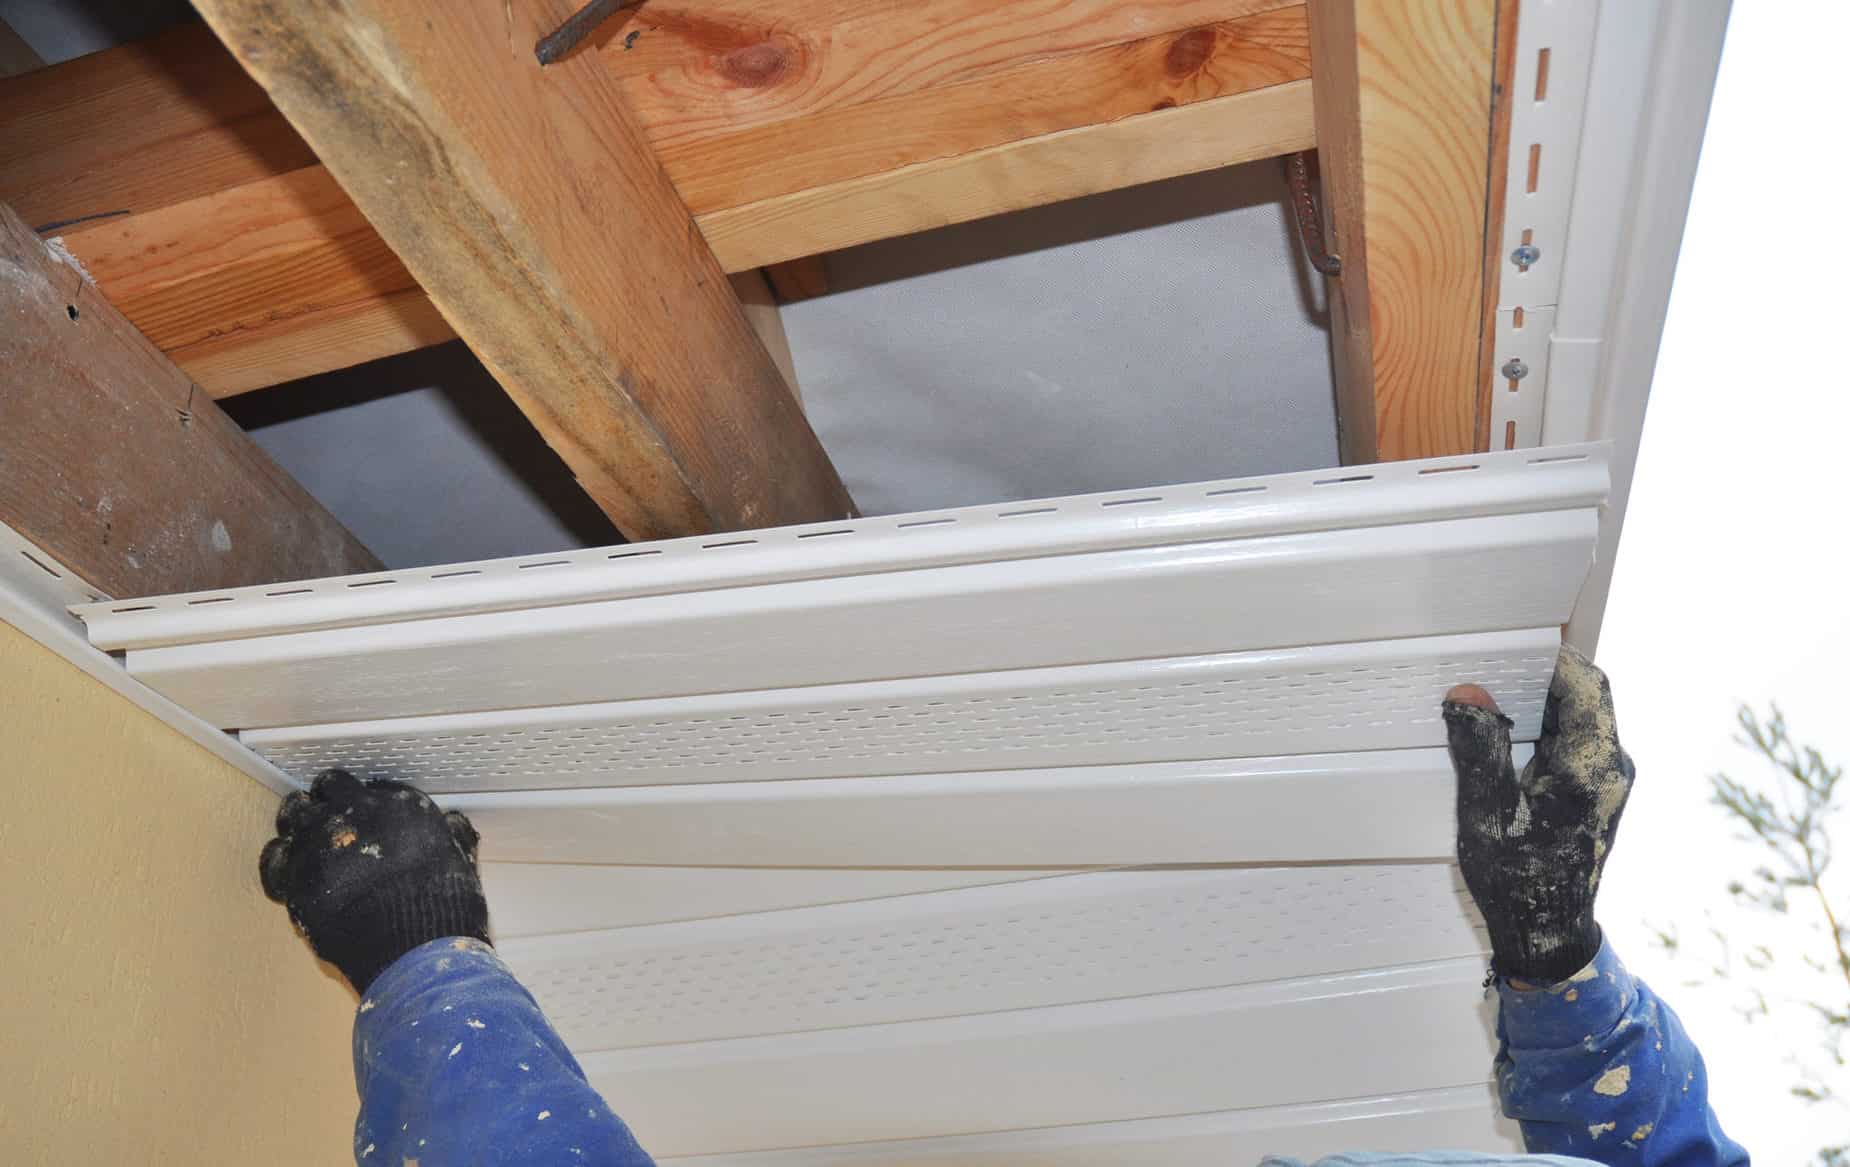
- Locate the Siding J-Channel: The J-channel is a common component of vinyl siding that holds the siding panels in place. Start by locating the J-channel near the desired location for the outlet. You will need to remove a section of the J-channel to make space for the electrical box.
- Use a Siding Removal Tool: Carefully insert a siding removal tool or a flat-edged tool under the edge of the J-channel and gently pry it away from the wall. Take your time and be cautious not to damage the siding in the process. Gradually work your way along the J-channel until you have created enough clearance to accommodate the electrical box.
- Cut a Hole: Once you have created the necessary clearance, use a circular saw or a utility knife to carefully cut a hole in the vinyl siding. The hole should be slightly larger than the size of the electrical box to ensure a proper fit.
- Clear Away Debris: After cutting the hole, remove any debris or excess siding material from the area. This will ensure a clean and smooth installation.
By properly preparing the vinyl siding, you will create a space for the electrical box without compromising the integrity or appearance of the siding. Now that the vinyl siding is prepared, you can move on to marking the location for the outlet. This will help guide you in the subsequent steps of the installation process.
Step 4: Mark the Location for the Outlet
Once you have prepared the vinyl siding, it’s time to mark the exact location where the outdoor outlet will be installed. Follow these steps to ensure accurate placement:
- Measure and Mark: Use a measuring tape to determine the height and distance from the ground at which you want to install the outlet. Mark these measurements on the vinyl siding using a pencil or marker.
- Centered Placement: For aesthetic purposes, it’s usually best to center the outlet horizontally within the prepared area of the vinyl siding. This will create a balanced and visually appealing look.
- Allow for Clearance: Ensure that there is enough clearance around the marked spot to accommodate the electrical box and any wiring that needs to be run to the outlet. Take into consideration the size of the electrical box and the conduit, if applicable.
- Check for Levelness: Use a level to ensure that the marked location is perfectly level. This will help prevent any future issues with the outlet’s appearance and functionality.
Take your time with this step to ensure precise marking. It’s crucial to have an accurately marked location to guide you in the subsequent steps of cutting the vinyl siding and installing the electrical box. Once you are confident in the placement, you can move on to the next step of cutting the vinyl siding to create a space for the electrical box.
Step 5: Cut the Vinyl Siding
Now that you have marked the location for the outlet, it’s time to cut the vinyl siding to create a space for the electrical box. Follow these steps to ensure a clean and precise cut:
- Double-Check Measurements: Before cutting, double-check the measurements and make sure the marked location aligns with your desired placement. This will help ensure that the outlet is properly positioned.
- Choose the Right Tool: Depending on your preference and the size of the cut, you can use either a circular saw or a utility knife to cut through the vinyl siding. Both tools are effective, but a circular saw may provide a smoother and more efficient cut.
- Wear Safety Gear: Regardless of the cutting tool you choose, remember to wear safety goggles and gloves to protect yourself from any flying debris or accidental cuts.
- Cut Along the Marked Lines: Carefully cut along the marked lines using a slow and steady motion. If using a utility knife, score the vinyl siding first and then make subsequent passes to cut through. If using a circular saw, set the blade depth to match the thickness of the vinyl siding.
- Remove the Cut Piece: Once the cut is complete, gently pry and remove the cut piece of vinyl siding. Take care not to damage the surrounding siding panels during this process.
By cutting the vinyl siding accurately, you will create a space for the electrical box to be installed. Ensure that the cut is clean and fits the dimensions of the box properly. Once the vinyl siding has been cut, you can proceed to the next step of installing the electrical box.
When installing an outdoor outlet on vinyl siding, make sure to use a waterproof outlet box and seal around the edges with silicone to prevent water damage. Be sure to follow local building codes and regulations.
Step 6: Install the Electrical Box
Now that you have prepared the vinyl siding and created a space for the outlet, it’s time to install the electrical box. Follow these steps to ensure a secure and proper installation:
- Select the Right Electrical Box: Choose an electrical box that is specifically designed for outdoor use. Ensure that it meets local building codes and is suitable for the type of installation you are performing.
- Position the Box: Carefully position the electrical box in the cutout section of the vinyl siding. Ensure that it is aligned with the marked location and is level.
- Secure the Box: Depending on the type of electrical box you have, use screws or clips to secure it to the vinyl siding. Make sure it is tightly and securely fastened to prevent any movement or loosening over time.
- Prepare for Wiring: Depending on the wiring setup, you may need to insert a conduit or a cable connector into the knockout hole of the electrical box. This will provide a pathway for the electrical wiring to enter the box.
- Make Electrical Connections: If you are not familiar with electrical work, it is strongly recommended to consult a licensed electrician at this stage. They will be able to guide you through the process of connecting the wiring to the electrical box safely and correctly.
- Double-Check Connections: Once the wiring is connected, double-check all the connections to ensure they are secure and properly insulated. Any exposed wires or loose connections can be a safety hazard.
By following these steps, you can install the electrical box securely and correctly. Keep in mind that electrical work can be dangerous and should be approached with caution. If you are not confident in your abilities or are unsure about any step, it is best to consult a professional electrician. With the electrical box in place, you can now proceed to connect the wiring for the outlet.
Step 7: Connect the Wiring
Connecting the wiring is a critical step in the installation process as it ensures the proper functioning and safety of the outdoor outlet. Follow these steps to connect the wiring:
- Turn Off Power: Before working with any electrical wiring, make sure to turn off the power to the circuit at the main electrical panel. This will help prevent any accidents or electrical shocks.
- Prepare the Wires: Strip the outer insulation of the wires, exposing the conductor. Use wire strippers to remove about ¾ inch (1.9 cm) of insulation from the ends of the wires.
- Connect the Wires: Connect the black (hot) wire from the electrical source to the brass or dark-colored screw terminal on the outlet. Connect the white (neutral) wire to the silver or light-colored screw terminal. If applicable, connect the green or bare copper wire to the ground terminal using a grounding screw.
- Use Wire Connectors: Secure the wire connections by twisting them together and using wire connectors. Ensure that all wires are securely connected and there is no exposed copper.
- Double-Check Connections: Once the wiring is connected, double-check all the connections to ensure they are secure and properly insulated. Any loose connections can cause flickering, power interruptions, or even electrical hazards.
- Bundle the Wires: Neatly bundle the wires and place them inside the electrical box. Ensure that there is enough room for the wires without crimping or damaging them.
Remember, if you are not experienced or comfortable working with electrical wiring, it is highly recommended to hire a licensed electrician to safely complete this step. They have the knowledge and expertise to handle electrical connections correctly, minimizing any potential risks.
Once the wiring is properly connected and secured, you are ready to move on to the next step of mounting the outlet on the electrical box.
Step 8: Mount the Outlet
With the wiring connected and secured, it’s time to mount the outlet onto the electrical box. Follow these steps to ensure a proper installation:
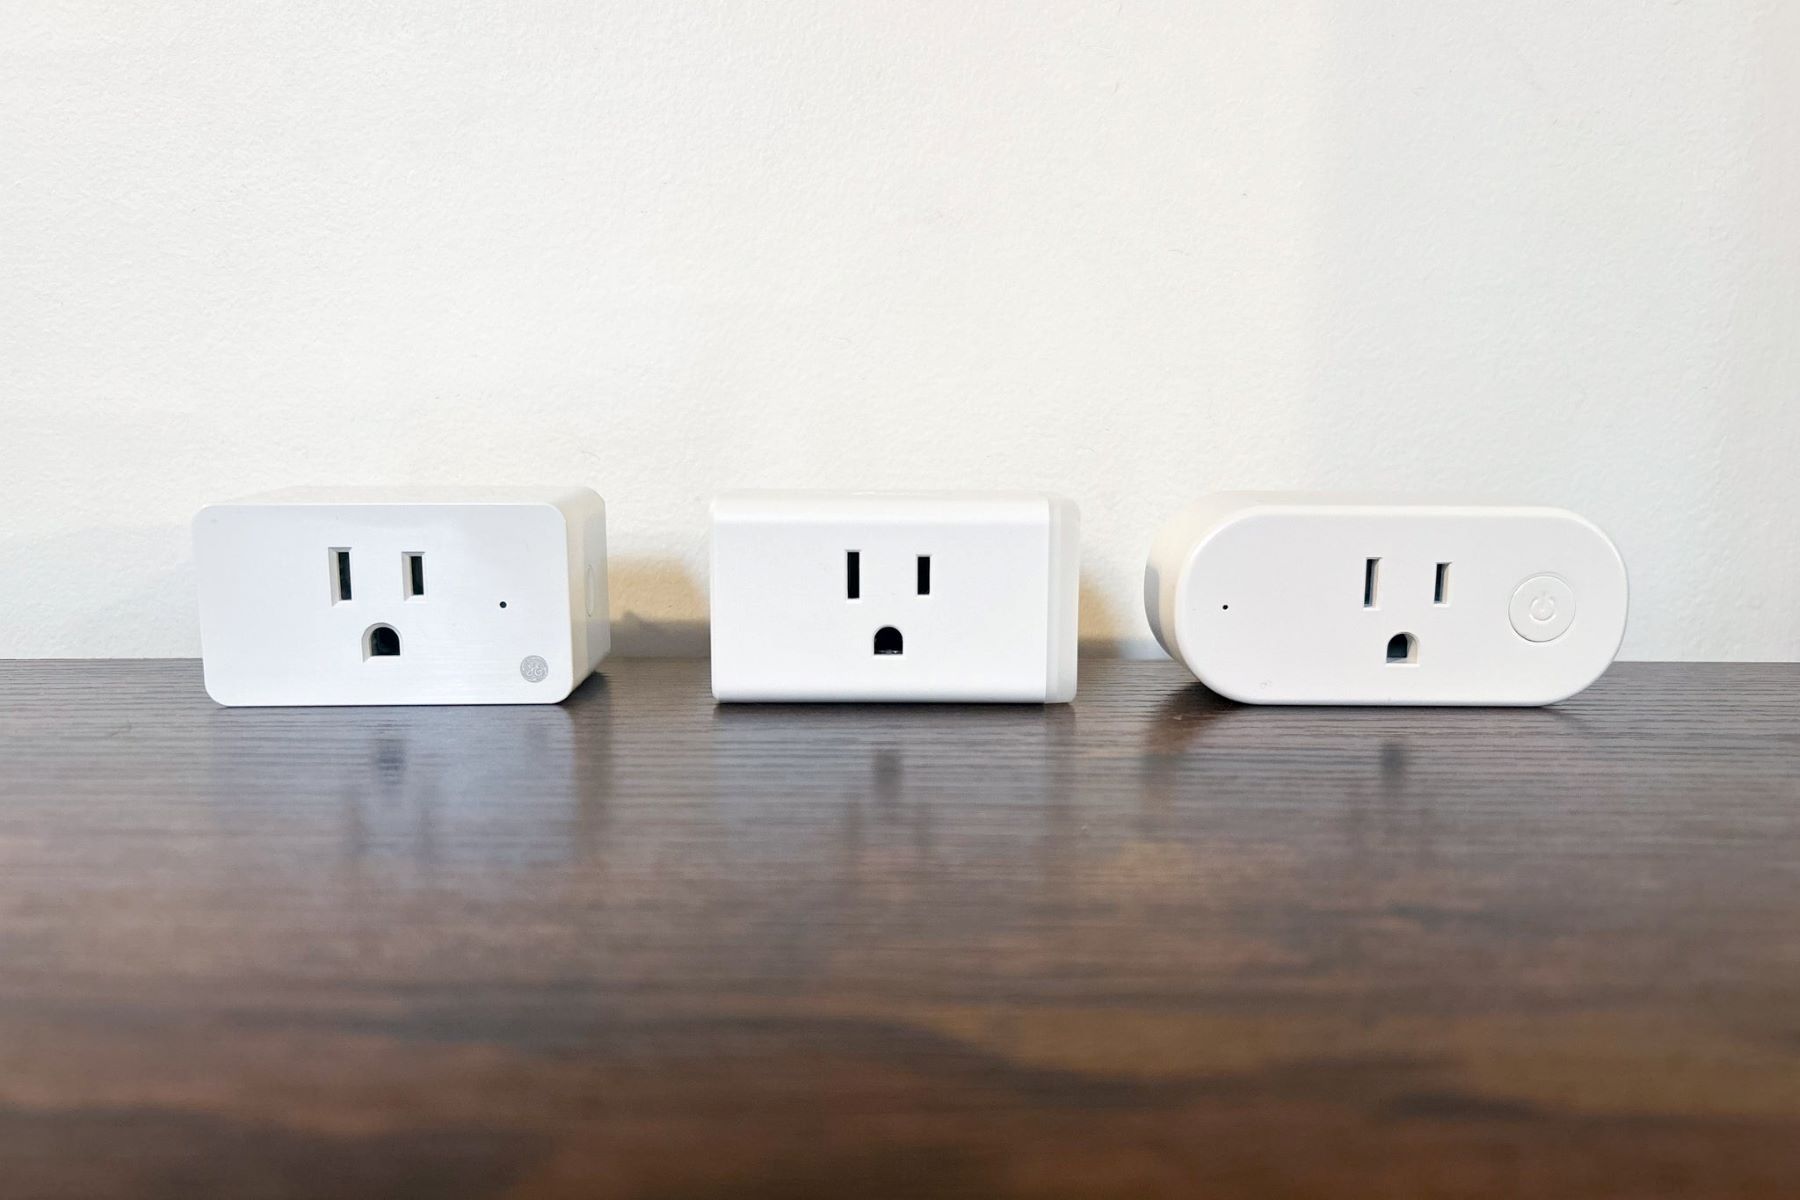
- Choose the Right Outdoor Outlet: Select an outdoor outlet that is designed for outdoor use and suitable for your specific needs. Ensure that it is compatible with the electrical box and meets all safety requirements.
- Match the Outlet with the Box: Align the holes on the back of the outlet with the corresponding holes on the electrical box. Ensure that all mounting screws align properly and can be inserted securely.
- Secure the Outlet: Insert the mounting screws into the holes and tighten them with a screwdriver. Be careful not to overtighten, as this may damage the outlet or the electrical box.
- Check for Stability: Once the outlet is securely mounted, test its stability by gently wiggling it. It should be firmly in place without any excessive movement.
It’s important to note that the specific mounting process may vary depending on the type and model of the outdoor outlet you choose. Always refer to the manufacturer’s instructions for detailed guidelines on how to properly mount the outlet.
With the outlet securely mounted, you are now ready to move on to the next step of testing the outlet to ensure it is functioning correctly.
Read more: How To Install Awning On Vinyl Siding
Step 9: Test the Outlet
Testing the outdoor outlet is a crucial step to ensure that it is properly installed and functioning correctly. Follow these steps to test the outlet:
- Turn on the Power: Restore power to the circuit at the main electrical panel by flipping the corresponding breaker switch.
- Plug in a Device: Plug in a device, such as a lamp or a phone charger, into the outdoor outlet to test its functionality.
- Check for Power: Ensure that the device is receiving power by checking if it turns on or starts charging. If it doesn’t, double-check the wiring connections and ensure that the outlet is properly mounted.
- Test GFCI Functionality (If Applicable): If your outdoor outlet is equipped with Ground Fault Circuit Interrupter (GFCI) protection, press the “TEST” button to verify that the GFCI shuts off power as intended. Then, press the “RESET” button to restore power to the outlet.
Make sure to test the outdoor outlet with different devices to ensure its compatibility and functionality. If you encounter any issues, such as a device not receiving power or the GFCI not working correctly, it is recommended to consult a licensed electrician to help troubleshoot and resolve the problem.
Only proceed to the final step once you have confirmed that the outlet is working correctly.
Step 10: Seal and Secure the Outlet
After successfully testing the outdoor outlet, it’s important to properly seal and secure it to ensure its protection from the elements and to maintain its longevity. Follow these steps to seal and secure the outlet:
- Apply Caulk or Silicone Sealant: Apply a bead of caulk or silicone sealant around the edges of the electrical box where it meets the vinyl siding. This will create a watertight seal and prevent moisture from entering the electrical box.
- Smooth the Sealant: Use a putty knife or your finger to smooth the bead of sealant, ensuring that it fully covers the gaps and creates an even, seamless seal.
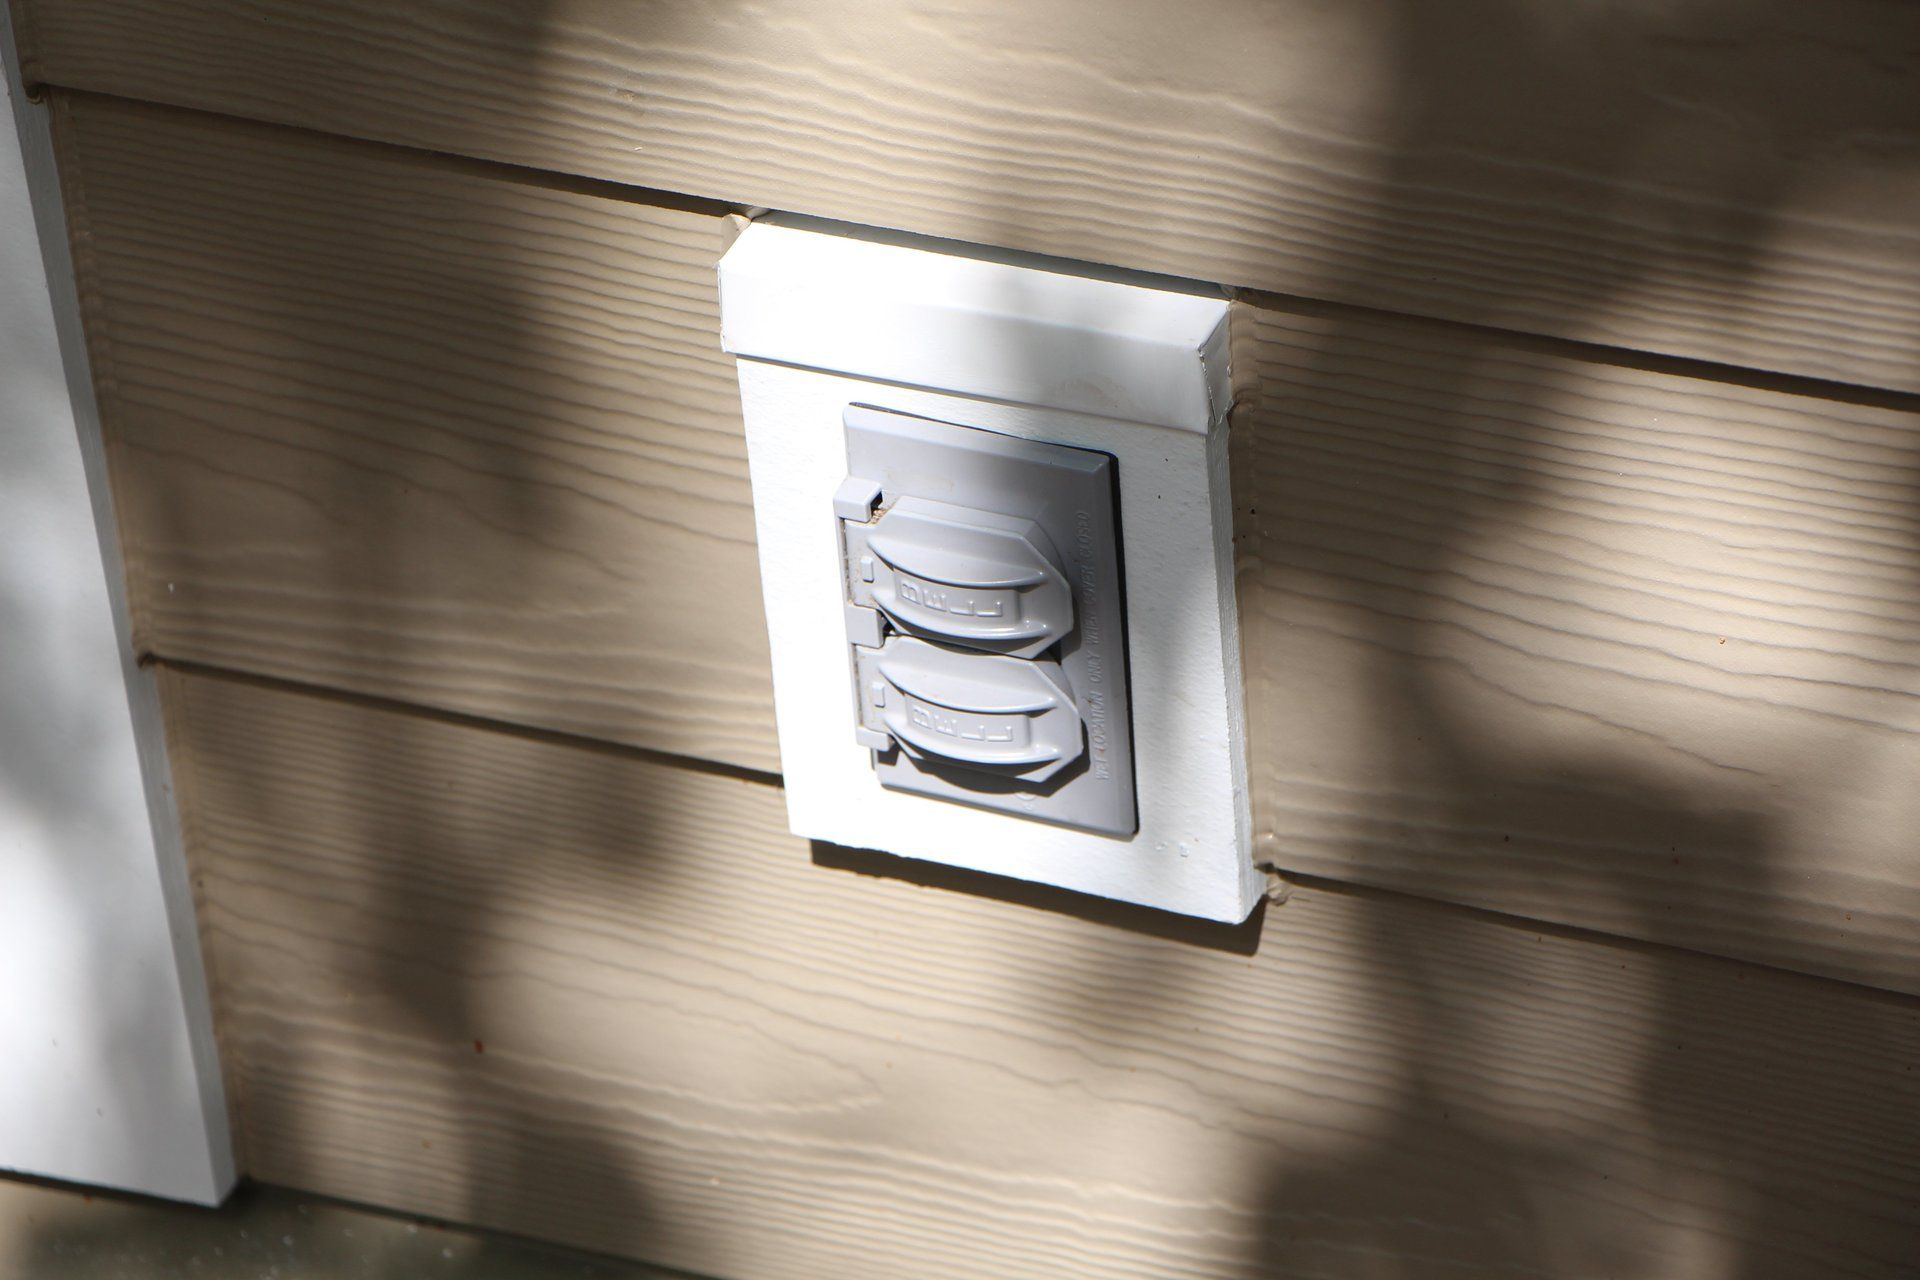
- Protect the Wiring: If the outdoor outlet is located in an area exposed to the elements, consider using a weatherproof cover or an in-use cover to protect the outlet and the wiring from rain, snow, or other harsh weather conditions.
- Secure the Cover: Once the cover is in place, secure it using the provided screws or fasteners. Ensure that the cover fits snugly and is tightly sealed against the outlet.
- Inspect the Outlet: Perform a visual inspection of the outlet, checking for any loose connections, damaged wires, or signs of wear. If you notice any issues, address them promptly or consult a licensed electrician.
By properly sealing and securing the outdoor outlet, you can minimize the risk of damage and ensure its long-term functionality. Regularly inspect the outlet to maintain its integrity and promptly address any maintenance or repair needs.
Congratulations! You have successfully installed an outdoor outlet on vinyl siding. Enjoy the convenience and versatility that it offers for your outdoor electrical needs!
Remember, it’s always important to prioritize safety when working with electricity. If you have any doubts or concerns during the installation process, do not hesitate to seek professional assistance from a licensed electrician.
Conclusion
Installing an outdoor outlet on vinyl siding may seem like a daunting task, but with the right knowledge and approach, it can be a rewarding and practical project. By following the step-by-step guide outlined in this article, you can safely and effectively install an outdoor outlet on your vinyl siding, enhancing the functionality and convenience of your outdoor space.
We discussed the importance of choosing the right location for the outlet, considering factors such as accessibility, protection from the elements, and compliance with local electrical codes. Proper planning and preparation are key to a successful installation process.
Gathering the necessary tools and materials is essential to ensure a smooth and efficient installation. From power drills and drill bits to electrical boxes and outdoor outlets, having the right equipment at hand will make the process much easier and more convenient.
Preparing the vinyl siding by removing a section of the J-channel and cutting a hole for the electrical box is a critical step that should be done carefully to maintain the integrity of the siding. Taking accurate measurements and using the right tools will help create a clean and precise cut.
Installing the electrical box and connecting the wiring should be approached with caution. If you are not experienced in electrical work, it is recommended to consult a licensed electrician to ensure the proper wiring connections are made and all safety measures are met.
Once the outlet is mounted and the wiring is connected, testing its functionality is crucial. Ensure that the outlet is providing power and, if applicable, that the GFCI protection is working correctly. Testing with different devices will help verify its compatibility.
To complete the installation, seal and secure the outlet by applying caulk or silicone sealant around the electrical box to create a watertight seal. Use weatherproof covers or in-use covers to protect the outlet and wiring from the elements.
Remember, safety should always be a priority when working with electricity. If you have any doubts or concerns during the installation process, it is best to seek professional assistance from a licensed electrician.
By following these steps and guidelines, you can successfully install an outdoor outlet on vinyl siding, providing convenient access to electricity for your outdoor activities and enhancing the functionality of your outdoor space.
Enjoy your newfound convenience and make the most out of your outdoor electrical capabilities!
Now that you've mastered installing an outdoor outlet, why stop there? Dive into our collection of inspiring outdoor projects. Whether you're looking to spruce up your garden or add a unique touch to your backyard, our guide brims with accessible ideas to fuel your next DIY adventure. From simple setups to more elaborate undertakings, there's something for every skill level. Don't miss out on transforming your outdoor spaces into captivating retreats that beckon for leisure and relaxation.
Frequently Asked Questions about How To Install Outdoor Outlet On Vinyl Siding
Was this page helpful?
At Storables.com, we guarantee accurate and reliable information. Our content, validated by Expert Board Contributors, is crafted following stringent Editorial Policies. We're committed to providing you with well-researched, expert-backed insights for all your informational needs.


0 thoughts on “How To Install Outdoor Outlet On Vinyl Siding”