Home>Furniture & Design>Outdoor Furniture>How To Fix An Outdoor Outlet That Has No Power
Outdoor Furniture
How To Fix An Outdoor Outlet That Has No Power
Modified: February 17, 2024
Learn how to troubleshoot and fix an outdoor outlet with no power. Get expert tips on outdoor furniture, design, and maintenance. Outdoor-furniture-furniture-and-design.
(Many of the links in this article redirect to a specific reviewed product. Your purchase of these products through affiliate links helps to generate commission for Storables.com, at no extra cost. Learn more)
Introduction
Welcome to the great outdoors, where the sun shines, the birds sing, and your outdoor electrical outlet has mysteriously stopped working. Whether you were planning to fire up the grill, plug in some festive string lights, or power up your favorite outdoor gadgets, a non-functional outdoor outlet can put a damper on your plans. But fear not! In this guide, we'll walk you through the steps to troubleshoot and fix an outdoor outlet that has lost power.
Before we dive into the troubleshooting process, it's important to emphasize the significance of outdoor electrical safety. Dealing with electrical components requires caution and respect for the power they harness. Always prioritize safety by turning off the power supply to the outlet before conducting any inspections or repairs. If you're unsure about any part of the process, don't hesitate to consult a qualified electrician.
Now, let's roll up our sleeves and get ready to tackle the challenge of restoring power to your outdoor outlet. Whether it's a tripped circuit breaker, a faulty GFCI outlet, or a loose connection causing the issue, we're here to help you identify and resolve the problem. By the end of this guide, you'll be equipped with the knowledge and confidence to troubleshoot and fix your outdoor outlet, bringing the convenience and functionality back to your outdoor living space. So, let's begin our journey toward a fully powered outdoor oasis!
Key Takeaways:
- Troubleshoot outdoor outlet power loss by checking circuit breaker, resetting GFCI outlet, testing with multimeter, checking for loose connections, and replacing outlet if needed.
- Prioritize safety and diligence when troubleshooting outdoor outlet power loss to restore functionality and convenience to your outdoor living space.
Checking the Circuit Breaker
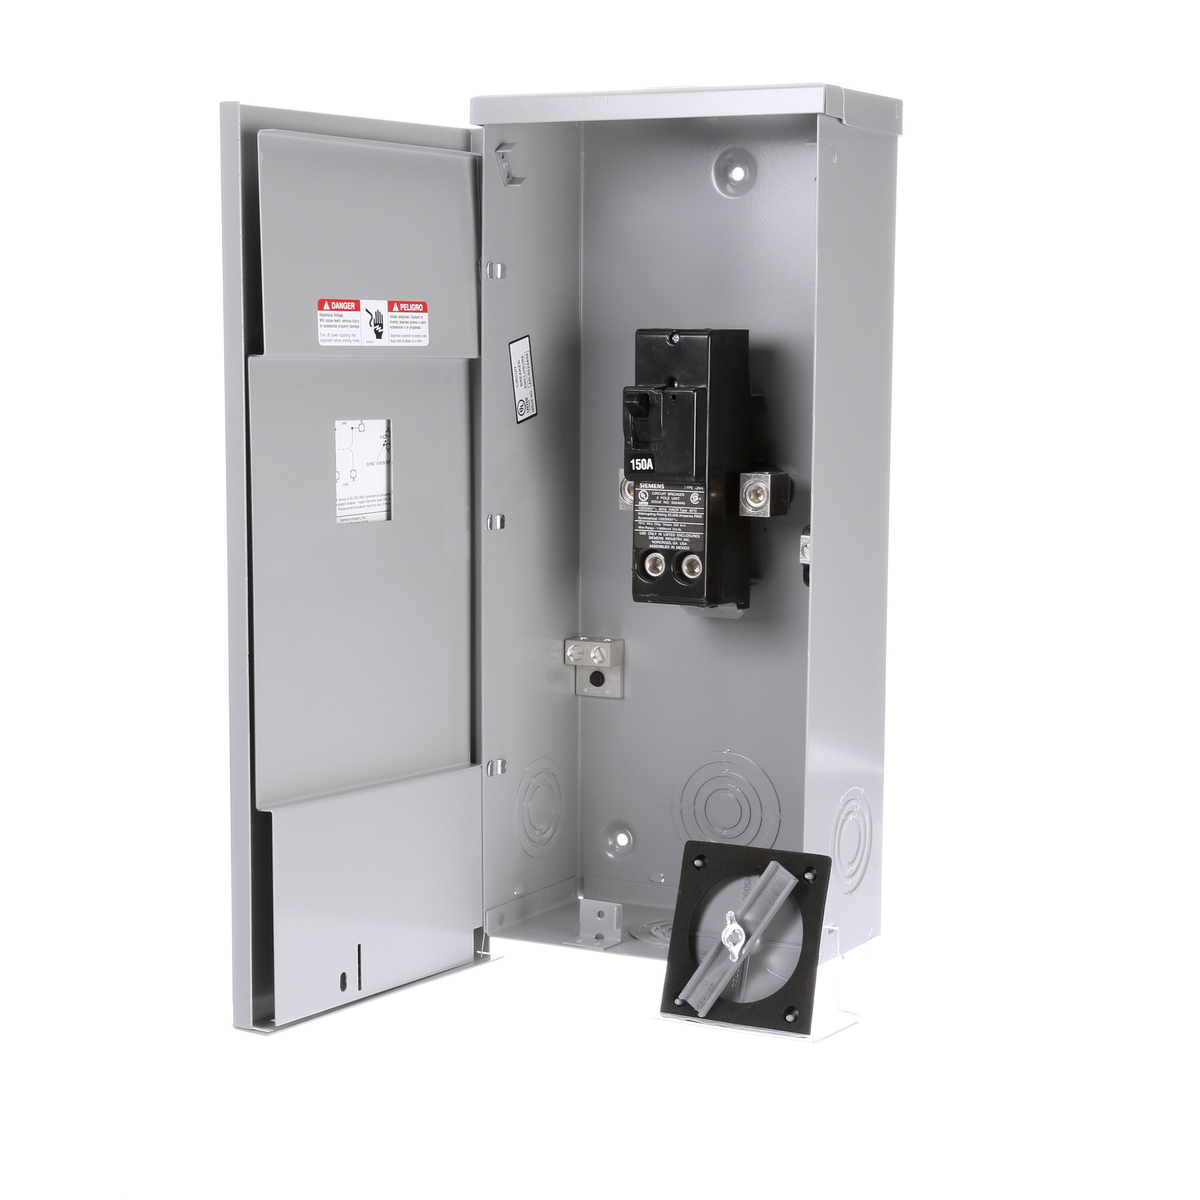
When your outdoor outlet suddenly loses power, the first step in troubleshooting the issue is to check the circuit breaker. The circuit breaker serves as a crucial safety mechanism, protecting your electrical system from overloading and potential hazards. A tripped circuit breaker can often be the culprit behind a non-functional outdoor outlet.
To start, locate your home’s electrical panel or breaker box. This panel houses the circuit breakers, which are designed to trip and cut off power when they detect an overload or short circuit. Upon reaching the electrical panel, visually inspect the breakers to identify any that may have tripped. A tripped breaker is typically indicated by the position of the switch, which may be in a middle or off position rather than fully engaged.
If you identify a tripped breaker, carefully reset it by firmly switching it to the off position and then back to the on position. While doing so, be mindful of any resistance or unusual sounds, as these could indicate an underlying issue with the electrical system. After resetting the breaker, head to the outdoor outlet and test it to see if power has been restored. If the breaker trips again immediately or shortly after resetting, it may signify a more serious problem that requires professional attention.
It’s important to note that if the circuit breaker continues to trip after being reset, it may indicate an overload or a short circuit in the electrical circuit. In such cases, it’s advisable to refrain from repeatedly resetting the breaker and to seek the expertise of a qualified electrician to diagnose and address the underlying electrical issue.
By checking the circuit breaker and ensuring that it’s functioning properly, you’re taking a crucial first step in troubleshooting the power loss to your outdoor outlet. If the issue persists after addressing the circuit breaker, we’ll explore additional steps to pinpoint and resolve the problem.
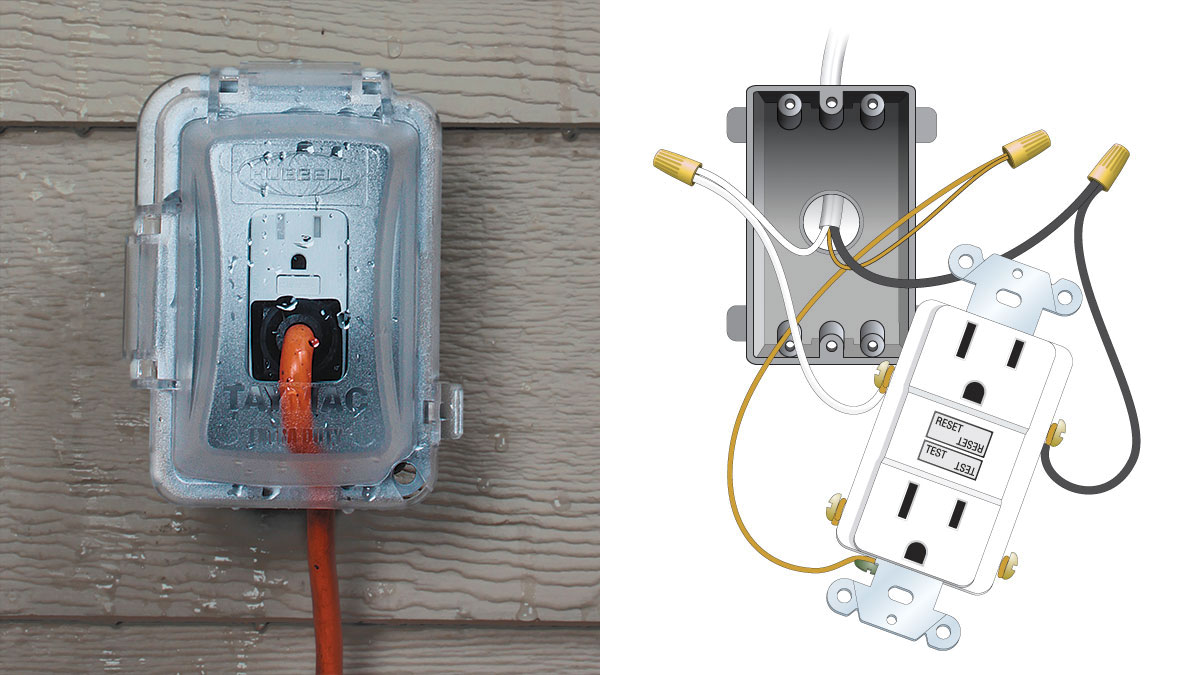
Resetting the GFCI Outlet
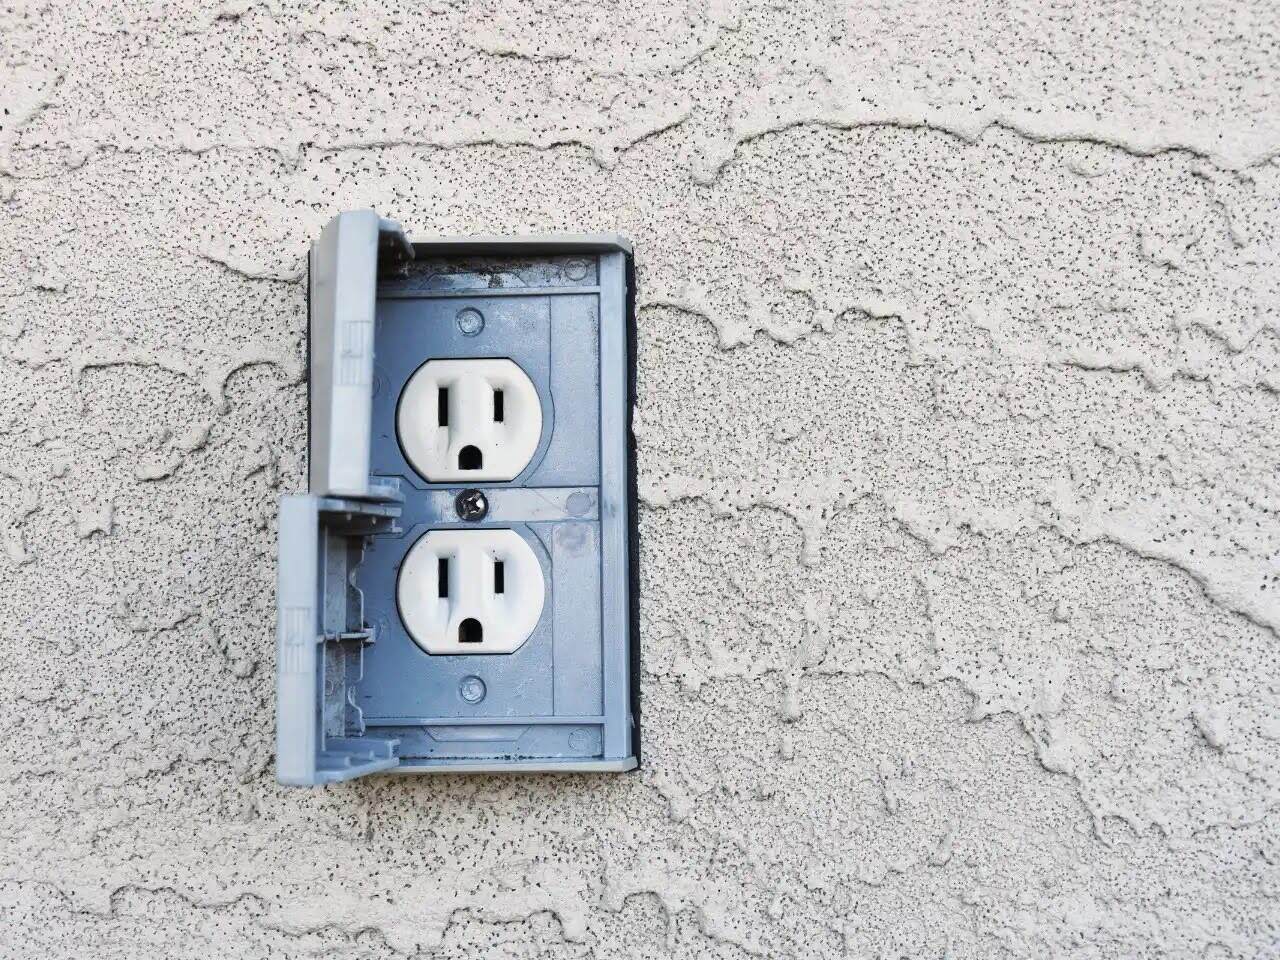
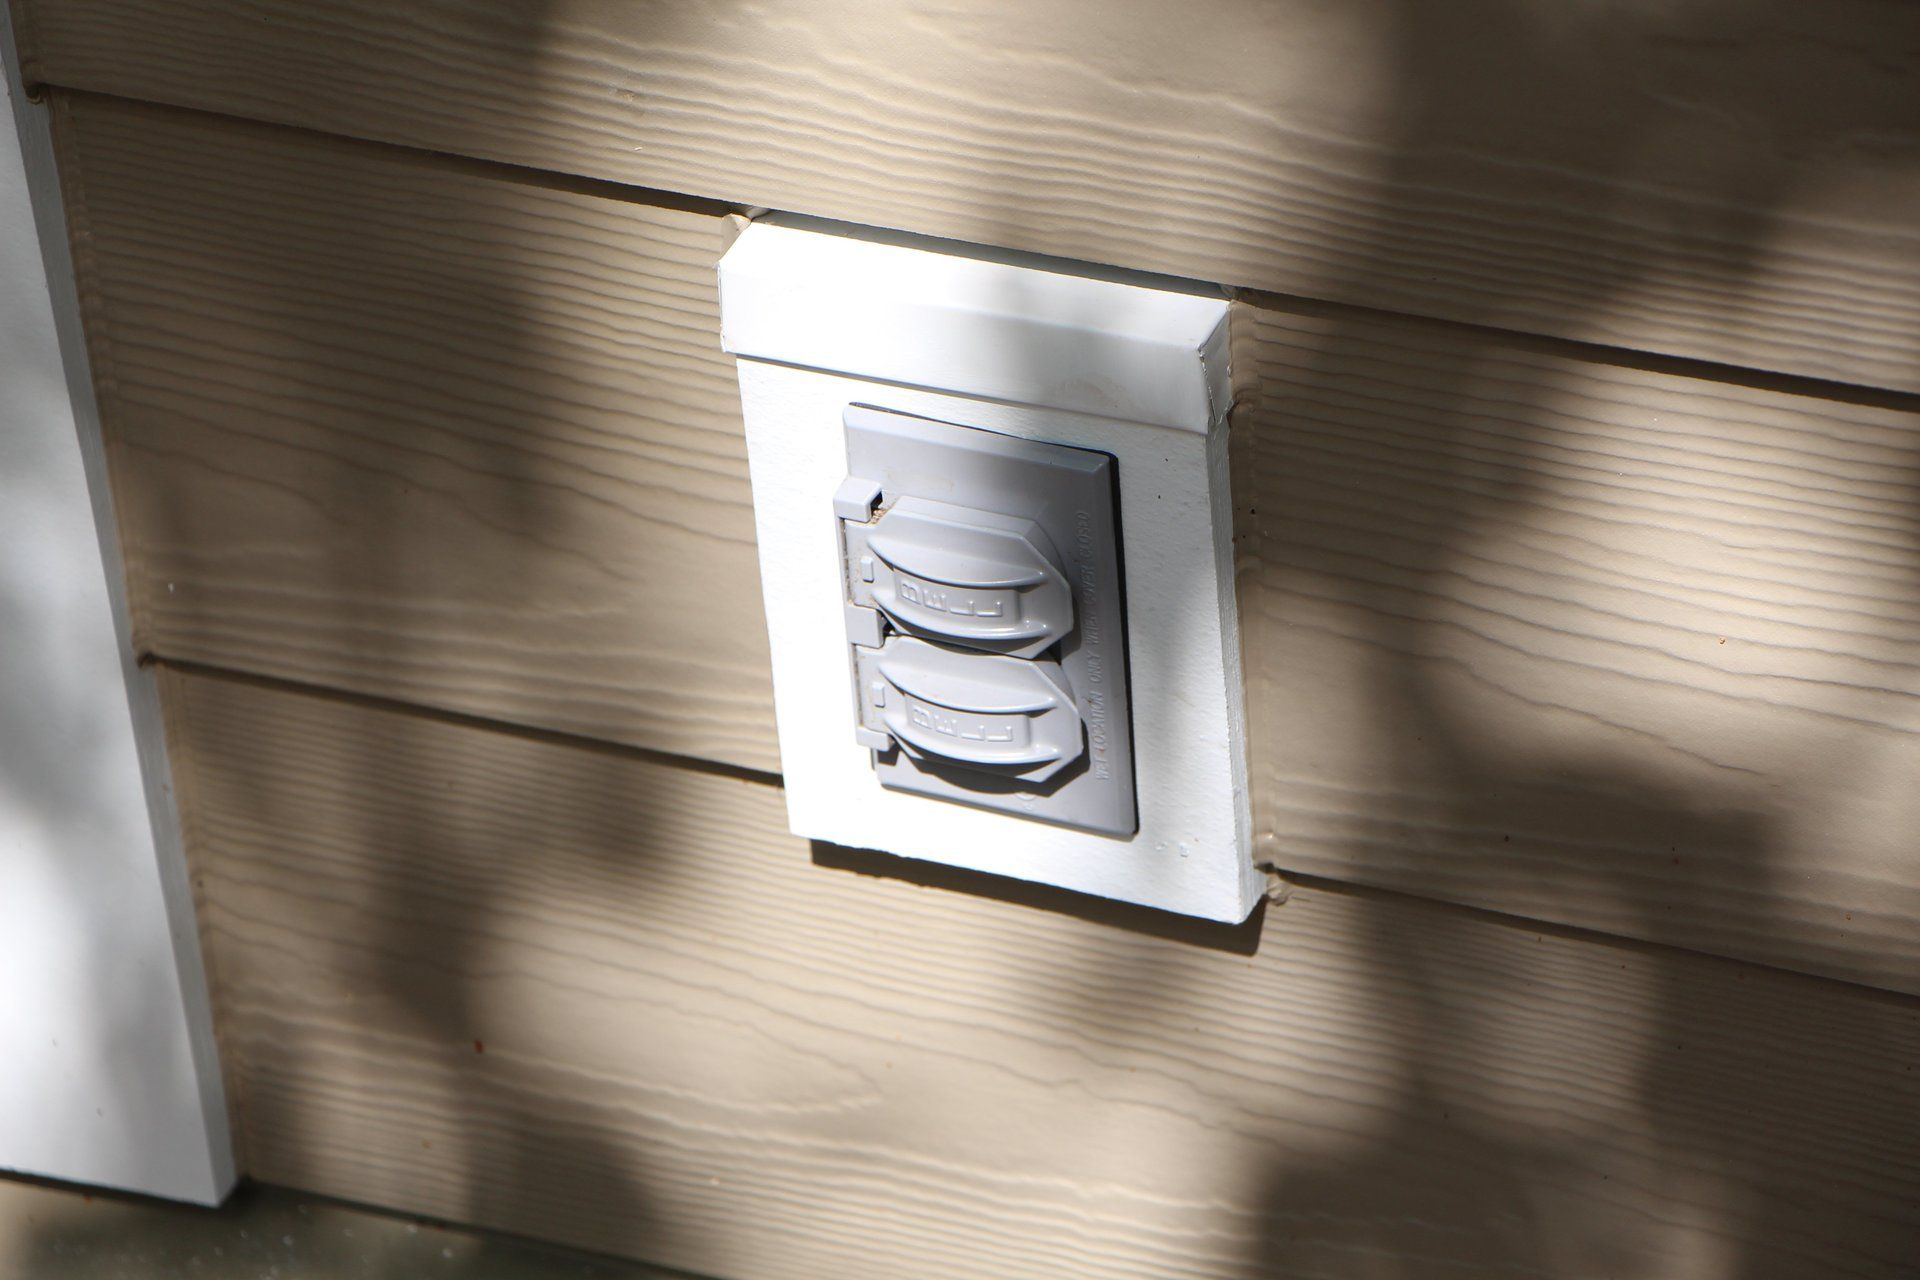
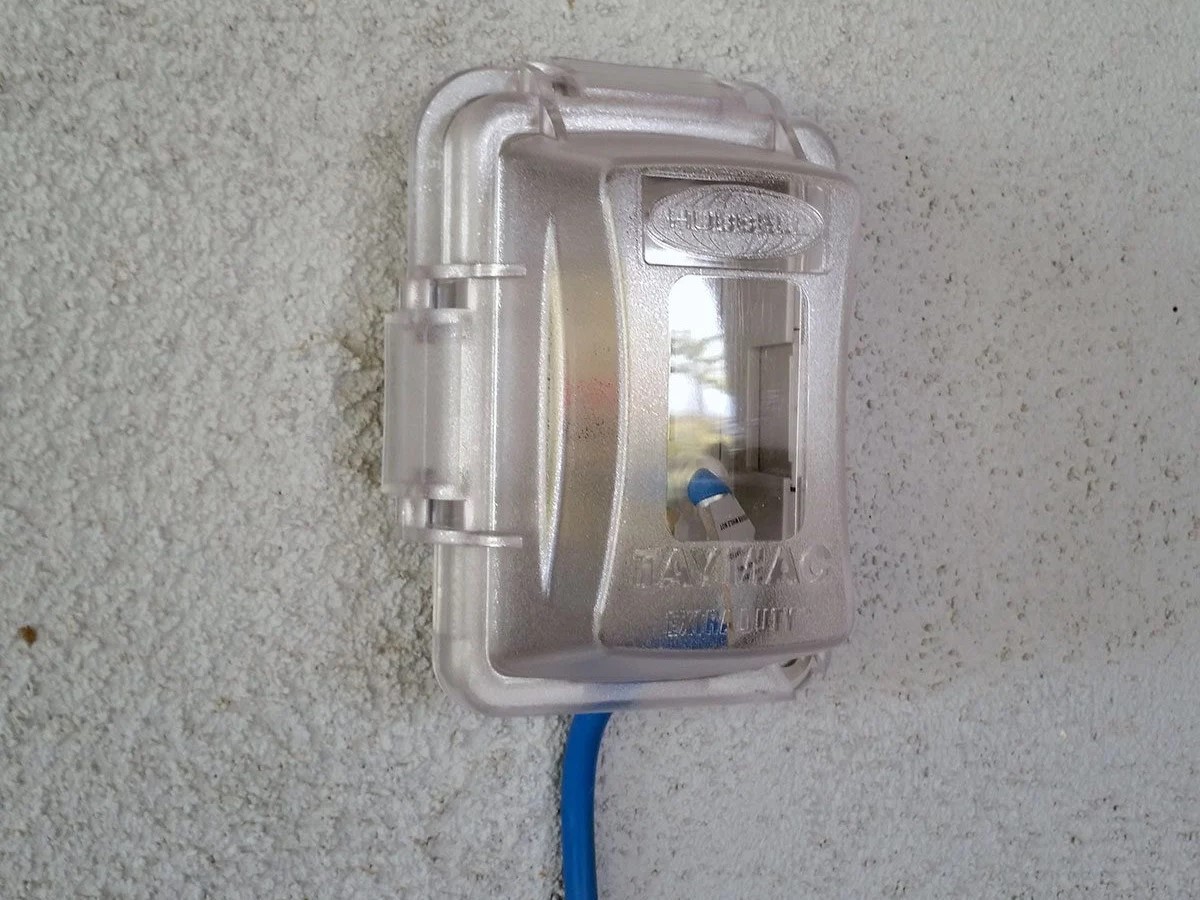
Ground Fault Circuit Interrupter (GFCI) outlets play a pivotal role in safeguarding against electrical hazards, particularly in outdoor and potentially wet locations. These specialized outlets are designed to quickly cut off power when they detect imbalances in the electrical current, helping prevent electric shocks and potential injuries. Therefore, if your outdoor outlet has lost power, it’s crucial to inspect and reset any associated GFCI outlets, as they may have tripped and interrupted the electrical flow.
Begin by locating all the GFCI outlets in your home, including those in the kitchen, bathrooms, garage, and outdoor areas. Outdoor outlets are commonly linked to GFCI protection, as they are exposed to moisture and environmental elements. Once you’ve identified the GFCI outlets, inspect each one for any signs of a trip. A tripped GFCI outlet is typically indicated by the presence of a “reset” and “test” button on the outlet itself. If the “reset” button is protruding, it suggests that the outlet has tripped and needs to be reset.
To reset a tripped GFCI outlet, firmly press the “reset” button on the outlet. While doing so, pay attention to any resistance or unusual sensations, as these could indicate an underlying issue with the outlet or the electrical circuit. After resetting the GFCI outlet, head to the outdoor outlet and test it to determine if power has been restored. If the GFCI outlet was indeed the cause of the power loss, resetting it should reinstate power to the outdoor outlet.
If resetting the GFCI outlet successfully restores power to the outdoor outlet, it’s essential to investigate the root cause of the GFCI trip. Common triggers for GFCI trips in outdoor areas include exposure to moisture, damaged wiring, or a faulty connected appliance. By identifying and addressing the underlying issue, you can prevent future GFCI trips and ensure the consistent functionality of your outdoor outlet.
However, if resetting the GFCI outlet does not resolve the power loss to the outdoor outlet, it’s time to explore additional troubleshooting steps to diagnose and rectify the problem. We’ll continue our journey toward restoring power to your outdoor oasis by delving into the next phase of the troubleshooting process.
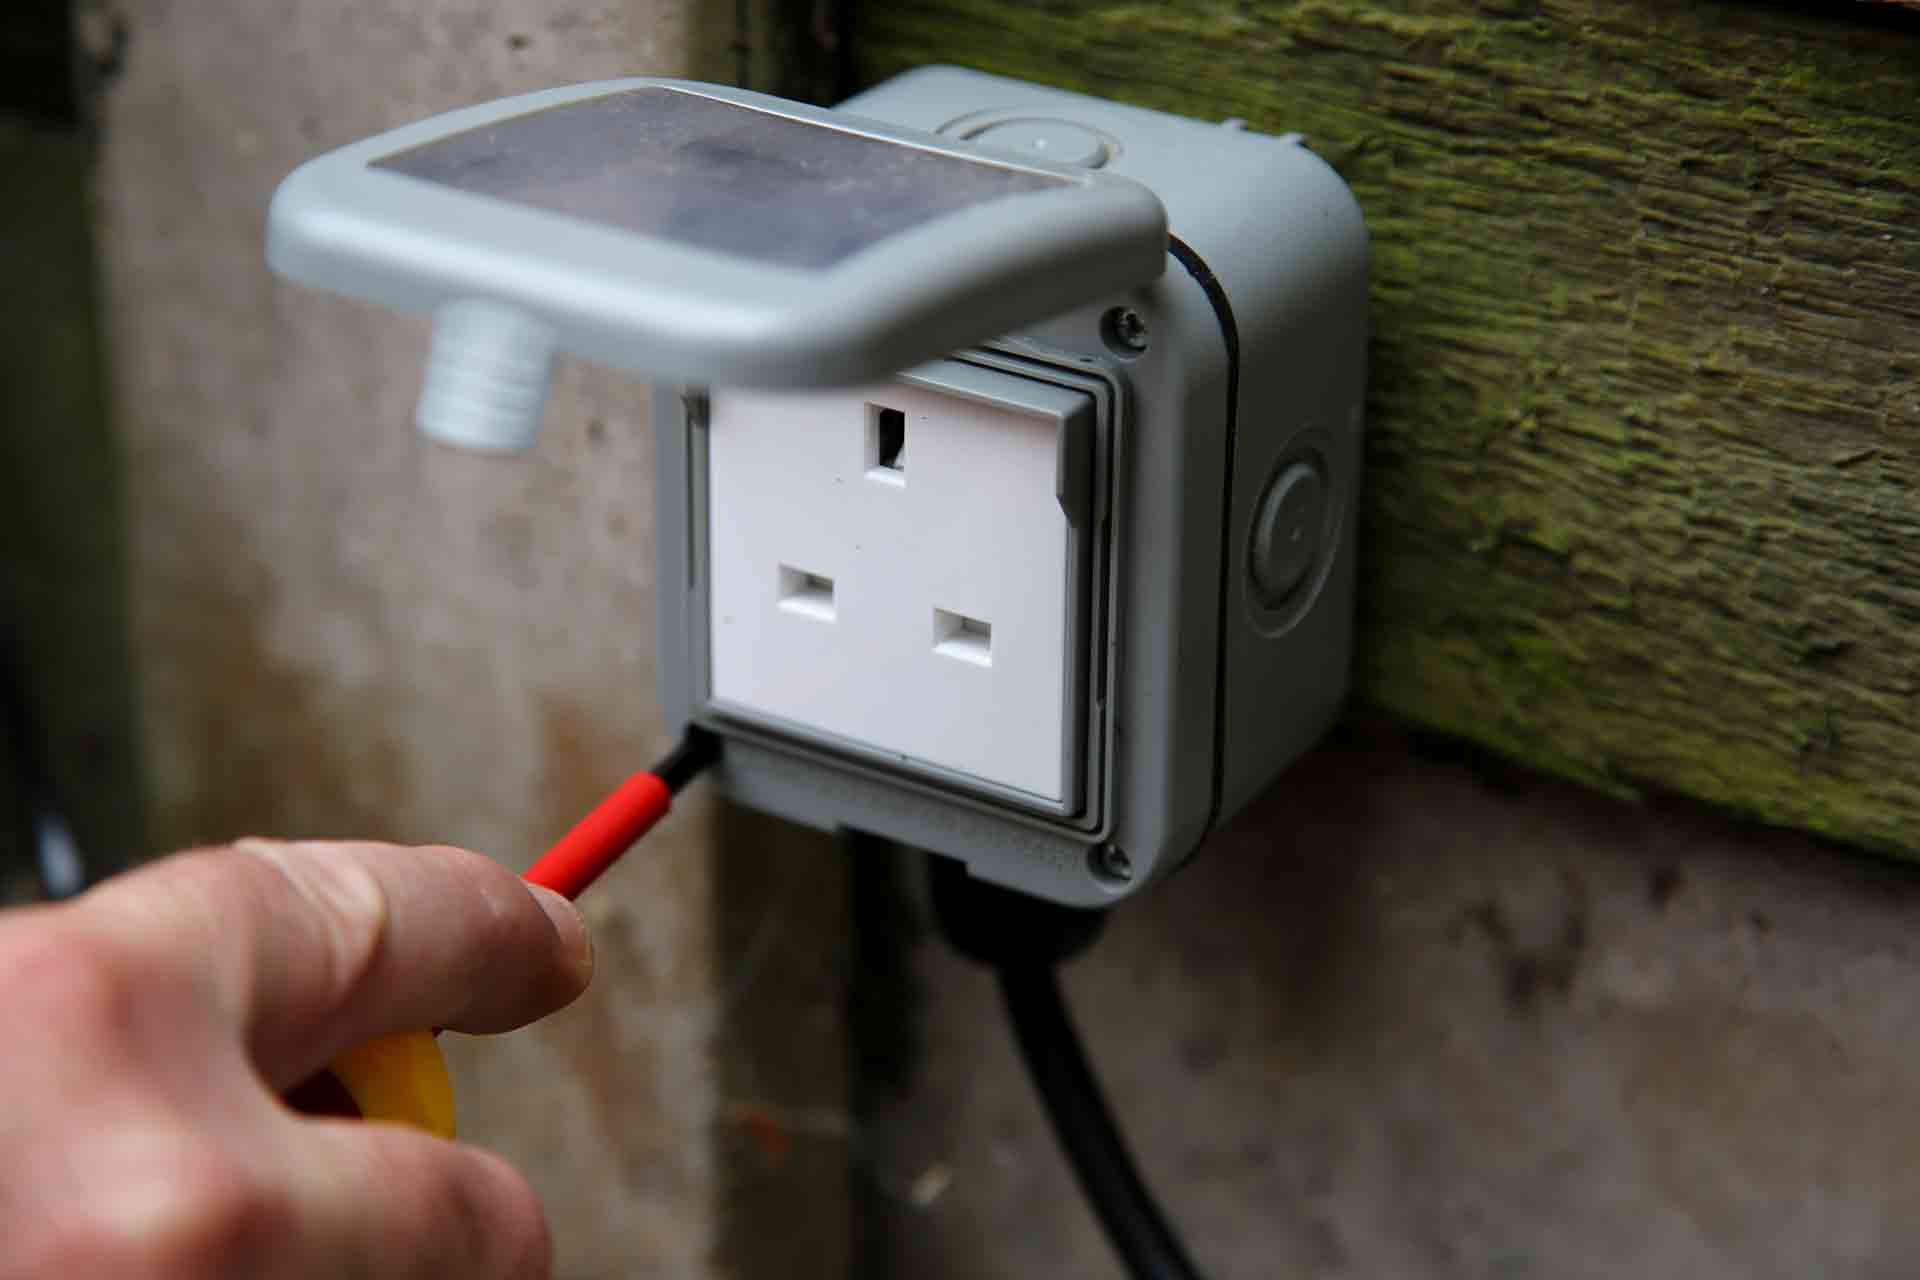
Testing the Outlet with a Multimeter
When conventional troubleshooting methods such as checking the circuit breaker and resetting the GFCI outlet fail to restore power to your outdoor outlet, it’s time to employ more advanced diagnostic techniques. Testing the outlet with a multimeter can provide valuable insights into the electrical condition of the outlet and its associated wiring, helping identify any underlying faults that may be causing the power loss.
A multimeter is a versatile tool used to measure various electrical properties, including voltage, current, and resistance. To begin testing the outdoor outlet, ensure that the multimeter is set to measure AC voltage within the appropriate range for household electrical systems. Before proceeding, it’s crucial to emphasize the importance of safety. Exercise caution and turn off the power supply to the outlet at the electrical panel before conducting any tests with the multimeter.
With the power turned off, carefully remove the outlet cover to access the outlet and its wiring. Using the multimeter’s probes, carefully test the outlet by placing one probe on the hot (black) wire terminal and the other on the neutral (white) wire terminal. If the multimeter indicates a voltage reading within the expected range (typically 110-120 volts for residential outlets), it suggests that power is reaching the outlet and the issue may lie within the outlet itself.
However, if the multimeter does not register any voltage when testing the outlet, it indicates a lack of power supply to the outlet. In such cases, it’s essential to trace the wiring back to the source and inspect for any loose connections, damaged wiring, or other potential causes of the power loss. Additionally, testing for continuity between the hot and neutral wires can help identify any breaks or interruptions in the wiring that may be impeding the flow of electricity.
By utilizing a multimeter to test the outdoor outlet, you’re delving deeper into the electrical system to pinpoint the root cause of the power loss. Whether it’s a faulty outlet, damaged wiring, or a disrupted power supply, the insights gained from testing with a multimeter can guide you toward the next steps in the troubleshooting process. If the multimeter reveals issues with the outlet or wiring, it may be necessary to proceed with repairs or replacement to restore power and functionality to the outdoor outlet.
As we continue our troubleshooting journey, we’ll explore additional steps to address potential causes of the power loss and work toward achieving a fully operational outdoor outlet.
Before attempting to fix an outdoor outlet with no power, first check the circuit breaker to see if it has tripped. If it has, reset it and see if the power comes back on. If not, it may be a wiring issue and you should call a professional electrician to inspect and repair it.
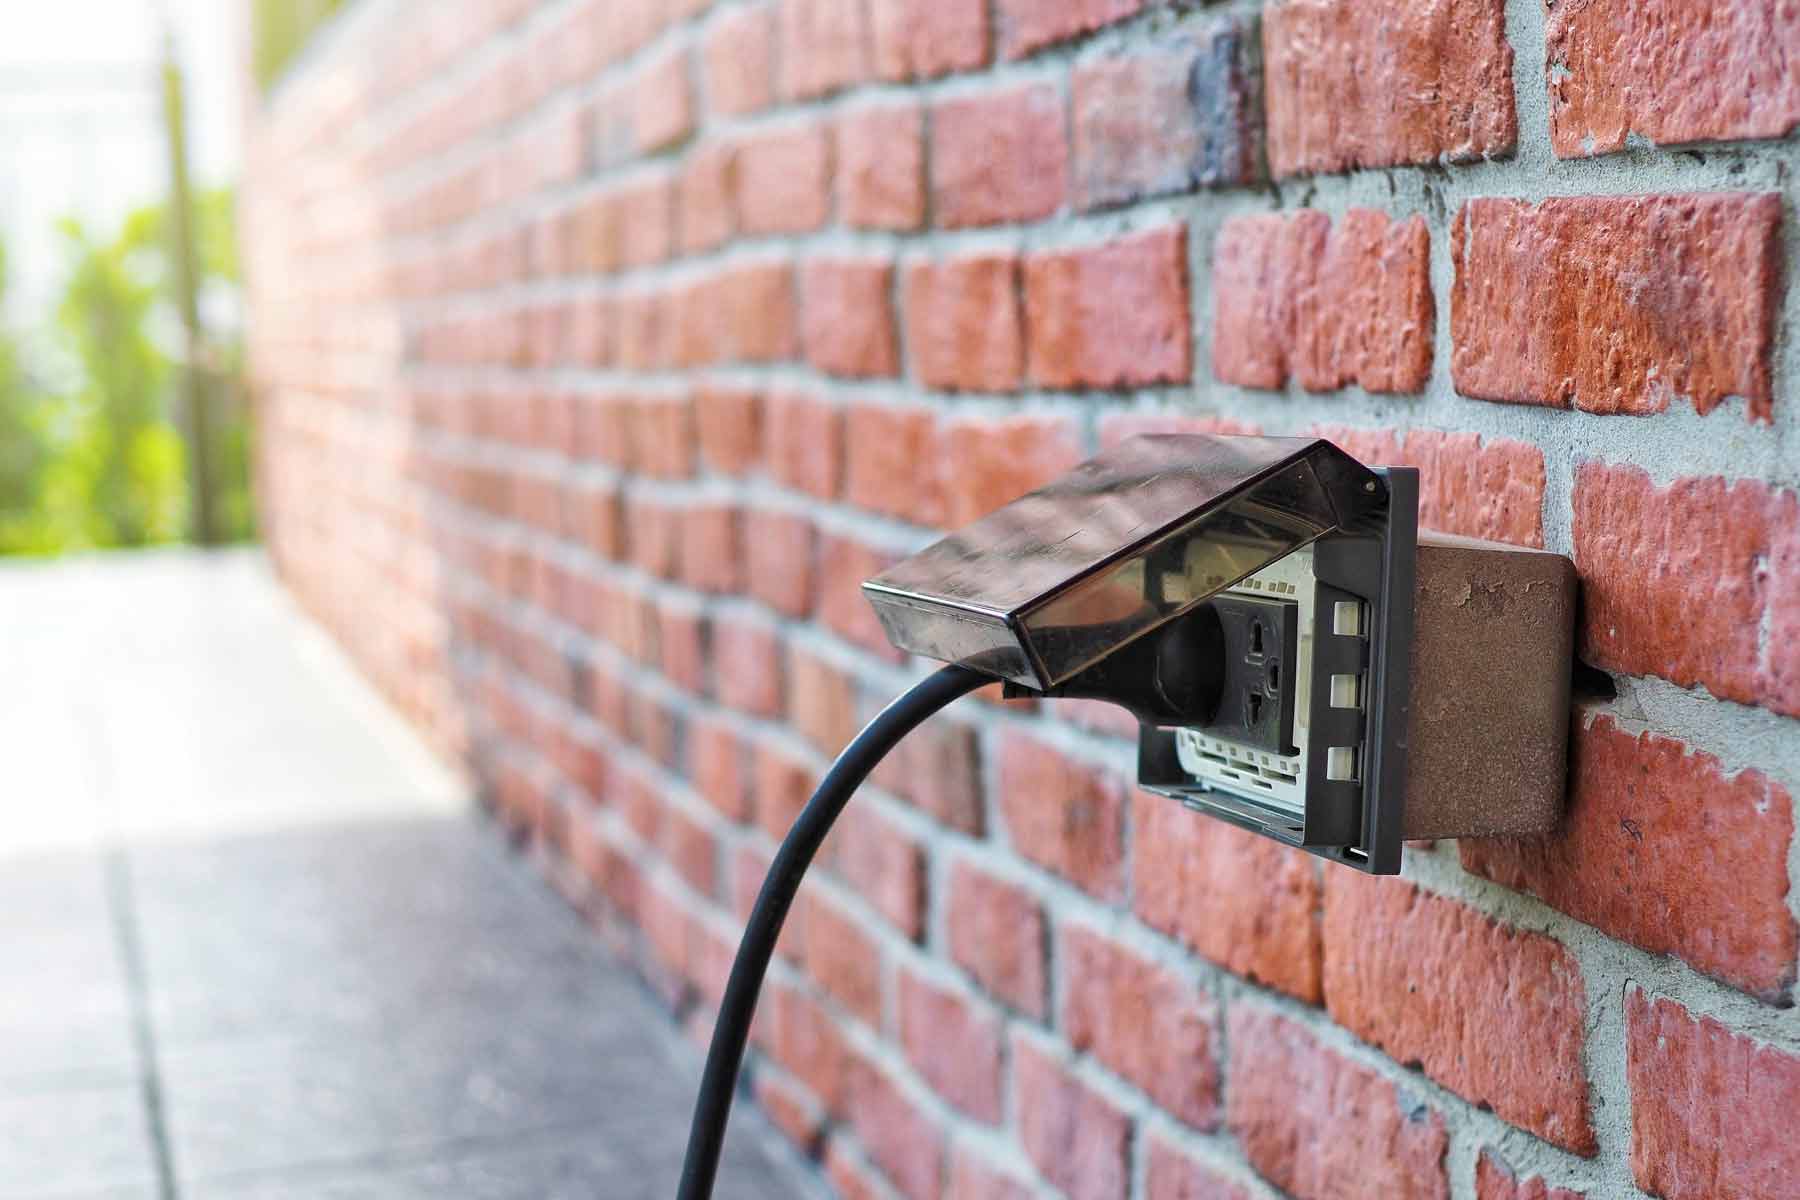
Checking for Loose Connections
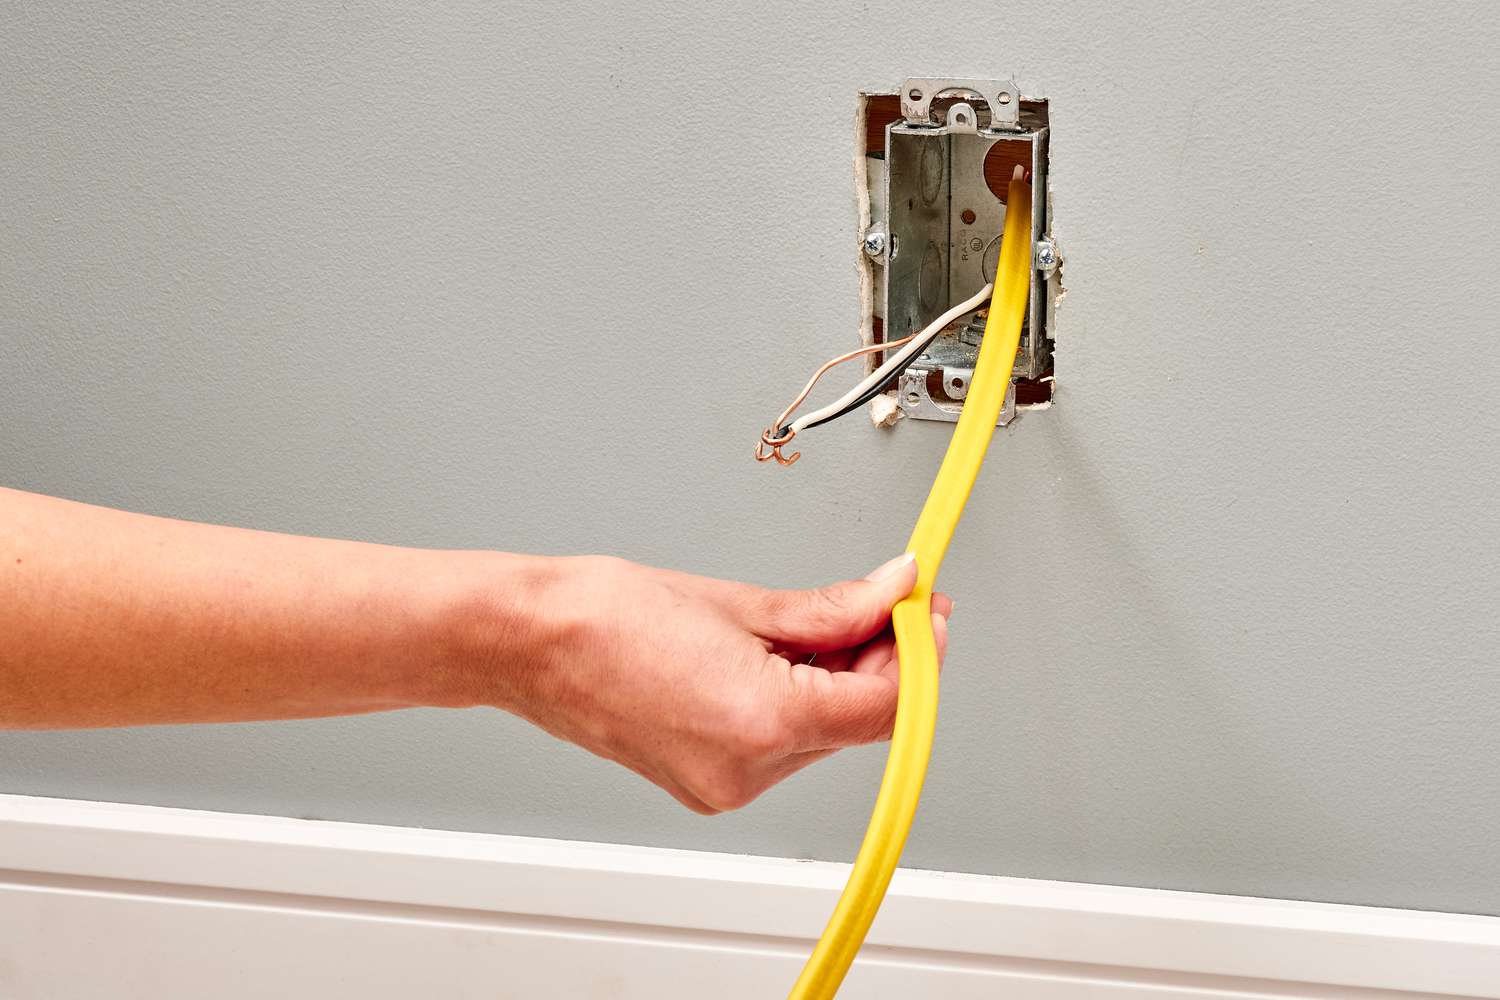
Loose electrical connections can disrupt the flow of power to your outdoor outlet, leading to a loss of functionality. When conventional troubleshooting methods have not resolved the power loss, it’s crucial to inspect the outlet’s wiring and connections for any signs of looseness or damage. By identifying and rectifying loose connections, you can restore the electrical integrity of the outlet and ensure a consistent power supply to your outdoor space.
Before proceeding with the inspection, turn off the power supply to the outlet at the electrical panel to ensure a safe working environment. Once the power is off, carefully remove the outlet cover and expose the wiring and terminal connections. Visually inspect the wiring and terminals for any loose or improperly secured connections. Loose wires can disrupt the electrical flow and pose a safety hazard, making it imperative to address them promptly.
To check for loose connections, gently tug on each wire connected to the outlet’s terminals to assess their tightness. Properly secured wires should not move or detach easily from the terminals. If you encounter any loose connections, carefully tighten the terminal screws to secure the wires in place. Additionally, inspect the wire insulation for any signs of damage or wear, as compromised insulation can lead to electrical issues and safety concerns.
In addition to the outlet connections, it’s essential to inspect the wiring within the electrical box for any loose or compromised connections. Ensure that the wire nuts or connectors joining the individual wires are secure and free from any signs of damage. Loose or damaged connections within the electrical box can impede the electrical flow and contribute to the power loss experienced by the outdoor outlet.
After addressing any loose connections and ensuring that the wiring is securely fastened, it’s time to restore power to the outlet and test its functionality. Turn the power supply back on at the electrical panel and conduct a thorough test of the outdoor outlet to verify that power has been successfully restored. If the outlet now functions as intended, the issue was likely attributed to the loose connections, and your troubleshooting efforts have yielded a successful resolution.
However, if the power loss persists despite addressing potential loose connections, it may be necessary to explore further diagnostic steps and consider the possibility of replacing the outlet to rectify the issue. As we progress in our troubleshooting journey, we’ll continue to explore additional measures to ensure a fully operational outdoor outlet.
Read more: How To Reset An Outdoor Outlet
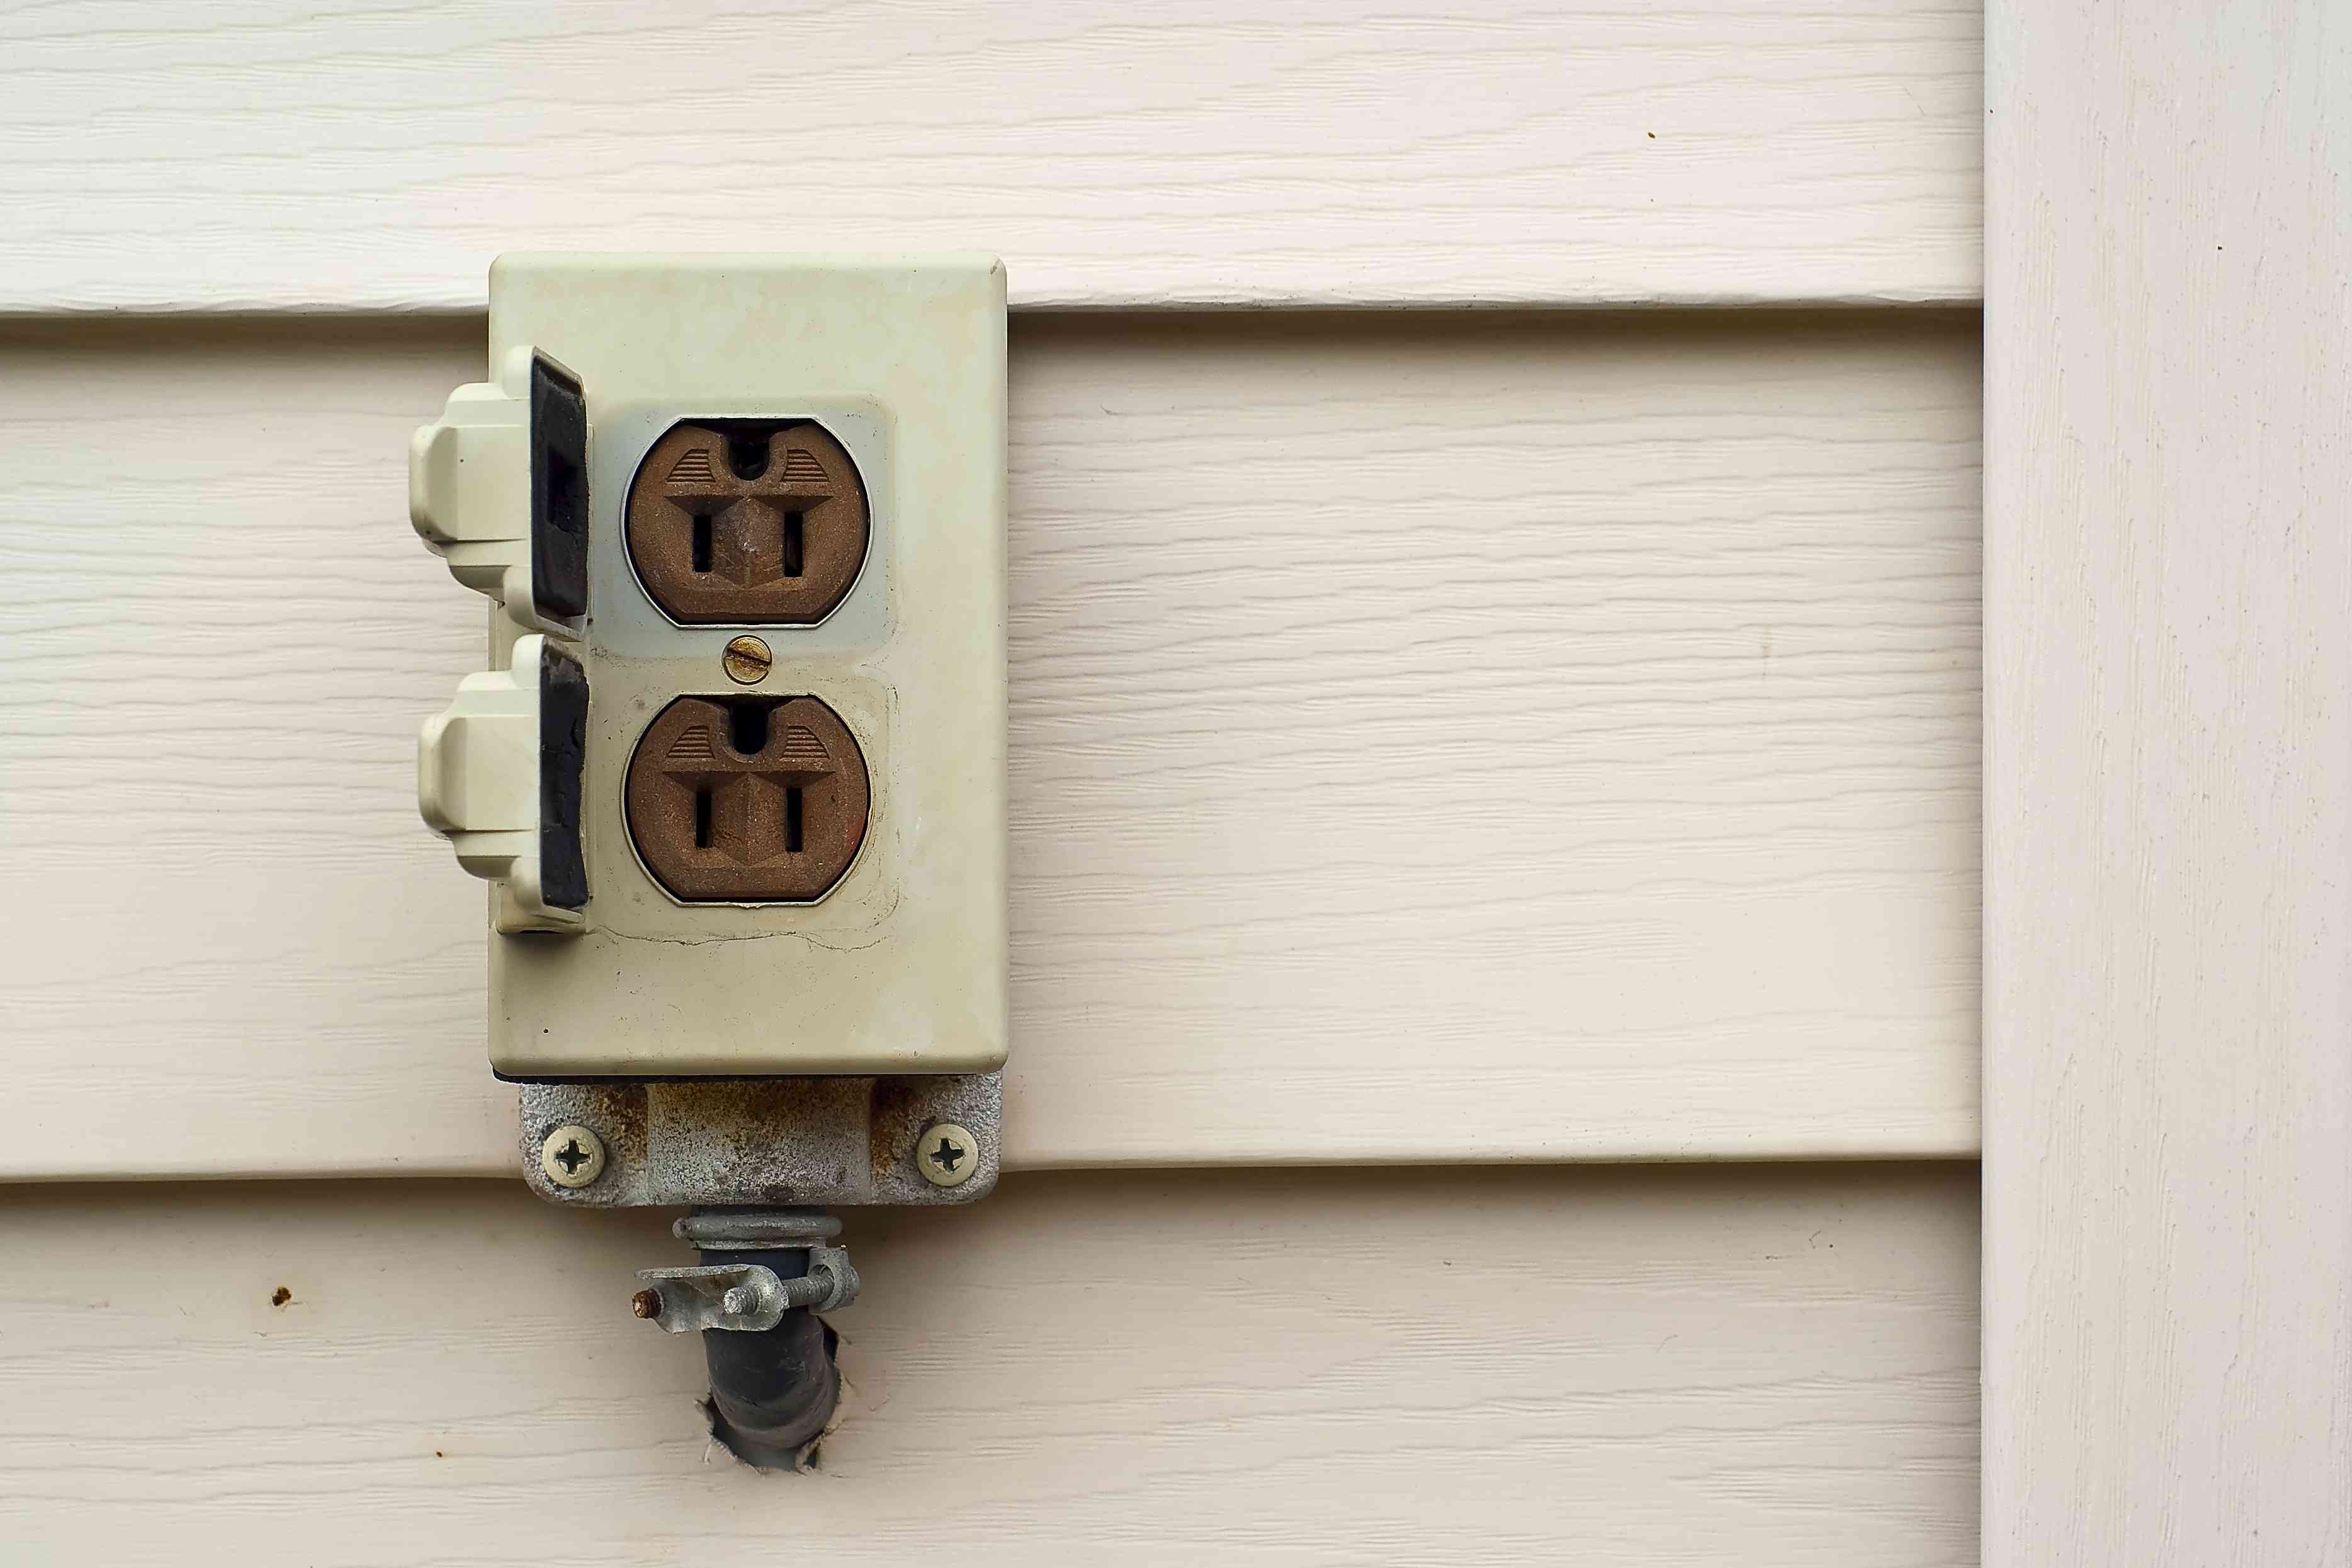
Replacing the Outlet
When all conventional troubleshooting methods and diagnostic steps have been exhausted, and the outdoor outlet continues to experience a persistent power loss, the next course of action may involve replacing the outlet. Over time, outdoor outlets can succumb to environmental elements, wear and tear, or internal faults that hinder their functionality. By replacing the outlet, you can address underlying issues and restore a reliable power source to your outdoor living space.
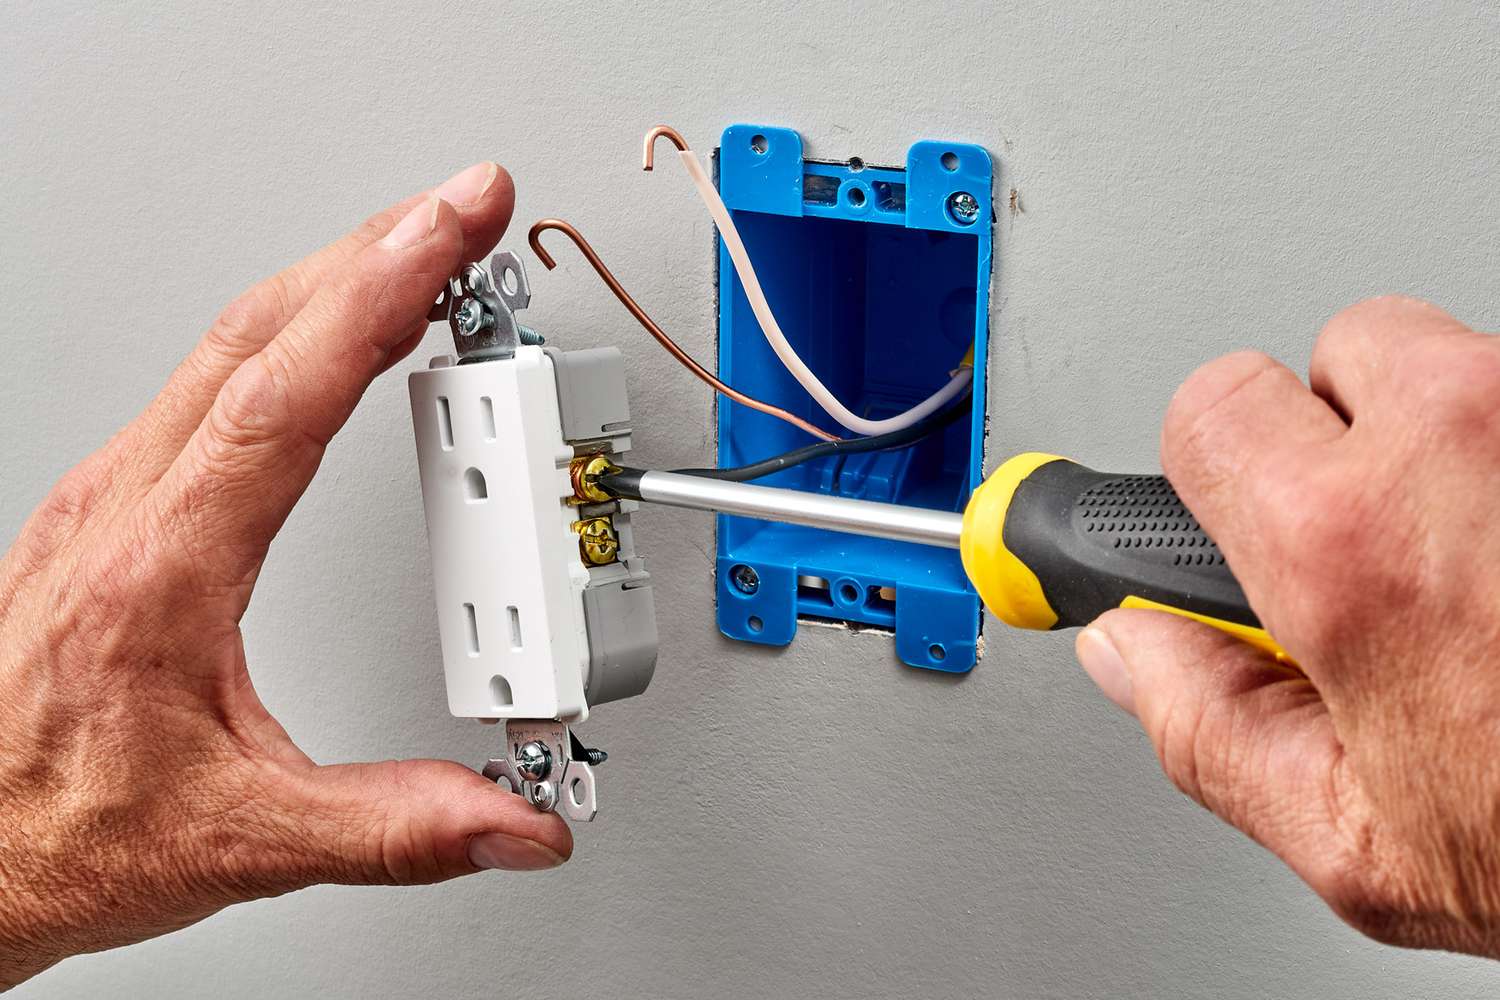
Prior to replacing the outlet, it’s crucial to ensure the power supply to the outlet is turned off at the electrical panel to prevent any electrical hazards during the replacement process. With the power off, carefully remove the outlet cover and disconnect the wiring from the existing outlet. Take note of the wire connections, ensuring that you can replicate the configuration when installing the new outlet.
After removing the old outlet, inspect the wiring for any signs of damage, wear, or corrosion. Damaged wiring can contribute to power loss and electrical issues, so it’s essential to address any compromised wiring before installing the new outlet. If the wiring exhibits signs of deterioration, consider replacing the affected sections to ensure a reliable and safe electrical connection.
Next, install the new outdoor outlet by connecting the wires to the corresponding terminals on the outlet. Follow the manufacturer’s instructions and ensure that the wiring is securely fastened to the outlet’s terminals. Once the wiring is connected, carefully position the outlet within the electrical box, ensuring that the wires are neatly arranged and the outlet is securely mounted in place.
With the new outlet in position and the wiring securely connected, it’s time to restore power to the outlet and conduct a thorough test to verify its functionality. Turn the power supply back on at the electrical panel and proceed to test the outdoor outlet by plugging in a suitable electrical device. If the outlet successfully powers the connected device, it indicates that the replacement has effectively resolved the power loss issue.
By replacing the outlet, you have addressed potential internal faults, wear, or damage that may have been causing the power loss. The new outlet provides a reliable and functional power source for your outdoor activities, ensuring that you can enjoy the convenience of electricity in your outdoor living space.
If, after replacing the outlet, the power loss persists, it may indicate a more complex underlying issue within the electrical circuit or wiring. In such cases, it’s advisable to seek the expertise of a qualified electrician to conduct a comprehensive inspection and diagnosis of the outdoor electrical system.
As we conclude our troubleshooting journey, we hope that the steps outlined in this guide have empowered you to identify and address the power loss to your outdoor outlet, allowing you to enjoy uninterrupted electrical functionality in your outdoor oasis.
Conclusion
Congratulations on navigating through the troubleshooting process to address the power loss affecting your outdoor outlet! From checking the circuit breaker to replacing the outlet, you’ve embarked on a journey to restore functionality and convenience to your outdoor living space. As we conclude our troubleshooting guide, let’s recap the key steps and insights gained along the way.
Our troubleshooting journey commenced with a comprehensive inspection of the circuit breaker, a crucial safety mechanism designed to protect the electrical system from overloading and potential hazards. By identifying and resetting any tripped breakers, you took a proactive step in addressing potential causes of the power loss to your outdoor outlet.
Next, we delved into the significance of Ground Fault Circuit Interrupter (GFCI) outlets in outdoor areas and the importance of resetting them to reinstate power to the outdoor outlet. By identifying and resetting any tripped GFCI outlets, you safeguarded against potential electrical hazards and ensured the consistent functionality of the outdoor outlet.
As the troubleshooting process advanced, you harnessed the diagnostic capabilities of a multimeter to gain insights into the electrical condition of the outlet and its associated wiring. Testing the outlet with a multimeter allowed you to pinpoint potential faults and disruptions in the electrical flow, guiding you toward the next steps in the troubleshooting process.
Inspecting the outlet’s wiring and connections for any signs of looseness or damage proved to be a pivotal step in addressing the power loss. By identifying and rectifying loose connections, you restored the electrical integrity of the outlet and ensured a reliable power supply to your outdoor space.
Finally, the decision to replace the outlet marked a proactive approach to addressing potential internal faults, wear, or damage that may have been causing the power loss. By installing a new outlet, you secured a reliable and functional power source for your outdoor activities, ensuring uninterrupted electrical functionality in your outdoor oasis.
Throughout this troubleshooting journey, your diligence and commitment to addressing the power loss have been commendable. By embracing the principles of electrical safety, perseverance, and diagnostic precision, you’ve successfully navigated through the challenges and restored power to your outdoor outlet.
If, despite your efforts, the power loss persists, it’s advisable to seek the expertise of a qualified electrician to conduct a comprehensive inspection and diagnosis of the outdoor electrical system. Professional assistance can provide valuable insights and solutions to address any underlying issues affecting the outlet’s functionality.
As you bask in the restored functionality of your outdoor outlet, may your outdoor living space continue to be a haven of relaxation, productivity, and enjoyment. With a reliable power source at your disposal, you can illuminate your outdoor gatherings, power your favorite gadgets, and create lasting memories in the comfort of your outdoor oasis.
Thank you for embarking on this troubleshooting journey with us. We hope that the insights and guidance provided in this guide have empowered you to address the power loss to your outdoor outlet and enhance the functionality of your outdoor living space.
Frequently Asked Questions about How To Fix An Outdoor Outlet That Has No Power
Was this page helpful?
At Storables.com, we guarantee accurate and reliable information. Our content, validated by Expert Board Contributors, is crafted following stringent Editorial Policies. We're committed to providing you with well-researched, expert-backed insights for all your informational needs.


0 thoughts on “How To Fix An Outdoor Outlet That Has No Power”