Home>Furniture & Design>Outdoor Furniture>How To Replace An Outdoor Electrical Outlet
Outdoor Furniture
How To Replace An Outdoor Electrical Outlet
Modified: May 6, 2024
Learn how to replace an outdoor electrical outlet with our step-by-step guide. Ensure the safety of your outdoor furniture and design with proper installation.
(Many of the links in this article redirect to a specific reviewed product. Your purchase of these products through affiliate links helps to generate commission for Storables.com, at no extra cost. Learn more)
Introduction
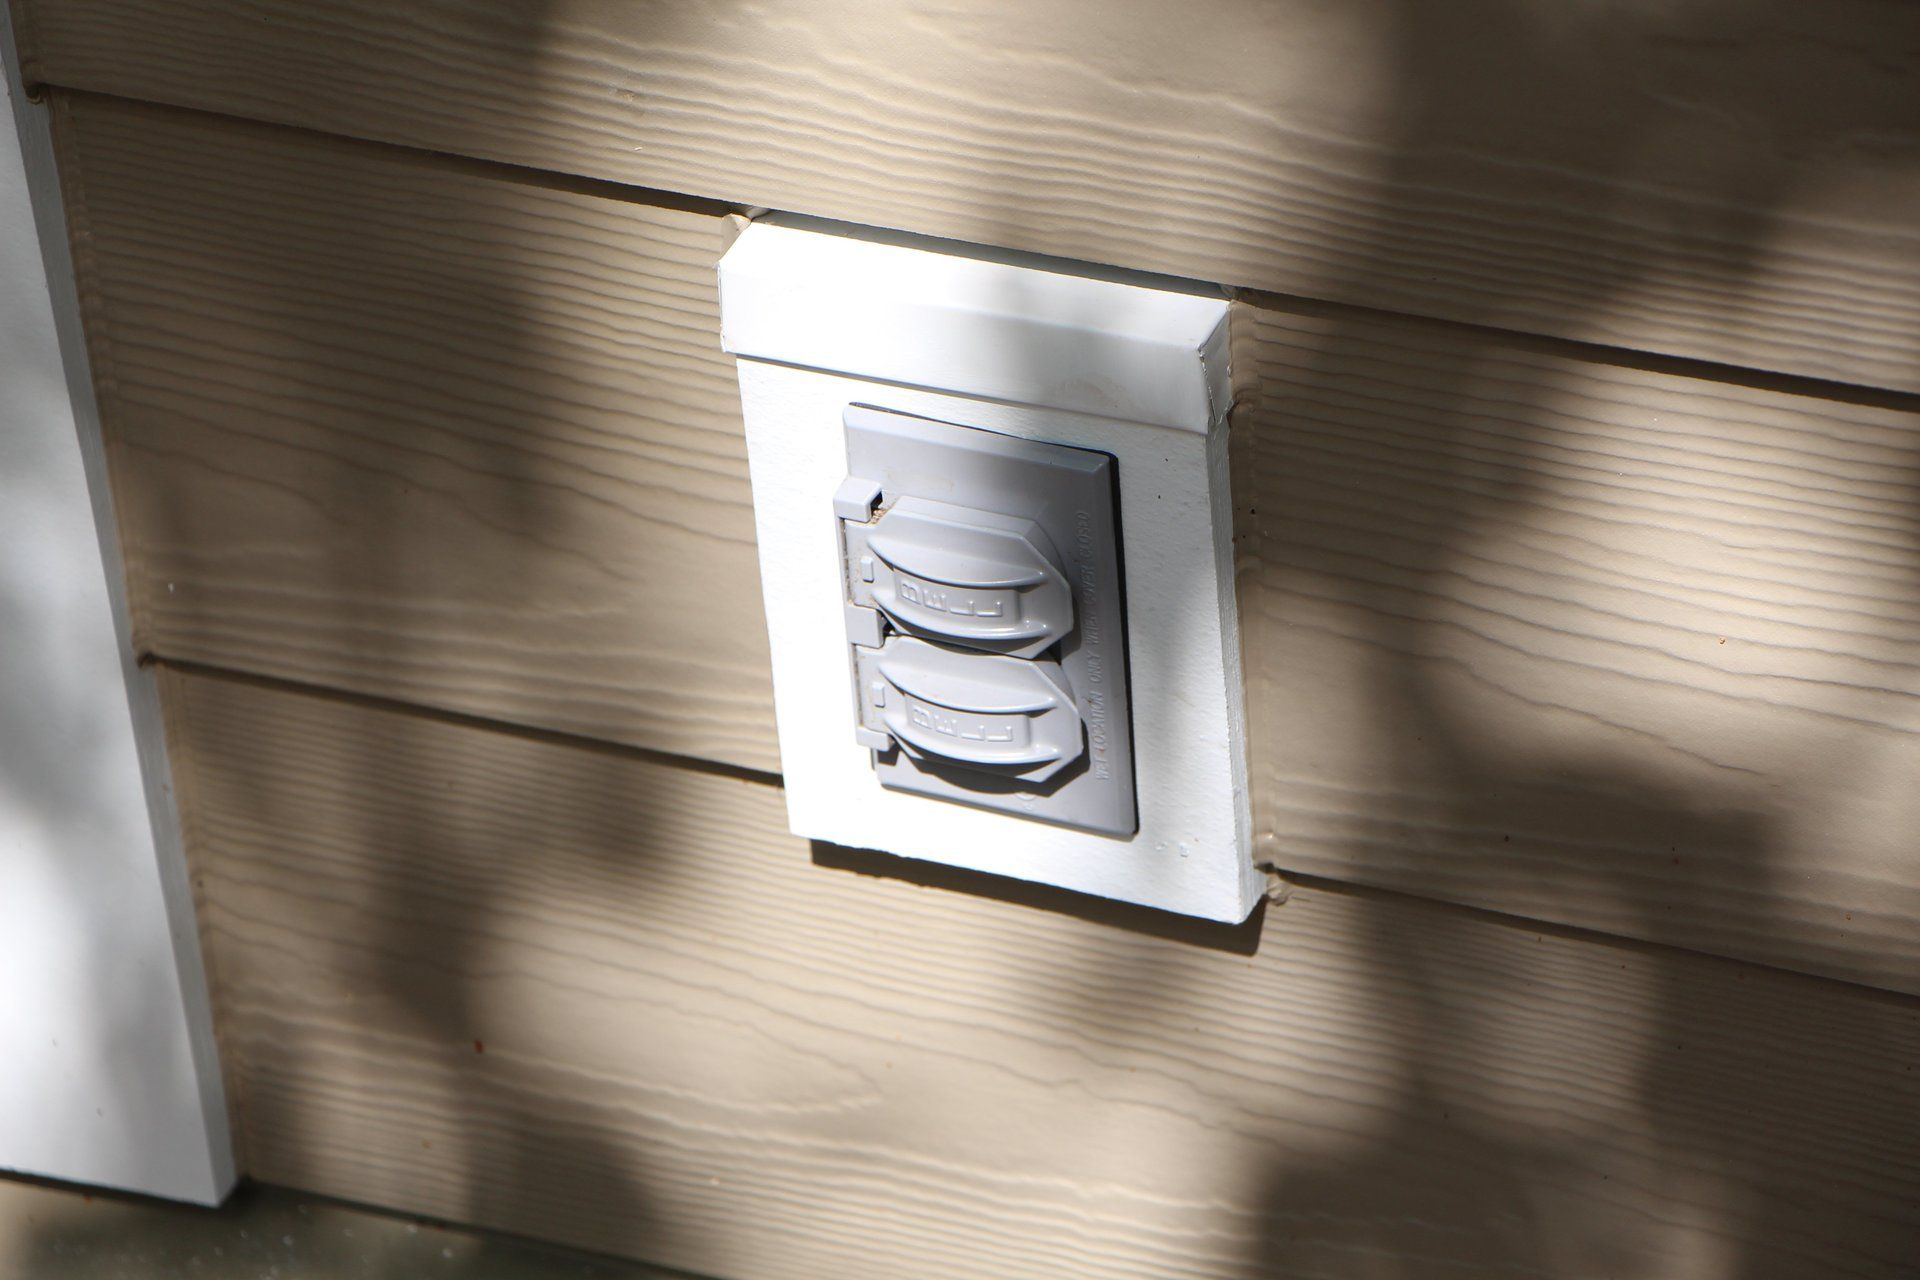
When it comes to enjoying your outdoor space, having access to electricity can significantly enhance the experience. Whether you want to power up your string lights for a cozy evening ambiance or plug in your favorite outdoor speakers for a lively gathering, having a functional outdoor electrical outlet is essential. Over time, outdoor outlets can wear out due to exposure to the elements, leading to safety hazards and inconvenience. Fortunately, replacing an outdoor electrical outlet is a manageable task that can be accomplished with the right tools and a clear understanding of the process.
In this guide, we will walk you through the steps to replace an outdoor electrical outlet, ensuring that you can enjoy a safe and reliable power source for all your outdoor activities. Before starting this project, it's crucial to prioritize safety and take necessary precautions to avoid electrical hazards. By following these steps and exercising caution, you can upgrade your outdoor electrical outlet with confidence and peace of mind.
Let's dive into the process of replacing an outdoor electrical outlet, empowering you to maintain a functional and secure outdoor power supply for your leisure and entertainment needs.
Key Takeaways:
- Safely replace your outdoor electrical outlet by turning off the power, removing the old outlet, installing the new one, and testing its functionality for a reliable power source.
- Enjoy a seamless outdoor experience with a new electrical outlet, providing power for lighting, entertainment, and more, while prioritizing safety and convenience.
Read more: How To Replace An Outdoor Gfci Outlet
Step 1: Turn off the Power
Before beginning any electrical work, it’s crucial to prioritize safety by ensuring that the power supply to the outdoor outlet is completely shut off. This step is essential to prevent the risk of electric shock or injury during the replacement process.
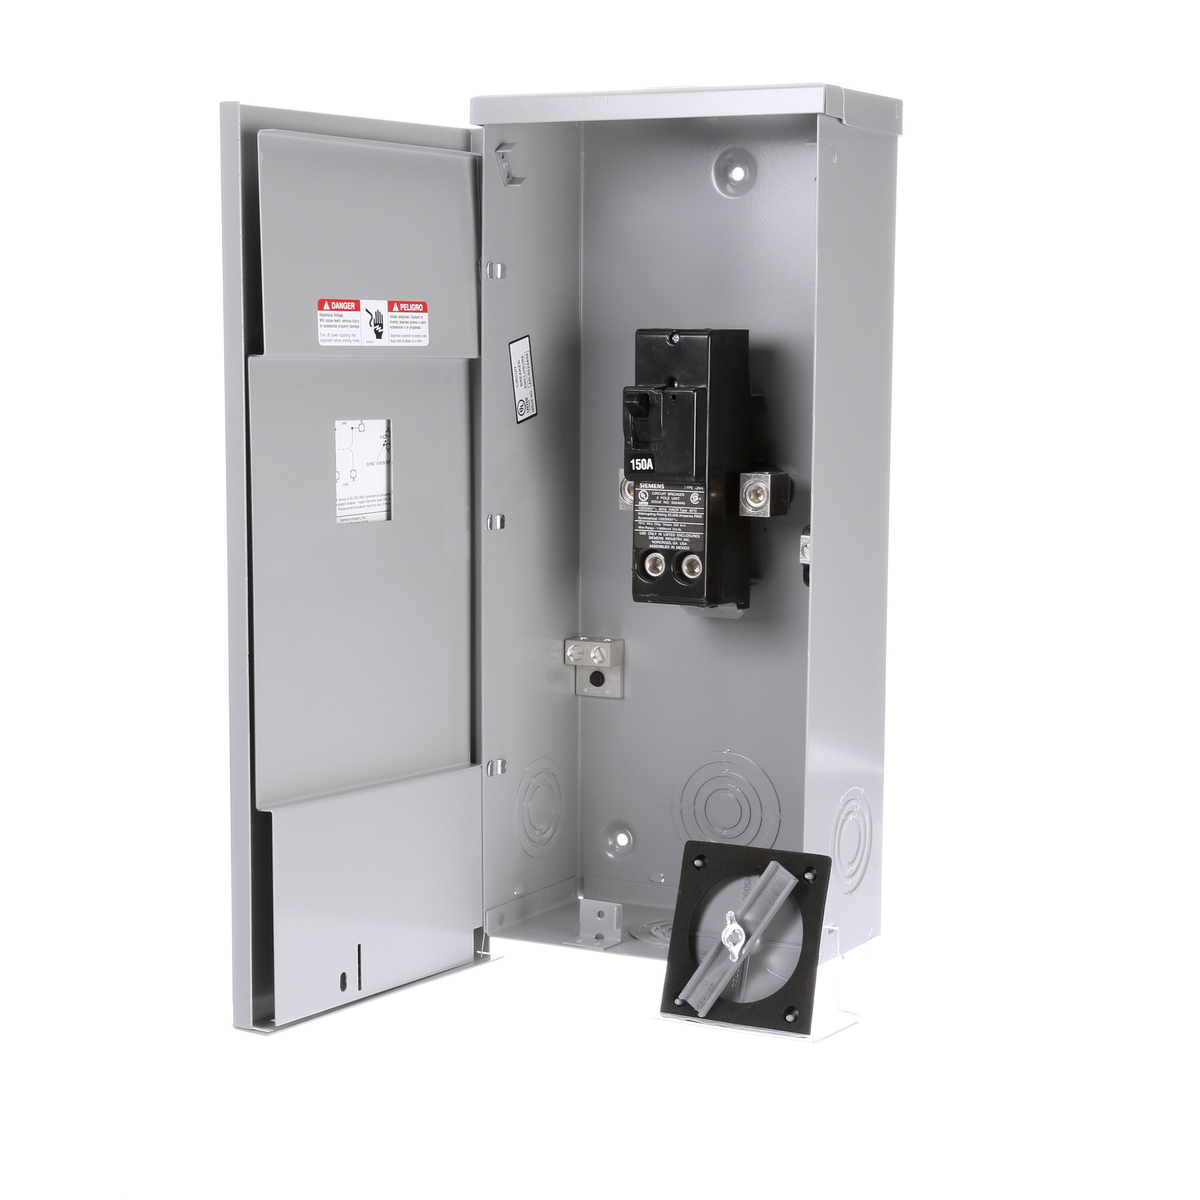
To turn off the power to the outdoor outlet, locate your home’s electrical panel. The panel is typically found in the garage, basement, or utility room. Once you have located the panel, carefully remove the cover to reveal the circuit breakers or fuses inside. Look for the circuit breaker that controls the power supply to the outdoor outlet. In some cases, outdoor outlets may be protected by a ground fault circuit interrupter (GFCI) located in the main electrical panel or at the outlet itself. If the outlet is protected by a GFCI, ensure that it is also turned off.
Identify the corresponding breaker for the outdoor outlet and switch it to the "off" position. For added safety, use a non-contact voltage tester to confirm that the power has been successfully disconnected. This tool can detect the presence of electrical current, providing assurance that it is safe to proceed with the replacement.
After verifying that the power is off, it’s recommended to place a piece of electrical tape over the breaker switch to prevent it from being accidentally turned back on while you are working on the outlet. Taking these precautions will help create a safe work environment and minimize the risk of electrical accidents.
By diligently following this initial step to turn off the power, you are laying the foundation for a secure and controlled environment to proceed with replacing the outdoor electrical outlet.
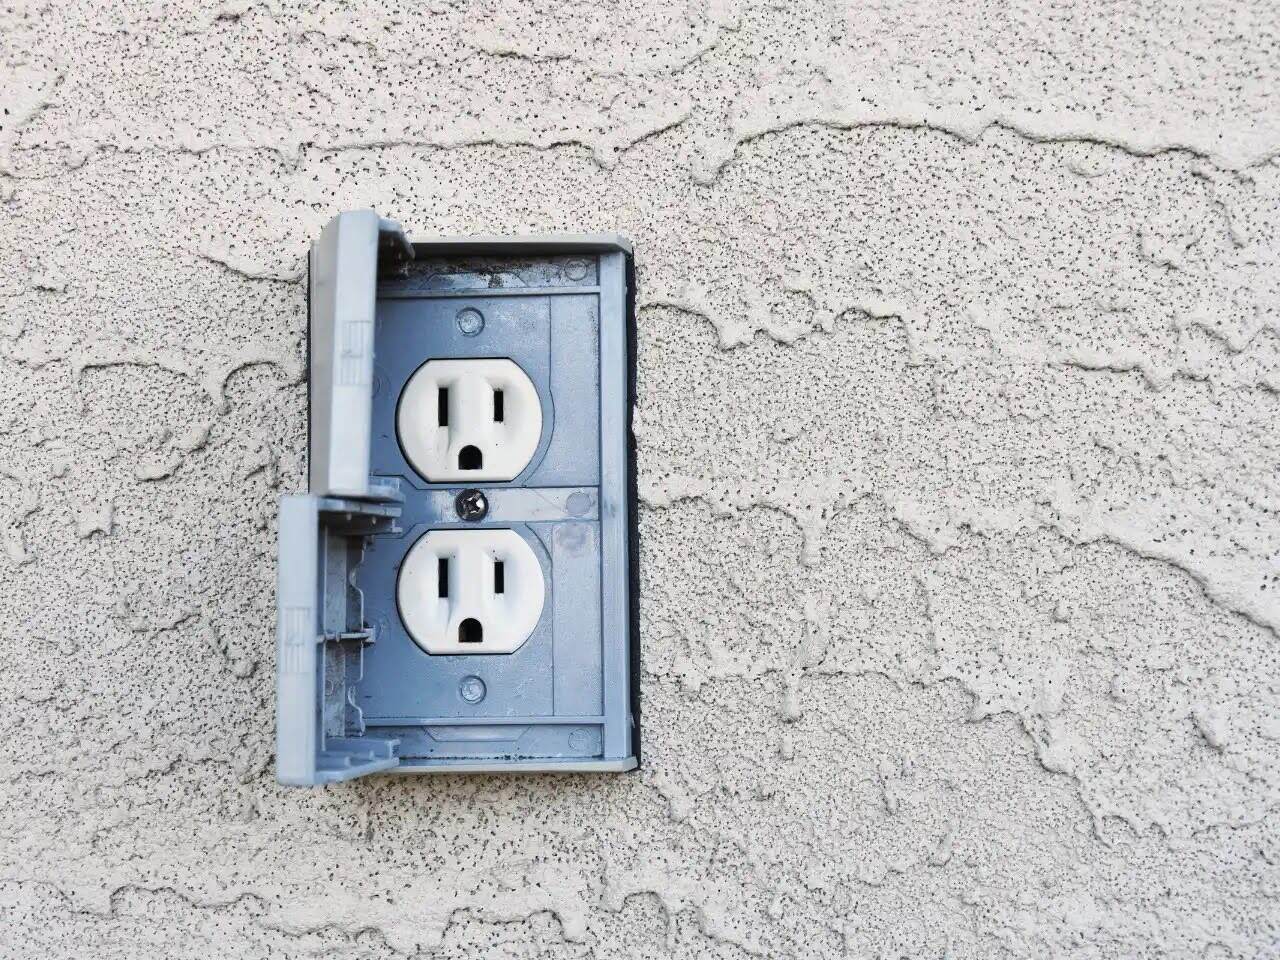
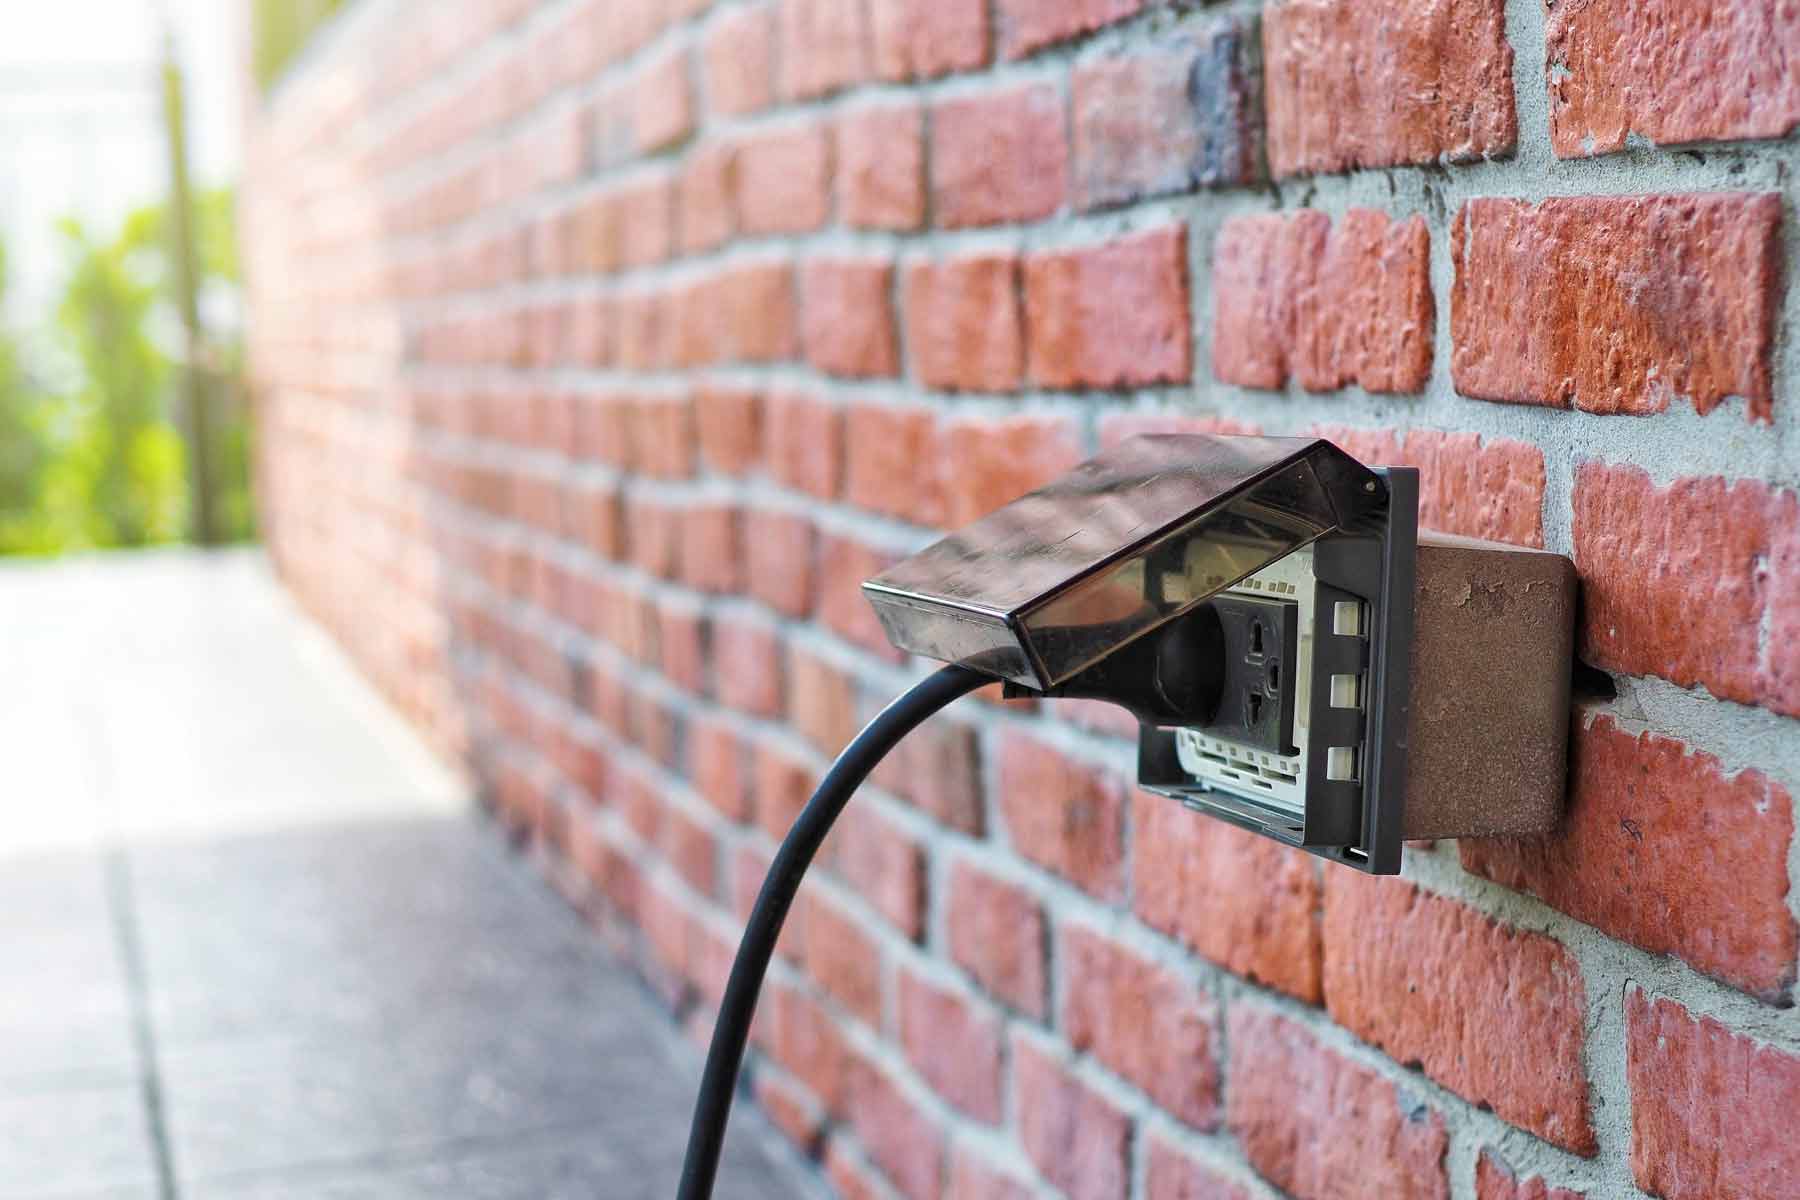
Step 2: Remove the Old Outlet
With the power safely turned off, you can now begin the process of removing the old outdoor electrical outlet. This step involves carefully disconnecting the existing outlet from the electrical wiring and preparing the junction box for the installation of the new outlet.
Start by removing the outlet cover plate and screws to expose the inner components of the outlet. Once the cover plate is removed, use a voltage tester to ensure that no electrical current is present. This additional precaution helps to confirm that the power supply has been effectively disconnected before proceeding further.
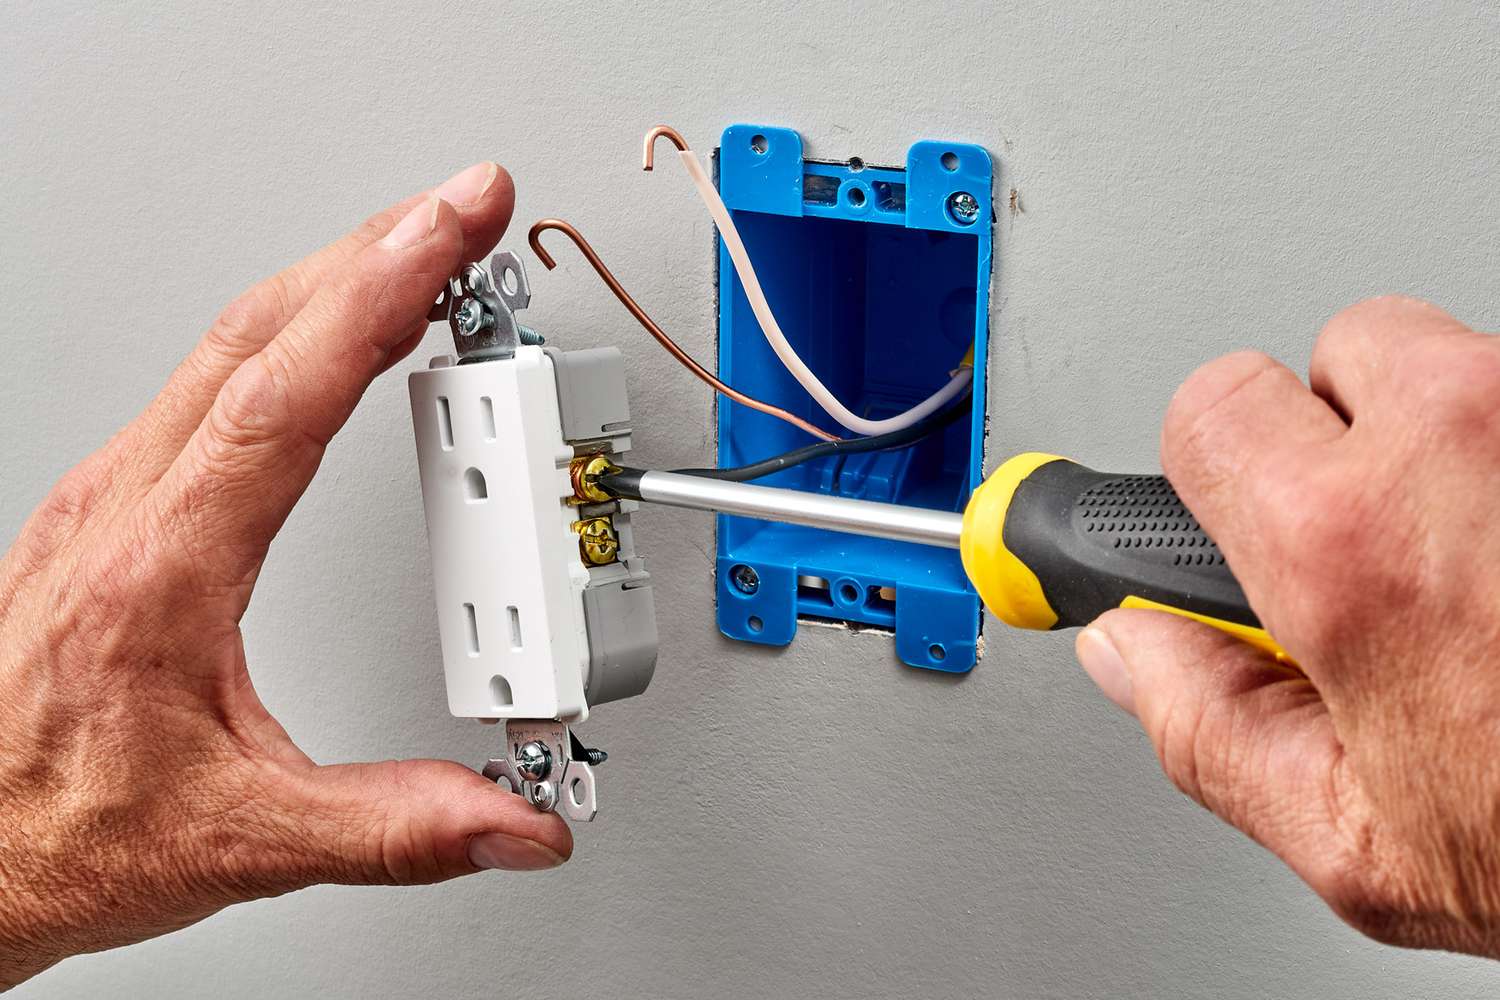
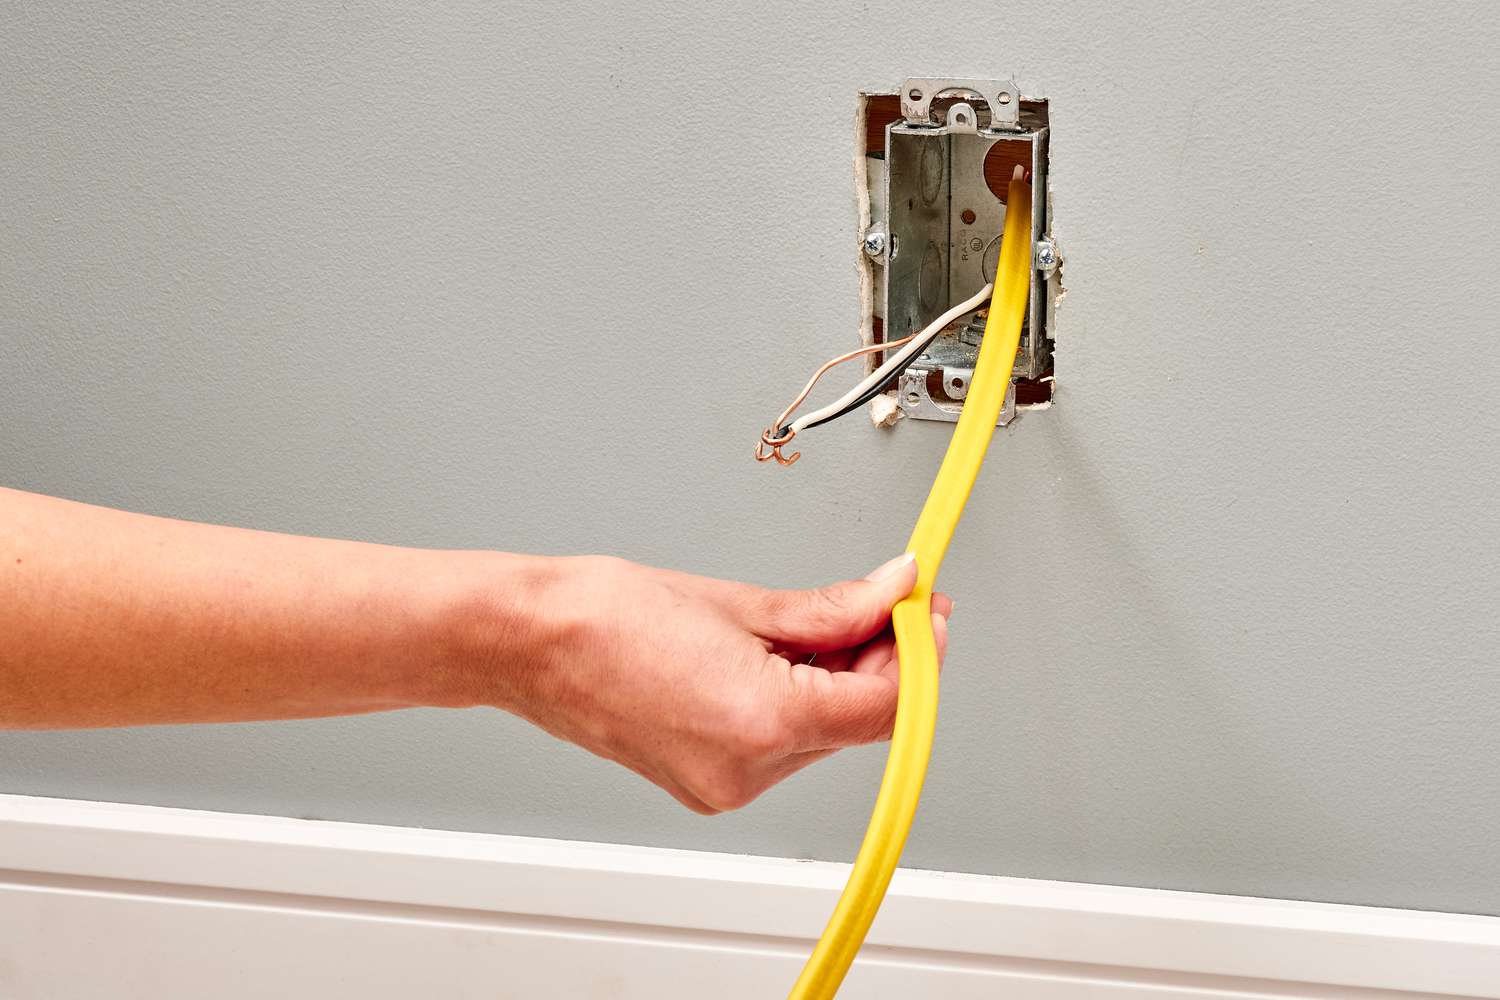
Next, unscrew the outlet from the junction box and carefully pull it out, taking note of how the wires are connected. It’s essential to pay close attention to the placement of the wires, as you will need to reconnect them to the new outlet in the same configuration.
Using a screwdriver, loosen the terminal screws to release the wires from the old outlet. As you disconnect the wires, it can be helpful to label them with tape or make a note of their positions to ensure accurate reconnection to the new outlet. Once the wires are detached, remove the old outlet from the junction box, taking care not to damage the surrounding wiring or insulation.
After removing the old outlet, inspect the junction box for any signs of damage or wear. Look for any loose or frayed wires, and address any issues before proceeding with the installation of the new outlet. Cleaning the inside of the junction box can also help ensure a secure and stable connection for the replacement outlet.
By methodically removing the old outlet and assessing the condition of the junction box, you are setting the stage for a smooth transition to installing the new outdoor electrical outlet. This careful approach helps to maintain the integrity of the electrical connections and ensures a reliable power supply for your outdoor space.
Before replacing an outdoor electrical outlet, make sure to turn off the power at the breaker box to avoid any accidents. Always use a voltage tester to double-check that the power is off before starting the replacement.
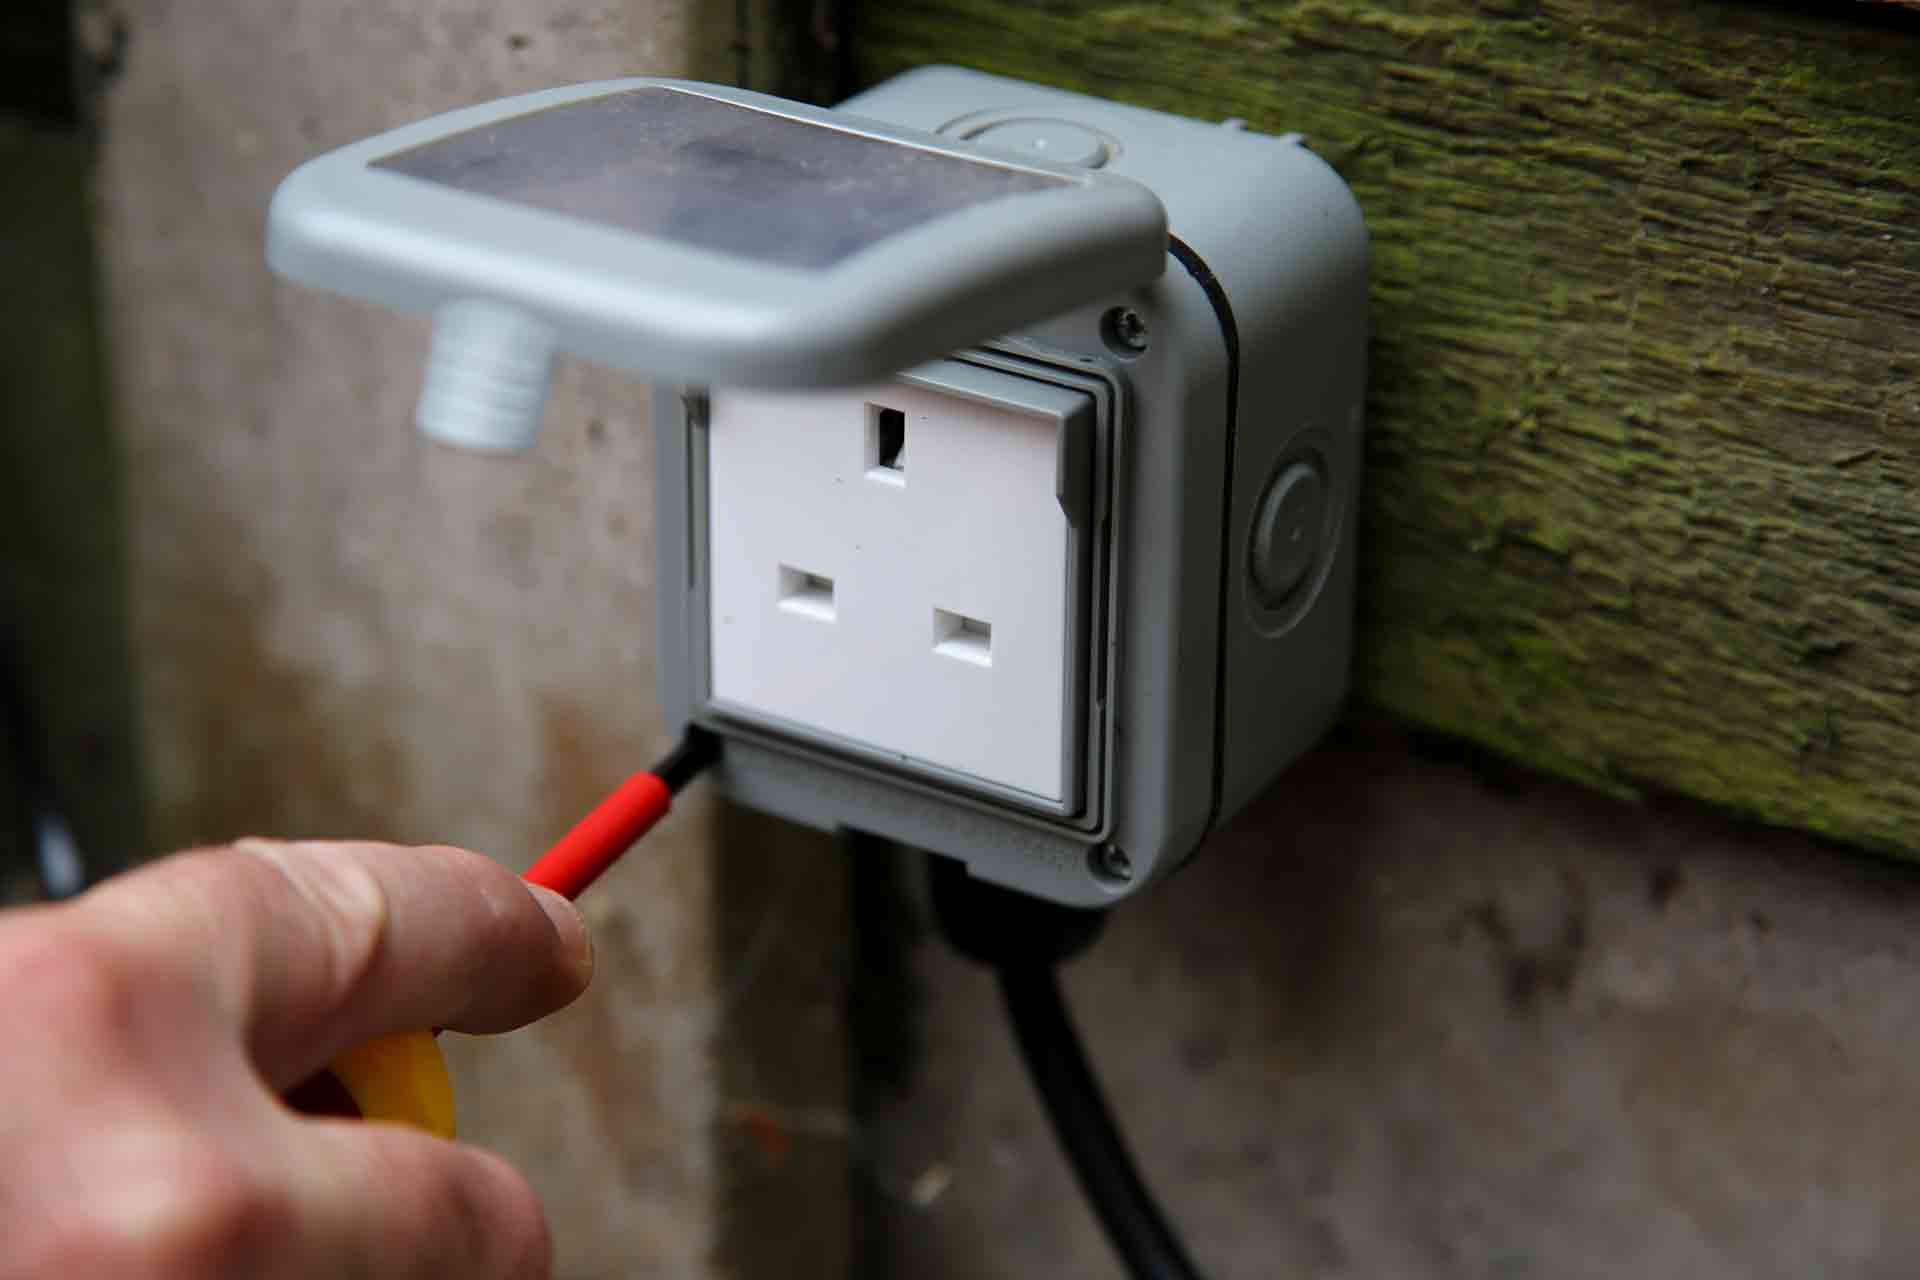
Step 3: Install the New Outlet
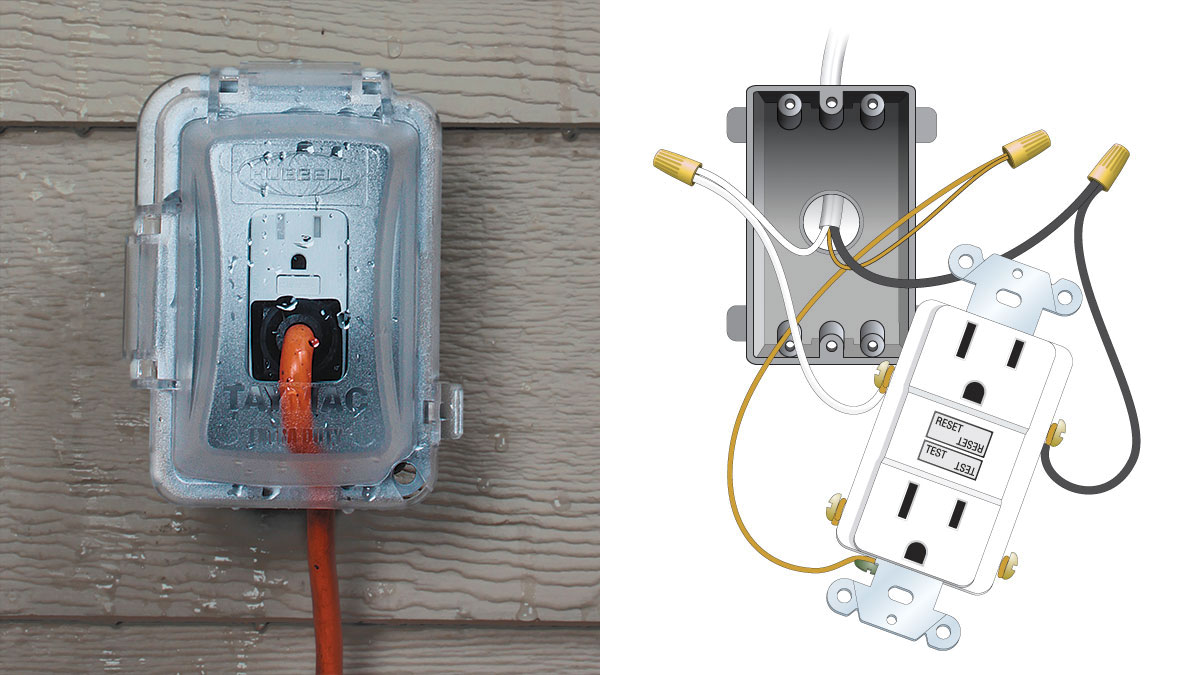
With the old outlet removed and the junction box prepared, you are now ready to install the new outdoor electrical outlet. This step involves connecting the wires to the new outlet and securely mounting it within the junction box to establish a safe and functional electrical connection.
Begin by identifying the hot (black), neutral (white), and ground (green or bare copper) wires within the junction box. The hot wire carries the electrical current, the neutral wire completes the circuit, and the ground wire provides a path for electrical safety in the event of a fault. It’s crucial to connect these wires to the corresponding terminals on the new outlet to ensure proper functionality and safety.
Before connecting the wires, carefully strip off a small amount of insulation from the ends to expose the conductive metal. This will allow for a secure and reliable connection to the outlet terminals. Once the wires are prepared, follow the manufacturer’s instructions for your specific outlet to determine the appropriate terminal connections.
Typically, the hot wire connects to the brass or gold-colored terminal, the neutral wire connects to the silver-colored terminal, and the ground wire connects to the green or bare copper terminal. Use a screwdriver to fasten the wires to the terminals, ensuring that they are securely attached without any exposed metal showing.
With the wires connected, carefully tuck them into the junction box, ensuring that there is ample space for the outlet to fit securely. Position the new outlet over the mounting screw holes in the junction box and secure it in place using the provided screws. Make sure the outlet is level and flush with the wall surface for a professional and secure installation.
Once the outlet is mounted, attach the outlet cover plate using the designated screws to enclose the wiring and outlet components. This cover plate provides protection and a finished appearance for the new outdoor electrical outlet.
By meticulously installing the new outlet and making precise wire connections, you are establishing a reliable and safe power source for your outdoor space. This careful approach ensures that the new outlet functions as intended and provides a secure electrical connection for your outdoor electrical needs.
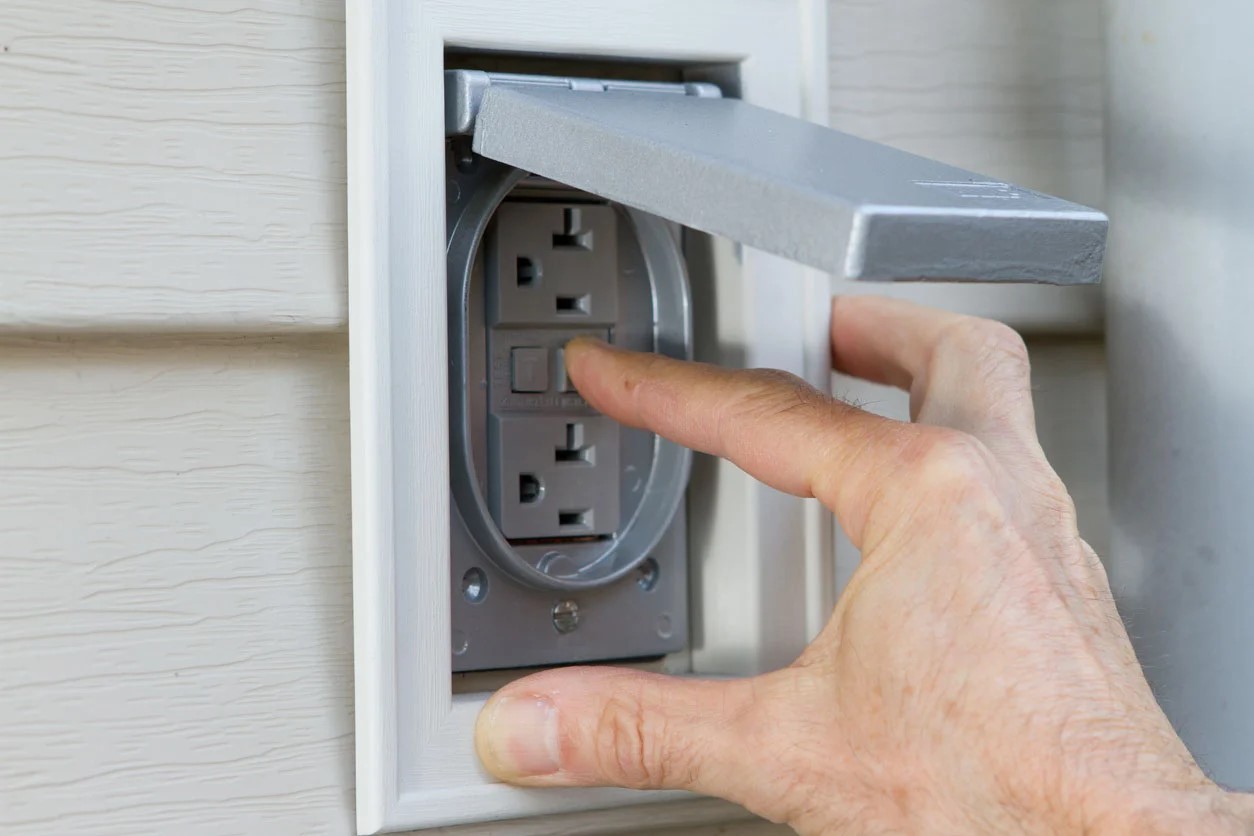
Step 4: Test the Outlet
After installing the new outdoor electrical outlet, it’s crucial to perform a thorough testing process to ensure that the electrical connection is secure and the outlet is functioning correctly. This step involves verifying the integrity of the wiring, checking for proper voltage, and confirming that the outlet can power electrical devices without any issues.
Begin by turning the power back on at the electrical panel, restoring the electrical supply to the outdoor outlet. Once the power is reactivated, use a voltage tester to check the outlet for the presence of electrical current. This step is essential for confirming that the wiring is properly connected and that the outlet is receiving the correct voltage.
After confirming the presence of voltage, plug in a small electrical device, such as a lamp or phone charger, to test the functionality of the outlet. Ensure that the device powers on and operates as expected, indicating that the outlet is providing a reliable power supply. If the device does not work, double-check the wiring connections and troubleshoot any potential issues before proceeding further.
In addition to testing the functionality of the outlet, it’s important to inspect the outlet cover plate and surrounding area for any signs of damage or misalignment. Ensure that the cover plate is securely attached and that the outlet is flush with the wall surface, providing a safe and professional finish for the installation.
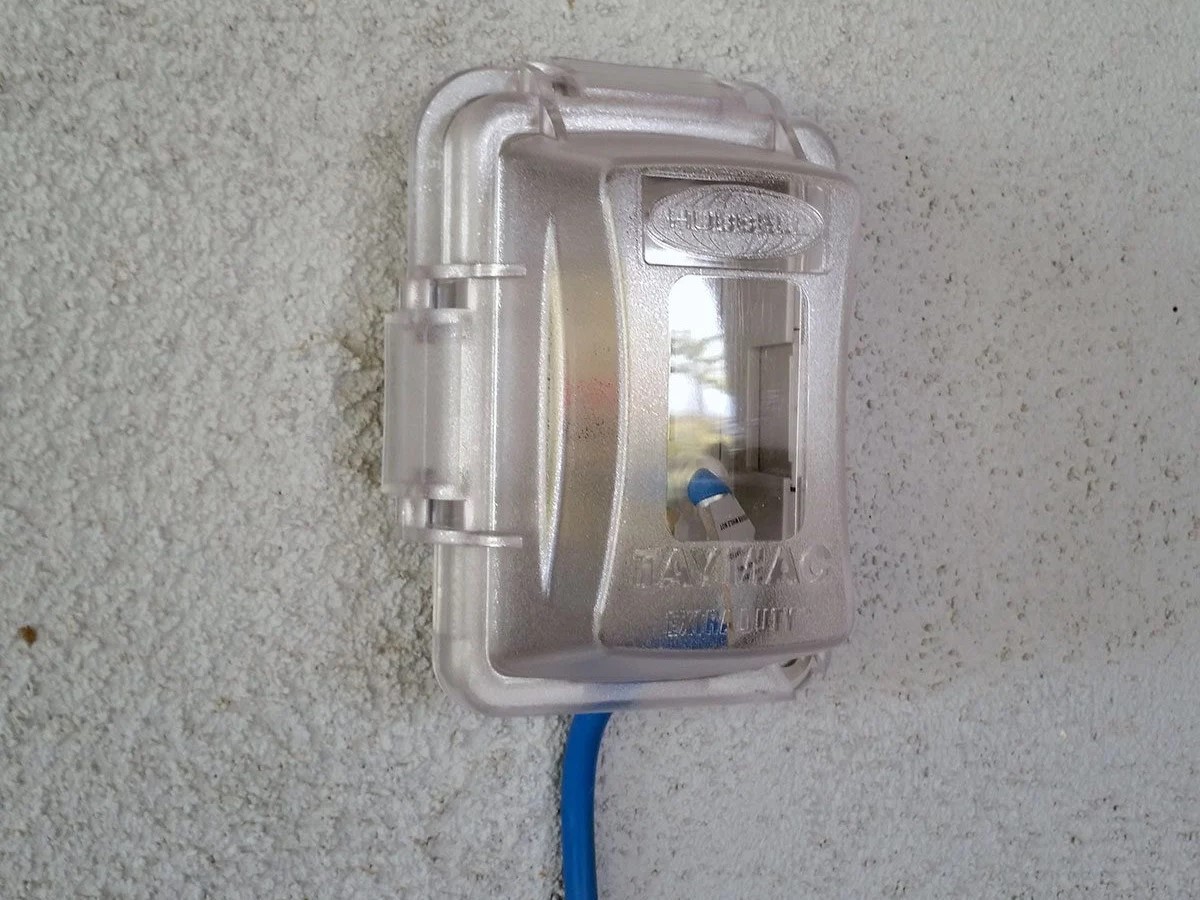
As a final precaution, consider conducting a ground fault circuit interrupter (GFCI) test if the new outlet is equipped with this safety feature. GFCI outlets are designed to protect against electrical shock and should be tested to verify their proper operation. Follow the manufacturer’s instructions for your specific outlet to perform the GFCI test and confirm that this essential safety mechanism is functioning correctly.
By diligently testing the new outdoor electrical outlet, you can verify its functionality and safety, providing peace of mind and assurance that your outdoor power supply is secure and reliable. This thorough testing process ensures that the new outlet meets safety standards and is ready to power your outdoor devices and appliances with confidence.
Read more: How To Install An Outdoor Electrical Outlet
Conclusion
Replacing an outdoor electrical outlet is a practical and rewarding endeavor that empowers you to maintain a safe and reliable power source for your outdoor activities. By following the step-by-step process outlined in this guide, you can upgrade your outdoor electrical infrastructure with confidence and peace of mind.
Prioritizing safety by turning off the power and taking necessary precautions sets the stage for a secure and controlled work environment. Removing the old outlet with care and attention to detail ensures that the electrical connections remain intact and ready for the installation of the new outlet. Installing the new outlet with precision and thorough testing guarantees a functional and dependable power supply for your outdoor space.
As you embark on the journey of replacing an outdoor electrical outlet, remember to approach the task with patience and a commitment to safety. By adhering to best practices and following the manufacturer’s guidelines for your specific outlet, you can achieve a successful and satisfying outcome.
With the new outdoor electrical outlet in place, you can enjoy the convenience of powering your outdoor lighting, entertainment systems, and other devices with confidence. Whether you are hosting a gathering in your backyard or simply relaxing in your outdoor oasis, the upgraded outlet will provide the electrical support you need for a seamless and enjoyable experience.
By taking the initiative to replace an outdoor electrical outlet, you are not only enhancing the functionality of your outdoor space but also contributing to the safety and efficiency of your home’s electrical infrastructure. This proactive approach reflects a commitment to maintaining a comfortable and secure environment for yourself and your loved ones.
As you bask in the benefits of a newly installed outdoor electrical outlet, take pride in your accomplishment and the enhanced convenience it brings to your outdoor lifestyle. With a reliable and upgraded power supply at your fingertips, you can fully embrace the pleasures of outdoor living and entertainment, knowing that your electrical needs are well attended to.
Embrace the opportunity to elevate your outdoor space with a new outdoor electrical outlet, and revel in the seamless integration of power and convenience into your outdoor lifestyle.
Now that you've mastered replacing an outdoor electrical outlet, maintaining your home to keep it in top shape is crucial. Regular upkeep not only ensures everything functions smoothly but also helps avoid costly repairs down the line. Interested in learning more about keeping your living space pristine and operational? Check out our detailed guide on essential home maintenance tasks. This resource provides practical advice, ensuring your home stays as welcoming and safe as possible.
Frequently Asked Questions about How To Replace An Outdoor Electrical Outlet
Was this page helpful?
At Storables.com, we guarantee accurate and reliable information. Our content, validated by Expert Board Contributors, is crafted following stringent Editorial Policies. We're committed to providing you with well-researched, expert-backed insights for all your informational needs.


0 thoughts on “How To Replace An Outdoor Electrical Outlet”