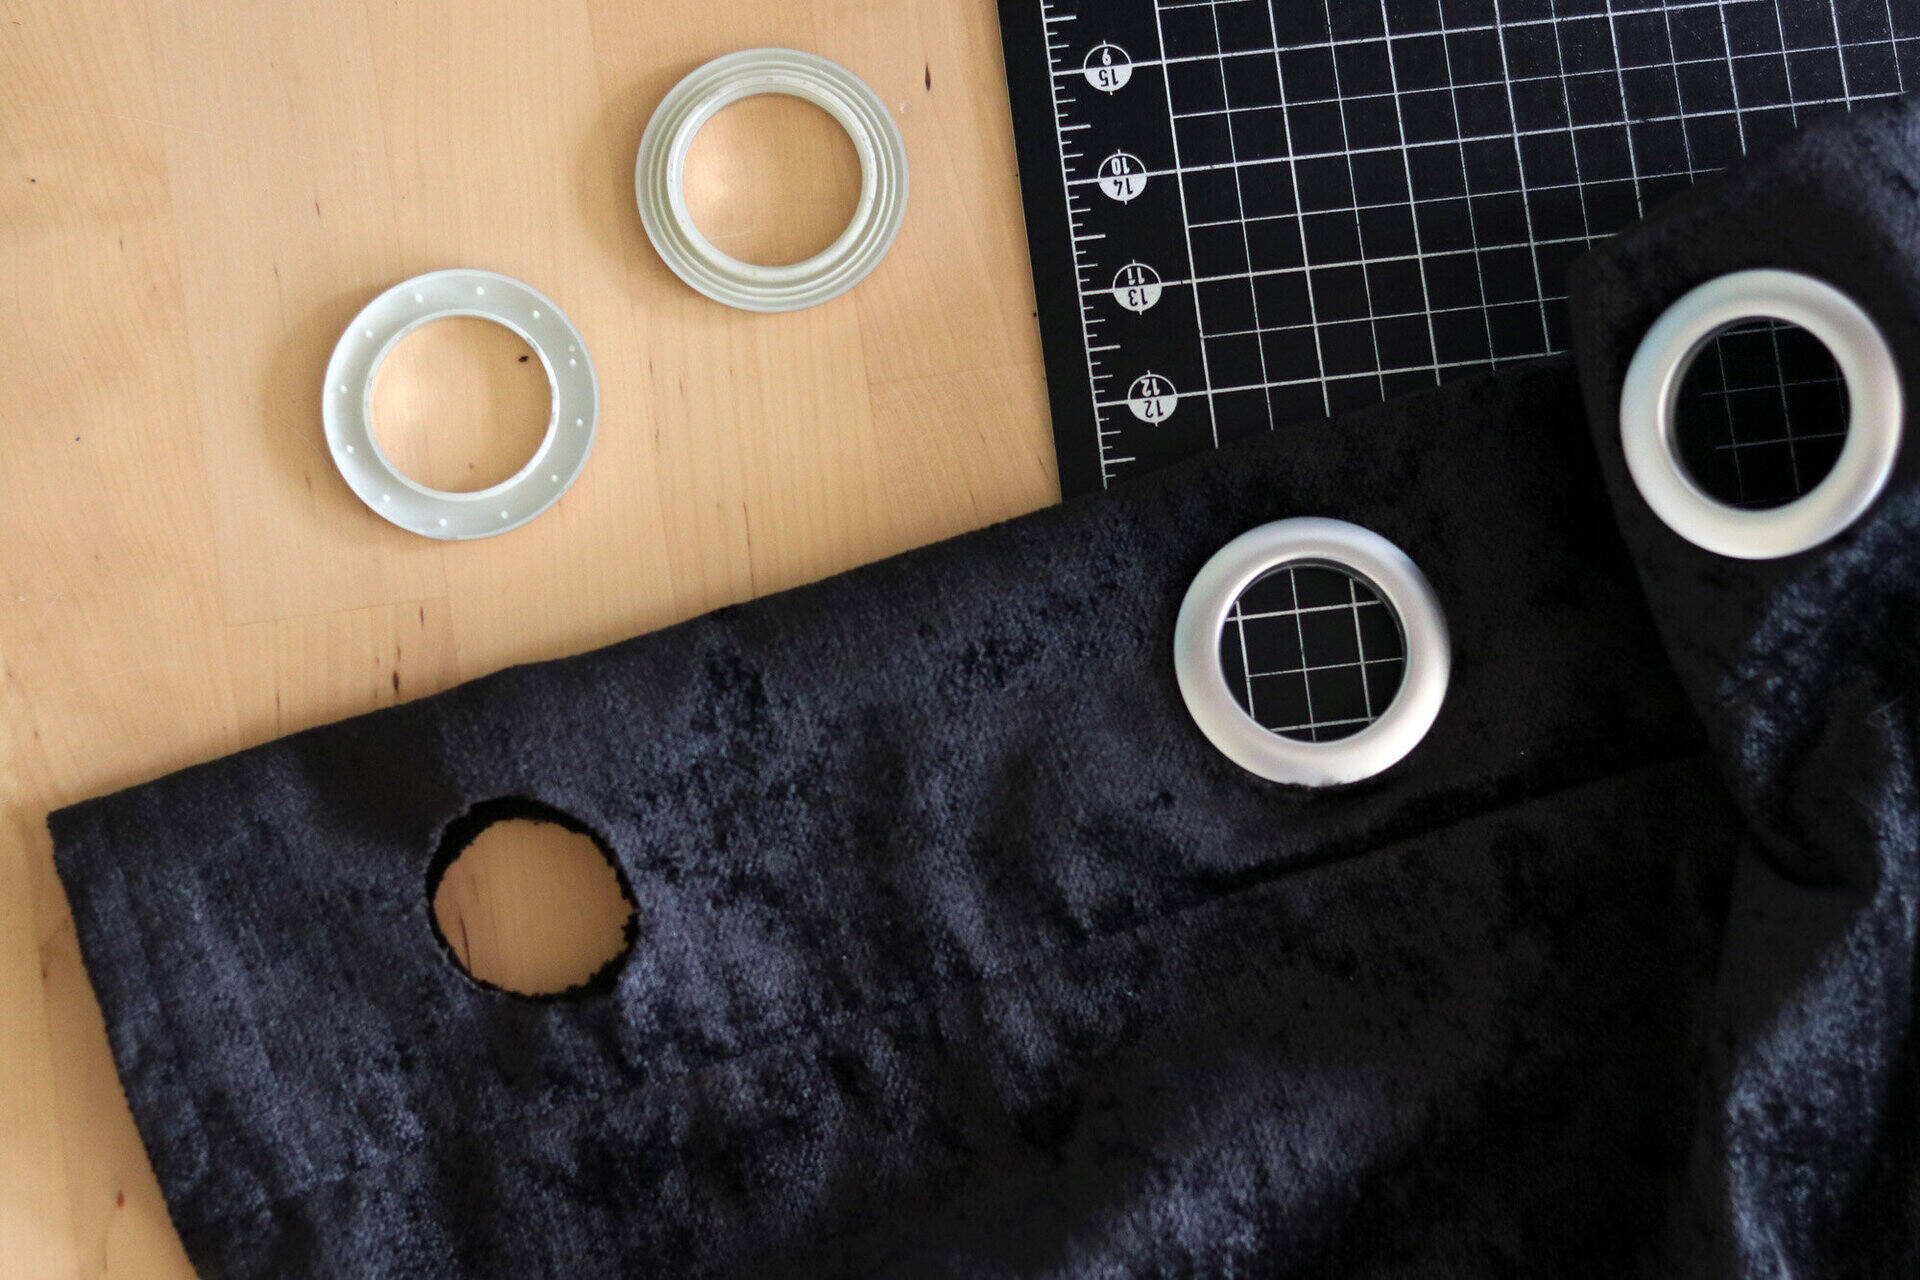
Home>Furniture & Design>Bathroom Accessories>How To Open Plastic Shower Curtain Rings
Bathroom Accessories
How To Open Plastic Shower Curtain Rings
Published: February 9, 2024
Learn how to easily open plastic shower curtain rings and enhance your bathroom accessories with this simple guide. Upgrade your shower curtain rings effortlessly!
(Many of the links in this article redirect to a specific reviewed product. Your purchase of these products through affiliate links helps to generate commission for Storables.com, at no extra cost. Learn more)
Introduction
Opening plastic shower curtain rings may seem like a simple task, but it can be surprisingly tricky if you're not familiar with the process. Whether you're setting up a new shower curtain or replacing an old one, knowing how to open plastic shower curtain rings properly is essential for a hassle-free experience. In this guide, we'll walk you through the step-by-step process of opening plastic shower curtain rings with ease.
Understanding the proper technique for opening plastic shower curtain rings is crucial to prevent any damage to the rings or the curtain itself. By following the steps outlined in this guide, you'll be able to effortlessly prepare your shower curtain rings for installation, ensuring a smooth and seamless setup process.
Now, let's dive into the details of gathering the necessary materials and preparing the shower curtain rings for opening. With the right approach, you'll be well-equipped to tackle this task with confidence and precision.
Key Takeaways:
- Master the art of opening plastic shower curtain rings with ease by gathering the right materials, preparing the rings, and using a delicate touch to ensure a smooth and hassle-free installation process.
- Thoroughly test the opened plastic shower curtain rings to ensure they function properly, align securely, and can bear the weight of the curtain, setting the stage for a successful and reliable setup.
Step 1: Gather the necessary materials
Before you begin the process of opening plastic shower curtain rings, it's essential to gather the necessary materials to ensure a smooth and efficient experience. Here's what you'll need:
-
Plastic Shower Curtain Rings: These are the primary components that you'll be working with. Ensure that you have the correct number of rings required for your shower curtain setup.
-
A Flat Surface: Having a stable and flat surface to work on will make the process much easier. A countertop or table will suffice for this purpose.
-
Comfortable Grip Gloves (Optional): While not mandatory, wearing comfortable grip gloves can provide a better hold on the rings, especially if they are stiff or difficult to open.
-
Light Lubricant (Optional): If the plastic shower curtain rings are particularly rigid, a light lubricant such as cooking oil or silicone spray can be used to ease the opening process.
-
Towel or Cloth: Having a towel or cloth on hand can help provide a better grip and prevent any potential slippage while working with the rings.
-
Patience and Care: While not physical materials, these are equally important. Taking your time and handling the rings with care will ensure that they are opened without causing any damage.
By ensuring that you have all these materials at your disposal, you'll be well-prepared to proceed with the next steps of preparing and opening the plastic shower curtain rings. With the right tools and mindset, you can tackle this task with confidence and precision, setting the stage for a successful shower curtain installation.
Step 2: Prepare the shower curtain rings
Before diving into the process of opening the plastic shower curtain rings, it's crucial to prepare them adequately to ensure a smooth and efficient experience. Proper preparation can make the subsequent steps much easier and minimize the risk of damaging the rings or the shower curtain. Here's a detailed guide on how to prepare the shower curtain rings:
Inspect the Rings
Start by carefully inspecting each plastic shower curtain ring. Look for any signs of damage, such as cracks, deformities, or sharp edges. It's essential to ensure that the rings are in good condition before proceeding further. If you notice any defects, it's advisable to replace the damaged rings to maintain the integrity of the shower curtain setup.
Clean the Rings
Over time, plastic shower curtain rings can accumulate dust, grime, or residue from previous use. To prepare them for opening, it's recommended to clean the rings thoroughly. Use a mild soap or detergent and warm water to gently wash each ring, ensuring that any accumulated dirt or residue is removed. Once cleaned, rinse the rings with water and allow them to dry completely before proceeding to the next step.
Read more: How To Clean Your Plastic Shower Curtain
Apply Lubricant (Optional)
If the plastic shower curtain rings feel stiff or resistant to movement, applying a light lubricant can help ease the opening process. A small amount of cooking oil or silicone spray can be applied to the hinges of the rings to reduce friction and make them more pliable. However, it's important to use the lubricant sparingly to avoid any excess residue that could transfer to the shower curtain or create a slippery surface.
Arrange the Rings
Once the rings are cleaned and, if necessary, lubricated, arrange them in a convenient and accessible manner. Having the rings organized and within reach will streamline the process of opening them. Consider laying them out on a flat surface in the order in which they will be installed on the shower curtain, ensuring that they are easily identifiable and ready for the next step.
Handle with Care
Throughout the preparation process, it's crucial to handle the plastic shower curtain rings with care. Avoid applying excessive force or pressure that could potentially cause damage. By treating the rings gently and attentively, you can maintain their structural integrity and ensure that they are ready for the subsequent step of opening them.
By following these preparatory steps, you'll set the stage for a seamless and efficient process of opening the plastic shower curtain rings. With the rings inspected, cleaned, and arranged for easy access, you'll be well-prepared to proceed to the next phase of opening them without any unnecessary complications.
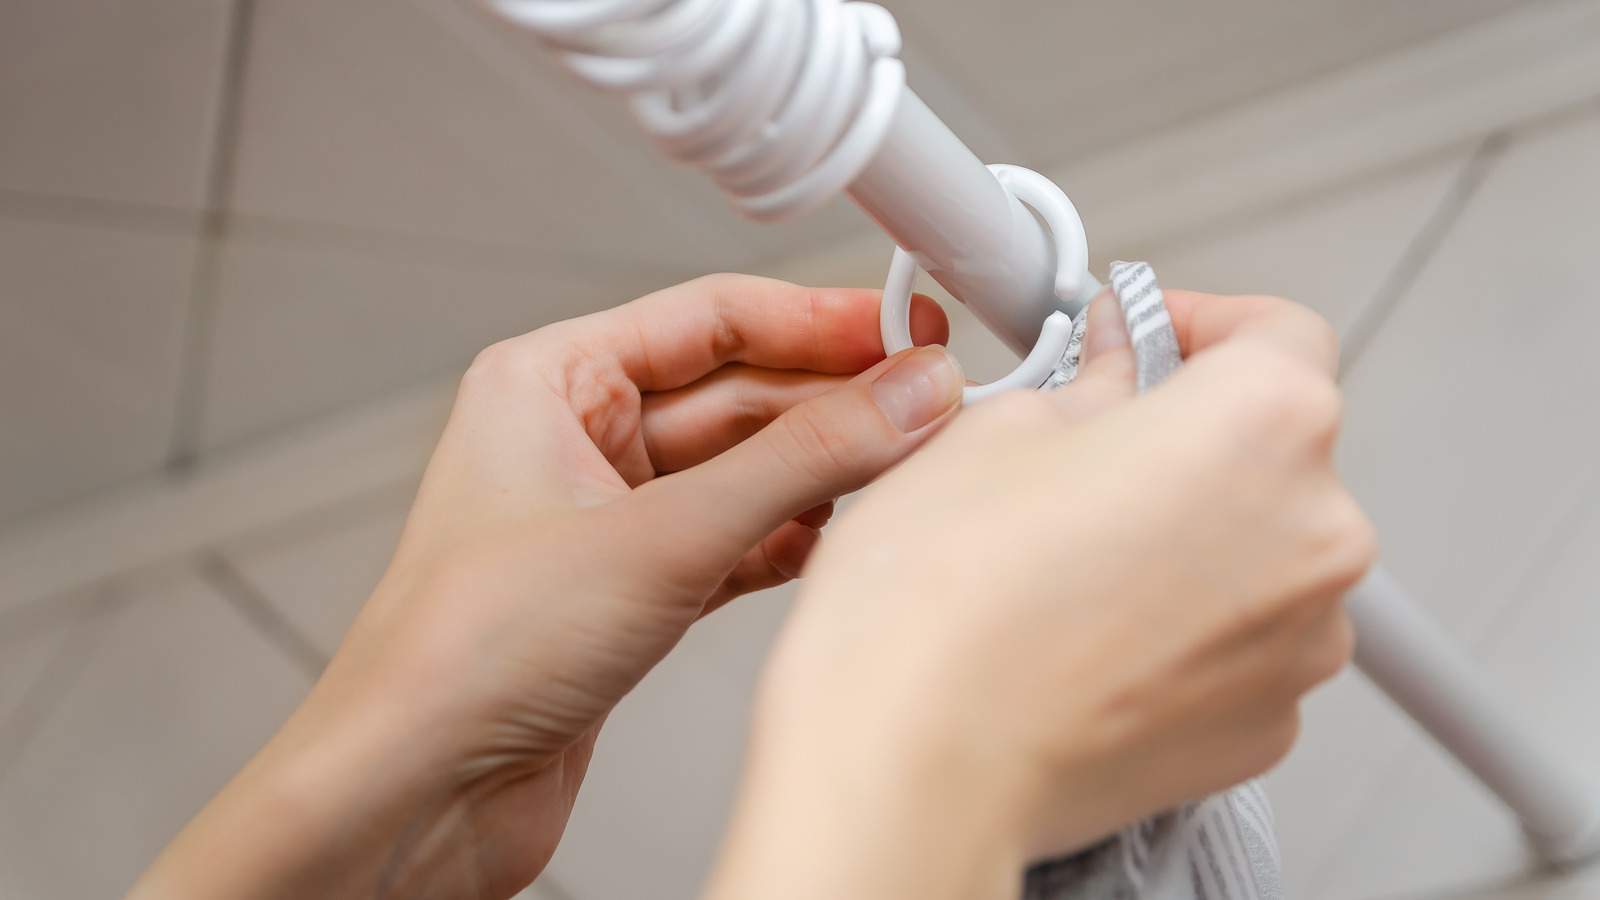
Step 3: Open the plastic shower curtain rings
Opening plastic shower curtain rings requires a delicate approach to ensure that the rings are fully functional and undamaged. Follow these steps to open the plastic shower curtain rings with precision and care:
-
Secure Grip: Begin by holding the plastic shower curtain ring firmly in one hand. If the rings are particularly stiff or difficult to open, wearing comfortable grip gloves can provide better control and minimize the risk of slippage.
-
Apply Gentle Pressure: With a secure grip on the ring, apply gentle and even pressure to the opposite sides of the ring. This action aims to gradually separate the two halves of the ring without forcing or twisting them excessively.
-
Twisting Motion: If the rings are designed with a twisting mechanism, gently twist one half of the ring in a clockwise or counterclockwise direction while holding the other half steady. This twisting motion should facilitate the separation of the two halves without causing any strain on the plastic material.
-
Check for Resistance: As you apply pressure and initiate the opening process, be mindful of any resistance or unusual stiffness. If you encounter significant resistance, it's essential to reassess the approach and ensure that the rings are not being forced beyond their intended capacity.
-
Repeat the Process: Once the first ring is successfully opened, repeat the same technique for the remaining rings. Consistency in the approach will ensure uniformity in the opening process, allowing all the rings to be prepared for the installation of the shower curtain.
-
Inspect for Damage: After opening each plastic shower curtain ring, take a moment to inspect the components for any signs of damage or stress. Look for cracks, deformities, or excessive wear that may compromise the functionality of the rings. If any issues are identified, consider replacing the damaged rings to maintain the integrity of the shower curtain setup.
-
Ensure Smooth Movement: Once the rings are opened, ensure that the hinge mechanism moves smoothly without any obstructions or irregularities. The seamless movement of the rings is essential for effortless installation and operation when attaching them to the shower curtain and the curtain rod.
By following these steps with patience and precision, you can successfully open the plastic shower curtain rings without causing any damage or compromising their functionality. With the rings now prepared for installation, you're ready to proceed with the next phase of testing and attaching them to the shower curtain, ensuring a seamless and hassle-free setup.
Step 4: Test the rings
After successfully opening the plastic shower curtain rings, it's essential to conduct a thorough testing process to ensure that the rings are fully functional and ready for installation. Testing the rings provides an opportunity to identify any potential issues or irregularities before attaching them to the shower curtain, ultimately contributing to a seamless and hassle-free setup. Here's a detailed guide on how to test the plastic shower curtain rings effectively:
-
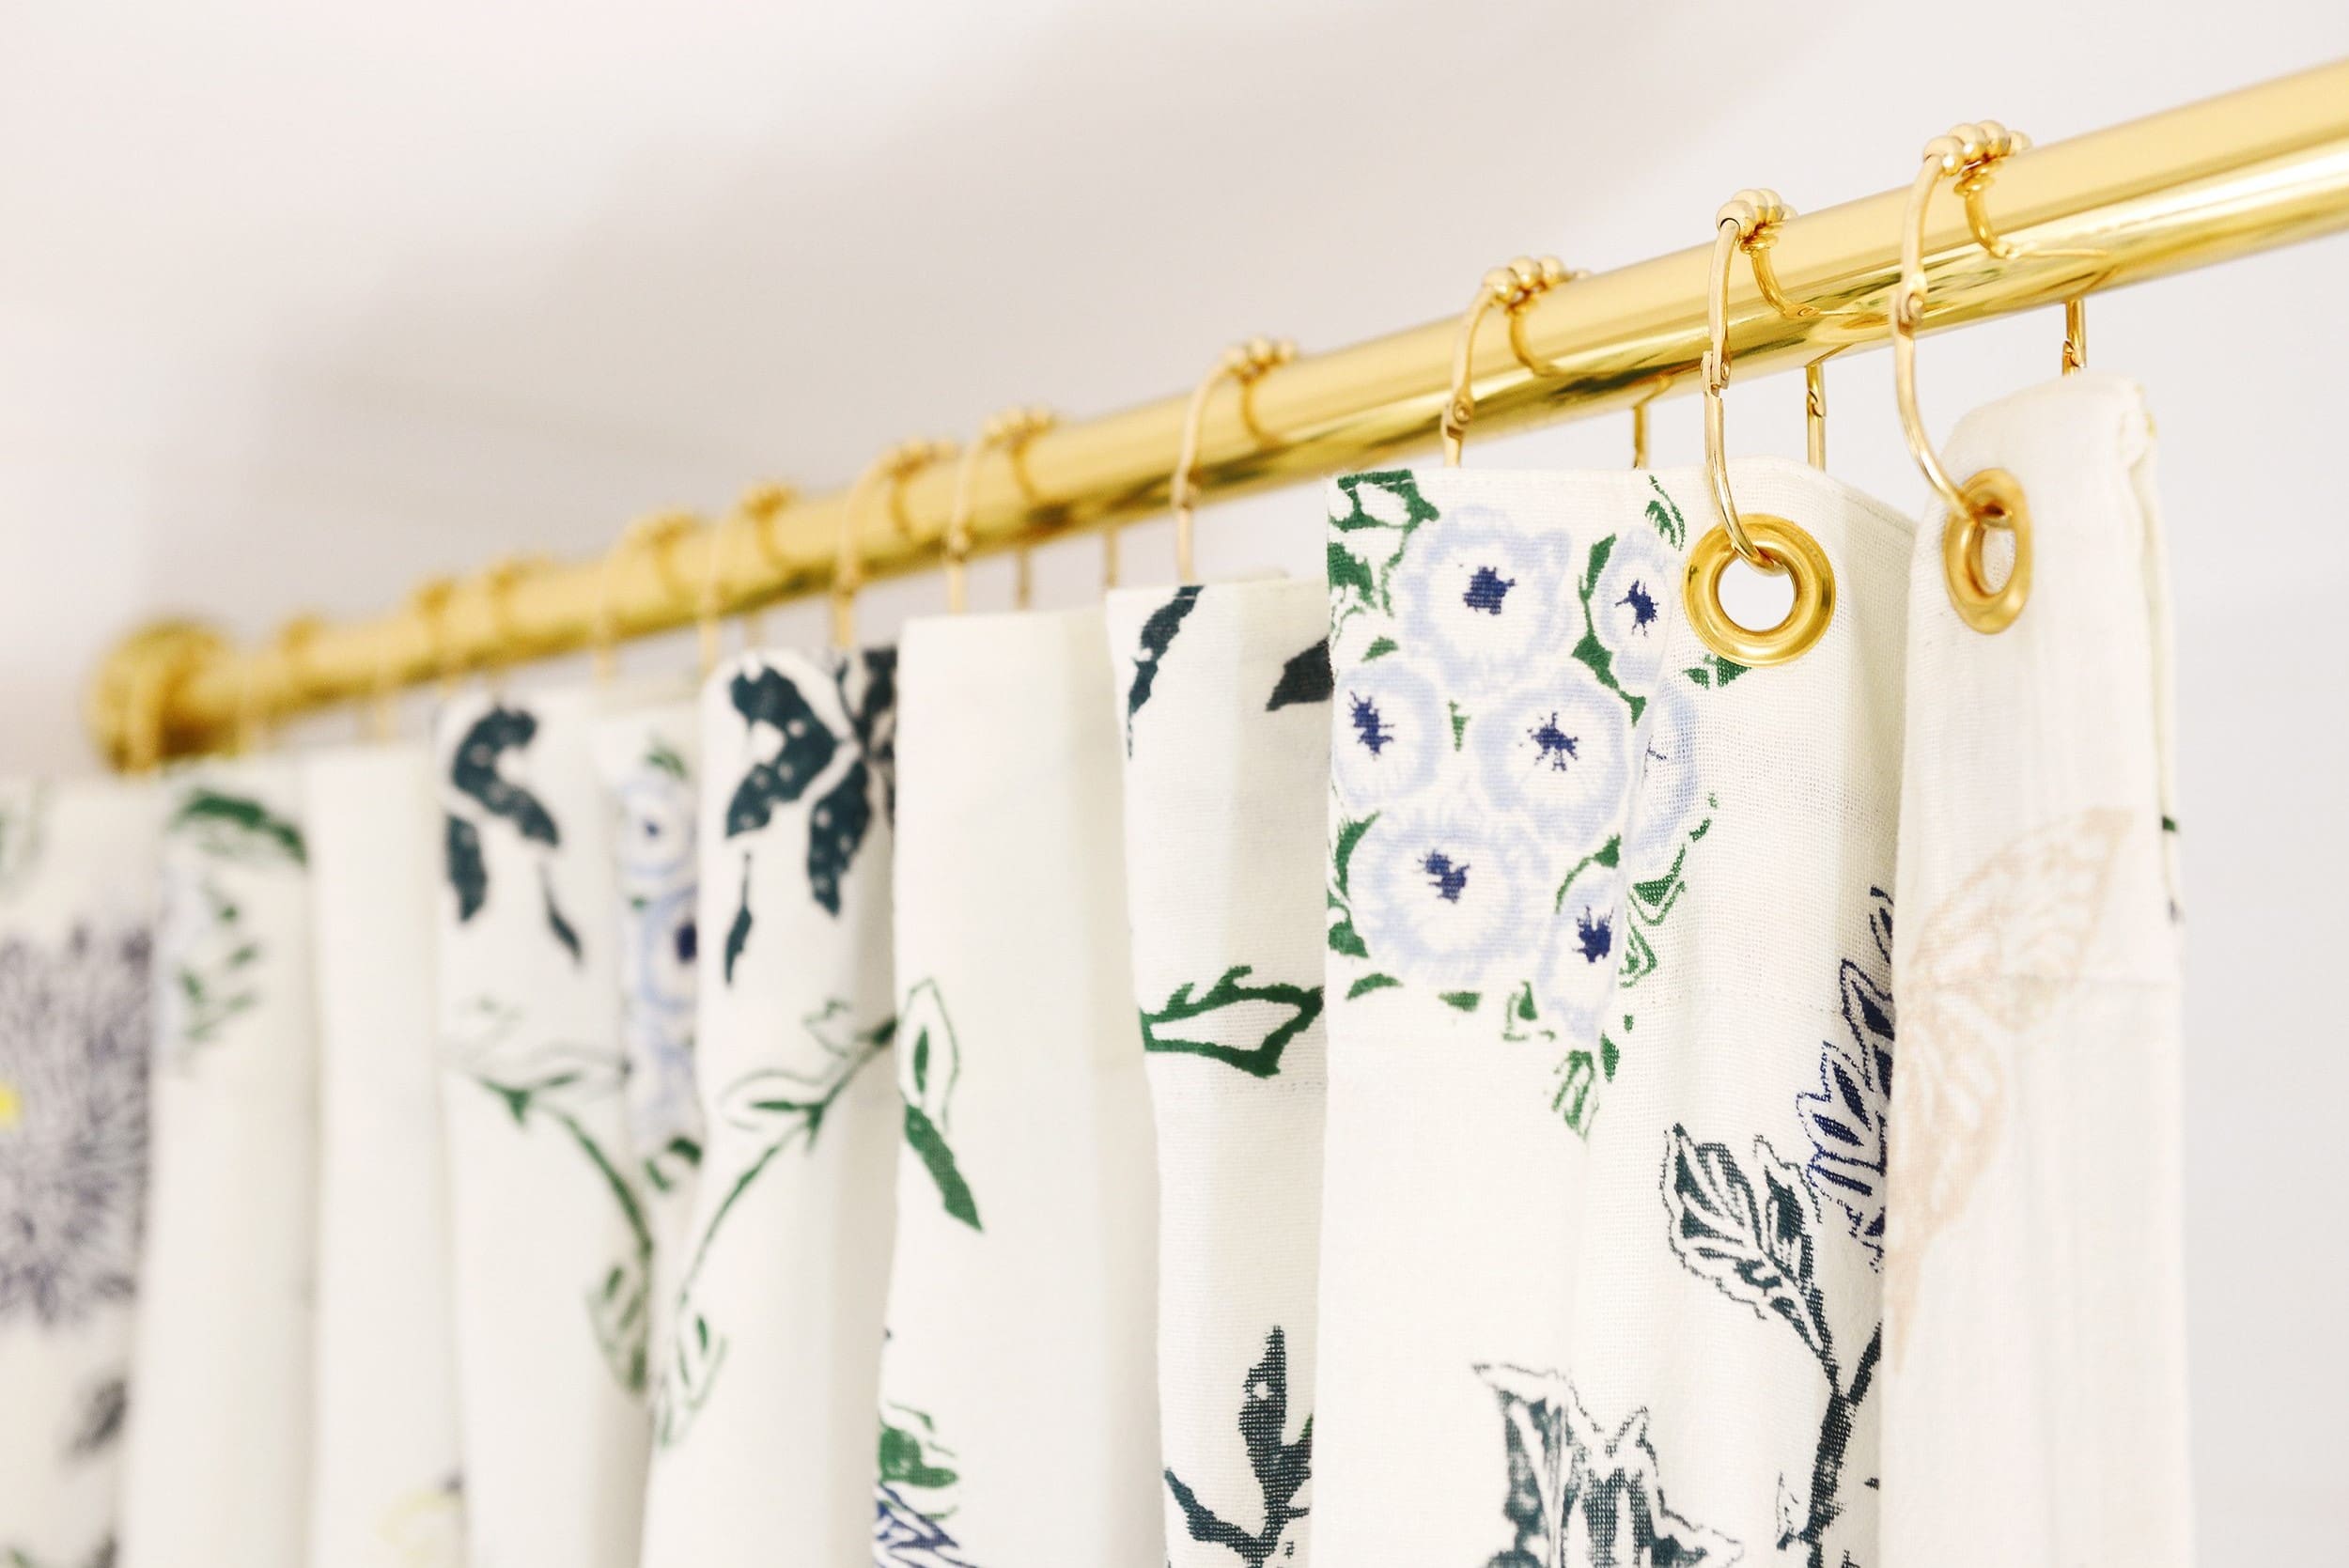
Smooth Movement: Begin by testing the movement of each opened ring. Ensure that the hinge mechanism operates smoothly without any resistance or stiffness. The rings should open and close with ease, allowing for seamless movement that is essential for hassle-free operation when attaching them to the shower curtain and the curtain rod.
-
Alignment and Closure: As you test each ring, pay attention to the alignment of the two halves when closing them. The halves should align perfectly without any misalignment or gaps, indicating a secure closure. Proper alignment ensures that the rings will securely hold the shower curtain without any risk of slipping or detachment during use.
-
Secure Locking: If the plastic shower curtain rings feature a locking mechanism, test the locking function to ensure that it securely holds the two halves together. Engage the locking mechanism and verify that it effectively prevents the rings from unintentionally opening, providing a reliable and stable configuration for the shower curtain.
-
Load-Bearing Capacity: While testing the rings, consider applying a slight downward force to simulate the weight of the shower curtain. This action allows you to assess the load-bearing capacity of the rings and verify that they can support the curtain's weight without deforming or experiencing any structural issues.
-
Visual Inspection: Conduct a visual inspection of each ring to identify any potential defects or irregularities that may have been overlooked during the opening process. Look for signs of stress, cracks, or deformities that could compromise the functionality of the rings. Any issues identified during the visual inspection should prompt consideration for replacing the affected rings.
By meticulously testing the plastic shower curtain rings, you can ensure that they meet the necessary criteria for functionality and reliability. Addressing any potential issues during the testing phase will contribute to a successful installation, providing peace of mind and confidence in the durability and performance of the rings. With the rings thoroughly tested and verified, you're now prepared to proceed with the final phase of attaching them to the shower curtain, completing the setup process with precision and attention to detail.
Conclusion
In conclusion, mastering the art of opening plastic shower curtain rings is a valuable skill that contributes to a seamless and hassle-free shower curtain installation process. By following the step-by-step guide outlined in this article, you've gained valuable insights into the meticulous preparation and precise techniques required to open plastic shower curtain rings with confidence and care.
Understanding the significance of gathering the necessary materials, inspecting and preparing the rings, and executing the opening process with precision sets the stage for a successful shower curtain setup. The attention to detail and the emphasis on handling the rings with care ensure that the integrity and functionality of the rings remain uncompromised throughout the process.
The preparatory steps, including inspecting the rings for damage, cleaning them thoroughly, and, if necessary, applying a light lubricant, contribute to a smooth and efficient opening process. By arranging the rings in an organized manner and handling them with care, you've established a solid foundation for a successful outcome.
The delicate approach to opening the plastic shower curtain rings, characterized by a secure grip, gentle pressure, and a twisting motion if applicable, ensures that the rings are opened without causing any damage or stress. The emphasis on inspecting for damage and ensuring smooth movement sets a high standard for the functionality and reliability of the rings.
The comprehensive testing phase, encompassing the assessment of movement, alignment, locking, load-bearing capacity, and visual inspection, serves as a crucial validation of the rings' readiness for installation. By meticulously testing each ring, you've mitigated the risk of potential issues and verified their capability to securely hold the shower curtain with confidence.
With the rings successfully opened and thoroughly tested, you're now equipped to proceed with attaching them to the shower curtain, completing the setup process with precision and attention to detail. The knowledge and skills acquired through this guide empower you to approach future shower curtain installations with confidence and expertise, ensuring a smooth and efficient experience each time.
Mastering the process of opening plastic shower curtain rings not only enhances your practical capabilities but also contributes to the overall aesthetics and functionality of your bathroom space. By embracing the meticulous approach outlined in this guide, you've elevated your ability to handle this essential aspect of shower curtain installation with finesse and proficiency.
Frequently Asked Questions about How To Open Plastic Shower Curtain Rings
Was this page helpful?
At Storables.com, we guarantee accurate and reliable information. Our content, validated by Expert Board Contributors, is crafted following stringent Editorial Policies. We're committed to providing you with well-researched, expert-backed insights for all your informational needs.


0 thoughts on “How To Open Plastic Shower Curtain Rings”