Home>Furniture & Design>Outdoor Furniture>How To Reset An Outdoor Outlet
Outdoor Furniture
How To Reset An Outdoor Outlet
Published: January 15, 2024
Learn how to safely reset your outdoor outlet and ensure your outdoor furniture, furniture, and design are powered up and ready for use. Follow our step-by-step guide now!
(Many of the links in this article redirect to a specific reviewed product. Your purchase of these products through affiliate links helps to generate commission for Storables.com, at no extra cost. Learn more)
Introduction
Welcome to the ultimate guide on how to reset an outdoor outlet. Outdoor outlets are essential for powering various devices and appliances, such as string lights, power tools, and outdoor entertainment systems. However, they are exposed to the elements and can sometimes experience issues that require a reset. In this comprehensive guide, we will walk you through the step-by-step process of resetting an outdoor outlet safely and effectively.
Whether you're a seasoned DIY enthusiast or a homeowner looking to troubleshoot a malfunctioning outdoor outlet, this guide is designed to provide you with the knowledge and confidence to tackle this task. By following the instructions outlined in this article, you can ensure the proper functioning of your outdoor electrical outlets, providing a reliable power source for all your outdoor activities.
So, grab your tools and let's dive into the essential steps for resetting an outdoor outlet. But before we get started, it's crucial to emphasize the importance of safety precautions when working with electrical components. Let's ensure that you're equipped with the necessary knowledge and tools to complete this task safely and effectively.
Key Takeaways:
- Safety First!
Before resetting an outdoor outlet, always turn off the power, use insulated tools, and wear protective gear to ensure a secure working environment and prevent electrical hazards. - Step-by-Step Reset Process
To reset an outdoor outlet, follow the steps of turning off the power, removing the outlet cover, checking for a GFCI reset button, resetting the outlet, testing its functionality, and replacing the outlet cover.
Read more: How To Replace An Outdoor Gfci Outlet
Safety Precautions
Prior to resetting an outdoor outlet, it’s imperative to prioritize safety to prevent electrical hazards and ensure a secure working environment. Here are essential safety precautions to consider:
- Turn off the Power: Before initiating any work on the outdoor outlet, switch off the power supply at the circuit breaker to prevent the risk of electrical shock.
- Use Insulated Tools: When handling electrical components, utilize insulated tools to reduce the likelihood of electrical contact and potential injury.
- Wear Protective Gear: Equip yourself with safety goggles and insulated gloves to safeguard against any unforeseen electrical mishaps.
- Verify the Outlet’s Status: Prior to commencing the reset process, ensure that the outlet is dry and free from any water or moisture, as this can pose a significant safety hazard.
- Stay Clear of Wet Areas: Refrain from working on outdoor outlets during inclement weather or when the surrounding area is wet, as this increases the risk of electrical accidents.
- Seek Professional Assistance: If you encounter any complications or are uncertain about the reset process, it’s advisable to consult a certified electrician to address the issue safely and effectively.
By adhering to these safety precautions, you can mitigate potential risks and ensure a secure environment while resetting your outdoor outlet. Now that we’ve established the critical safety measures, let’s move on to the essential tools and materials required for this task.
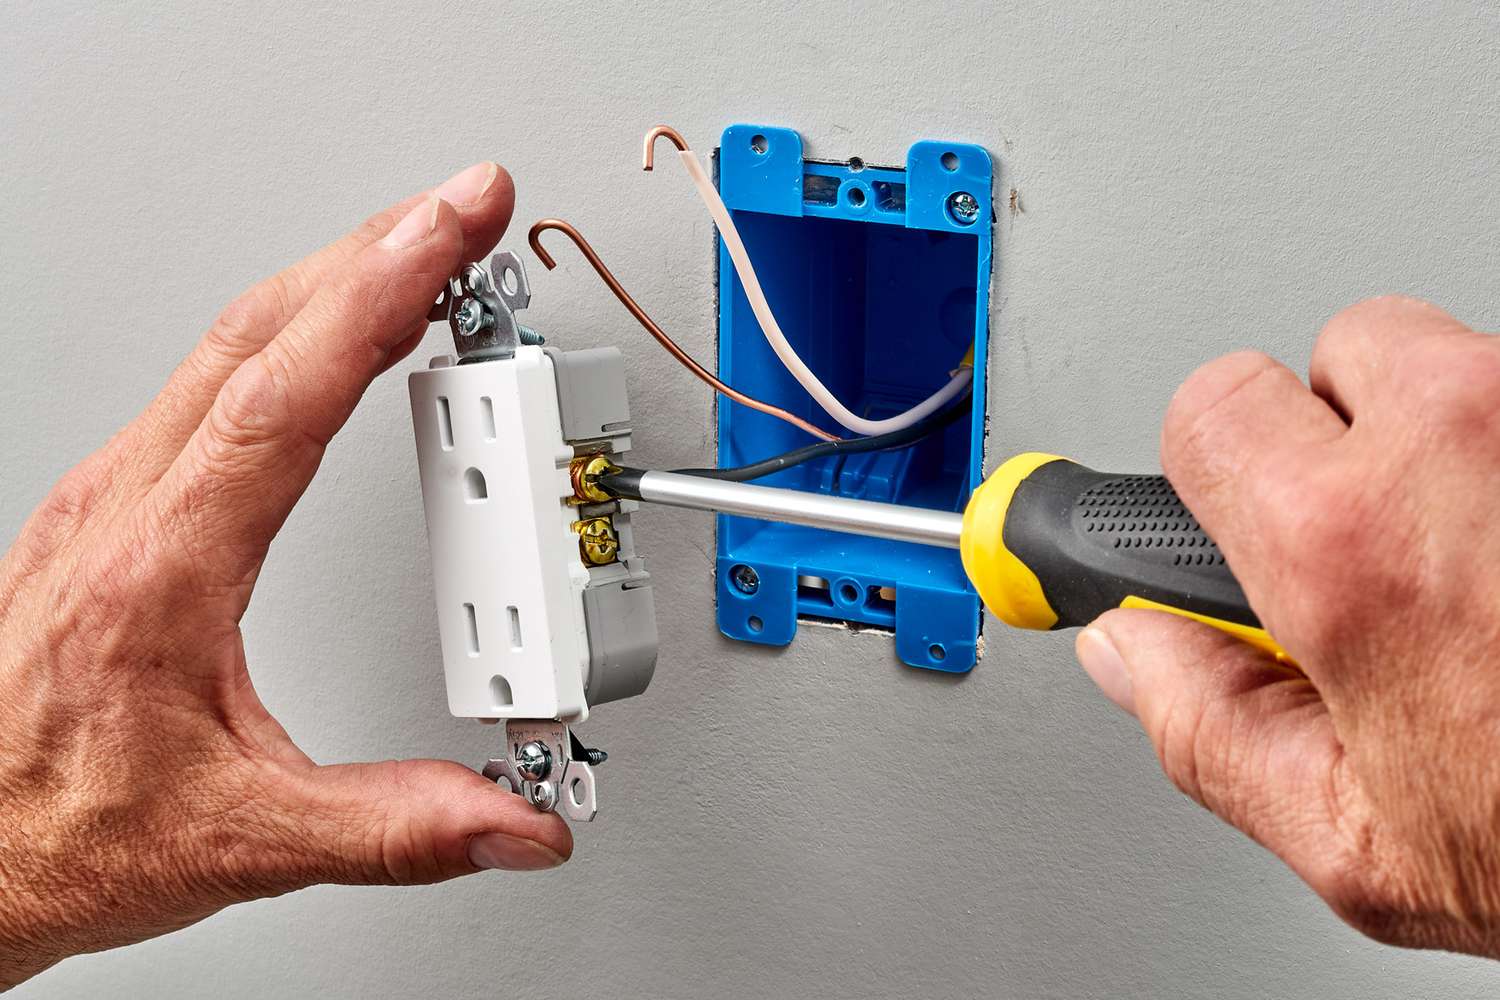
Tools and Materials
Before embarking on the process of resetting an outdoor outlet, it’s essential to gather the requisite tools and materials to facilitate a smooth and efficient operation. Here’s a comprehensive list of the items you’ll need:
- Screwdriver: A flathead or Phillips screwdriver, depending on the type of screws securing the outlet cover.
- Insulated Gloves: To protect your hands while working with electrical components.
- Safety Goggles: Essential for safeguarding your eyes from potential debris or electrical sparks.
- Voltage Tester: To verify that the power to the outlet has been successfully turned off.
- GFCI Outlet Tester: This tool helps identify any faults in the outlet’s ground fault circuit interrupter.
- Replacement Outlet (if necessary): In case the outlet needs to be replaced, ensure that you have a compatible replacement on hand.
- Electrical Tape: Useful for insulating wire connections and providing additional protection.
- Work Gloves: To protect your hands while handling the outlet and cover.
- Circuit Breaker Lock: If available, use a lock to secure the circuit breaker in the off position to prevent accidental power restoration during the reset process.
Additionally, it’s important to ensure that the area around the outdoor outlet is clear of any obstructions, and that you have ample lighting to work comfortably and safely. With these tools and materials at your disposal, you can confidently proceed with the reset process, equipped for any potential contingencies that may arise.
Now that we’ve covered the essential tools and materials, let’s delve into the step-by-step process of resetting the outdoor outlet.
Step 1: Turn Off the Power
Prior to resetting the outdoor outlet, it’s crucial to ensure that the power supply to the outlet is completely disconnected to prevent any electrical mishaps. Follow these steps to safely turn off the power:
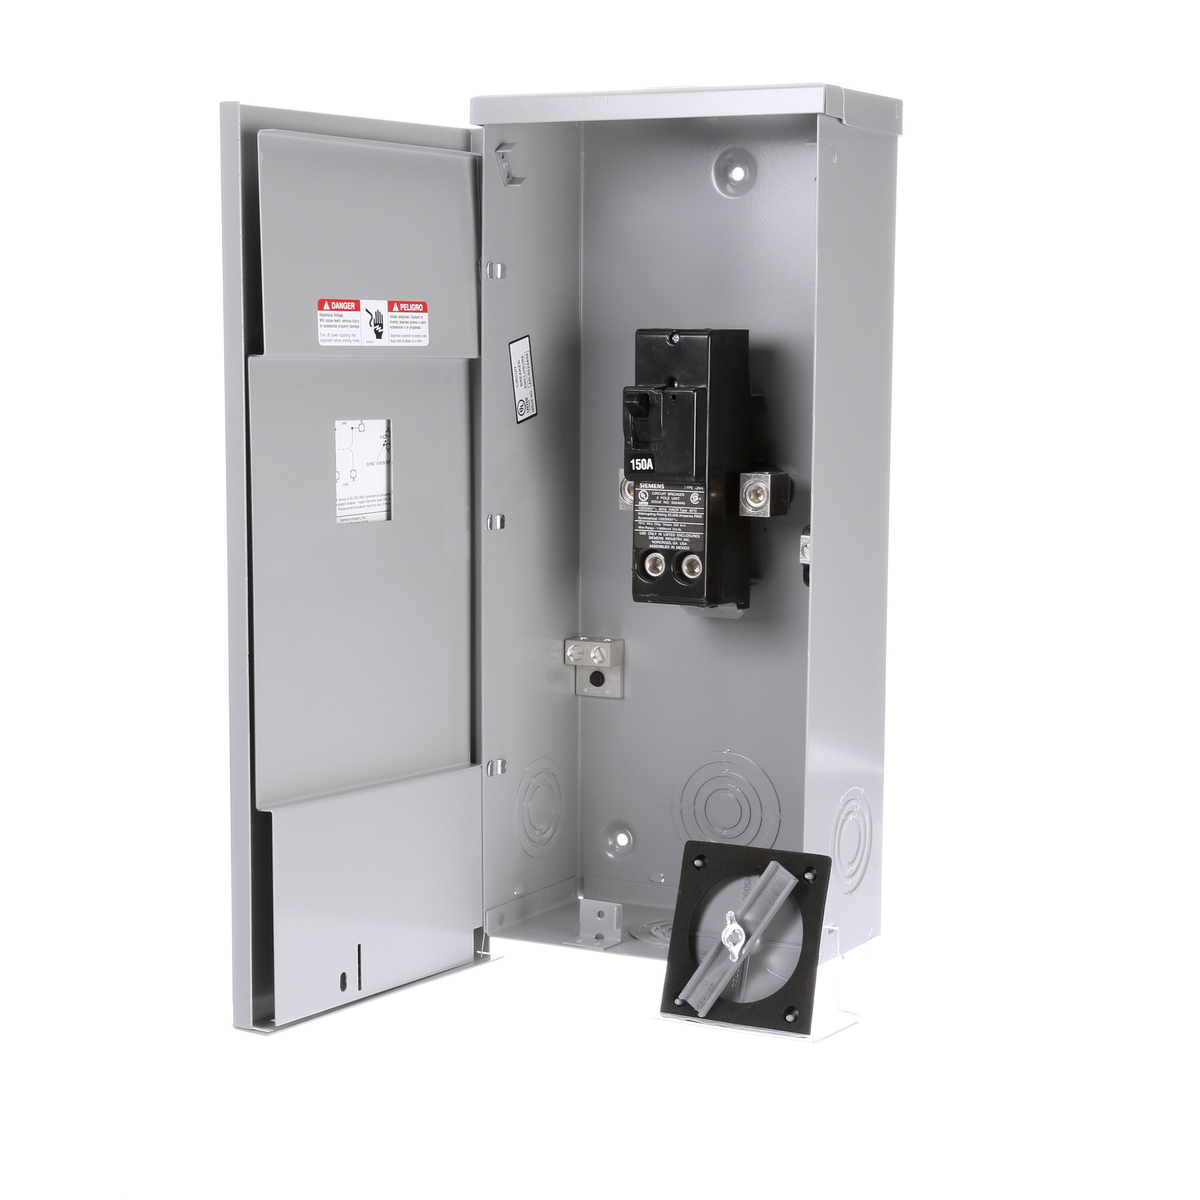
- Locate the Circuit Breaker: Identify the circuit breaker that controls the outdoor outlet. It is typically labeled in the breaker panel.
- Switch Off the Breaker: Carefully switch the circuit breaker to the “off” position to cut off power to the outlet. For added safety, consider using a circuit breaker lock to secure the switch in the off position.
- Verify Power Disconnection: Once the breaker is turned off, use a voltage tester to confirm that the outlet no longer has power. This crucial step ensures that you can work on the outlet without the risk of electric shock.
It’s essential to exercise caution and attentiveness during this step to guarantee the complete isolation of the outlet from the power supply. Once you’ve confirmed that the power has been successfully turned off, you can proceed to the next step with confidence.
Now that the power is safely disconnected, we can move on to the next step: removing the outlet cover to access the internal components. This will allow us to proceed with the reset process effectively and securely.
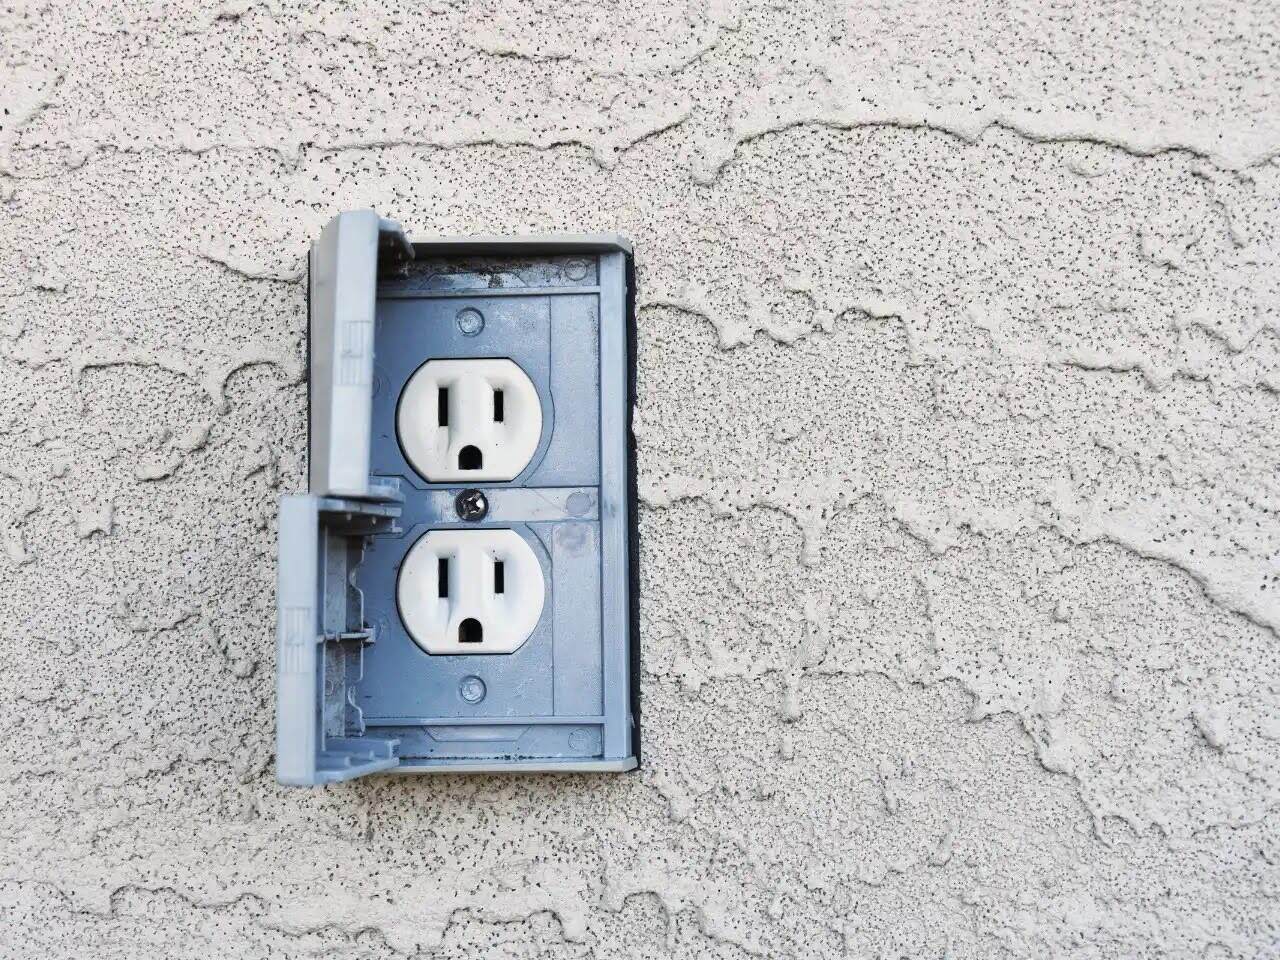
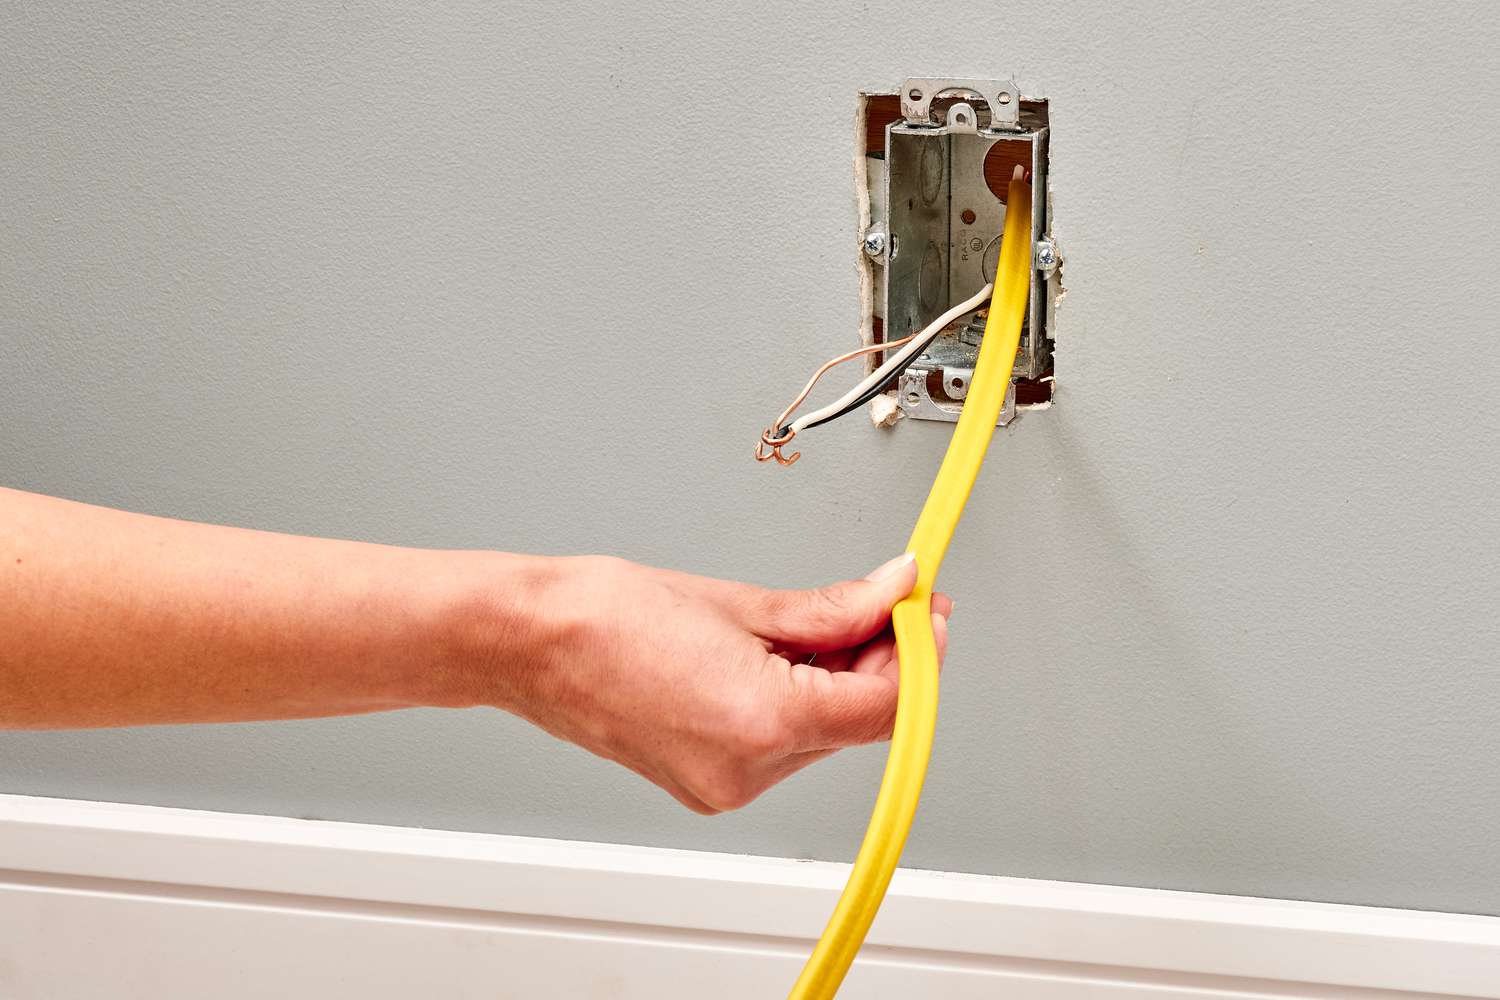
Step 2: Remove the Outlet Cover
With the power to the outdoor outlet safely turned off, you can now proceed to remove the outlet cover to access the internal components. Follow these steps to remove the cover:
- Inspect the Outlet Cover: Assess the type of screws securing the outlet cover. Depending on the model, you may encounter flathead or Phillips screws.
- Use the Appropriate Screwdriver: Select the suitable screwdriver and carefully unscrew the fasteners securing the outlet cover in place.
- Set Aside the Cover and Screws: Once the screws are removed, gently detach the outlet cover and set it aside in a safe location. Be mindful of any wires connected to the cover as you remove it.
- Verify the Interior: Take a moment to inspect the interior of the outlet to ensure that no debris or foreign objects are present, which could impede the reset process.
By removing the outlet cover, you gain access to the outlet’s wiring and components, setting the stage for the subsequent steps in the reset process. With the cover safely removed, you’re ready to proceed to the next critical phase: checking for the presence of a GFCI reset button, which is pivotal to the reset procedure.
Now that the outlet cover has been successfully removed, we can advance to the next step and explore the process of checking for the GFCI reset button.
Before resetting an outdoor outlet, make sure to turn off the power at the circuit breaker. Then, press the reset button on the outlet to restore power. If it doesn’t work, check for any tripped GFCI outlets nearby.
Read more: How To Install An Outdoor Electrical Outlet
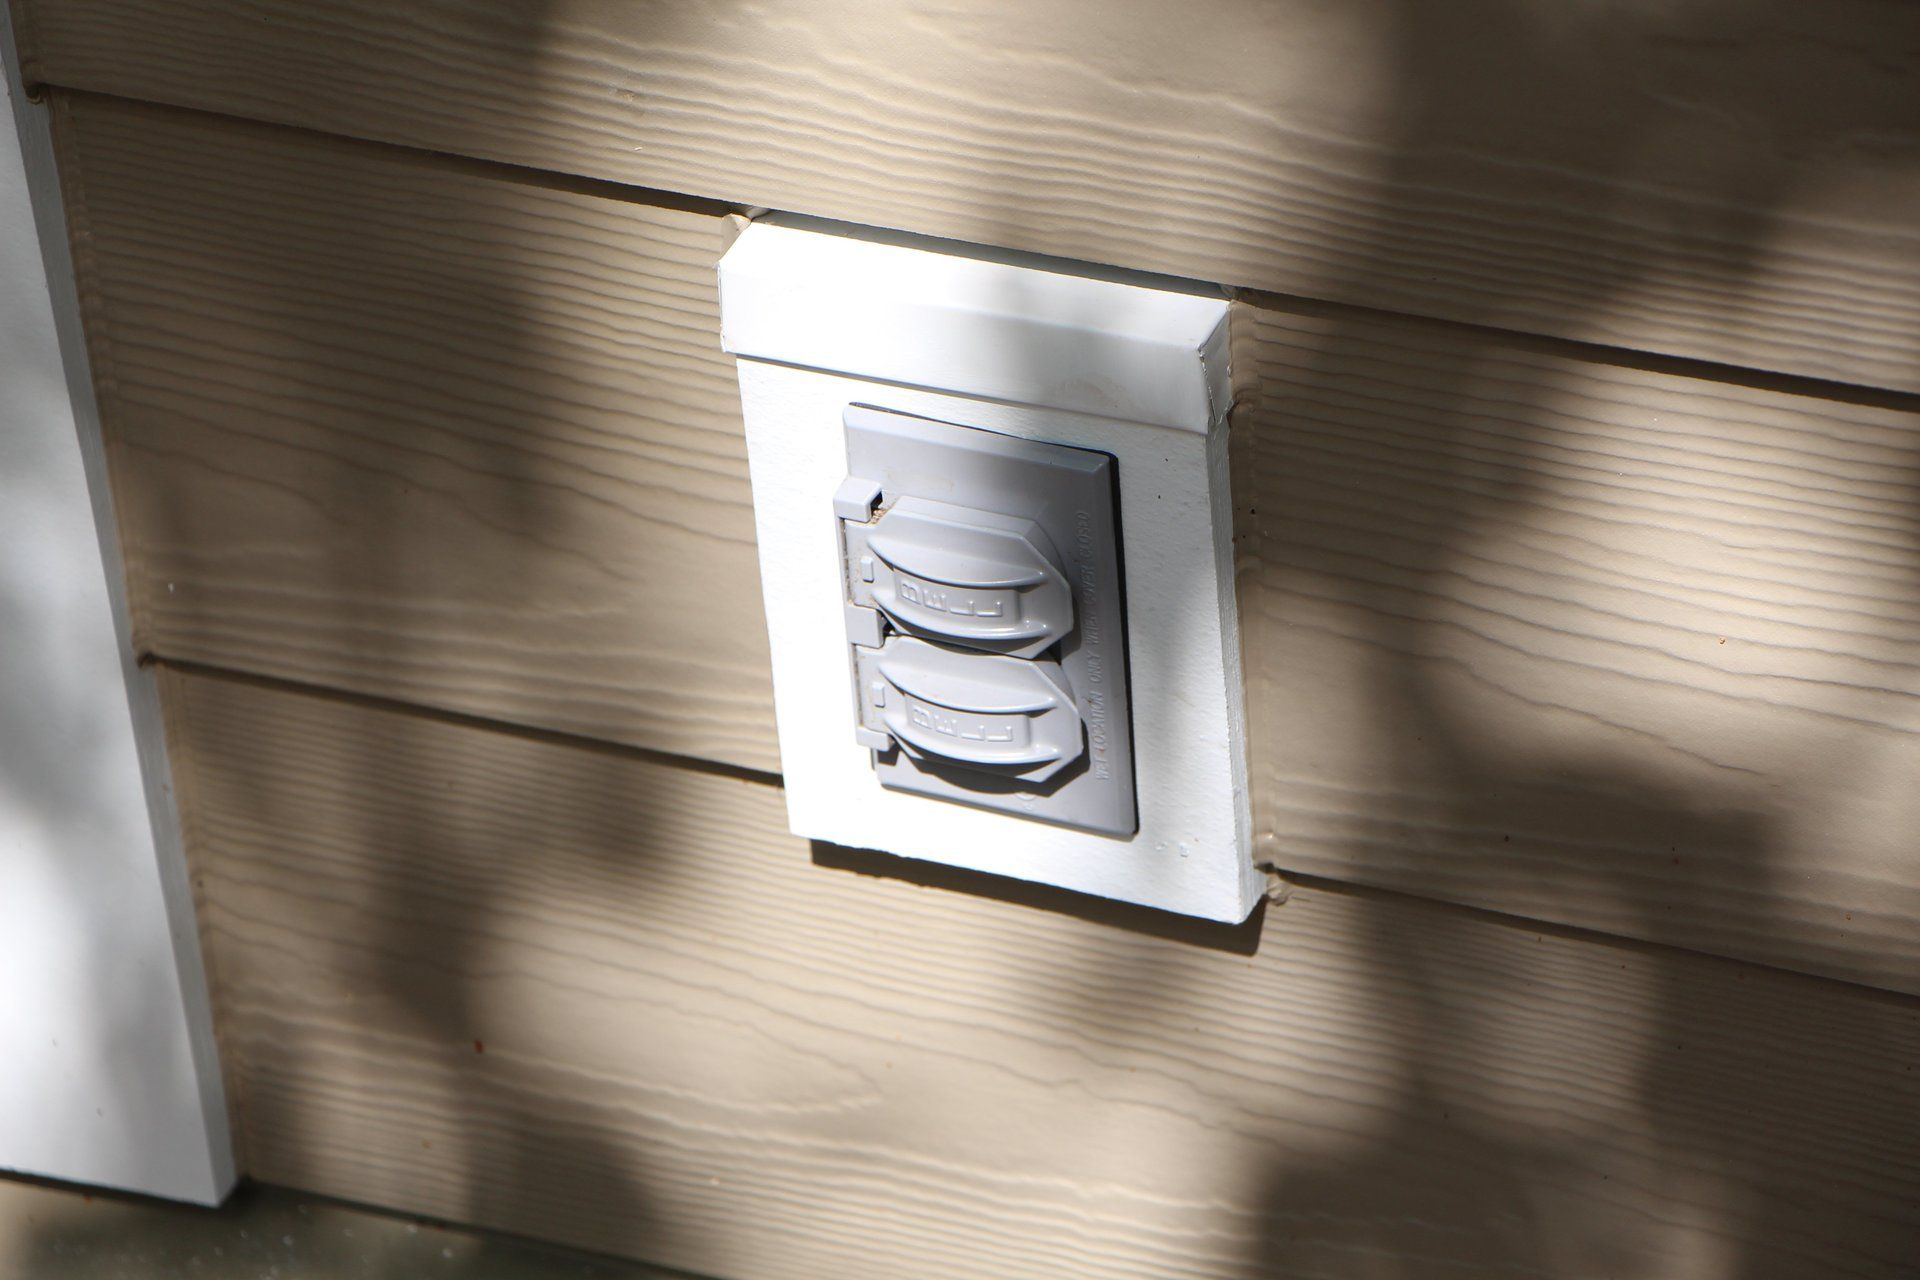
Step 3: Check for GFCI Reset Button
As you delve into the process of resetting the outdoor outlet, it’s essential to determine whether a Ground Fault Circuit Interrupter (GFCI) reset button is present. Follow these steps to locate and inspect the GFCI reset button:
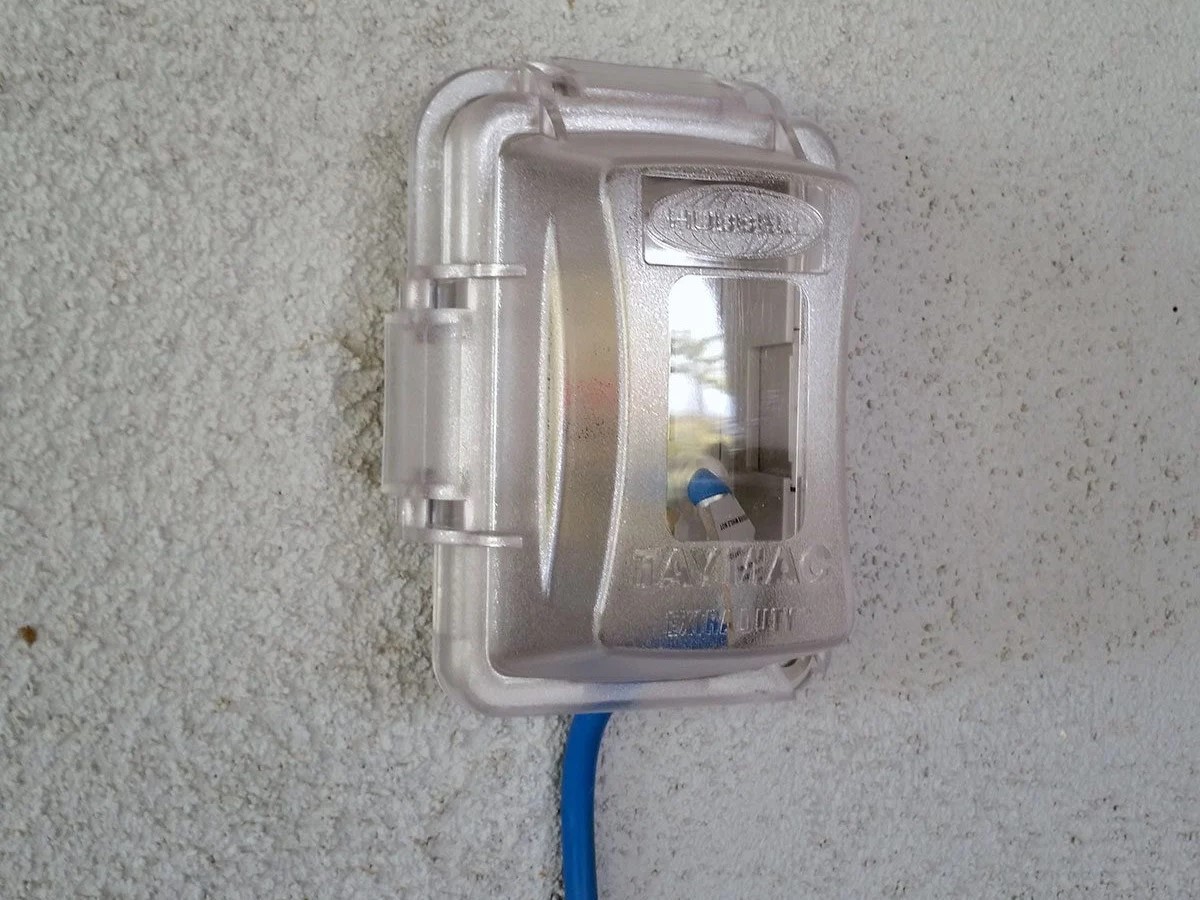
- Survey the Outlet Area: Begin by examining the vicinity of the outdoor outlet for a nearby GFCI outlet. GFCI outlets are equipped with test and reset buttons and are commonly installed in areas exposed to moisture, such as outdoor spaces.
- Check Adjacent Indoor and Outdoor GFCI Outlets: Inspect nearby indoor and outdoor GFCI outlets, as the outdoor outlet may be connected to a GFCI-protected circuit. Look for any tripped GFCI outlets that require resetting.
- Press the Reset Button: If a GFCI outlet is identified, press the reset button to restore power to the outdoor outlet. A successful reset can rectify issues and restore functionality to the outdoor power source.
- Observe the Indicator Light: After pressing the reset button, observe the GFCI outlet’s indicator light to ensure that it illuminates, signaling that the reset was successful. This indicates that the GFCI outlet is now operational and providing power to the outdoor outlet.
By checking for the presence of a GFCI reset button and ensuring that it is functioning correctly, you can address potential circuit interruptions and restore power to the outdoor outlet. If the outlet is not connected to a GFCI-protected circuit or if resetting the GFCI outlet does not resolve the issue, proceed to the next step to reset the outlet directly.
With the status of the GFCI outlet confirmed, we can now progress to the pivotal step of resetting the outdoor outlet to reinstate its functionality. Let’s delve into the process of resetting the outlet itself in the following step.
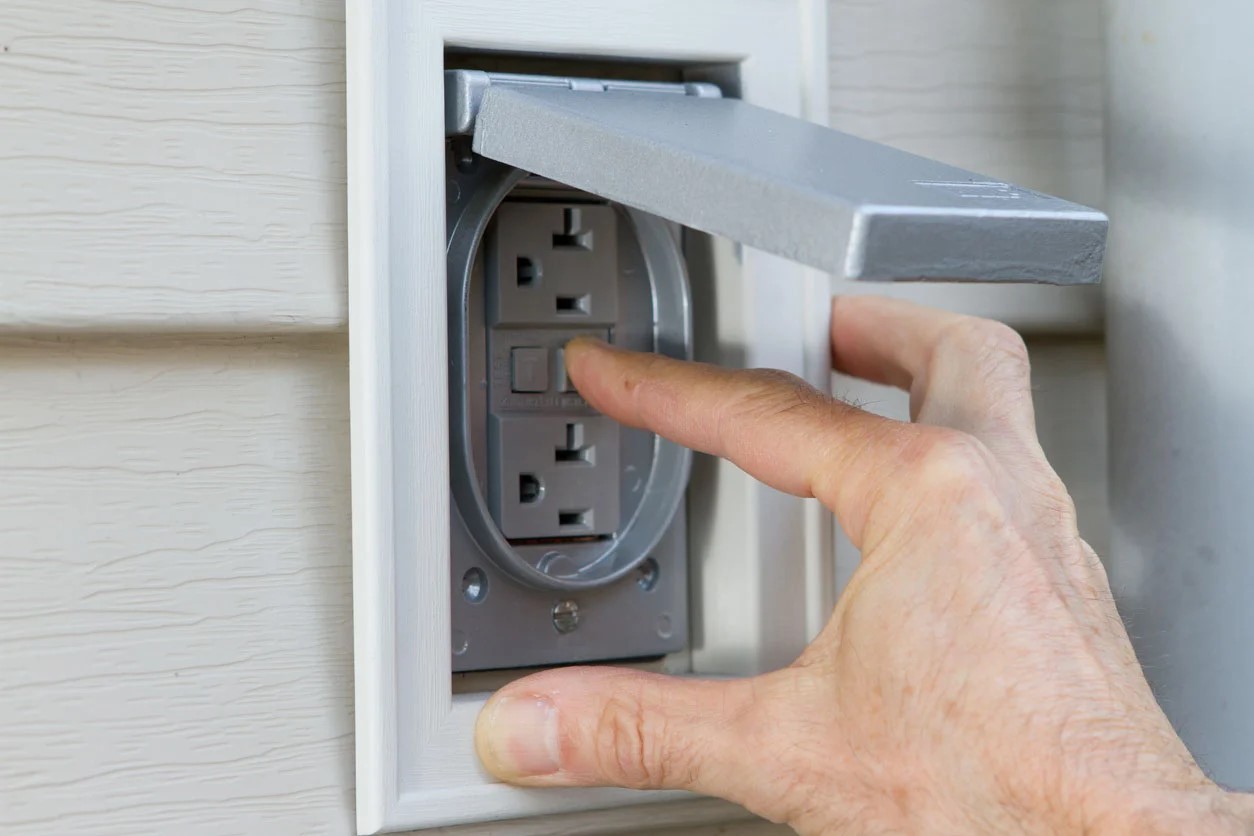
Step 4: Reset the Outlet
Once you’ve confirmed the status of the GFCI outlet and ensured that it is functioning properly, you can proceed to reset the outdoor outlet directly. Follow these steps to reset the outlet:
- Locate the Reset Button: Inspect the face of the outdoor outlet for a reset button. Depending on the model, the reset button may be prominently displayed or subtly positioned, requiring a closer examination.
- Press the Reset Button: If a reset button is present, press it firmly to reset the outlet. This action can rectify any internal faults or interruptions, restoring the outlet’s functionality.
- Hold the Reset Button: In some cases, holding down the reset button for a few seconds may be necessary to ensure a complete reset of the outlet.
- Listen for Clicking Sounds: Upon pressing the reset button, listen for audible clicking sounds, which indicate that the internal mechanism of the outlet is resetting and reestablishing the electrical connection.
By following these steps, you can effectively reset the outdoor outlet, addressing any potential issues and reinstating its power supply. However, if the outlet does not feature a reset button or if pressing the reset button does not resolve the issue, it may be necessary to consider replacing the outlet with a new unit.
With the outdoor outlet successfully reset, we can proceed to the next crucial step: testing the outlet to verify its functionality. This step is pivotal in ensuring that the reset process has effectively resolved any underlying issues. Let’s explore the testing process in the following step.
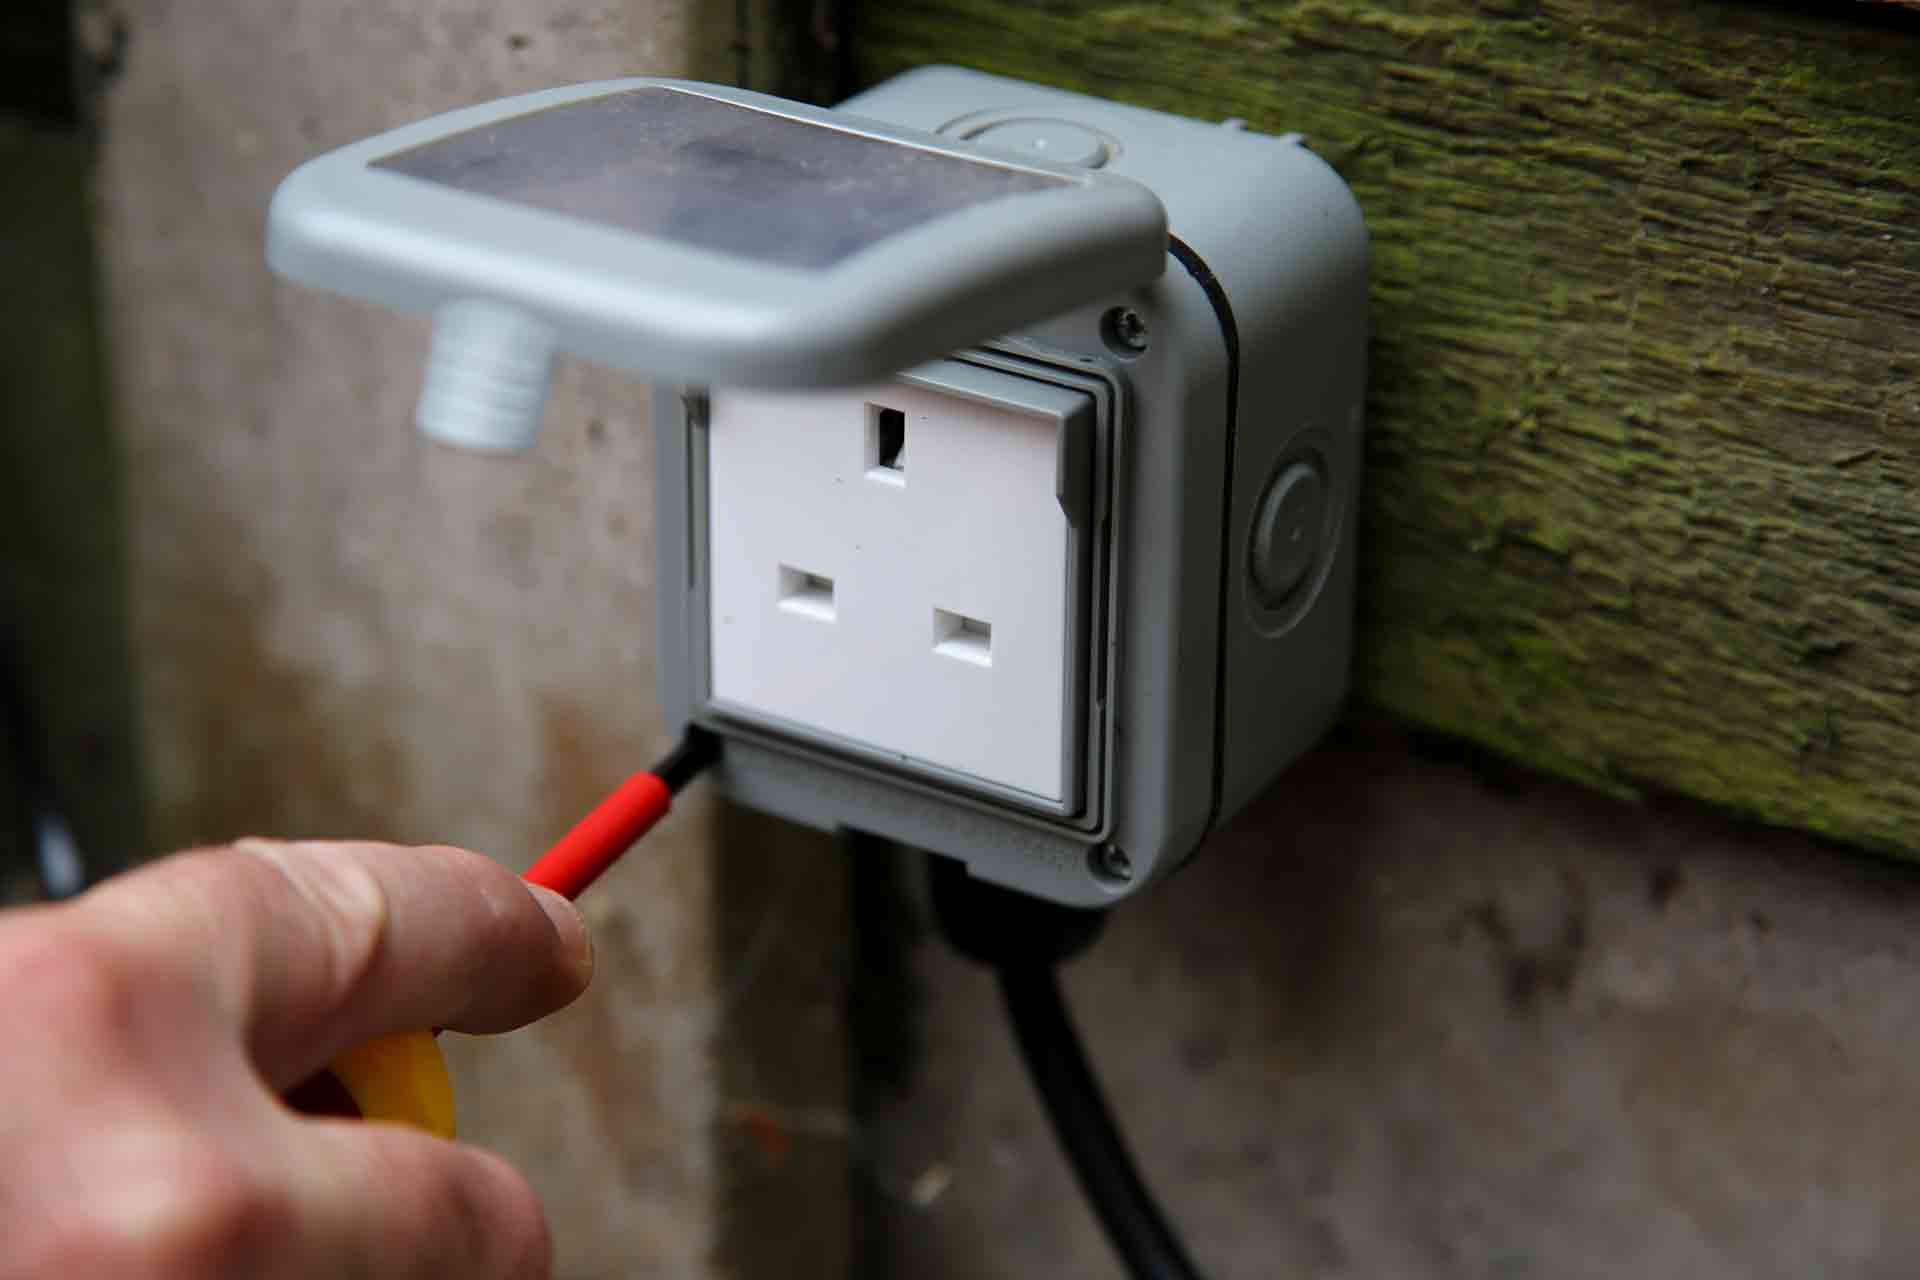
Step 5: Test the Outlet
After resetting the outdoor outlet, it’s essential to verify its functionality by conducting a thorough testing process. Follow these steps to test the outlet and ensure that it is operational:
- Use a Voltage Tester: Safely use a voltage tester to check for the presence of electrical current at the outlet. This step confirms whether the outlet is receiving power following the reset process.
- Plug in a Test Device: Insert a small electrical device, such as a lamp or a portable charger, into the outlet to assess whether it successfully powers the device. This practical test confirms the outlet’s functionality.
- Observe the Test Device: Once the test device is plugged in, observe its response to ensure that it is receiving power from the outlet. This visual confirmation indicates that the outlet is operational and capable of powering connected devices.
- Test Multiple Outlets: If available, test multiple outlets in the vicinity to verify that the reset process has not affected other connected outlets and that they are functioning as intended.
By meticulously testing the outlet and confirming its operational status, you can ascertain that the reset process has effectively resolved any underlying issues, ensuring a reliable power source for your outdoor activities. If the outlet successfully powers the test device and exhibits no signs of malfunction, you can proceed to the final step of replacing the outlet cover.
With the outlet successfully tested and verified, we can now move on to the conclusive step of replacing the outlet cover, securing the internal components and completing the reset process. Let’s proceed to the final step in this comprehensive guide.
Step 6: Replace the Outlet Cover
With the outdoor outlet reset and its functionality confirmed, it’s time to secure the internal components by replacing the outlet cover. Follow these steps to safely replace the outlet cover:
- Align the Cover: Position the outlet cover over the outlet, ensuring that it aligns correctly with the screw holes and fits snugly against the outlet housing.
- Secure the Cover: Using the appropriate screwdriver, reattach the cover by fastening the screws securely into place. Ensure that the cover is firmly and evenly secured to prevent any potential exposure of the internal components.
- Test the Cover: Once the cover is reinstalled, gently test its stability by applying light pressure to confirm that it is securely affixed to the outlet.
- Inspect the Surrounding Area: Take a moment to inspect the surrounding area to ensure that no tools or materials are left near the outlet, promoting a clean and safe environment.
By replacing the outlet cover, you safeguard the internal components from exposure to the elements and potential damage, ensuring the continued functionality and safety of the outdoor outlet. With the cover securely in place, the reset process is successfully concluded, and the outdoor outlet is ready to provide a reliable power source for your outdoor needs.
Congratulations! You have successfully completed the process of resetting an outdoor outlet, addressing any potential issues and reinstating its functionality. By following this comprehensive guide, you’ve demonstrated the knowledge and skills necessary to troubleshoot and reset outdoor electrical outlets effectively and safely.
If you encounter persistent issues with the outdoor outlet or require further assistance, it’s advisable to seek the expertise of a qualified electrician to diagnose and address any underlying electrical concerns. With the outlet reset and operational, you can now enjoy a dependable power supply for your outdoor activities, from lighting up your outdoor space to powering essential outdoor appliances.
With the outlet cover securely replaced, you have concluded the reset process, ensuring the continued functionality and safety of the outdoor outlet. Now, you can confidently enjoy the convenience of a reliable power source for all your outdoor endeavors.
Read more: How To Seal Outdoor Outlet Box
Conclusion
Congratulations on successfully completing the comprehensive process of resetting an outdoor outlet. By following the step-by-step instructions outlined in this guide, you’ve demonstrated the essential knowledge and skills required to troubleshoot and reset outdoor electrical outlets effectively and safely.
Throughout this guide, you’ve learned the critical safety precautions to prioritize when working with electrical components, the essential tools and materials required for the task, and the meticulous steps involved in resetting the outdoor outlet. By adhering to these instructions, you’ve ensured the continued functionality and safety of the outdoor power source, providing a reliable electrical supply for your outdoor activities.
Remember, safety should always be the top priority when working with electrical components. Prior to initiating any work on outdoor outlets, always ensure that the power supply is safely disconnected, utilize insulated tools, and wear appropriate protective gear to mitigate potential risks and create a secure working environment.
If you encounter persistent issues with the outdoor outlet or require further assistance, it’s advisable to seek the expertise of a qualified electrician to diagnose and address any underlying electrical concerns. Professional assistance can provide peace of mind and ensure the proper resolution of any complex electrical issues.
With the outdoor outlet reset and operational, you can now enjoy a dependable power source for various outdoor applications, from illuminating your outdoor space with string lights to powering essential outdoor appliances and entertainment systems.
By confidently navigating the reset process, you’ve empowered yourself with the skills to maintain and troubleshoot outdoor electrical outlets, enhancing the functionality and safety of your outdoor living spaces. We hope this guide has been instrumental in equipping you with the knowledge and confidence to tackle outdoor outlet resets effectively and safely.
Thank you for embarking on this enlightening journey of outdoor outlet maintenance and troubleshooting. With the outlet reset and operational, you can now relish the convenience of a reliable power supply for all your outdoor endeavors.
Frequently Asked Questions about How To Reset An Outdoor Outlet
Was this page helpful?
At Storables.com, we guarantee accurate and reliable information. Our content, validated by Expert Board Contributors, is crafted following stringent Editorial Policies. We're committed to providing you with well-researched, expert-backed insights for all your informational needs.

0 thoughts on “How To Reset An Outdoor Outlet”