Home>Articles>How To Properly Test Outlets With A Multimeter 5 Ways
Articles
How To Properly Test Outlets With A Multimeter 5 Ways
Modified: December 7, 2023
Learn how to properly test outlets with a multimeter in five different ways with this informative article. Ensure your electrical safety and troubleshoot any issues.
(Many of the links in this article redirect to a specific reviewed product. Your purchase of these products through affiliate links helps to generate commission for Storables.com, at no extra cost. Learn more)
Introduction
Welcome to the world of electrical testing! Testing outlets with a multimeter is an essential skill that every DIY enthusiast, homeowner, or electrician should have. Whether you are troubleshooting electrical issues or conducting regular safety checks, a multimeter can provide valuable information about the condition of your outlets.
In this article, we will explore five different methods for properly testing outlets with a multimeter. These methods will help you determine the voltage, polarity, continuity, grounding, and GFCI protection of your outlets. By following these steps and using a multimeter, you can ensure the safety and functionality of your electrical system.
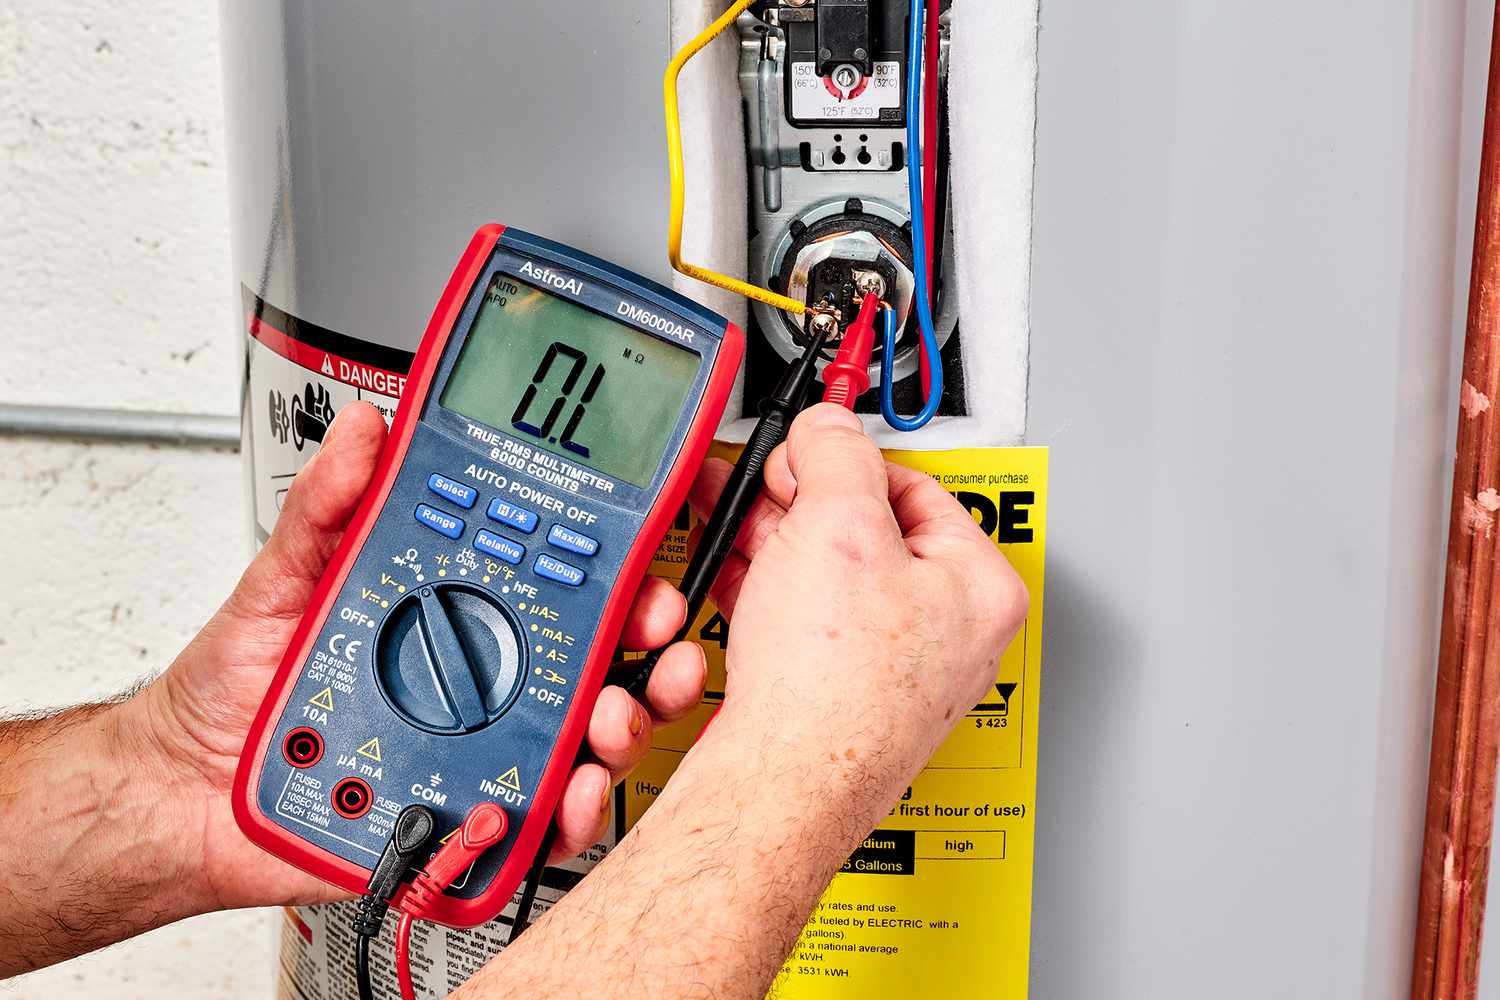
Before we dive into the different testing methods, let’s quickly go over the basics of a multimeter. A multimeter is a versatile electrical testing device that can measure voltage, current, and resistance. It consists of a display screen, dial or buttons for selecting different functions, and two probes for making electrical connections.
It’s important to note that while testing outlets with a multimeter can provide valuable information, it involves dealing with live electrical circuits. Therefore, if you are unsure about your abilities or uncomfortable working with electricity, it is always best to consult a qualified electrician.
Now, let’s explore the five different methods for testing outlets with a multimeter. These methods will equip you with the knowledge to ensure the safety and functionality of your electrical system.
Key Takeaways:
- Ensure the safety and functionality of your electrical system by testing outlets with a multimeter. From voltage to GFCI protection, these methods equip you to troubleshoot and maintain a safe home or workspace.
- Prioritize safety and regular testing to maintain a safe electrical environment. Understanding these testing methods empowers you to troubleshoot issues and ensure the proper functioning of your electrical system.
Read more: How To Test An LED Bulb With A Multimeter
Method 1: Testing Outlet Voltage
One of the most basic tests to perform on an outlet is checking the voltage. This test will help you determine if the outlet is receiving the correct amount of electrical power.
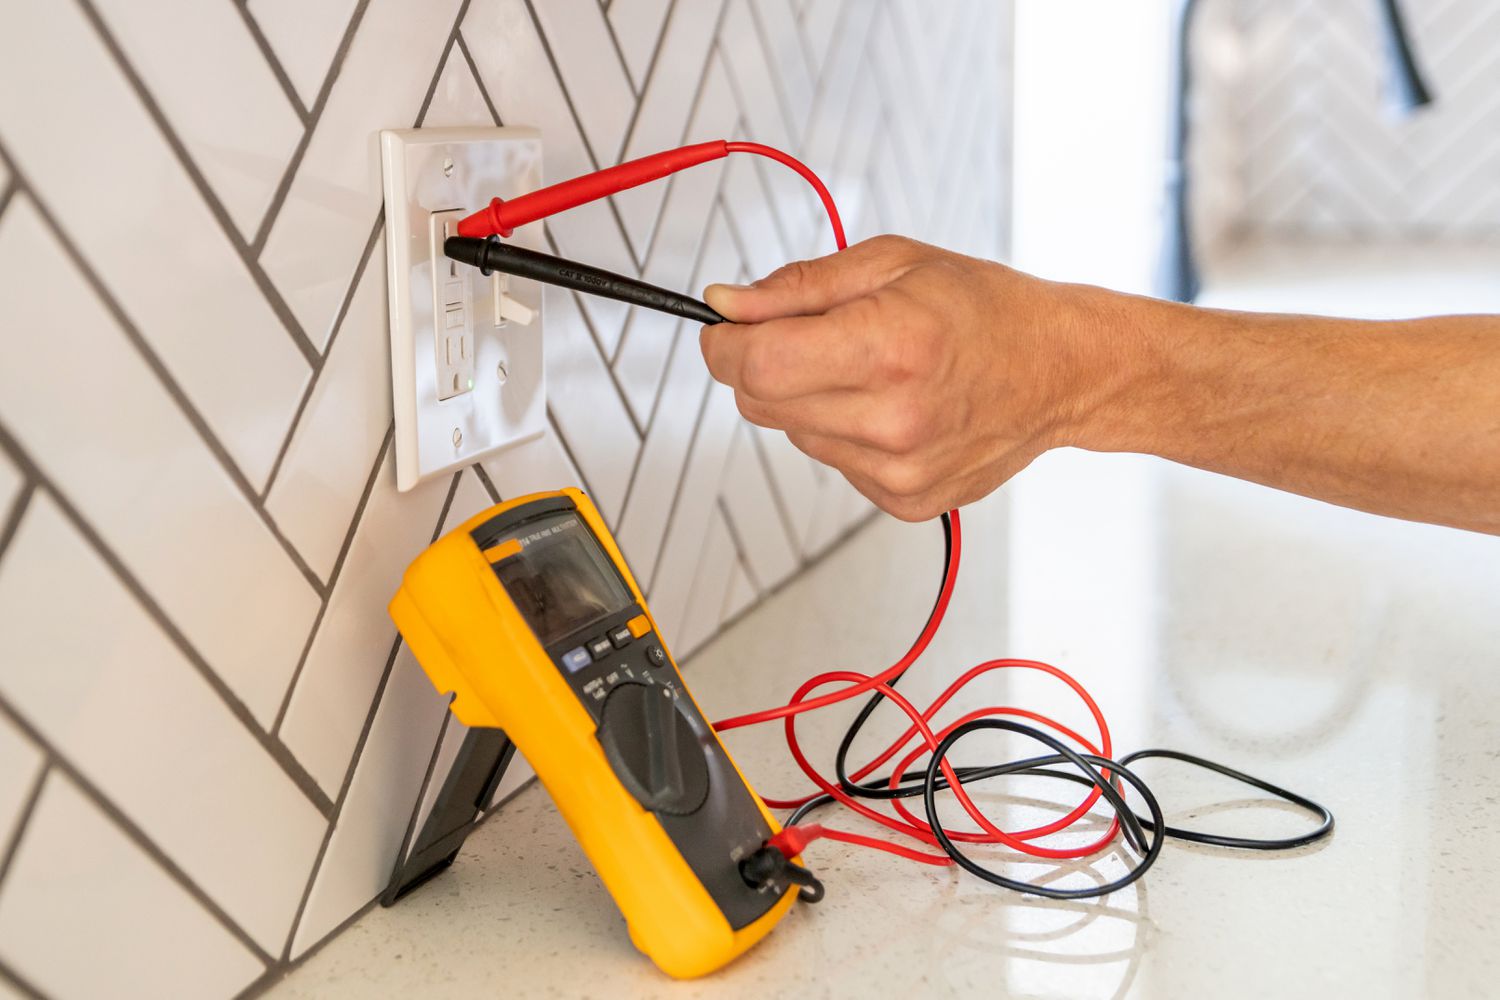
To begin, set your multimeter to the AC voltage setting. This setting is typically denoted by a V with a wavy line (~) next to it. Ensure that the range is sufficient to handle the voltage level of your outlet, usually 120V in residential homes.
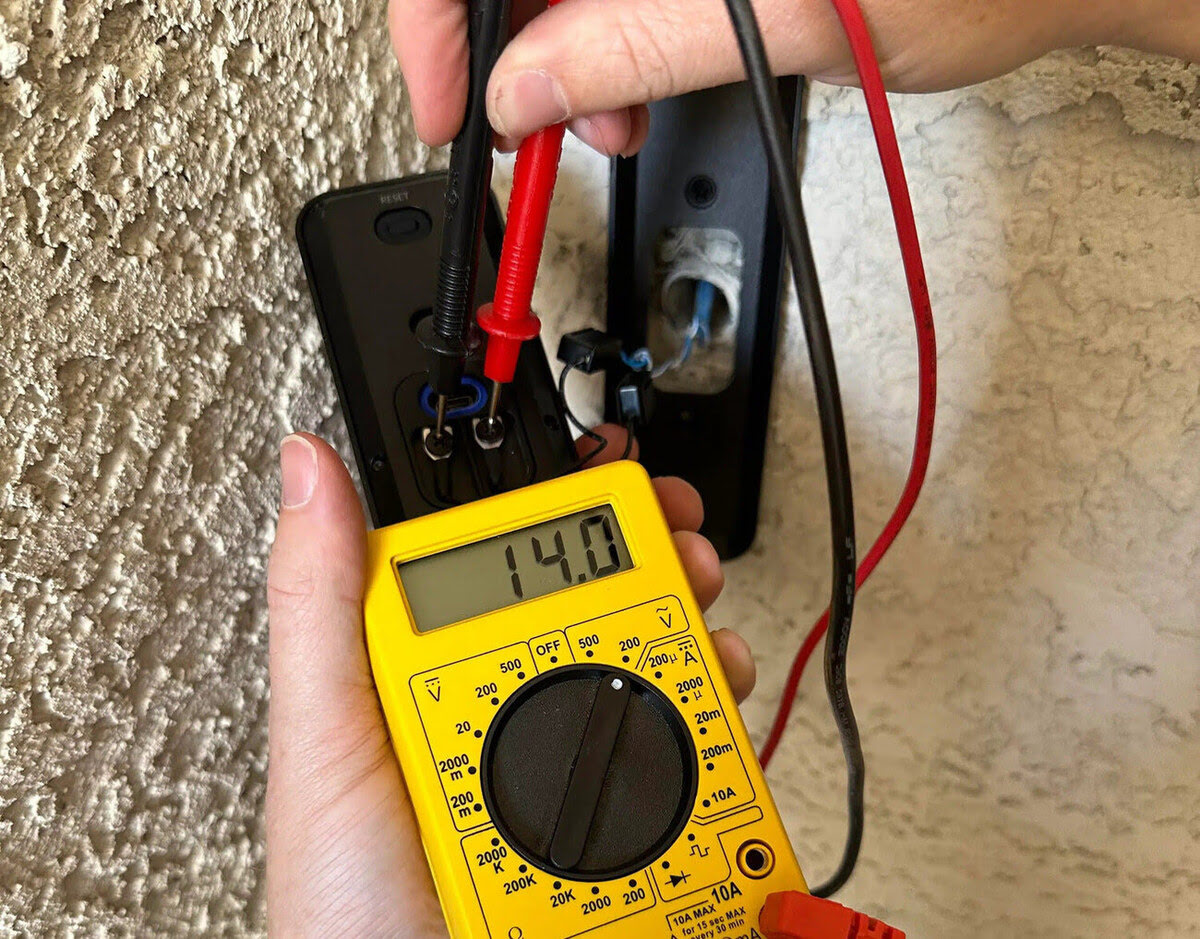
Next, insert one probe into the smaller vertical slot of the outlet, and the other probe into the larger vertical slot. It is essential to maintain a secure connection between the probes and the outlet. Take note of the reading displayed on the multimeter’s screen, which should indicate the voltage level.
If the reading displays the expected voltage level, typically around 120V, then your outlet is receiving the proper electrical power. However, if the reading shows significantly lower or higher voltage, there may be an issue with the outlet or the electrical circuit feeding it.
It is crucial to exercise caution when conducting this test, as you will be working with live electricity. Ensure that you are following proper safety precautions, such as wearing insulated gloves and turning off the circuit breaker before making any physical contact with the outlet.
Testing the voltage of your outlet can help identify any potential issues with power supply. If you encounter abnormally high or low readings, it may be advisable to consult a qualified electrician to further investigate and address the problem.
Method 2: Testing Outlet Polarity
Polarity is an essential factor to consider when testing outlets. It refers to the correct allocation of positive and negative electrical connections in the outlet. Ensuring the correct polarity is crucial for the safe operation of electrical devices and appliances.
To test outlet polarity using a multimeter, you will need to set the multimeter to the AC voltage setting, just like in Method 1. Once again, make sure the range is suitable for the outlet voltage, typically 120V in residential homes.
Start by inserting one probe into the smaller vertical slot of the outlet, and the other probe into the larger vertical slot. Observe the reading displayed on the multimeter screen, which indicates the voltage level.
Here’s where polarity testing comes into play. Take note of the positive (+) and negative (-) signs on the probes or the multimeter display. Ideally, the reading should show a positive (+) sign on the smaller vertical slot and a negative (-) sign on the larger vertical slot.
If the polarity is correct, the outlet is wired properly, and you can safely use electrical devices and appliances. However, if the polarity is reversed, meaning the positive (+) and negative (-) signs are swapped, it is crucial to address the issue.
Reversed polarity can lead to safety hazards, such as electric shocks or damage to sensitive electronic devices. If you find reversed polarity, it is recommended to contact a professional electrician to rectify the wiring and ensure the safety of your electrical system.
Testing outlet polarity is a critical step to ensure the safe operation of electrical devices. By checking the correct allocation of positive and negative connections, you can prevent potential hazards and maintain a properly functioning electrical system.
Method 3: Testing Outlet Continuity
Continuity testing is important for checking the electrical path through an outlet. It helps determine if there is a continuous flow of electricity between the different parts of the outlet, such as the hot, neutral, and ground connections.
To test outlet continuity with a multimeter, you will need to switch the multimeter function to the continuity or resistance setting. This setting is typically represented by a symbol that looks like a sound wave or an icon with an arrow and a horizontal line.
Once you have set the multimeter to the appropriate setting, ensure that the outlet power is turned off at the circuit breaker to avoid any potential electrical hazards.
Start by placing one probe on the hot terminal screw of the outlet or the narrow vertical slot. Then, place the other probe on the neutral terminal screw or the wider vertical slot. The multimeter should emit a continuous tone or display a low resistance reading, indicating that there is continuity between the hot and neutral connections.
Next, remove the probe from the neutral connection and place it on the ground terminal screw or the round grounding hole. The multimeter should once again emit a continuous tone or display a low resistance reading, indicating continuity between the hot and ground connections.
If the multimeter doesn’t emit a continuous tone or displays a high resistance reading during either of these tests, there may be a problem with the continuity of the outlet. It could be due to loose connections or faulty wiring.
In such cases, it is advisable to consult a qualified electrician to diagnose and resolve the continuity issue. Ensuring proper continuity in an outlet is crucial for the safe and efficient functioning of electrical devices and appliances.
By performing a continuity test, you can identify any potential issues with the electrical path of an outlet and take appropriate action to rectify the problem, ensuring the safety and functionality of your electrical system.
When testing outlets with a multimeter, always start by setting the multimeter to the appropriate voltage range and ensure the probes are making good contact with the outlet terminals.
Method 4: Testing Outlet Grounding
Testing outlet grounding is an important step in ensuring the safety of your electrical system. Grounding provides a path for electrical currents to travel safely into the earth, reducing the risk of electric shocks and preventing electrical fires.
To test outlet grounding with a multimeter, you will need to switch the multimeter function to the continuity or resistance setting, just as in Method 3. Again, ensure that the power to the outlet is turned off before proceeding.
Begin by placing one probe on the ground terminal screw or the round grounding hole of the outlet. Place the other probe on a known ground source, such as a metal water pipe or a grounding rod. The multimeter should emit a continuous tone or display a low resistance reading, indicating that there is proper grounding.
It’s important to note that some homes may have multiple grounding systems, so it’s crucial to test using a reliable ground source. If the multimeter doesn’t emit a continuous tone or displays a high resistance reading, there may be an issue with the grounding of the outlet.
In such cases, contact a qualified electrician to assess and rectify any grounding issues. It is essential to have proper grounding to ensure the safety of your electrical system and minimize electrical hazards.
Testing outlet grounding is particularly important for older homes or areas prone to electrical surges, as these factors can impact the integrity of the grounding. By consistently checking the grounding of your outlets, you can identify any potential problems and take necessary actions to maintain a safe electrical environment.
Remember, proper grounding is crucial for electrical safety, so don’t overlook this step when testing your outlets with a multimeter.
Read more: How To Test An Ac Adapter With A Multimeter
Method 5: Testing Outlet GFCI Protection
GFCI (Ground Fault Circuit Interrupter) outlets are designed to protect against electrical shocks in areas where water may be present, such as bathrooms, kitchens, and outdoor locations. Testing the GFCI protection of an outlet is essential to ensure its proper functioning and keep you safe from potential electrical hazards.
To test outlet GFCI protection, locate the GFCI outlet you want to test. GFCI outlets typically have two buttons – a “Test” button and a “Reset” button. The “Test” button is used to simulate a ground fault, while the “Reset” button is used to restore power to the outlet after a fault has been detected.
Start by plugging a small appliance or a GFCI tester into the outlet. Make sure the appliance is turned on or the GFCI tester is functioning correctly.
Press the “Test” button on the GFCI outlet. You should hear a click, and the appliance or GFCI tester should turn off. If the appliance or tester remains on, there may be an issue with the GFCI outlet.
Press the “Reset” button to restore power to the outlet. The appliance or GFCI tester should turn back on. If it doesn’t, there may be a problem with the GFCI outlet that requires further inspection or replacement.
It is crucial to regularly test GFCI outlets to ensure they are working correctly. GFCI outlets are specifically designed to protect against ground faults and should be able to detect and interrupt electrical currents in a matter of milliseconds.
If you encounter any issues during the GFCI test, such as the outlet not tripping or resetting properly, it is recommended to consult a qualified electrician to inspect and troubleshoot the outlet.
Remember, faulty or malfunctioning GFCI outlets can put you at risk of electrical shock. Testing and maintaining the GFCI protection of your outlets is vital for the safety of you and your family.
Conclusion
Testing outlets with a multimeter is a crucial skill that allows you to ensure the safety and functionality of your electrical system. By following the five methods discussed in this article, you can effectively test the voltage, polarity, continuity, grounding, and GFCI protection of your outlets.
Method 1 focuses on testing outlet voltage, providing valuable information about the power supply to the outlet. Method 2 delves into testing outlet polarity, ensuring the correct allocation of positive and negative connections for safe operation.
Method 3 explores testing outlet continuity, confirming the proper flow of electricity through the different parts of the outlet. Method 4 covers testing outlet grounding, which is vital for minimizing the risk of electric shocks and preventing electrical fires.
Lastly, Method 5 discusses testing outlet GFCI protection, an essential component in areas exposed to water that detects and interrupts electrical faults quickly.
Remember to prioritize your safety when performing these tests. Always follow proper precautions, such as turning off the power at the circuit breaker and wearing appropriate protective equipment.
If you encounter any issues or are unsure about your abilities, it is recommended to consult a qualified electrician to inspect and address any electrical problems.
Regularly testing your outlets with a multimeter will provide peace of mind, knowing that your electrical system is safe and functioning correctly. By having a thorough understanding of these testing methods, you can effectively troubleshoot electrical issues and ensure the safety of your home or workspace.
So, grab your multimeter, familiarize yourself with its functions, and start testing your outlets today. Keeping your electrical system in optimal condition is a responsibility that should not be overlooked.
Frequently Asked Questions about How To Properly Test Outlets With A Multimeter 5 Ways
Was this page helpful?
At Storables.com, we guarantee accurate and reliable information. Our content, validated by Expert Board Contributors, is crafted following stringent Editorial Policies. We're committed to providing you with well-researched, expert-backed insights for all your informational needs.


0 thoughts on “How To Properly Test Outlets With A Multimeter 5 Ways”