Home>Furniture & Design>Outdoor Furniture>How To Fix Outdoor Furniture Webbing
Outdoor Furniture
How To Fix Outdoor Furniture Webbing
Modified: January 15, 2024
Learn how to fix outdoor furniture webbing with our expert tips and tricks. Revive your outdoor space with our easy DIY solutions.
(Many of the links in this article redirect to a specific reviewed product. Your purchase of these products through affiliate links helps to generate commission for Storables.com, at no extra cost. Learn more)
Introduction
When it comes to outdoor furniture, durability and comfort are paramount. However, over time, the webbing on outdoor chairs and loungers can become worn, frayed, or damaged, compromising both the aesthetics and functionality of the furniture. Fear not, as fixing outdoor furniture webbing is a manageable and rewarding DIY project that can breathe new life into your beloved outdoor pieces. By learning the art of webbing replacement, you can extend the lifespan of your furniture and continue to enjoy relaxing moments in your outdoor oasis.
In this comprehensive guide, we will delve into the intricacies of fixing outdoor furniture webbing. Whether you're a seasoned DIY enthusiast or a novice looking to embark on your first furniture restoration project, this article will equip you with the knowledge and confidence to tackle this task with finesse. From understanding the problem and choosing the right webbing to the step-by-step process of removing old webbing, preparing the frame, and attaching new webbing, we've got you covered. Additionally, we'll explore the essential tools and materials required for this undertaking, ensuring that you are well-prepared to revitalize your outdoor furniture.
So, roll up your sleeves, gather your supplies, and let's embark on this journey to restore and rejuvenate your outdoor furniture. With a little effort and a touch of creativity, you'll soon be basking in the satisfaction of having transformed weathered and worn-out pieces into stunning, inviting outdoor furniture that's ready to withstand the elements for years to come.
Key Takeaways:
- Revitalize your outdoor furniture by replacing worn webbing, extending its lifespan and enhancing comfort. Choose durable, weather-resistant webbing that complements your outdoor space for a stylish restoration.
- With the right tools and materials, meticulous preparation, and attention to detail, you can transform weathered outdoor furniture into inviting, resilient pieces that withstand the elements and provide years of enjoyment.
Read more: How To Fix Webbing On A Patio Chair
Understanding the Problem
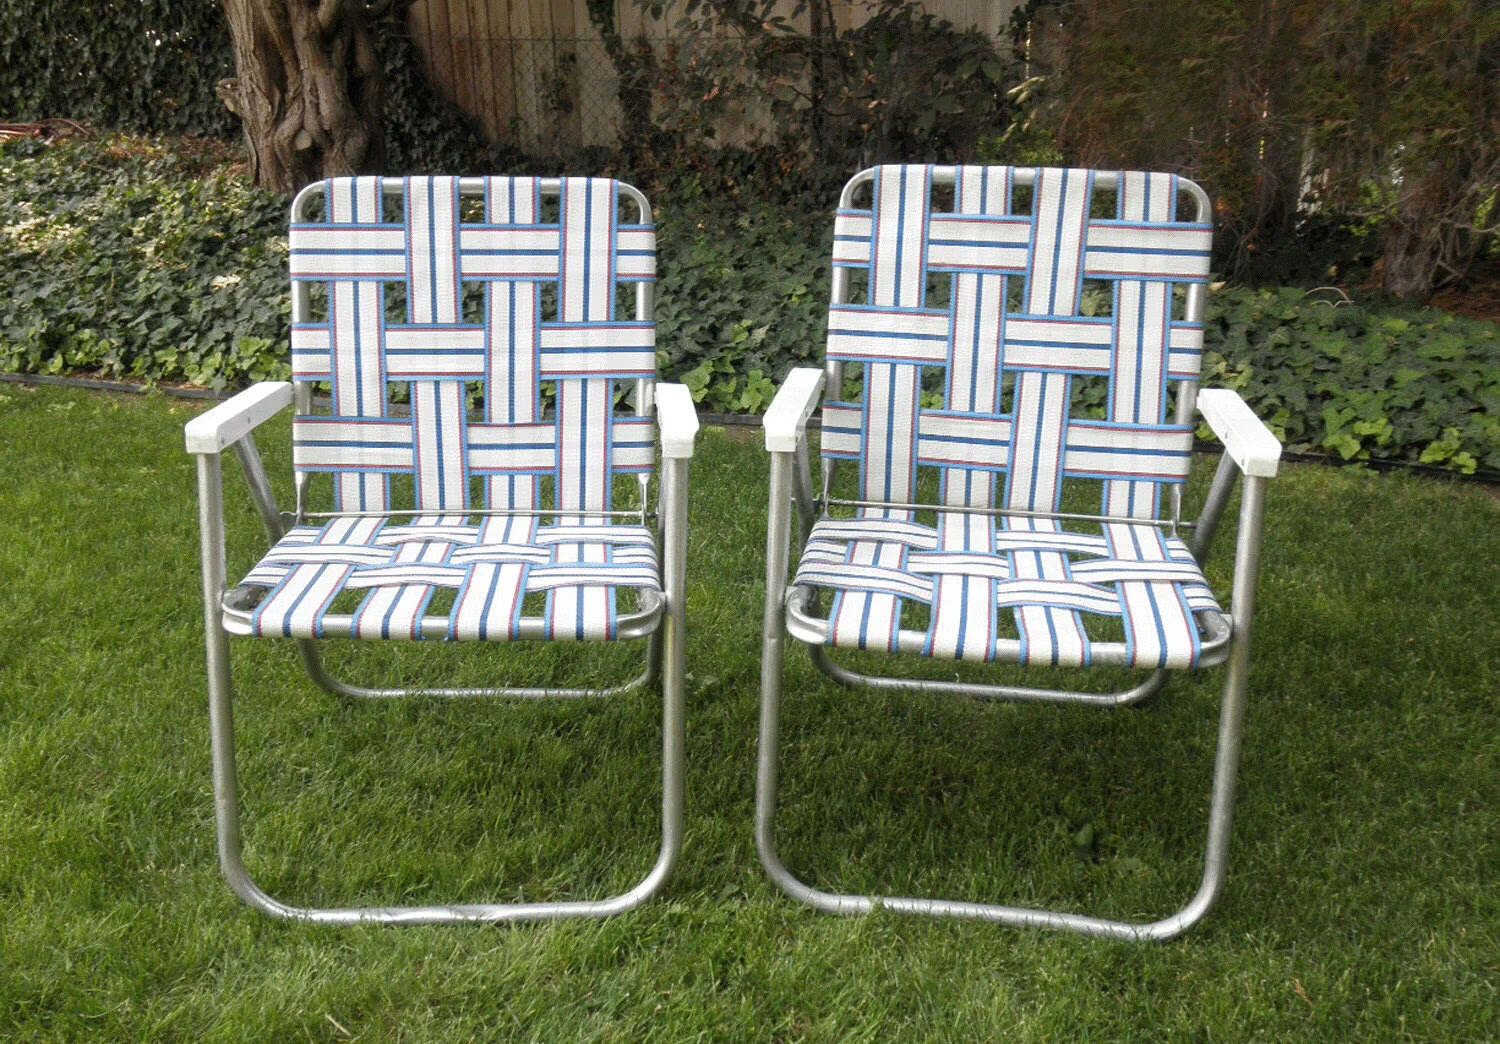
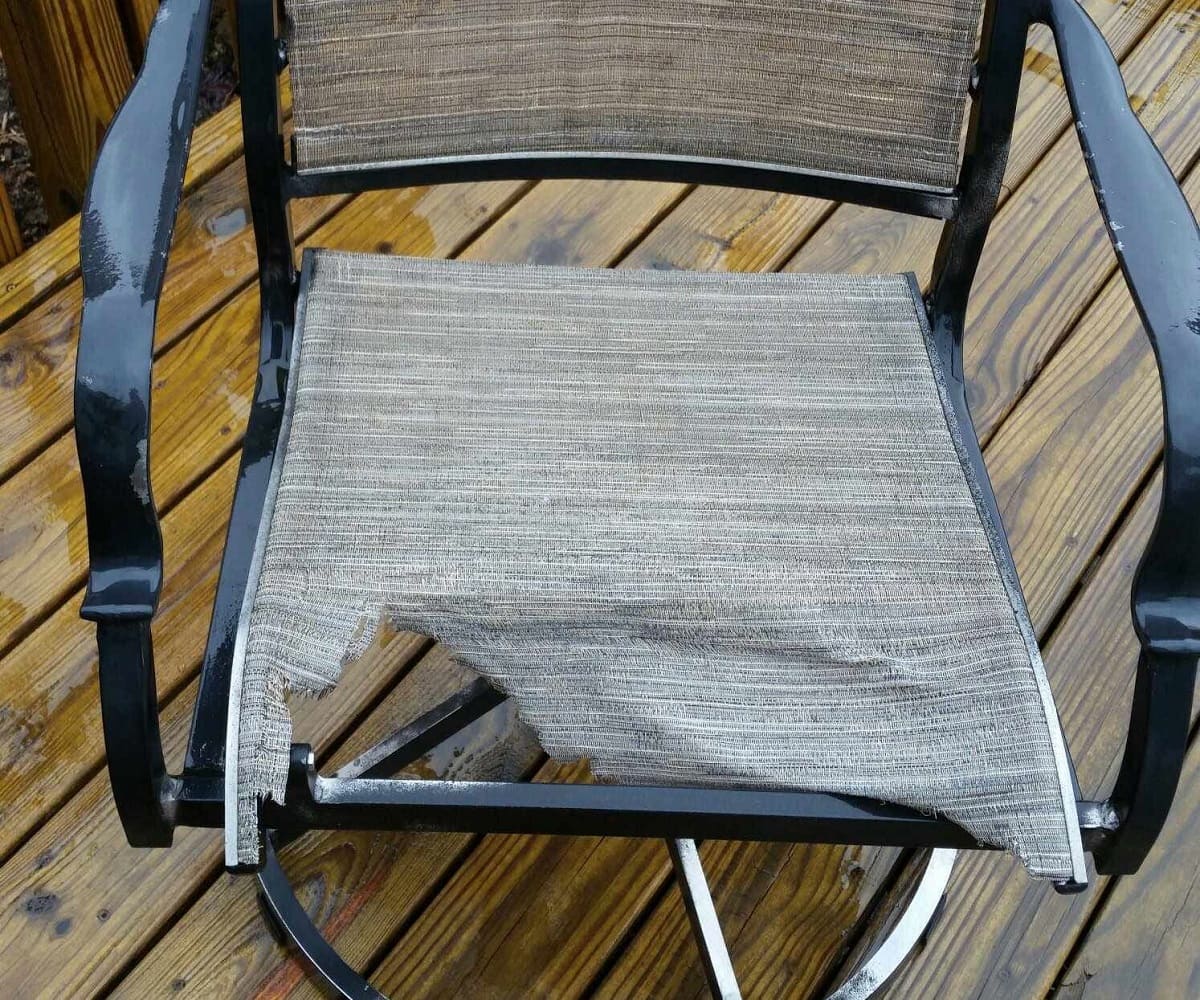
Before diving into the process of fixing outdoor furniture webbing, it’s essential to grasp the common issues that arise with this type of furniture. Over time, exposure to the elements, frequent use, and general wear and tear can cause the webbing on outdoor chairs, loungers, and other furniture pieces to deteriorate. This deterioration may manifest as fraying, stretching, or even complete breakage of the webbing material.
When the webbing becomes worn or damaged, it not only detracts from the visual appeal of the furniture but also compromises its structural integrity and comfort. Worn-out webbing can result in uncomfortable seating, potential safety hazards, and an overall diminished aesthetic for your outdoor space.
Furthermore, damaged webbing can lead to uneven weight distribution, causing strain on the frame of the furniture. This, in turn, can accelerate the degradation of the entire piece. By addressing the webbing issue promptly, you can prevent further damage to the furniture and restore its functionality and visual allure.
Understanding the impact of deteriorating webbing on outdoor furniture underscores the importance of timely intervention. By recognizing the signs of webbing wear and tear and being proactive in addressing the problem, you can preserve the lifespan of your outdoor furniture and continue to enjoy its comfort and aesthetic appeal for years to come.
Choosing the Right Webbing
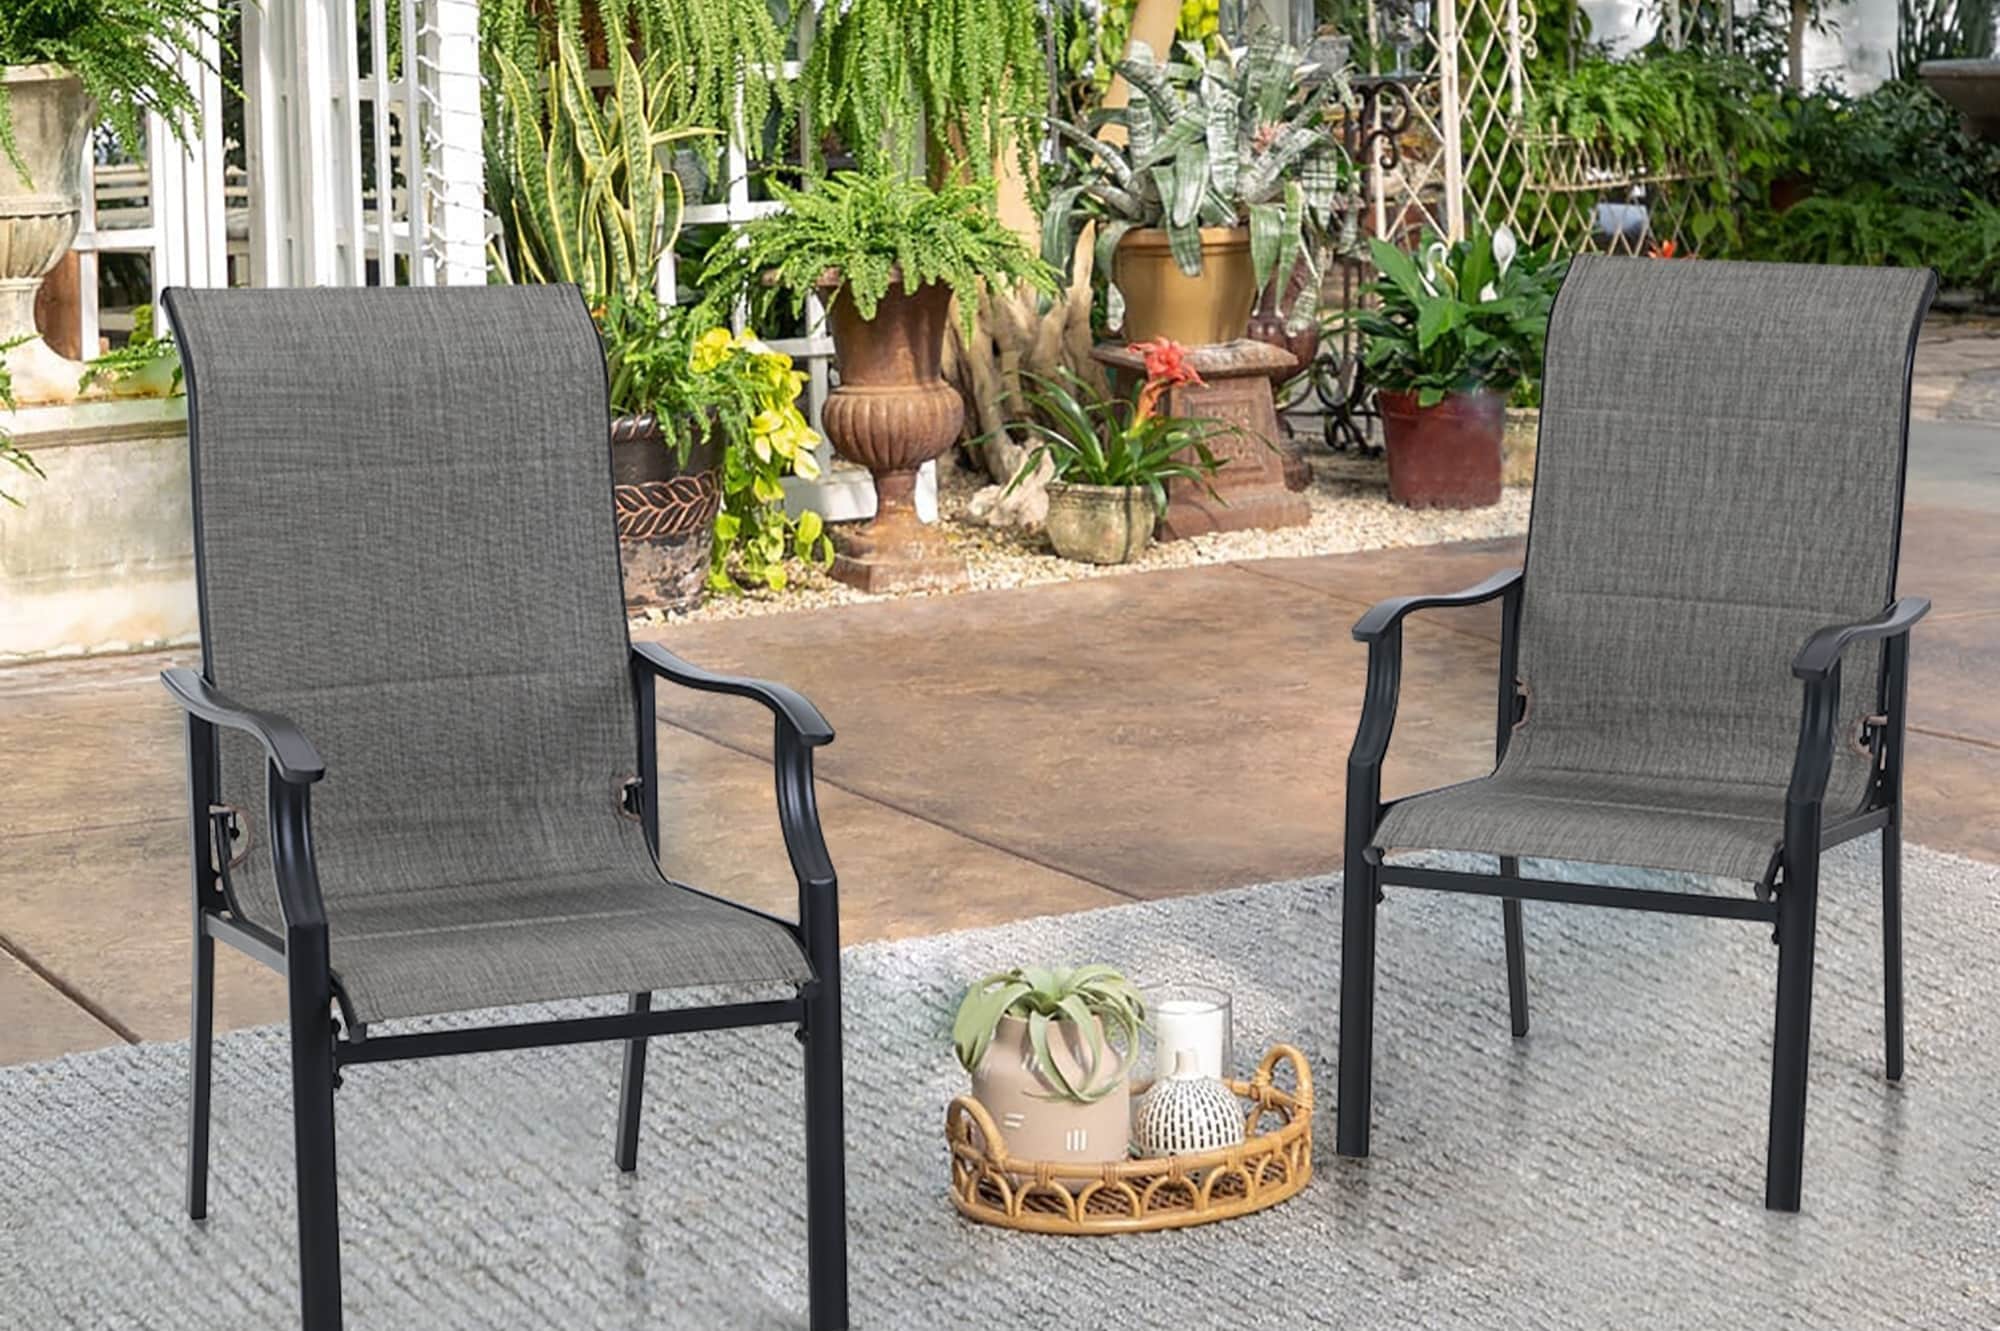
When it comes to fixing outdoor furniture webbing, selecting the appropriate replacement material is crucial for achieving a successful and long-lasting restoration. The market offers a variety of webbing options, each with its own set of characteristics and suitability for different types of furniture and outdoor environments.
One of the primary considerations when choosing webbing is the material. Common options include vinyl, nylon, and polyester webbing. Vinyl webbing is known for its durability and resistance to moisture, making it an excellent choice for outdoor furniture exposed to the elements. Nylon webbing, on the other hand, is prized for its strength and elasticity, providing a comfortable yet supportive seating experience. Polyester webbing combines durability with UV resistance, making it an ideal choice for outdoor furniture that is constantly exposed to sunlight.
Another factor to consider is the width and thickness of the webbing. Thicker webbing can offer enhanced support and durability, particularly for furniture that will bear substantial weight or undergo frequent use. The width of the webbing also contributes to the visual appeal of the furniture, with broader straps often providing a more substantial and contemporary aesthetic.
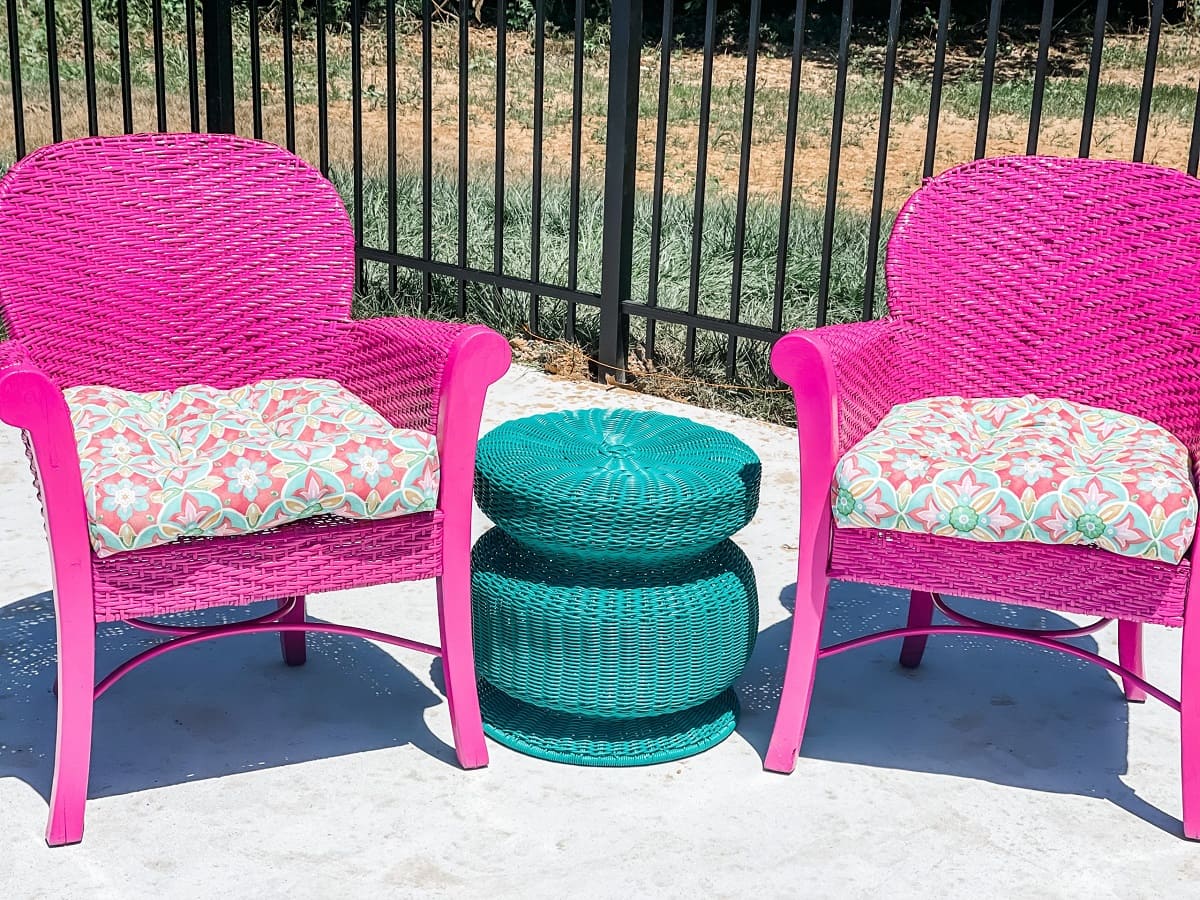
Additionally, the color and design of the webbing play a significant role in the overall look of the furniture. Whether you prefer vibrant, eye-catching hues or understated, classic tones, selecting webbing that complements the existing color scheme of your outdoor space can elevate the visual impact of the furniture restoration.
Considering the specific environmental conditions to which your outdoor furniture is exposed is also crucial. If your furniture is situated in a coastal area, where it may be subjected to salt spray and high humidity, opt for webbing that is resistant to corrosion and mold. Similarly, if your outdoor space receives ample sunlight, UV-resistant webbing will ensure that the vibrant colors remain vivid and the material maintains its structural integrity over time.
By carefully evaluating the material, width, thickness, color, and environmental suitability of the webbing options available, you can make an informed decision that aligns with the functional, aesthetic, and environmental requirements of your outdoor furniture. Choosing the right webbing sets the stage for a successful restoration, ensuring that your outdoor furniture not only looks revitalized but also withstands the rigors of outdoor living with resilience and style.
Tools and Materials
Embarking on the journey to fix outdoor furniture webbing requires a selection of tools and materials to facilitate a seamless restoration process. Equipping yourself with the following essentials will ensure that you are well-prepared to undertake the task with confidence and precision.
Tools:
- Screwdriver or drill: For removing screws or fasteners securing the webbing to the furniture frame.
- Scissors or utility knife: To cut and trim the webbing to the desired length and shape.
- Measuring tape: Essential for accurately determining the dimensions of the webbing required for each section of the furniture.
- Clamps: Useful for securing the webbing in place during the attachment process.
- Staple gun: If the furniture utilizes stapled webbing, a staple gun is indispensable for securing the new webbing to the frame.
- Hammer: For furniture with webbing secured by tacks or nails, a hammer is necessary for affixing the new webbing.
Materials:
- High-quality webbing: Choose webbing material that is durable, weather-resistant, and suitable for outdoor use. Consider the width, thickness, and color of the webbing based on your furniture's design and functional requirements.
- Screws, bolts, or tacks: Depending on the original fastening method, ensure that you have the appropriate hardware for securing the new webbing to the furniture frame.
- Replacement caps or plugs: If the furniture features end caps or plugs that conceal the webbing ends, ensure that you have suitable replacements if the existing ones are worn or damaged.
- Clean cloth and mild detergent: Before attaching the new webbing, thoroughly clean the furniture frame to ensure a pristine surface for the restoration.
- Protective gloves: When handling tools, webbing, and cleaning agents, protective gloves safeguard your hands and provide a secure grip during the restoration process.
By assembling these essential tools and materials, you are poised to embark on the process of fixing outdoor furniture webbing with confidence and efficiency. With careful preparation and attention to detail, you can breathe new life into your outdoor furniture, ensuring that it remains a stylish and comfortable haven for relaxation and enjoyment.
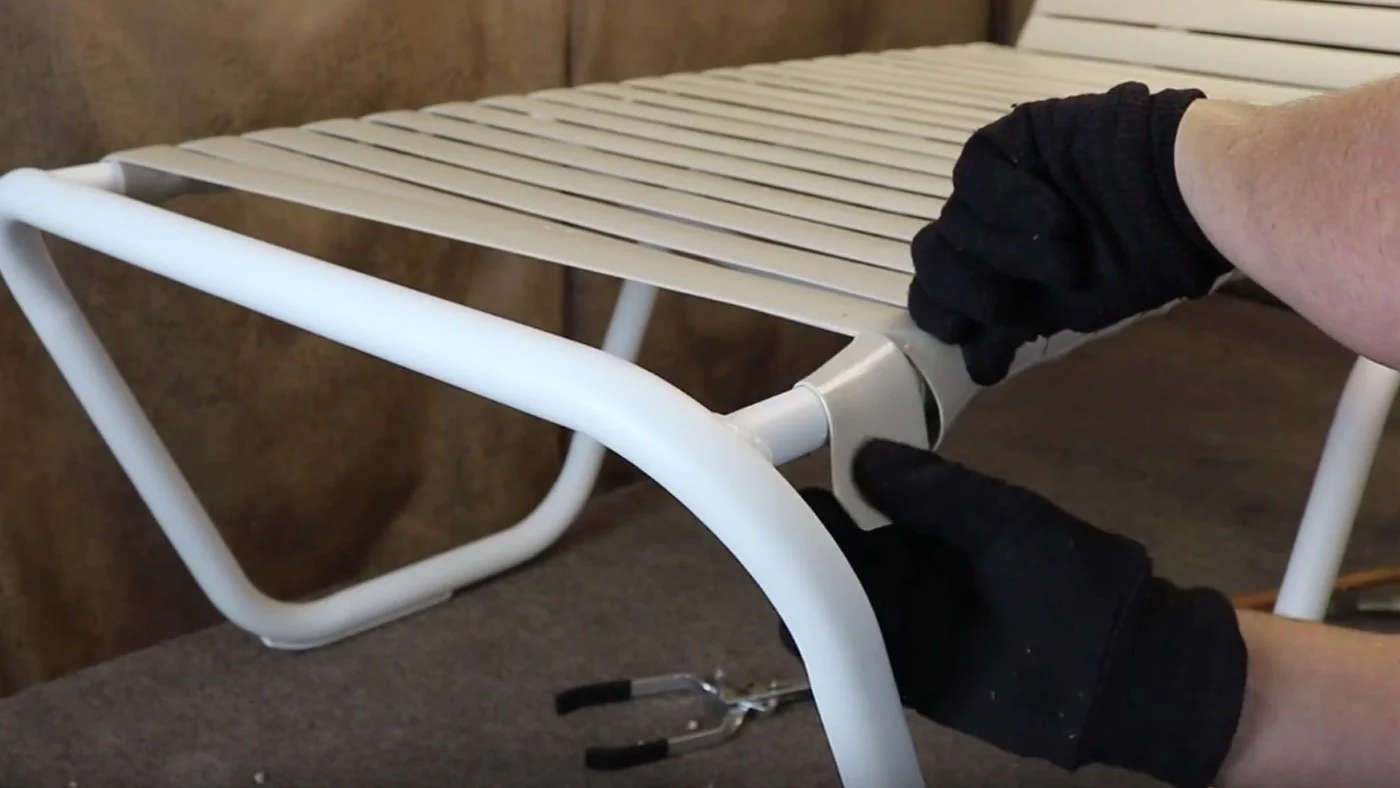
Removing Old Webbing
Before embarking on the installation of new webbing, the first step in revitalizing outdoor furniture is to remove the worn or damaged existing webbing. This process requires careful attention to detail and the use of appropriate tools to ensure a thorough and efficient removal.
Step 1: Disassembling the Furniture
Begin by disassembling the furniture to access the webbing. If the webbing is secured with screws, bolts, tacks, or staples, use the appropriate tools to loosen and remove these fasteners. Keep track of the hardware to ensure that it can be reused or replaced as needed during the restoration process.
Step 2: Removing the Old Webbing
Once the furniture is disassembled, carefully detach the old webbing from the frame. Depending on the original installation method, this may involve unscrewing, unfastening staples, or prying out tacks or nails. Exercise caution to avoid damaging the frame during this process, as it will serve as the foundation for securing the new webbing.
Read more: How To Build Outdoor Furniture
Step 3: Cleaning the Frame
With the old webbing removed, take the opportunity to thoroughly clean the furniture frame. Use a clean cloth and a mild detergent solution to remove any dirt, debris, or adhesive residue left behind by the old webbing. Ensure that the frame is dry and free of any remnants that may impede the installation of the new webbing.
Step 4: Inspecting the Frame
While the frame is exposed, inspect it for any signs of damage, wear, or corrosion. Address any issues such as rust, weakened joints, or structural damage before proceeding with the installation of the new webbing. This proactive approach ensures that the furniture is in optimal condition to support the revitalization process.
By meticulously following these steps to remove the old webbing, you set the stage for a successful restoration of your outdoor furniture. With the foundation prepared and the frame cleaned and inspected, you are ready to proceed to the next phase of the webbing replacement process, ensuring that your outdoor furniture will soon regain its comfort and allure.
Preparing the Frame
With the old webbing removed and the furniture frame thoroughly cleaned, the next crucial phase in the restoration process involves preparing the frame to receive the new webbing. This preparatory stage is essential for ensuring that the installation of the replacement webbing is precise, secure, and conducive to the longevity of the furniture’s revitalization.
Step 1: Assessing Fastening Points
Carefully examine the frame to identify the designated fastening points for the new webbing. Whether the webbing is secured with screws, staples, tacks, or other fasteners, ensure that these points are structurally sound and capable of firmly anchoring the webbing in place. If necessary, reinforce or replace fastening points to guarantee the stability and longevity of the webbing installation.
Read more: How To Seal Outdoor Furniture
Step 2: Measuring and Cutting the Webbing
Using a measuring tape, determine the precise dimensions required for the new webbing. Take accurate measurements of the length and width needed for each section of the furniture, ensuring that the webbing will fit snugly and securely. Once the measurements are obtained, carefully cut the webbing to the appropriate size, allowing for a precise and tailored fit during the installation process.
Step 3: Positioning and Alignment
Lay out the cut pieces of webbing alongside the furniture frame, ensuring that they are positioned and aligned according to the intended installation plan. This step allows for a visual assessment of the placement and alignment of the webbing, enabling adjustments to be made before the final attachment process. Pay attention to the tension and positioning of the webbing to achieve a balanced and aesthetically pleasing result.
Step 4: Securing the End Points
Before attaching the webbing to the frame, secure the end points to prevent shifting or misalignment during the installation process. Depending on the fastening method, this may involve temporarily securing the ends with clamps, ensuring that the webbing remains taut and properly positioned for the subsequent attachment steps.
By meticulously preparing the frame and the new webbing, you lay the groundwork for a successful and enduring restoration of your outdoor furniture. With careful attention to detail and precise preparation, you are ready to proceed to the next phase of the webbing replacement process, ensuring that your outdoor furniture will soon regain its comfort and allure.
Attaching New Webbing
With the frame prepared and the new webbing cut to size, the pivotal phase of attaching the replacement webbing to the outdoor furniture commences. This step requires precision, attention to detail, and the use of appropriate tools to ensure that the webbing is securely fastened, providing both structural integrity and visual appeal to the revitalized furniture.
Read more: How To Sand Outdoor Furniture
Step 1: Securing the Webbing
Begin by securing the end of the webbing at the designated starting point on the furniture frame. Depending on the fastening method, this may involve using screws, staples, tacks, or other suitable hardware to firmly anchor the webbing in place. Ensure that the webbing is taut and securely positioned before proceeding to the subsequent attachment points.
Step 2: Tension and Alignment
As you progress with attaching the webbing, pay close attention to the tension and alignment of the material. Maintain consistent tension across the webbing to prevent sagging or unevenness, ensuring a comfortable and visually appealing result. Verify that the webbing remains aligned with the frame and any design elements, adjusting as necessary to achieve a balanced and cohesive appearance.
Step 3: Even Distribution
Distribute the attachment points evenly along the length of the webbing, ensuring that the material is uniformly secured to the frame. This even distribution promotes stability and longevity, preventing undue stress on specific sections of the webbing and contributing to a harmonious and durable installation.
Step 4: Trim and Finish
Once the webbing is securely attached to the frame, carefully trim any excess material, ensuring a neat and polished appearance. Pay attention to the finishing details, ensuring that any exposed fasteners or attachment points are concealed or finished in a manner that complements the overall aesthetic of the furniture.
By meticulously following these steps to attach the new webbing, you bring the restoration of your outdoor furniture to fruition, ensuring that it not only regains its structural integrity but also boasts a rejuvenated and inviting appearance. With the new webbing securely in place, your outdoor furniture is poised to reclaim its role as a stylish and comfortable centerpiece of your outdoor living space.
Read more: How To Ask Alexa To Search The Web
Finishing Touches
As the process of replacing the webbing on your outdoor furniture nears completion, attention to the finishing touches is essential to elevate the overall aesthetic and functionality of the revitalized pieces. These final steps add polish, cohesiveness, and durability to the restoration, ensuring that your outdoor furniture is ready to reclaim its position as a stylish and inviting feature of your outdoor space.
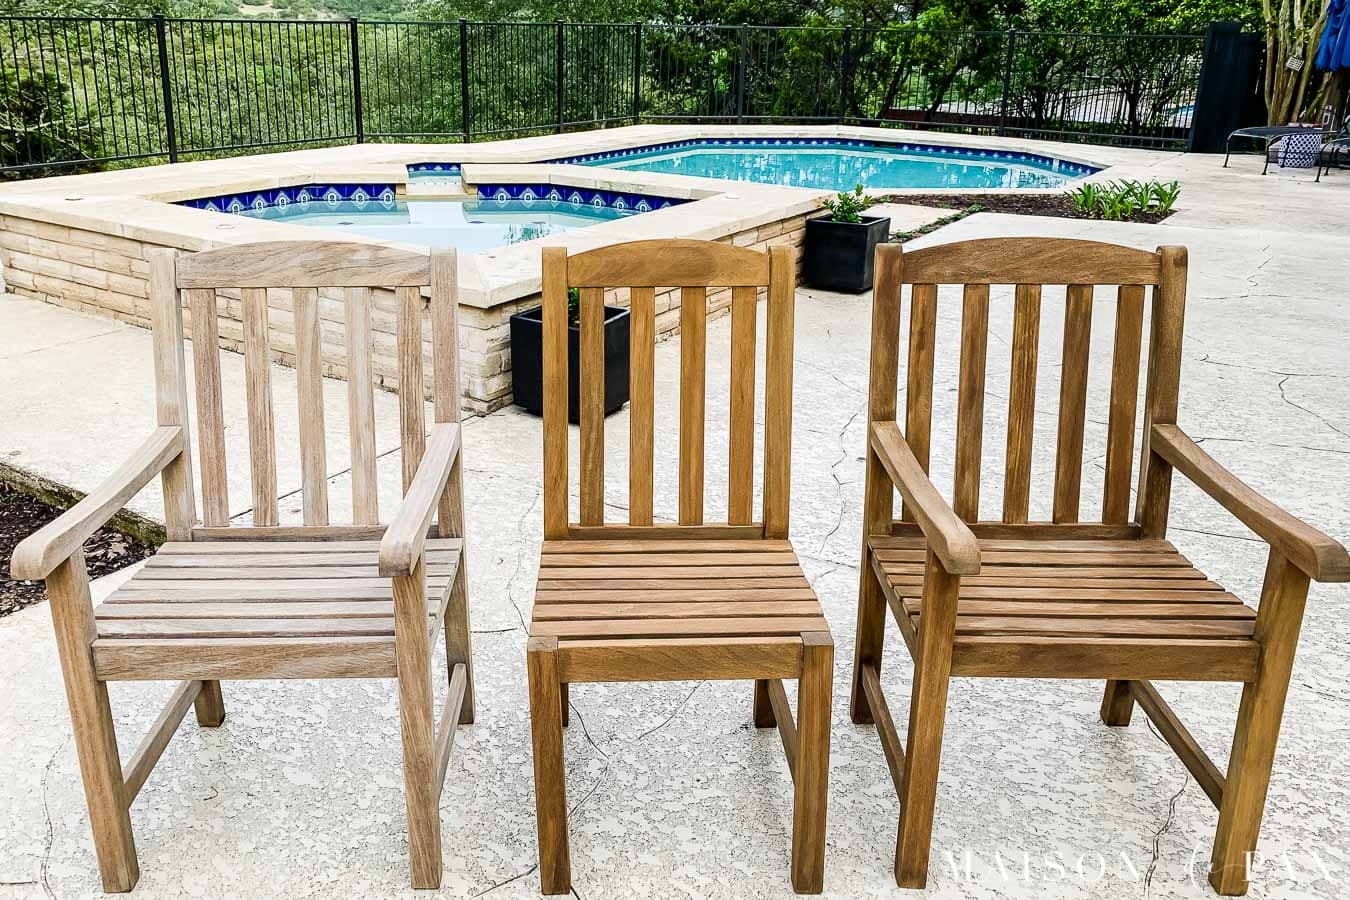
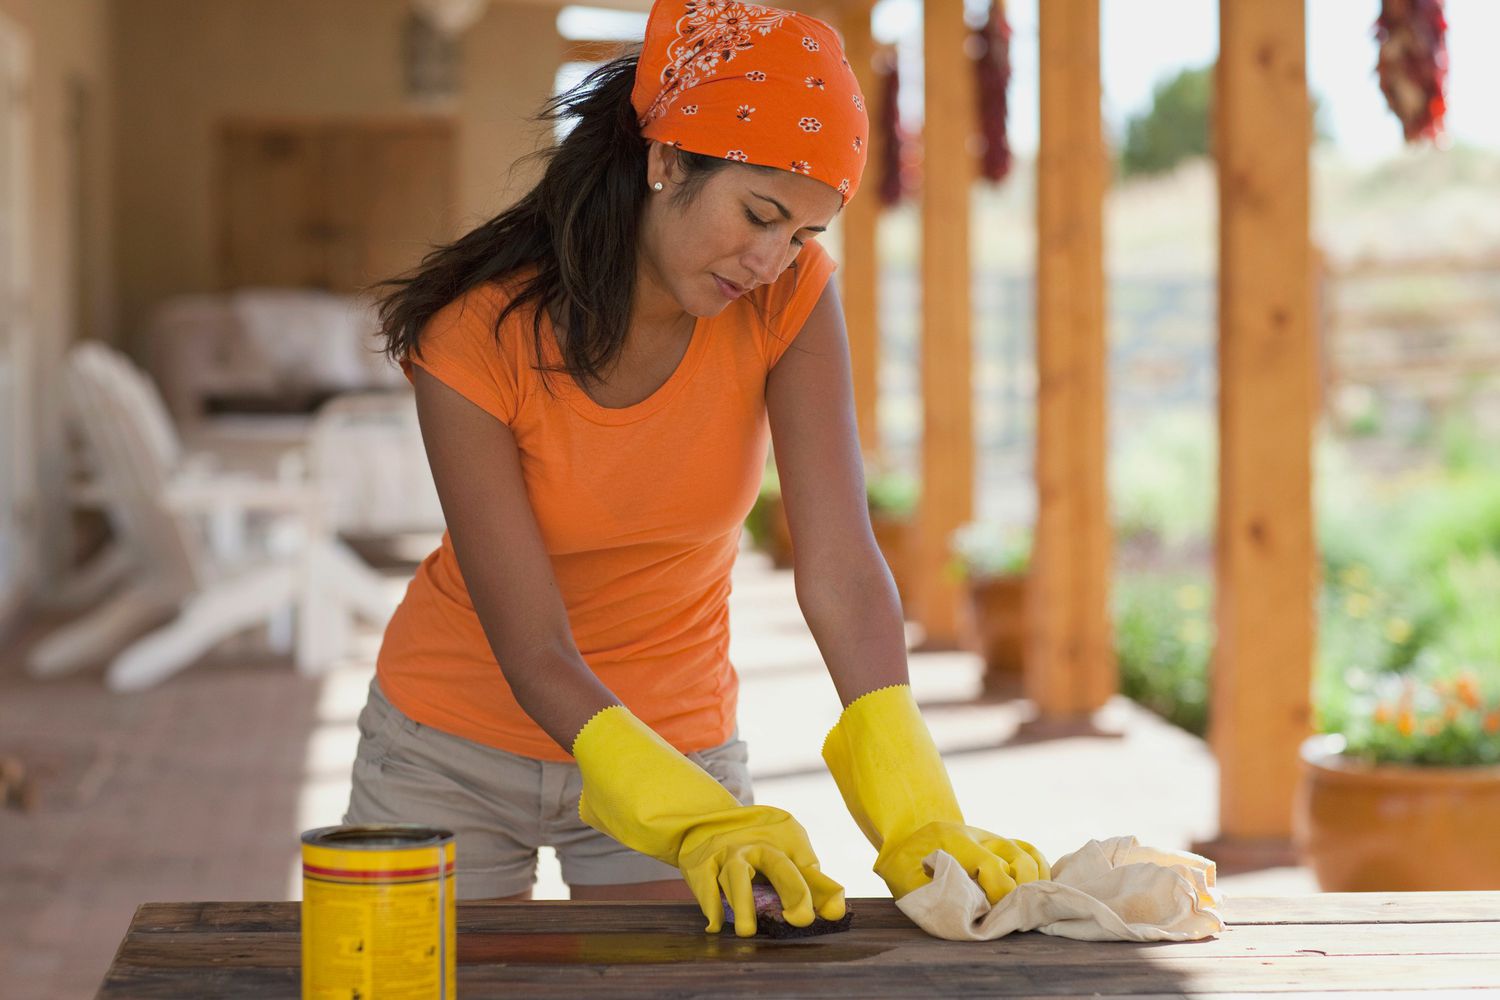
Step 1: Surface Protection
Consider applying a protective coating or sealant to the furniture frame, particularly if it is made of wood or metal. This additional layer of protection safeguards the frame from moisture, UV exposure, and general wear, enhancing its resilience and longevity in outdoor settings.
Step 2: End Caps and Plugs
If your furniture features end caps or plugs to conceal the ends of the webbing, ensure that these components are securely in place. Replace any worn or damaged end caps with new ones that complement the color and design of the webbing, providing a cohesive and polished finish to the revitalized furniture.
Step 3: Comfort and Support
Verify that the newly installed webbing provides the desired level of comfort and support for the furniture. Test the seating or lounging surfaces to ensure that the webbing offers a pleasant and resilient experience, addressing any adjustments or refinements as needed to optimize comfort and functionality.
Read more: How To Refinish Outdoor Teak Furniture
Step 4: Visual Assessment
Step back and visually assess the revitalized furniture from various angles, ensuring that the webbing installation is visually appealing, aligned with the frame, and free from any visible imperfections. Make any final adjustments to the tension, alignment, or finishing details to achieve a cohesive and aesthetically pleasing result.
Step 5: Maintenance Guidelines
Provide maintenance guidelines for the newly restored outdoor furniture, offering recommendations for cleaning, protection from the elements, and periodic inspections to ensure that the webbing and frame remain in optimal condition. Empowering users with maintenance insights contributes to the longevity and enduring appeal of the revitalized furniture.
By attending to these finishing touches, you culminate the restoration of your outdoor furniture with meticulous care and attention to detail. With the final refinements in place, your revitalized outdoor furniture is poised to reclaim its role as a stylish, comfortable, and enduring feature of your outdoor living space, ready to accommodate moments of relaxation and enjoyment for years to come.
Conclusion
Congratulations on successfully revitalizing your outdoor furniture through the art of webbing replacement. By embarking on this DIY journey, you have not only extended the lifespan of your beloved furniture but also imbued it with renewed comfort, resilience, and visual allure. The process of fixing outdoor furniture webbing is a testament to the transformative power of thoughtful restoration, breathing new life into weathered and worn pieces, and ensuring that they continue to enrich your outdoor living experience.
As you reflect on the journey from understanding the problem and choosing the right webbing to meticulously preparing the frame, attaching the new webbing, and attending to the finishing touches, you have demonstrated both creativity and craftsmanship. Your dedication to preserving and enhancing your outdoor furniture has resulted in a revitalization that will be enjoyed for years to come.
Furthermore, the skills and knowledge you have gained in the process of fixing outdoor furniture webbing are invaluable, empowering you to tackle future restoration projects with confidence and finesse. Whether it’s breathing new life into additional pieces of outdoor furniture or embarking on other DIY endeavors, your newfound expertise positions you as a capable steward of your outdoor living space.
By embracing the art of webbing replacement, you have not only renewed your outdoor furniture but also contributed to sustainable living by extending the life cycle of cherished pieces. Your commitment to thoughtful restoration aligns with the ethos of environmental consciousness, ensuring that your outdoor furniture continues to serve as a stylish and enduring element of your outdoor oasis, while minimizing the impact on the environment.
As you bask in the satisfaction of a job well done, take a moment to appreciate the transformation that your outdoor furniture has undergone. From worn and weathered to revitalized and inviting, each piece now stands as a testament to your dedication to creating a welcoming and stylish outdoor haven. With the knowledge and experience gained from this endeavor, you are well-equipped to continue preserving, enhancing, and enjoying your outdoor living space for years to come.
So, as you relax and unwind in the comfort of your revitalized outdoor furniture, take pride in the restoration journey you have undertaken, knowing that your efforts have not only revived the allure of your outdoor space but have also enriched your connection to the elements and the joys of outdoor living.
Frequently Asked Questions about How To Fix Outdoor Furniture Webbing
Was this page helpful?
At Storables.com, we guarantee accurate and reliable information. Our content, validated by Expert Board Contributors, is crafted following stringent Editorial Policies. We're committed to providing you with well-researched, expert-backed insights for all your informational needs.


0 thoughts on “How To Fix Outdoor Furniture Webbing”