Home>Furniture & Design>Outdoor Furniture>How To Flatten An Indoor Outdoor Rug

Outdoor Furniture
How To Flatten An Indoor Outdoor Rug
Modified: August 17, 2024
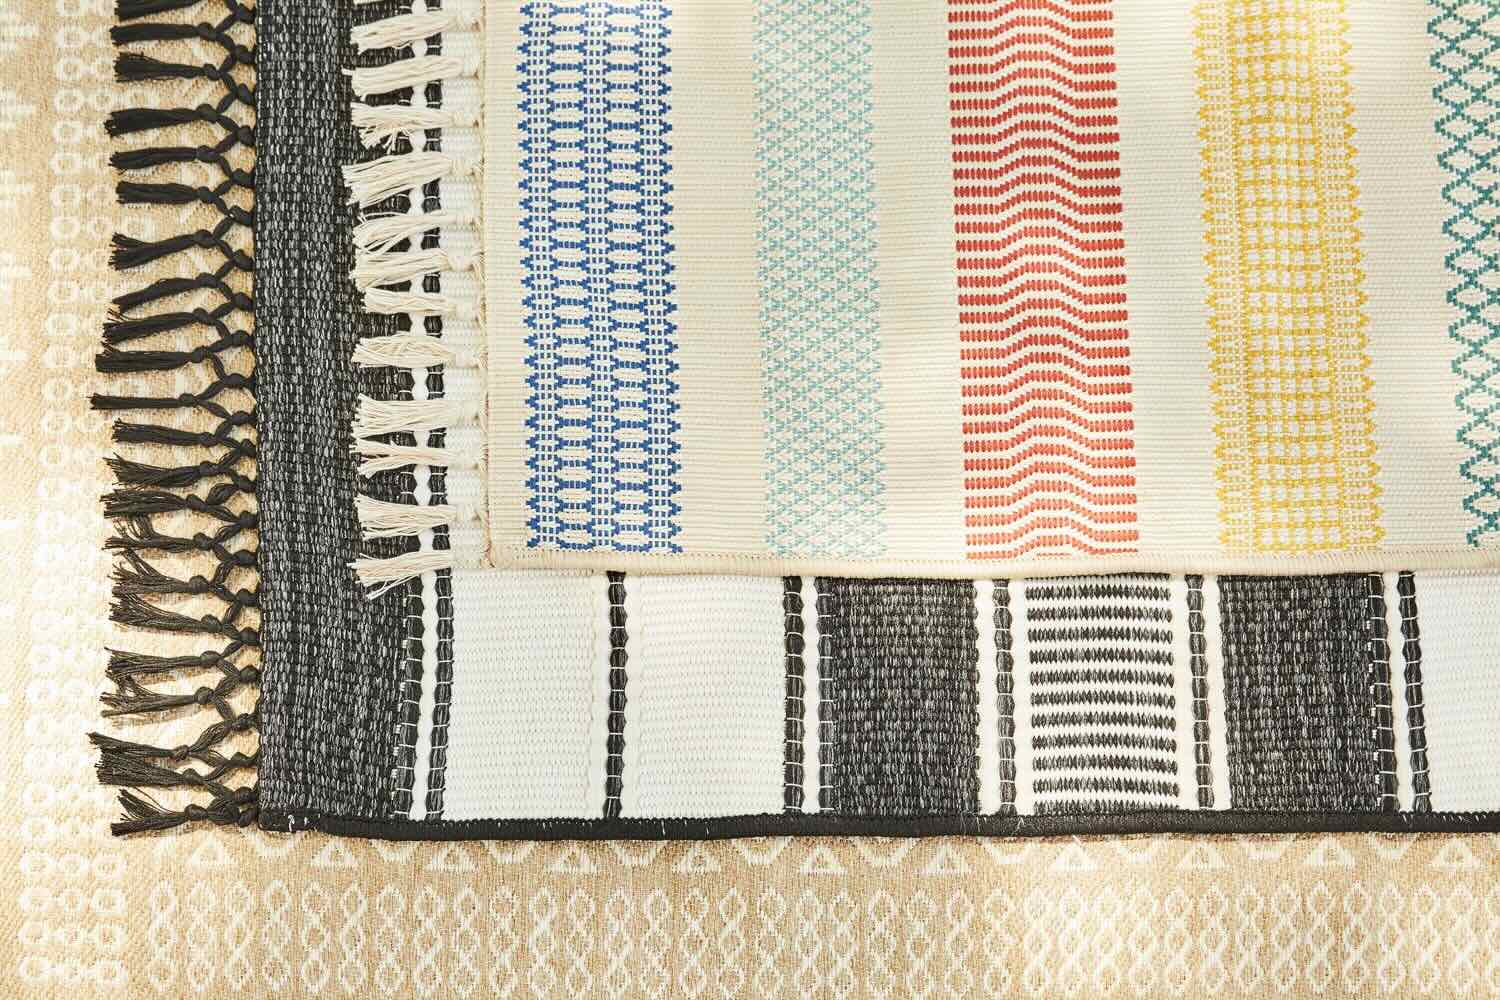
Discover how to flatten an indoor outdoor rug to enhance the appeal of your outdoor furniture. Get expert tips on maintaining the look and design of your outdoor living space.
(Many of the links in this article redirect to a specific reviewed product. Your purchase of these products through affiliate links helps to generate commission for Storables.com, at no extra cost. Learn more)
Introduction
Welcome to the world of indoor-outdoor rugs! These versatile and durable floor coverings are perfect for adding style and comfort to both interior and exterior spaces. However, if you've recently purchased or unrolled an indoor-outdoor rug, you may have encountered the frustration of dealing with stubborn creases and folds. Don't worry, though – in this guide, we'll walk you through the process of flattening your indoor-outdoor rug, ensuring that it lays smooth and sleek in no time.
Whether you've invested in a vibrant, patterned rug to spruce up your patio or a sleek, modern design to elevate your indoor living space, the steps for flattening an indoor-outdoor rug remain consistent. By following the techniques outlined in this article, you'll be able to enjoy your rug's aesthetic and functional benefits without the distraction of unsightly creases and folds.
So, grab your materials and get ready to restore your indoor-outdoor rug to its intended state. With a bit of patience and the right approach, you'll soon have a perfectly flat and inviting rug that ties your space together seamlessly. Let's dive into the process of flattening an indoor-outdoor rug and reclaim the full potential of this versatile decor piece.
Key Takeaways:
- Flattening an indoor-outdoor rug is a simple process that involves cleaning, laying it flat, applying weights, and optional heat. With patience and the right tools, you can restore your rug to a smooth, inviting state.
- By following the steps outlined in this guide, you can effectively address creases and folds in your indoor-outdoor rug, ensuring it enhances your living space with its vibrant style or understated elegance.
Read more: How To Flatten A Carpet
Step 1: Gather Your Materials
Before embarking on the journey to flatten your indoor-outdoor rug, it’s essential to gather the necessary materials. Having the right tools at your disposal will streamline the process and ensure that you can tackle the task effectively. Here’s what you’ll need:
- Indoor-Outdoor Rug: The rug that requires flattening is, of course, the focal point of this endeavor. Whether it’s a vibrant, colorful piece or a sleek, neutral design, make sure your rug is clean and free of any debris before proceeding.
- Clean Cloth or Sponge: To prepare the rug for flattening, you’ll need a clean cloth or sponge for gentle cleaning. This will help ensure that the rug’s surface is free from any dirt or grime that could hinder the flattening process.
- Weights or Heavy Objects: Gathering weights or heavy objects, such as books or weighted boxes, will be crucial for applying pressure to the rug and aiding in the flattening process.
- Iron or Steamer (Optional): While not mandatory, having an iron or steamer on hand can be beneficial for addressing stubborn creases and folds in the rug. The application of heat can help relax the fibers and facilitate flattening.
By ensuring that you have these materials ready, you’ll be well-prepared to address the creases and folds in your indoor-outdoor rug effectively. With everything in place, you’re ready to move on to the next step: cleaning the rug in preparation for the flattening process.
Step 2: Clean the Rug
Before initiating the process of flattening your indoor-outdoor rug, it’s crucial to ensure that the rug’s surface is clean and free of any debris or dirt. Cleaning the rug will not only contribute to a more hygienic living environment but also prepare the rug for the flattening techniques to follow. Here’s how to clean your rug effectively:
- Spot Cleaning: If there are any noticeable stains or spots on the rug, address them using a clean cloth or sponge and a mild cleaning solution. Gently dab at the affected areas to lift the stains, taking care not to saturate the rug excessively.
- Overall Cleaning: Using a clean cloth or sponge and a mild detergent solution, gently clean the entire surface of the rug. This will help remove any accumulated dirt, dust, or residue that could impede the flattening process.
- Rinsing and Drying: After cleaning the rug, rinse it thoroughly with water to remove any soapy residue. Once rinsed, allow the rug to air dry completely before proceeding to the next step.
By ensuring that your indoor-outdoor rug is clean and free of any obstructions, you’re setting the stage for a successful flattening process. Cleanliness is key to achieving a smooth and uniform appearance once the rug is flattened. With the rug now primed and ready, it’s time to move on to the next step: laying the rug flat in preparation for the flattening techniques.
Step 3: Lay the Rug Flat
With a clean surface, it’s time to lay your indoor-outdoor rug flat in preparation for the flattening process. Properly positioning the rug will facilitate the application of flattening techniques and ensure that the rug’s fibers can relax and settle into a smooth, crease-free state. Follow these steps to lay your rug flat effectively:
- Choose a Flat Surface: Select a spacious area with a flat surface, such as a clean floor or a large table, where you can lay the rug without any obstructions. Ensure that the surface is free of debris to prevent any new marks or creases from forming on the rug.
- Unroll the Rug: Carefully unroll the rug on the chosen flat surface, allowing it to lay naturally without any folds or wrinkles. Take your time to smooth out any existing creases by gently pressing down on the rug’s surface with your hands.
- Allow Relaxation Time: Once the rug is laid flat, allow it to rest for a period of time. This relaxation period will enable the rug’s fibers to adjust and begin to release any persistent creases or folds naturally.
By laying your indoor-outdoor rug flat and giving it the space and time to relax, you’re setting the stage for the subsequent flattening techniques to take effect. With the rug now positioned and ready, it’s time to move on to the next step: applying weights or heavy objects to aid in the flattening process.
To flatten an indoor outdoor rug, place heavy furniture on the corners for a few days. Alternatively, use a rug gripper or double-sided carpet tape to secure the edges to the floor.
Step 4: Use Weights or Heavy Objects
Applying weights or heavy objects to your laid-out indoor-outdoor rug is a key technique for facilitating the flattening process. By strategically placing pressure on the rug, you can encourage the fibers to relax and settle, gradually diminishing any persistent creases or folds. Follow these steps to effectively utilize weights or heavy objects in flattening your rug:
- Select Suitable Weights: Choose heavy objects or weights that are suitable for placing on the rug without causing damage. Options may include weighted boxes, books, or other heavy items that can be evenly distributed across the rug’s surface.
- Evenly Distribute the Weight: Place the selected weights or heavy objects evenly across the rug, focusing on areas where creases or folds are most prominent. Ensure that the distribution of weight is balanced to avoid creating new creases or indentations in the rug.
- Allow Time for Compression: Once the weights or heavy objects are in place, allow the rug to rest with the applied pressure for an extended period. This will encourage the rug’s fibers to gradually adjust and conform to a flattened state.
By strategically using weights or heavy objects to apply pressure to your indoor-outdoor rug, you’re actively assisting the flattening process and promoting the gradual relaxation of any persistent creases or folds. With the weights in position, you’re ready to proceed to the next step: applying heat to further aid in the flattening process.
Read more: How To Make An Outdoor Rug
Step 5: Apply Heat
Introducing heat to the flattening process can be a valuable technique for addressing stubborn creases and folds in your indoor-outdoor rug. By applying controlled heat, you can encourage the rug’s fibers to relax and settle, further aiding in the flattening process. Here’s how to effectively apply heat to your rug:
- Prepare the Area: Ensure that the space around the rug is clear and open, allowing for safe and unobstructed application of heat. If using an iron or steamer, set up the necessary equipment in proximity to the rug.
- Adjust the Heat Setting: If using an iron, set it to a low heat or synthetic setting to avoid damaging the rug’s fibers. For a steamer, ensure that it’s prepared and ready for controlled steam emission.
- Apply Heat Carefully: Gently pass the iron or steamer over areas of the rug where persistent creases or folds are present. Maintain a consistent, controlled motion and avoid lingering in one spot for too long to prevent overheating or damage to the rug.
- Allow Cooling Time: After applying heat to specific areas, allow the rug to cool and the fibers to settle. This cooling period will enable the rug to retain its flattened state and minimize the risk of new creases forming.
By carefully introducing controlled heat to your indoor-outdoor rug, you can further enhance the flattening process and address any lingering creases or folds. With the application of heat completed, you’re ready to move on to the final step: assessing the results and repeating the process if necessary.
Step 6: Repeat as Necessary
After completing the initial flattening techniques, it’s important to assess the results and be prepared to repeat the process if necessary. While the previous steps are designed to effectively address creases and folds in indoor-outdoor rugs, persistent or stubborn wrinkles may require additional attention. Here’s how to approach the final step of the flattening process:
- Assess the Rug: Carefully inspect the rug to evaluate the effectiveness of the flattening techniques. Look for areas where creases or folds may still be present, noting any improvements or areas that require further attention.
- Target Specific Areas: If certain sections of the rug exhibit persistent creases, consider revisiting those areas with additional weight application and, if necessary, a controlled application of heat.
- Allow for Additional Relaxation Time: If repeating the process, allow the rug to rest and relax between each step. This will give the fibers time to adjust and settle, contributing to a more uniform and effective flattening outcome.
- Reassess and Repeat: After each repetition of the flattening techniques, reassess the rug to gauge the progress and determine if further iterations of the process are needed to achieve the desired results.
By being attentive to the rug’s condition and prepared to repeat the flattening process as necessary, you can effectively address persistent creases and folds, ultimately achieving a smooth and inviting appearance for your indoor-outdoor rug. With a commitment to thoroughness and patience, you’ll be able to enjoy the full aesthetic and functional benefits of your beautifully flattened rug.
Conclusion
Congratulations on successfully navigating the process of flattening your indoor-outdoor rug! By following the comprehensive steps outlined in this guide, you’ve taken proactive measures to address creases and folds, ensuring that your rug now lays flat and sleek, ready to enhance your living space with its vibrant style or understated elegance.
As you reflect on the journey of flattening your indoor-outdoor rug, it’s important to appreciate the transformative impact of these simple yet effective techniques. From cleaning the rug to strategically applying weights, heat, and patience, you’ve actively participated in restoring your rug to its intended state, allowing its inherent beauty and functionality to shine through without the distraction of unsightly creases.
Remember that the process of flattening an indoor-outdoor rug is not only about achieving a visually appealing result but also about nurturing and preserving the integrity of the rug’s fibers and design. By approaching the flattening process with care and attentiveness, you’ve contributed to prolonging the lifespan and quality of your rug, ensuring that it continues to enrich your living space for years to come.
With your indoor-outdoor rug now laying flat and inviting, take a moment to appreciate the seamless integration of this versatile decor piece into your home or outdoor oasis. Whether it’s providing a comfortable and stylish foundation for your outdoor gatherings or adding a touch of warmth and character to your indoor living areas, your flattened rug stands as a testament to your dedication to maintaining a welcoming and visually appealing environment.
So, as you admire the smooth surface of your indoor-outdoor rug, know that your efforts have not only flattened its appearance but also elevated the overall ambiance of your space. Embrace the comfort, style, and practicality that your rug brings, and revel in the satisfaction of successfully revitalizing it to its full potential.
Thank you for embarking on this flattening journey with us. May your now-flattened indoor-outdoor rug continue to enrich your surroundings and inspire moments of joy and comfort for all who gather upon it.
Frequently Asked Questions about How To Flatten An Indoor Outdoor Rug
Was this page helpful?
At Storables.com, we guarantee accurate and reliable information. Our content, validated by Expert Board Contributors, is crafted following stringent Editorial Policies. We're committed to providing you with well-researched, expert-backed insights for all your informational needs.





0 thoughts on “How To Flatten An Indoor Outdoor Rug”