Articles
How To Flatten Board With Hand Tools
Modified: August 28, 2024
Learn how to achieve a sleek and flat board using only hand tools in this collection of informative articles. Master the art of woodworking effortlessly.
(Many of the links in this article redirect to a specific reviewed product. Your purchase of these products through affiliate links helps to generate commission for Storables.com, at no extra cost. Learn more)
Introduction
Welcome to the world of woodworking, where crafting beautiful pieces with your own hands is a truly fulfilling experience. In this article, we will take a closer look at how to achieve a flat board using only hand tools. While power tools may offer efficiency and speed, there is something special about the artistry and precision that comes with working solely with hand tools.
Creating a flat board is an essential skill in woodworking, as it serves as the foundation for many projects. Whether you’re building a table, a cabinet, or a simple cutting board, starting with a flat board is crucial for achieving a professional and visually appealing end result. With the right techniques and hand tools at your disposal, you can create a perfectly flat board that will be the envy of your fellow woodworkers.
Before we dive into the specific steps, it’s important to note that hand tool woodworking requires patience and attention to detail. It is a slower process compared to using power tools, but the satisfaction that comes from seeing the transformation of a rough piece of wood into a smooth and flat board is truly rewarding.
In the following sections, we will explore the process of creating a flat board using hand tools. From choosing the right tools to adding decorative touches and applying a finish, you will gain a comprehensive understanding of the techniques necessary to achieve woodworking excellence.
So, grab your chisels, planes, and hand saws, and let’s embark on this woodworking journey together!
Key Takeaways:
- Master the art of woodworking by creating perfectly flat boards using only hand tools. Patience, precision, and attention to detail are key to achieving woodworking excellence.
- Elevate your woodworking projects by adding decorative touches and applying a flawless finish to protect and enhance the natural beauty of your flat boards. Embrace the artistry and craftsmanship of hand tool woodworking.
Read more: How To Make A Chess Board With Hand Tools
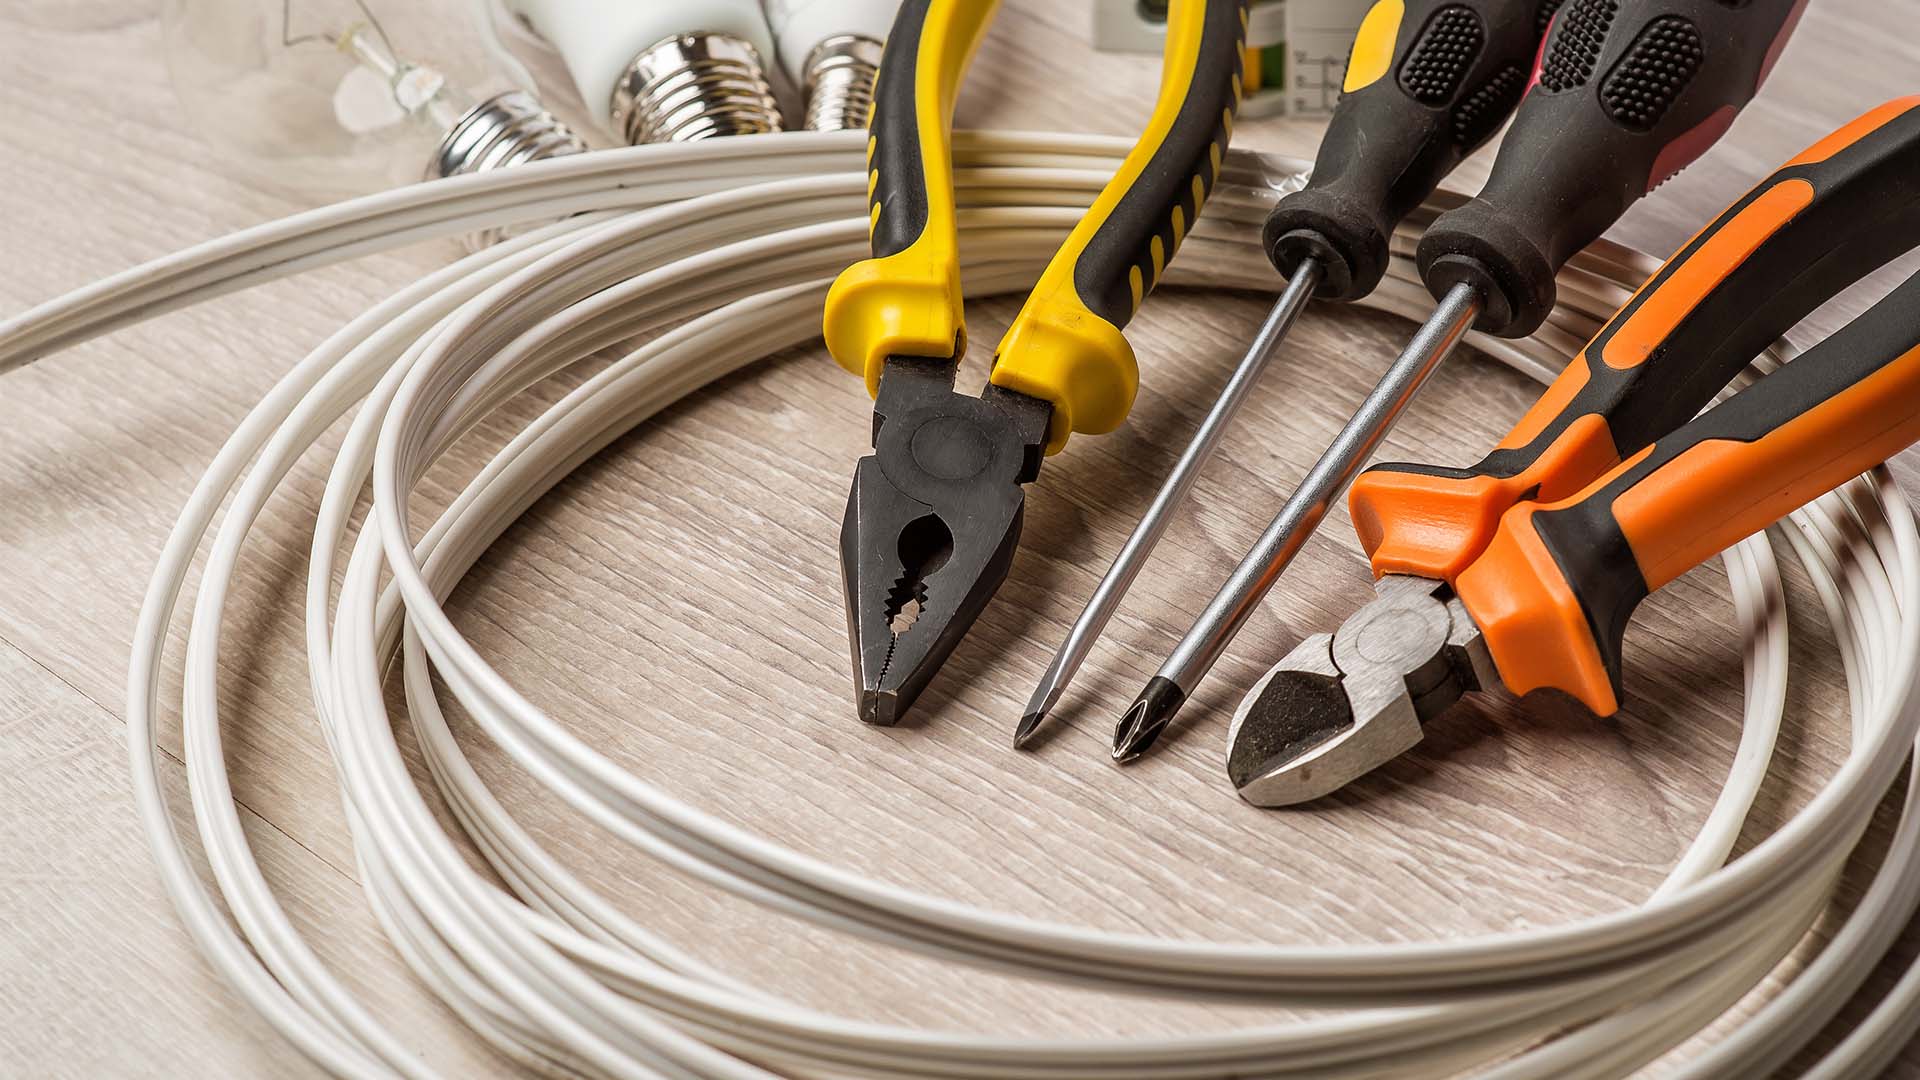
Choosing the Right Hand Tools
When it comes to achieving a flat board with hand tools, selecting the right tools is crucial. Each tool serves a specific purpose and contributes to the overall process of shaping and smoothing the wood.
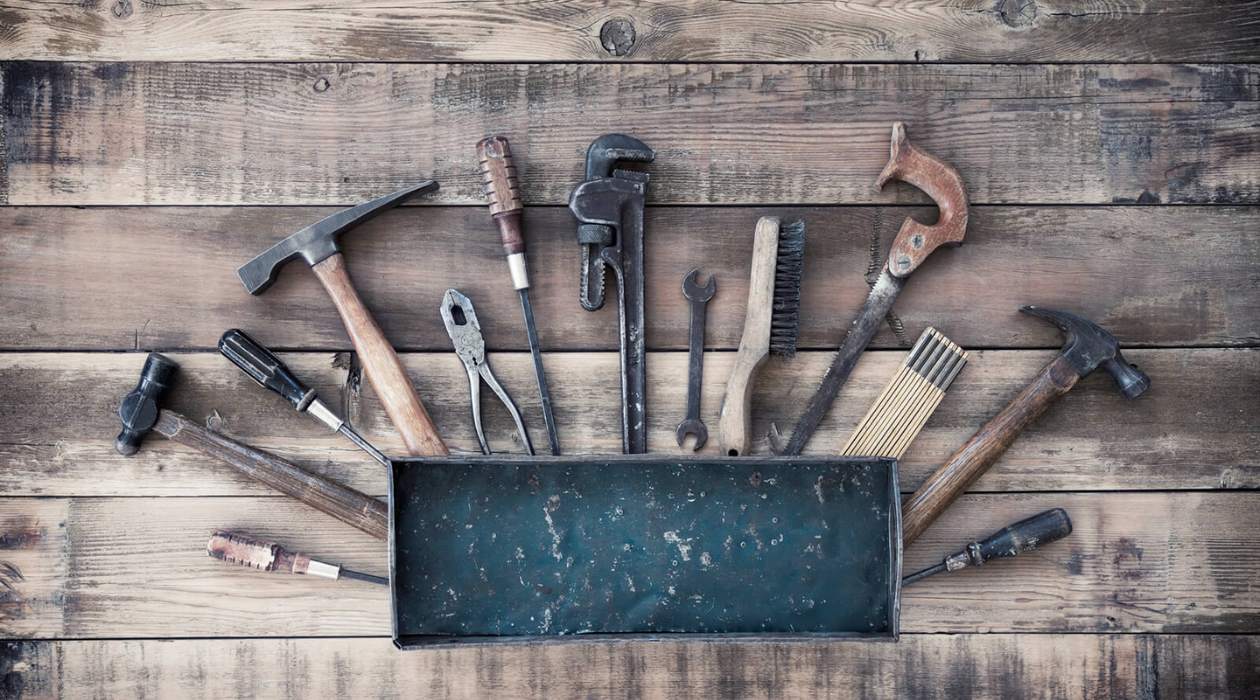
Here are some essential hand tools that you’ll need:
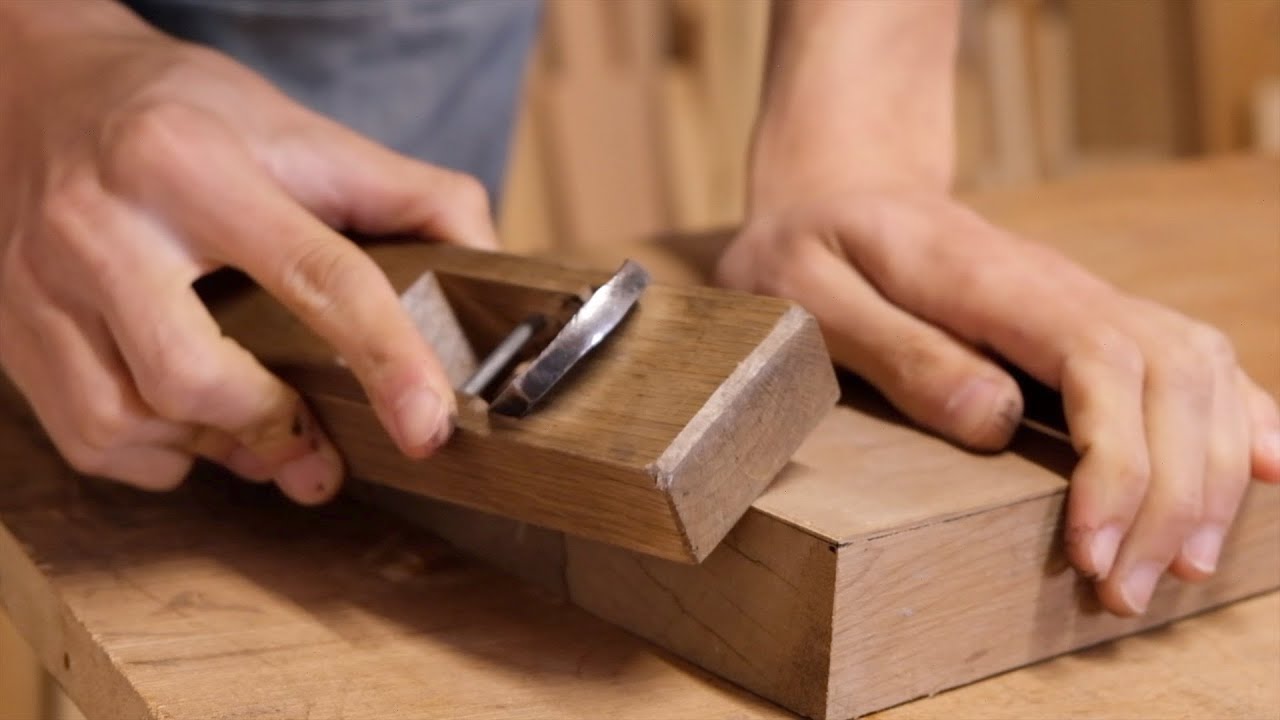
- Hand Plane: A hand plane is an indispensable tool for smoothing and shaping wood surfaces. Look for a high-quality plane with a sharp blade and an adjustable throat to control the depth of the cut.
- Chisels: Chisels are versatile tools that help in removing excess wood, creating joints, and adding fine details. Invest in a set of high-quality chisels in various sizes to accommodate different woodworking tasks.
- Saw: A hand saw is necessary for cutting the wood to size. Choose a saw with a fine-tooth blade for smooth and accurate cuts.
- Marking and Measuring Tools: A tape measure, ruler, marking gauge, and pencil are essential for precise measurements and marking out the desired dimensions on the wood surface.
- Sanding Tools: While primarily using hand tools, you’ll still need sandpaper or a sanding block to achieve a smoother finish. Opt for various grits of sandpaper to gradually refine the wood surface.
- Sharpening Tools: Keeping your tools sharp is crucial for achieving clean and precise cuts. Have a sharpening stone or honing guide to maintain the sharpness of your chisels and plane blades.
Investing in high-quality tools will save you time and frustration in the long run. Look for tools made from durable materials with comfortable handles that allow for extended periods of use without discomfort.
Additionally, it’s worth considering the overall balance of your tool collection. Having a well-rounded selection of tools ensures that you can adapt to various woodworking tasks and achieve the best possible results.
Now that you have a good understanding of the essential hand tools required for creating a flat board, let’s move on to preparing the work surface.
Preparing the Work Surface
Before you begin shaping and smoothing the wood, it’s important to prepare your work surface. A sturdy and flat workbench is essential for ensuring stability and accuracy during the woodworking process.
Here are some steps to prepare your work surface:
- Clean and Clear: Clear any debris or clutter from your workbench to create a clean and organized workspace. This will prevent any obstructions or distractions while working on your project.
- Secure the Board: Use clamps or a vice to secure the board firmly onto the workbench. This will prevent it from moving or shifting during the shaping and smoothing process.
- Ensure Stability: Make sure your workbench is stable and level. A wobbly work surface can compromise the accuracy of your cuts and shaping. Adjust the leveling screws or add shims to ensure stability.
- Consider Workbench Accessories: Depending on the project and your personal preference, consider adding accessories such as bench dogs, holdfasts, or bench hooks. These accessories can provide additional support and stability when working with larger pieces of wood.
- Protect the Surface: To prevent damage to your workbench and make cleanup easier, consider using a sacrificial board or a protective mat under your project. This will help minimize any unintended marks or scratches on the workbench surface.
By taking the time to properly prepare your work surface, you set yourself up for success in achieving a flat board. A stable and clean workspace allows you to focus on your woodworking tasks with confidence and precision.
With your work surface ready, let’s move on to measuring and marking the board.
Measuring and Marking
Accurate measurements and precise marking are crucial steps in achieving a flat board. Before you begin shaping and smoothing the wood, take the time to carefully measure and mark the desired dimensions on the board.
Here are some key points to consider when measuring and marking:
- Use Reliable Measuring Tools: Ensure that your measuring tools, such as a tape measure or ruler, are accurate and reliable. Double-check your measurements to avoid any errors that may affect the final dimensions of your board.
- Choose Appropriate Marking Tools: Select a marking tool that is suitable for your project and the type of wood you are working with. Pencils, marking knives, or marking gauges are common marking tools used in woodworking. Consider the visibility and permanence of the marking tool to ensure accurate cuts and shaping.
- Measure Twice, Cut Once: The old adage, “measure twice, cut once” holds true in woodworking. Take the time to measure and mark the board accurately before making any cuts or shaping. Double-check your measurements to avoid costly mistakes.
- Mark Reference Points: Mark reference points on the board to guide your shaping process. These points can be the ends of the board or specific distances from the edges. Reference points help ensure consistency and accuracy throughout the shaping process.
- Consider Grain Direction: Pay attention to the grain direction of the wood when marking for shaping or cuts. Understanding the grain direction helps to avoid tear-out or splintering during the shaping process.
- Include Tolerance: When marking dimensions on the board, consider adding a bit of extra material as a safety margin. This allows for adjustments and fine-tuning during the shaping process to ensure a perfect fit for your project.
By taking the time to measure and mark accurately, you set yourself up for success in achieving a flat and precisely shaped board. Careful attention to detail at this stage will save you time and frustration later in the process.
Now that you have measured and marked your board, it’s time to move on to shaping the board.
Rough Shaping the Board
With the measurements and markings in place, it’s time to start shaping the board. Rough shaping involves removing the excess material and creating the basic form of the desired flat board.
Here’s a step-by-step guide to rough shaping the board:
- Cut to Size: Using a hand saw, carefully cut the board to the desired length and width based on your earlier measurements and markings. Take your time to ensure clean and accurate cuts.
- Remove Rough Edges: Use a hand plane or chisel to remove any rough edges or uneven surfaces on the board. Work methodically, taking light passes to gradually shape the edges and create a straight and smooth edge.
- Flatten One Face: Choose one face of the board to flatten first. This will serve as a reference surface for the rest of the shaping process. Use a hand plane to remove material from high spots until the entire face is flat and even.
- Establish Parallel Sides: After flattening one face, use a combination of a marking gauge and hand plane to establish parallel sides on the board. Measure and mark the desired width on the opposite face and carefully remove material until both sides are parallel.
- Square Up the Ends: Use a marking gauge and hand saw to mark and cut the ends of the board square. This ensures that the ends are perpendicular to the flat reference face and parallel to each other.
- Check for Flatness: Use a straightedge or a long level to check the flatness of the board. If there are any high or low spots, use the hand plane or chisel to carefully remove material until the board is uniformly flat.
During the rough shaping process, it’s important to be patient and take your time. Work methodically and constantly check for accuracy and flatness. Remember that it’s easier to remove material than to add it back, so take light passes and gradually shape the board to avoid any mistakes.
Once you have achieved a roughly shaped flat board, it’s time to move on to the next step: smoothing and fine-tuning the board.
When planing a board by hand, make sure to use a sharp blade and take light, even passes to avoid tearout and achieve a smooth, flat surface.
Read more: How To Make A Cutting Board Using Hand Tools
Smoothing and Fine-tuning the Board
Now that you have a roughly shaped flat board, it’s time to focus on smoothing and fine-tuning the surface. This step involves removing any remaining imperfections and achieving a smooth and even finish.
Here’s how to smooth and fine-tune the board:
- Continue Planing: Use a hand plane to further flatten and smooth the surface of the board. Take light passes, ensuring that the plane blade is sharp and properly adjusted. Work in the direction of the grain for the best results.
- Remove Planer Marks: If there are visible planer marks on the surface, use a hand scraper or sandpaper to carefully remove them. Work with the grain and gradually progress to finer grits of sandpaper for a smoother finish.
- Check for Flatness and Squareness: Continuously check for flatness and squareness during the smoothing process. Use a straightedge or a winding stick to identify any uneven areas or twists. Address these areas with the hand plane and sanding techniques.
- Address Surface Blemishes: Fill any knots, cracks, or voids on the board’s surface with wood filler or epoxy. Smooth the filled areas with sandpaper to ensure a seamless surface.
- Create Chamfers or Round Edges: To add a decorative touch and reduce sharp edges, consider creating chamfers or rounding the edges of the board. This can be done with a hand plane or sanding techniques.
- Final Surface Preparation: Once the board is smoothed to your satisfaction, prepare the surface for the finish of your choice. This may involve sanding the entire surface with progressively finer grits of sandpaper to achieve a smooth and polished finish.
Throughout the smoothing and fine-tuning process, it’s important to pay attention to the details and maintain patience. Take regular breaks to assess your progress and make any necessary adjustments. The goal is to achieve a flawlessly smooth and flat board before proceeding to the next stage of your woodworking project.
With the board now smoothed and fine-tuned, it’s time to consider adding some decorative touches to your creation.
Adding Decorative Touches
While achieving a flat board is often the primary focus in woodworking, adding decorative touches can elevate your project to a whole new level. These decorative elements bring character and personality to your creation, making it truly unique.
Here are some ideas for adding decorative touches to your board:
- Edge Profiles: Consider adding edge profiles to the board to create visual interest. You can achieve this by using a router with different bits or by carefully shaping the edges with chisels or a hand plane.
- Inlays: Inlays are a wonderful way to incorporate intricate designs into your board. You can use contrasting wood, metal accents, or even epoxy resin to create stunning inlay patterns. This technique requires precision and careful woodworking skills but results in an eye-catching and unique finished piece.
- Embellishments: Add embellishments such as carved motifs or woodburning designs to customize the look of your board. These small details can showcase your creativity and craftsmanship.
- Joints and Joinery: Consider using decorative joints or joinery techniques to enhance the overall appearance of your board. Dovetail, mortise and tenon, or finger joints can add a touch of elegance and structural strength.
- Surface Carving or Texturing: If you’re looking for a more artistic approach, surface carving or texturing can create captivating patterns or textures on your board. This technique adds depth and dimension to the surface, making it visually intriguing.
- Wood Burning: Wood burning, also known as pyrography, can be used to create intricate designs or patterns on the board’s surface. This technique allows for precise detailing and can be a great way to personalize your woodworking project.
Adding decorative touches is a chance to showcase your creativity and add a personal touch to your woodworking project. Experiment with different techniques and let your imagination run wild!
Once you’re satisfied with the decorative elements, it’s time to protect and enhance the beauty of your board by applying a finish.
Applying a Finish
Applying a finish to your flat board serves two main purposes: protecting the wood and enhancing its natural beauty. A well-applied finish not only adds a layer of durability but also brings out the rich colors and grain patterns of the wood.
Here’s a step-by-step guide on how to apply a finish to your board:
- Sand the Surface: Before applying any finish, ensure that the surface of the board is smooth and free of any blemishes. Start with a medium-grit sandpaper and gradually work your way up to finer grits for a polished surface.
- Clean the Surface: Remove any dust or debris from the sanding process by wiping the board with a clean, lint-free cloth or tack cloth.
- Choose the Right Finish: Consider the desired look and level of protection you want for your board. There are various finishes to choose from, including oil-based finishes, water-based finishes, polyurethane, shellac, and more. Each type of finish has its own application method and characteristics.
- Apply the Finish: Follow the manufacturer’s instructions for applying the chosen finish. This may involve using a brush, a rag, or even a spray gun. Apply the finish evenly in the direction of the wood grain, working in small sections at a time.
- Allow for Drying and Curing: Different finishes have varying drying and curing times, so be sure to follow the instructions provided. Allow the finish to dry completely before proceeding to the next step.
- Buff and Polish: Once the finish is dry, you can opt to buff and polish the surface for a smoother and more lustrous look. Use a soft cloth or appropriate buffing tools to achieve the desired shine.
- Apply Multiple Coats: Depending on the type of finish and the level of protection desired, you may need to apply multiple coats. Sand lightly between coats to ensure proper adhesion of subsequent layers.
- Final Inspection: Once you are satisfied with the finish, inspect the board for any imperfections or areas that may require touch-ups. Make any necessary corrections before considering your project complete.
The choice of finish depends on personal preference and the specific requirements of your woodworking project. Some finishes provide a glossy appearance, while others offer a more natural or matte look. Experiment with different finishes on scrap wood to determine the best choice for your project.
Remember, the application of a finish requires patience and attention to detail. Take your time to ensure an even and flawless finish that will protect and enhance your flat board for years to come.
Once the finish has dried and cured, stand back and admire your beautifully crafted and finished flat board. Congratulations on your woodworking achievement!
Conclusion
Congratulations on successfully learning how to create a flat board using only hand tools! Woodworking is a rewarding hobby that allows you to transform raw materials into functional and beautiful pieces. By mastering the techniques we covered in this article, you now have the skills to create flat boards that serve as the foundation for various woodworking projects.
Throughout this guide, we explored the importance of choosing the right hand tools, preparing the work surface, measuring and marking accurately, rough shaping the board, smoothing and fine-tuning the surface, adding decorative touches, and applying a finish. Each step is essential in creating a flat board that meets your desired specifications.
Hand tool woodworking requires patience, precision, and attention to detail. While power tools may offer efficiency, working solely with hand tools allows you to fully immerse yourself in the artistry and craftsmanship of woodworking. The satisfaction that comes from creating a flat board by hand is truly unparalleled.
Remember, woodworking is a continuous learning process. As you gain more experience and confidence, you can explore more advanced techniques, experiment with different hand tools, and tackle more complex projects. Don’t be afraid to be creative and infuse your personal style into your woodworking projects.
Whether you’re a beginner or an experienced woodworker, the journey of working with hand tools is an ongoing adventure. Enjoy the process, embrace the challenges, and celebrate each success along the way.
Now, armed with your knowledge and newfound skills, it’s time to embark on your next woodworking project. So, gather your hand tools, select a piece of wood, and let your creativity shine as you create stunning pieces with flat boards that will leave a lasting impression.
Frequently Asked Questions about How To Flatten Board With Hand Tools
Was this page helpful?
At Storables.com, we guarantee accurate and reliable information. Our content, validated by Expert Board Contributors, is crafted following stringent Editorial Policies. We're committed to providing you with well-researched, expert-backed insights for all your informational needs.


0 thoughts on “How To Flatten Board With Hand Tools”