Home>Furniture & Design>Outdoor Furniture>How To Hang Outdoor Lights On Stucco
Outdoor Furniture
How To Hang Outdoor Lights On Stucco
Modified: January 26, 2024
Learn how to hang outdoor lights on stucco with our expert guide. Elevate your outdoor space with our top tips for outdoor furniture, design, and more. Discover the best techniques for a stunning outdoor setup!
(Many of the links in this article redirect to a specific reviewed product. Your purchase of these products through affiliate links helps to generate commission for Storables.com, at no extra cost. Learn more)
Introduction
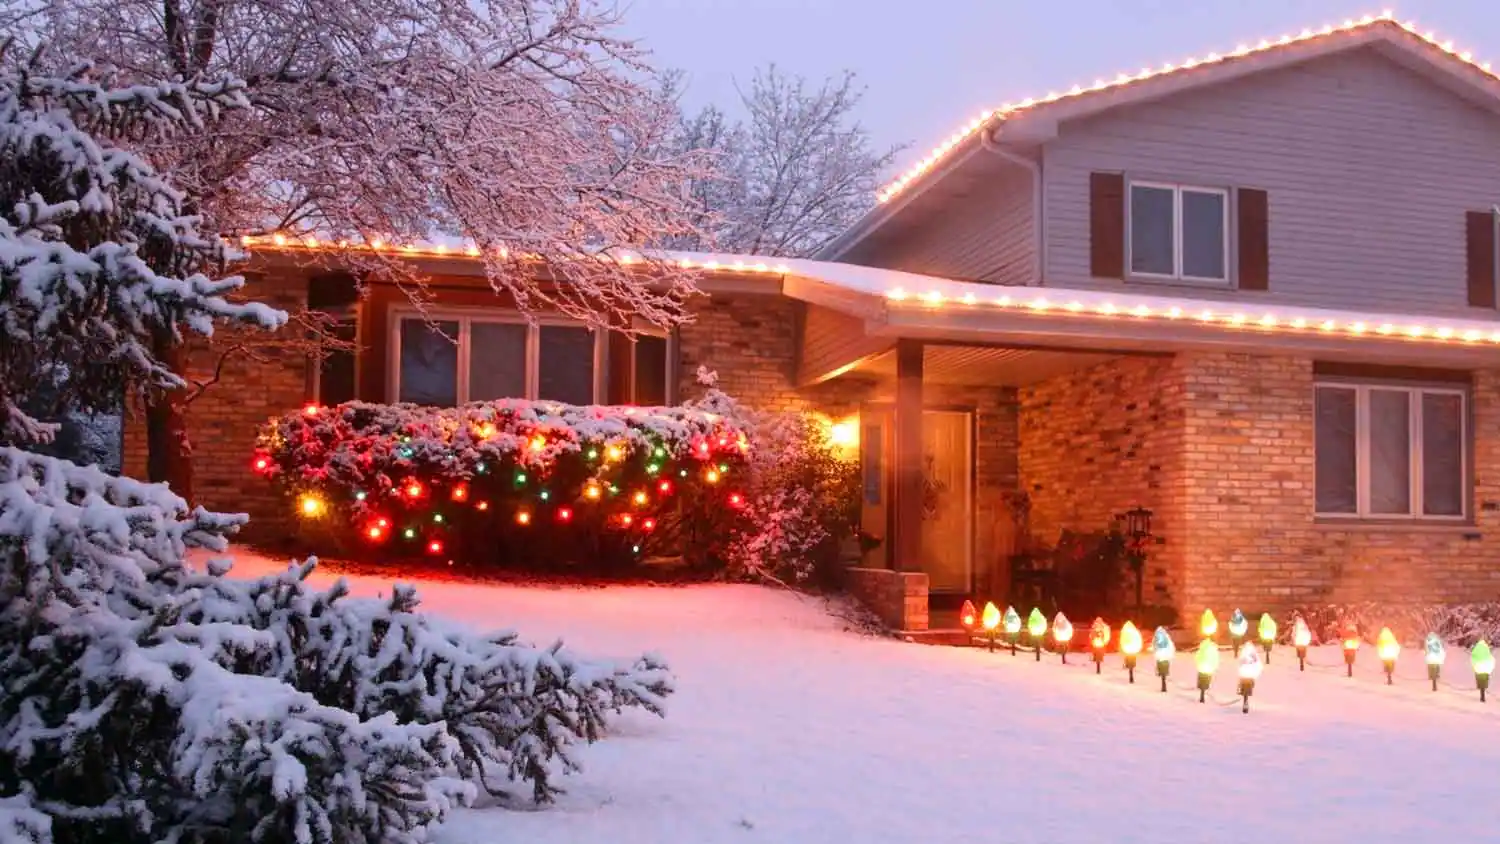
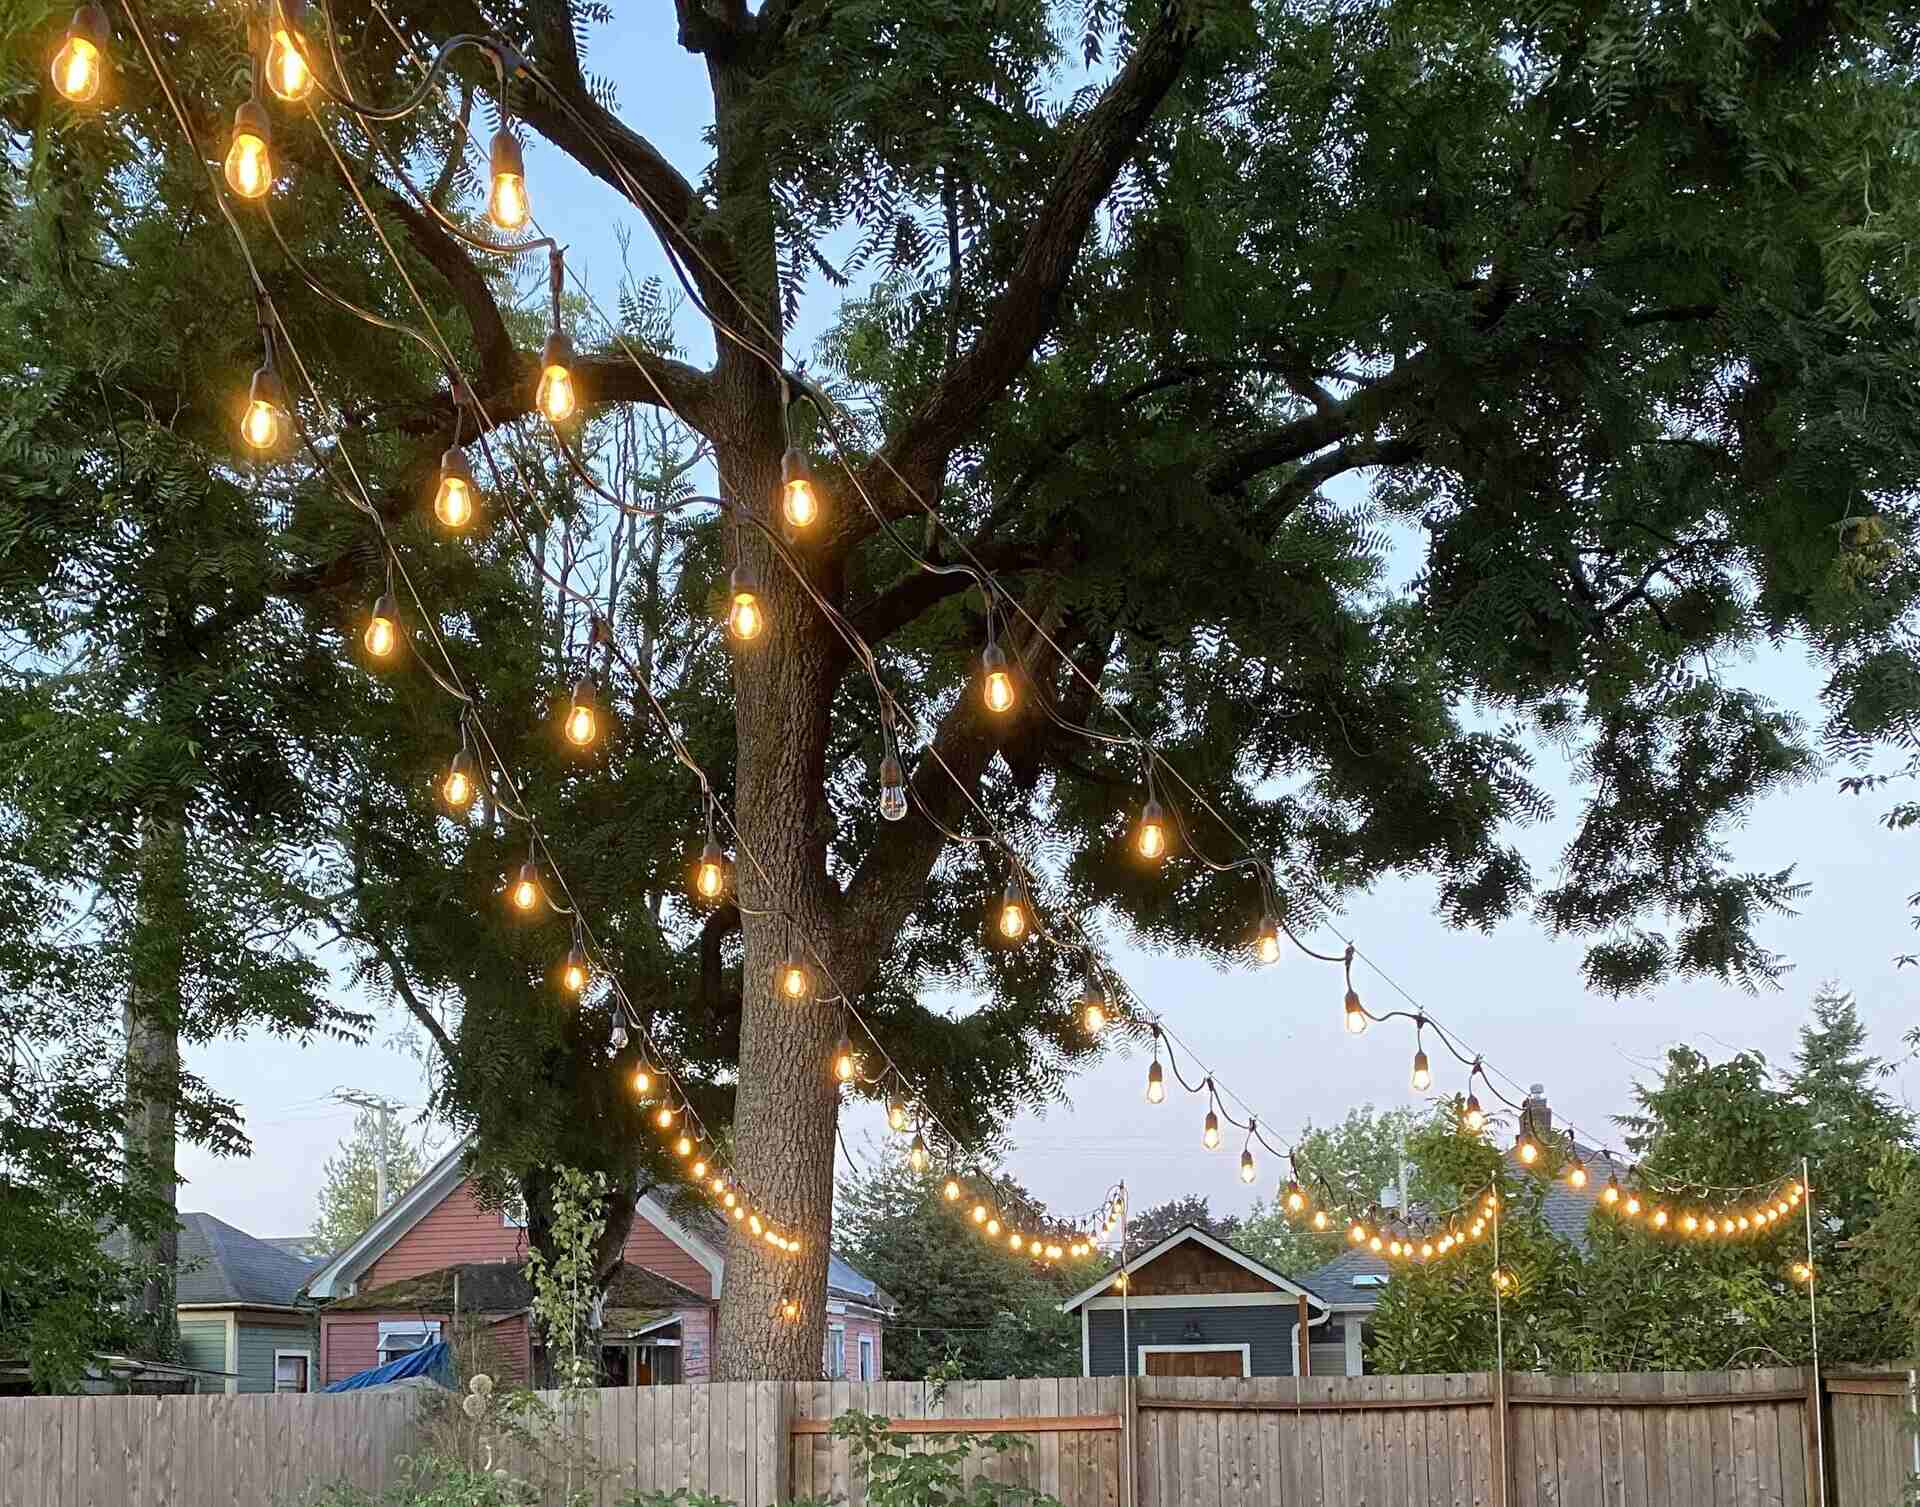
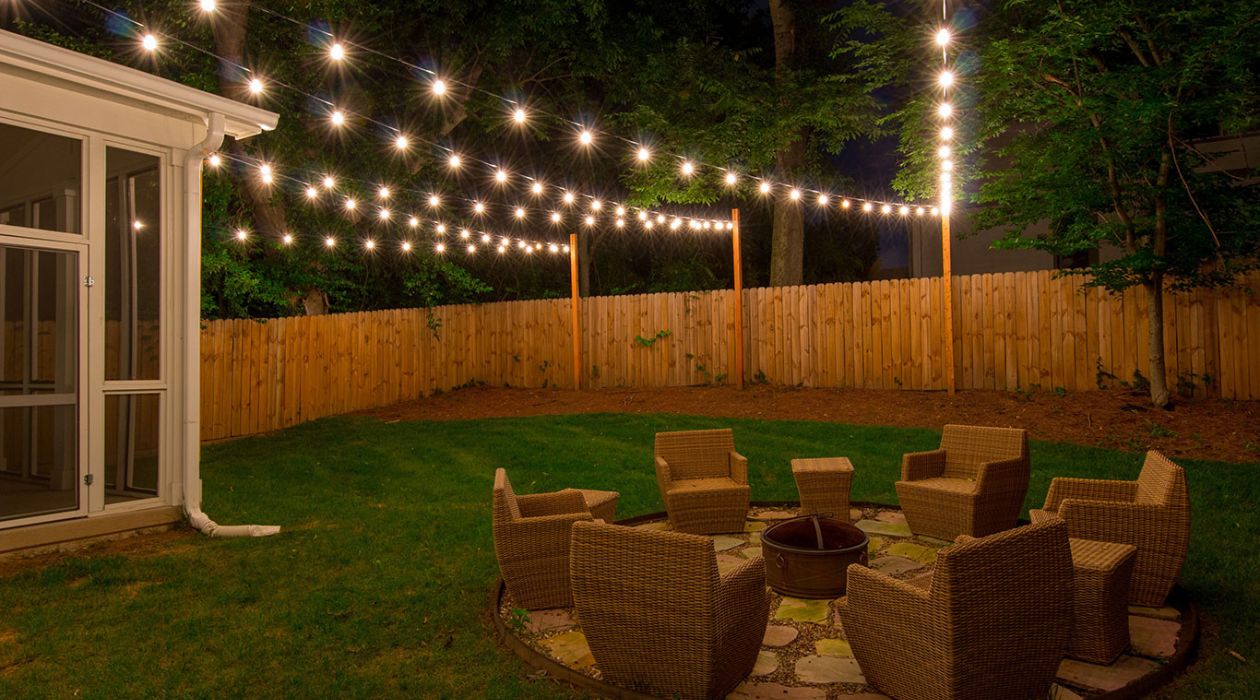
When the sun sets and the stars emerge, outdoor lights can transform your backyard into a magical oasis, creating a warm and inviting ambiance for gatherings or quiet evenings spent under the open sky. Whether you're hosting a festive outdoor party or simply seeking to illuminate your outdoor living space, hanging outdoor lights on stucco can add a touch of enchantment to your home's exterior. The process may seem daunting at first, but with the right tools, materials, and a step-by-step approach, you can easily master the art of adorning your stucco walls with radiant lights.
In this guide, we'll walk you through the essential steps to elegantly hang outdoor lights on stucco, offering valuable insights and practical tips to ensure a seamless and visually stunning result. From planning your layout to drilling pilot holes and attaching mounting clips, each stage of the process will be demystified, empowering you to elevate your outdoor space with a captivating display of illumination. So, gather your tools, unleash your creativity, and let's embark on this illuminating journey together.
Key Takeaways:
- Planning and precision are key when hanging outdoor lights on stucco. Visualize your layout, mark drill points accurately, and insert anchors with care to create a captivating and harmonious lighting display.
- Securely attach mounting clips and hang the lights with patience and precision. The result? An enchanting oasis that elevates your outdoor space with warmth and charm, perfect for gatherings or quiet evenings under the stars.
Read more: How To Hang Christmas Lights To Stucco
Materials Needed
Before embarking on your outdoor lighting project, it’s essential to gather the necessary materials to ensure a smooth and efficient installation process. Here’s a comprehensive list of the items you’ll need:
- Outdoor Lights: Select weather-resistant string lights, LED rope lights, or other outdoor lighting options designed for exterior use. Ensure that the lights are suitable for outdoor conditions and provide the desired level of illumination.
- Stucco Anchors: Invest in sturdy stucco anchors or masonry anchors specifically designed for securing objects to stucco walls. These anchors will provide the necessary support for your outdoor lights, ensuring they remain securely in place.
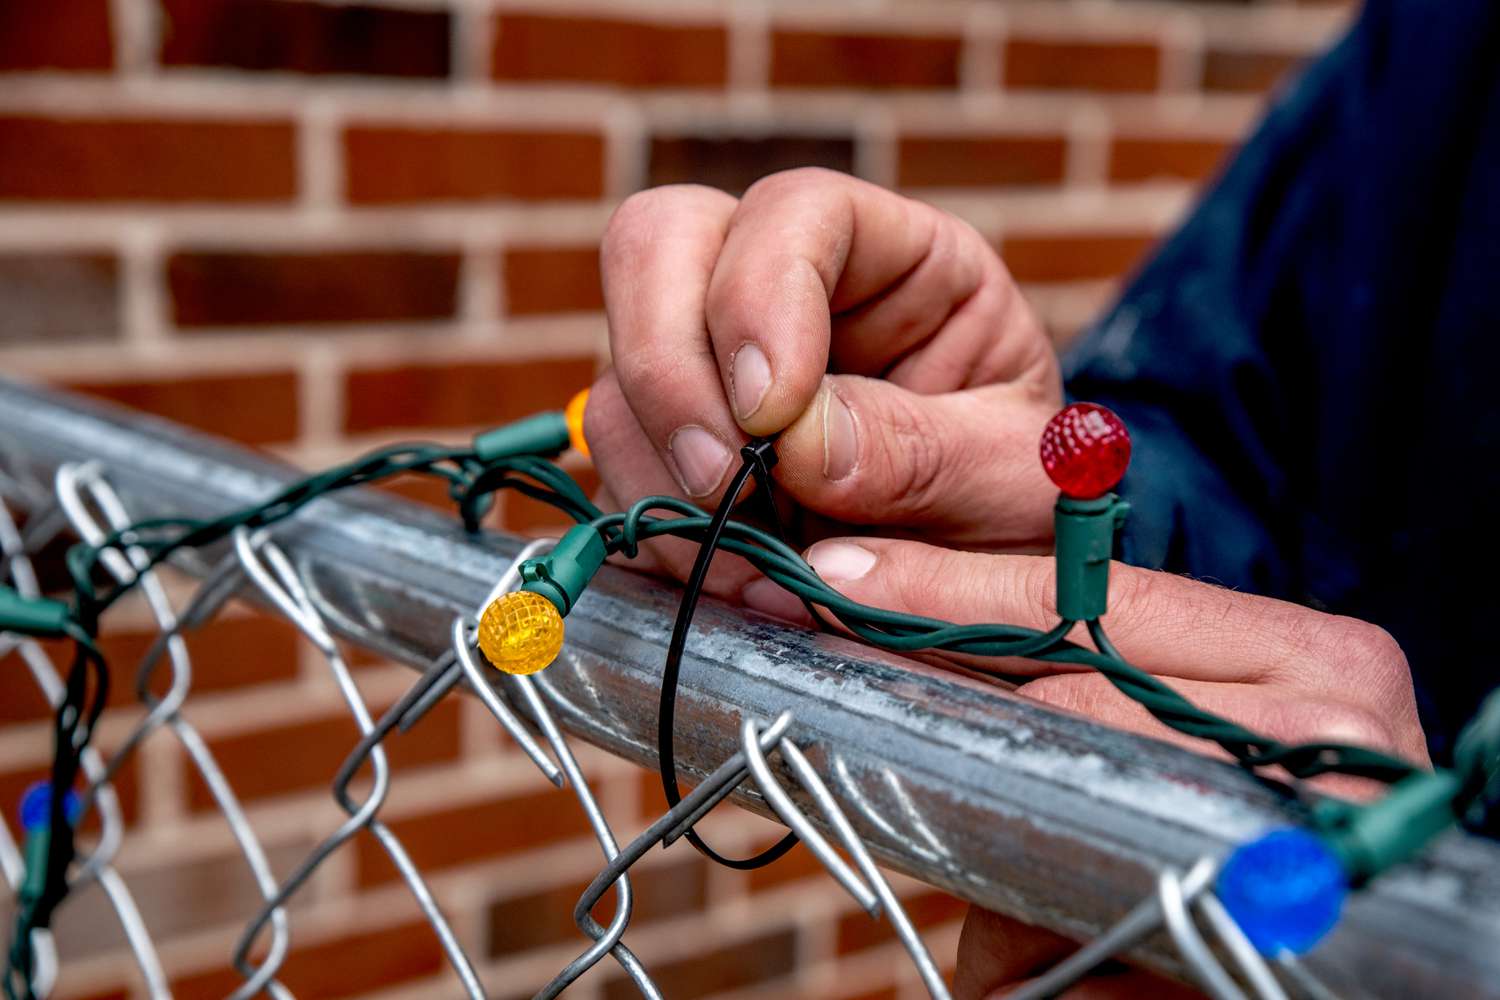
- Mounting Clips or Hooks: Choose durable mounting clips or hooks designed for outdoor applications. These fixtures will enable you to securely attach the outdoor lights to the stucco surface without causing damage.
- Measuring Tape: A reliable measuring tape will aid in planning the layout of your outdoor lights, ensuring precise spacing and alignment for a visually appealing display.
- Pencil or Marker: Use a pencil or marker to mark the locations for drilling pilot holes, guiding the placement of your outdoor lights with accuracy.
- Power Drill: A power drill equipped with the appropriate masonry drill bit will be essential for creating pilot holes in the stucco to accommodate the anchors.
- Safety Glasses: Prioritize safety by wearing protective eyewear while drilling into the stucco to shield your eyes from debris.
- Ladder or Step Stool: Depending on the height of your stucco walls, a stable ladder or step stool will facilitate safe and convenient access to the installation area.
- Outdoor Extension Cord (if applicable): If your outdoor lights require an electrical power source, ensure you have a suitable outdoor extension cord and access to a power outlet.
- Optional: Level, Hammer, and Additional Decorative Elements: Depending on your design preferences, you may also consider using a level to ensure straight alignment, a hammer for securing the anchors, and additional decorative elements to complement your outdoor lighting display.
By assembling these essential materials, you’ll be well-equipped to embark on your outdoor lighting installation with confidence and precision, setting the stage for a captivating and enchanting outdoor ambiance.
Step 1: Plan Your Layout
Before diving into the physical installation of your outdoor lights, take the time to envision and plan the layout of your illumination display. Consider the specific areas of your stucco walls where you intend to hang the lights, taking into account the architectural features, outdoor seating areas, and focal points that could benefit from the warm glow of the lights.
Start by assessing the available power sources and determining whether your chosen location for the lights aligns with convenient access to electrical outlets or an outdoor extension cord. If your design includes multiple strings of lights or interconnected lighting elements, ensure that you have a clear understanding of how they will be powered and connected to create a cohesive and harmonious display.
Next, use a measuring tape to determine the precise spacing and alignment of your outdoor lights. Visualize the desired pattern or arrangement, whether it’s a symmetrical display flanking a doorway or a cascading curtain of lights adorning a patio wall. By marking the intended locations with a pencil or marker, you can create a visual guide for the subsequent steps of the installation process.
Consider the overall ambiance you wish to achieve and the mood you want to evoke with your outdoor lighting. Whether you’re aiming for a subtle, romantic glow or a vibrant, festive atmosphere, the layout and placement of the lights will play a pivotal role in realizing your vision.
By meticulously planning your layout, you can ensure that the installation process proceeds with precision and purpose, resulting in a captivating and harmonious outdoor lighting display that elevates the allure of your outdoor living space.
Step 2: Mark Your Drill Points
Once you’ve finalized the layout for your outdoor lights, the next crucial step is to mark the drill points on the stucco surface. Using a pencil or marker, carefully indicate the precise locations where you will drill pilot holes to accommodate the anchors for securing the lights.
Start by ensuring that your markings align with the planned layout and spacing of the lights, maintaining consistent intervals between each drill point to uphold a balanced and visually appealing arrangement. If you’re incorporating multiple strings of lights or a complex pattern, meticulous attention to detail during this phase will be instrumental in achieving a polished end result.
When marking the drill points, consider the positioning of the stucco anchors and their intended role in supporting the weight and tension of the outdoor lights. Aim to distribute the drill points evenly, accounting for the structural integrity of the stucco and the capacity of the anchors to provide reliable stability for the fixtures.
Additionally, take into account any potential obstructions or architectural features on the stucco surface, such as window frames, trim, or decorative elements. Careful consideration of these factors will help you avoid unnecessary complications and ensure that the drill points are strategically positioned to accommodate the mounting hardware without interference.
By methodically marking your drill points with precision and foresight, you’ll establish a clear roadmap for the subsequent drilling process, laying the groundwork for a seamless and secure attachment of your outdoor lights to the stucco walls.
Step 3: Drill Pilot Holes
With the drill points accurately marked on the stucco surface, it’s time to proceed to the pivotal step of drilling pilot holes to prepare for the installation of the anchors. Before commencing with the drilling process, ensure that you have selected a high-quality masonry drill bit suitable for penetrating stucco with precision and minimal risk of surface damage.
Position the tip of the drill bit directly over the first marked drill point, holding the drill steady and maintaining a perpendicular angle to the stucco surface. Exercise patience and apply gentle, consistent pressure as you begin drilling, allowing the drill bit to gradually penetrate the stucco without undue force. It’s essential to approach the drilling process with care and attentiveness, as stucco is a durable yet delicate material that requires a methodical approach to prevent cracking or chipping.
As the drill bit advances into the stucco, periodically pause to clear away any accumulated debris and ensure that the hole maintains a clean and uniform depth. Continue drilling until the pilot hole reaches the appropriate depth to accommodate the stucco anchors, taking care to maintain a steady hand and avoid exerting excessive pressure that could compromise the integrity of the stucco surface.
Repeat this process for each marked drill point, exercising precision and patience to create a series of pilot holes that align with your predetermined layout and spacing for the outdoor lights. By adhering to a meticulous approach and prioritizing the integrity of the stucco surface, you’ll lay the groundwork for a secure and seamless installation of the anchors.
Upon completing the drilling of the pilot holes, carefully clear away any residual debris from the stucco surface, ensuring that the areas surrounding the holes are clean and free from obstruction. This preparatory step sets the stage for the subsequent insertion of the stucco anchors, bringing you closer to the realization of your captivating outdoor lighting display.
Before hanging outdoor lights on stucco, use a pencil to mark where you want to place the lights. Then, pre-drill holes using a masonry bit to avoid cracking the stucco. Use plastic anchors and screws to secure the lights in place.
Step 4: Insert Anchors
With the pilot holes meticulously drilled into the stucco surface, the next critical phase of the installation process involves the insertion of stucco anchors to provide robust support for securing the outdoor lights. Stucco anchors, also known as masonry anchors, are designed to create a stable foundation for attaching fixtures to stucco walls, ensuring that they remain firmly in place even amidst outdoor elements and varying weather conditions.
Begin by selecting stucco anchors that are specifically engineered for reliable performance in stucco surfaces, offering exceptional grip and durability. With the appropriate anchors in hand, carefully align each anchor with its corresponding pilot hole, preparing to insert them with precision and attention to detail.
Gently position the stucco anchor at the entrance of the pilot hole, ensuring that it sits flush against the stucco surface. Employ a moderate amount of pressure as you begin to insert the anchor, gradually guiding it into the pilot hole with a twisting motion. Exercise caution to avoid applying excessive force that could compromise the integrity of the stucco or cause the anchor to become misaligned during insertion.
As the stucco anchor advances into the pilot hole, monitor its progress to ensure that it remains aligned and seated securely within the stucco surface. The goal is to achieve a snug and stable fit, with the anchor poised to provide robust support for the mounting clips or hooks that will secure the outdoor lights to the stucco walls.
Repeat this process for each pilot hole, methodically inserting the stucco anchors with care and precision. By approaching this phase of the installation process with meticulous attention to detail, you’ll establish a reliable foundation for the secure attachment of the outdoor lights, setting the stage for the final steps that will bring your captivating outdoor lighting display to life.
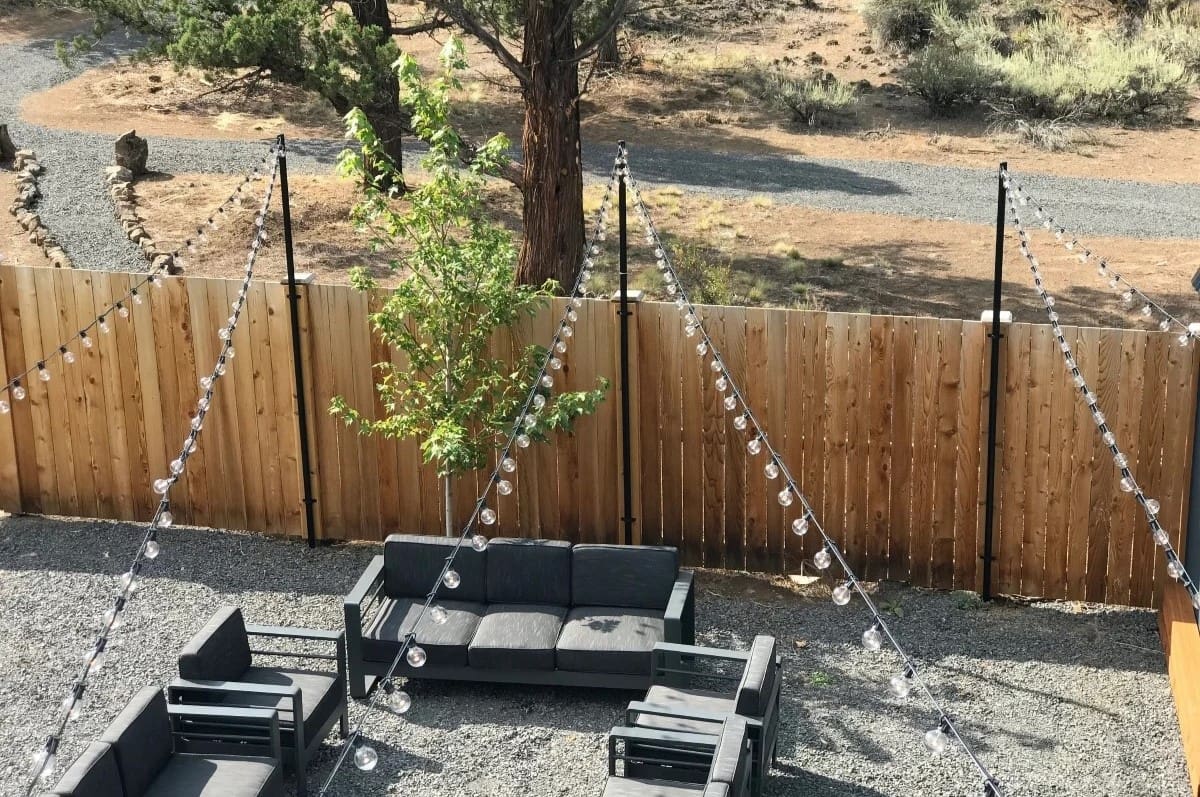
Step 5: Attach Mounting Clips
With the stucco anchors securely in place, the next crucial step in the installation process involves attaching mounting clips or hooks to the stucco walls, providing the essential fixtures for hanging and securing the outdoor lights. These mounting elements serve as the intermediary components that will seamlessly connect the radiant illumination of the lights with the sturdy foundation established by the stucco anchors.
Begin by selecting durable and weather-resistant mounting clips or hooks designed for outdoor applications, ensuring that they are compatible with the stucco anchors and capable of withstanding the rigors of outdoor environments. Prioritize fixtures that offer robust grip and stability, safeguarding the outdoor lights against displacement or damage in the face of wind, rain, and other external factors.
Align the mounting clips or hooks with the installed stucco anchors, positioning them to correspond with the predetermined layout and spacing of the outdoor lights. Ensure that the fixtures are situated at consistent intervals, maintaining alignment with the overall design and pattern of the lighting display.
Once the mounting clips or hooks are properly positioned, proceed to secure them to the stucco walls by leveraging the support provided by the stucco anchors. Employ gentle yet firm pressure to affix the mounting fixtures in place, ensuring that they establish a reliable connection with the stucco surface without compromising the integrity of the anchors or the surrounding stucco material.
As you attach the mounting clips or hooks, verify that they are firmly seated and aligned with precision, ready to accommodate the outdoor lights with stability and resilience. This preparatory step sets the stage for the final and most visually rewarding phase of the installation process: the enchanting illumination of your outdoor space through the radiant glow of the lights adorning the stucco walls.
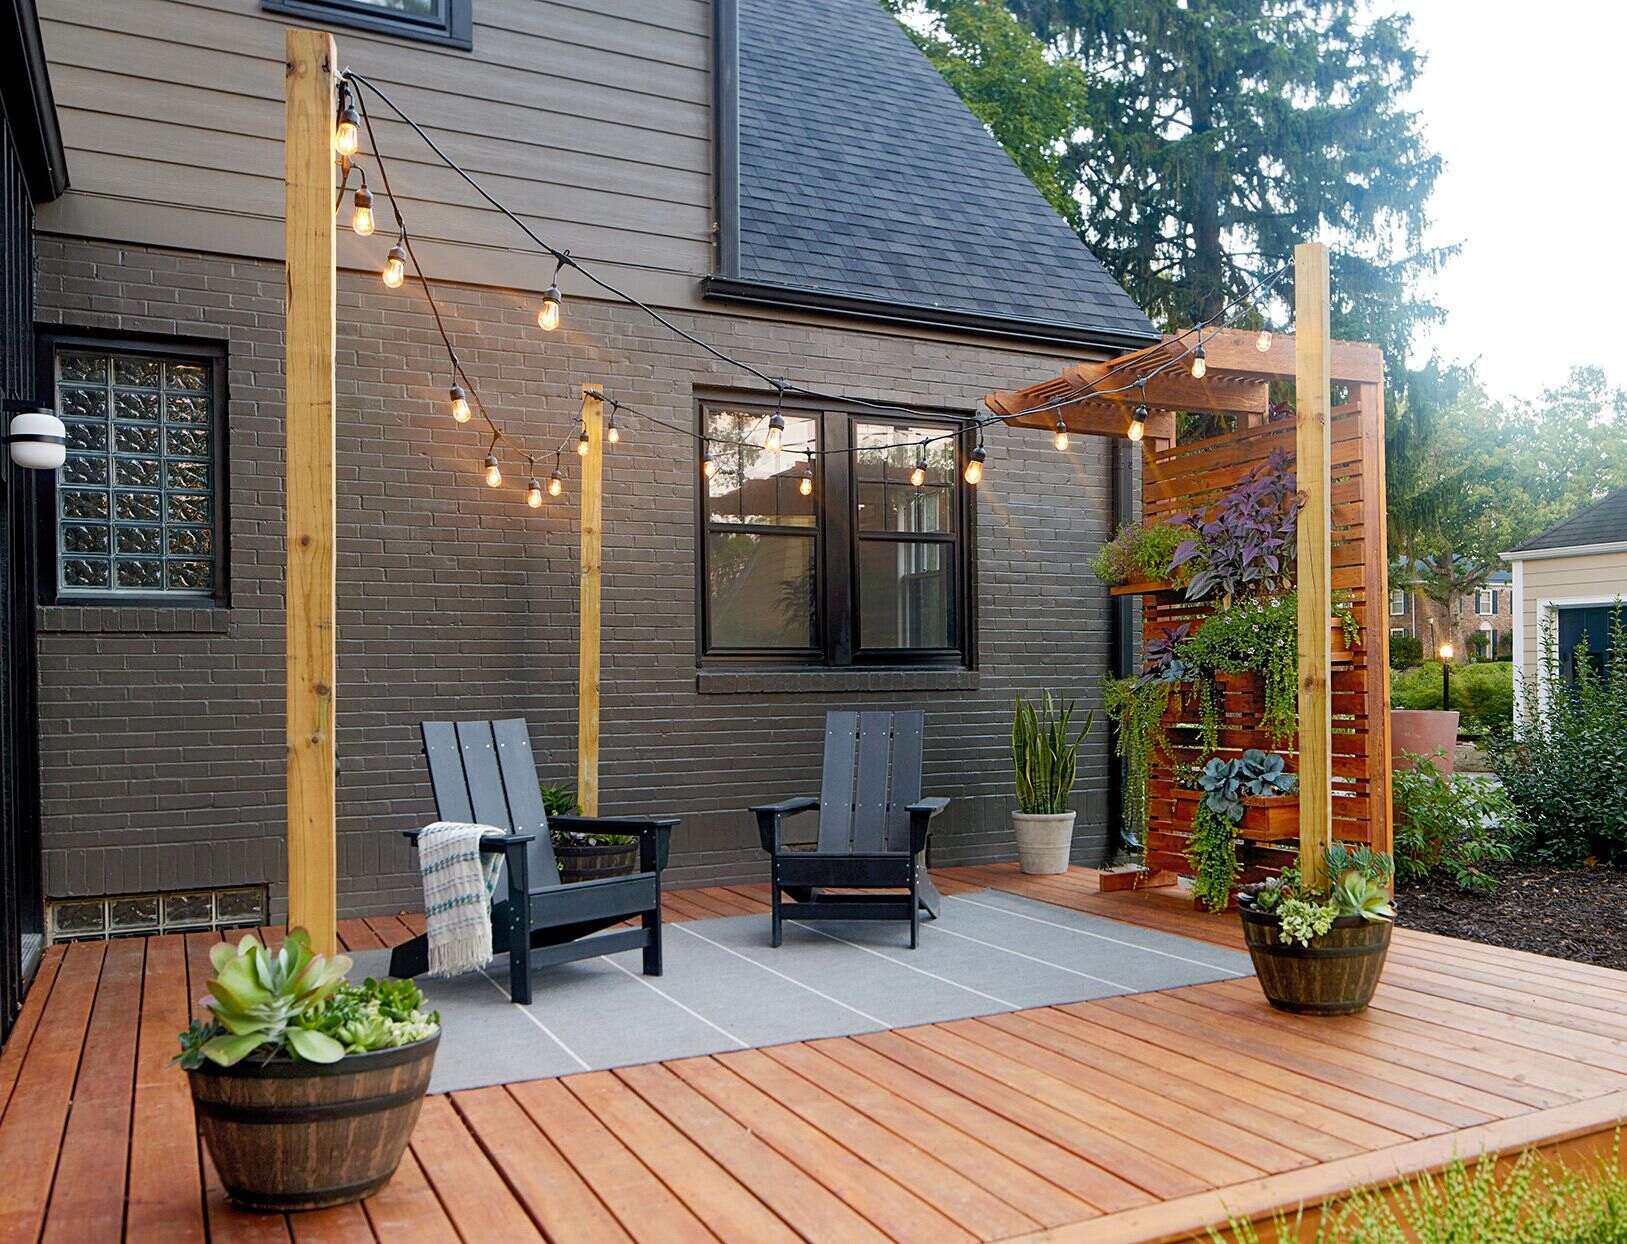
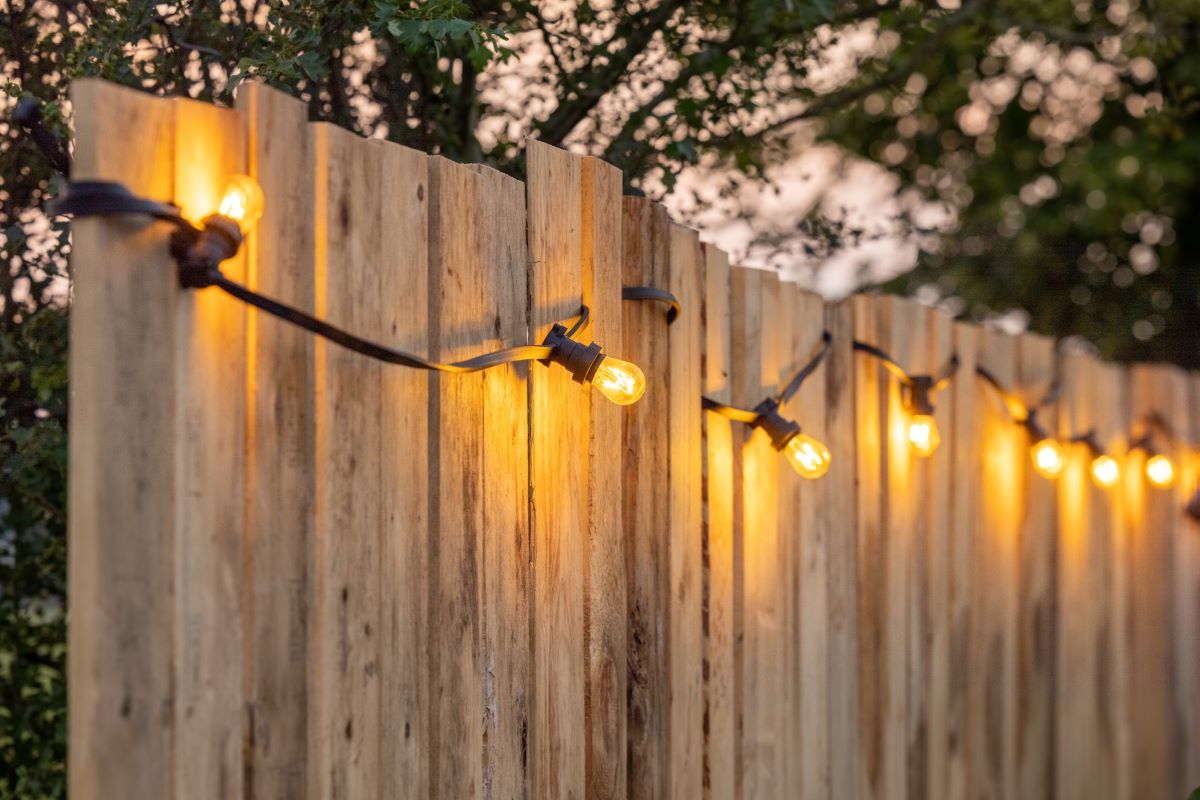
Step 6: Hang the Lights
As the mounting clips or hooks are securely in place, the stage is set for the captivating culmination of your outdoor lighting installation: hanging the radiant lights on the stucco walls. This transformative step brings your meticulously planned layout and meticulous preparatory work to life, infusing your outdoor space with a warm and enchanting glow that elevates its ambiance and allure.
Begin by carefully positioning the outdoor lights, whether they are string lights, LED rope lights, or other radiant fixtures, in alignment with the installed mounting clips or hooks. Exercise patience and precision as you guide the lights into place, ensuring that they are securely engaged with the fixtures to provide a stable and visually appealing display.
As you hang the lights, maintain a keen eye for detail, verifying that they are aligned with the predetermined layout and spacing to achieve a harmonious and balanced arrangement. Whether you’re creating a cascading curtain of lights, framing a doorway with a welcoming glow, or adorning a patio wall with a captivating display, the thoughtful placement of the lights will contribute to the overall impact and allure of your outdoor lighting design.
Once the lights are elegantly hung and aligned to your satisfaction, take a moment to step back and admire the enchanting transformation of your outdoor space. Embrace the warm and inviting ambiance that the radiant lights impart, illuminating your stucco walls with a captivating glow that enhances the atmosphere and creates a welcoming and magical outdoor environment.
With the lights securely hung and aglow, revel in the captivating beauty of your outdoor lighting display, knowing that your meticulous planning, precise execution, and unwavering attention to detail have culminated in a visually stunning and enchanting enhancement of your outdoor living space.
Conclusion
Congratulations on embarking on an illuminating journey to adorn your stucco walls with captivating outdoor lights. Through meticulous planning, precise execution, and unwavering attention to detail, you have transformed your outdoor space into a magical oasis, infusing it with a warm and inviting ambiance that beckons both relaxation and celebration.
By carefully selecting weather-resistant outdoor lights, securing them with sturdy stucco anchors, and thoughtfully arranging them with precision, you have not only enhanced the visual appeal of your outdoor living space but also created a captivating and enchanting atmosphere for gatherings, quiet evenings, and cherished moments under the open sky.
As you bask in the radiant glow of the lights adorning your stucco walls, take pride in the artful transformation you have orchestrated, infusing your outdoor environment with a touch of enchantment and elevating its allure to new heights. Whether you’re hosting festive gatherings, savoring tranquil evenings, or simply reveling in the beauty of your outdoor space, the radiant illumination of the lights serves as a testament to your creativity and dedication to enhancing your surroundings.
As day transitions into night, and the stars emerge to mingle with the warm glow of the lights, your outdoor space becomes a haven of enchantment, beckoning you and your guests to immerse yourselves in its captivating embrace. The allure of the lights dancing against the stucco walls creates a symphony of ambiance, transforming your outdoor setting into a place of wonder and delight.
Embrace the enchanting transformation you have brought to fruition, and revel in the captivating beauty of your outdoor lighting display. Your dedication to creating a visually stunning and inviting outdoor environment has yielded a space that beckons with warmth, charm, and the promise of cherished moments shared under the luminous embrace of the lights.
As you continue to enjoy the captivating allure of your outdoor space, may the radiant glow of the lights on your stucco walls serve as a beacon of enchantment, inviting you to savor the beauty and tranquility of your outdoor sanctuary with every passing day and starlit night.
Frequently Asked Questions about How To Hang Outdoor Lights On Stucco
Was this page helpful?
At Storables.com, we guarantee accurate and reliable information. Our content, validated by Expert Board Contributors, is crafted following stringent Editorial Policies. We're committed to providing you with well-researched, expert-backed insights for all your informational needs.


0 thoughts on “How To Hang Outdoor Lights On Stucco”