Home>Home Security and Surveillance>Where To Mount Blink Outdoor Cameras

Home Security and Surveillance
Where To Mount Blink Outdoor Cameras
Modified: September 1, 2024
Discover the best locations to mount your Blink Outdoor cameras for optimal home security and surveillance. Enhance your protection with strategic camera placement to monitor all angles of your property.
(Many of the links in this article redirect to a specific reviewed product. Your purchase of these products through affiliate links helps to generate commission for Storables.com, at no extra cost. Learn more)
Introduction
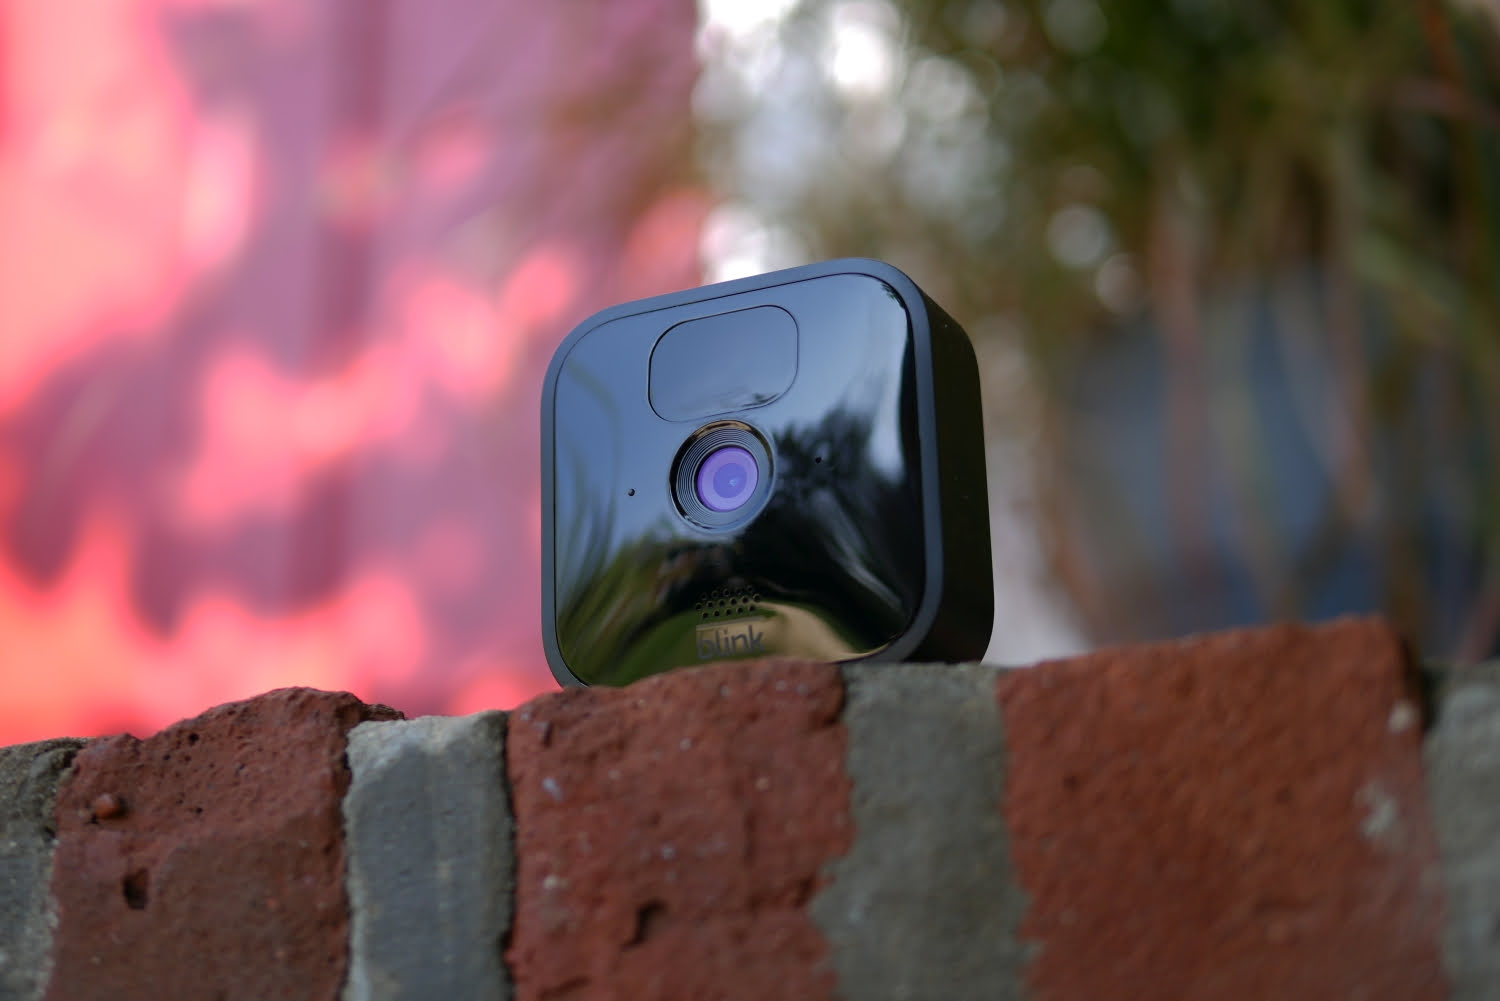
Ensuring the safety and security of our homes is a top priority for many individuals. One effective way to achieve this peace of mind is by installing home security and surveillance systems. The Blink Outdoor Camera is a popular choice due to its ease of use, affordability, and high-quality video footage. However, deciding where to mount these cameras can be confusing for many homeowners.
In this article, we will explore different options for mounting Blink Outdoor cameras and provide guidance on determining the optimal locations for maximum effectiveness. Whether you want to monitor your front yard, backyard, entrance, or any other area of your property, we’ve got you covered.
Before diving into the various mounting options, it’s important to consider a few factors. First and foremost, identify the areas of your property that require surveillance. This could include entry points, vulnerable spots, or any other areas of concern. Secondly, make note of any obstacles such as trees, bushes, or architectural features that may hinder the camera’s field of view. Lastly, keep in mind that the Blink Outdoor Camera requires a stable Wi-Fi connection to function properly, so proximity to a reliable Wi-Fi source is essential.
Now, let’s explore the different mounting options for Blink Outdoor cameras and how they can be utilized to enhance the security of your home.
Key Takeaways:
- Choose the Right Spot: Mount Blink Outdoor cameras at main entry points, vulnerable areas, backyard, driveway, and parking areas for comprehensive coverage and effective surveillance.
- Versatile Mounting Options: Whether on walls, ceilings, eaves, branches, window frames, or fence posts, each mounting option offers unique benefits and considerations for home security.
Determining the Optimal Locations for Blink Outdoor Cameras
When it comes to home security, the placement of your Blink Outdoor cameras plays a crucial role in maximizing their effectiveness. Here are some tips to help you determine the best locations:
- Main Entry Points: One of the primary areas to consider is the main entrance of your home. This includes the front door, back door, or any other entrance that is frequently used. Mounting a camera at these points provides a clear view of anyone entering or exiting your property.
- Vulnerable Areas: Identify areas that are vulnerable to break-ins or suspicious activity. This could be windows, side doors, or garages. By strategically placing cameras in these locations, you can capture any potential intrusions and have evidence in case of any incidents.
- Backyard and Patio: If you have a backyard or patio, it’s important to have surveillance in these areas as well. Criminals often target these areas because they are less visible from the street. Having cameras installed here will not only deter potential intruders but also provide you with a clear view of any outdoor activities.
- Driveway and Parking areas: Another crucial spot to consider is the driveway and parking areas. Placing a camera here can help monitor any vehicles entering or leaving your property, as well as keep an eye on any suspicious activity happening near your vehicles.
Remember, the goal is to have comprehensive coverage of your property without any blind spots. It’s essential to consider the range and angle of the cameras to ensure they capture the intended areas effectively. Test the camera’s view from different angles and adjust as necessary to maximize coverage.
Additionally, take into account the proximity to power sources and Wi-Fi connectivity. These factors are essential for the proper functioning of the cameras. You may need to install the cameras near power outlets or consider using solar panels or battery-powered options for areas without easy access to electricity.
By carefully considering these factors and determining the optimal locations for your Blink Outdoor cameras, you can create a robust security system that provides peace of mind and protects your home and loved ones.
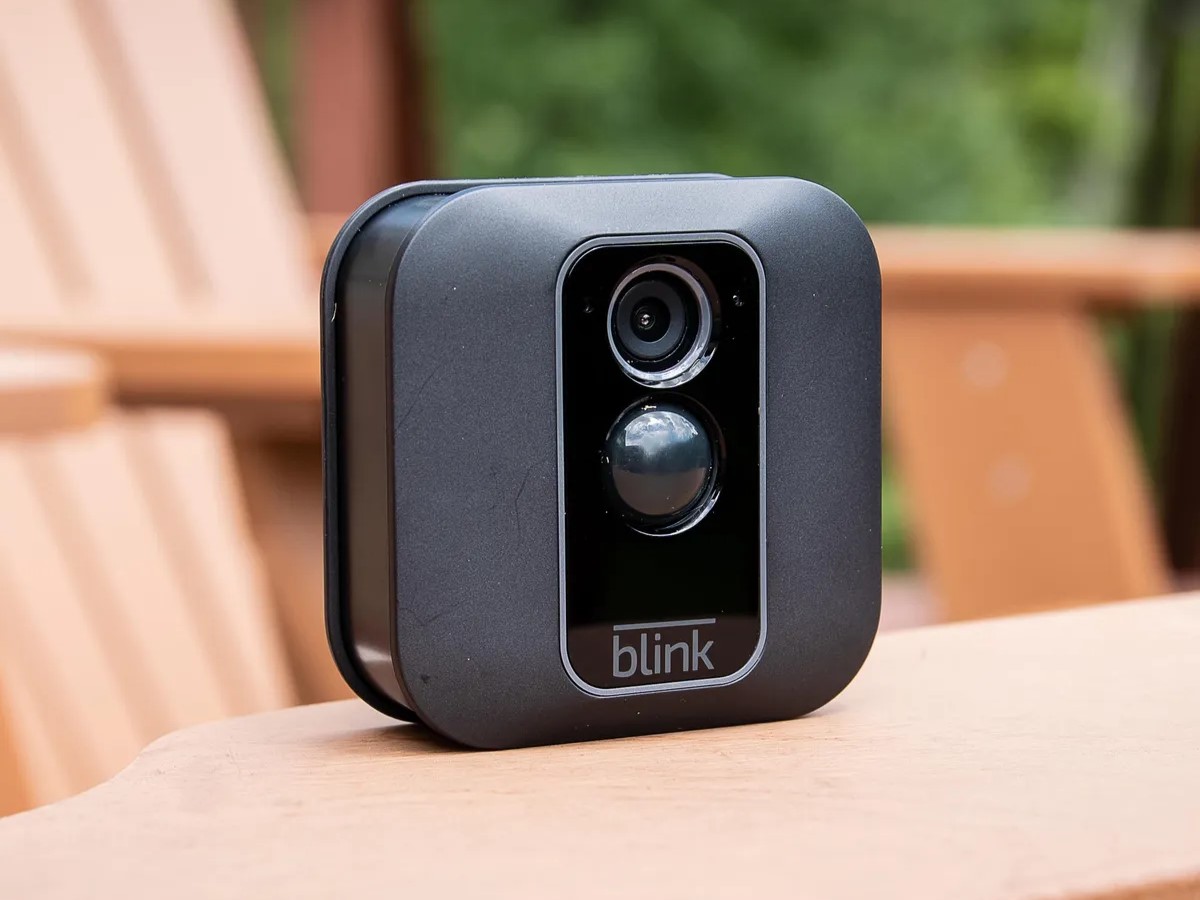
Mounting the Blink Outdoor Cameras on Walls
Mounting Blink Outdoor cameras on walls is a popular choice for homeowners looking to monitor specific areas around their property. Here’s a step-by-step guide on how to mount the cameras on walls:
- Select the mounting location: Identify the specific area on the wall where you want to install the camera. Ensure that it provides a clear view of the intended area and is within the Wi-Fi range.
- Gather the necessary tools: You’ll need a drill, drill bits, screws, wall anchors (if necessary), and a screwdriver.
- Mark the drill points: Use a pencil or marker to mark where the drill holes will be made. Make sure the marks are level and align with the mounting holes on the camera’s base.
- Drill the holes: Use a drill and the appropriate size drill bit to create holes in the marked locations. If you’re drilling into a surface like brick or concrete, you may need to use a masonry drill bit.
- Insert wall anchors (if necessary): If you’re mounting the camera on a surface that requires added support, such as drywall, insert wall anchors into the drilled holes. This will ensure a secure attachment.
- Attach the camera’s base: Place the camera’s base over the drilled holes and align the mounting holes. Secure the base to the wall using the screws provided.
- Attach the camera: Once the camera’s base is securely attached, attach the camera to the base by aligning the mounting holes and twisting the camera clockwise until it locks into place.
- Adjust the camera angle: The Blink Outdoor camera allows for easy adjustment of the camera angle. Orientate the camera to capture the desired area by gently rotating it on its swivel mount.
- Connect the camera: Follow the manufacturer’s instructions to connect the camera to your Blink system using the Blink app. This will involve scanning the QR code on the camera and connecting it to your home’s Wi-Fi network.
- Test the camera: Ensure that the camera is working properly by checking the live feed on your Blink app. Make any necessary adjustments to the camera angle or settings to optimize its performance.
Mounting Blink Outdoor cameras on walls provide a versatile and customizable surveillance solution. It allows you to easily monitor specific areas and keep a watchful eye on your property.
Mounting the Blink Outdoor Cameras on Ceilings
Mounting Blink Outdoor cameras on ceilings can be a great option for homeowners who want to achieve a wide-angle view and discrete placement. Follow these steps to mount the cameras on ceilings:
- Select the mounting location: Identify the specific area on the ceiling where you want to install the camera. Ensure that it provides the desired coverage and is within the Wi-Fi range.
- Gather the necessary tools: You’ll need a drill, drill bits, screws, a screwdriver, and possibly a ladder or step stool.
- Mark the drill points: Use a pencil or marker to mark where the drill holes will be made. Make sure the marks are level and align with the mounting holes on the camera’s base.
- Drill the holes: Use a drill and the appropriate size drill bit to create holes in the marked locations. Make sure to drill into a solid part of the ceiling, such as a ceiling joist, for a secure installation.
- Attach the camera’s base: Place the camera’s base over the drilled holes and align the mounting holes. Secure the base to the ceiling using the screws provided.
- Attach the camera: Once the camera’s base is securely attached, attach the camera to the base by aligning the mounting holes and twisting the camera clockwise until it locks into place.
- Adjust the camera angle: The Blink Outdoor camera allows for easy adjustment of the camera angle. Orientate the camera to capture the desired area by gently rotating it on its swivel mount.
- Connect the camera: Follow the manufacturer’s instructions to connect the camera to your Blink system using the Blink app. This will involve scanning the QR code on the camera and connecting it to your home’s Wi-Fi network.
- Test the camera: Ensure that the camera is working properly by checking the live feed on your Blink app. Make any necessary adjustments to the camera angle or settings to optimize its performance.
Mounting Blink Outdoor cameras on ceilings provides a wider field of view, covering more area and minimizing blind spots. Additionally, the cameras are less likely to be tampered with or noticed by intruders, enhancing the security of your home.
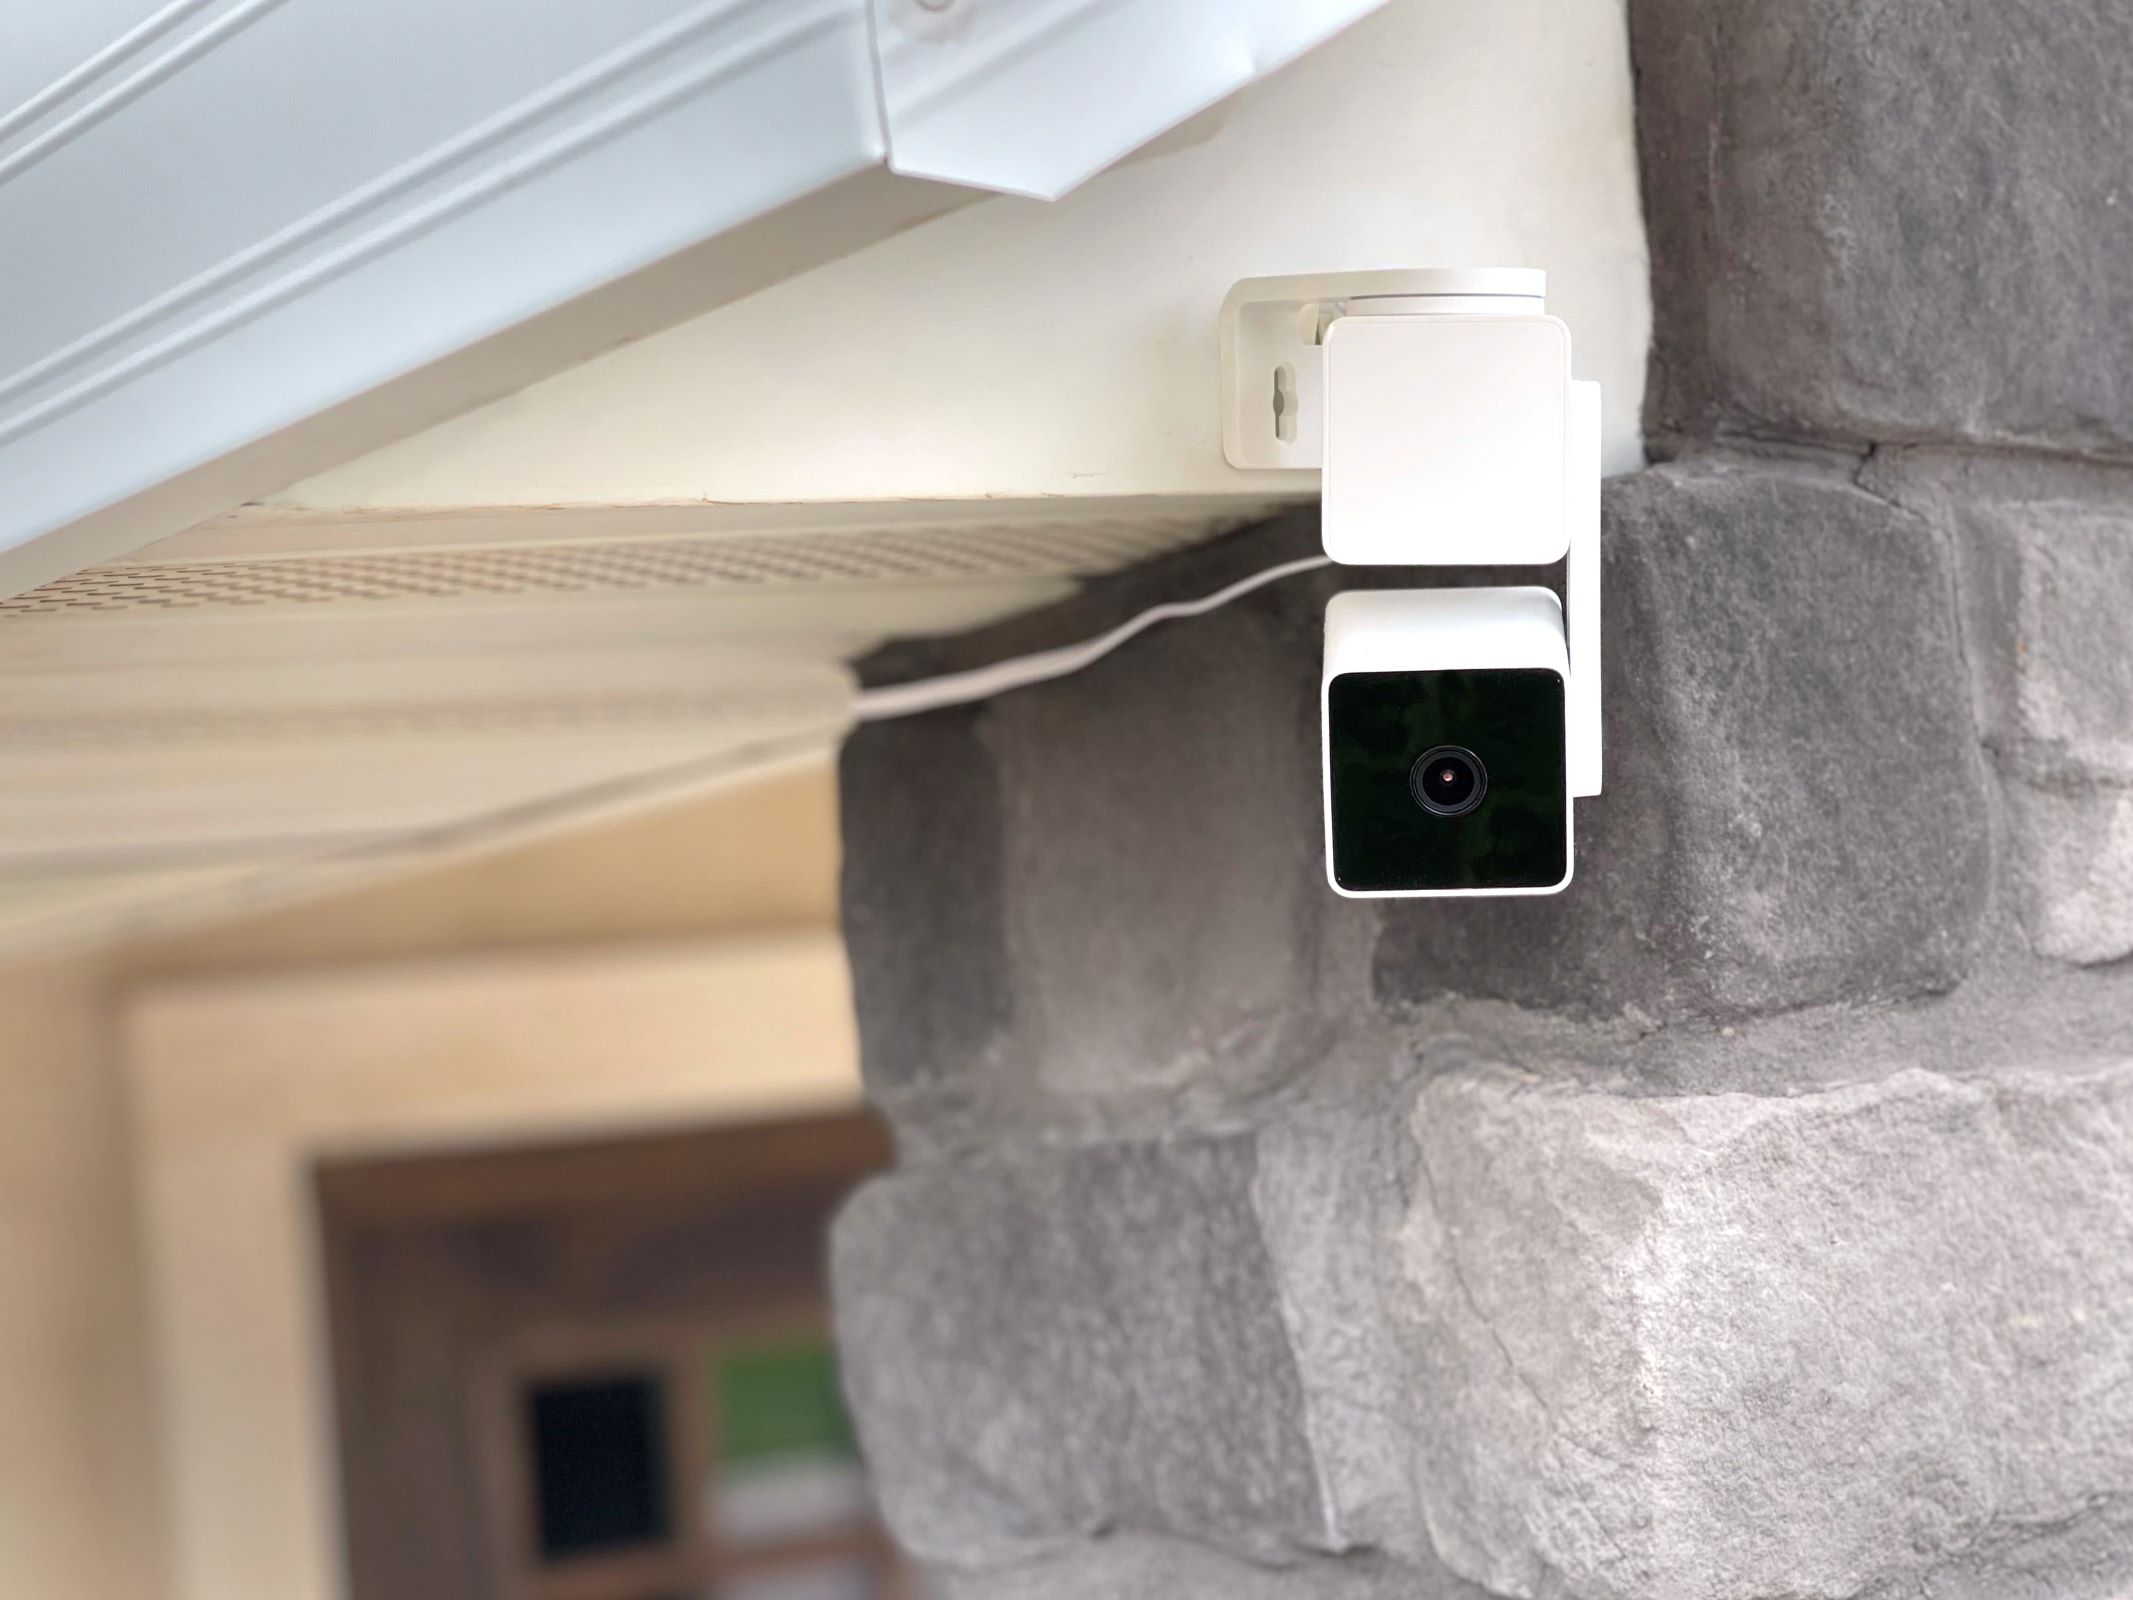
Mounting the Blink Outdoor Cameras on Eaves or Roof Overhangs
Mounting Blink Outdoor cameras on eaves or roof overhangs can provide an elevated vantage point and excellent coverage of the surrounding area. Here’s how you can mount the cameras on eaves or roof overhangs:
- Select the mounting location: Identify the specific area on the eaves or roof overhang where you want to install the camera. Ensure that it provides a clear view of the intended area while maintaining a secure and stable mounting surface.
- Gather the necessary tools: You’ll need a drill, drill bits, screws, a screwdriver, and possibly a ladder or extension pole.
- Mark the drill points: Use a pencil or marker to mark where the drill holes will be made. Make sure the marks are level and align with the mounting holes on the camera’s base.
- Drill the holes: Use a drill and the appropriate size drill bit to create holes in the marked locations. Be mindful of the material you’re drilling into and adjust the drilling technique accordingly.
- Attach the camera’s base: Place the camera’s base over the drilled holes and align the mounting holes. Secure the base to the eaves or roof overhang using the screws provided. If needed, use washers or spacers to ensure a snug fit.
- Attach the camera: Once the camera’s base is securely attached, attach the camera to the base by aligning the mounting holes and twisting the camera clockwise until it locks into place.
- Adjust the camera angle: Use an extension pole or ladder to reach the camera and adjust its angle as needed. Ensure that the camera captures the desired area effectively.
- Connect the camera: Follow the manufacturer’s instructions to connect the camera to your Blink system using the Blink app. This will involve scanning the QR code on the camera and connecting it to your home’s Wi-Fi network.
- Test the camera: Verify that the camera is functioning correctly by checking the live feed on your Blink app. Make any necessary adjustments to the camera angle or settings for optimal performance.
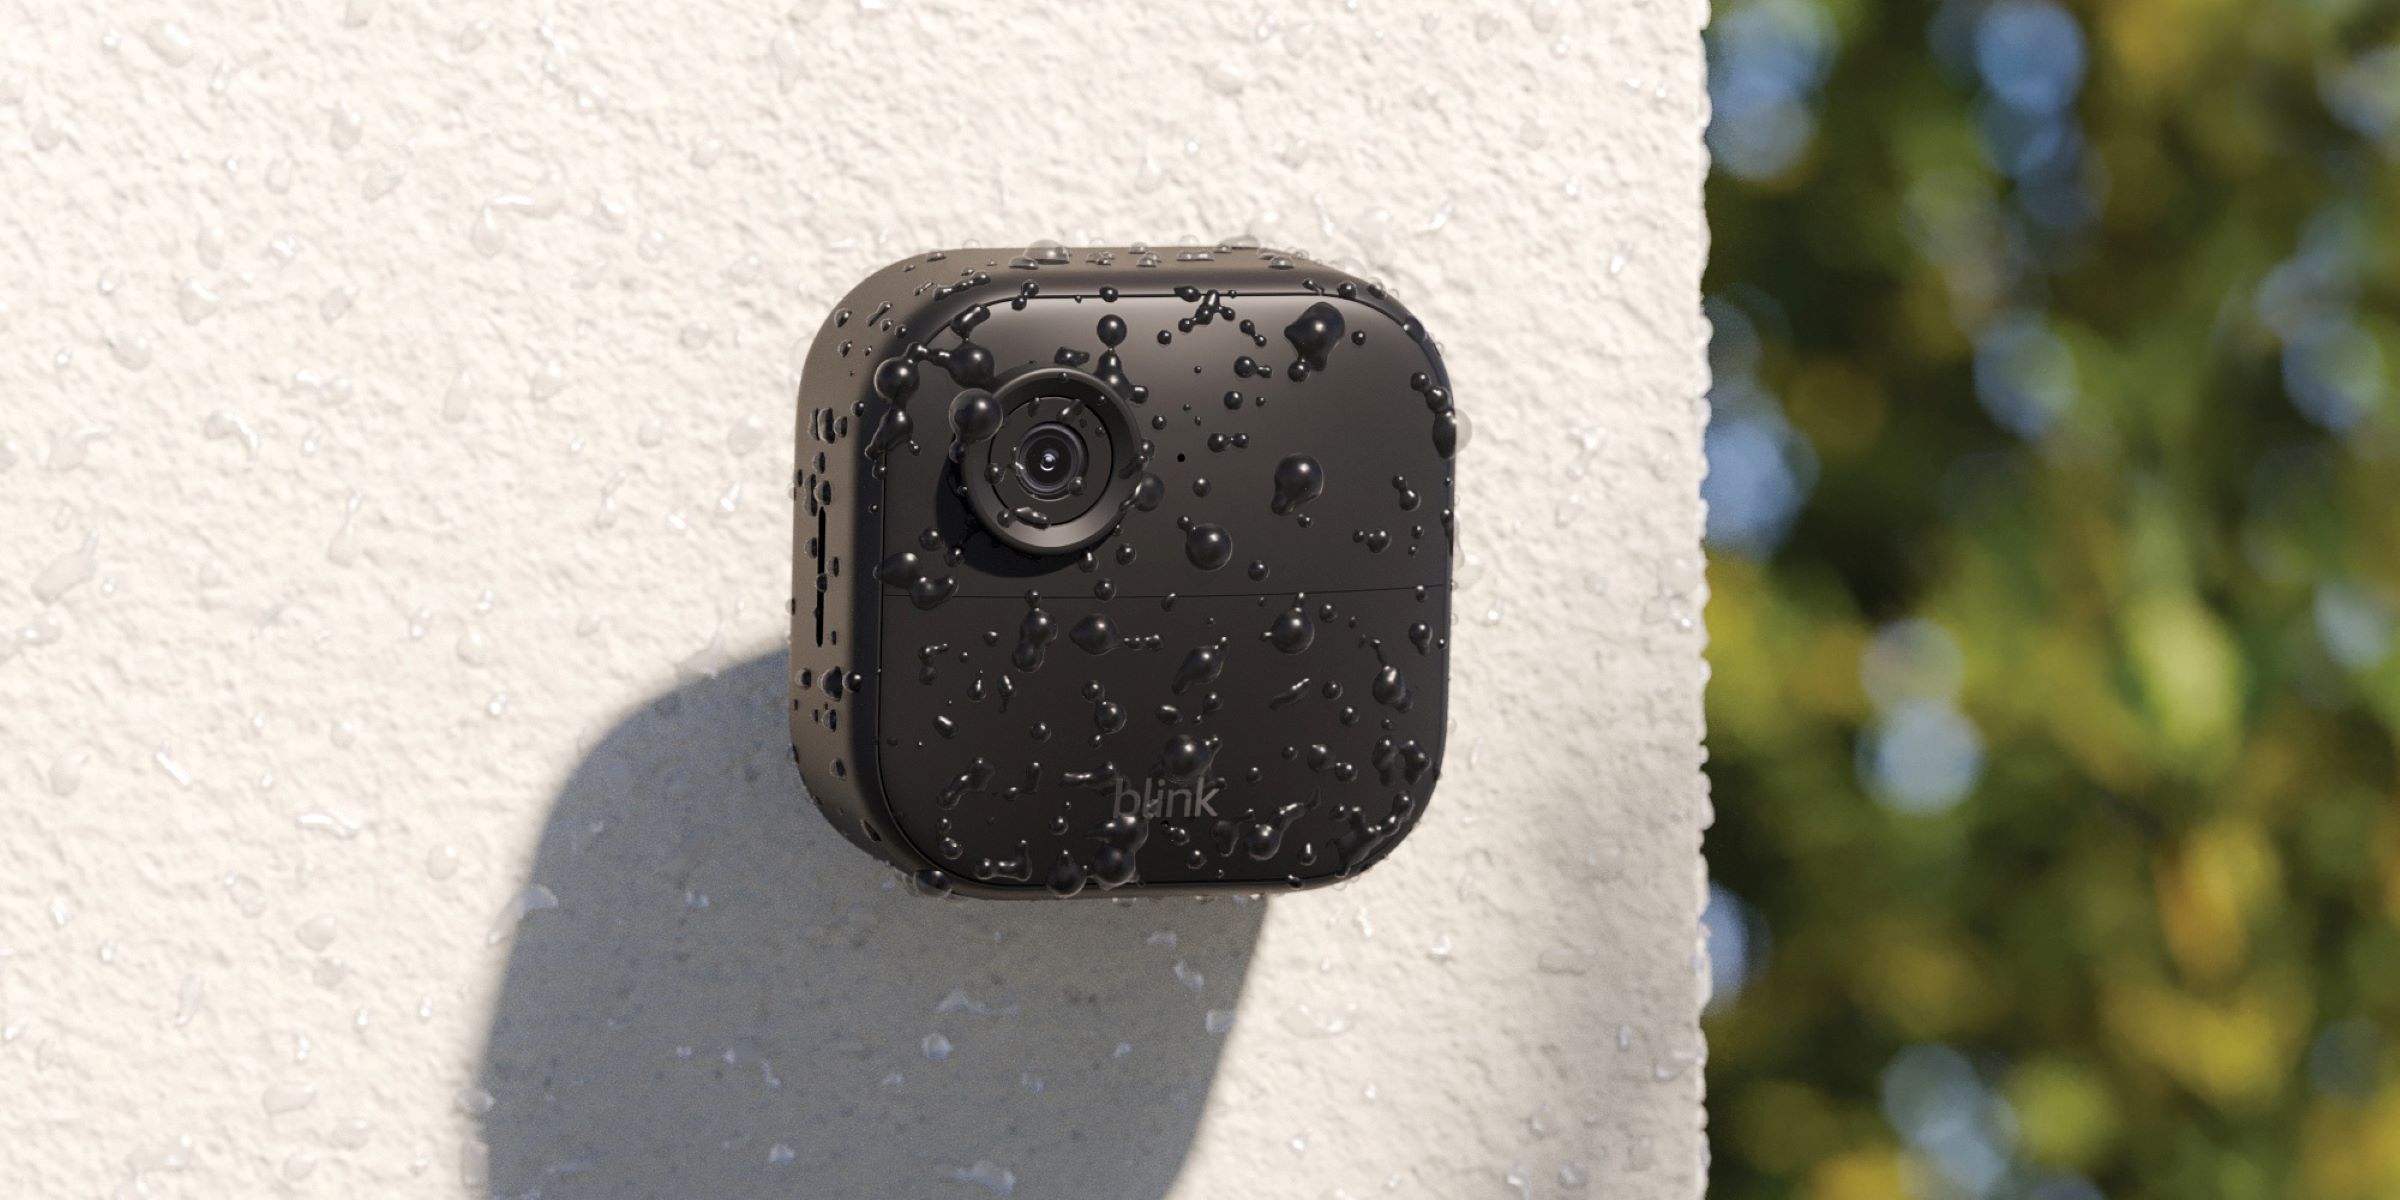
Mounting Blink Outdoor cameras on eaves or roof overhangs provides a higher vantage point, which can enhance the field of view and minimize obstructions. This position also offers some protection from the elements and potential tampering, making it an excellent choice for outdoor surveillance.
When mounting Blink Outdoor cameras, place them 7-10 feet above the ground for optimal coverage and to prevent tampering. Avoid pointing them directly at sources of light to minimize glare.
Read more: What Is The Latest Blink Outdoor Camera
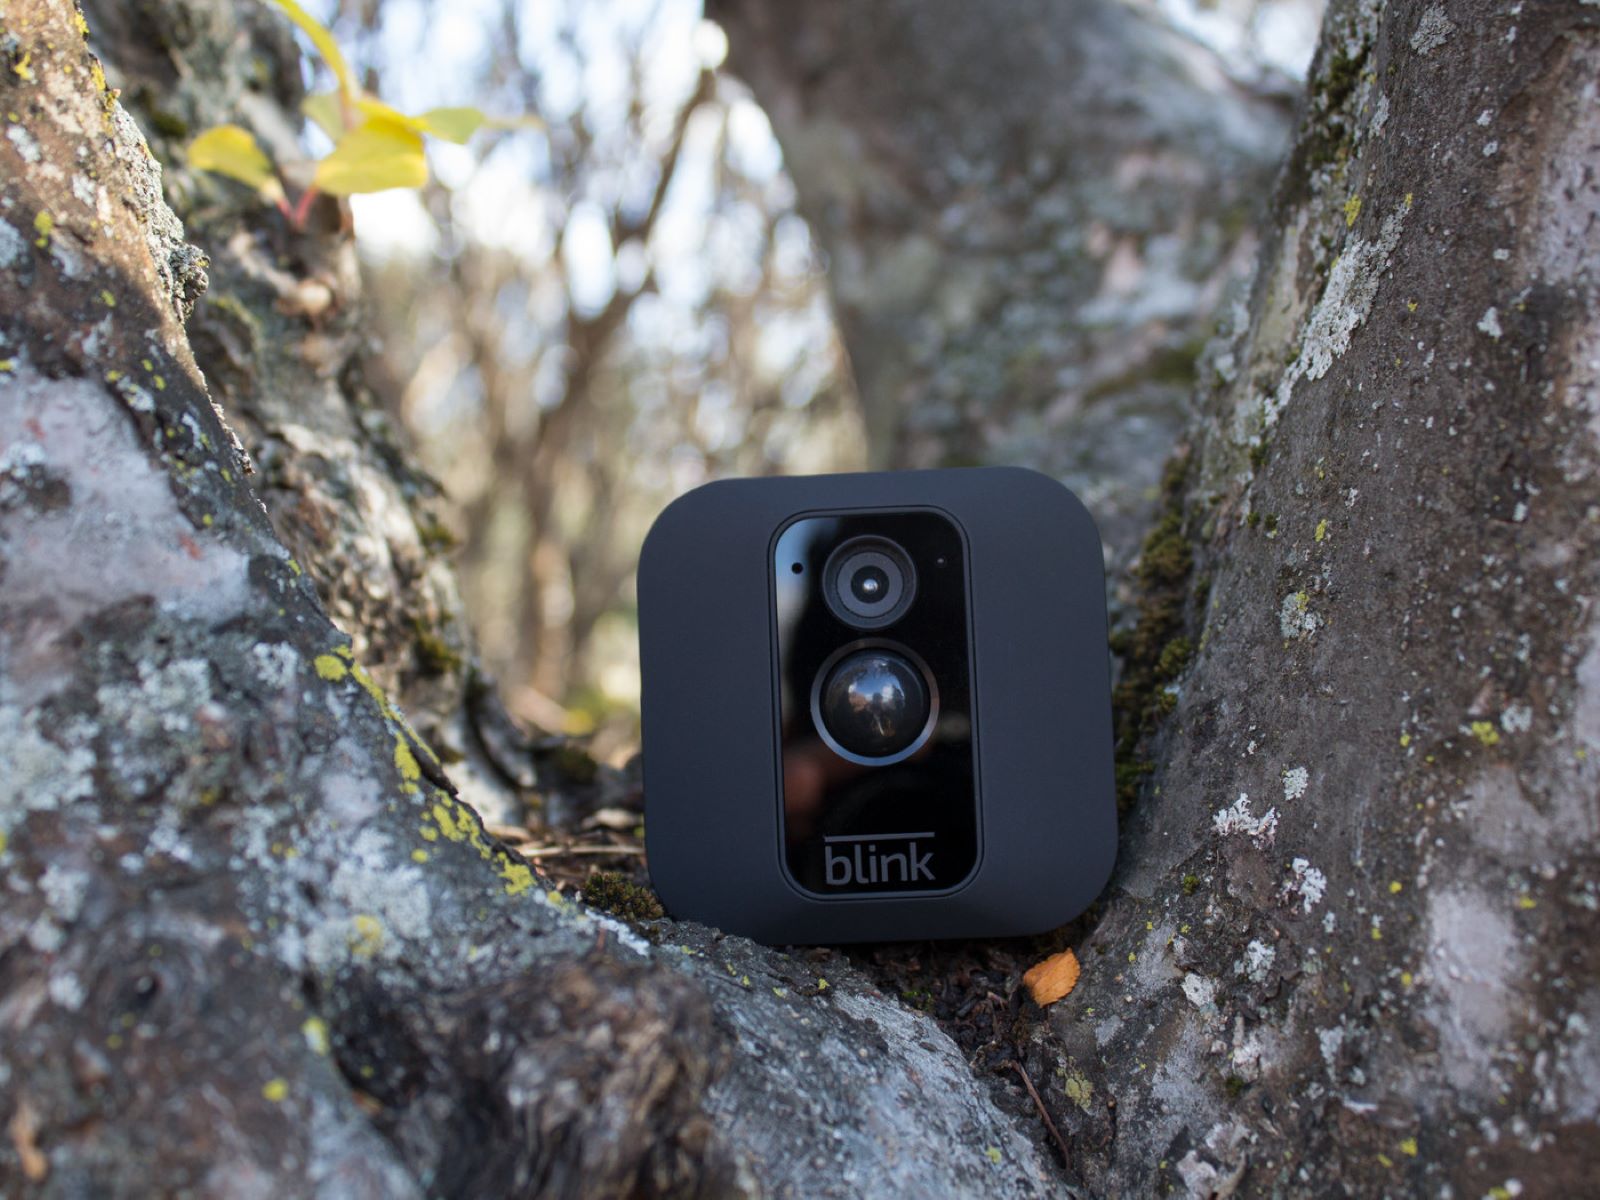
Mounting the Blink Outdoor Cameras on Branches or Poles
If you’re looking to monitor areas where traditional mounting options are not feasible, mounting Blink Outdoor cameras on branches or poles can provide a creative and flexible solution. Follow these steps to mount the cameras on branches or poles:
- Select a sturdy branch or pole: Look for a branch or pole that is strong and stable enough to hold the camera securely. Ensure that it is within the Wi-Fi range and provides a good view of the intended area.
- Gather the necessary tools: You’ll need zip ties, adjustable mounting brackets, and a ladder or step stool.
- Attach the mounting bracket: Use zip ties to securely attach the adjustable mounting bracket to the branch or pole. Make sure it is tight and stable.
- Attach the camera to the bracket: Mount the Blink Outdoor camera onto the adjustable mounting bracket. Ensure that it is secured properly and positioned at the desired angle.
- Adjust the camera angle: Use the adjustable mounting bracket to fine-tune the camera angle. Make sure it captures the intended area effectively.
- Connect the camera: Follow the manufacturer’s instructions to connect the camera to your Blink system using the Blink app. This will involve scanning the QR code on the camera and connecting it to your home’s Wi-Fi network.
- Test the camera: Verify that the camera is functioning correctly by checking the live feed on your Blink app. Make any necessary adjustments to the camera angle or settings for optimal performance.
Mounting Blink Outdoor cameras on branches or poles offers a unique perspective and the ability to monitor areas that might otherwise have limited surveillance options. It’s essential to ensure that the branch or pole is stable and can support the weight of the camera. Additionally, be mindful of any potential obstructions that may hinder the camera’s view.
Keep in mind that this option may require periodic maintenance to ensure the camera remains secure and stable, especially during inclement weather or when branches are subject to movement.
Mounting the Blink Outdoor Cameras on Window Frames
If you’re looking for a convenient and non-intrusive way to monitor the area outside your windows, mounting Blink Outdoor cameras on window frames can be an excellent solution. Follow these steps to mount the cameras on window frames:
- Select the window: Identify the window through which you want to monitor the outside area. Ensure that it provides a clear view of the intended area and is within the Wi-Fi range.
- Gather the necessary tools: You’ll need adhesive mounts (specially designed for window surfaces), a cleaning cloth, and possibly a step stool.
- Clean the window surface: Use a cleaning cloth to remove any dirt, dust, or grease from the window frame. Ensure that the surface is clean and dry before proceeding.
- Attach the adhesive mount: Peel off the backing from the adhesive mount and carefully press it onto the cleaned window frame. Apply firm and even pressure to ensure it adheres properly.
- Attach the camera to the mount: Mount the Blink Outdoor camera onto the adhesive mount. Ensure that it is securely attached and positioned at the desired angle.
- Adjust the camera angle: Fine-tune the camera angle to capture the desired area effectively. Ensure that it provides a clear view without any obstructions.
- Connect the camera: Follow the manufacturer’s instructions to connect the camera to your Blink system using the Blink app. This will involve scanning the QR code on the camera and connecting it to your home’s Wi-Fi network.
- Test the camera: Check the live feed on your Blink app to confirm that the camera is functioning correctly. Make any necessary adjustments to the camera angle or settings for optimal performance.
Mounting Blink Outdoor cameras on window frames allows for easy installation and doesn’t require any drilling or permanent modifications to your home. It provides the advantage of monitoring the outside area without obstructing the view from your windows.
Keep in mind that mounting the camera on a window may have limitations, such as glare from the glass or potential obstruction when the window is open. Consider these factors when selecting the window and adjusting the camera angle for optimal performance.
Mounting the Blink Outdoor Cameras on Fence Posts
If you have a fence surrounding your property, mounting Blink Outdoor cameras on fence posts can provide an effective way to monitor the perimeter. Here’s how you can mount the cameras on fence posts:
- Select the mounting location: Identify the fence post that provides the best vantage point and coverage of the desired area. Ensure it is within the Wi-Fi range.
- Gather the necessary tools: You’ll need a drill, drill bits, screws, a screwdriver, and possibly a ladder or step stool.
- Mark the drill points: Use a pencil or marker to mark where the drill holes will be made on the fence post. Ensure the marks are level and align with the mounting holes on the camera’s base.
- Drill the holes: Use a drill and the appropriate size drill bit to create holes in the marked locations on the fence post.
- Attach the camera’s base: Place the camera’s base over the drilled holes on the fence post and align the mounting holes. Secure the base to the post using the screws provided.
- Attach the camera: Once the camera’s base is securely attached to the fence post, mount the Blink Outdoor camera onto the base by aligning the mounting holes and twisting the camera clockwise until it locks into place.
- Adjust the camera angle: Use the swivel mount on the camera to adjust its angle and aim it towards the desired area. Ensure it captures the intended area effectively.
- Connect the camera: Follow the manufacturer’s instructions to connect the camera to your Blink system using the Blink app. This will involve scanning the QR code on the camera and connecting it to your home’s Wi-Fi network.
- Test the camera: Verify that the camera is functioning correctly by checking the live feed on your Blink app. Make any necessary adjustments to the camera angle or settings for optimal performance.
Mounting Blink Outdoor cameras on fence posts provides the advantage of monitoring the perimeter of your property, deterring potential intruders, and capturing any suspicious activity. Ensure that the fence post is sturdy enough to support the camera and consider the camera’s placement to avoid any potential obstructions from the fence itself.
Regularly check the camera’s position and angle to maintain optimal coverage as the foliage or landscape around the fence posts may change over time.
Conclusion
Mounting Blink Outdoor cameras strategically around your property is essential for ensuring the safety and security of your home. By following the guidelines and tips provided in this article, you can determine the optimal locations for installing your cameras and choose the mounting option that suits your needs the best.
Whether you decide to mount the cameras on walls, ceilings, eaves, branches, window frames, or fence posts, each option offers unique benefits and considerations.
Mounting the cameras on walls provides a versatile and customizable solution, allowing you to monitor specific areas and deter potential intruders. Ceilings offer a higher vantage point, wide-angle views, and discreet placement. Eaves or roof overhangs provide elevated coverage and protection from the elements. Branches or poles offer flexible surveillance options in areas where traditional mounting isn’t possible. Window frames allow for non-intrusive monitoring without obstructing the view. Fence posts can effectively monitor the perimeter of your property.
Regardless of the mounting option you choose, always ensure the cameras are securely attached, properly aligned, and within the Wi-Fi range. Test the cameras’ functionality and adjust the angles as needed to optimize their performance.
Remember that each home is unique, and your security needs may vary. Take the time to assess your property and identify areas that require monitoring. This will help you determine the optimal camera placement and create a comprehensive surveillance system.
With Blink Outdoor cameras in place, you can enjoy peace of mind knowing that you have an effective home security system to protect your loved ones and property. Don’t wait – start planning your Blink Outdoor camera installation today!
Now that you've got a handle on where to place your Blink Outdoor cameras, you might wonder why stepping up home security is vital. Our article on home security benefits delves into reasons that make surveillance systems indispensable. Also, if you're curious about which models stand out from the rest, check out our thoughts on top outdoor cameras. Both pieces are packed with insights that could help fortify your home's safety and give you peace of mind.
Frequently Asked Questions about Where To Mount Blink Outdoor Cameras
Was this page helpful?
At Storables.com, we guarantee accurate and reliable information. Our content, validated by Expert Board Contributors, is crafted following stringent Editorial Policies. We're committed to providing you with well-researched, expert-backed insights for all your informational needs.